How to Open/Close a Paint Can…. Without the Mess
It took a professional painter to show me the most mindless, yet GENIUS, paint tricks I’m sharing today. To be honest, I never really put any extra thought into how I opened/closed a paint can without making a mess because that’s the only way I knew how from watching my dad. That’s until Casey saw me do what I did and said: “OMG, that is simply genius!”. Immediately I realized this mindless strategy was not common knowledge and we needed to share my dad’s free wisdom with YOU.
How to Open and Close a Paint Can 
What do you need?
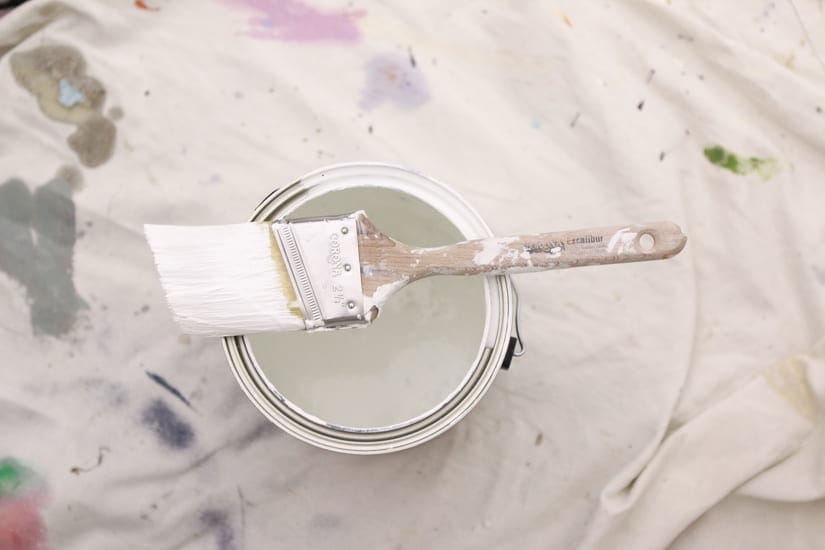
A paint can, obviously, and a flat head screwdriver… any size. Plus a hammer and a dirty old rag for later.

How do I open the paint can?
Wedge the straight edge screwdriver gently under the edge of the lid. Once the screwdriver is in place, gently push down on the screw driver’s handle- this will force the lid to release slightly and eliminate its air-tight seal. Move the screwdriver to another part of the lid and repeat this exact process. Continue to do this (about 3-4 times around the lid) until the lid is disconnected from the paint can and can be easily lifted off…no mess.


Does the screwdriver get paint on it?
The screwdriver should never come in contact with wet paint. If you’re working with a paint can that has been used in the past 24 hours, then be a little careful. There may be a chance that wet paint residue left on the can from prior work could be on the exterior of the can.
Can that work on both new or used paint cans?
YES! I use this method over and over and over again until the can is empty. This process should not bend, damage or disfigure the lid/can in any way.
How do I close it without the mess?
Simply place the lid on top of the can. Place the rag over the lid/can and hammer gently around the lid. This will ensure that the lid is SEALED and that no paint from the lid or drips from the can splatter on you, your clothes, your hammer, your pet, your father-in-law or most importantly, your project area.


What should I do with the rag?
Remove it from the paint can so that it doesn’t dry there and get stuck to the top of the can. Personally, I would then name it my official paint can partner and continue to use that old rag to close future cans. Note: Make sure you use an old rag, because it will get paint on it…. remember it’s acting as a shield.
Why is it important to seal the lid?
In order to eliminate the paint from drying out and ultimately ruining.
What if I don’t have a hammer?
I find myself in the same situation quite often… I mean who has a hammer around when they’re painting?! All you really need is a heavy object- so the handle of the screwdriver, the handle of a CLEAN paint brush, a random brick from the garage… anything heavy will do the trick. Heck, I’ve even seen my dad stand on the rag/can combo to close it. Although that trick is highly discouraged and should be saved for trained professionals.
Bridget
Other Paint Color Resources
- Easy Tricks to Choose the Right Paint Color
- Does Paint Ever Go on SALE?
- Which Store Sells Which Brand of Paint?
- How to Open & Close a Paint Can
- Choosing a Front Door Paint Color
- Rookie Painting Tips from a Pro
- 5 Tips to Paint a Front Door
- Tips to Paint a Bathroom
- How to Find & Hire Affordable Painters
- List of Favorite Gray Paint Colors
- List of Favorite Warm White Paint Colors
- List of Favorite Dark Gray Paint Colors
- List of Favorite Navy Paint Colors
- List of Favorite Dark Green Paint Colors
- Comprehensive List of Neutral Paint Colors We’ve Used


