Rookie Painting Tips from a Professional Painter
As many of you already know, my dad is ALWAYS willing to lend a helping hand behind-the-scenes at the DIY Playbook. Although we always vow to each other that we want to tackle our project WITHOUT his help, we always know he’s just a phone call away ready to answer our questions… or avert a DIY crisis!
And the days that we don’t need to call and ask him a question RIGHT THEN and there, you can bet that we’ve spent the weeks prior to that project asking for his advice and getting as many painting tips from him as we could so our DIY project would run smoothly.

The guy’s amazing and I’m so grateful to call him my dad. He’s a handy guy and can tackle just about any DIY project (although he would never admit to it), but his expertise is in paint. By trade he is a painting contractor and professional painter. Over the years he has taught us A LOT about painting and ironically, some of our most FAQ’s here on the Playbook revolve around painting. Go figure?!
Today, we enlisted his help and expertise to answer some of these most FAQ’s.
Painting Tips from a Professional
So without further ado, here are rookie painting tips from a professional and my favorite DIY coach, “Big Mike”. #thanksdad
What are your best pieces of painting advice?
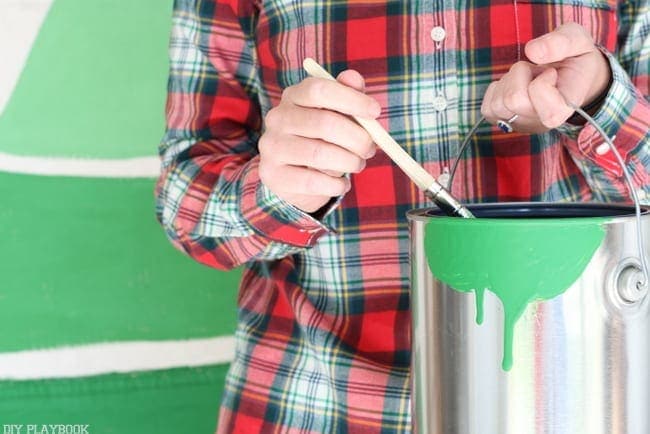
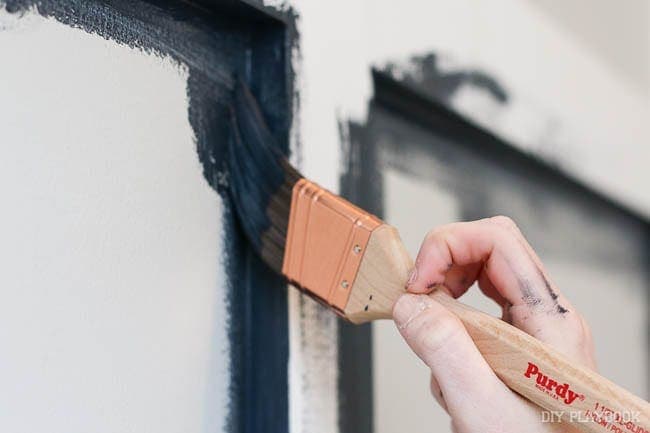
- Invest in a quality paint brush, it makes a big difference!
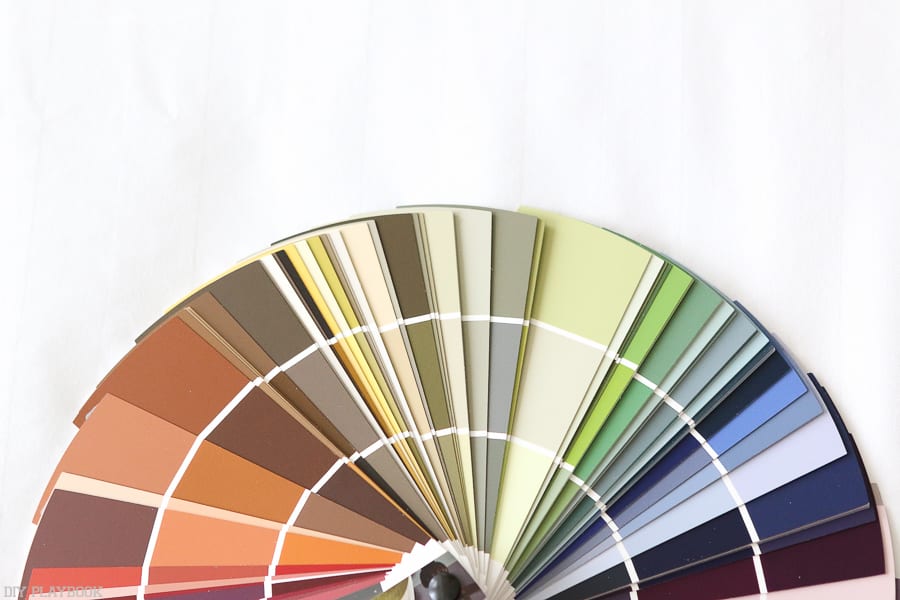
- When choosing a paint color, buy samples and paint these colors on your walls throughout the entire room. Observe the colors at all different times of the day/night to make sure you know what they look like before you commit.
- Don’t judge the color until it’s completely dry.
- Patience in the prep work and in the dry time is KEY!
- It’s just paint so if you make a mistake or don’t love the color, you can ALWAYS repaint it.
 What do you mean by buying a quality paint brush?
 What do you mean by buying a quality paint brush?
Although a quality paint brush can be a bit more expensive, it is worth the price tag! Investing in a quality brush and a quality trim brush will make the end product look a lot more professional. And because these paint brushes tend to cost a bit more, make sure you clean them properly so that you can use them over and over again. The paint brushes I’m currently using are about a year old and I paint with them just about every day! Some brands to look for when choosing these quality brushes include Purdy, Best Leibco, Corona, & Wooster.
 How do you properly clean a paint brush to use it over and over again?
 How do you properly clean a paint brush to use it over and over again?
Rinse the brush with water first until most of the excess paint is off. Then take a wire brush and use it as a comb to comb through the brush until all of the dried & built up paint within the heel is rinsed off. Continue to run the brush under water until the water running from the heel of the brush is mostly clean (clear again). Then hand spin the brush to remove any excess water. Last but certainly not least, it’s important that you store the brush in the original cover that came with the brush. Like I mentioned before if you have a quality brush and use it only frequently, this brush can last many years if you clean and store it properly. <— our mind is blown… we had no idea!
 How do you know if it’s necessary to prime before painting?
 How do you know if it’s necessary to prime before painting?
 Priming before painting is only necessary when the surface you are painting is either new or has an existing coating. You definitely want to prime when the existing surface coat is varnish, semi-gloss, plastic, etc. because this will ensure that the paint will adhere to this challenging surface.
However, keep in mind that when you try to prime these surfaces you need to choose the correct primer so that both the primer and the paint adhere effectively. There’s a lot of new technology throughout the painting industry when it comes to paint and priming products, even the most challenging surfaces can be covered. You just may need to do a little research to figure out which primer is best for your situation. Bottom line: I would highly recommend priming any difficult surfaces just to be safe!
 How many coats of paint?
 How many coats of paint?
It is very unusual for one coat coverage unless you are painting a surface the same or a very similar color. If that’s not the case, I would guess it will take at least 2 coats to cover evenly and consistently.
 What are some of the most common mistakes people make when DIY painting?
 What are some of the most common mistakes people make when DIY painting?
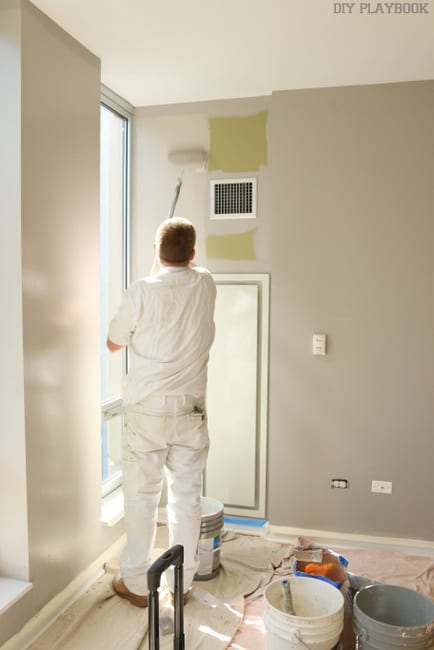
The most common mistake people make when it comes to painting is in the preparation. When I say the prep work, here are the steps I’m referring to:
- Prepare all surfaces accurately (sanding, priming)
- Cover the floors, furniture, woodwork etc. to protect these surfaces from the new paint
- Patch and sand any imperfections on the wall
Although these steps are not always enjoyable, they are very important to make sure you’re happy with the end result. Many people rush through these rather boring steps (or even skip a step to save time) and in the end, they are unhappy with their product or the paint job looks unprofessional. It’s also very important to allow the first coat to dry long enough before moving forward with the second coat. [insert watching paint dry joke here]
Oh… and one more thing! After everything is uncovered, try to clean any paint drips off of the trim while the paint is still easy to remove.
 Paint sheens — give us the scoop!
 Paint sheens — give us the scoop!
 - Flat or matte: no sheen or shine (use on ceilings and in some instances walls)
- Eggshell: slight sheen exposed when viewed at an angle (like an eggshell..), washable to a point (use on walls, trim)
- Semi-gloss: very shiny, very washable (use on trim and walls in very high traffic areas because it’s the easiest to clean)
- Any paint color can be mixed into any paint sheen!
How do I choose the perfect paint color?
 How do I choose the perfect paint color?
When looking at paint swatches, I would recommend bringing these swatches home so that you can see them in the light of your own home. The lights in the stores can give you a very inaccurate read of how the paint will look at your place, so take the samples to go and analyze your collection at home. Then try to narrow down your color choices to two or three colors you really love.
Once you have your top choices, go to the store and buy the samples ($2-$6 each) and bring them home to apply onto the walls. Make sure you apply these colors all over the room/house, next to the trim, next to your cabinets or any other permanent fixture, and watch the colors at all different times of the day. Sunlight, the lights in your house, and the context of the decor/furniture/trim/cabinets/carpet in your house can make a huge impact on how this color “reads” in your space. Putting the samples on the wall and watching them over several days will really help you identify that “read” and choose your favorite for that space. <– (more rookie tips on choosing the perfect paint color here)
 What supplies do I need to paint?
 What supplies do I need to paint?
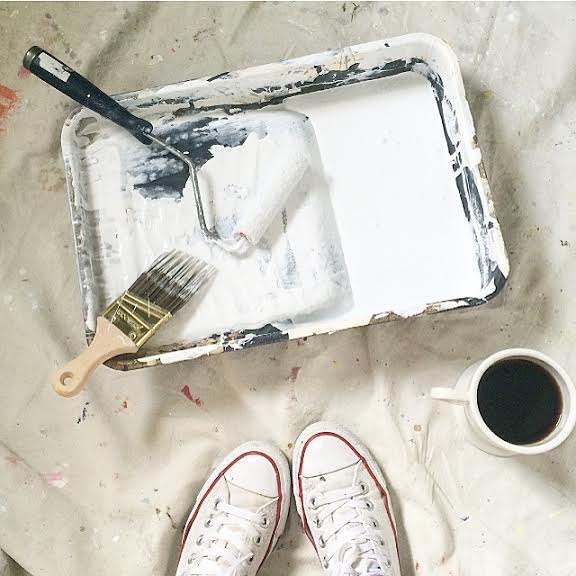
- drops cloths
- plastic to cover furniture
- quality tape
- two quality brushes
- two quality roller handles
- 4 ft rolling pole
- deep well pan
- sandpaper or sanding sponge
- 6-inch patching knife
- 2-inch putty knife
- duster rags (you can use old, ripped up t-shirts for this if they’re clean)


We hope these answered some of our most frequently asked questions… heck, we learned a lot today! Like who else knew that paint brushes could have a lifespan of YEARS or that you shouldn’t throw away the plastic covering it came in?! #MINDBLOWN
And last but not least, I can’t help but publicly thank my dad for answering these questions and ALWAYS supporting me, Casey, & the DIY Playbook. I’m so grateful for ALL that you do for us and feel so lucky to have such an amazing (and talented) DIY coach and dad. The sign that hangs in our family room at home has never been more true — “ASK DAD, HE KNOWS”.
Bridget
Other Paint Color Resources
- Easy Tricks to Choose the Right Paint Color
- Does Paint Ever Go on SALE?
- Which Store Sells Which Brand of Paint?
- How to Open & Close a Paint Can
- Choosing a Front Door Paint Color
- Rookie Painting Tips from a Pro
- 5 Tips to Paint a Front Door
- Tips to Paint a Bathroom
- How to Find & Hire Affordable Painters
- List of Favorite Gray Paint Colors
- List of Favorite Warm White Paint Colors
- List of Favorite Dark Gray Paint Colors
- List of Favorite Navy Paint Colors
- List of Favorite Dark Green Paint Colors
- Comprehensive List of Neutral Paint Colors We’ve Used