Reader SOS – Solutions for Awkward Spaces
I’m back with another “DIY Playbook, Save our Space”. My plan for #DIYPlaybookSOS is to take a reader’s space and (virtually) offer design tips and tricks on how to improve it.
Here are some old design problems I’ve solved during this series…
- Adding Style to a Family Room
- Furniture Layout
- Paring Down Furniture
- Gallery Wall Around a TV
- Dining Room Questions
- Designing an Extra Room
- Upgrading a Kitchen on a Dime
- Off-Centered Fireplace & Painting Wood Trim
- How to Style Shelves & Pantry Makeover
- Wallpapering Built-Ins & Narrow Bedroom Layout
- Transforming an Outdated Staircase
- Patio Furniture Layout
- Designing an Open Concept Living Space
Today, I’m tackling questions from two different readers, Steph and Erik, who are struggling with making awkward spaces in their homes more functional and, well….less awkward! I have one of these awkward spaces in my new house and I know a lot of you do too, so I thought it was time to explore potential solutions to this common dilemma.
Awkward Space #1
First up, Steph’s question about an alcove off of her kitchen.

We have this alcove that’s slightly less than 70 inches wide and want to make the most of it. My dream would be to install built-ins, but I’m hesitant because this isn’t our forever home and we do have other expensive projects to prioritize.
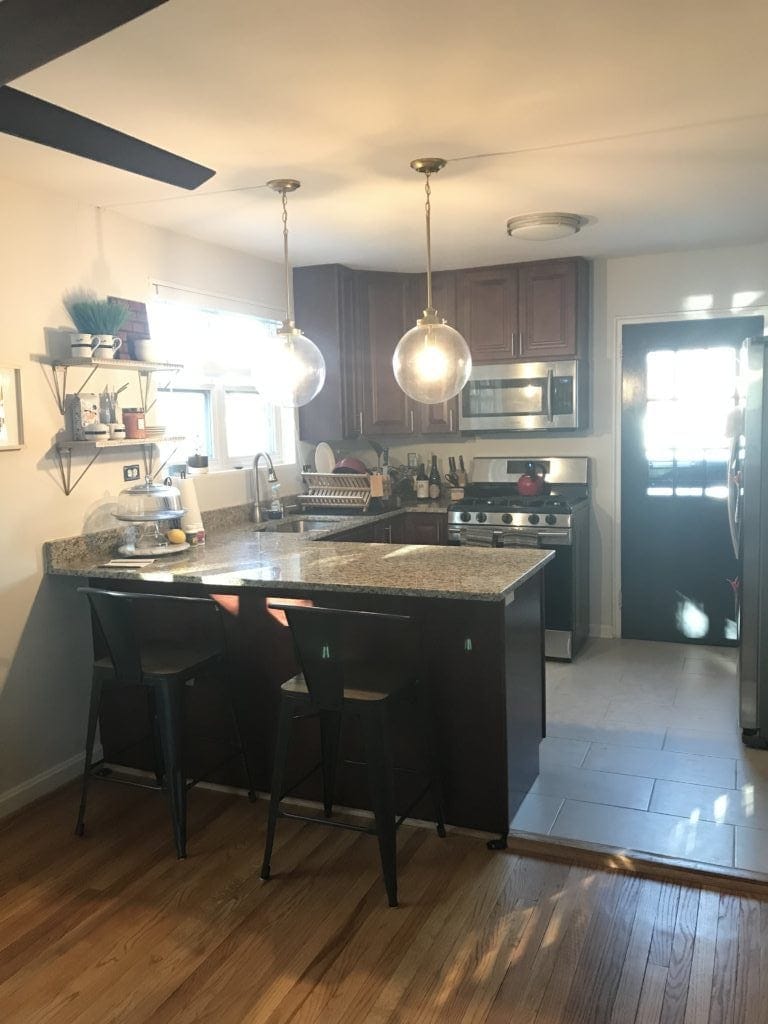
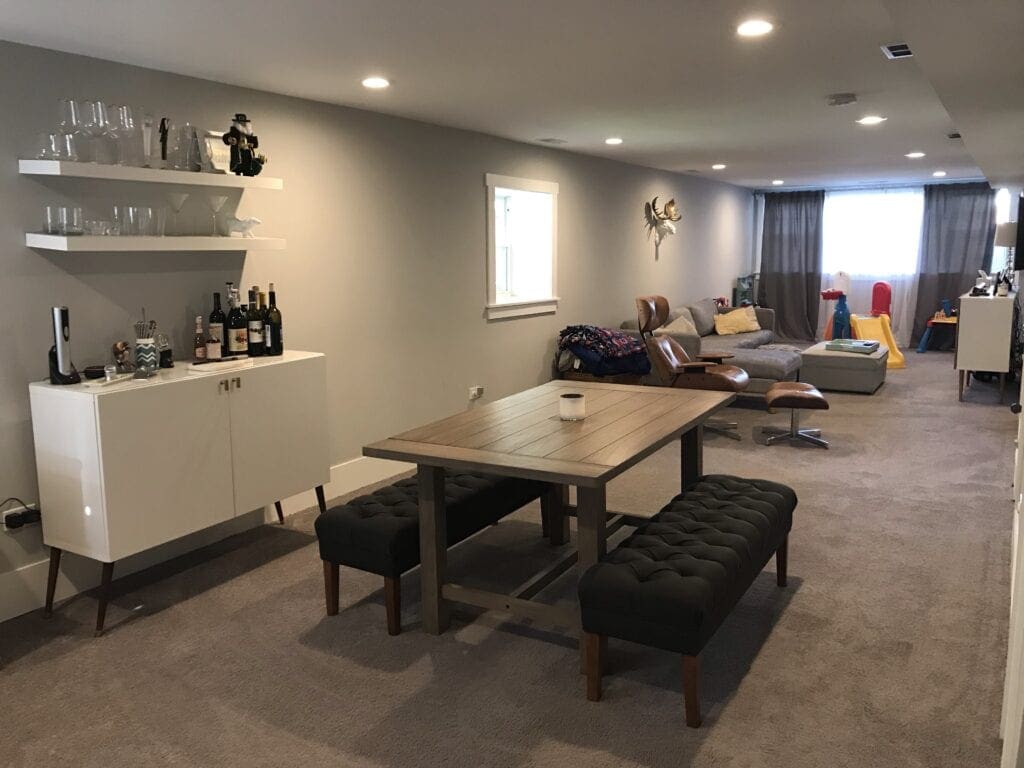
We hope to gain lots of extra storage (this space is right off the kitchen, and we’re running out of places to put kitchen items), plus a spot to hold our record player and record collection. Do you think built-ins add to the value of a home in a way that would justify the upfront cost? I was thinking a sideboard/buffet could achieve that goal of gaining more storage and we could bring the furniture item with us to our future home. -Steph
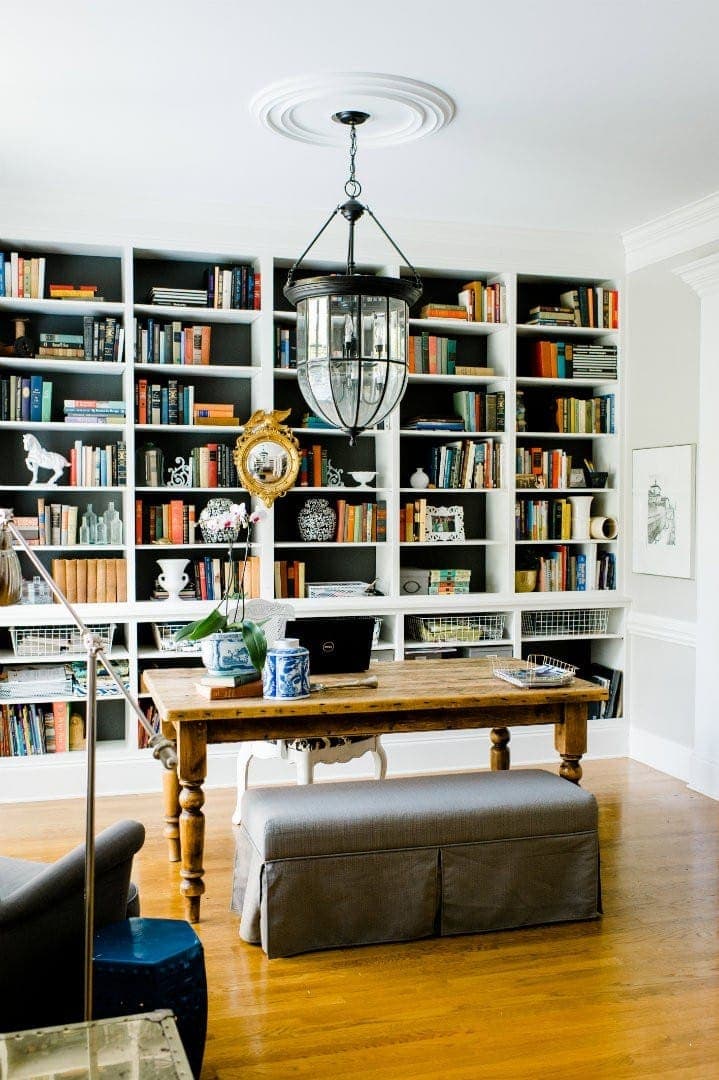
Invest in Built-In Storage
Before we tackle Steph’s awkward space, let’s chat about her built-in question. She asked if the cost of built-in storage was worth it if they were planning on moving within a couple of years? My answer is a big fat YES! Of course, a credenza would work in this space too, however, a built-in will offer more functionality while they are living in this home because they can maximize every square inch. Plus, it is an amazing selling feature when that time comes and I’m confident they would get their money back (and more!).
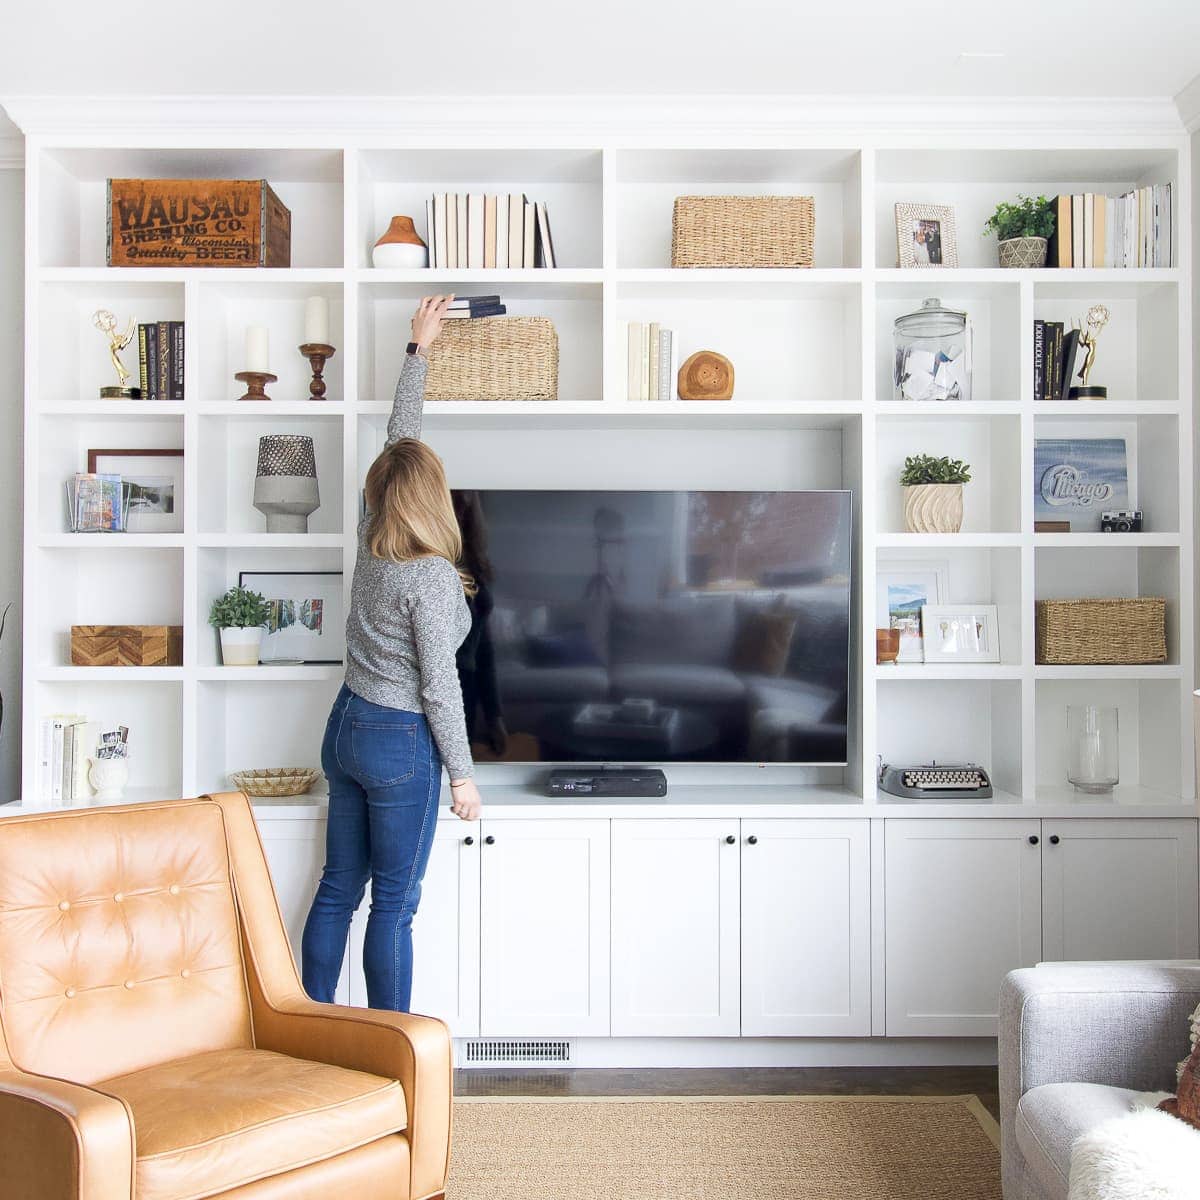
Our built-ins were a big investment of about $5,000, but they were worth every penny! We have zero regrets adding built-in storage to our condo (you need all the storage you can get when you’re a city dweller), and it made the room feel complete and much more high-end. They were the main conversation piece when we had our open house and multiple offers on our condo. The built-in size that Steph needs is much smaller, so I think she could potentially DIY this project to save some cash and still get the built-in look.
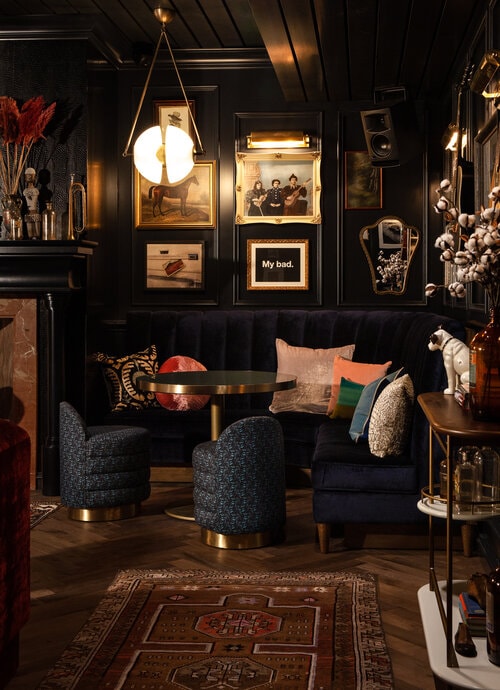
Creating a Built-in Bar
Steph mentioned that storage is limited in their kitchen. I noticed they had a cute bar cart in their living area, so I think this awkward space could become an awesome bar to hold some of their less-used kitchen items. So, instead of doing traditional built-ins like mine, I think she could make this alcove a fun bar spot!

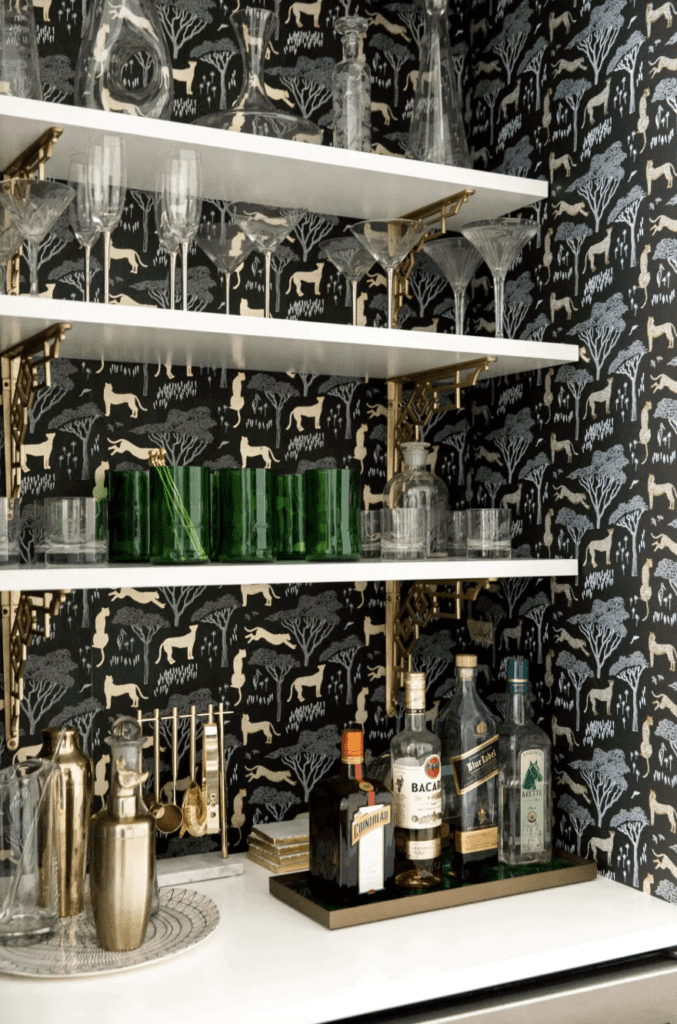
Image via Barrie Benson Interiors
How amazing is this built-in bar designed by interior designer, Barrie Benson? I’m seriously obsessed and I know this can be re-created on the cheap! To keep costs low, I recommend using ready-made cabinets. I did a little research on Ikea’s website and even used their planning tool to visualize this for Steph.
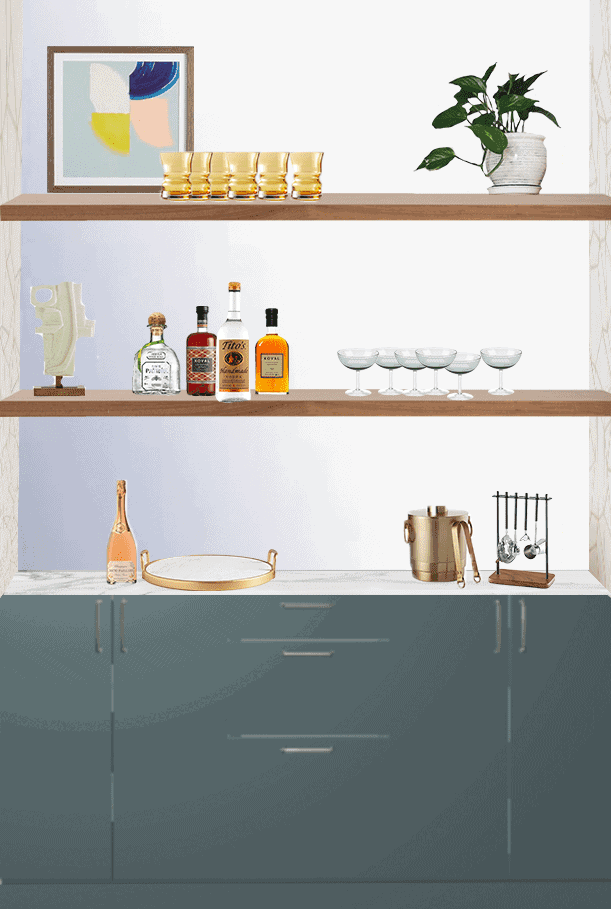

Here’s what I would recommend for their 70-inch space:
- Two 24-inch cabinets
- One 18-inch drawer unit
- Two filler pieces
- Toe kicks
- Countertop
There are so many great tutorials on installing the cabinets yourself, including this one from Chris Loves Julia. Using those cabinets would add plenty of secret storage and it could act as an extension of the kitchen. And if they’re big wine drinkers, this little area would be the perfect spot for a wine fridge (just take out one of the cabinets to make room for it!).
Adding Shelves & Accessories
To make the look even more custom and fun, I would incorporate some of the design elements from the inspiration above. Steph could install a mirror (it’s actually not that expensive to have one cut to size) on the back wall. This mirror would brighten up the area, bouncing light off the windows to make the space feel bigger and lighter!

Or, she could even add some peel and stick wallpaper (tutorial right here) to the sides, back, and ceiling of the alcove for a pop of color (I love this one for a subtle pattern; this one is so pretty; and there is a lot of color in this one). That would really make a statement in this little area! For added storage above the cabinets, I recommend open shelving, like these simple ones, or you could DIY some new shelves. That would keep costs low and provide plenty of room for vintage glassware and pretty decor.
There’s an opportunity to upgrade at each step of this project, but my guess is you could get this all done for less than $1,500. That’s not much more than a credenza would cost.
Awkward Space #2
The next reader, Erik, has a much more awkward space in the basement of his home. And I feel like a lot of homes in America have this in the basement! We have this dead space under the stairs in our basement and it’s now a closet that isn’t very functional at all.
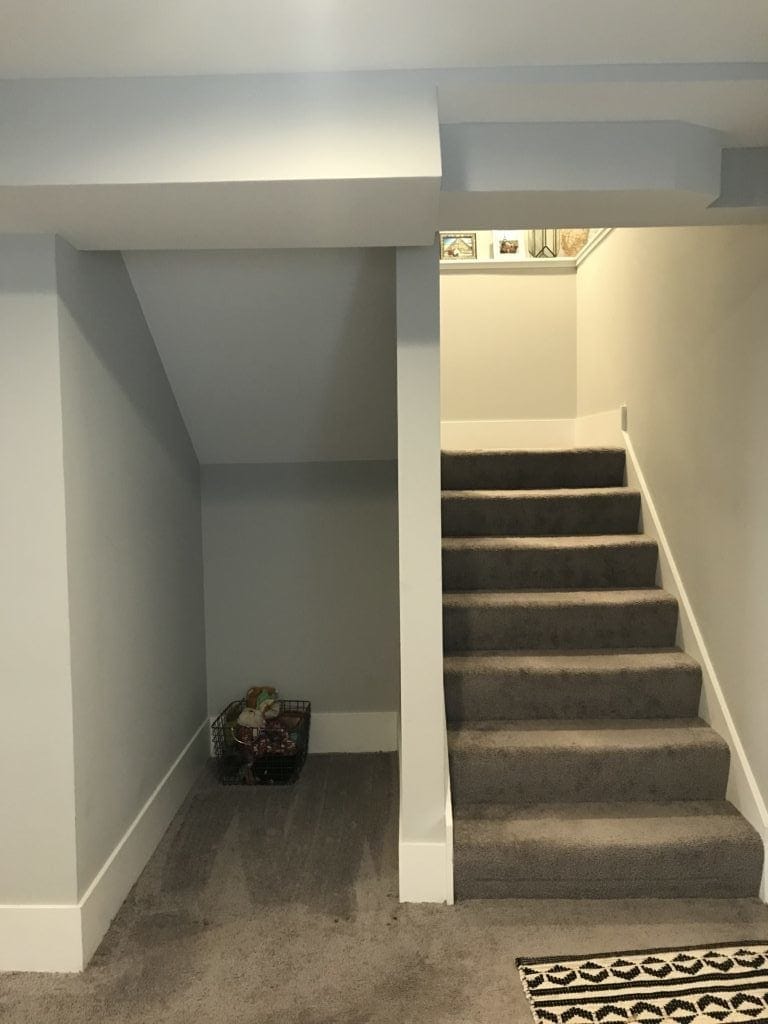
We live in a bungalow that is completely renovated, but one particular area has me stumped. So, I’m officially sending out an SOS. It’s a funny little nook in our basement below the stairs.
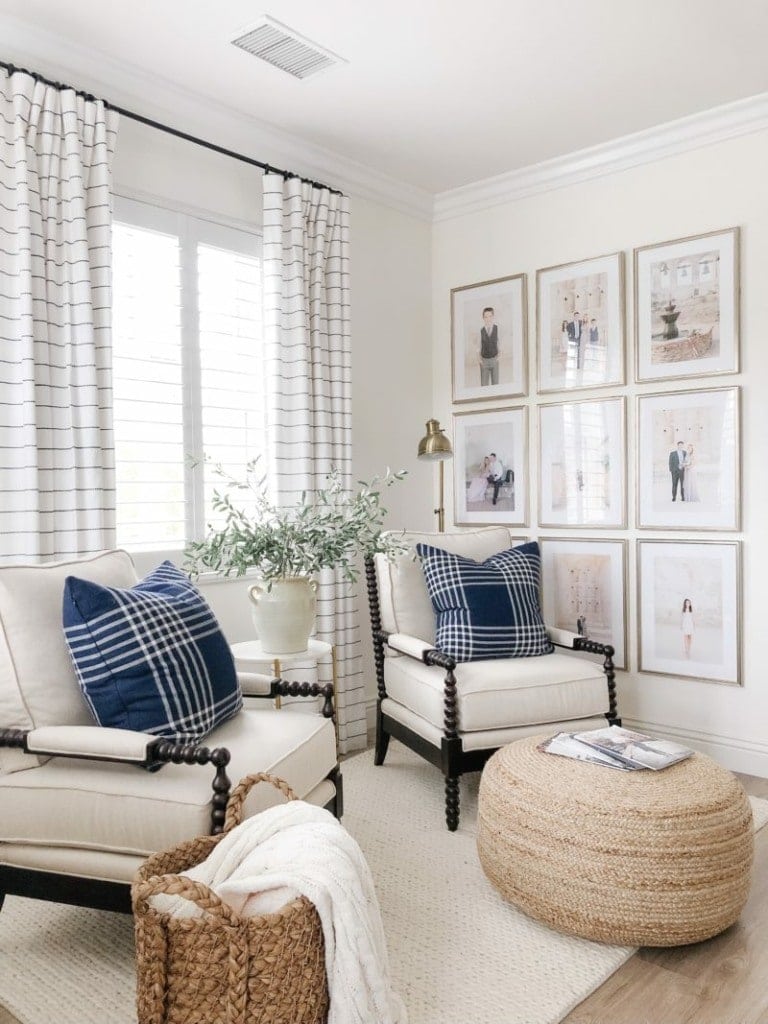
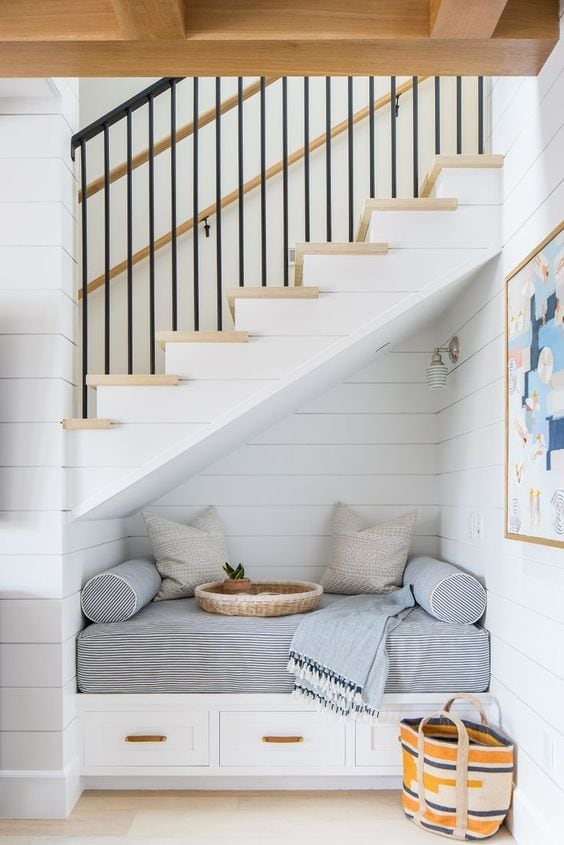
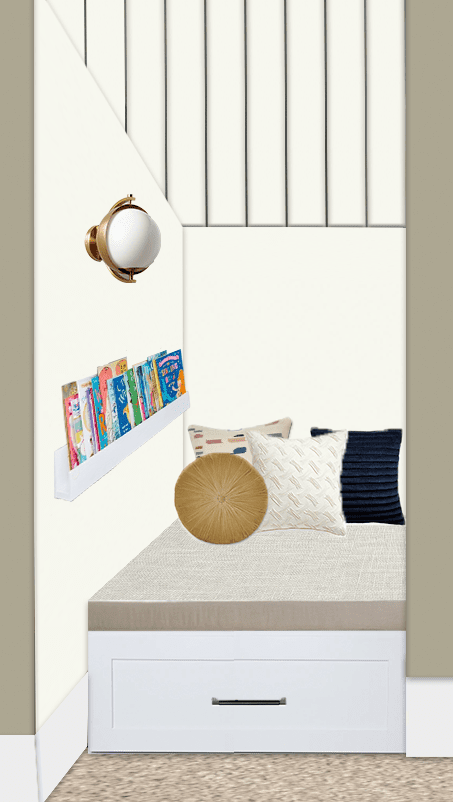
Create a Reading Nook


Submit your Reader SOS
I always love hearing your design dilemmas. If you have a space you want me to tackle next, email diyplaybook@gmail.com with the subject line “READER SOS”. Please include as many photos and information as possible. Can’t wait to read…
Casey