DIY Shiplap for under $100 in the Office
I haven’t regretted my decision to paint the office white, in fact, this room has really proven to me how much I LOVE white paint.

However, the white paint could make the room look “flat” without enough texture injected into it. When I added all the furniture and the DIY barn door into this space, I absolutely LOVED it. I felt like it was “so me” but after living in it for a few weeks I did think the white walls were missing just a little something.
Adding a Wall of Shiplap

That thought is what inspired me to add DIY Shiplap to the far wall and I’m pretty obsessed with the texture it brings to the space. This was the first “large-scale” DIY project I did with Matt and I’m so glad we decided to do it together because we knocked it out in less than a weekend.
The Process

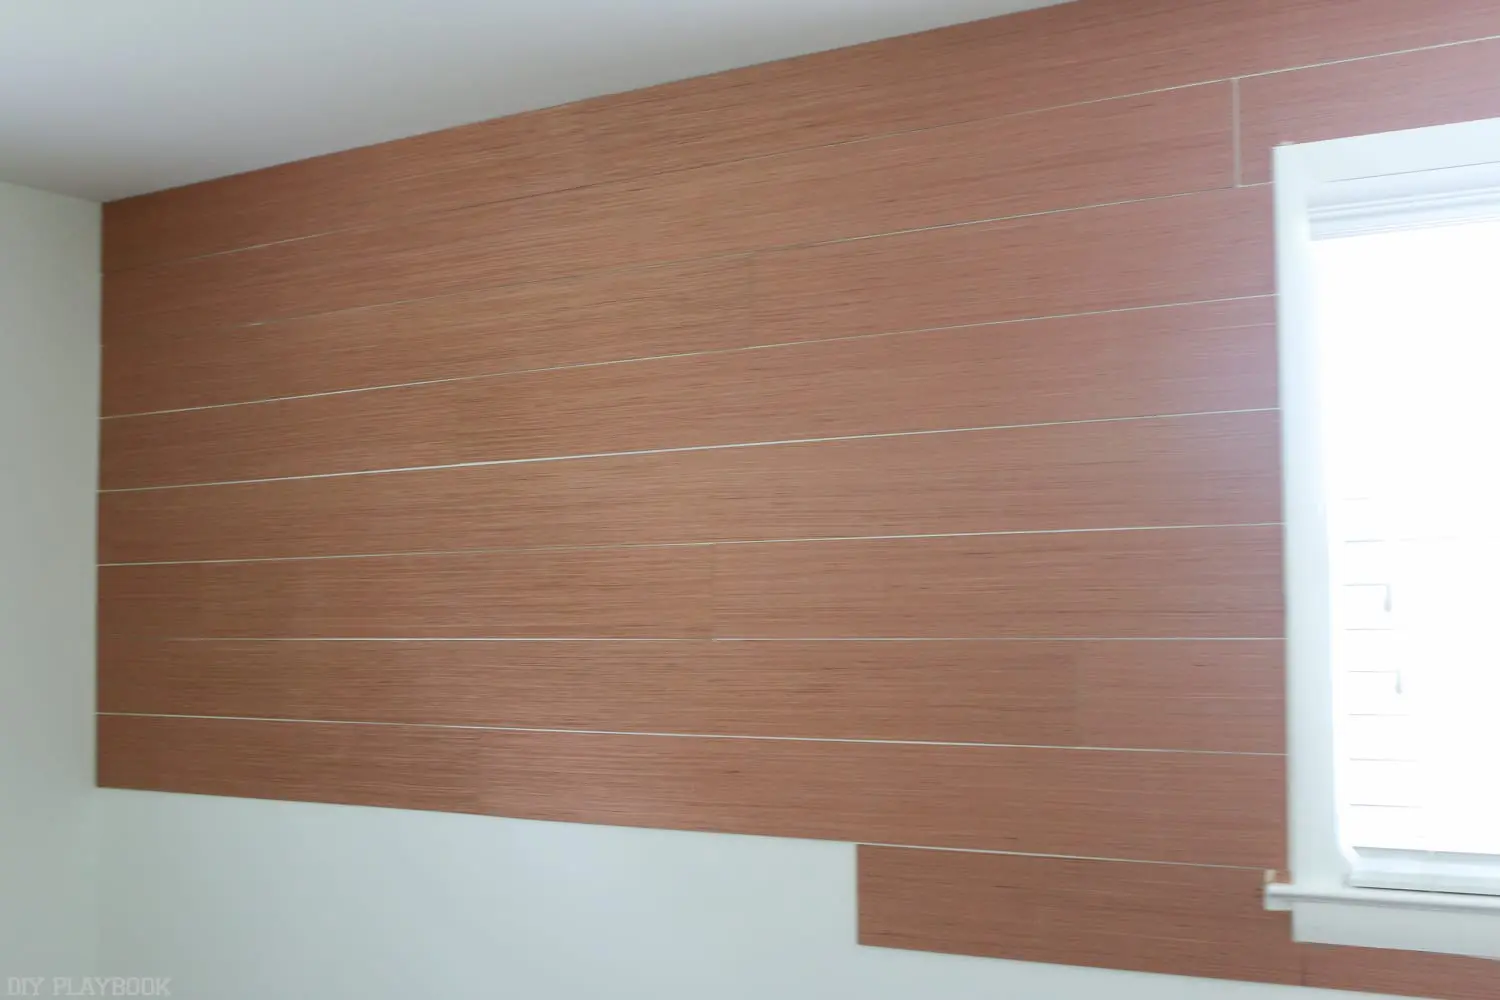
We bought 4 sheets of plywood from Lowe’s for under $100 and had all of the other materials on hand, making this project a very affordable one!
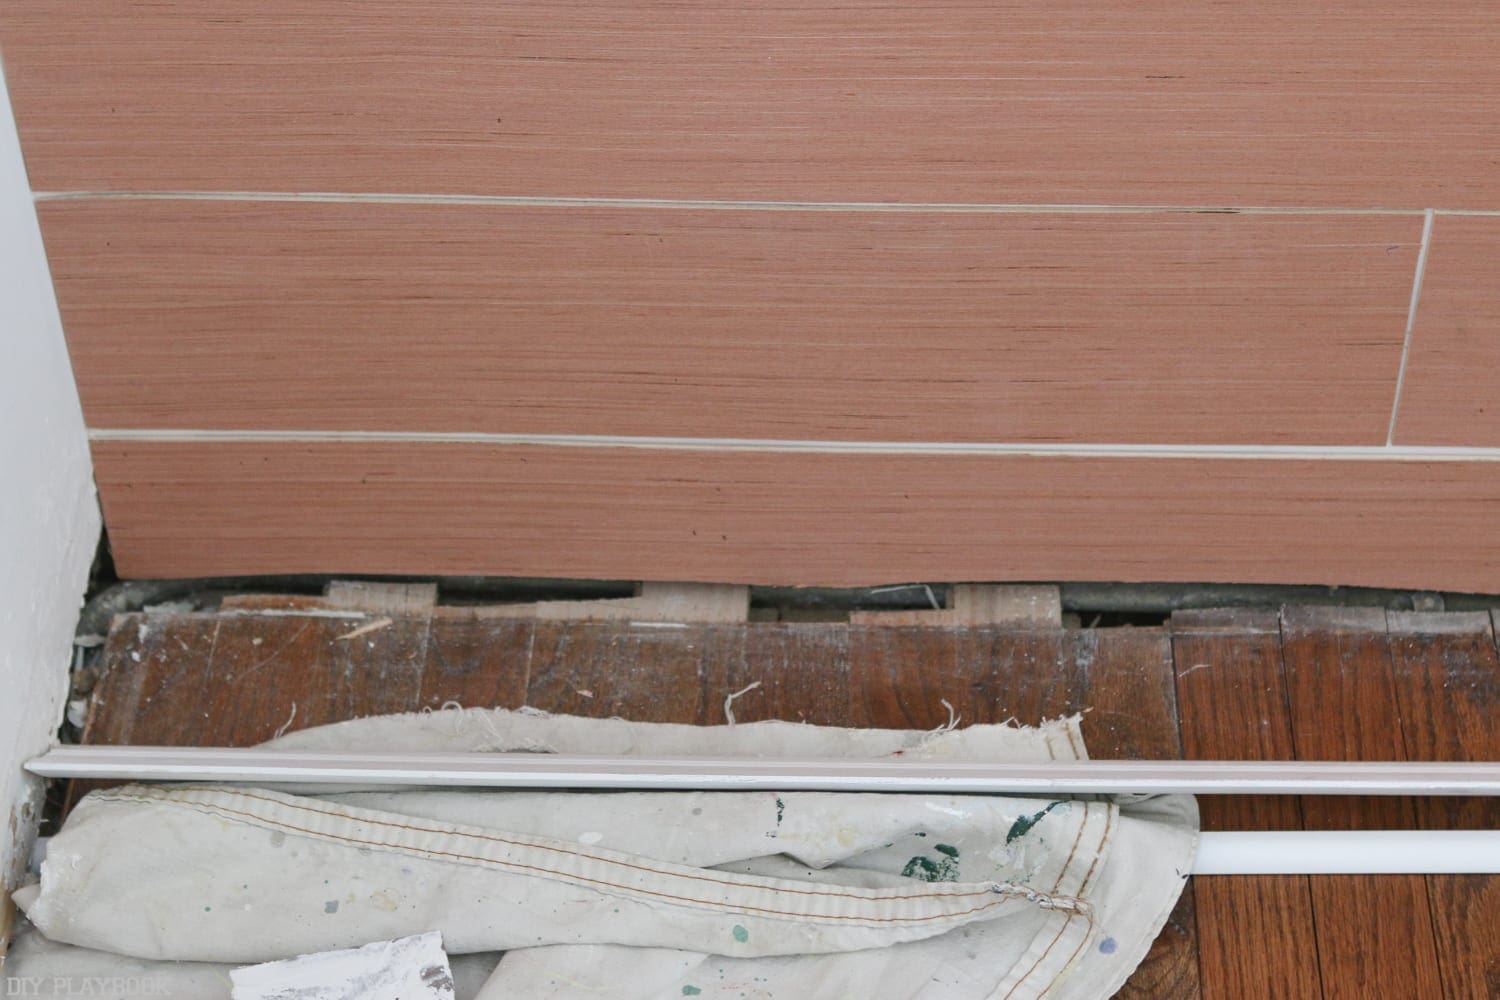
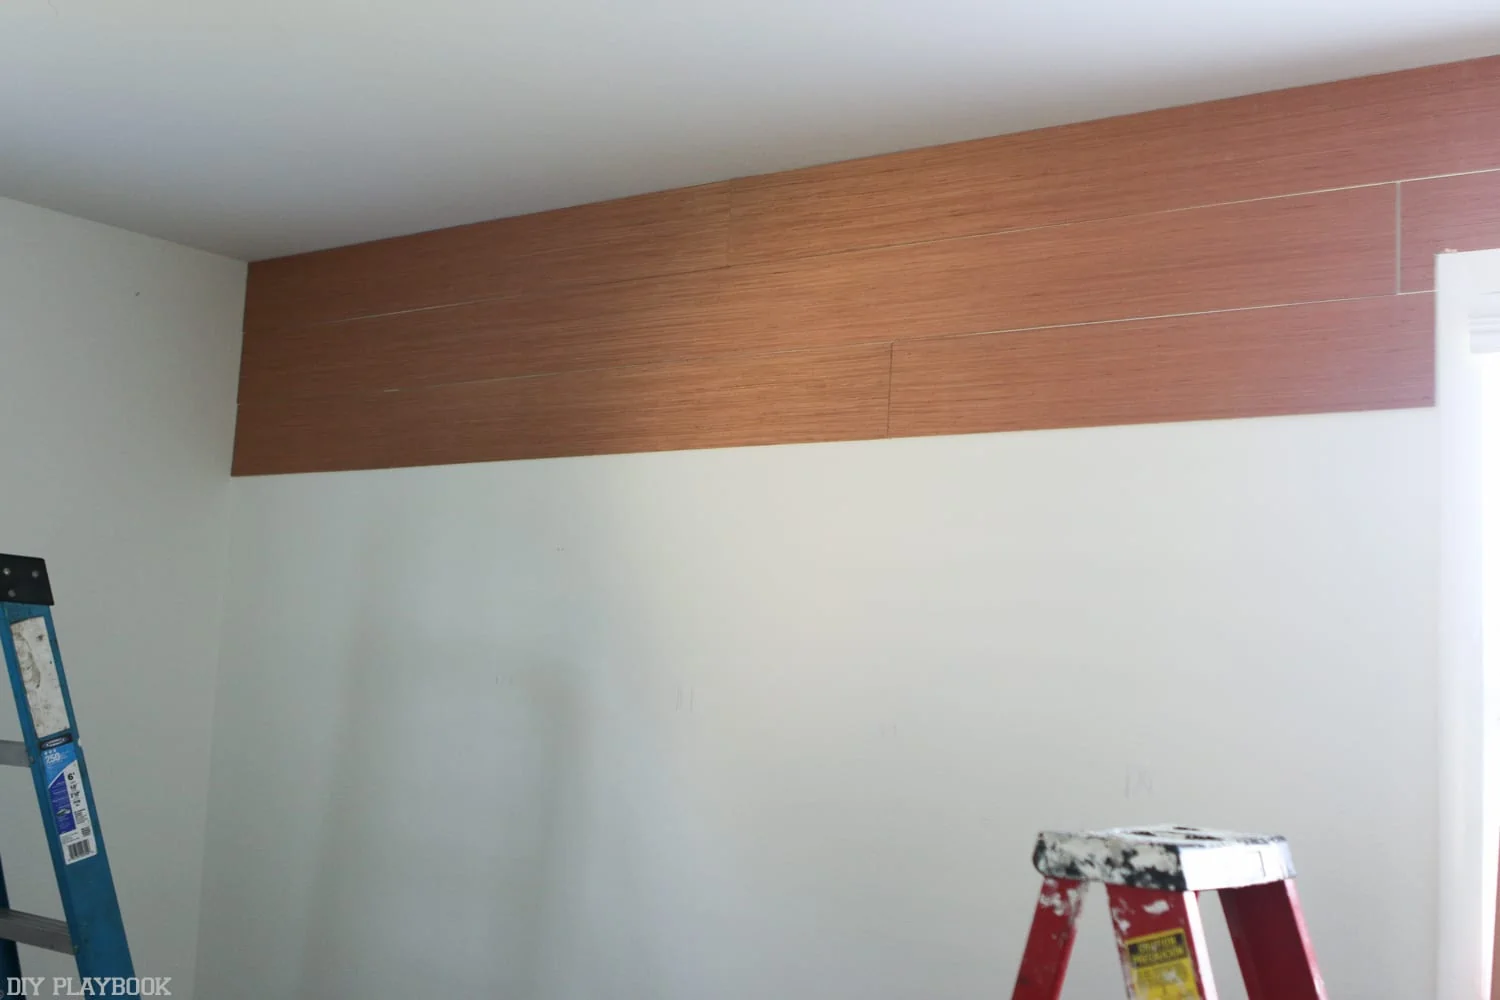
If you’re in the game to shiplap a space in your home, be sure to check out the step-by-step tutorial we created with Zillow here. I tried to break down the process as much as we could so that anyone can tackle this weekend project. The one thing I did differently this time around was take off the baseboard and put the last board behind the baseboard. I LOVED this trick because it took the pressure off of creating a perfectly straight cut on the last piece of wood.

You can kind of tell in this photo that the last piece of wood was cut close but not perfectly using a jigsaw but… … once I added the baseboard on top of it, you can never tell! If you’re tackling this project and need to replace the baseboard anyway, wait to put the baseboard on until after your shiplap has been hung so that you have some wiggle room on that last cut.
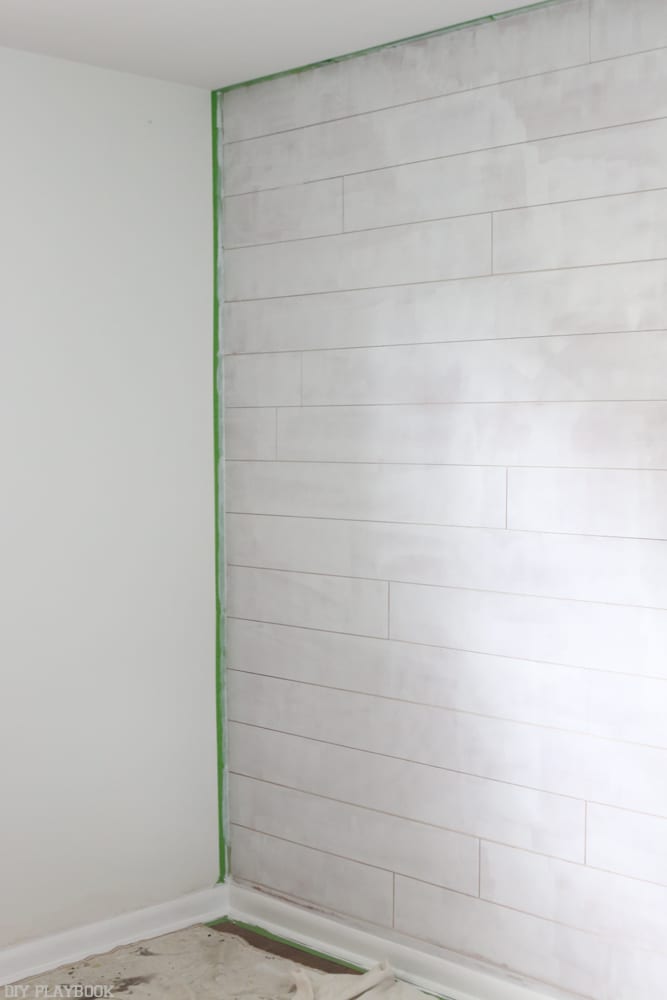
Trust me when I say this trick will make your life SO much easier and will make the finished project look much more professional.I caulked, puttied, and primed the wood once and painted the wall twice, using the same white paint I used on the rest of the room. I’ve really liked the look of black shiplap lately, but I want to keep this space light and cohesive so I skipped that color choice this time around. Maybe someday I’ll be bold enough to try that. The shiplap adds just enough texture while still blending in with the rest of the space. This project was definitely worth the $100 price tag and weekend time commitment. PLUS, Matt tried his hand at a miter saw and nail gun and didn’t hate it. #PROGRESS
Casey was nervous that he had taken over her spot as my DIY partner-in-crime but Matt reassured her that she never has to worry about that. Gotta love him for at least trying, right?! And it’s a win-win because I still have my bestie to count on for future projects!
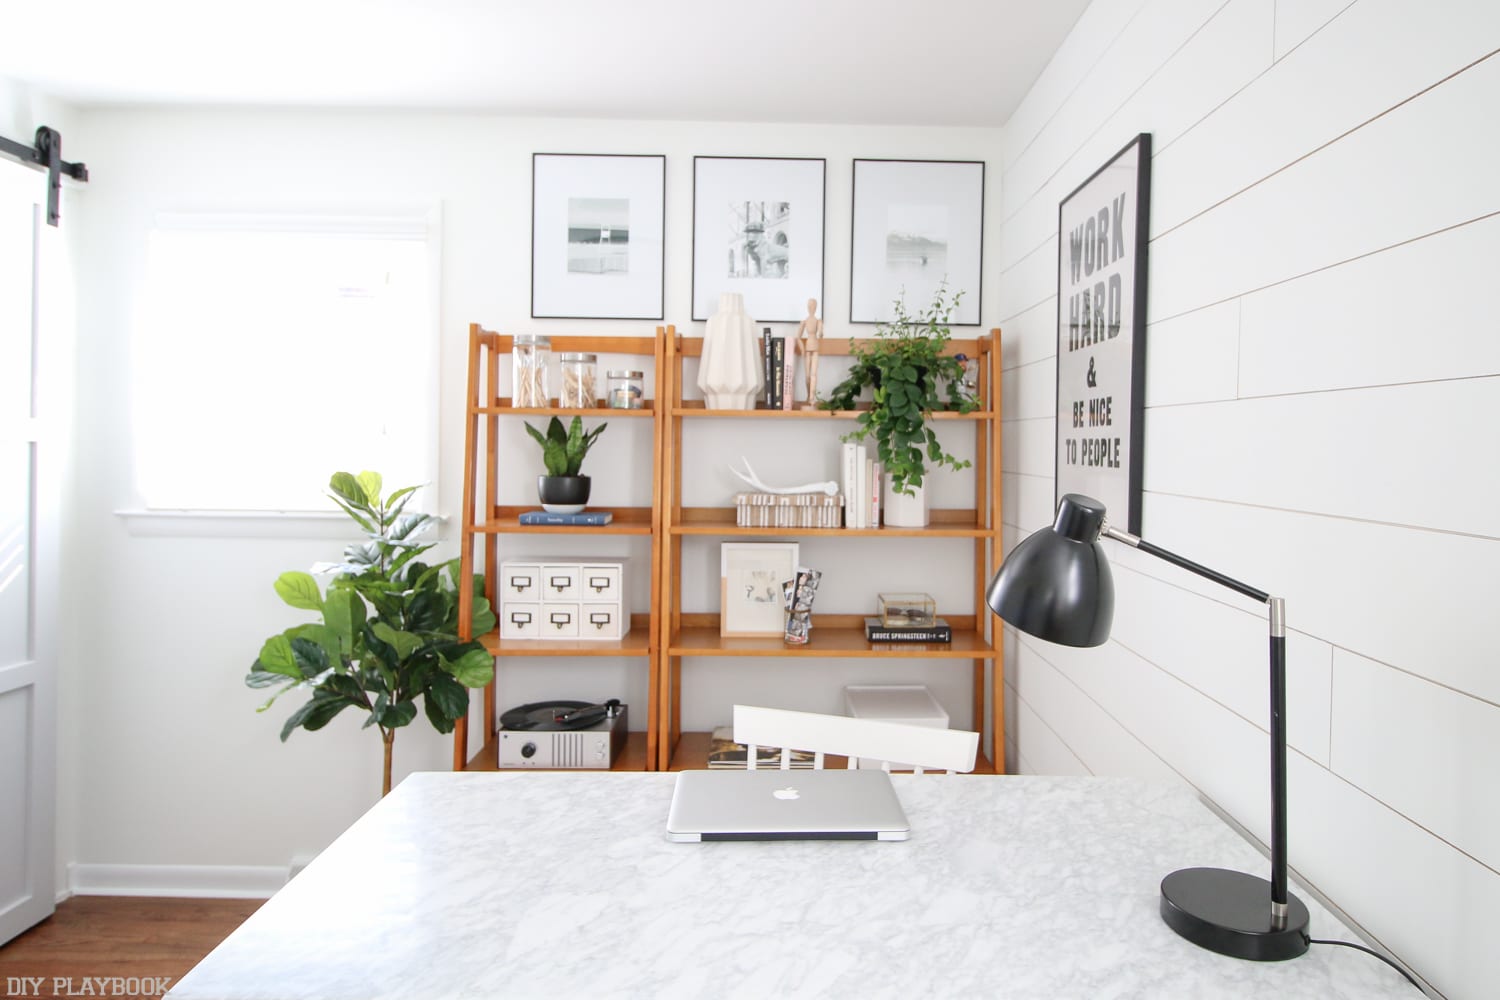
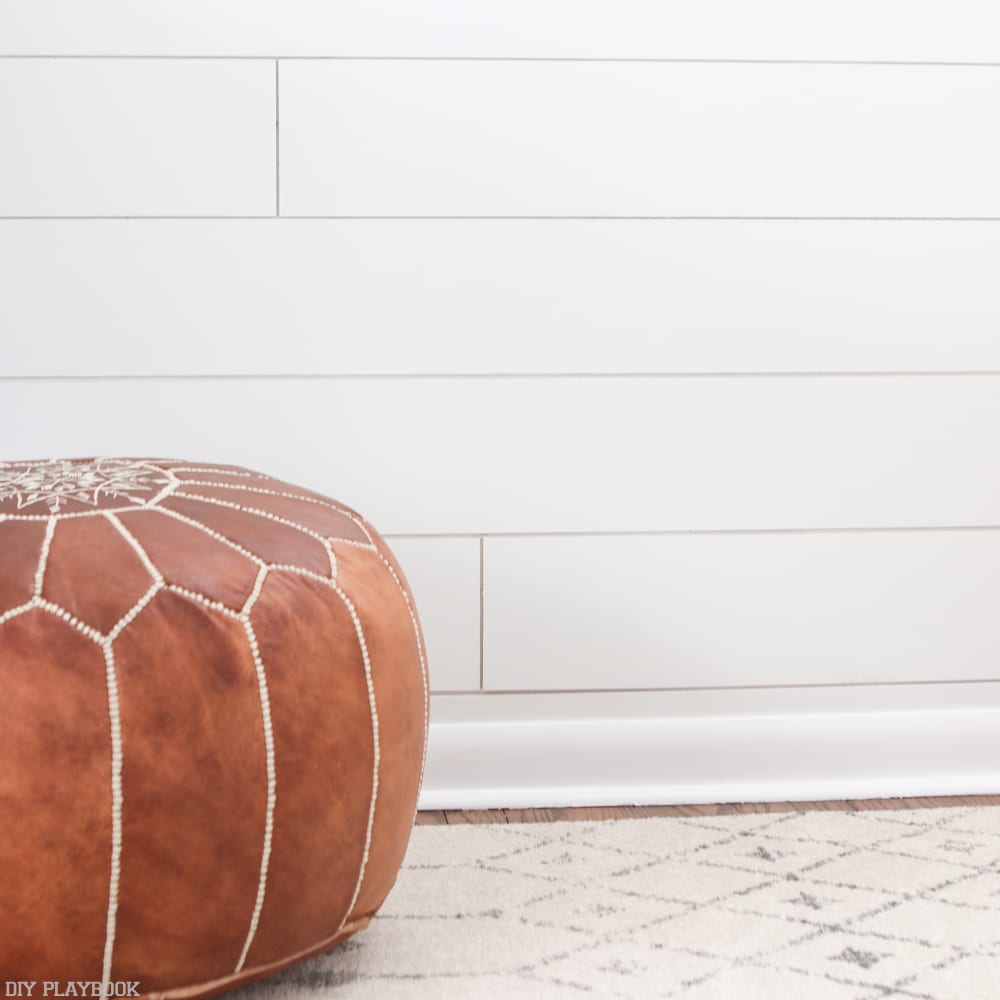
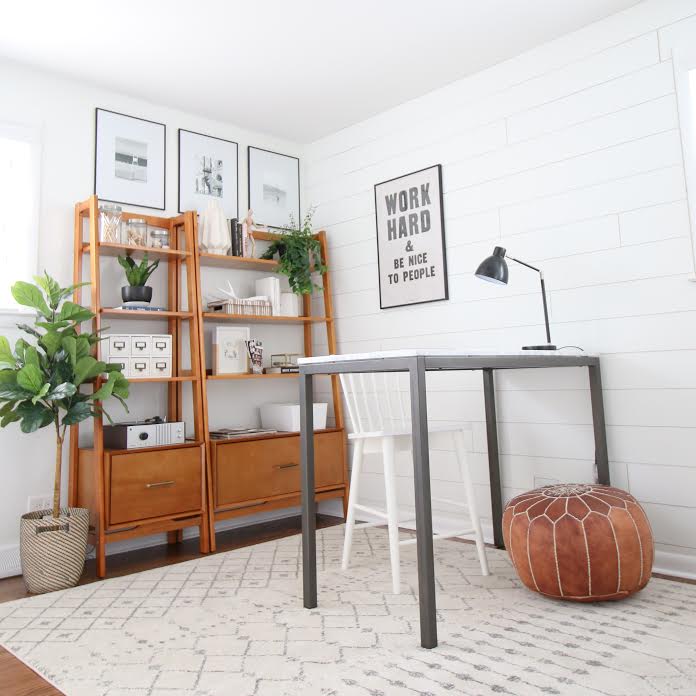
After
I don’t think I have any more space to shiplap in this house but I’m confident this won’t be my last shiplap project. There’s just something about this charming wall treatment that instantly makes a space feel cozier. Because of that, I’m sure it’ll always sneak its way into our future homes.
Now that I can check “SHIPLAP” off of our office to-do list, I think this space is officially done! From the paint, to the new furniture, to the DIY fauxdenza, DIY barn door and now DIY shiplap, I’m so happy to be done and so in love with this space.
The goal was to transition this room from a guest room into an office. I can confidently say I spend time here working every.single.day., which is 500% more than I used to! I’m excited to show you guys around one more time later in the week when I’m going to break down all of the secret storage our office offers. The amount of storage in this small space has exceeded my expectations and I can’t wait to dish all the details on Friday.
Bridget