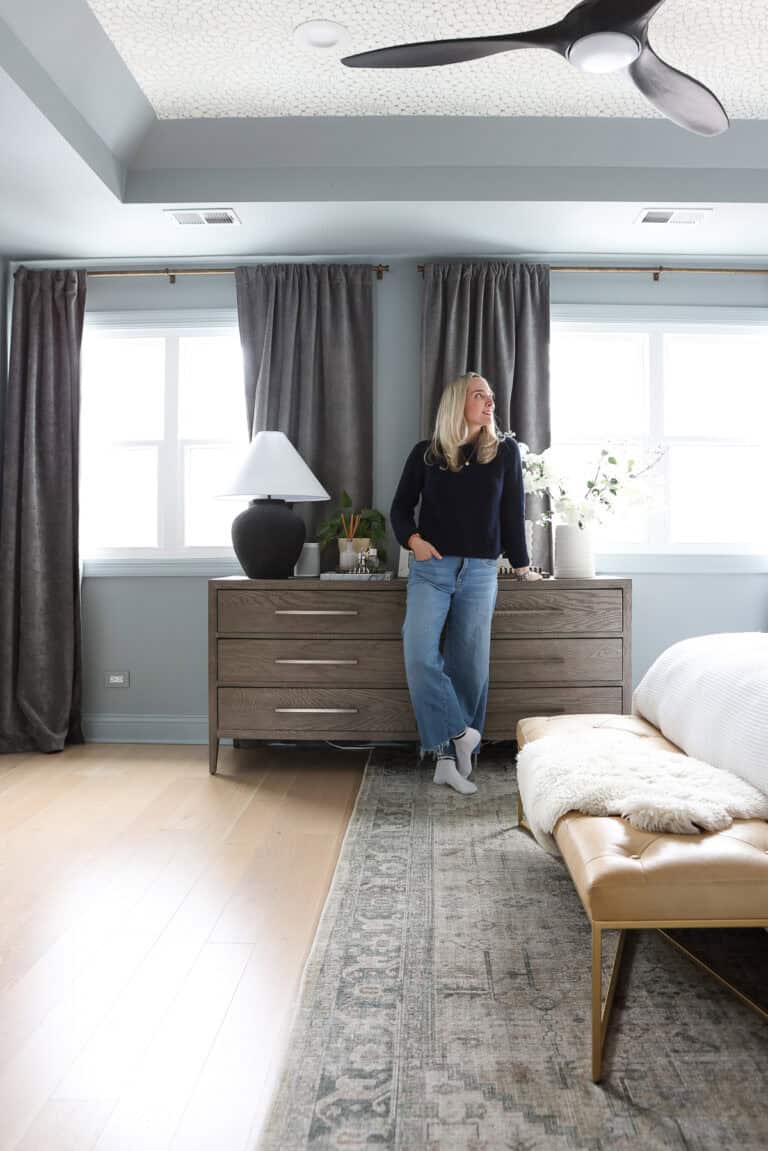
Basement Updates – Caulking & Paint Prep
On Wednesday, I shared the latest addition to our basement – our new shiplap wall! It looks fantastic and really adds a lot to the entire space. Besides that big project, I’ve been doing a lot of other smaller projects to get the basement ready for paint and furniture.
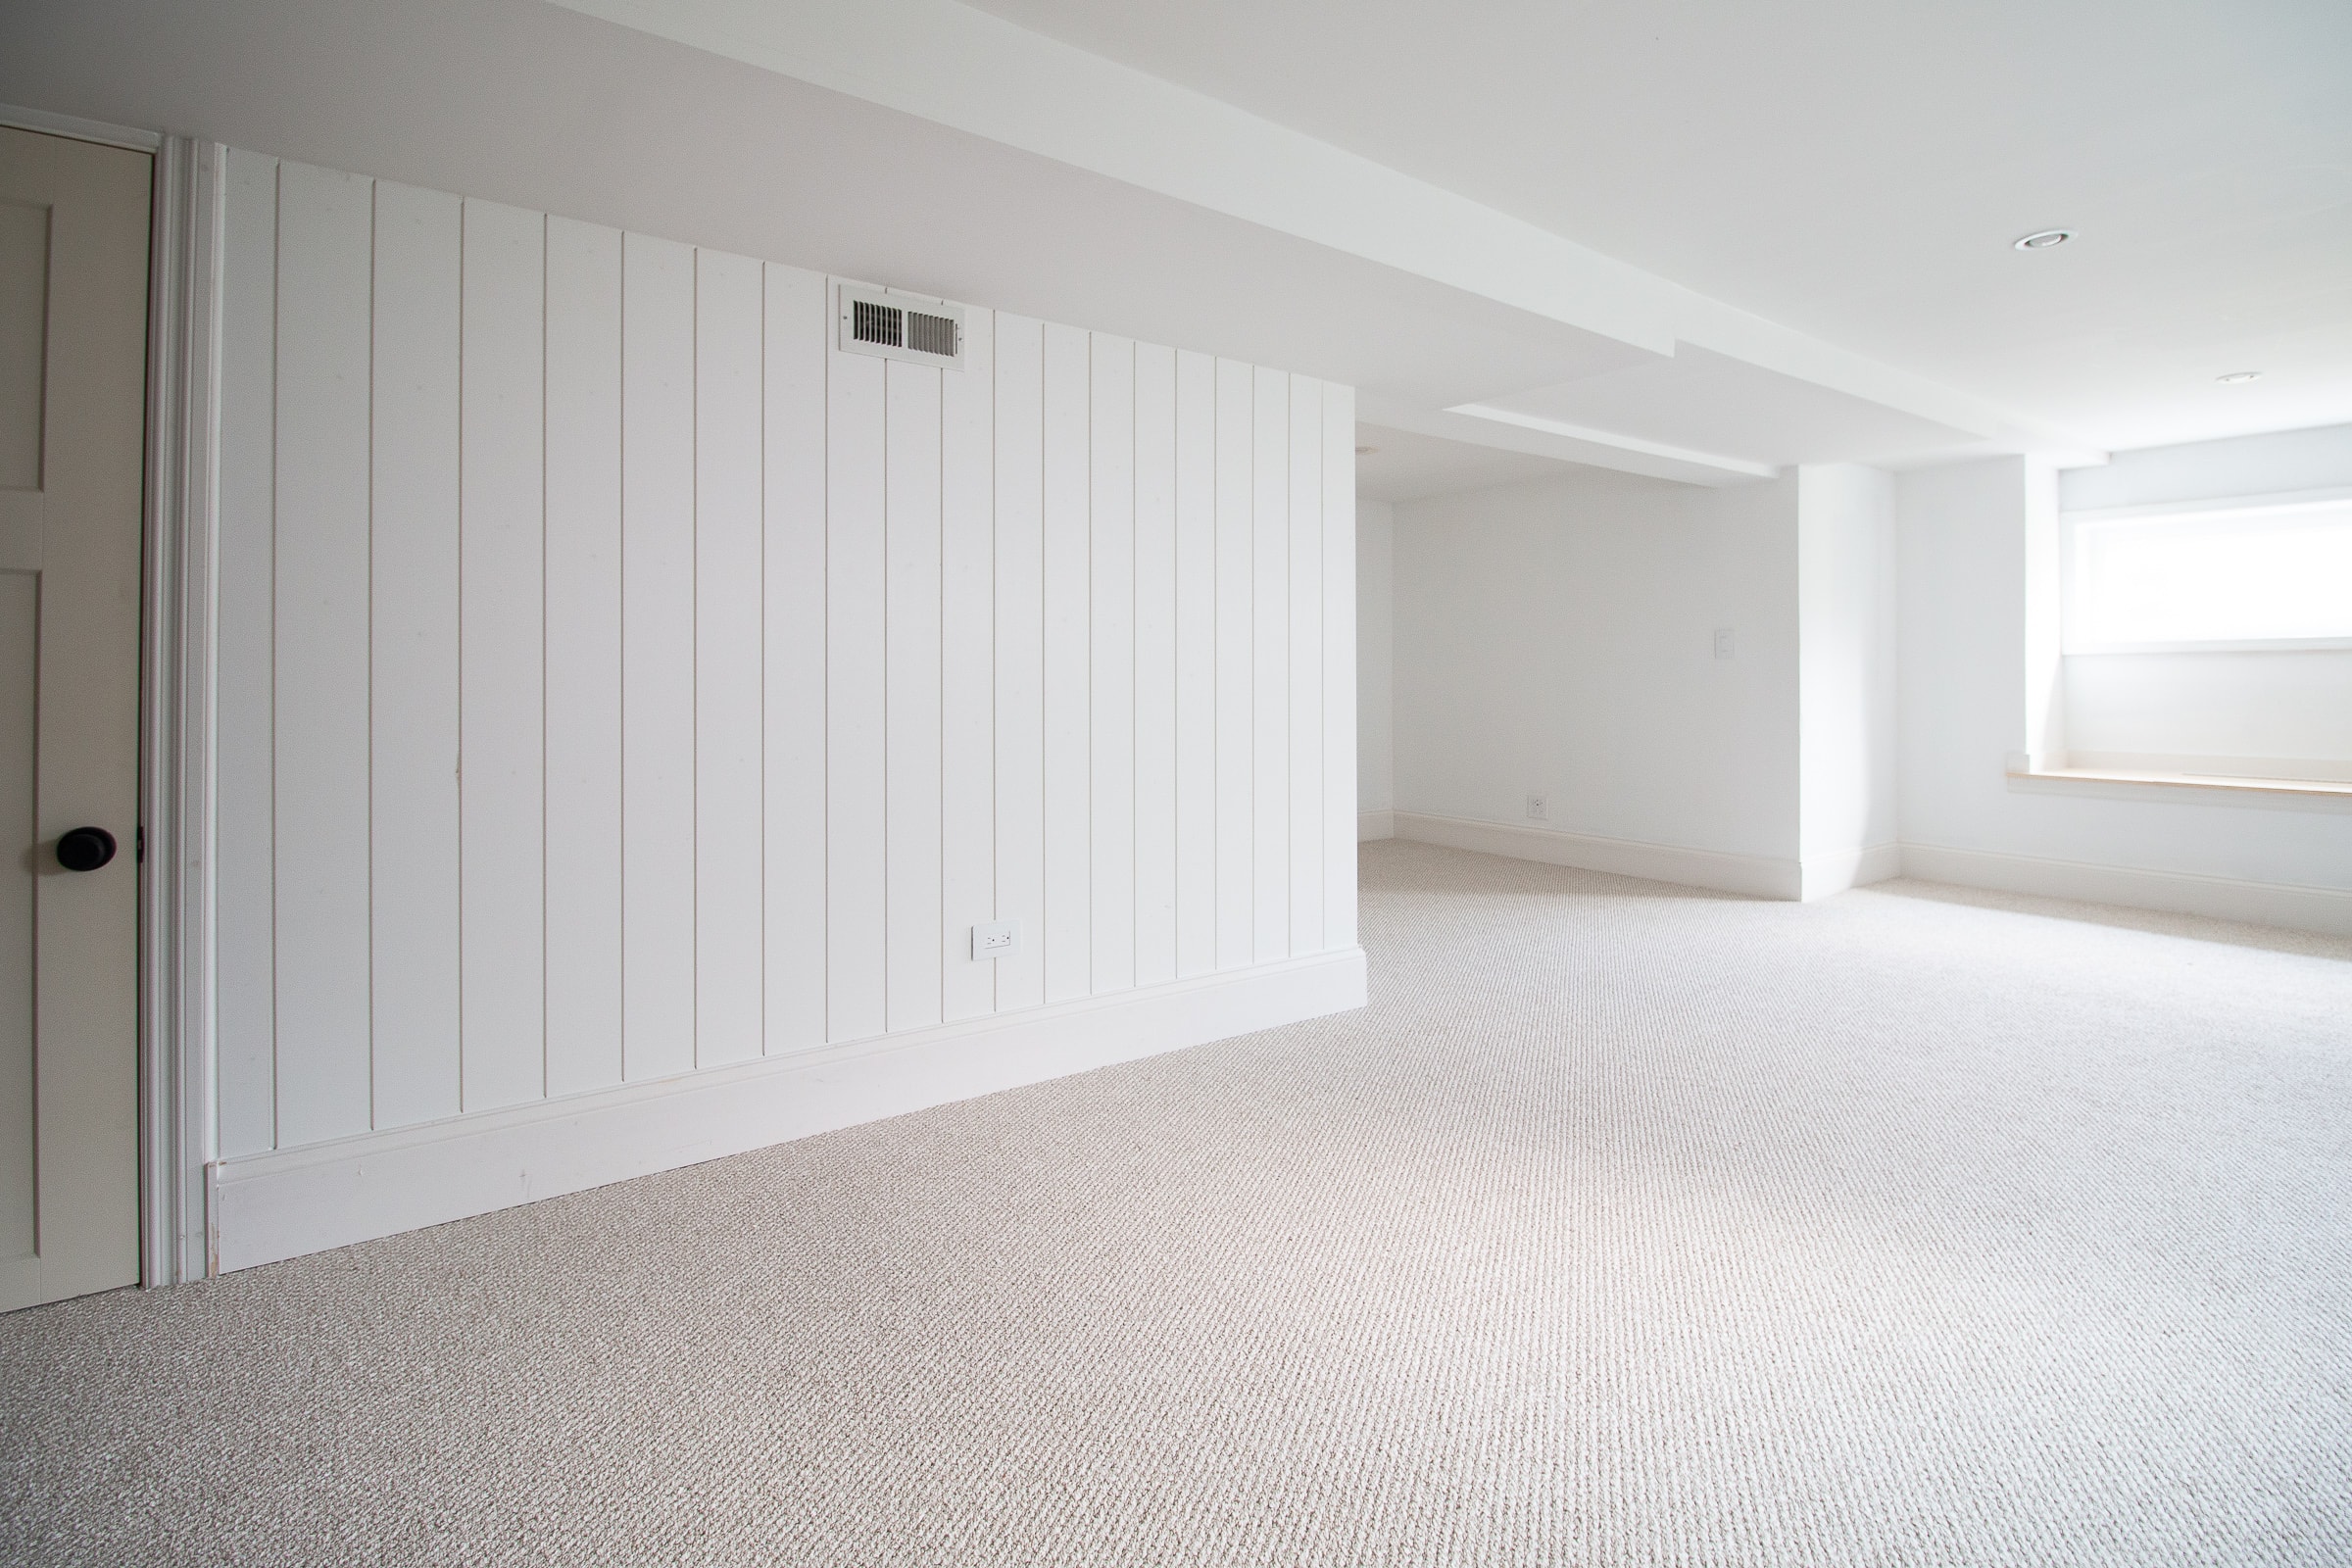
In order to save money, I told our contractor that I could handle all of the finishing work in the space, including caulking, filling nail holes, priming surfaces, and then eventually painting everything myself. This saved us about two to three thousand dollars!
On paper, it doesn’t sound like that much work. In reality, it’s actually been a lot of time-consuming work. Not difficult work, but time-consuming work! Today, I wanted to walk through each of these tasks and share my best tips for each one. These are all good home improvement skills to have, so I’m hopeful that you’ll learn something today!
My Best Caulking Tips
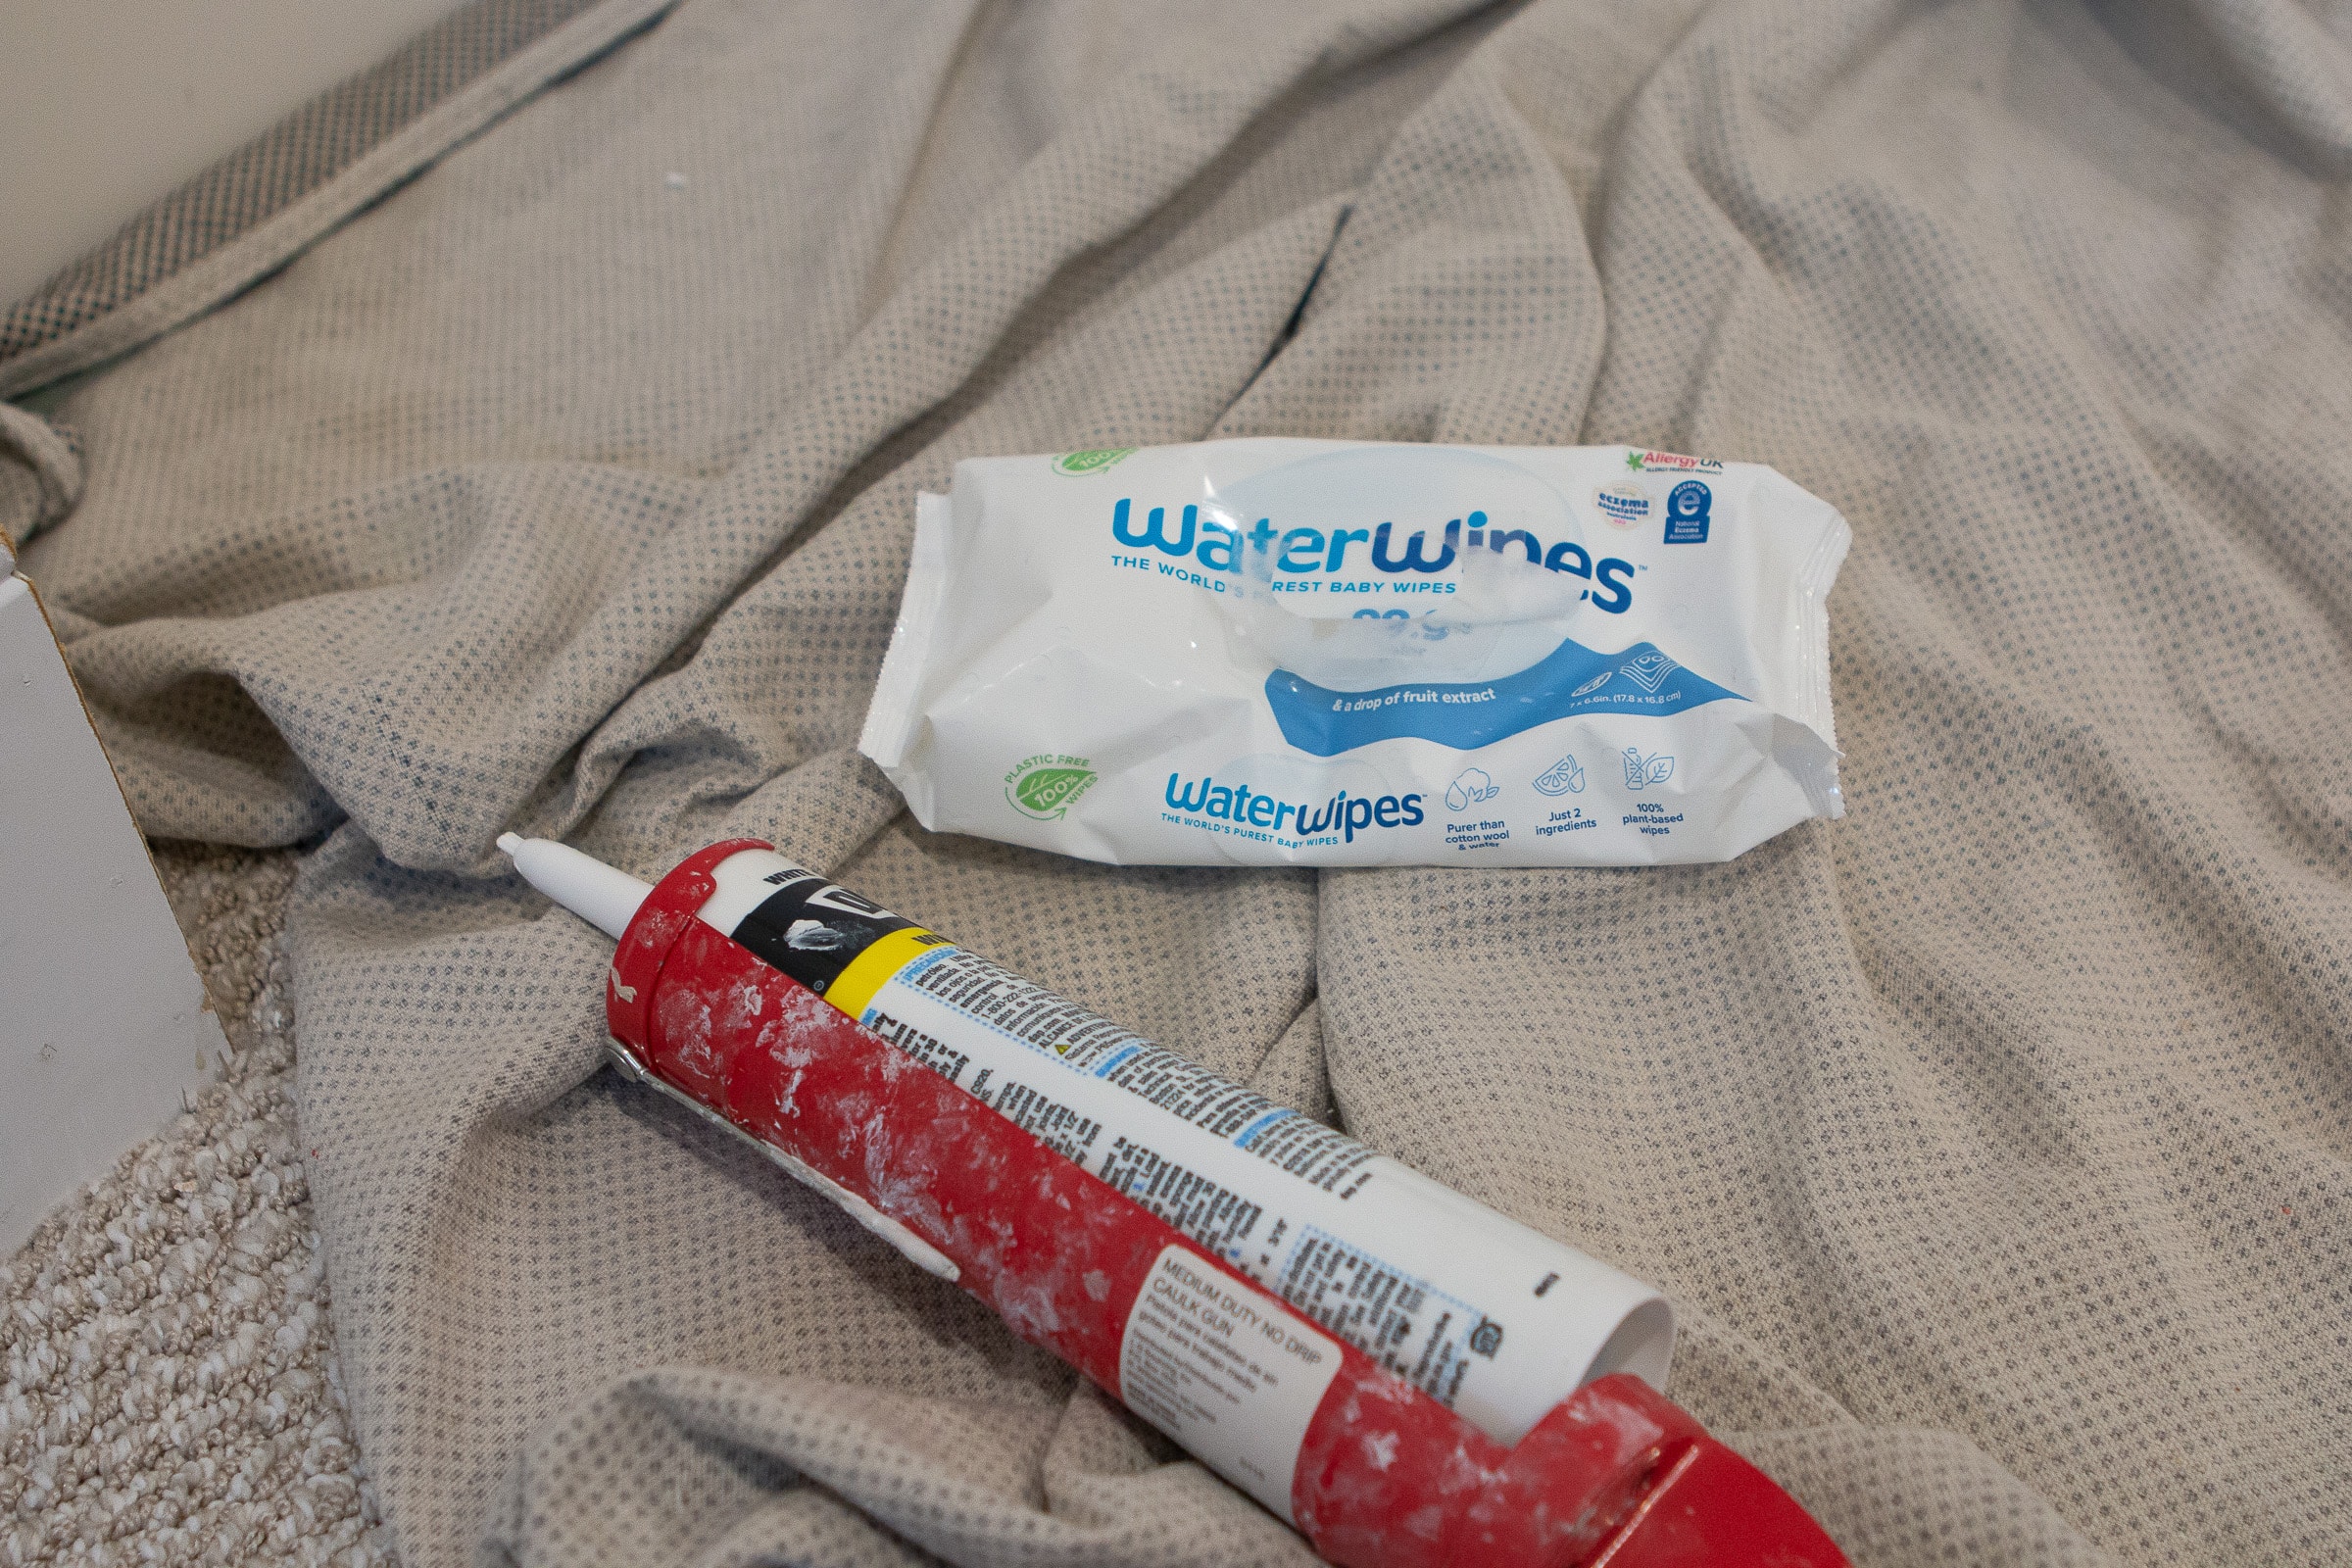
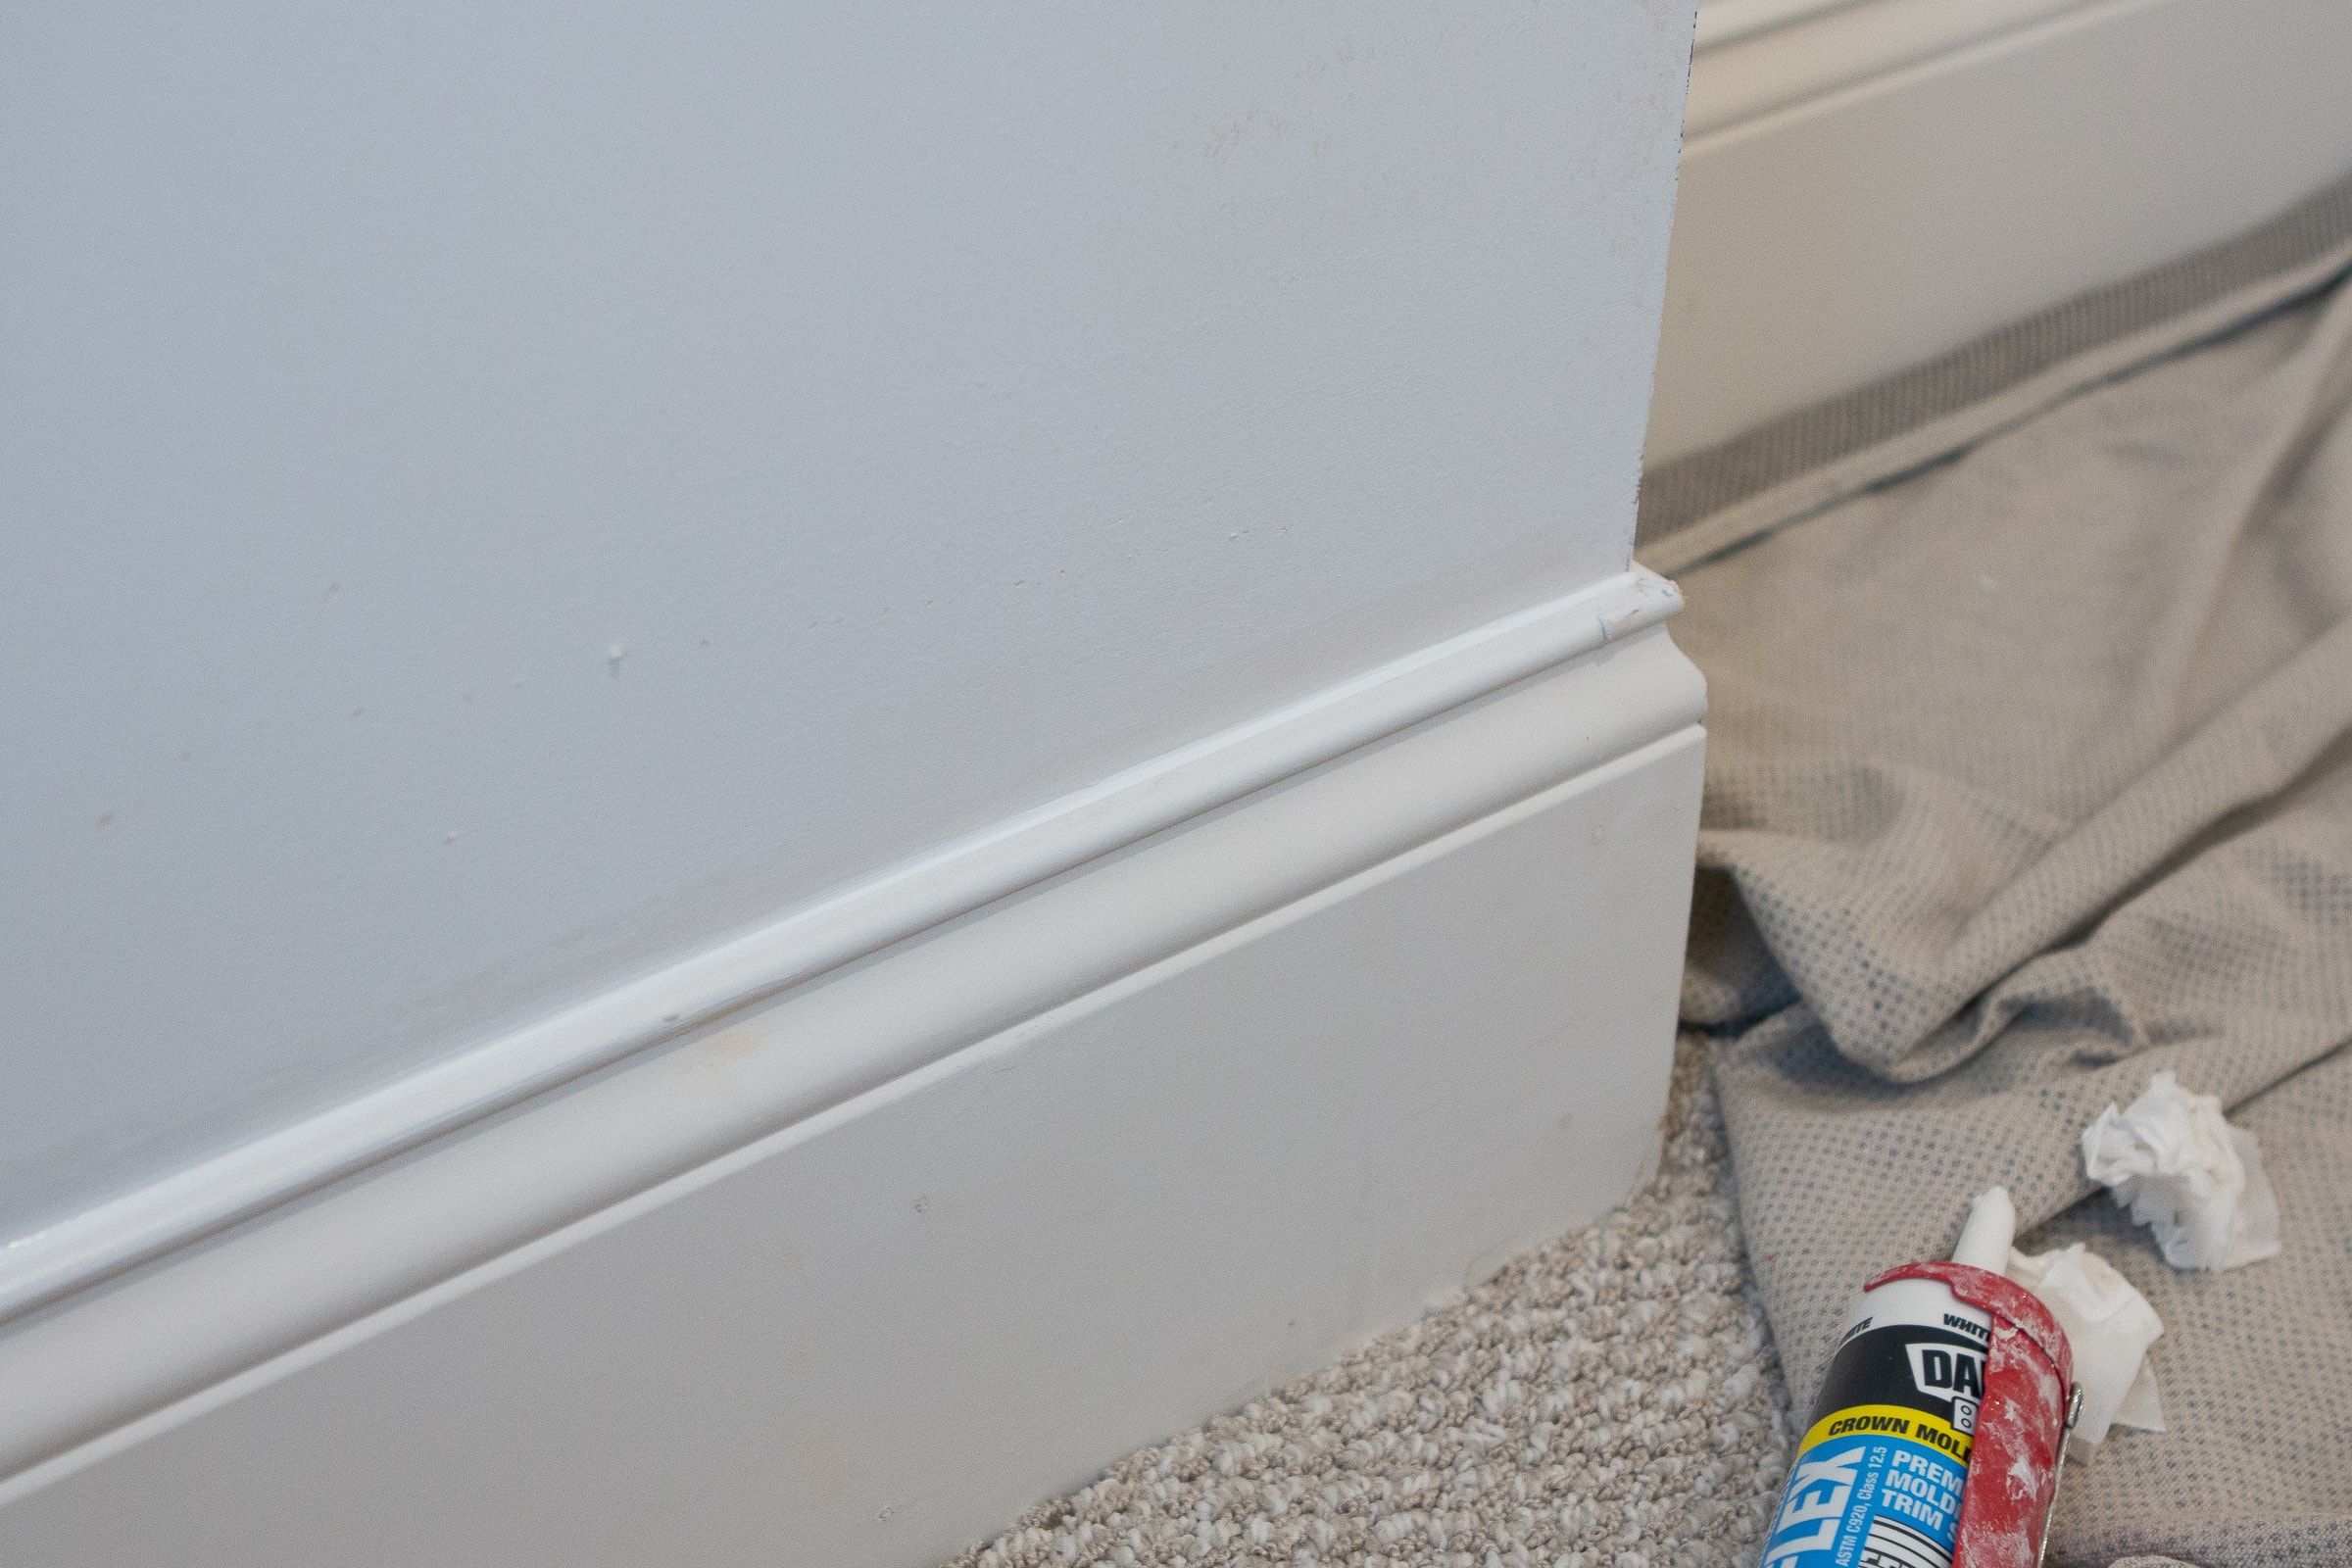
Okay, first let’s talk all about caulk. When it comes to woodworking, you want to caulk every seam where the wood meets a new plane. I’m talking about the top of a baseboard, the corners where two pieces meet, the edges of the casing, etc. It’s actually a heck of a lot of caulk! Caulking is actually one of my favorite parts of a project because it gives every space a finished look and hides imperfections. Seams and any bad cuts disappear! It’s not a step you want to skip, trust me!
Now, there are two main kinds of caulk – acrylic and silicone. When it comes to wood, you want to use acrylic. For a project that needs to be waterproofed, like a bathroom or kitchen, silicone caulk is the way to go. Here’s a tutorial for a kitchen backsplash and another to re-caulk your bathtub. Silicone caulk is not paintable, but it comes in various colors, along with clear. It is harder to work with than acrylic and it’s messy.
Here are my best acrylic caulking tips…
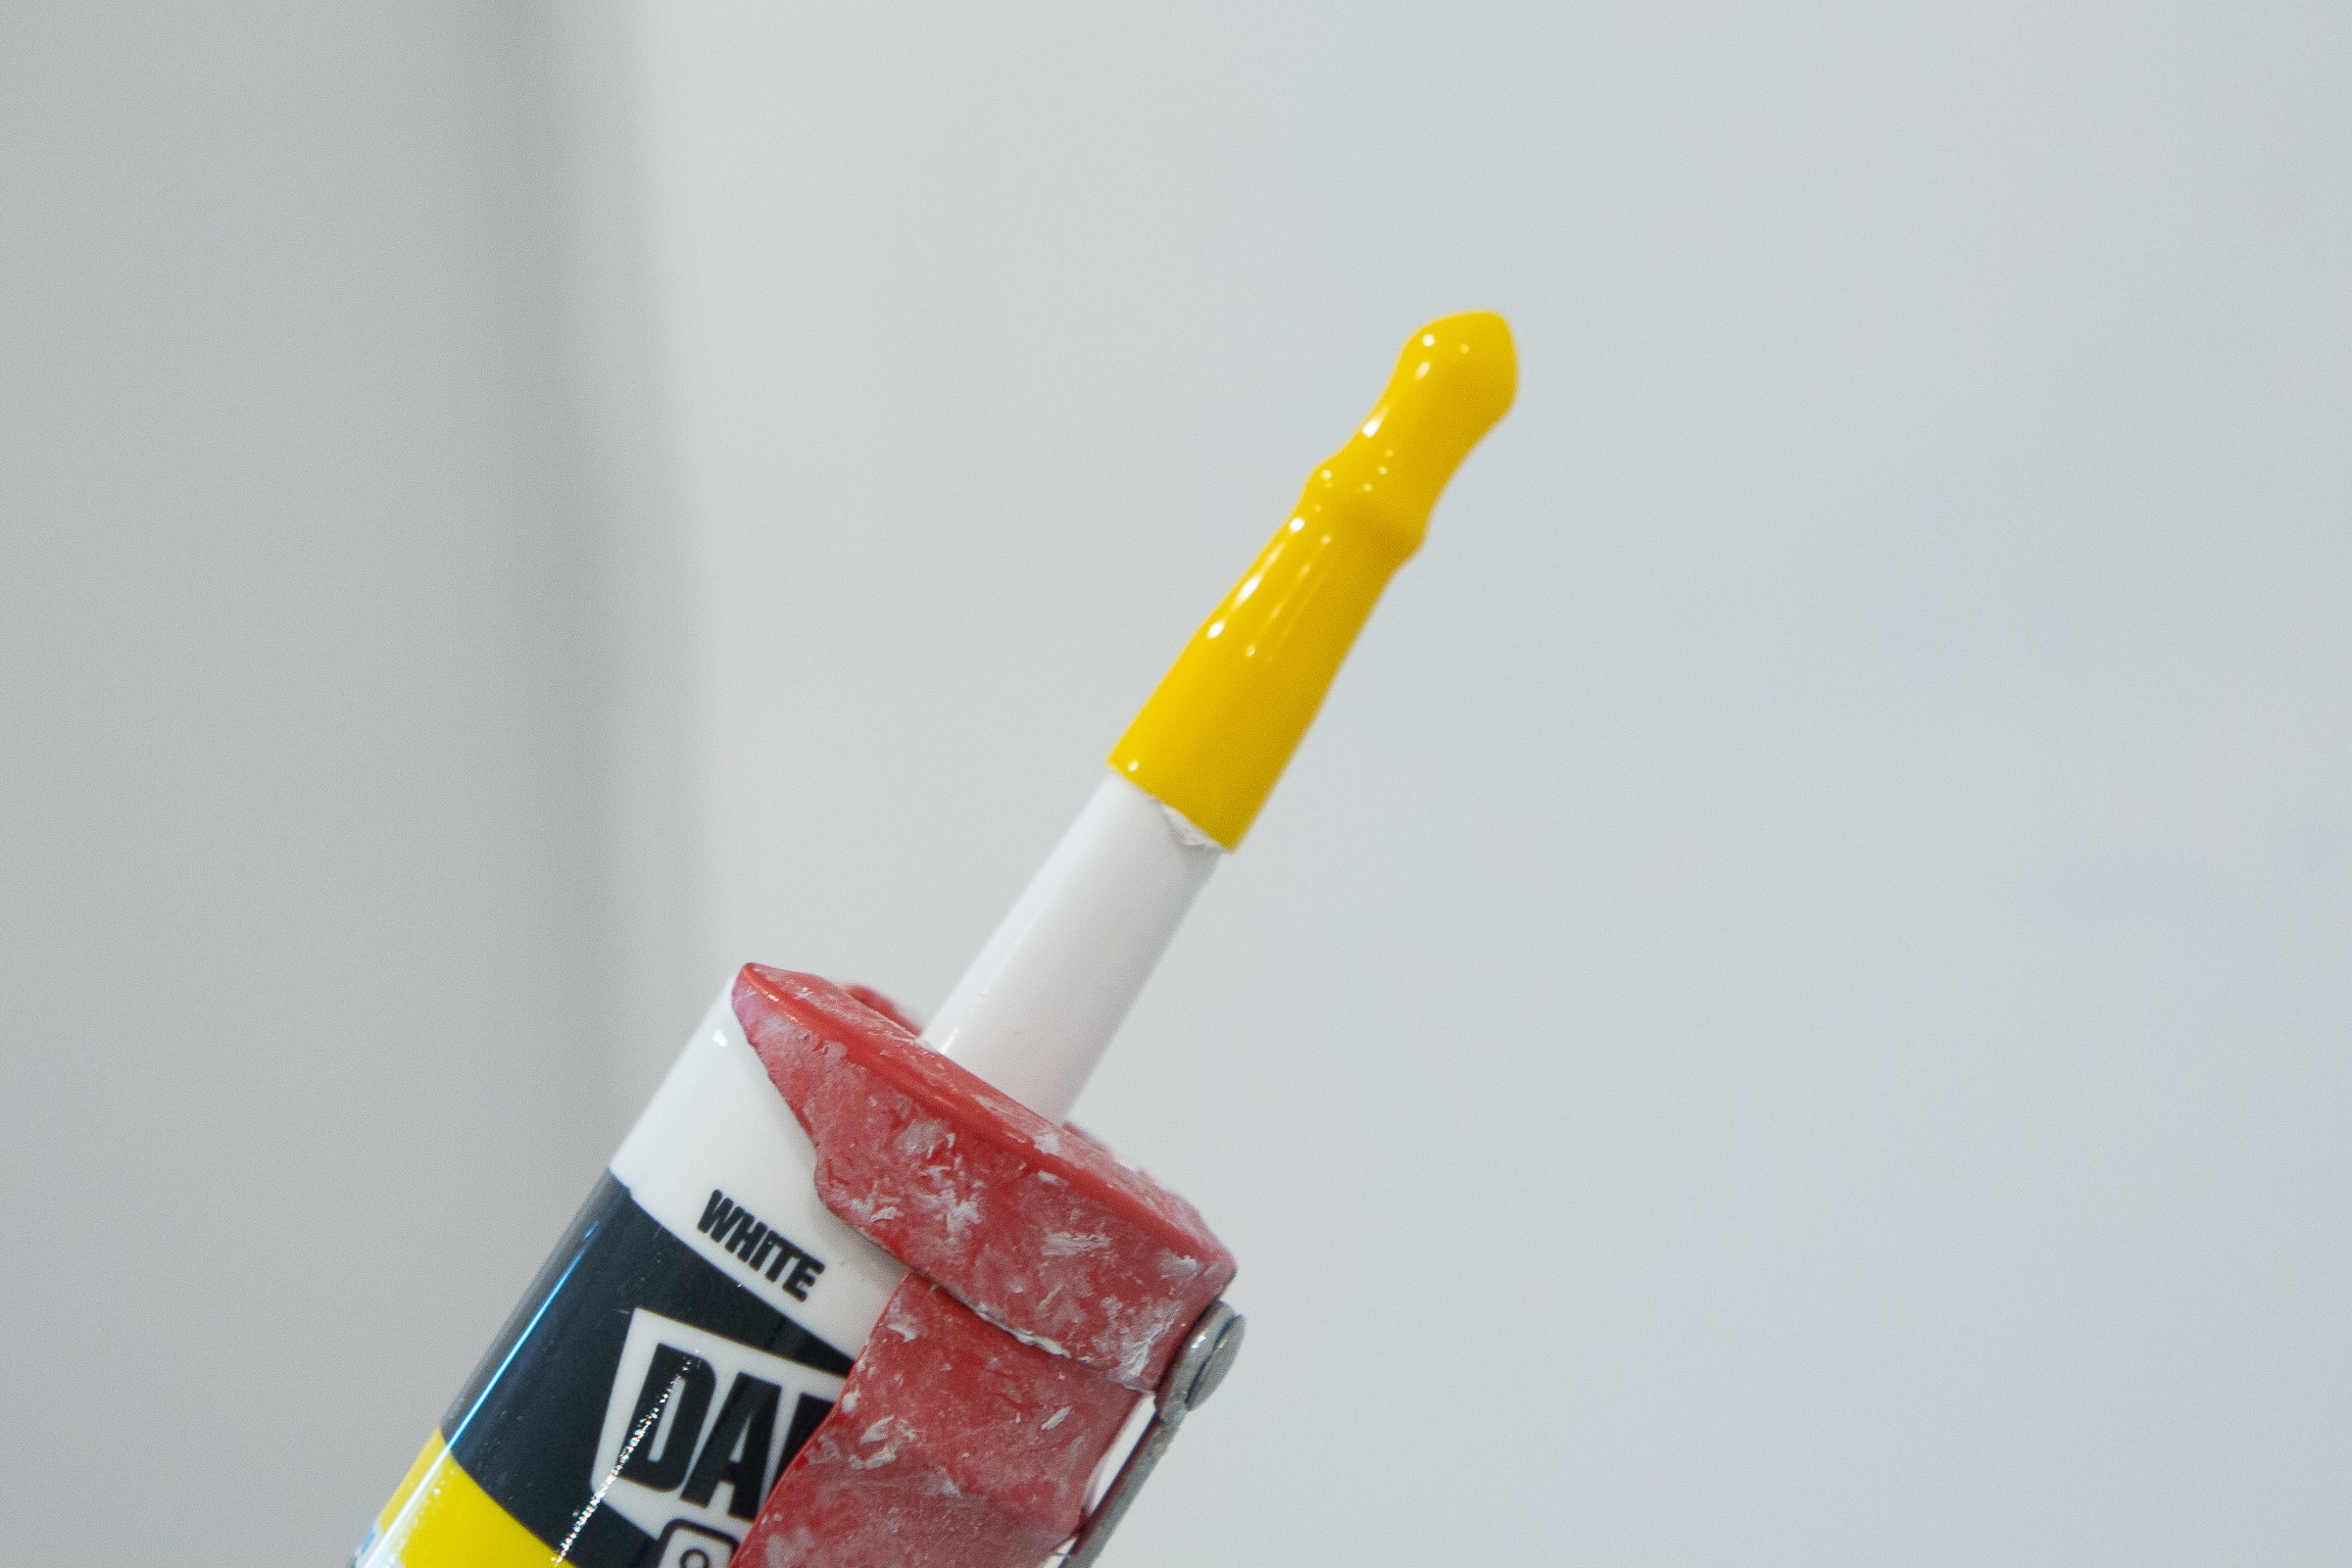
- Use the caulk gun to open the tube of caulk. It has a pointy thing on it and you just stick that in the hole to break the seal of the tube.
- This is my favorite brand of acrylic caulk for woodworking projects.
- Caulk guns have a tool built on them to cut the tube. It’s the little hole right by the trigger. Put the caulk tip in there, clamp it down, and it cuts it for you! No scissors are needed.
- If you look closely, there are measurements right on the nozzle of most brands of caulk based on how thick you want your caulk line to be. I like to cut to the 1/4-inch mark.
- Use baby wipes! They are my secret weapon when it comes to caulking. I work in three to five-foot sections and keep the caulk gun moving, while I place a finger with a baby wipe right behind that bead of caulk. It smooths it down and the wetness prevents the caulk from pulling up or sticking to you.
- I use this little tool to save the remainder of the caulk for another project down the road. They’re inexpensive and they work wonderfully to keep caulk fresh!
As mentioned, acrylic caulk is paintable, so you want to do this step before you paint! Once I paint everything down here, you won’t even notice any caulk lines.
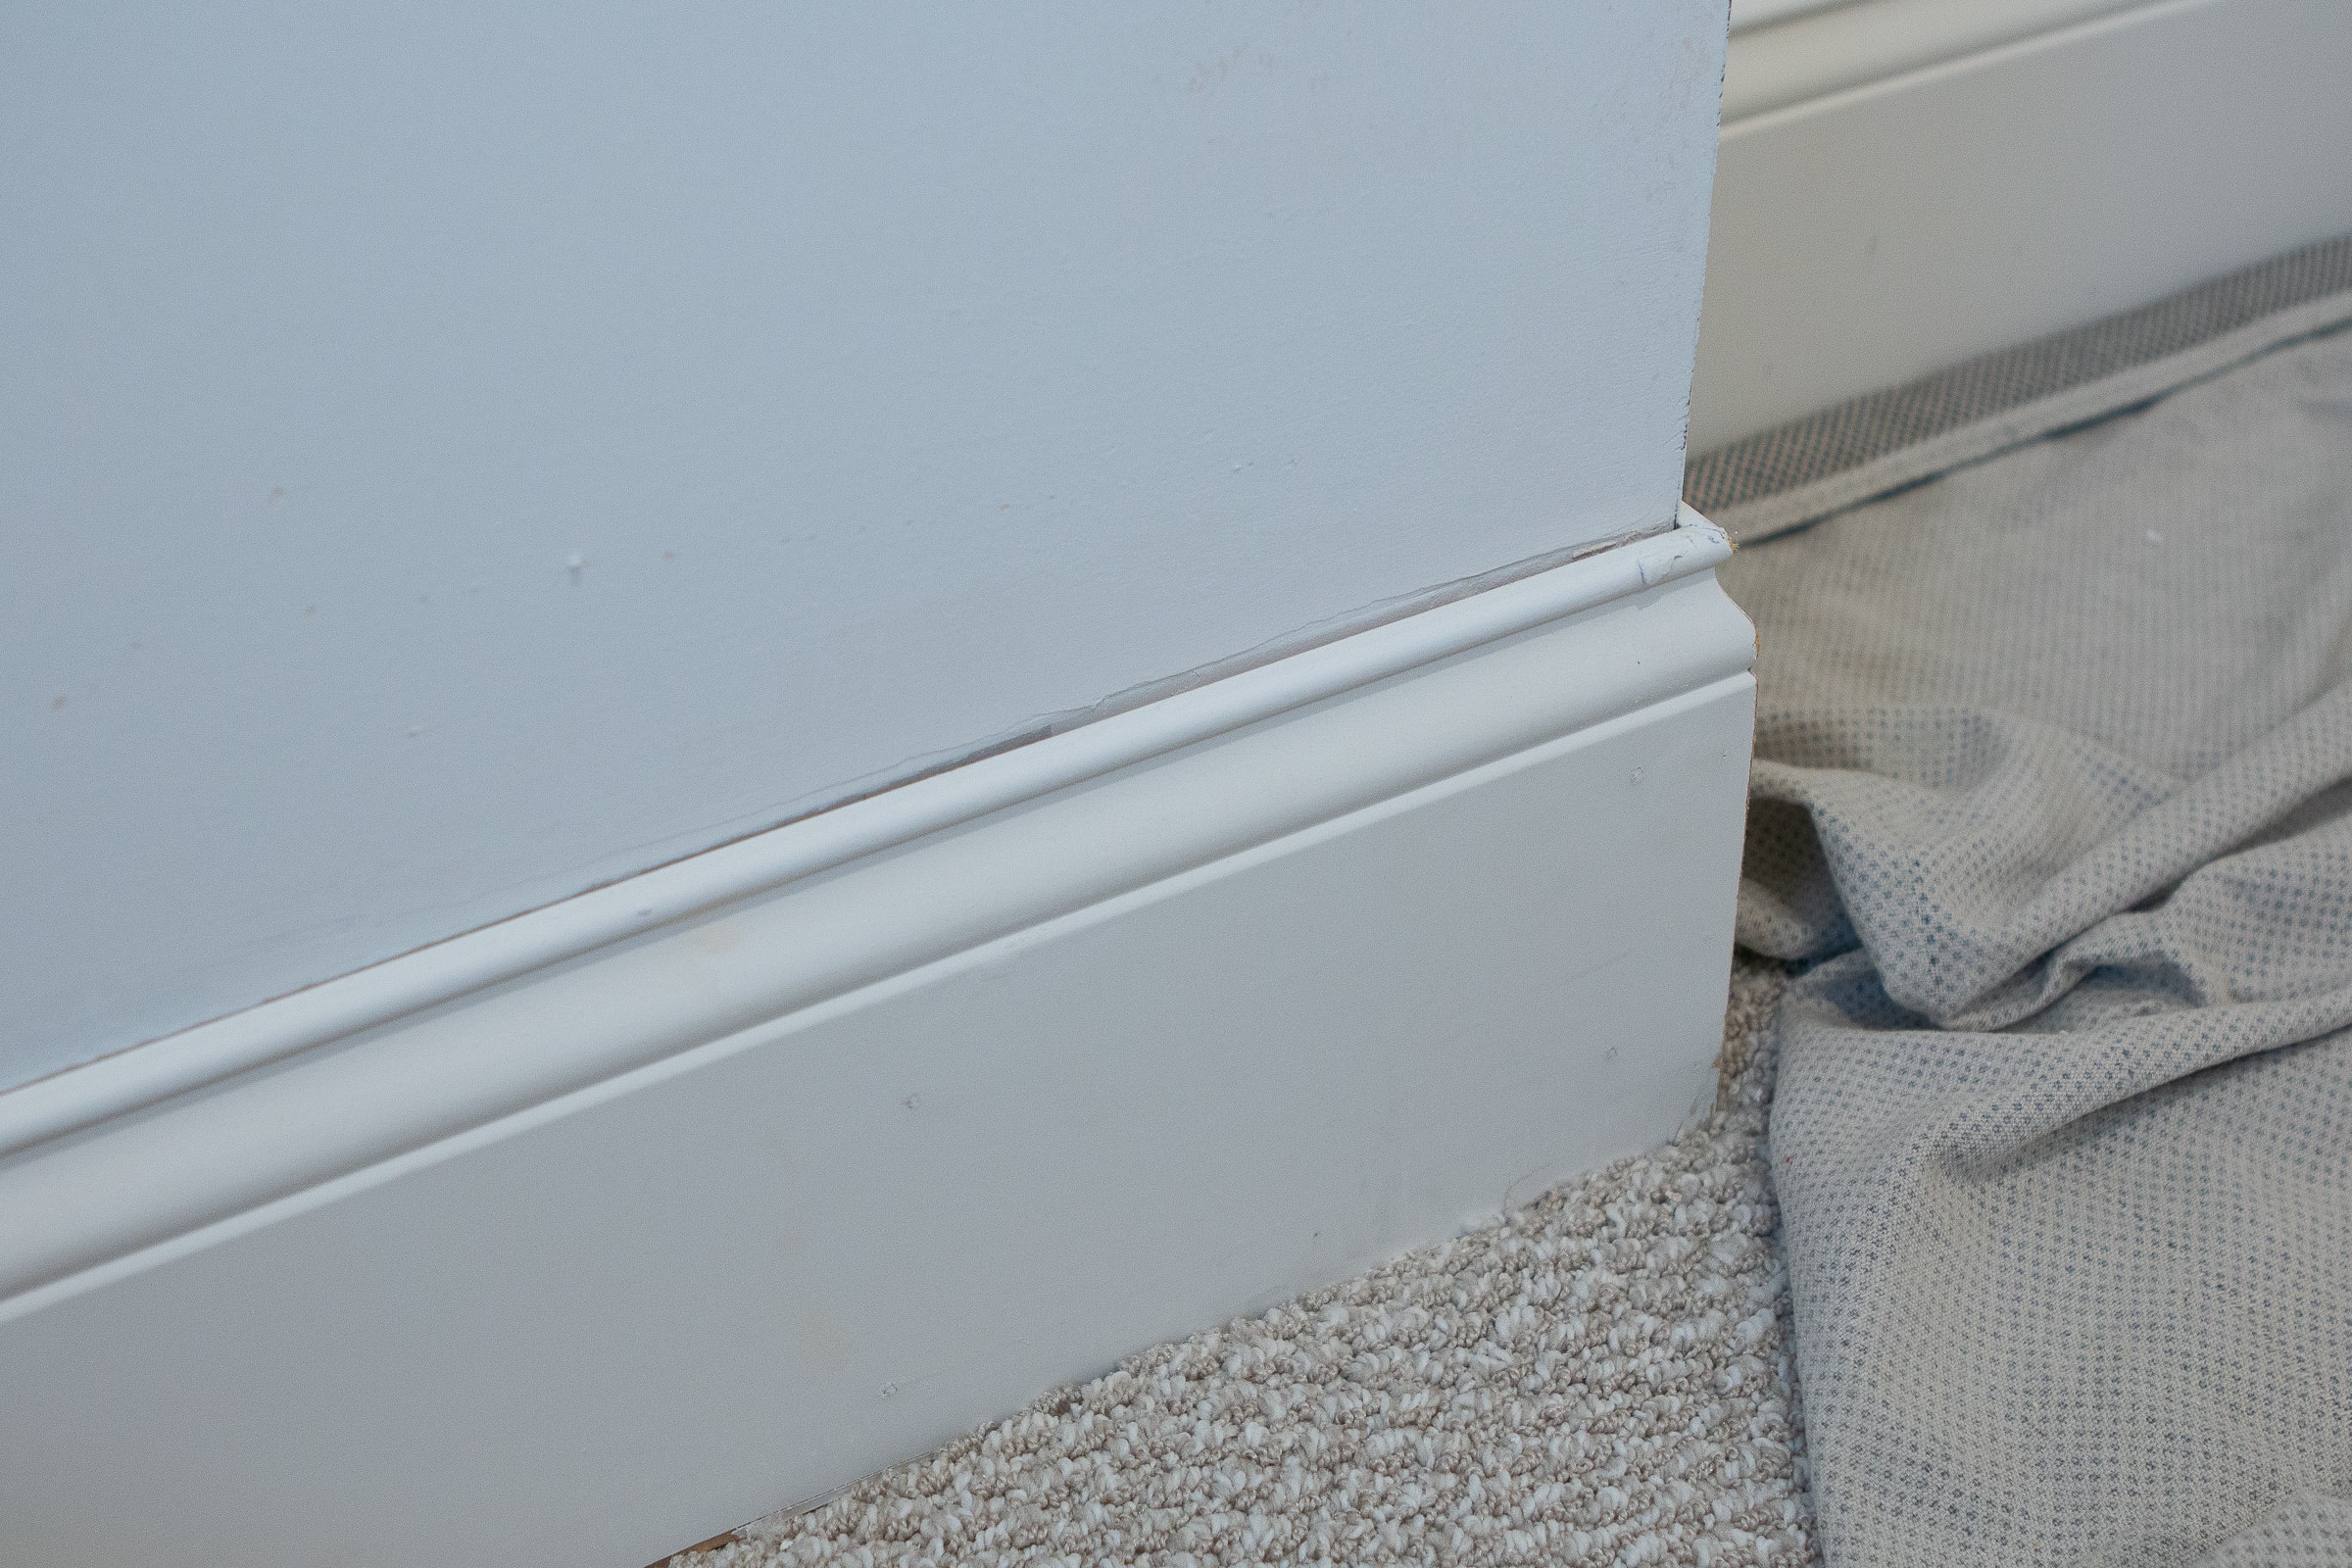
How To Fill Nail Holes
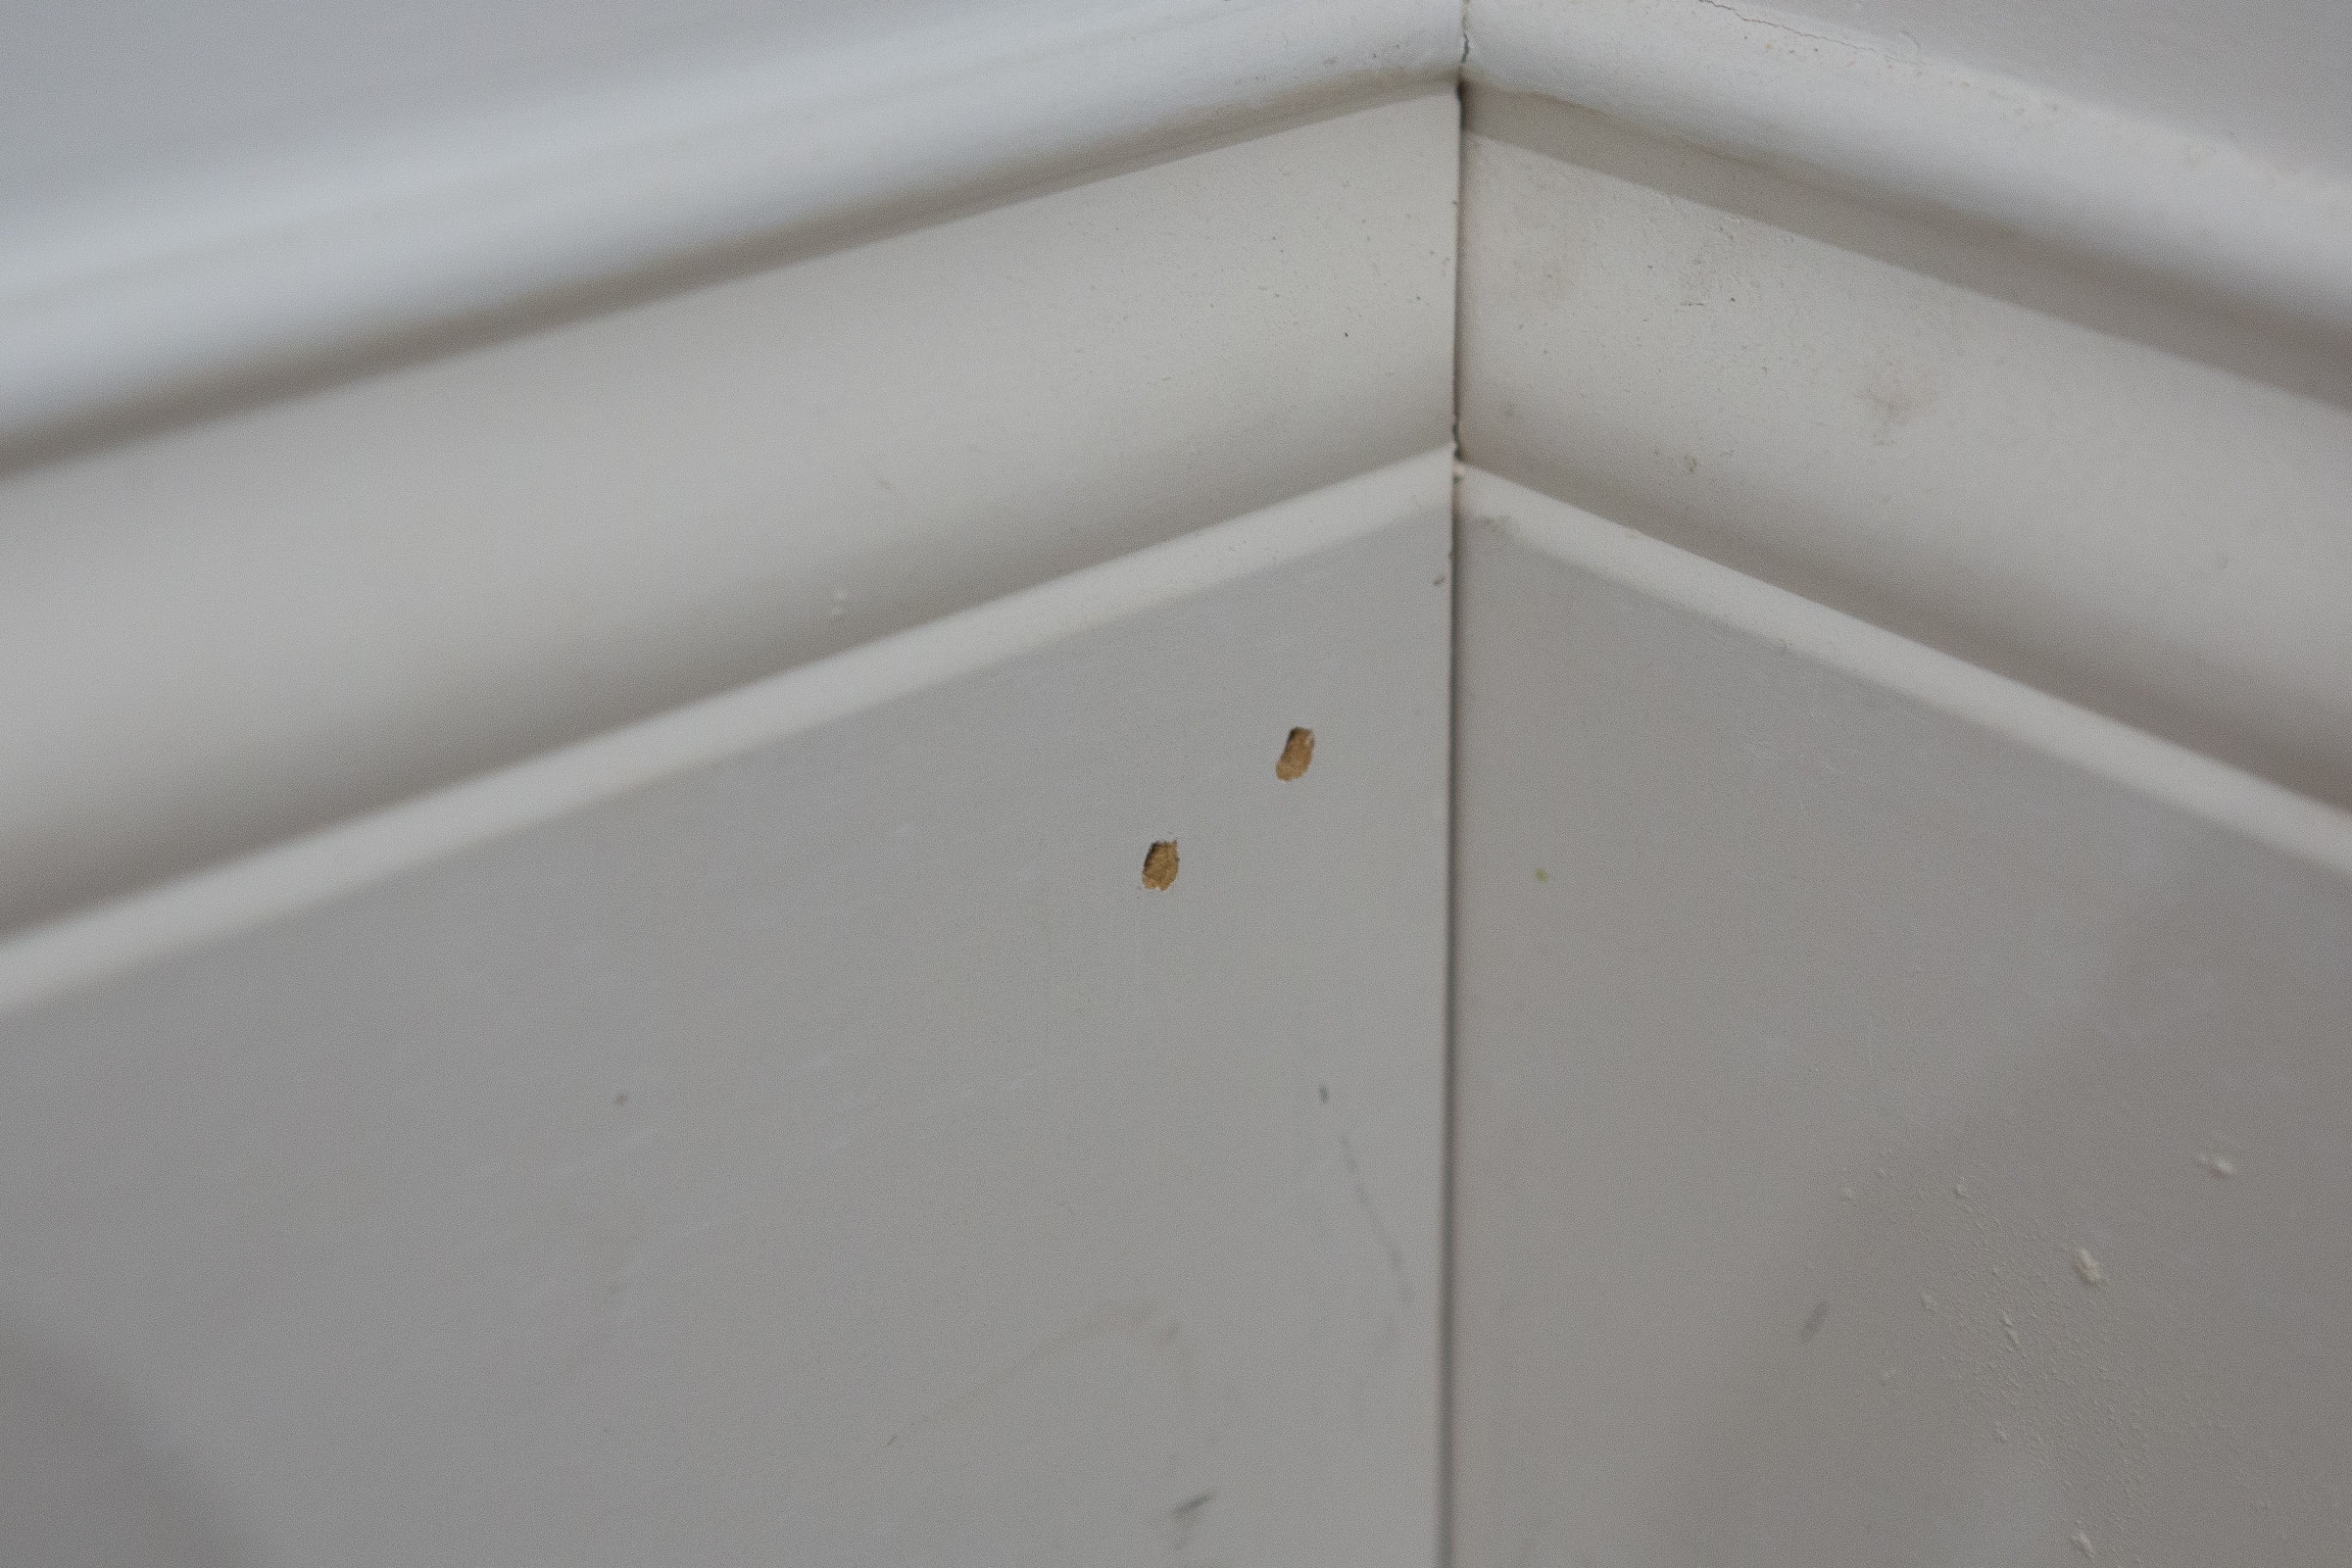
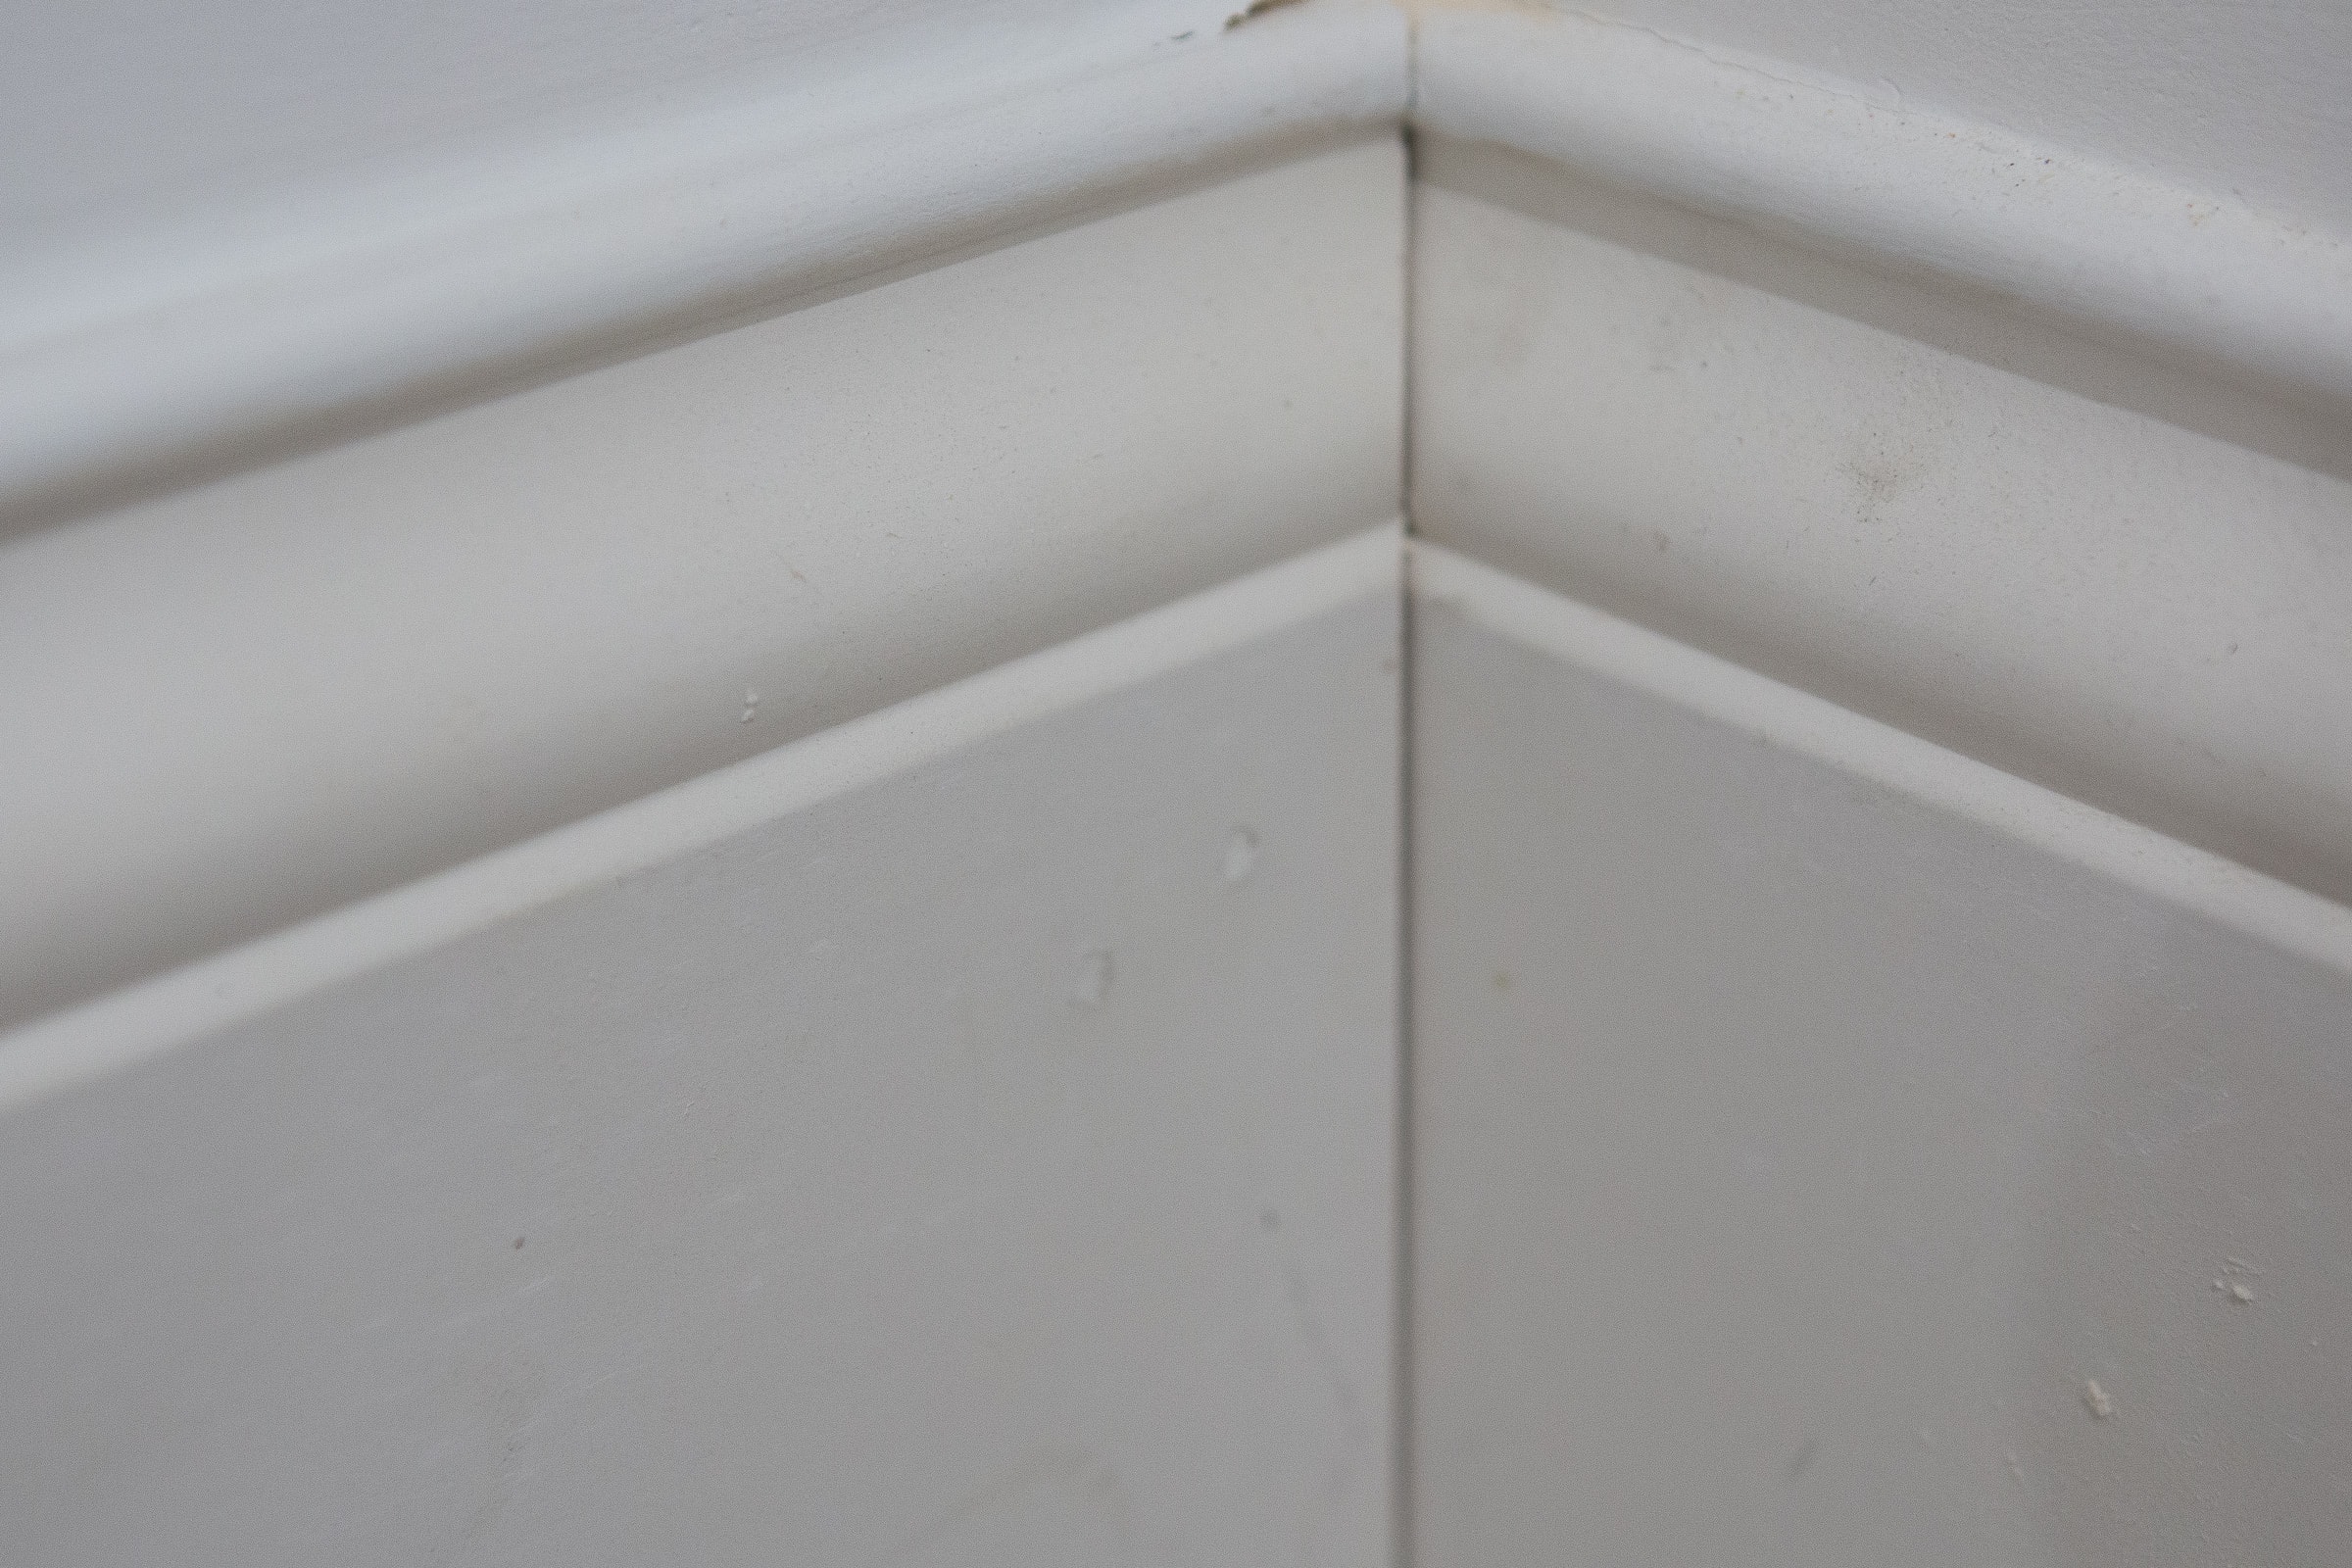
My next basement task was filling nail holes. There were a bunch of them in my casing, baseboards, and the shiplap, where each piece of wood was attached to the wall. The good news is it’s super easy to fill nail holes and once everything is painted, you can’t even see them!

Personally, I like to use painter’s putty to get the job done. I roll it into a small ball and then smoosh it into each hole almost like I’m using an eraser. As it dries, it can sometimes shrink, so don’t be afraid to overfill. Or, you can wait until it dries, sand it down, and then add some more. You’ll then want to sand, wipe the dust, and paint over it. I did this around our entire basement.
Prepping Walls & Casing For Paint
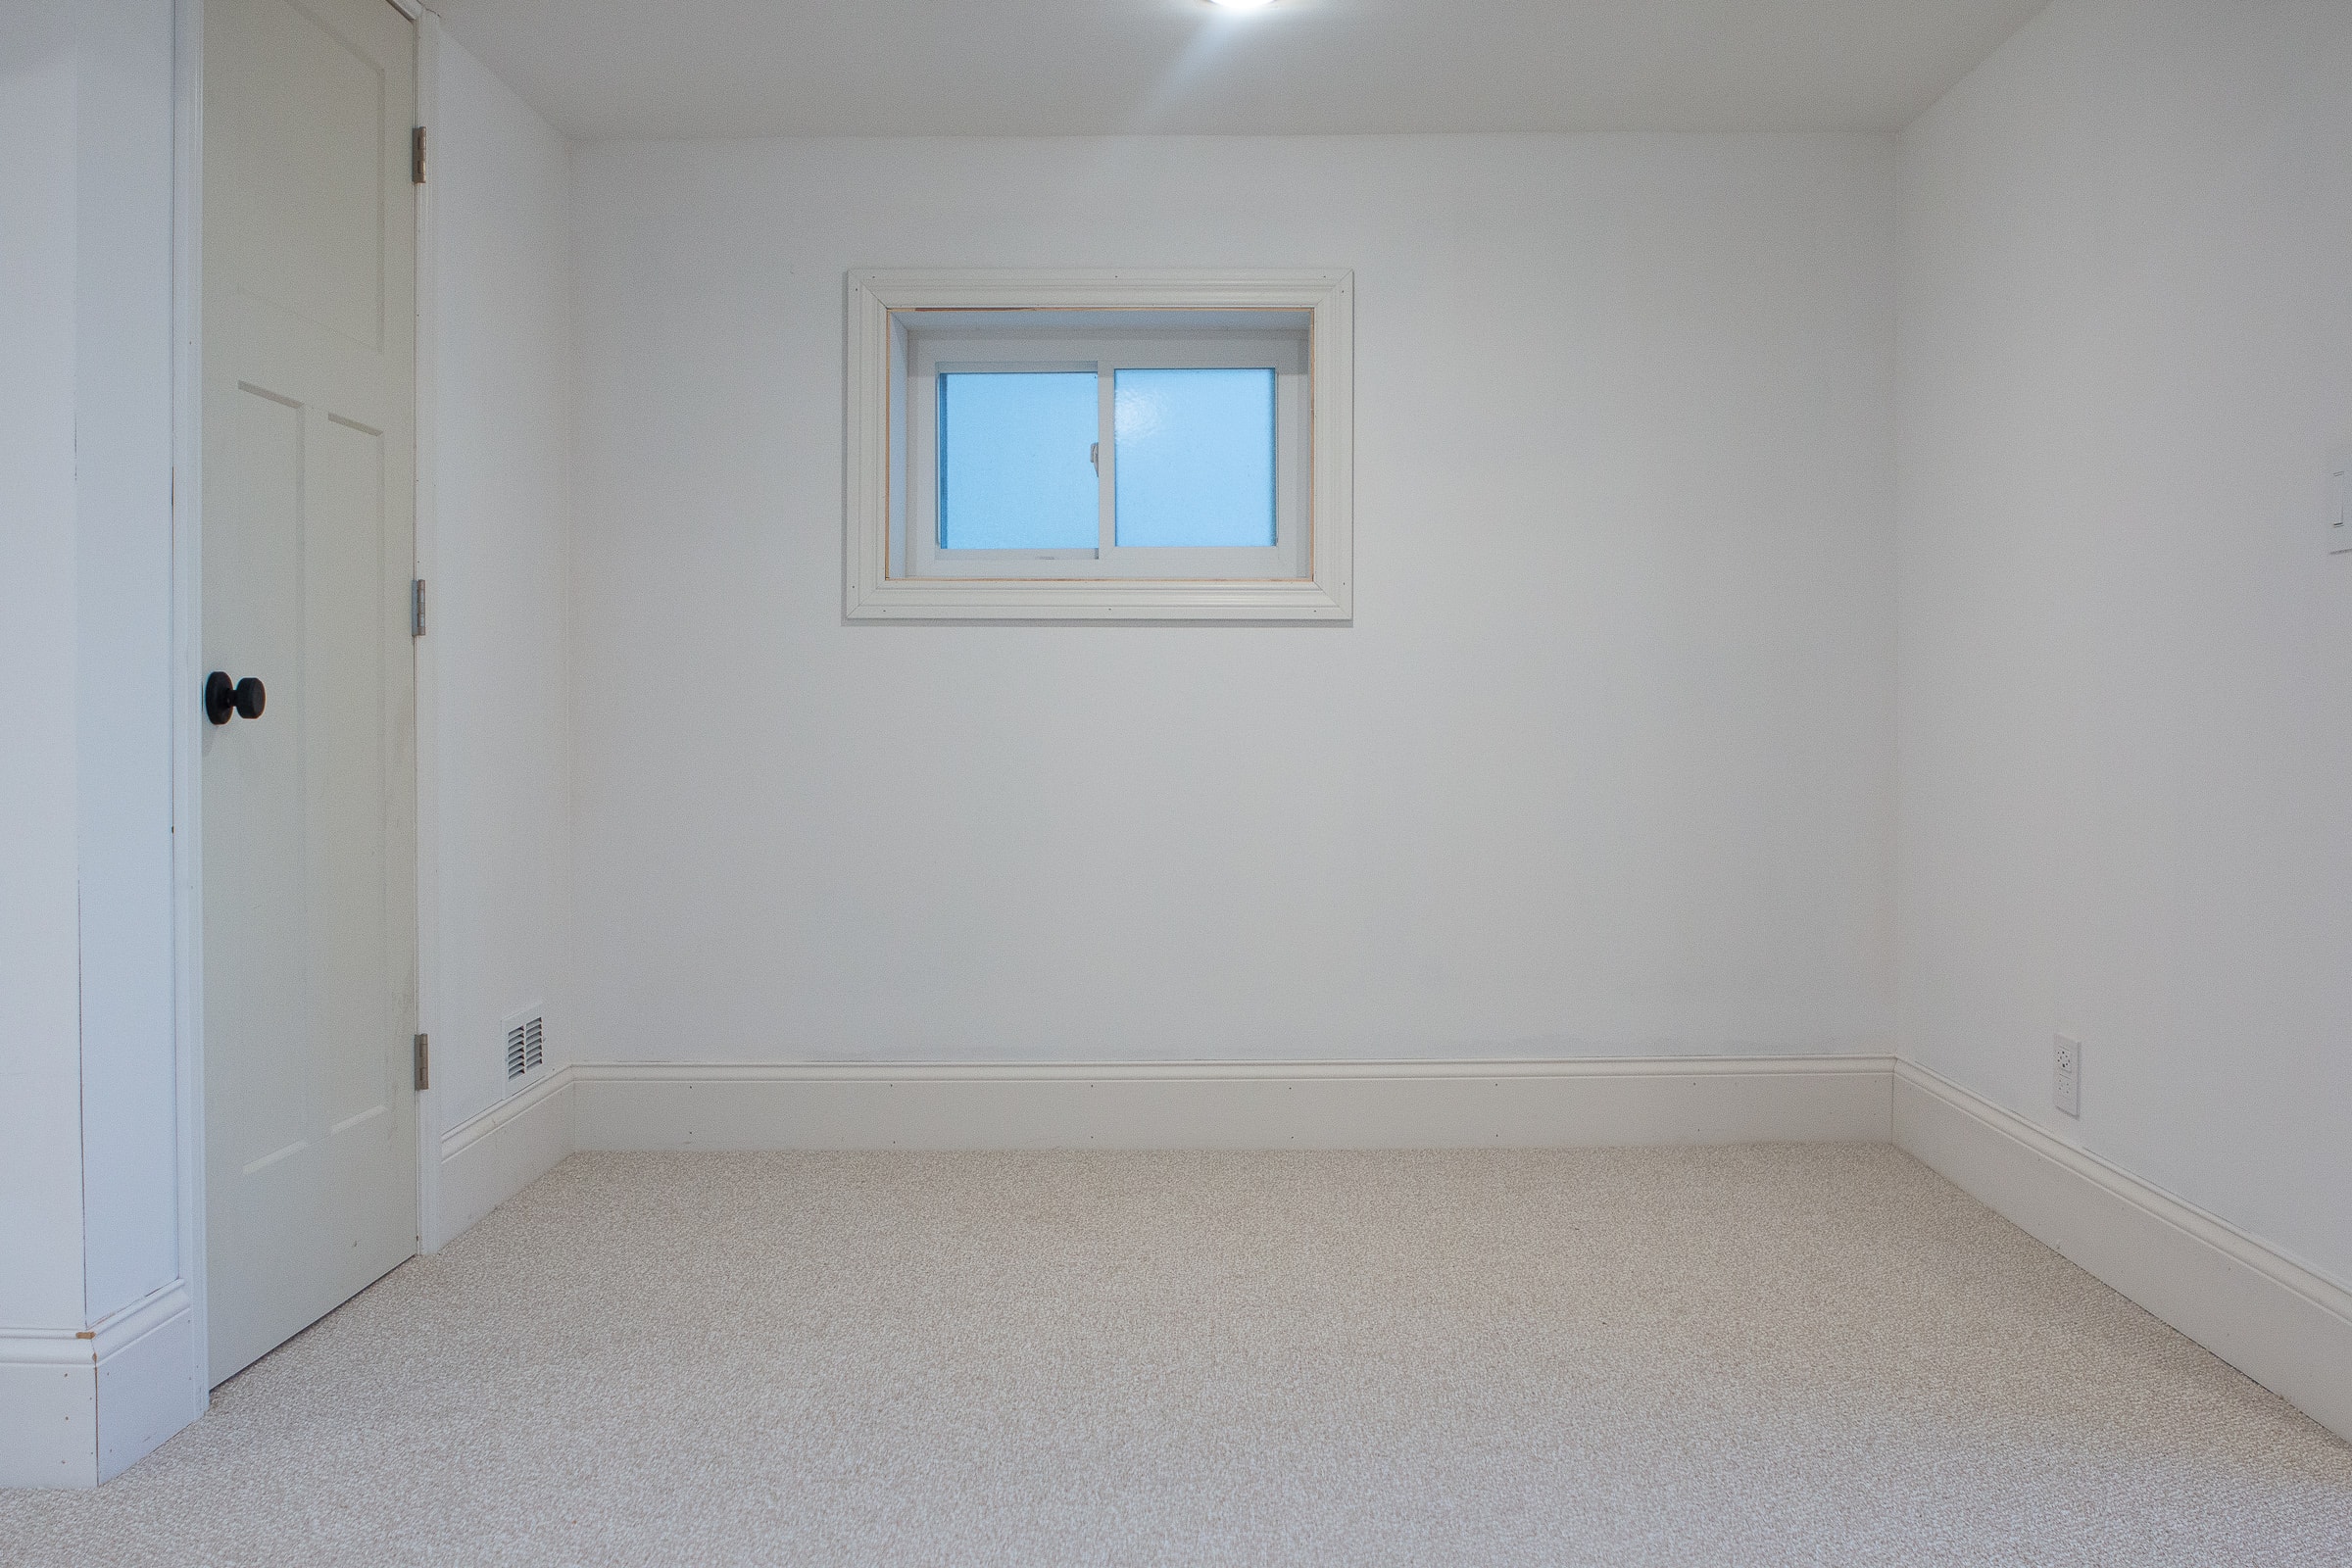
There were a bunch of nicks, dings, and scratches on the wall and window ledges in the basement that I needed to fix, prior to painting. On the drywall, I used this drywall spackle. It works well to fill any nicks and create a smooth surface. This blog post walks you through all of my best tips to use spackle to fill holes in drywall.
On the wood casing, I used wood filler. This works similarly to spackle, but it’s best on wood surfaces. Just spread it on, let it dry, and sand it down. Some of these areas needed two to three passes before they were really smooth and ready for primer.
How To Finish Off Plywood
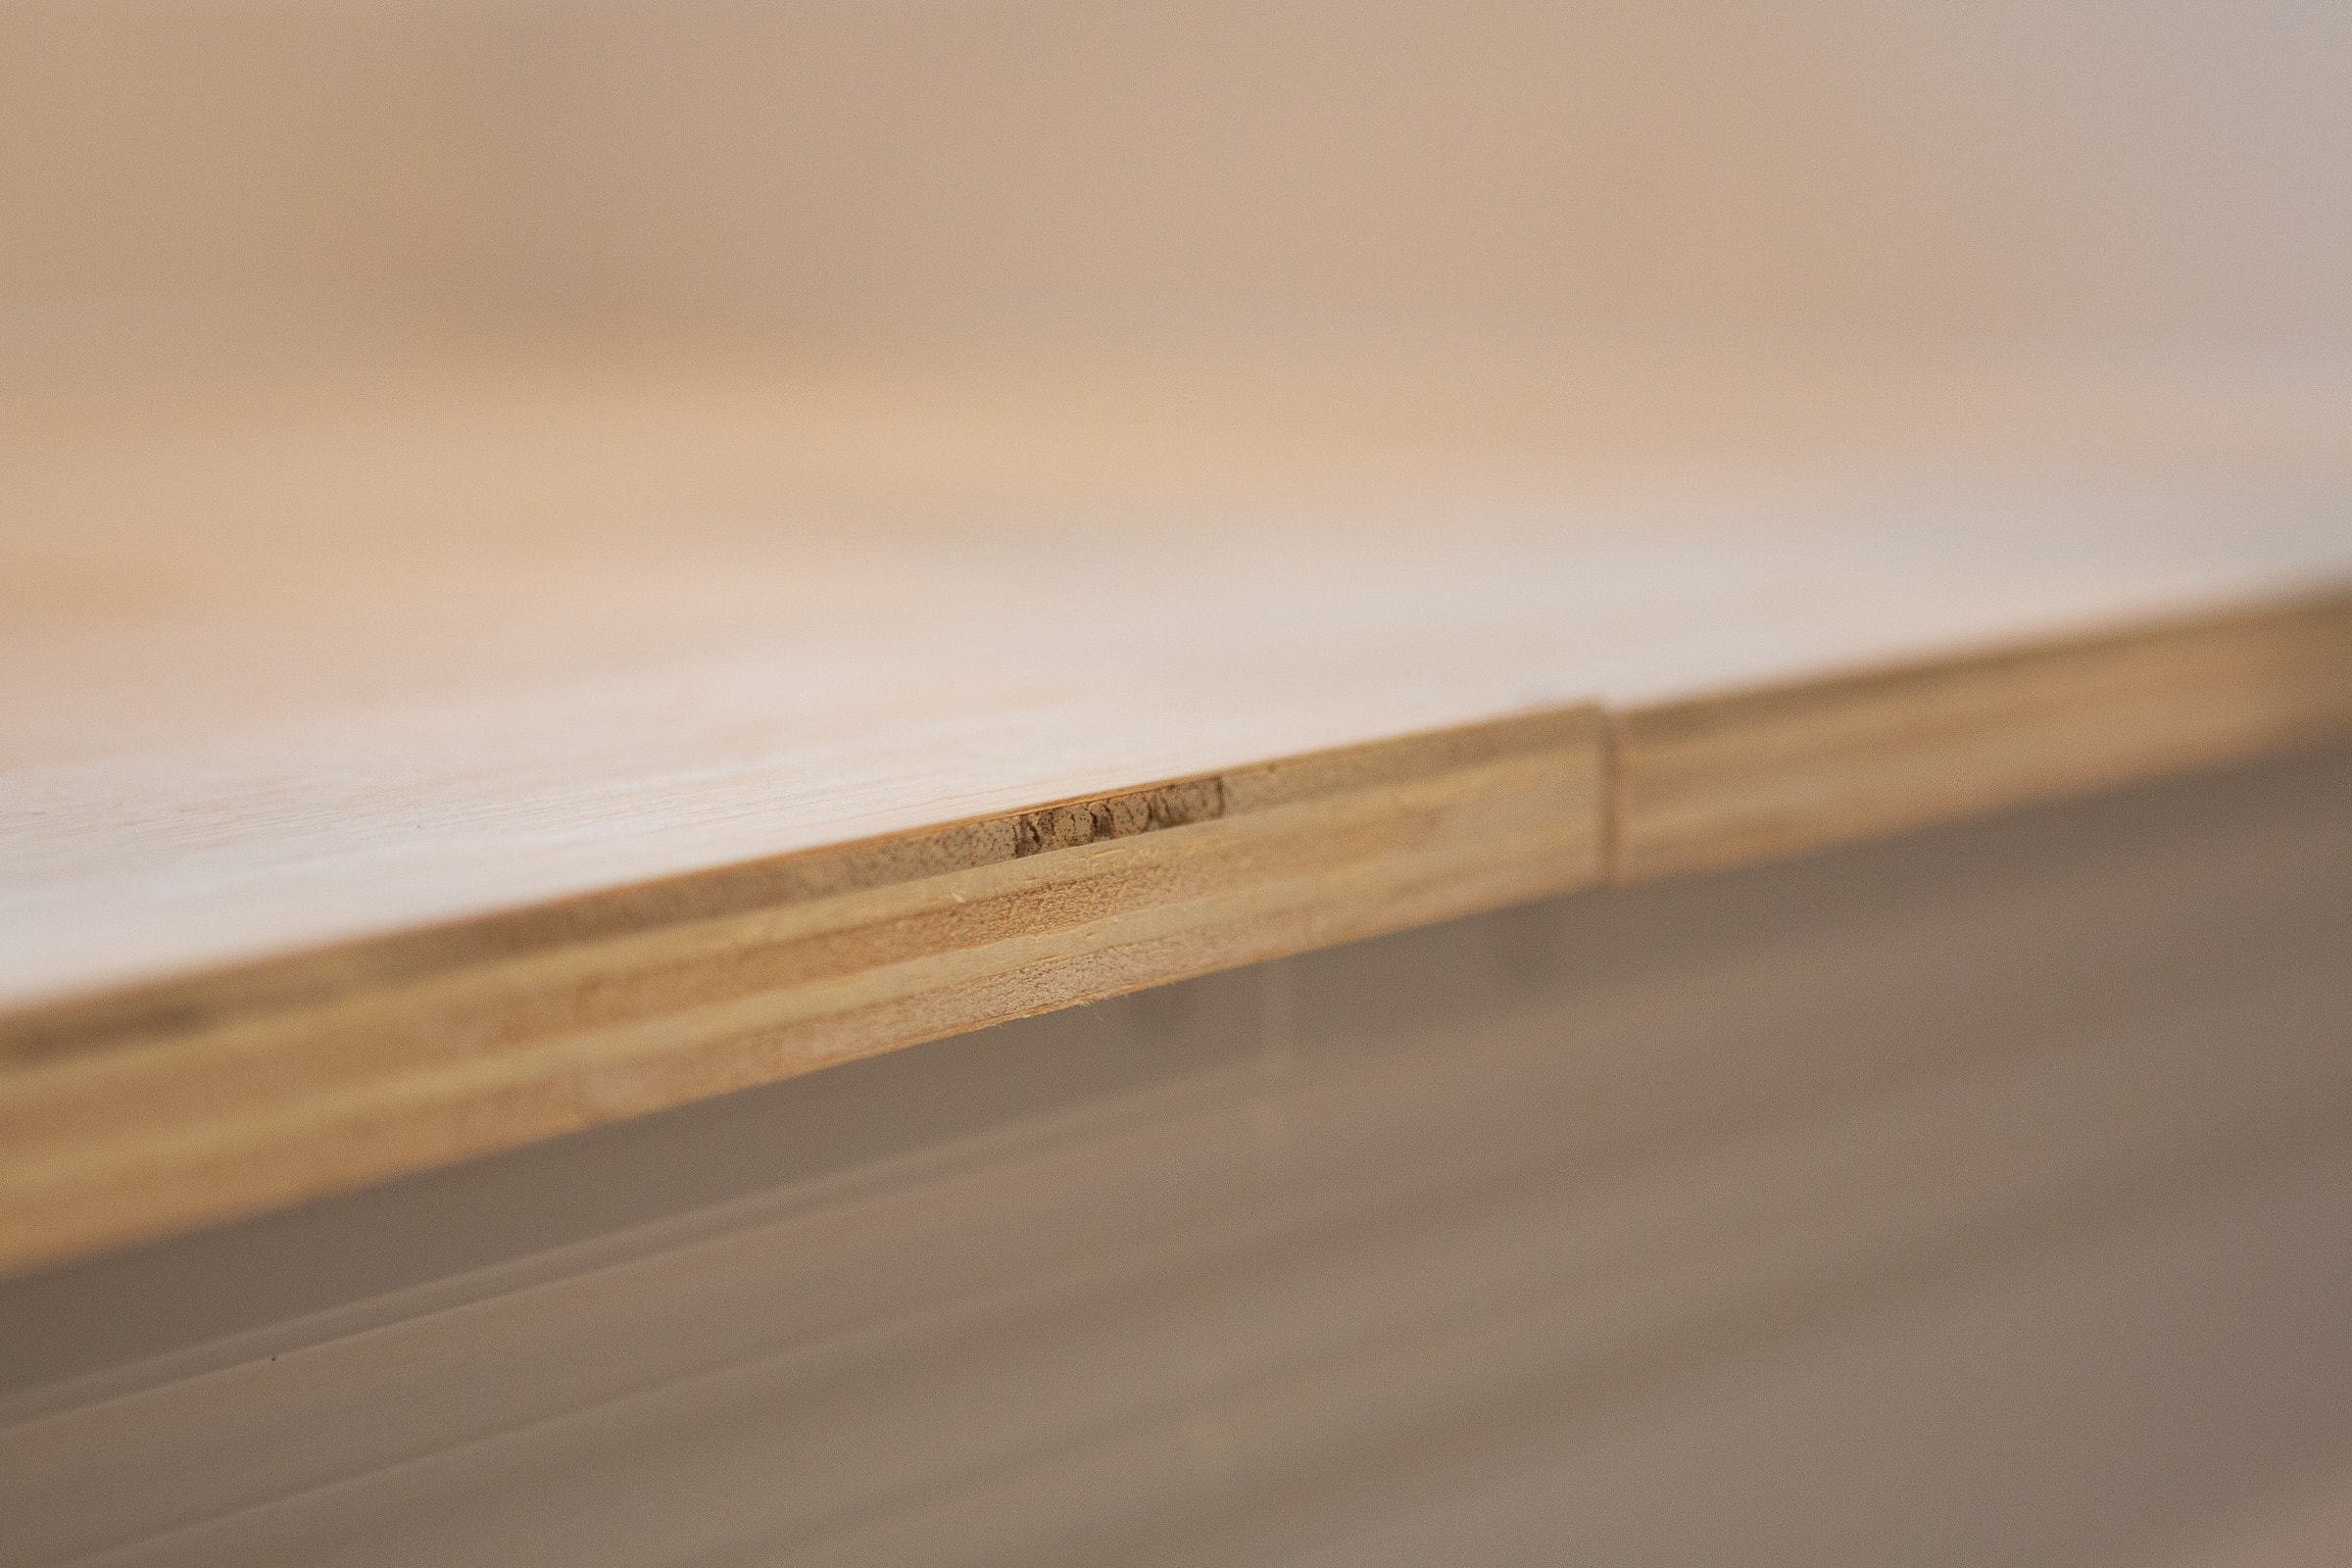
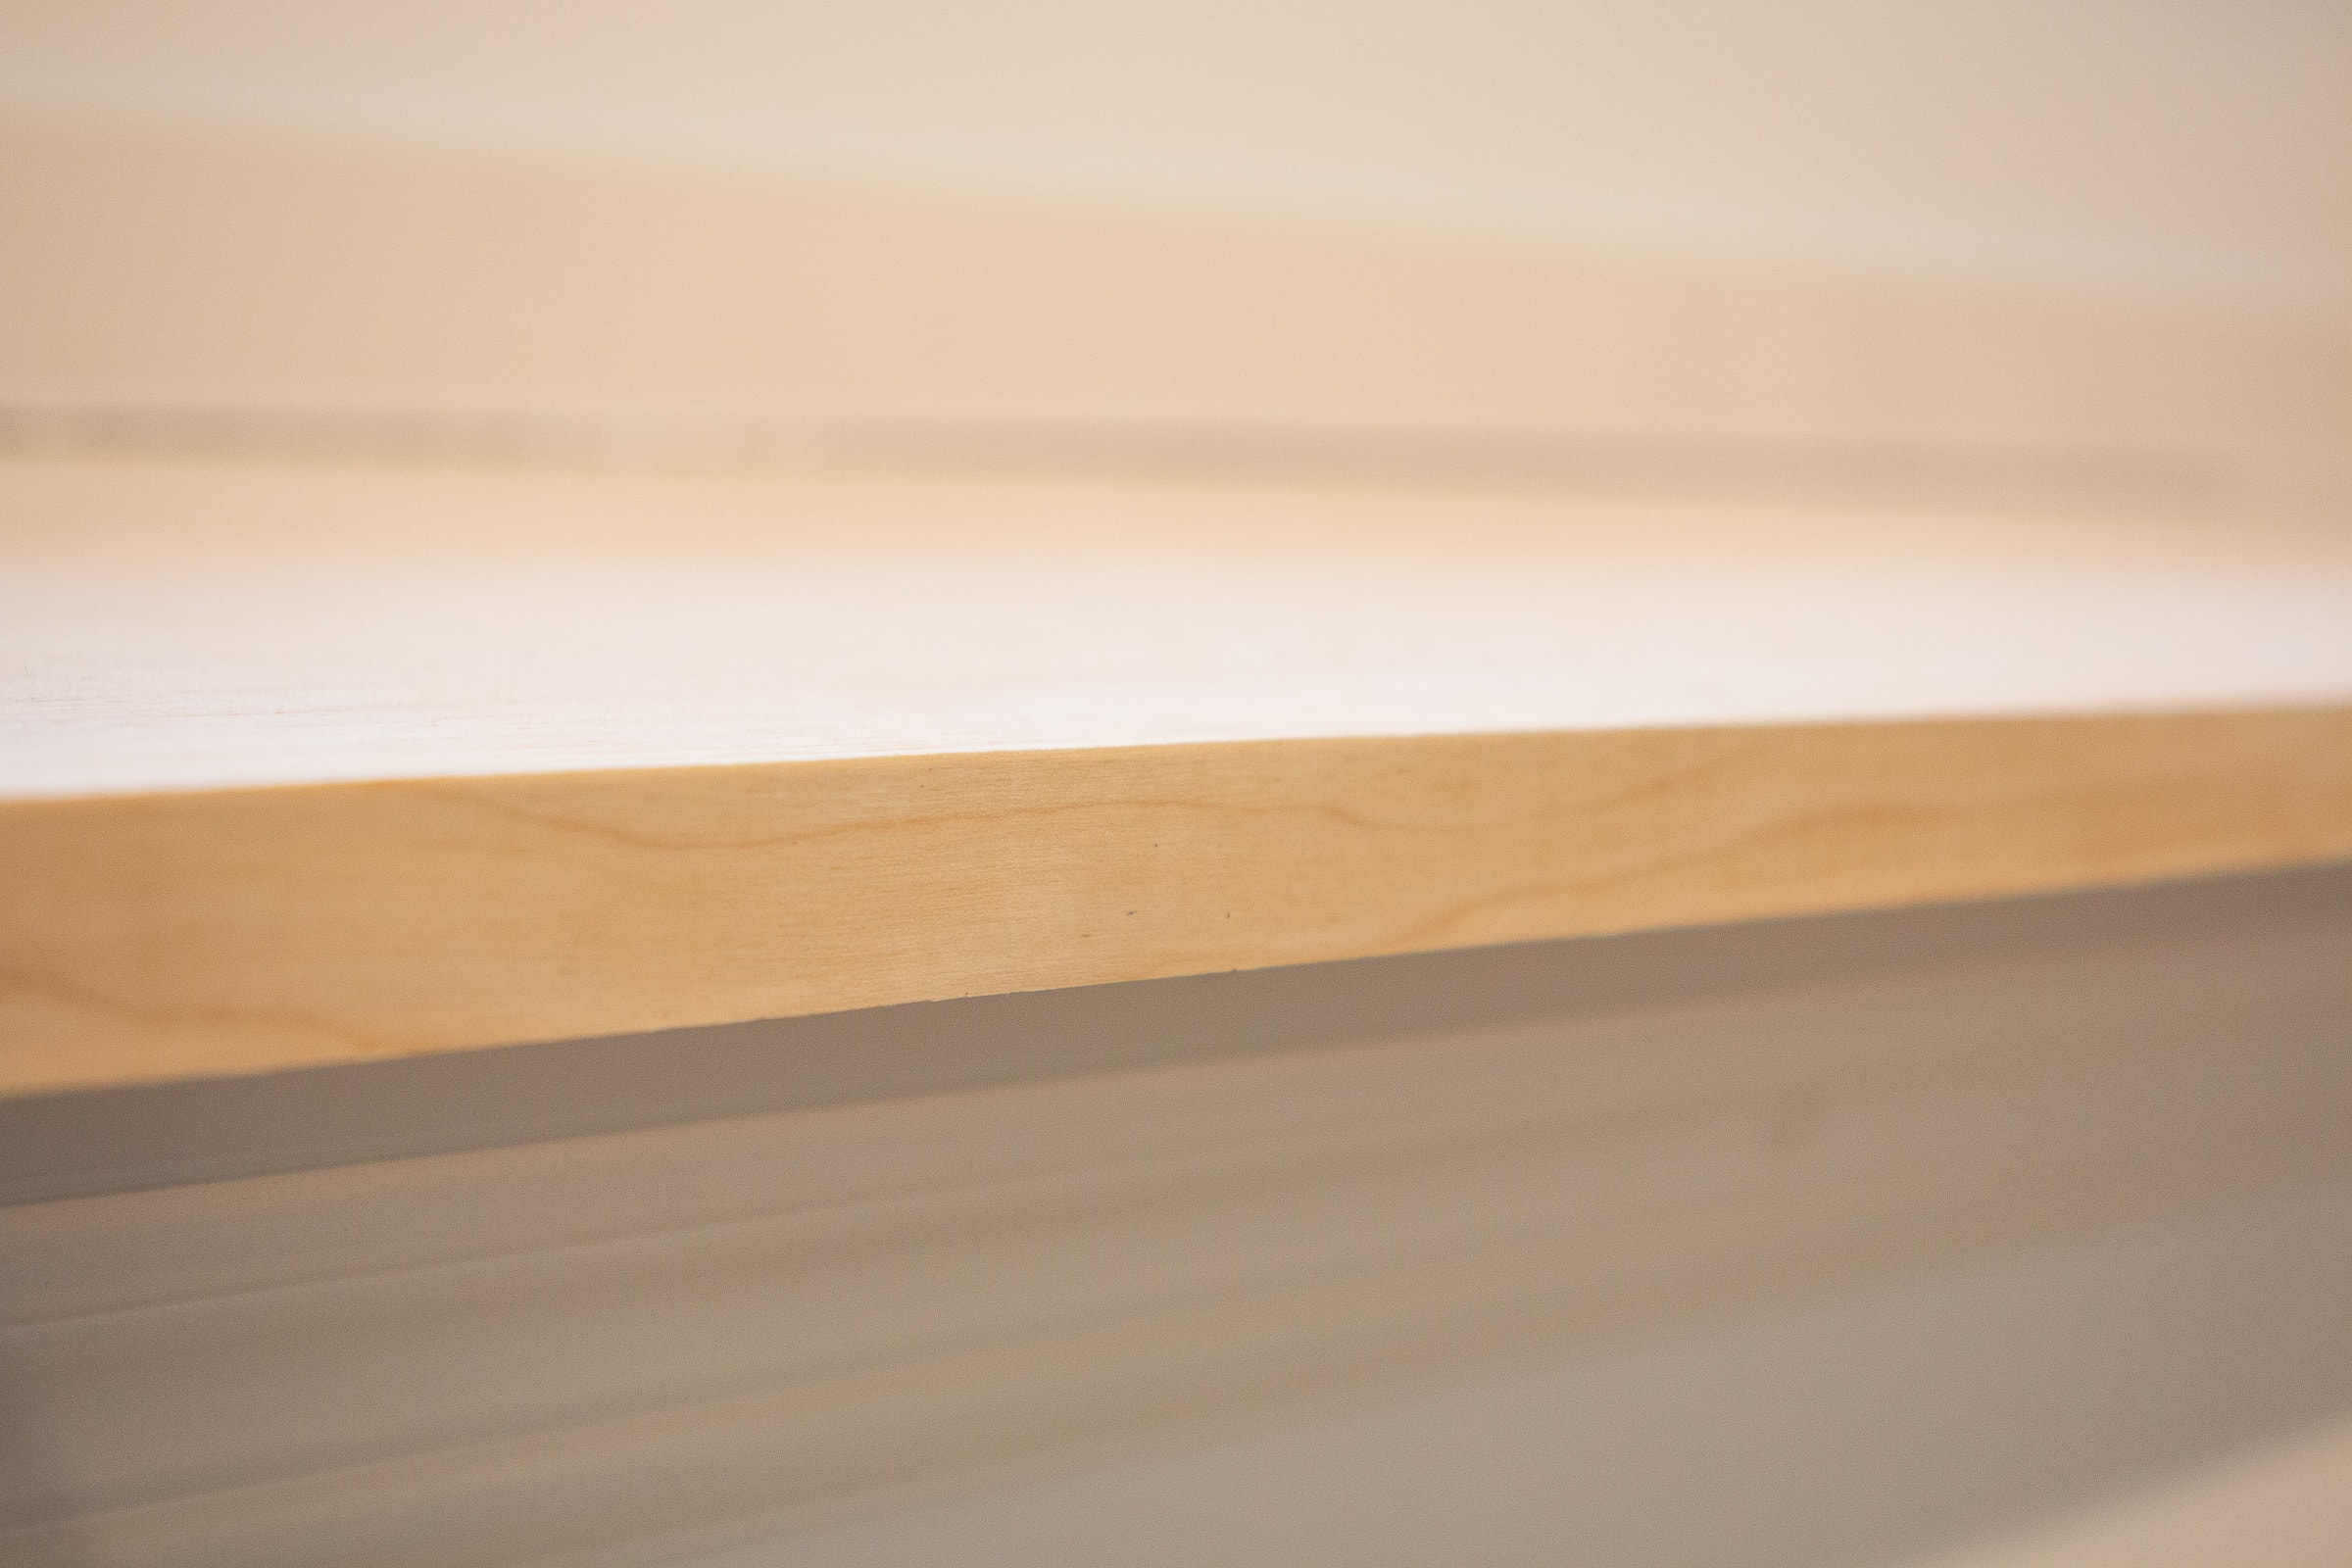
Remember this bench that my contractor built to hide our main water line? It turned out great but it wasn’t quite finished. Because it was created out of plywood, you could see the plywood edge on the front with the stacks of various wood layers.
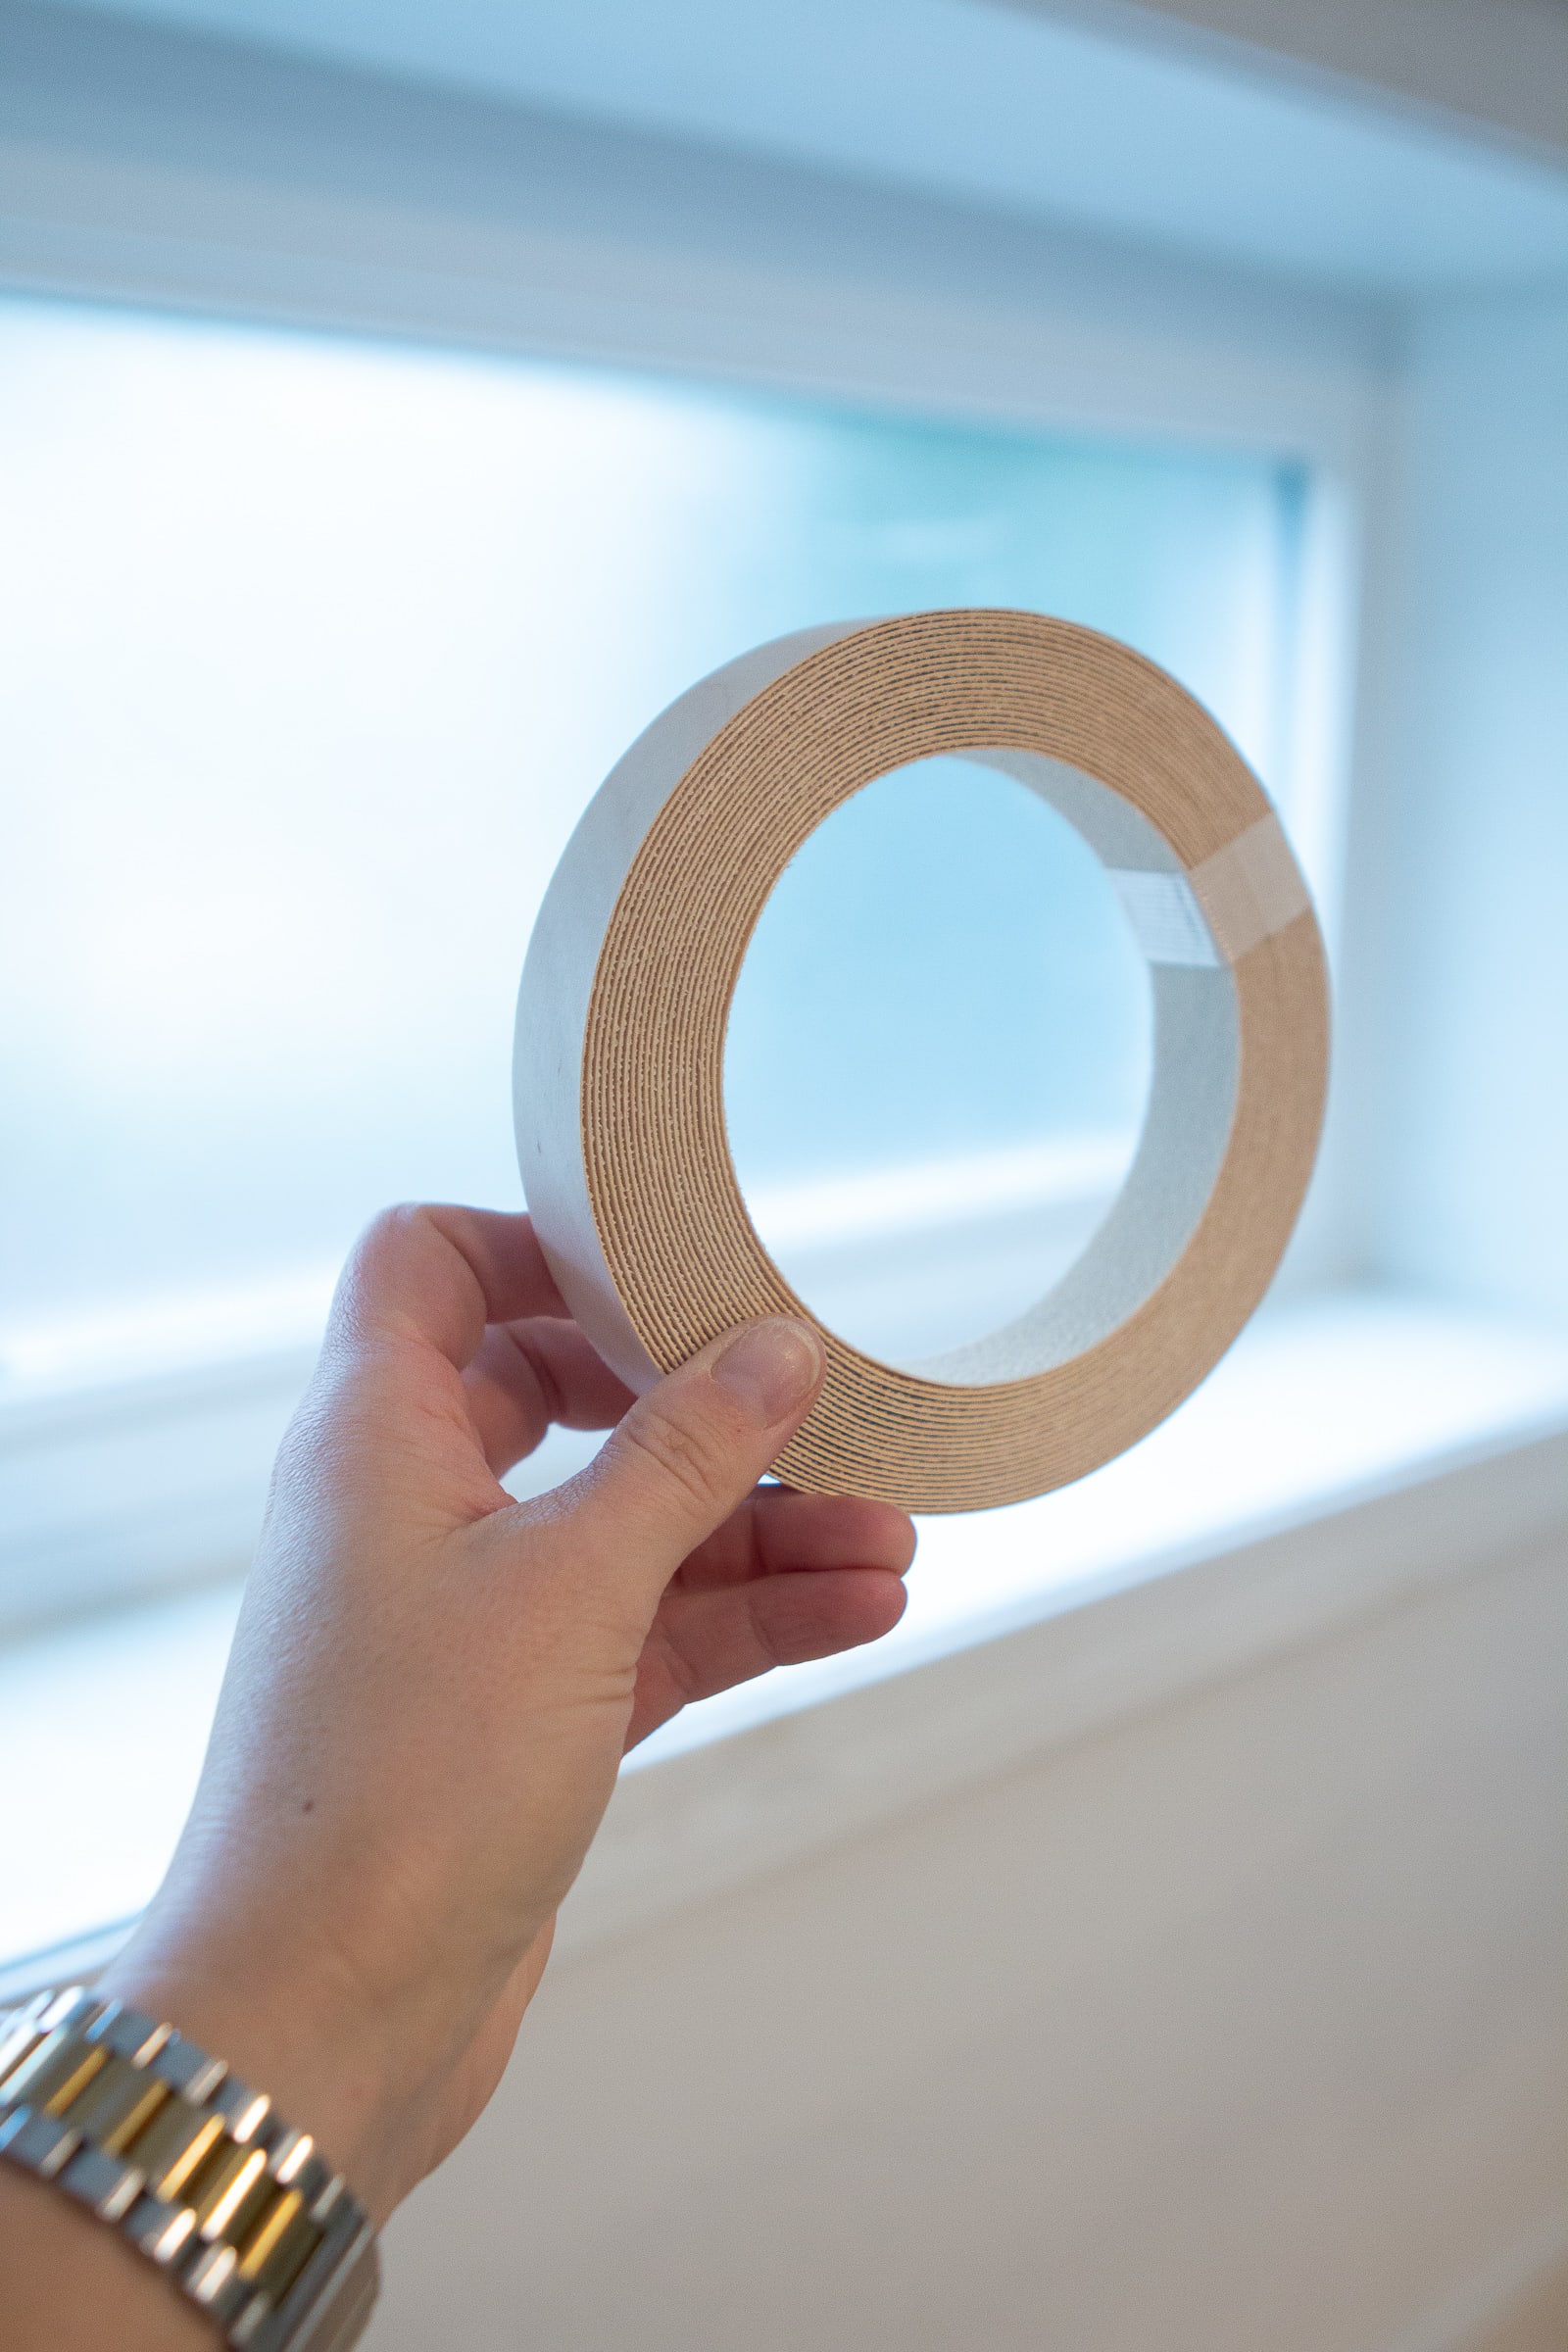
To give it a finished look, I decided to add some plywood edge banding. I’ve used this in the past (like in this fauxdenza project) and it’s super easy to use.
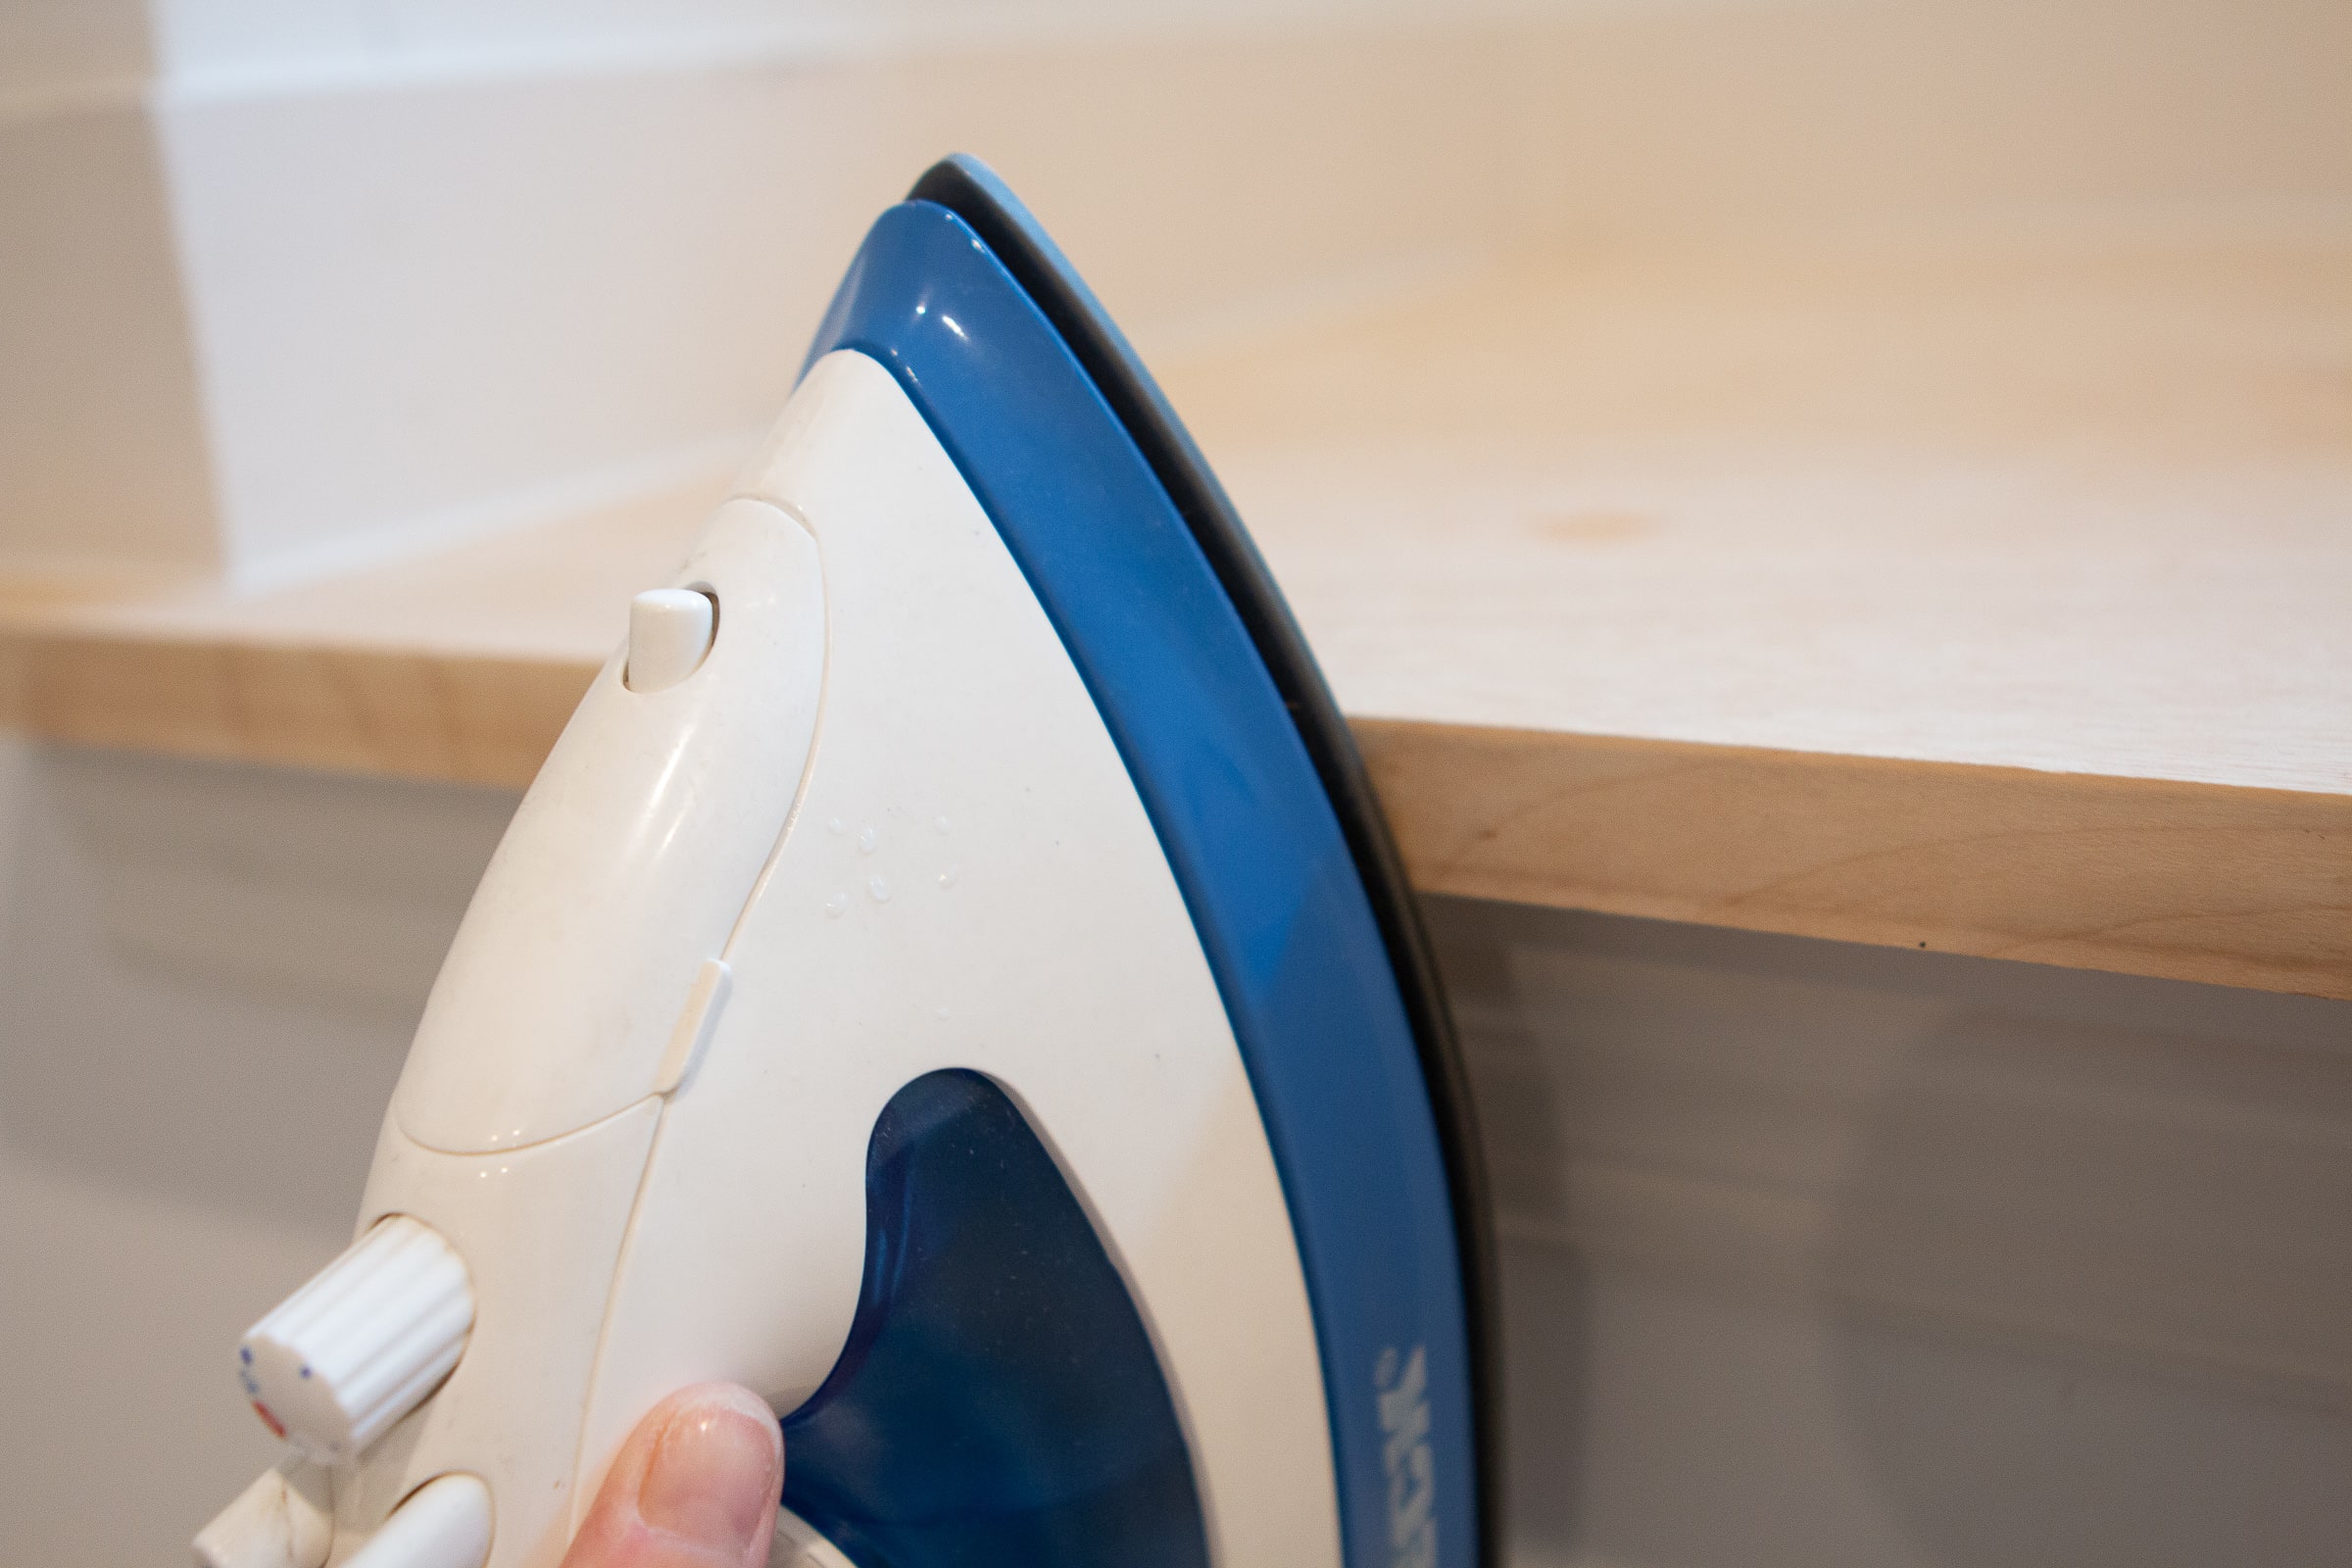
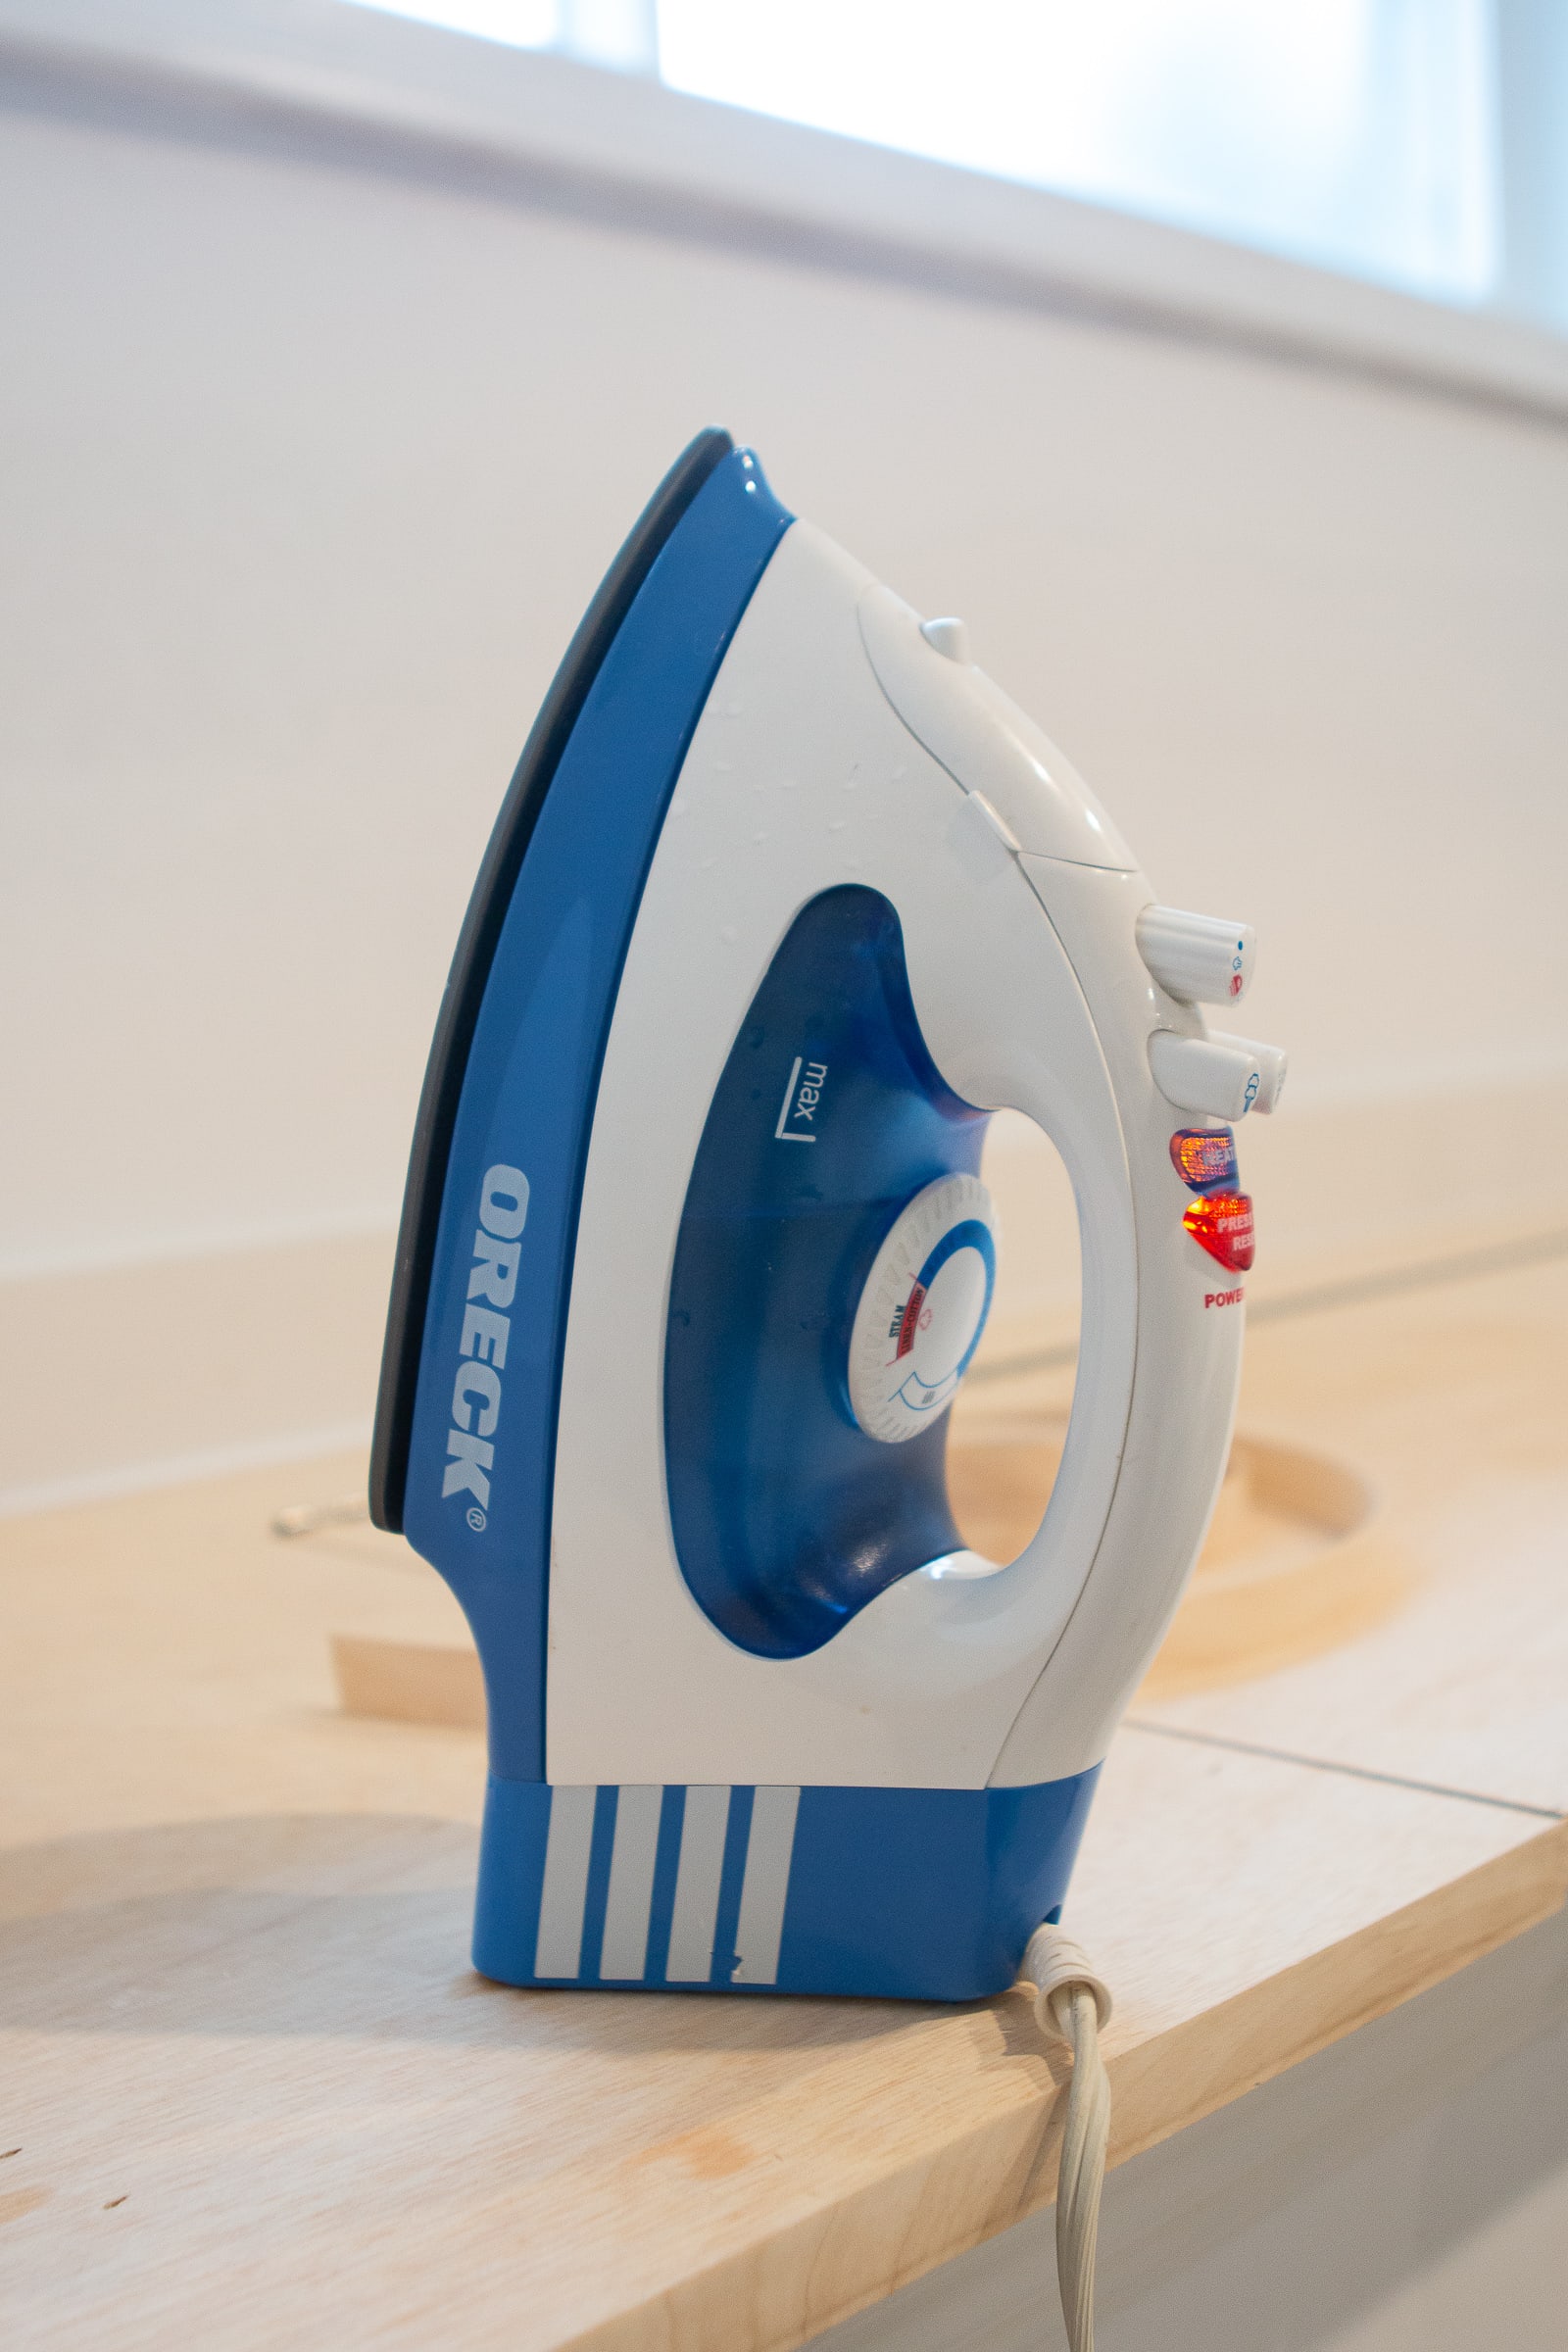
Just take the banding, cut it to size, and then grab your iron. Yes, your iron that you use for clothes! The back of the wood banding has an adhesive that activates with heat. Press the banding on and iron it into place.
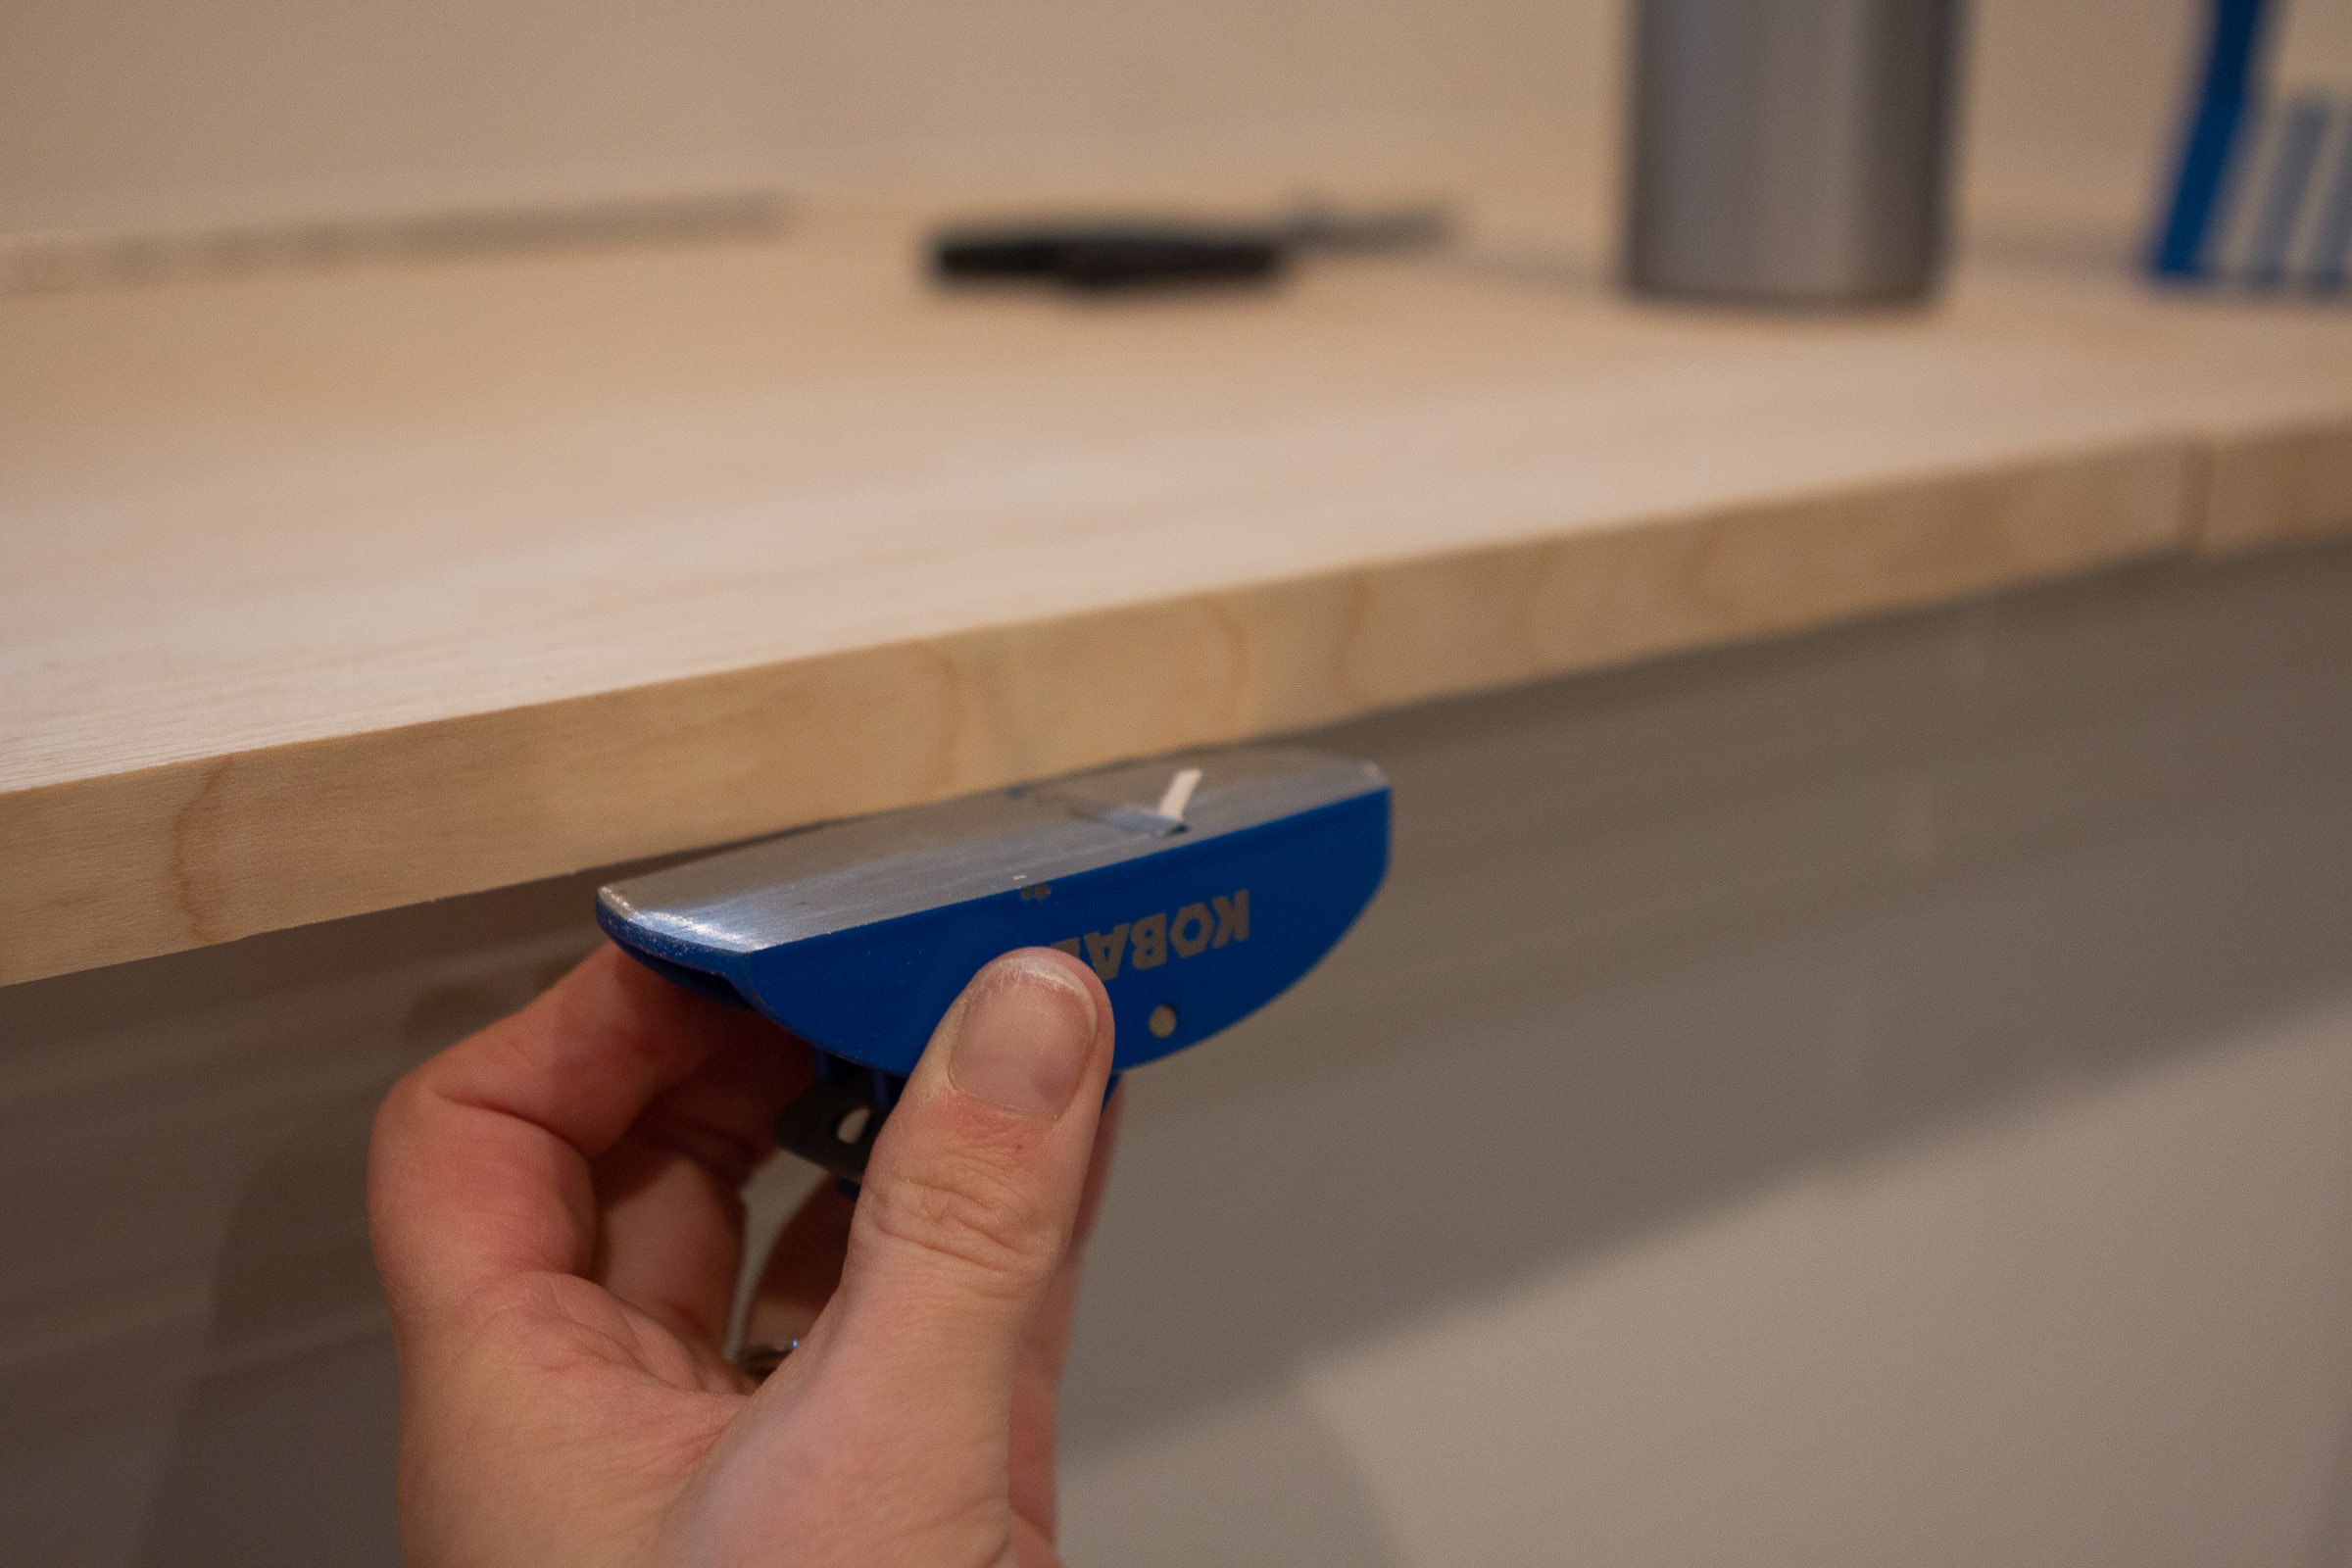
You’ll likely have some overhang on the top and bottom, so you can use something like this scraper to easily cut the excess. I then used a sanding sponge to make sure everything was perfectly smooth.
I’ll then prime and paint this entire bench area to finish it off! Oh, and I just ordered fabric samples for the bench cushion I’ll be adding. Can’t wait!
Painting The Ceiling

To finish off my list of tasks, my mom and I took an afternoon and painted the entire ceiling. We’ve done a lot of painting projects together over the years and it was fun, but kinda difficult! I originally thought we would power through the entire ceiling in an hour or two because there wasn’t much ground to cover. But, we quickly realized that it was almost impossible to tell where we had painted! We were looking at every angle, turning the lights on and off, and doing our best to make sure we got even coverage. We needed two, and in some areas, three coats to get the ceiling covered with basic white ceiling paint. But, it’s done and it’s nice and fresh and white.
What’s Next?
All of those little tasks have been eating up my work hours and leading me to the final DIY on my short list – painting! I’ll be painting the doors and casings Benjamin Moore’s “Simply White” in a semi-gloss finish, by hand, and that will likely take a few days. Then, I’m going for Clare’s “Greige” in an eggshell finish for all of the walls and bulkhead. For that, I’m planning to use a paint sprayer, which will likely call for an entire day of room prep. It’s going to be fun and a lot of work all at the same time. Stay tuned…
Catch Up On Our Basement
Here’s a look at all of the basement plans I’ve shared so far…