How to Fill Nail Holes in Walls (Easy DIY Fix)
Filling nail holes in drywall is a quick and easy DIY project that anyone can tackle! I’ll show you how to fill small nail holes, smooth the surface, and touch up the paint for a seamless finish.
One thing I love about having this blog is looking back at how far I’ve come over the past decade of DIYing and decorating my home. When I first started, I was terrified to hang anything on the walls. What if I made a mistake? How would I fill nail holes in the wall, especially in a rental where I wanted my security deposit back?!
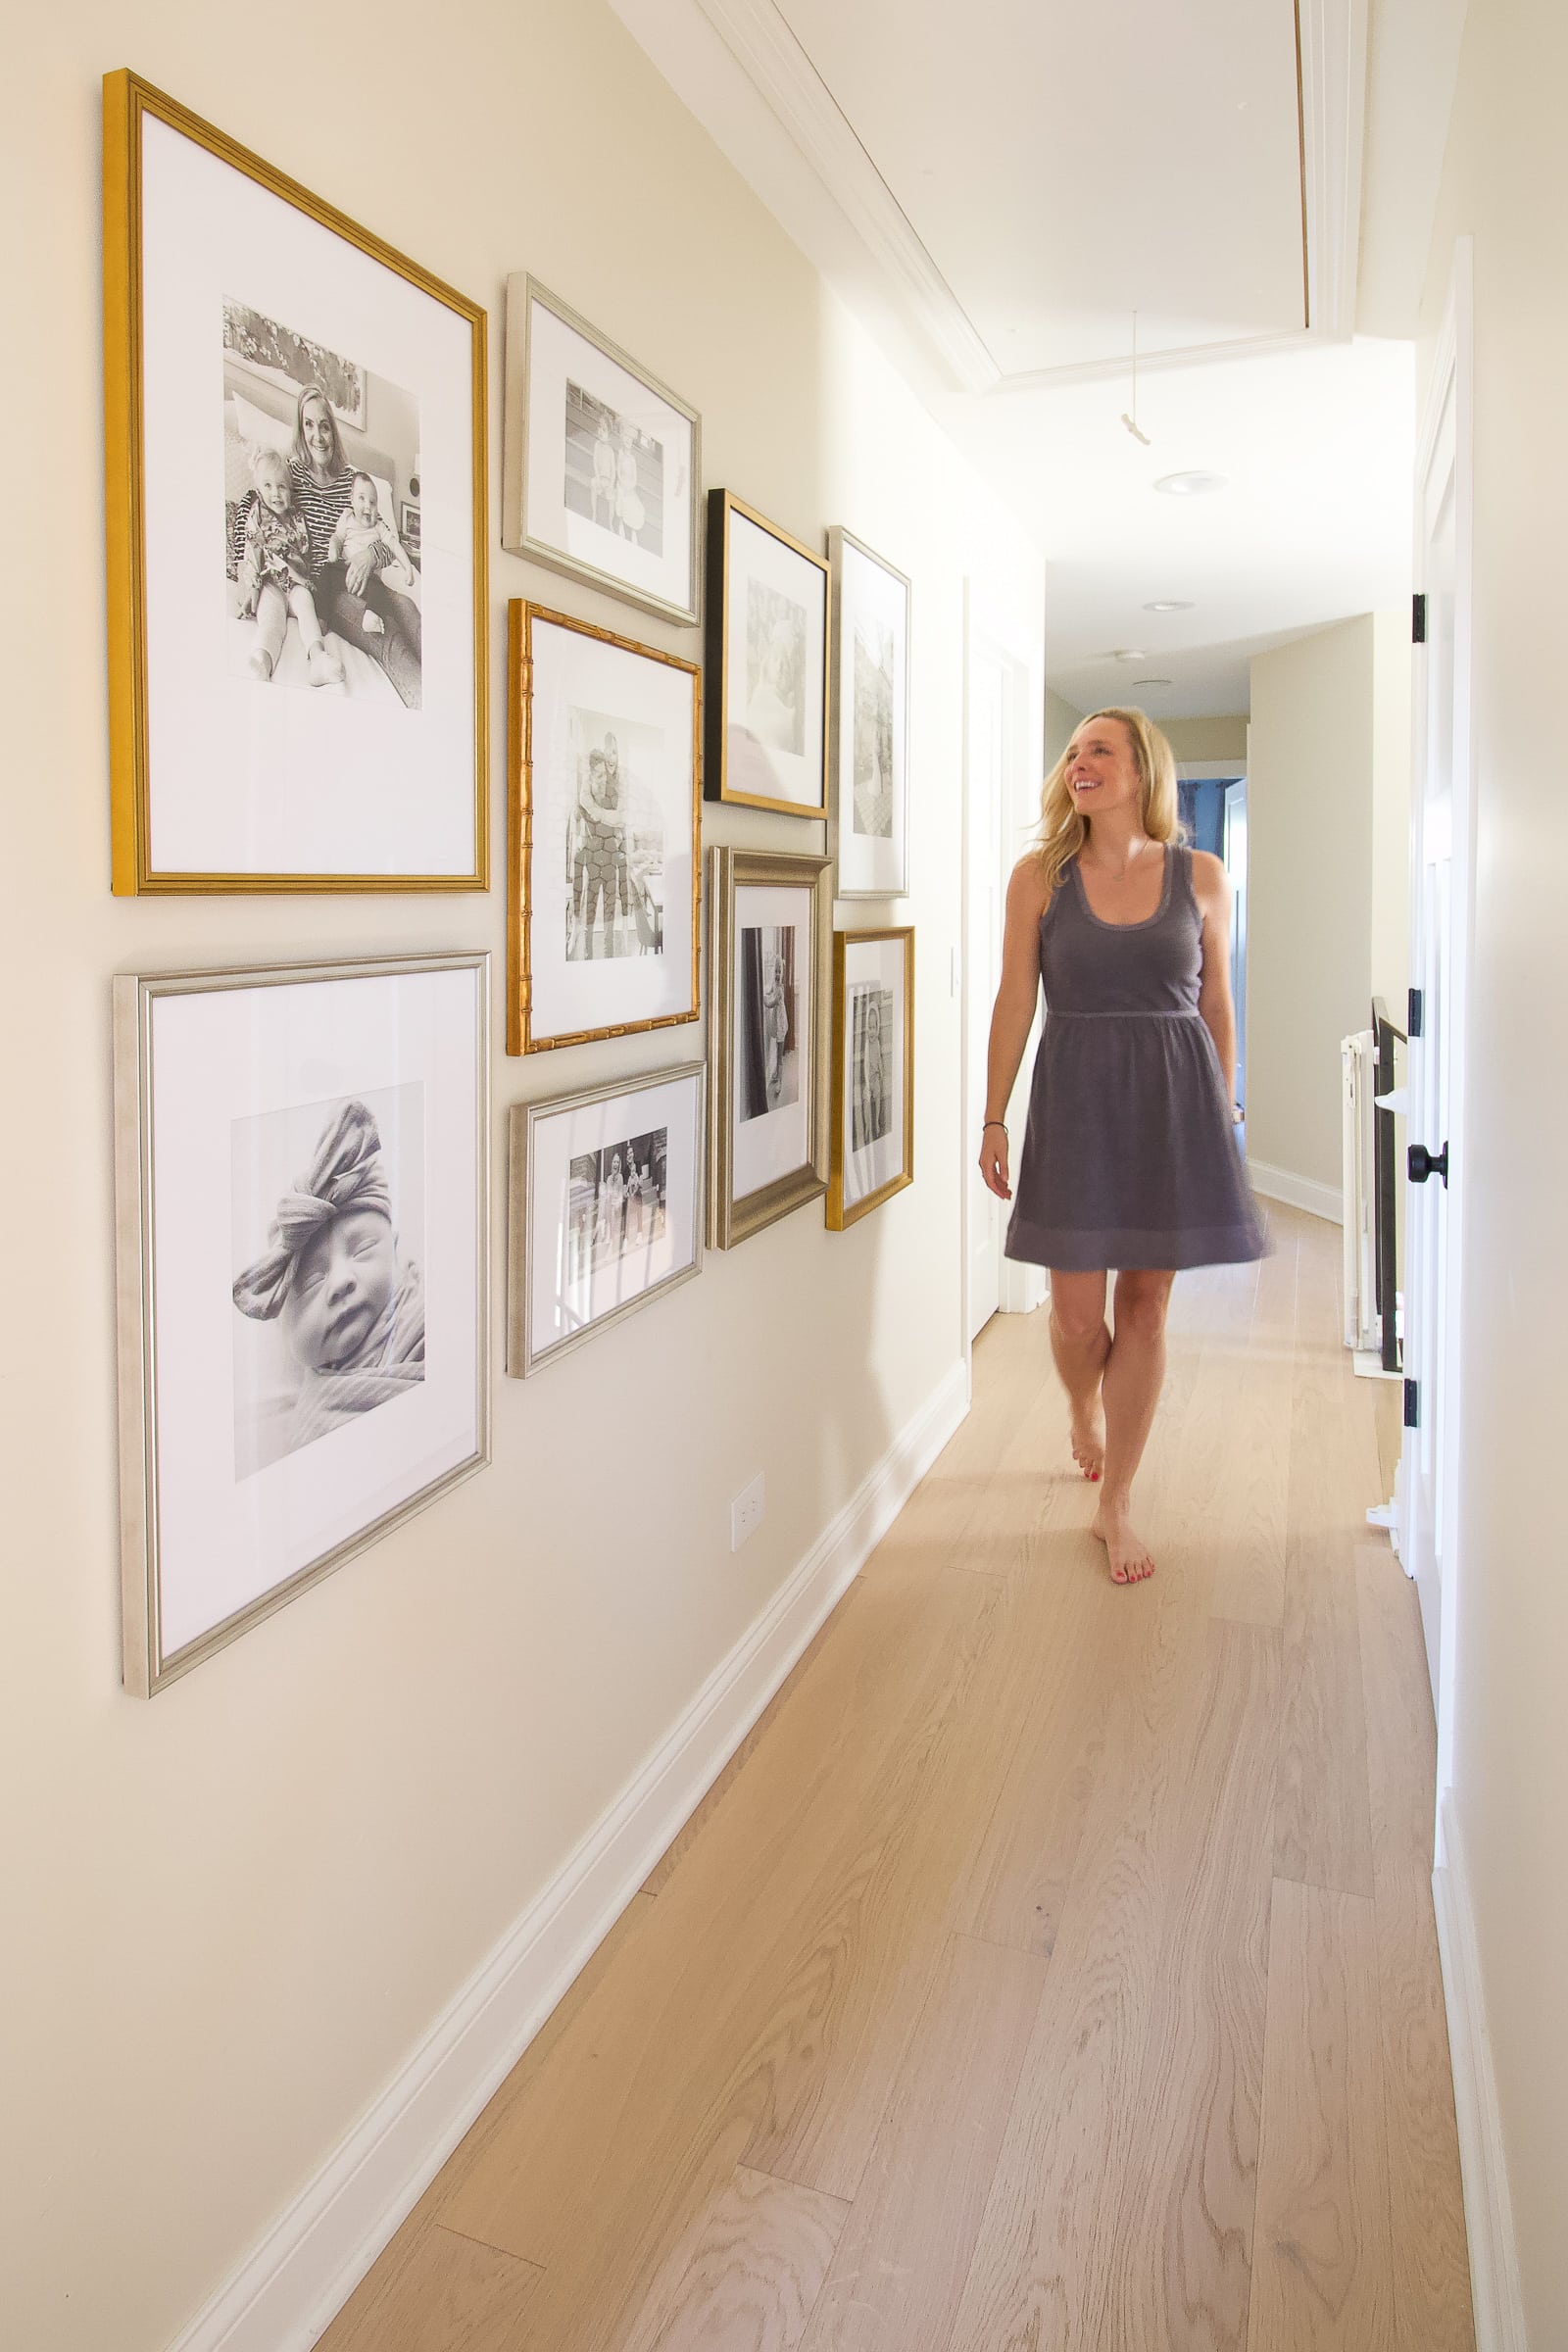
These days, I’m not afraid to put holes in my walls because I know just how easy they are to fix. Whether you’re rearranging artwork, taking down old frames, or creating a new gallery wall, a few tiny nail holes are nothing to stress about.
Today, I’m sharing my favorite tips for filling nail holes in drywall using a little spackle and a few basic supplies. The best part? You can tackle multiple holes around your house in just a few minutes of hands-on work. Let’s get to it!
Project At A Glance:
| Difficulty: ⭐️ of 5 | Time: 5 minutes |
| Supplies needed: All-in-one hole repair tool OR lightweight spackling compound Paint Paper towels | Tools needed: Putty knife Hammer Fine-grit sandpaper |
My Favorite All-in-One Hole Repair Tool
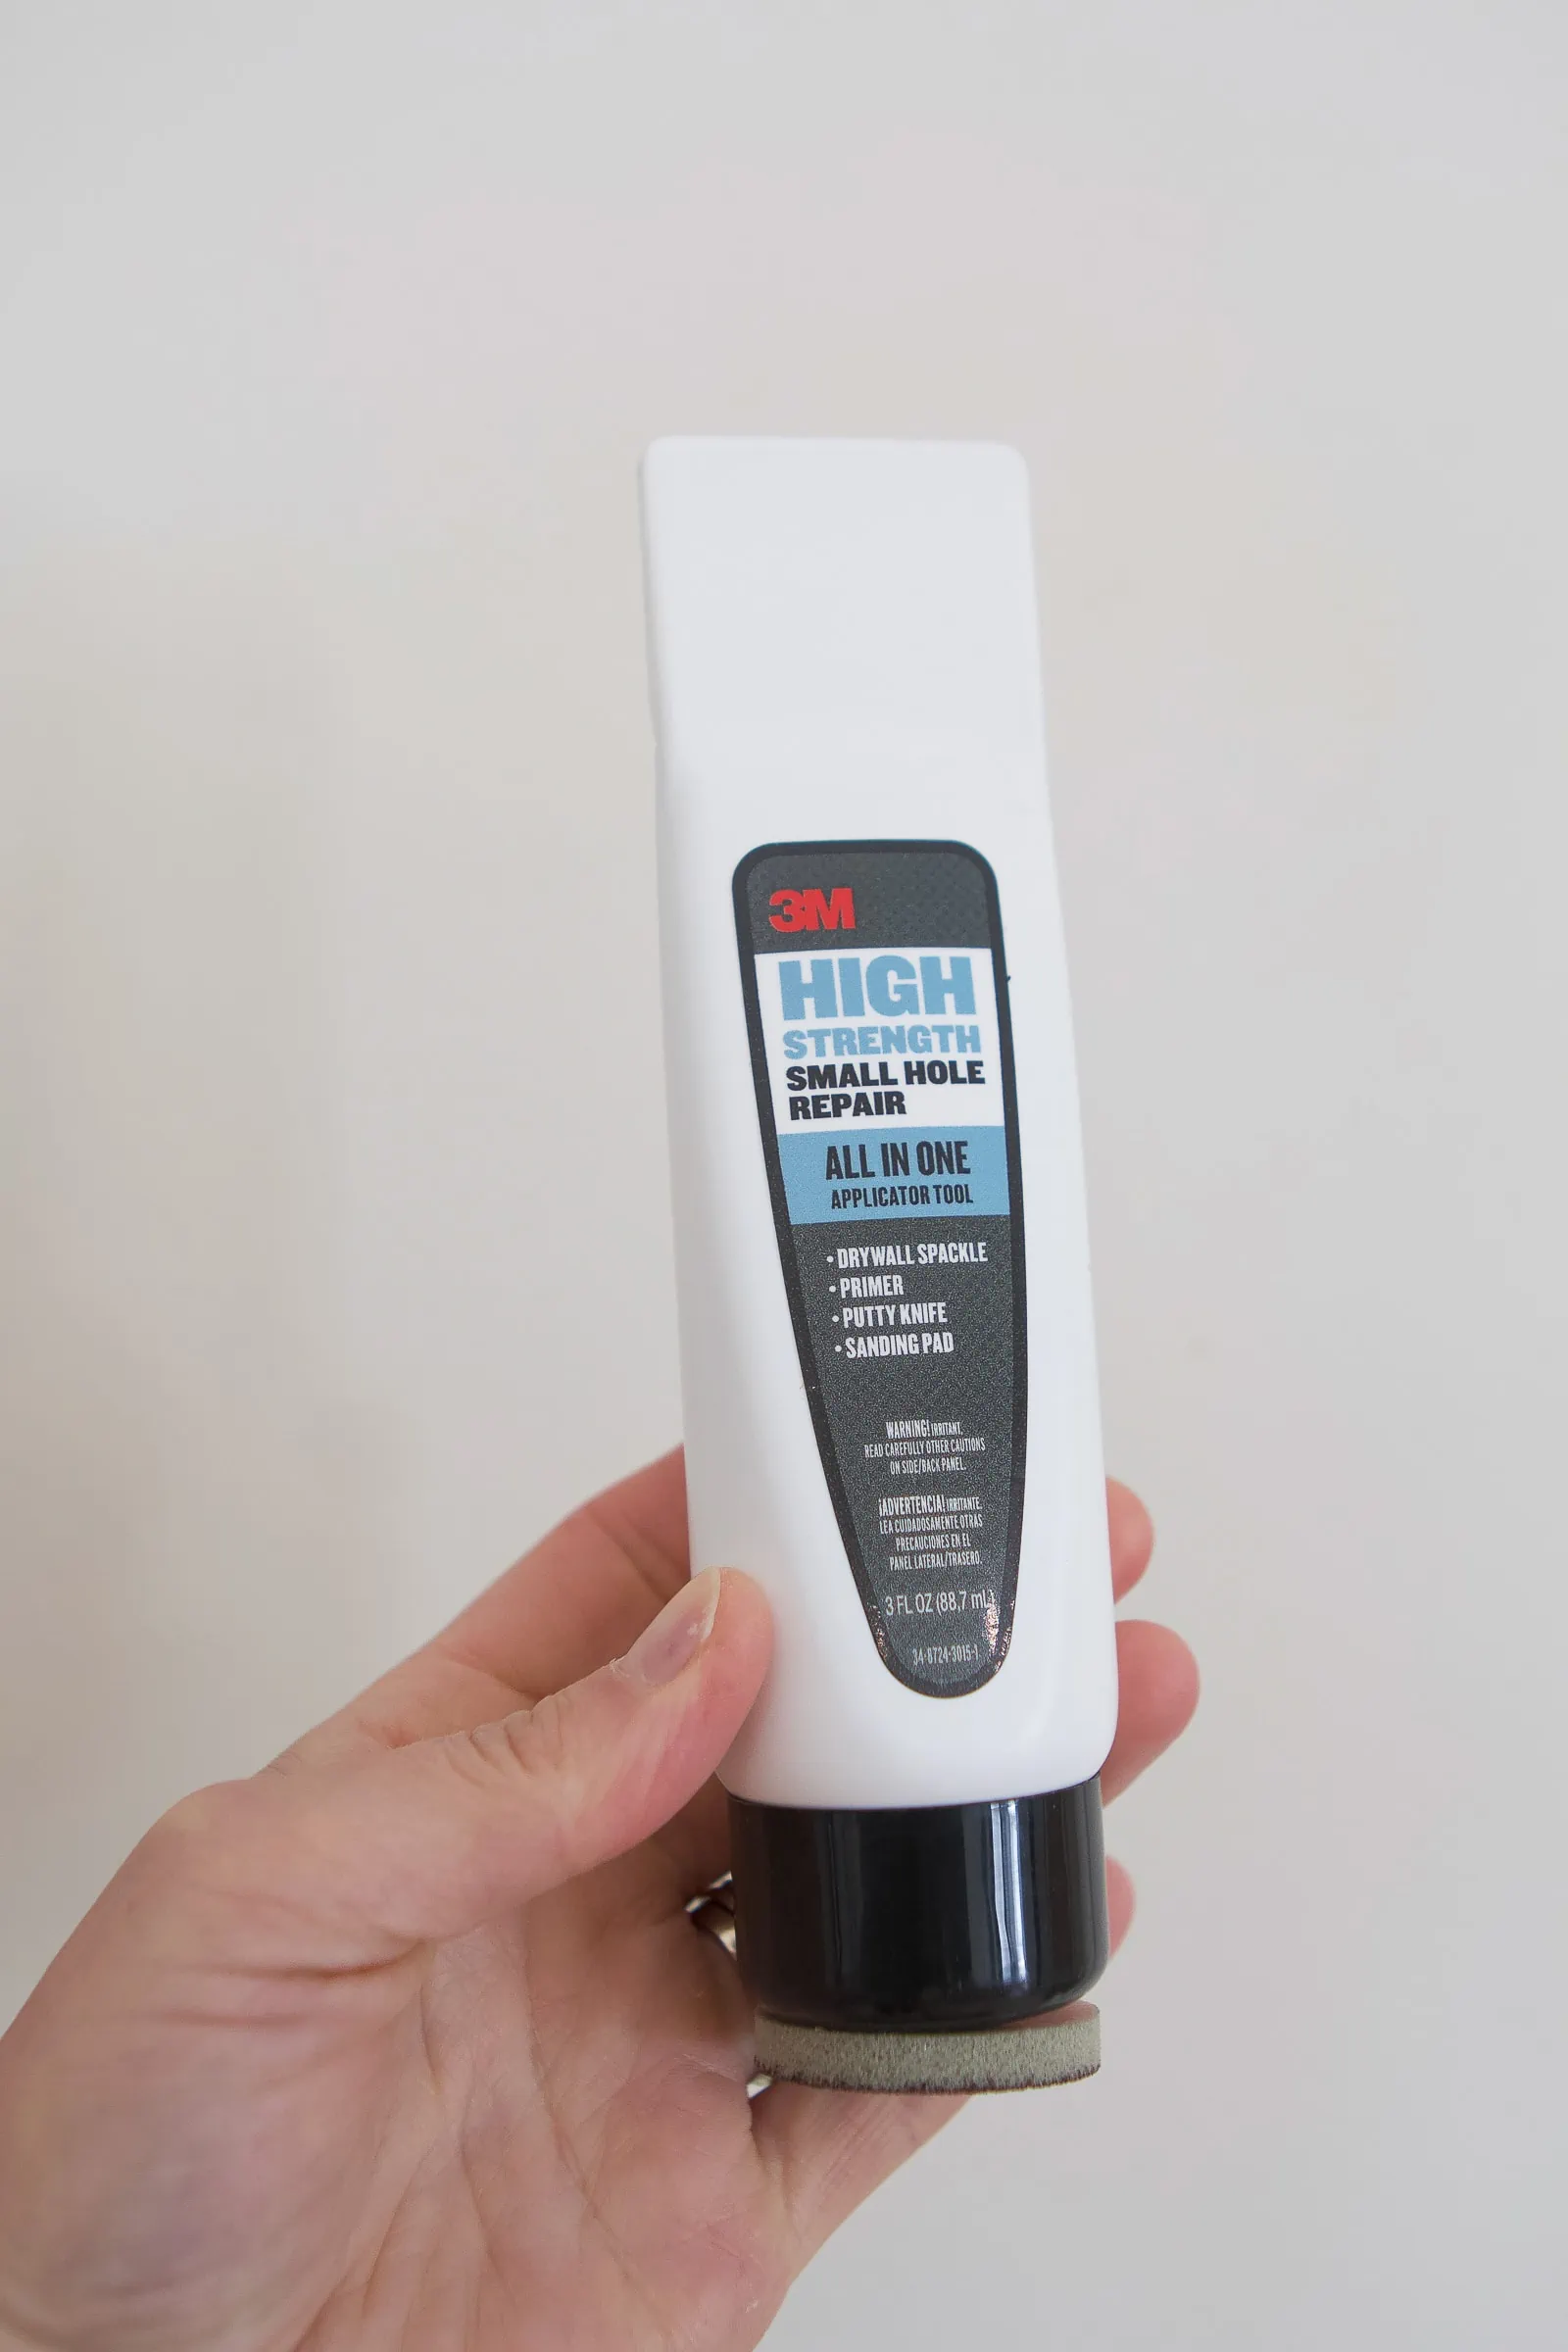
If you’re just starting to build your DIY toolkit, I love this little all-in-one hole repair tool. It has spackle, a putty knife, and a sanding surface all in one convenient tube. I keep one in my junk drawer so it’s always handy when I need to fix a few small holes.
Of course, if you already have lightweight spackling compound from your local hardware store, there’s no need to buy anything new. Both methods work great, and I’ll walk you through each one below.
How to Fill Nail Holes In Drywall
Before getting started, take a look at the size of the hole you’re repairing. This tutorial is best for small nail holes left behind from hanging artwork, photos, or a gallery wall.
If you’re dealing with larger holes from drywall anchors or screws, check out my tutorial for patching larger holes in drywall instead. Those repairs require a slightly different approach.
Step 1: Remove The Nail
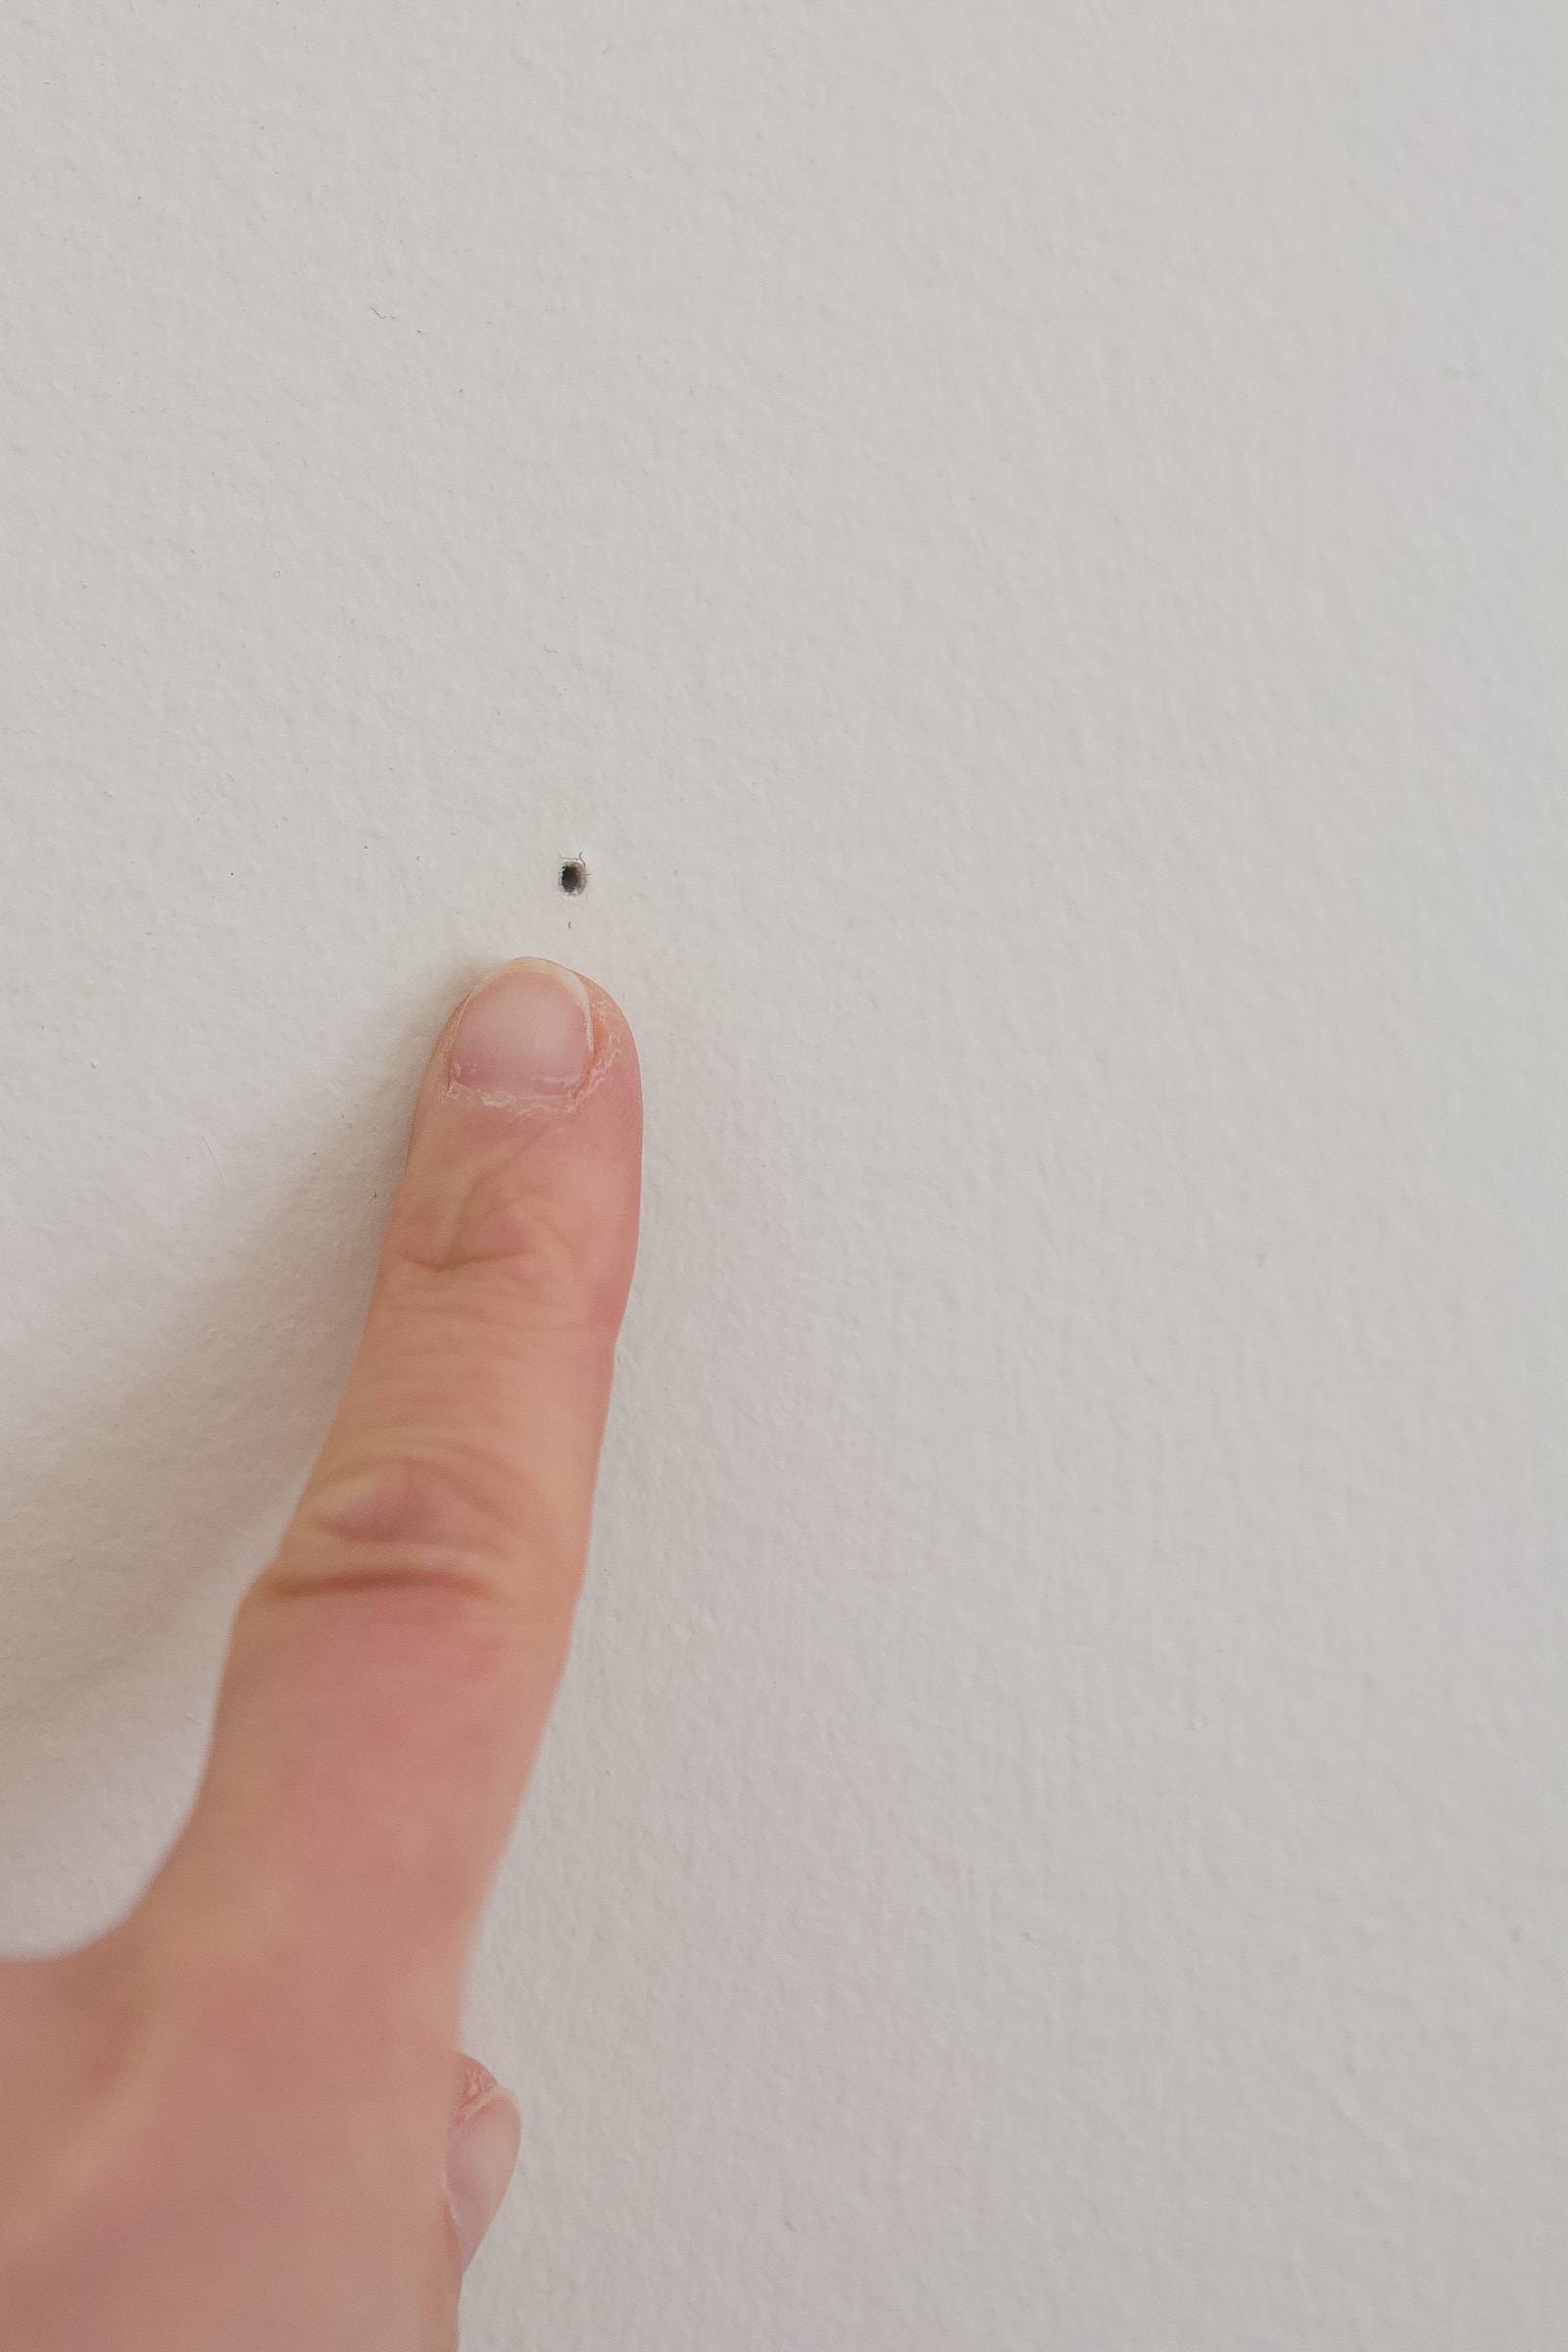
First, take down your wall art and carefully remove the nail. For small nails, you can often pull them out with your fingers. If the nail is stuck, use the claw end of a hammer to gently remove it.
Be careful not to damage the surrounding drywall as you pull it out. The goal is to keep that tiny hole as small as possible!
Step 2: Fill the Nail Hole With Spackle
There are two easy ways to tackle this step, depending on what supplies you have on hand.
Option One: Use an All-in-One Hole Repair Tool
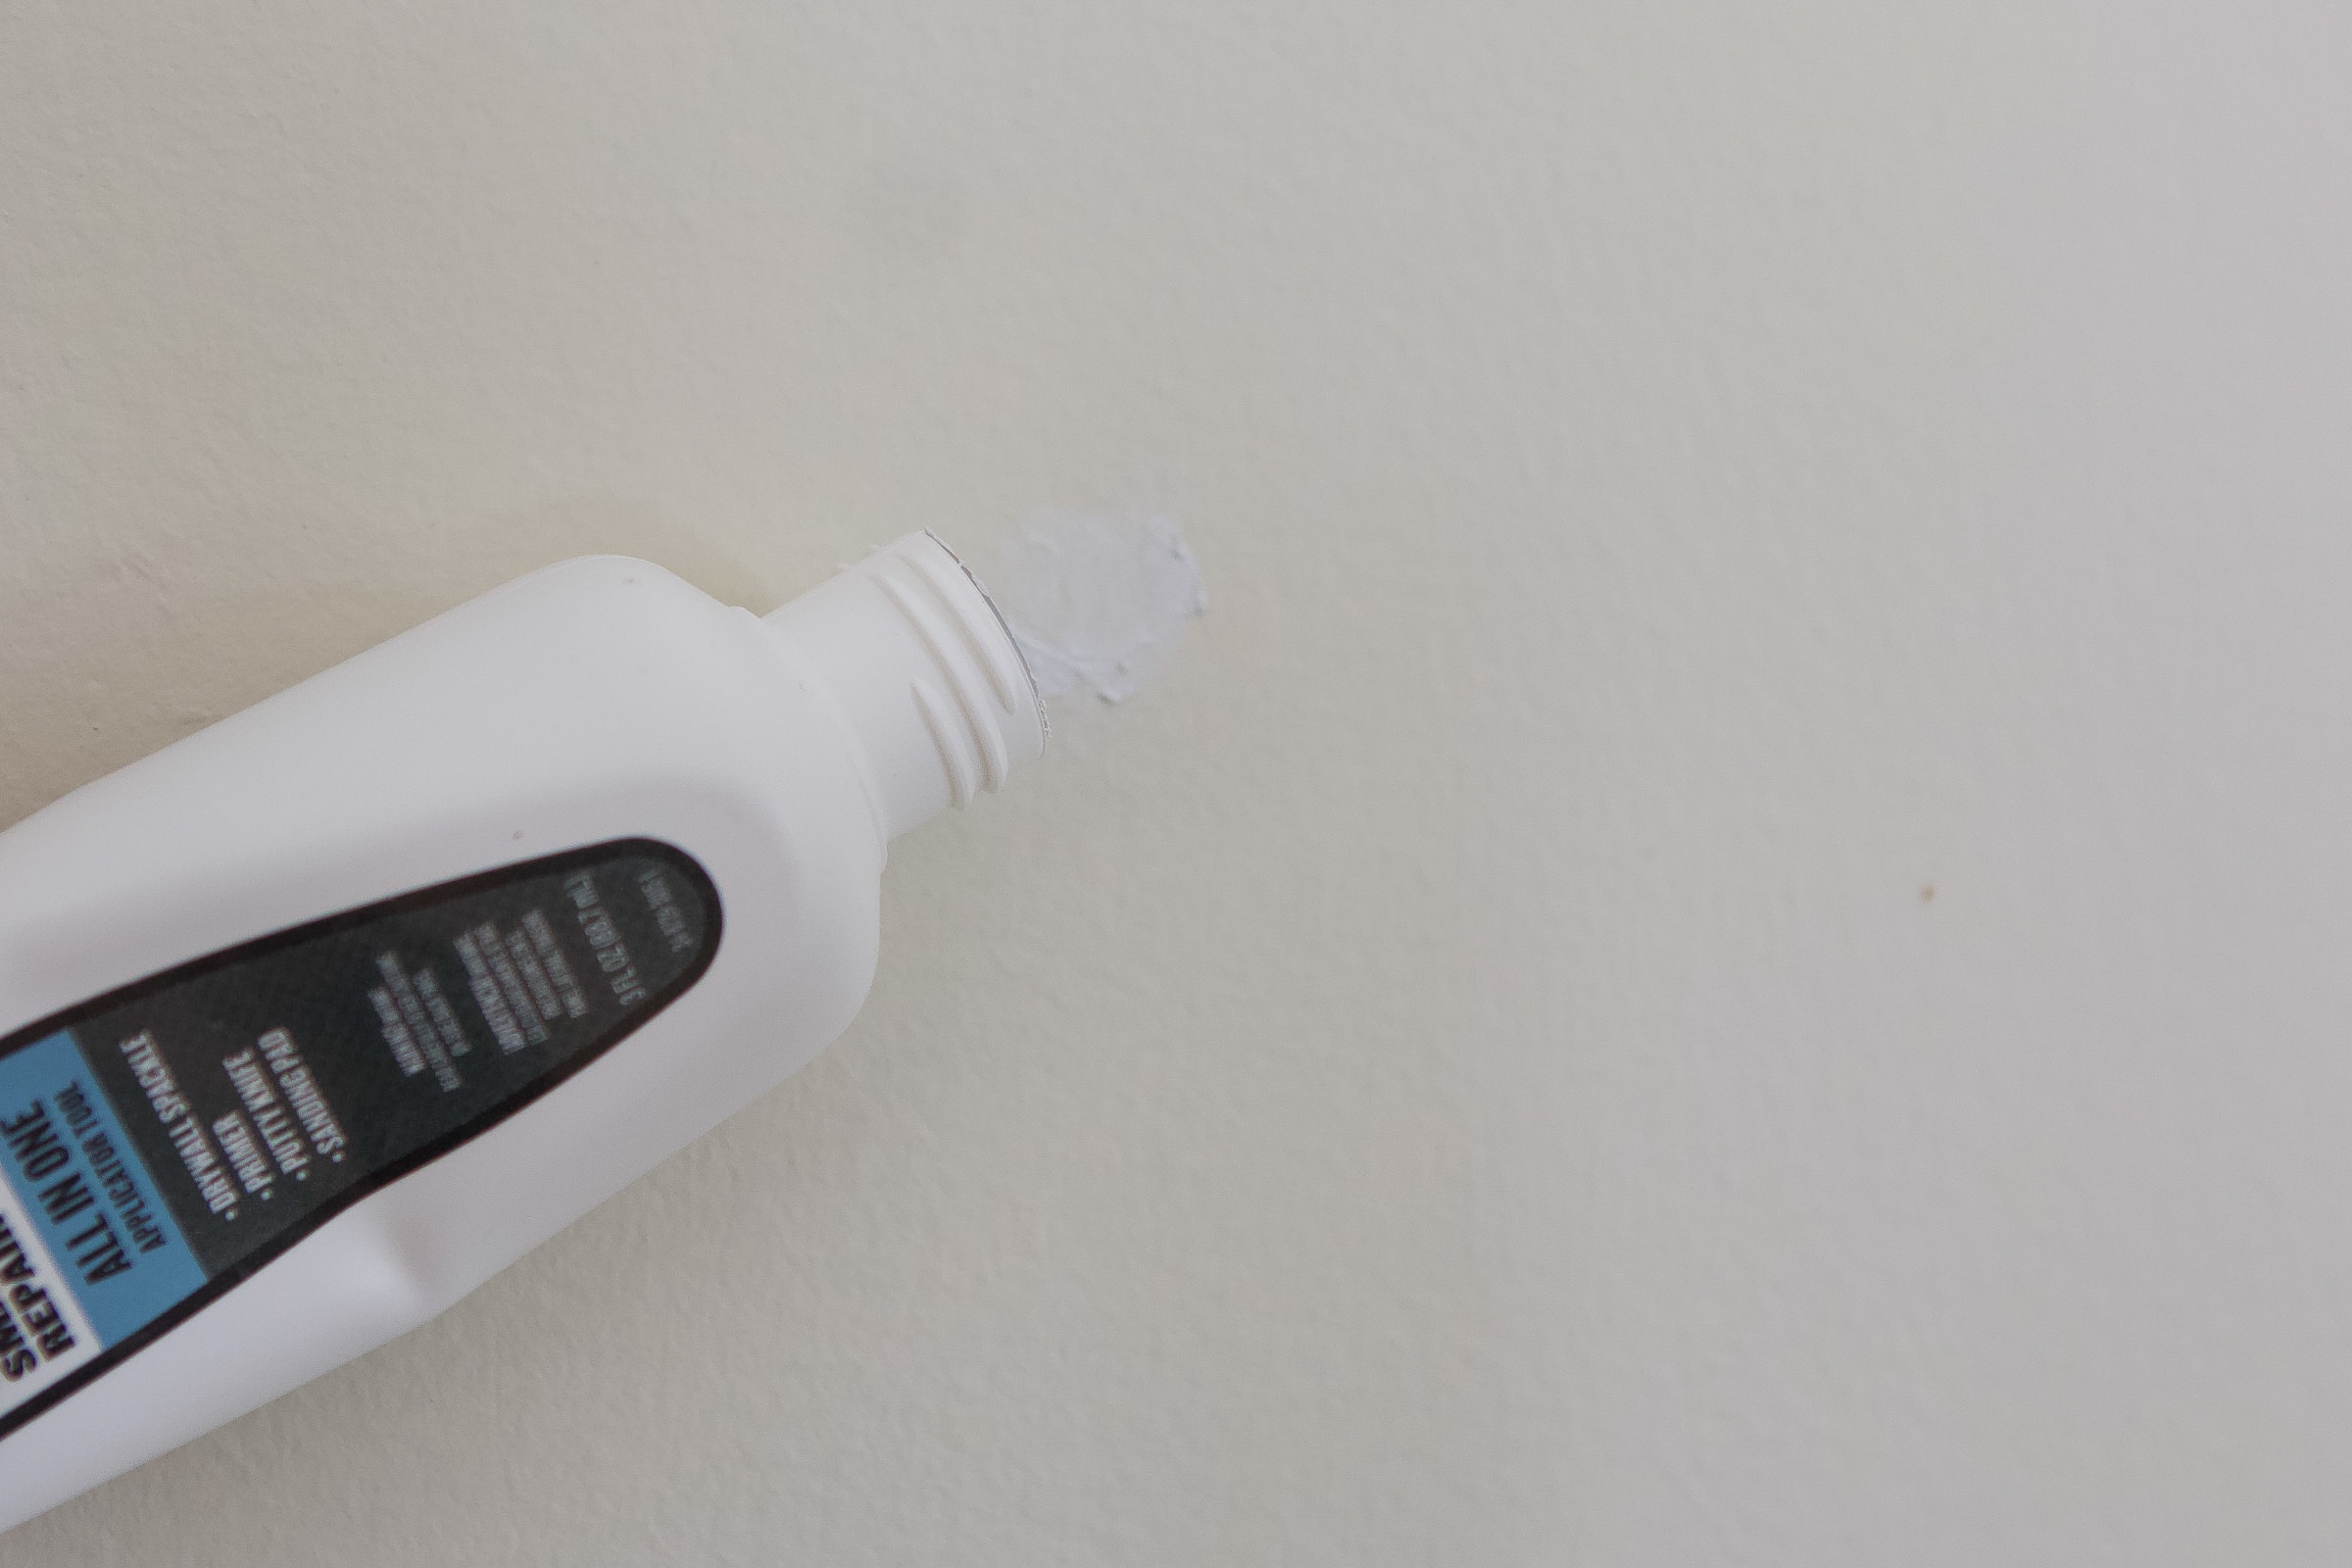
If you’re using my favorite all-in-one tool, squeeze a small amount of spackle directly into the nail hole. Then, use the flat putty knife end to scrape away any excess.
One of the biggest mistakes I see people make is using way too much spackle! You don’t need to cover a large area of the wall. Just fill the tiny hole and keep the surrounding surface as clean as possible.
Option Two: Use Spackle and Your Finger

Don’t have the fancy tool? No problem! For tiny nail holes, you can simply put a dab of lightweight spackling compound on your fingertip and press it into the hole.
Smooth away the excess with your finger or a slightly damp paper towel. You don’t even need a putty knife for holes this small!
Both methods work well, so use whatever you already have at home.
Step 3: Let the Spackle Dry and Smooth the Surface

Once you’ve filled the holes, let the spackle dry completely according to the product instructions. Some lightweight spackling compounds dry quickly, while others need more time.
If you notice any excess spackle around the repaired area, lightly smooth it with fine-grit sandpaper. The all-in-one tool has a sanding surface built right into the cap, which makes this step especially easy.
You want the repaired area to feel smooth and flush with the rest of the wall before moving on to paint.
Step 4: Touch Up the Paint

Okay, here’s where I see people make a big DIY mistake! They grab a paint brush, load it up with paint, and cover the entire repaired area. The problem? That fresh patch of paint can stick out like a sore thumb, especially if the rest of the wall hasn’t been painted in a while.
Instead, I like to use a simple trick to help the new paint blend into the existing wall color.

Grab your matching wall paint (I’m using Benjamin Moore’s Ballet White in an eggshell finish) and a paper towel. You only need a tiny amount of paint, so I usually just dab a little from the lid of the paint can.
Gently dab the paint over the repaired nail hole, then lightly feather it out around the edges. The goal is to blend the touch-up into the surrounding wall rather than creating one obvious patch of fresh paint.
Let the paint dry completely, and that’s it! Those tiny nail holes are gone, and your wall is ready for its next piece of art.
Even with this trick, touch-ups aren’t always completely invisible. The age of your existing paint, the sheen, and your wall texture can all affect how well the new paint blends. If you’re having trouble getting a seamless finish, you may need to repaint the entire wall.
Common Mistakes to Avoid When Filling Nail Holes

Filling small nail holes is pretty straightforward, but there are a few mistakes that can make your repair more noticeable. Here are my biggest tips for getting a professional-looking finish.
Using too much spackle. You only need a small amount to fill tiny nail holes. Applying too much creates extra sanding work and can leave a noticeable patch on your wall.
Painting before the spackle dries. I know it’s tempting to finish the project quickly, but make sure the spackle is completely dry before touching up the paint. Otherwise, you could end up with an uneven finish.
Skipping the sanding. If there’s excess spackle sitting on the surface, you’ll want to lightly sand it smooth. For really small holes, you may be able to skip this step if you’ve wiped away the excess while it’s still wet.
Using the wrong paint finish. Even if you have the exact wall color, using a different sheen can make the repaired area stand out. Use the same paint color and finish as the rest of the wall. Here’s my paint sheen guide if you’re confused.
The good news? Once you get the hang of this simple repair, you’ll never be afraid to rearrange your gallery wall again!
Frequently Asked Questions About Filling Nail Holes
Can you fill nail holes without sanding?
Yes! For tiny nail holes, you can often skip sanding altogether. The trick is to use a small amount of lightweight spackle and wipe away the excess with your finger or a damp cloth before it dries. If the repaired area is already smooth and flush with the wall, there’s no need to sand.
Can you use toothpaste to fill nail holes?
You may have heard of using toothpaste to fill small holes in a wall, especially in a rental. While it might seem like a quick fix, I wouldn’t recommend it! Toothpaste isn’t designed for drywall repairs and can shrink, crack, or discolor over time. Not to mention, make your walls smell minty! A small container of lightweight spackle is inexpensive and will give you a much better result. Plus, if you seal it well, it can last awhile.
Do you need to prime spackle before painting?
For a small nail hole like this, I don’t typically prime. For larger holes, yes…primer is the way to go!
How do you fill larger holes in drywall?
If you’re dealing with larger holes from drywall anchors or screws, you may need more than a dab of spackle. Depending on the size of the hole, you might need a putty knife, joint compound, or a drywall patch. I have separate step-by-step tutorials for repairing medium-sized holes in drywall and larger holes in drywall.
Ready to Hang More Wall Art?
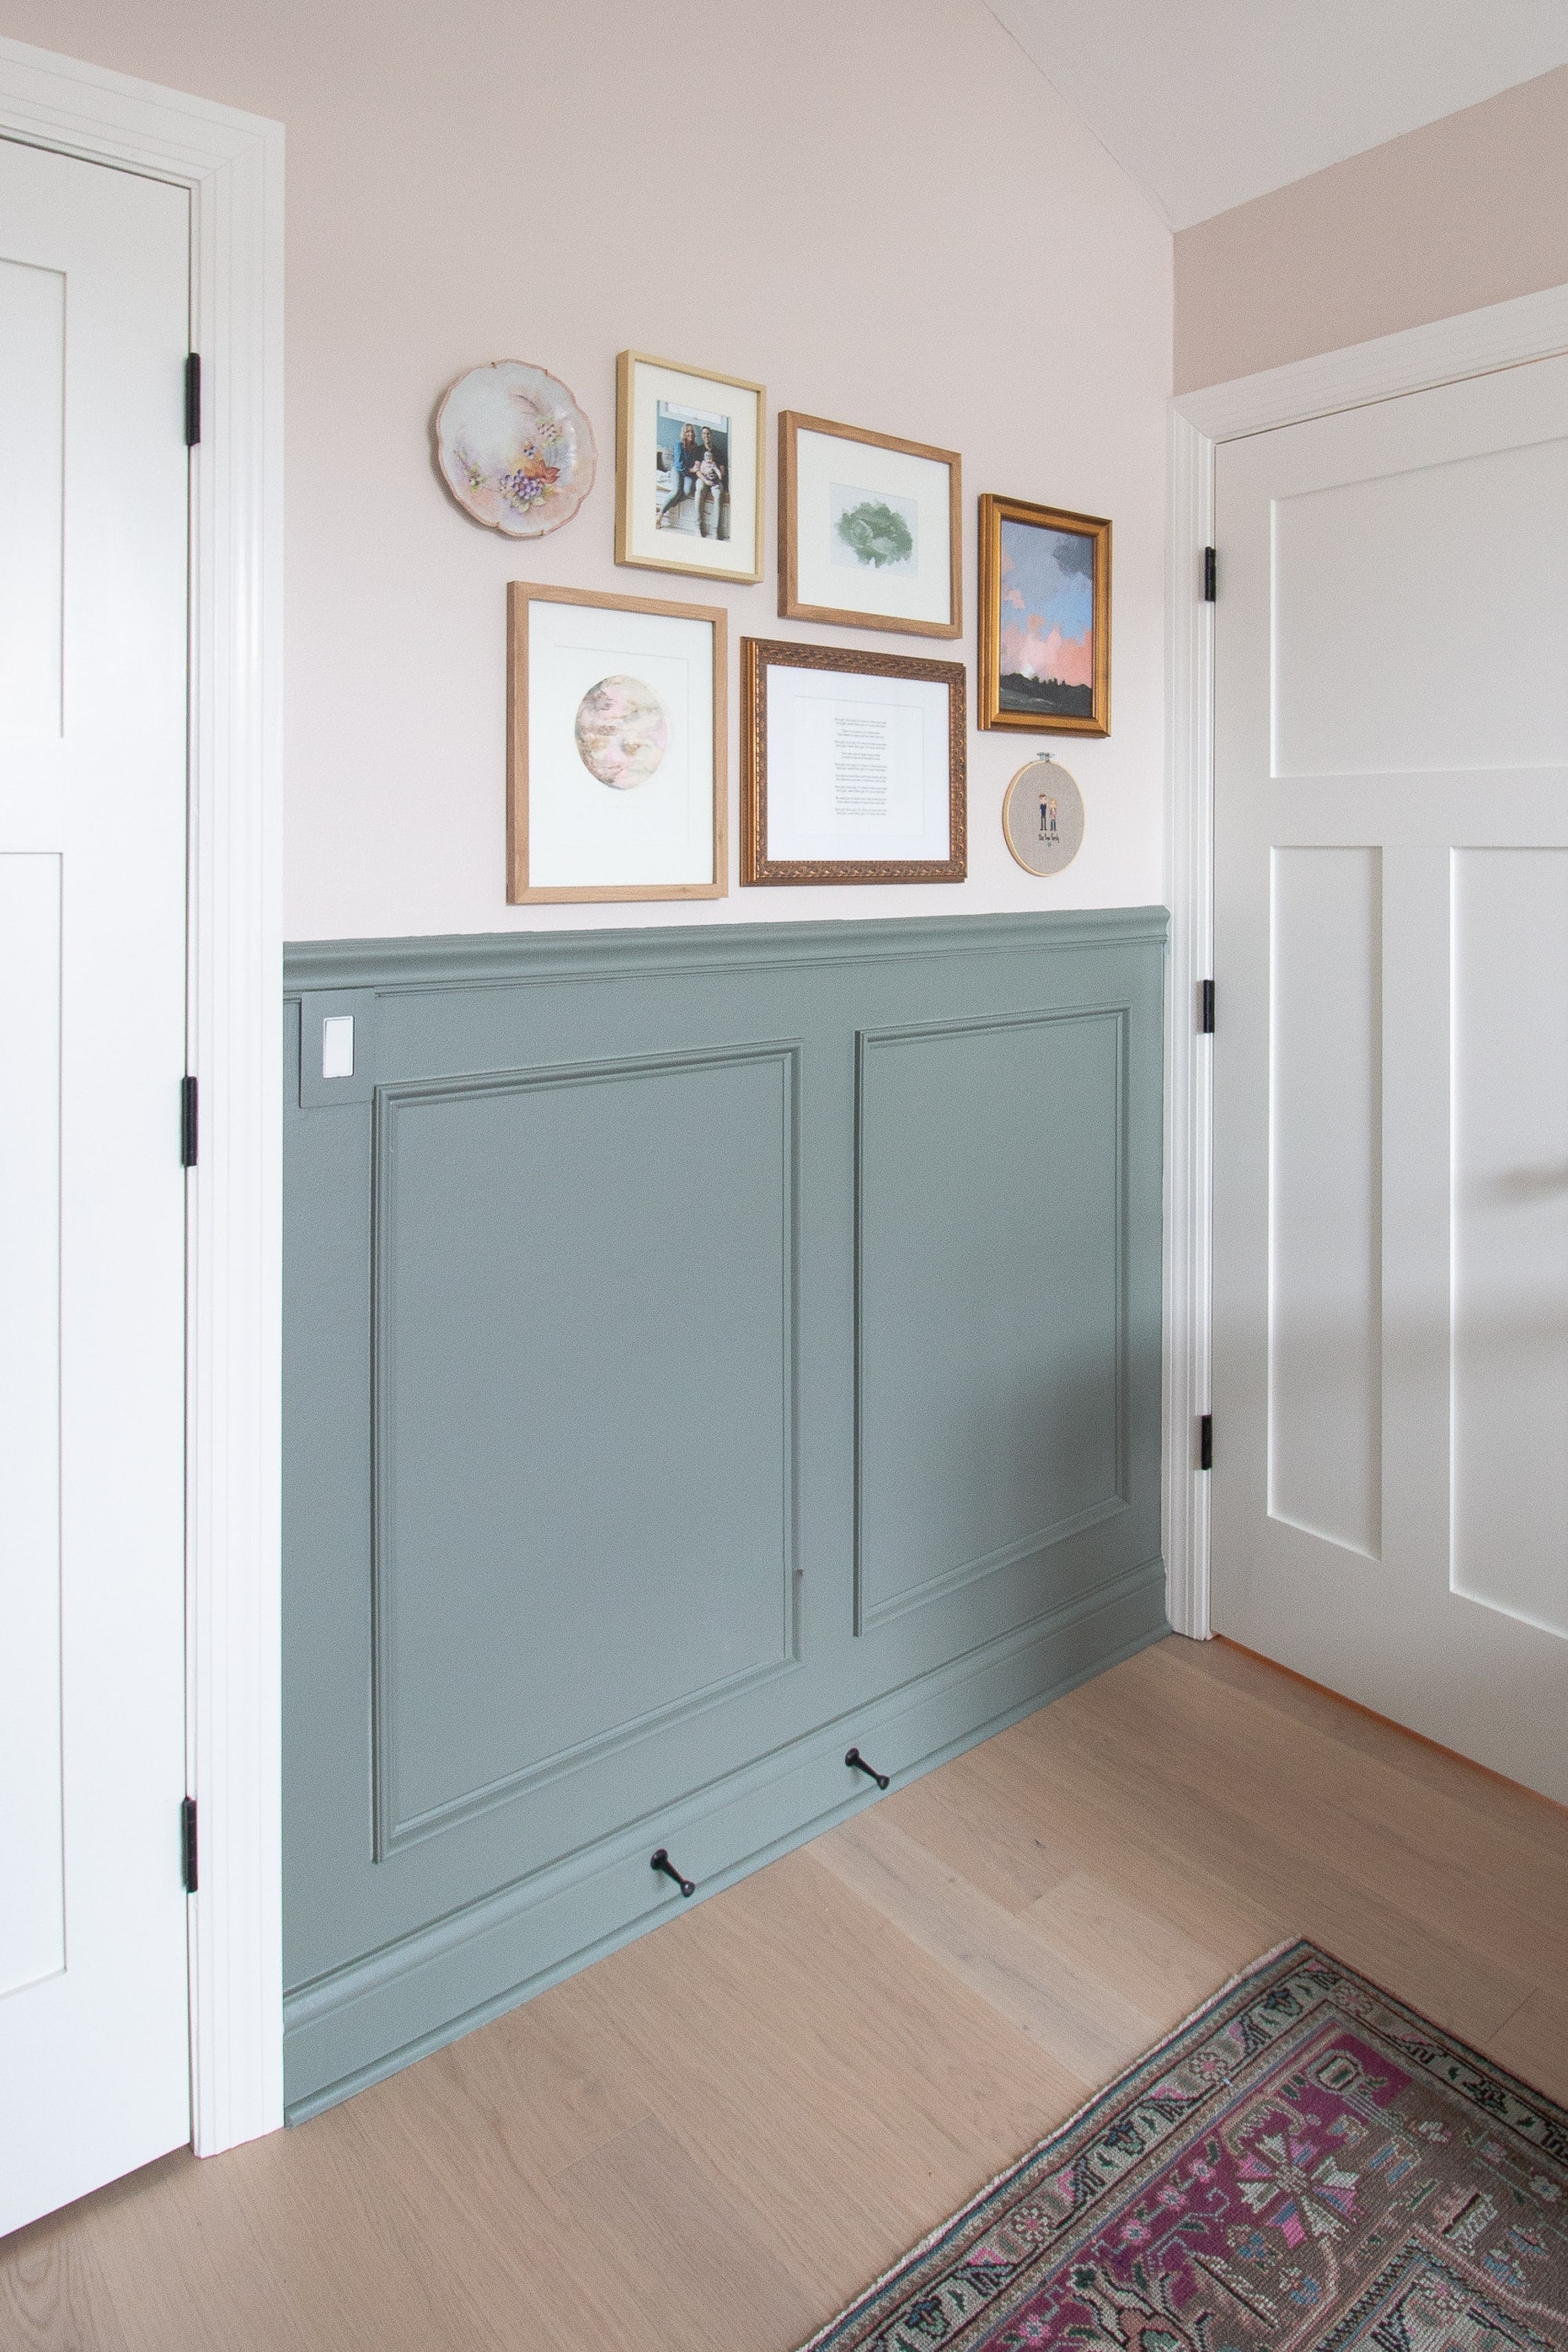
Now that you know how easy it is to fill nail holes in drywall, there’s no reason to be afraid of putting a few holes in your walls! Whether you’re switching out artwork, rearranging frames, or starting a gallery wall from scratch, you can always patch those tiny holes later.
If you’re looking for inspiration for your blank walls, here are a few of my favorite projects and tips:
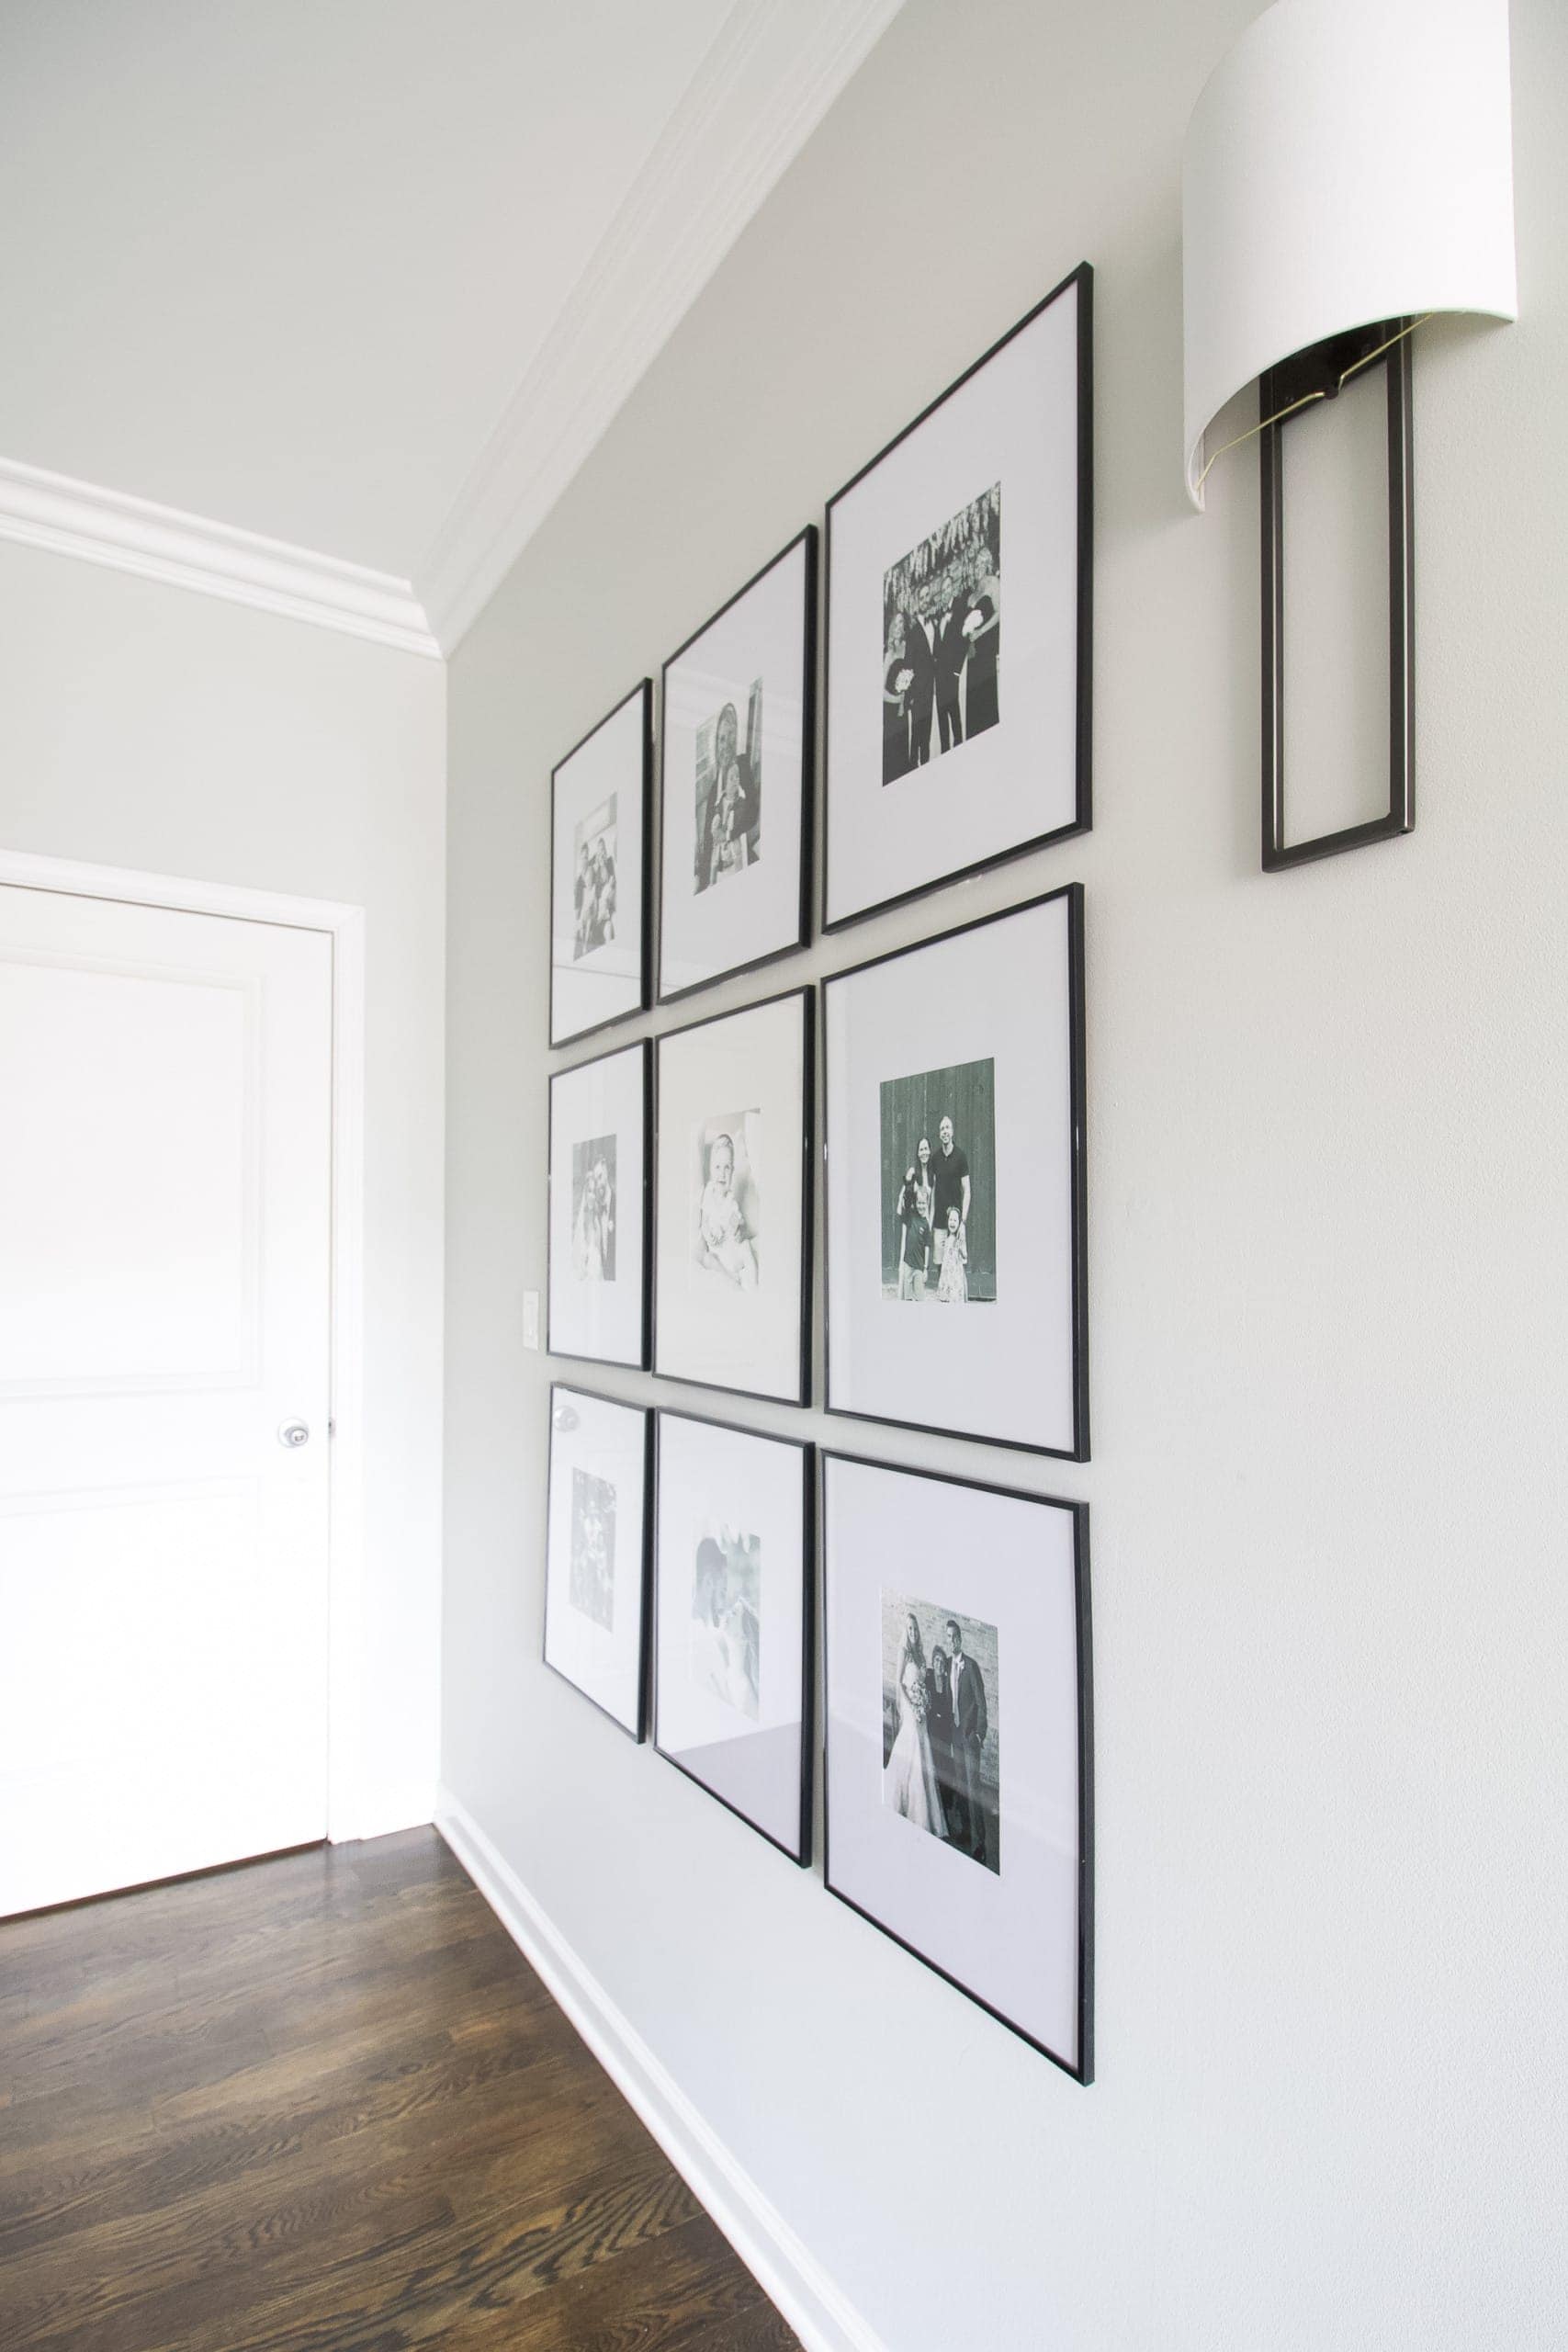
- Tips to hang a symmetrical gallery wall
- Our living room wall of art
- The easiest way to hang a gallery wall
- How to find and frame vintage art prints
- Inexpensive art ideas for your home
- My favorite places to shop for online art
And if you’re hanging lightweight frames and want to avoid nail holes altogether, I’m also a big fan of Command Strips. I always keep a pack on hand for quick decorating projects.
A Little Home Maintenance Goes a Long Way
I love DIY projects like this because they’re a reminder that taking care of your home doesn’t have to be complicated or intimidating. Sometimes, it’s the little fixes that make the biggest difference!
If you want to feel more confident maintaining and improving your home, I wrote an entire book to help you do just that! Your Home Playbook, coming January 12, 2027, is a month-by-month guide filled with approachable home maintenance tasks, step-by-step DIY tutorials, and practical tips to help you take care of your biggest investment.
Preorder Your Home Playbook Here!
Now, who’s ready to walk around the house and tackle all those little nail holes? I know I have a few spots that could use some TLC!
Casey