Frames in the Hallway…. finally!
Remember when my dad and I tackled board & batten in our hallway last winter? Here’s a gif that will bring you up to speed: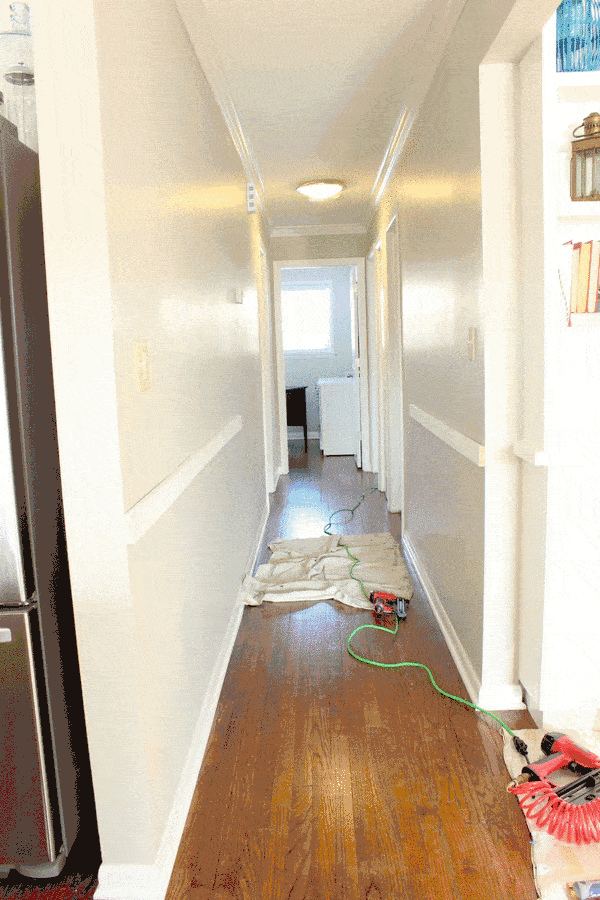 When the board & batten project was done, the hallway looked like this…
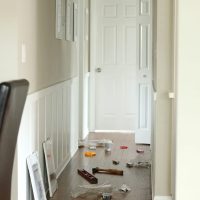
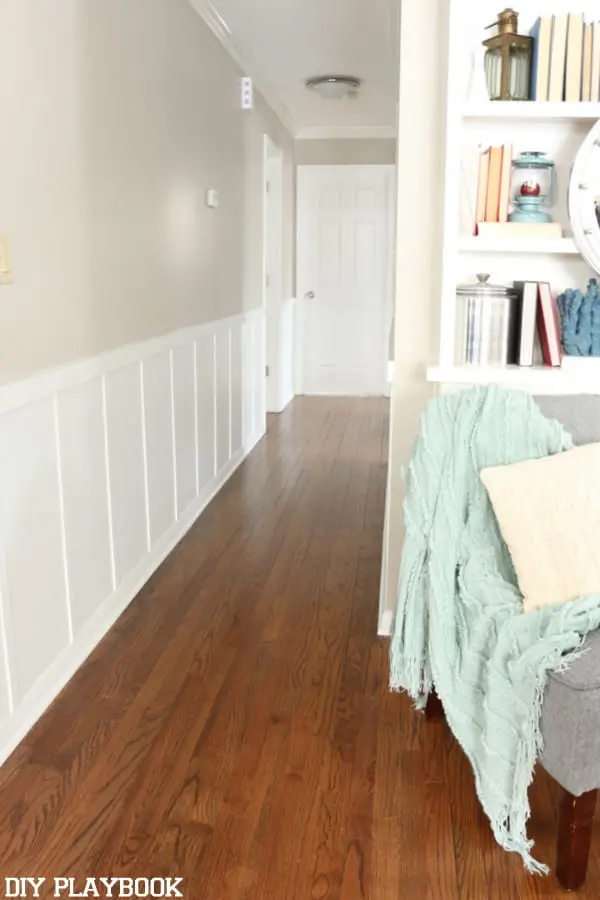 … and the hall stayed looking exactly like that for the past few months. I absolutely loved the board and batten and thought I wanted frames running down the hallway (just like my inspiration from Young House Love), but I also wanted to live with the new look for awhile to see if that’s what I reaallllyyyy wanted (aka I didn’t want to rush the process and end up having design regret).
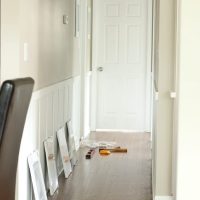
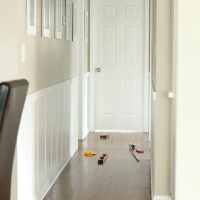
 After living with the look for a few months now, I recently came to the conclusion that it was finally time to add those frames (!!!!). I picked up 6 frames from Michael’s (eventually I needed 9 to finish the project) and spaced them out along the hallway to “test drive” the look.
I was lucky that I didn’t have to do too much measuring because I used the vertical strips from the board & batten to line up the frames evenly. Knowing that these strips were measured out accurately (thanks dad!) guaranteed that the frames would be too if I aligned them accordingly.
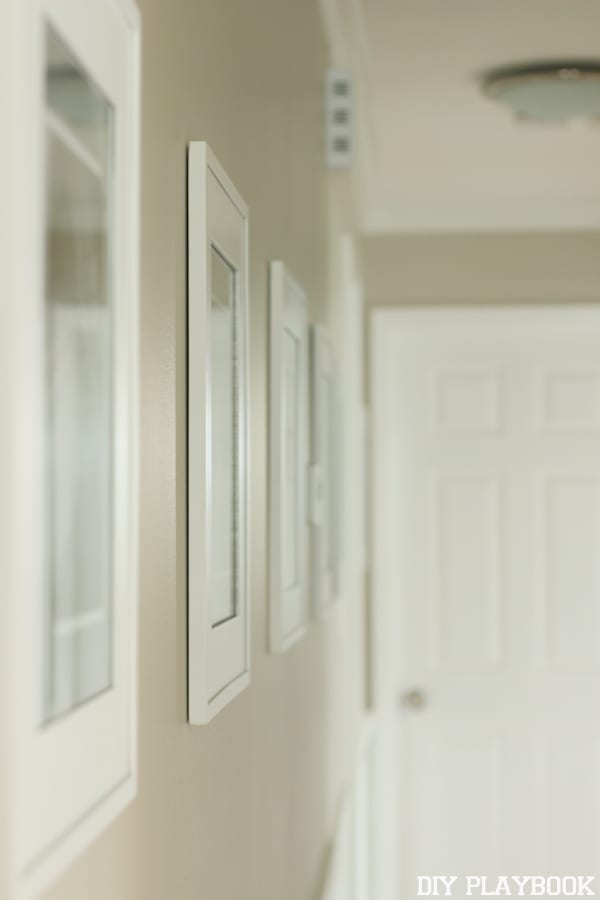 Once I liked the spacing, I started measuring and lightly marking. FYI the frames are eye level, which is at 37″ above the top of the board and batten and the frames have about 17″ of space in between.
Rookie Tip: if you’re not sure how high to hang your frames, you can’t go wrong with eye level! 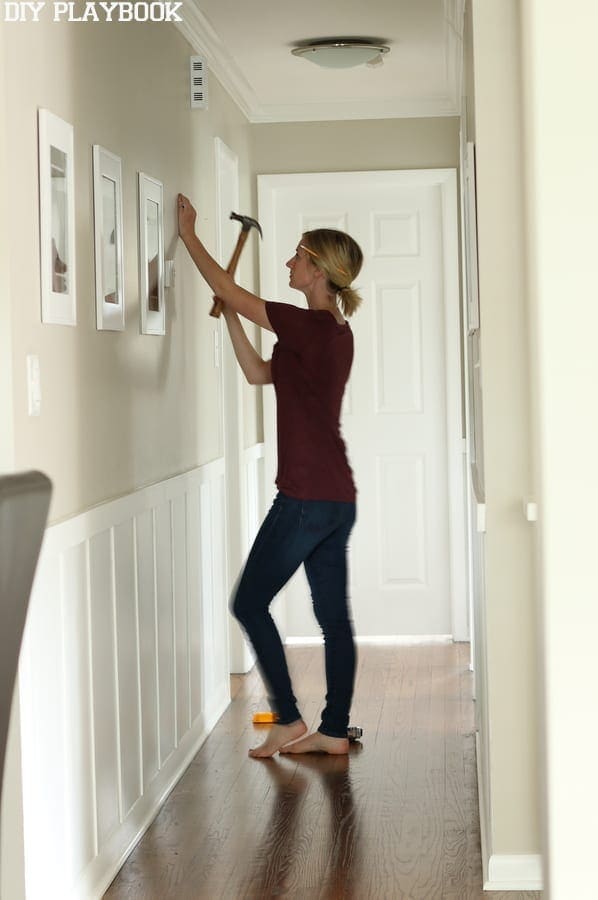 It was a bit tedious making sure all of the frames were level down the entire hallway, but with some measuring and attention to detail it wasn’t as intimidating as I originally thought. I was able to measure, hang AND line up the entire hallway of frames all by myself, and if an anti-measuring gal like me can make it work, I KNOW that you can do it too.
 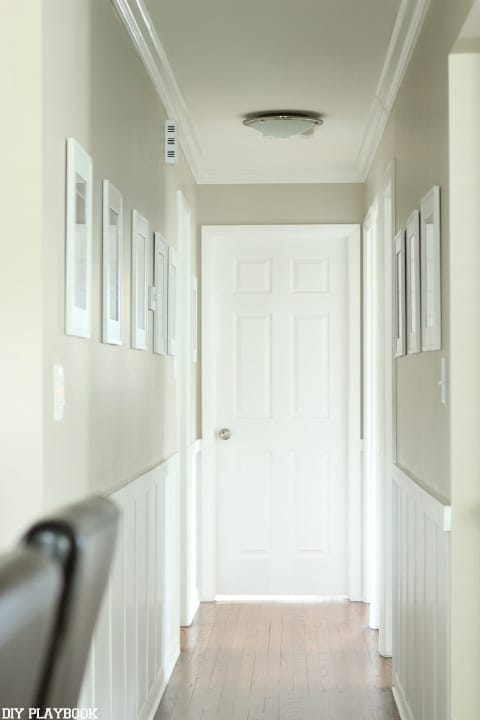 Like I mentioned before I did have to go back to Michael’s to get 3 more frames for a grand total of 9 frames. The frames were $36.00 each (originally) but were 50% off, so each frame cost me about $13. Nine frames at $13 a piece brought me to a grand total of $117 <— not bad at all BUT believe it or not, the frames cost me more than the board & batten!! Can you believe that?!

Now if I can only figure out what to put in these frames. I feel like if I had kids, it would be easy to fill them with pictures of them. But with just Matt & I, we for sure will not be creating a gallery of us…hahaha awkward! My initial thoughts were framing pages from a book (can’t really find a book that fits the ticket though), then I thought framing travel photos could be cool (still an option), and then I thought I could just BUY art (but that can become pretty expensive quickly). ANY AND ALL HELP IS VERY WELCOMED! If you have any suggestions, I’d love to hear them (sidenote: the opening is 10×13). At the pace this hallway is moving, it may be awhile before I decide….
… and I’m OKAY with that! #workinprogress