The Reveal of Our Kids’ Bathroom
The day has FINALLY arrived…our kids’ bathroom is finished and I’m so happy we have a gorgeous space for our lovely kiddos. Our house was under construction for most of the month of March, and I then spent the last two weeks cleaning, organizing, and decorating.
I’m not gonna lie. It was pretty tough having a mess of an upstairs for four and a half weeks. My sleep wasn’t great – definitely blaming the Dexter-style plastic sheeting in our bedroom – and I just felt dusty and dirty 24/7. Luckily, we made it through and we now have two gorgeous bathrooms to show for it. Before I get to the goods, let’s take a look at this space when we bought it in 2019…the “before-before”.
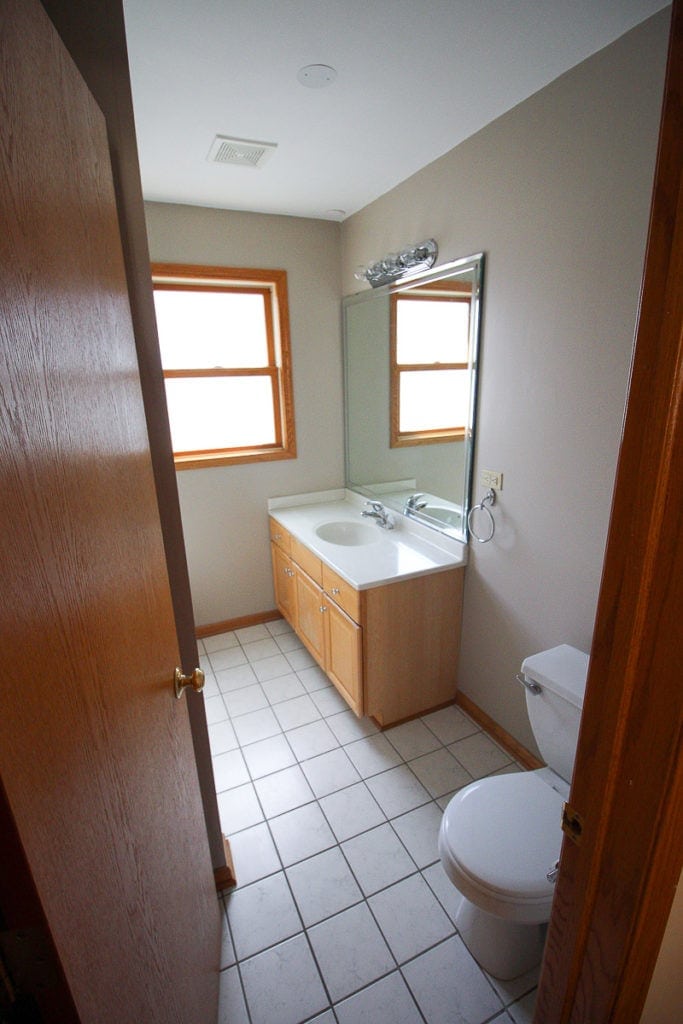
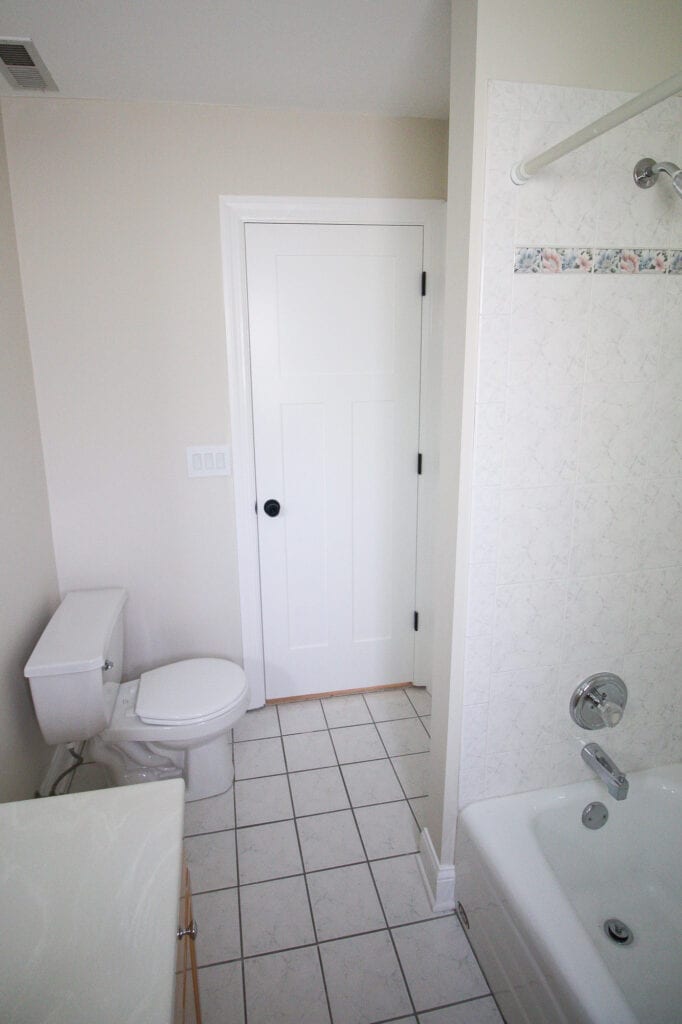
The Before-Before
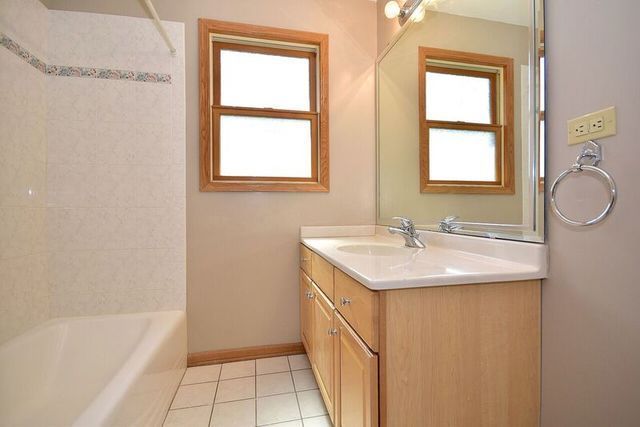
Here’s a look at the bathroom back in the summer of 2019 when we bought this house. It was functional and basic and very builder-grade. My plan was to give this small room lots of personality and life, so our children could enjoy it for years to come.
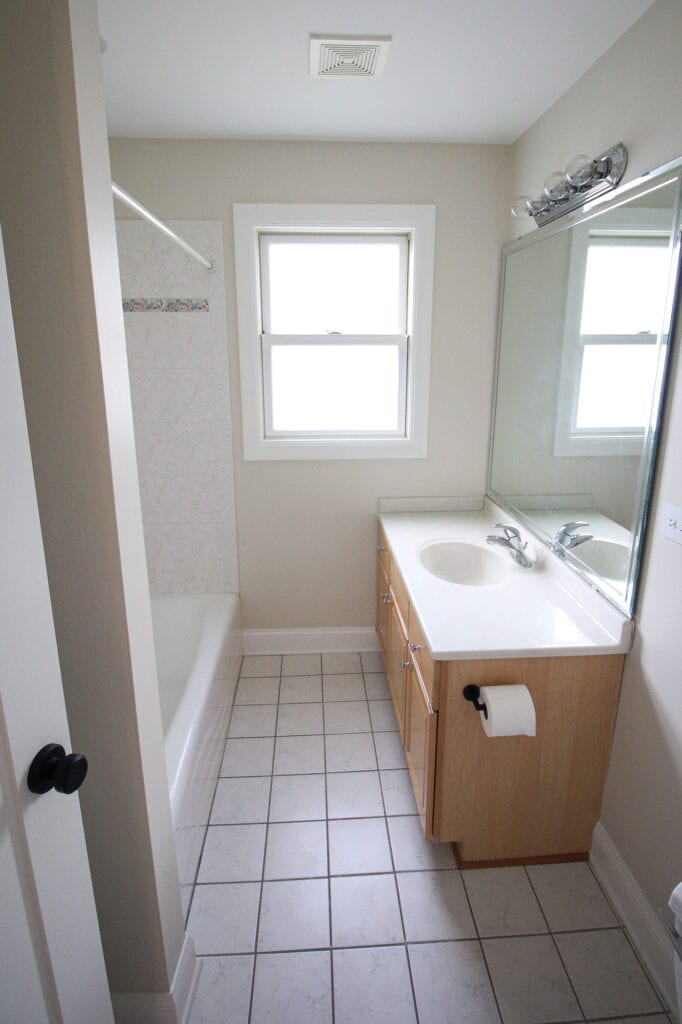
The Before

I did a budget-friendly makeover in the summer of 2020 and I think I spent about $500 updating the space with a new mirror, light fixture, and paint on the floor, vanity, and shower. It looked so much better and was a great Phase One cosmetic upgrade. However, I knew that long-term it would be smart to completely renovate the space.
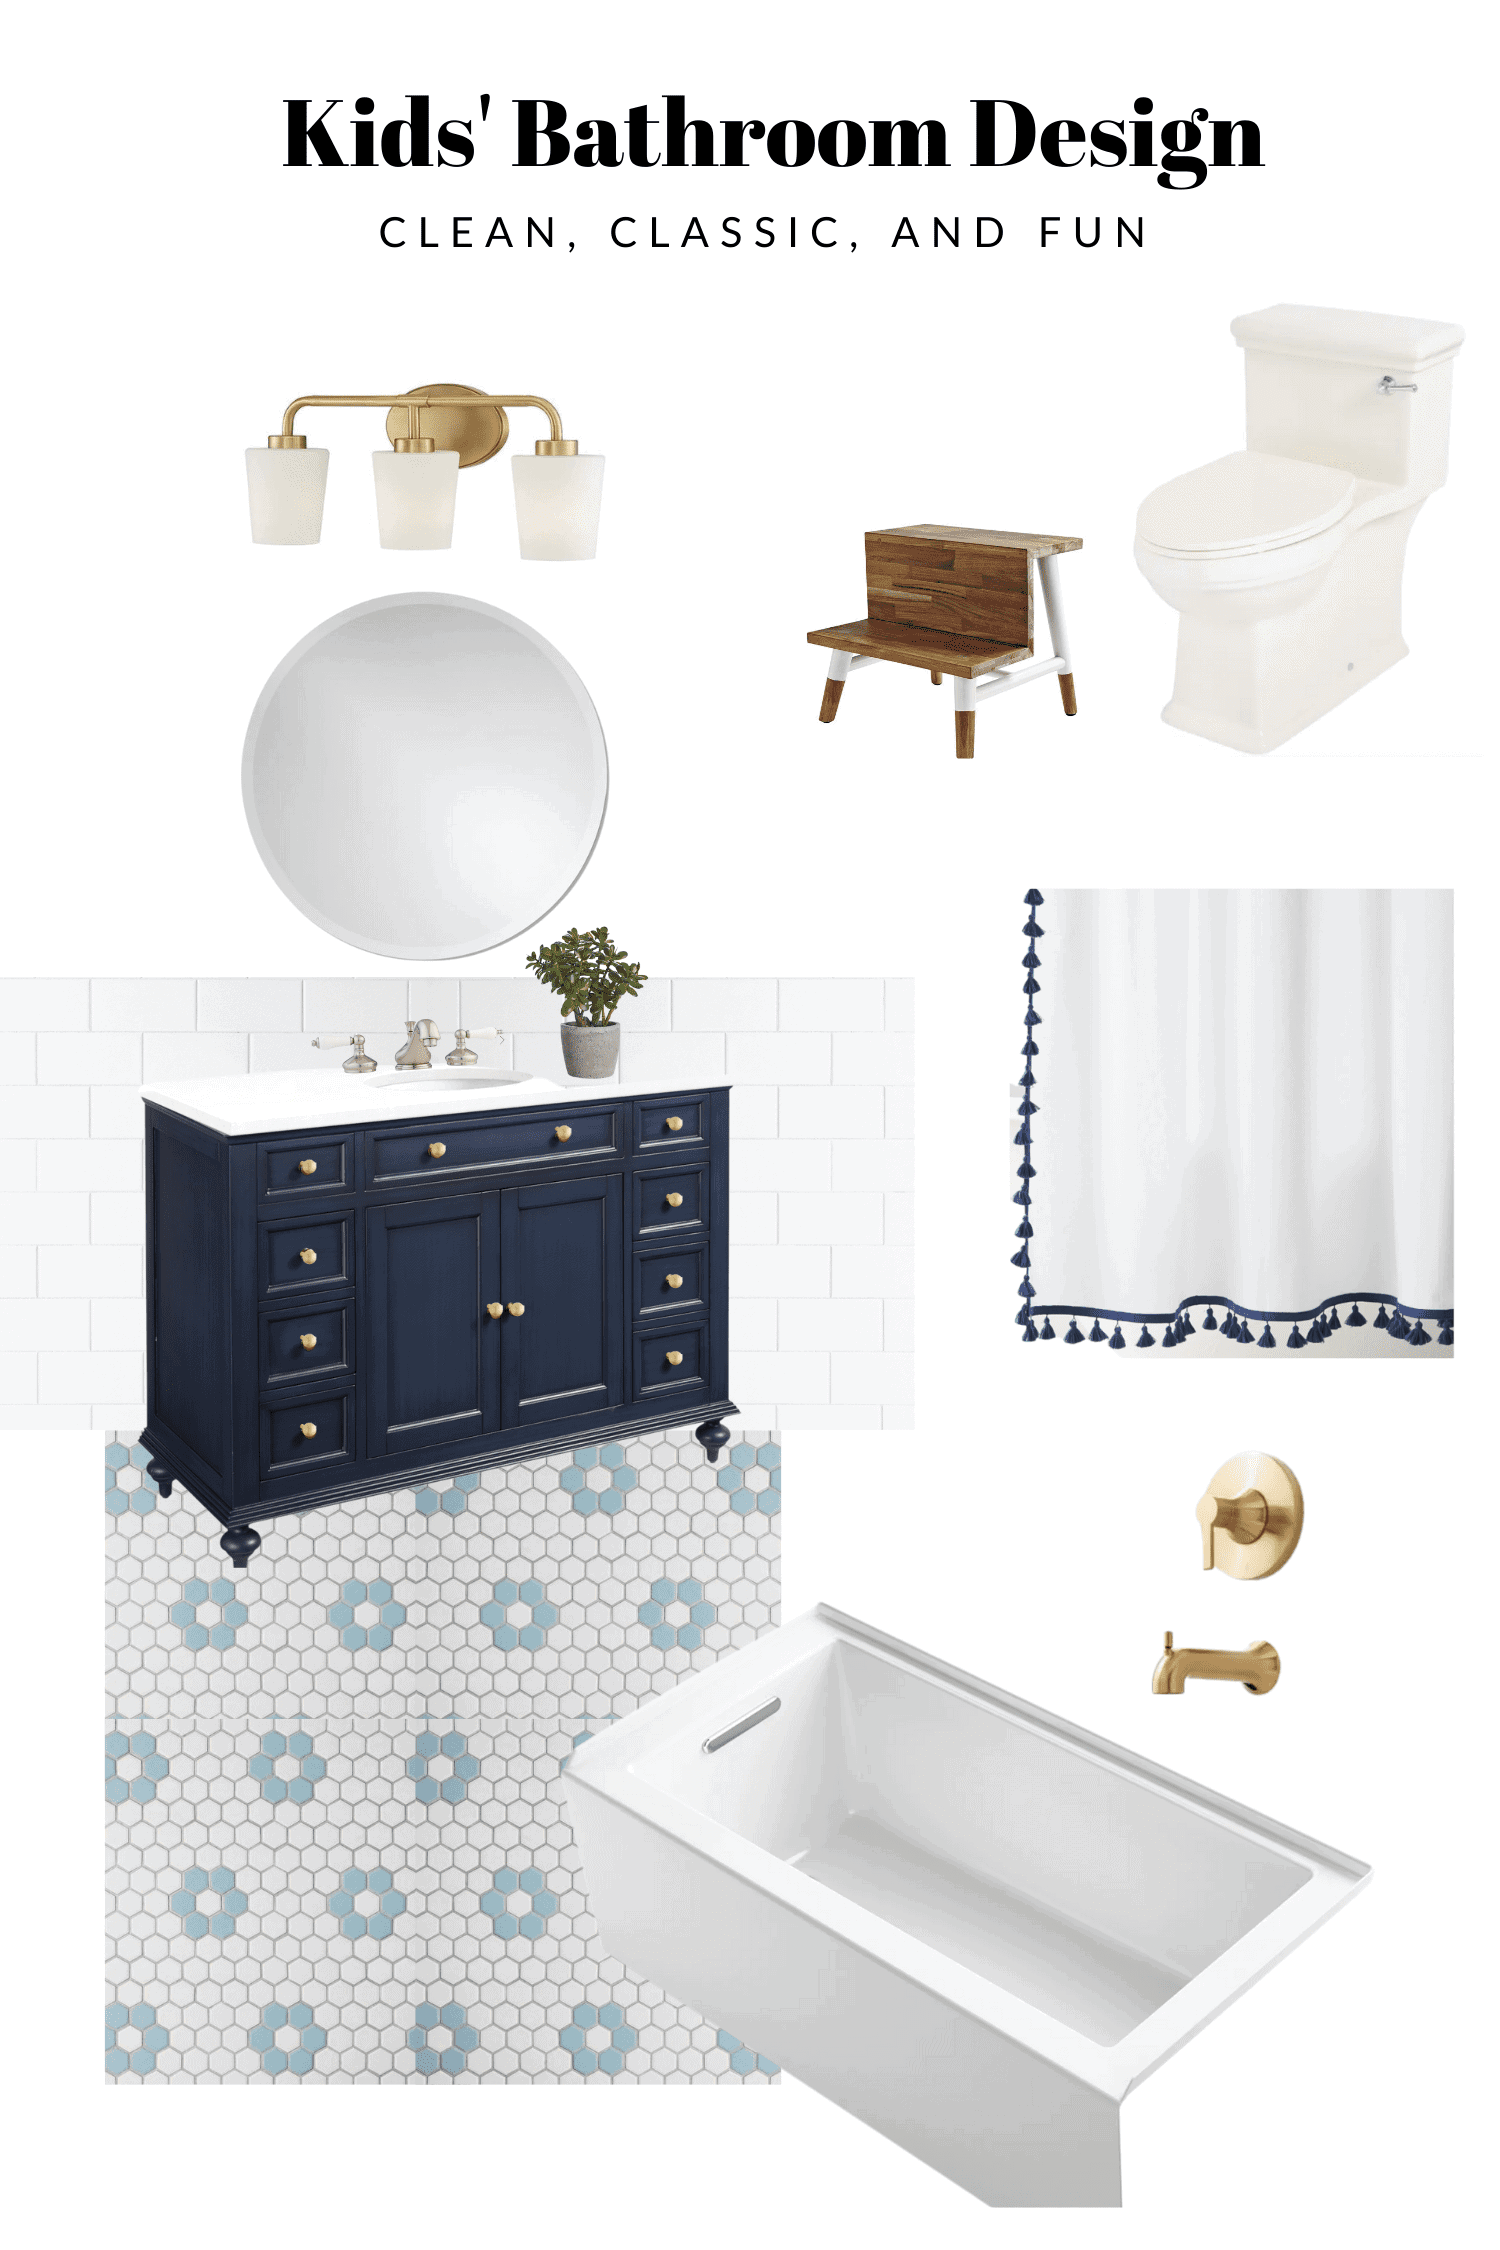
Floor Tile // Shower Tile // Bathtub // Vanity // Mirror // Vanity Light // Gold Shower Hardware // Cabinet Knobs // Faucet // Toilet // Shower Curtain // Teak Step Stool
I shared this design plan back in February and we pretty much stuck to my vision. It’s very classic with the white subway tile, but also fun with the blue accents and brass detailing. My goal was to solve these pain points with the new space…
- Awkward toilet placement – Check! (kind of…)
- Splash marks on the wall – Check!
- Lack of vanity storage – Check!
- Old bathroom fan – Check!
- Peeling bathtub – Check!
- Uneven floors – Check!
The New Kids’ Bathroom
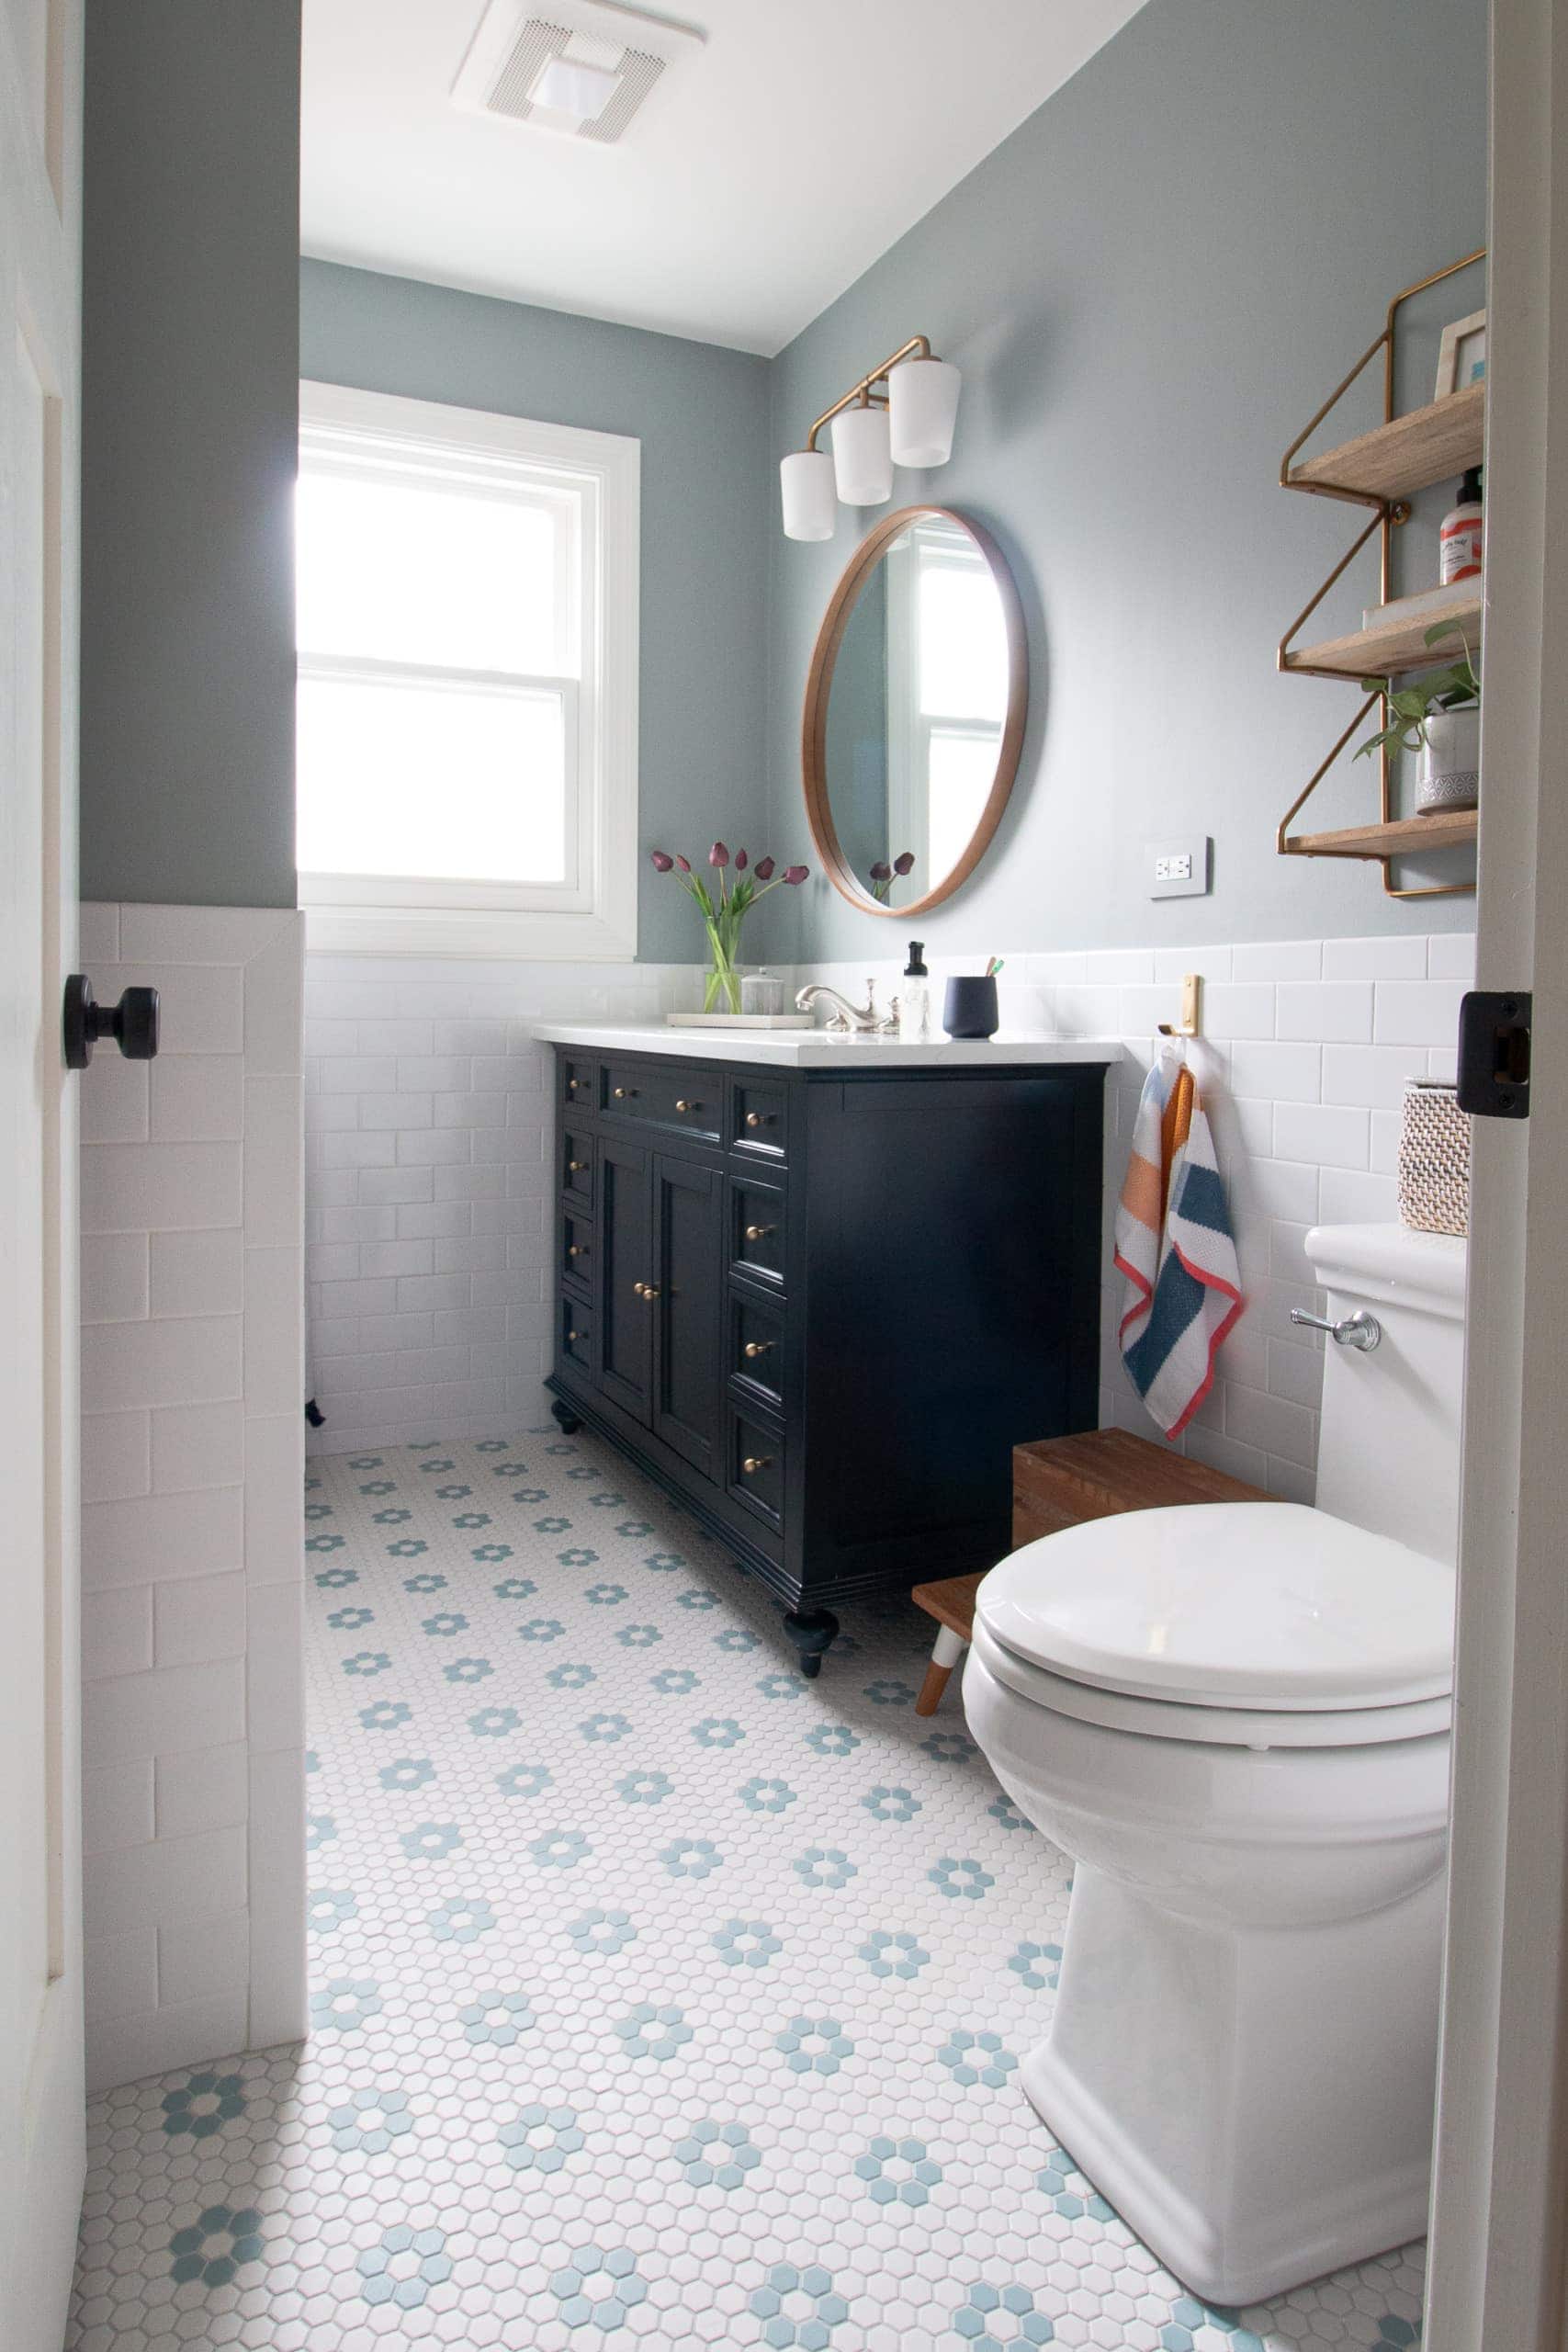
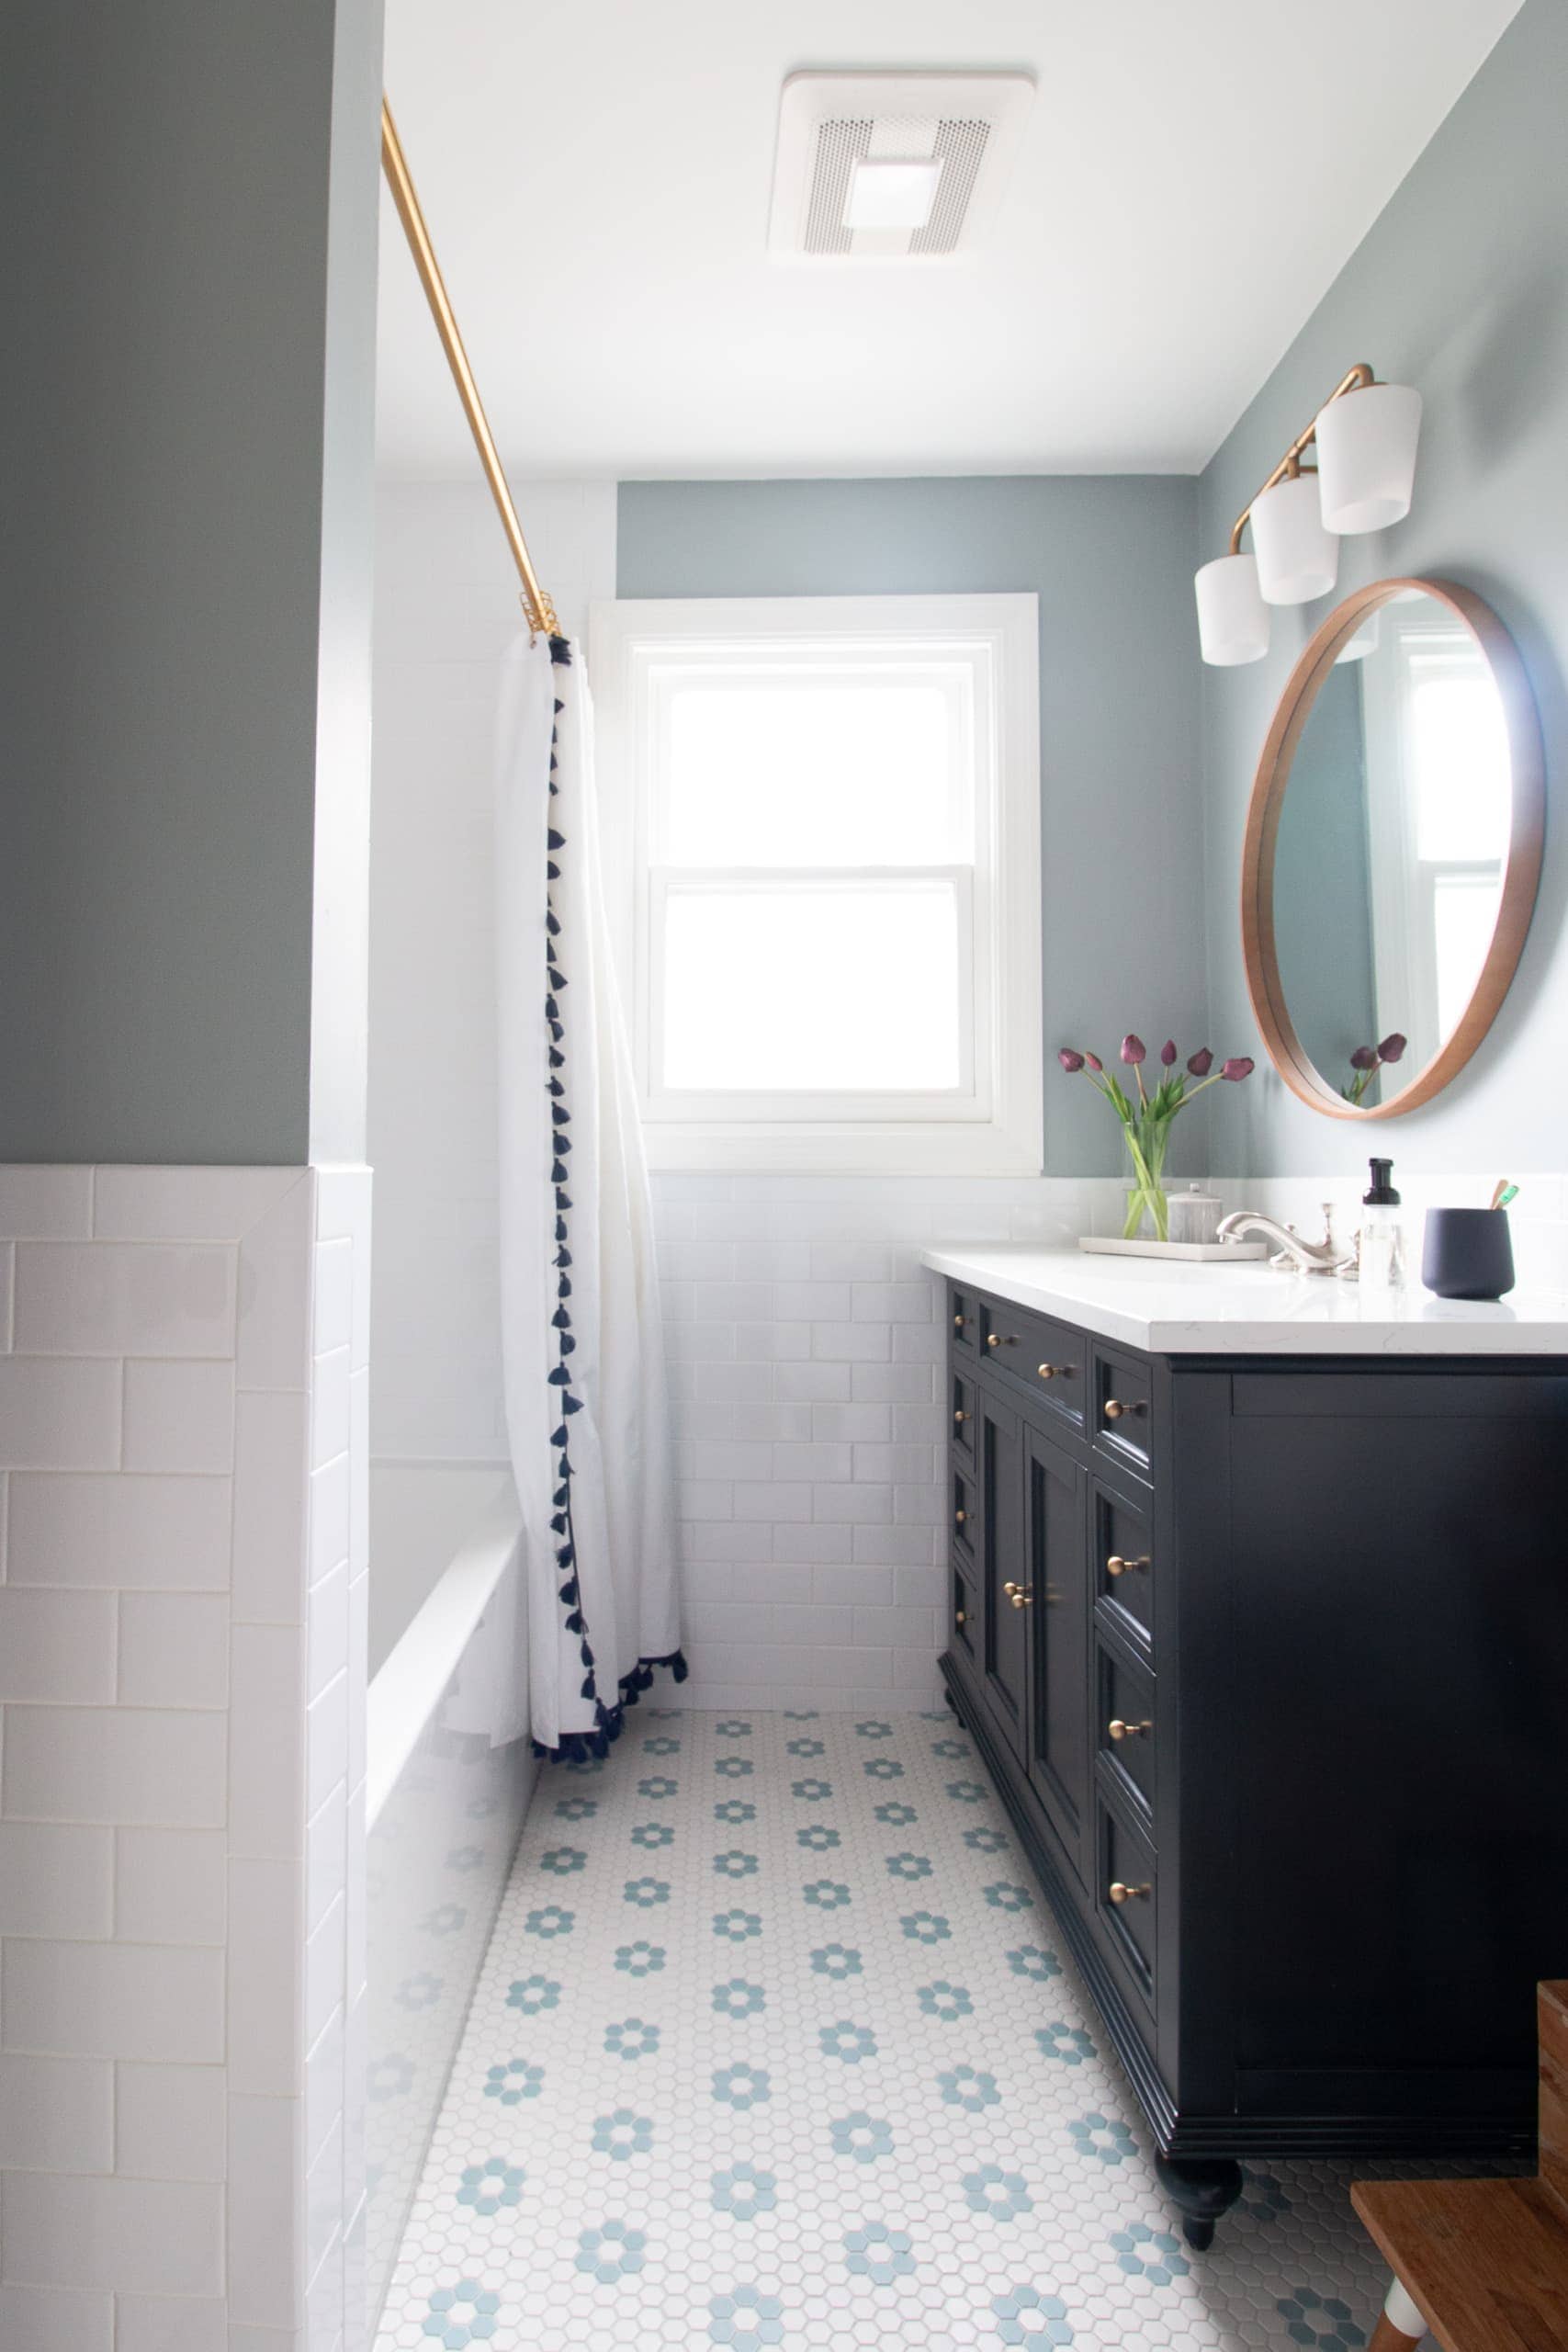
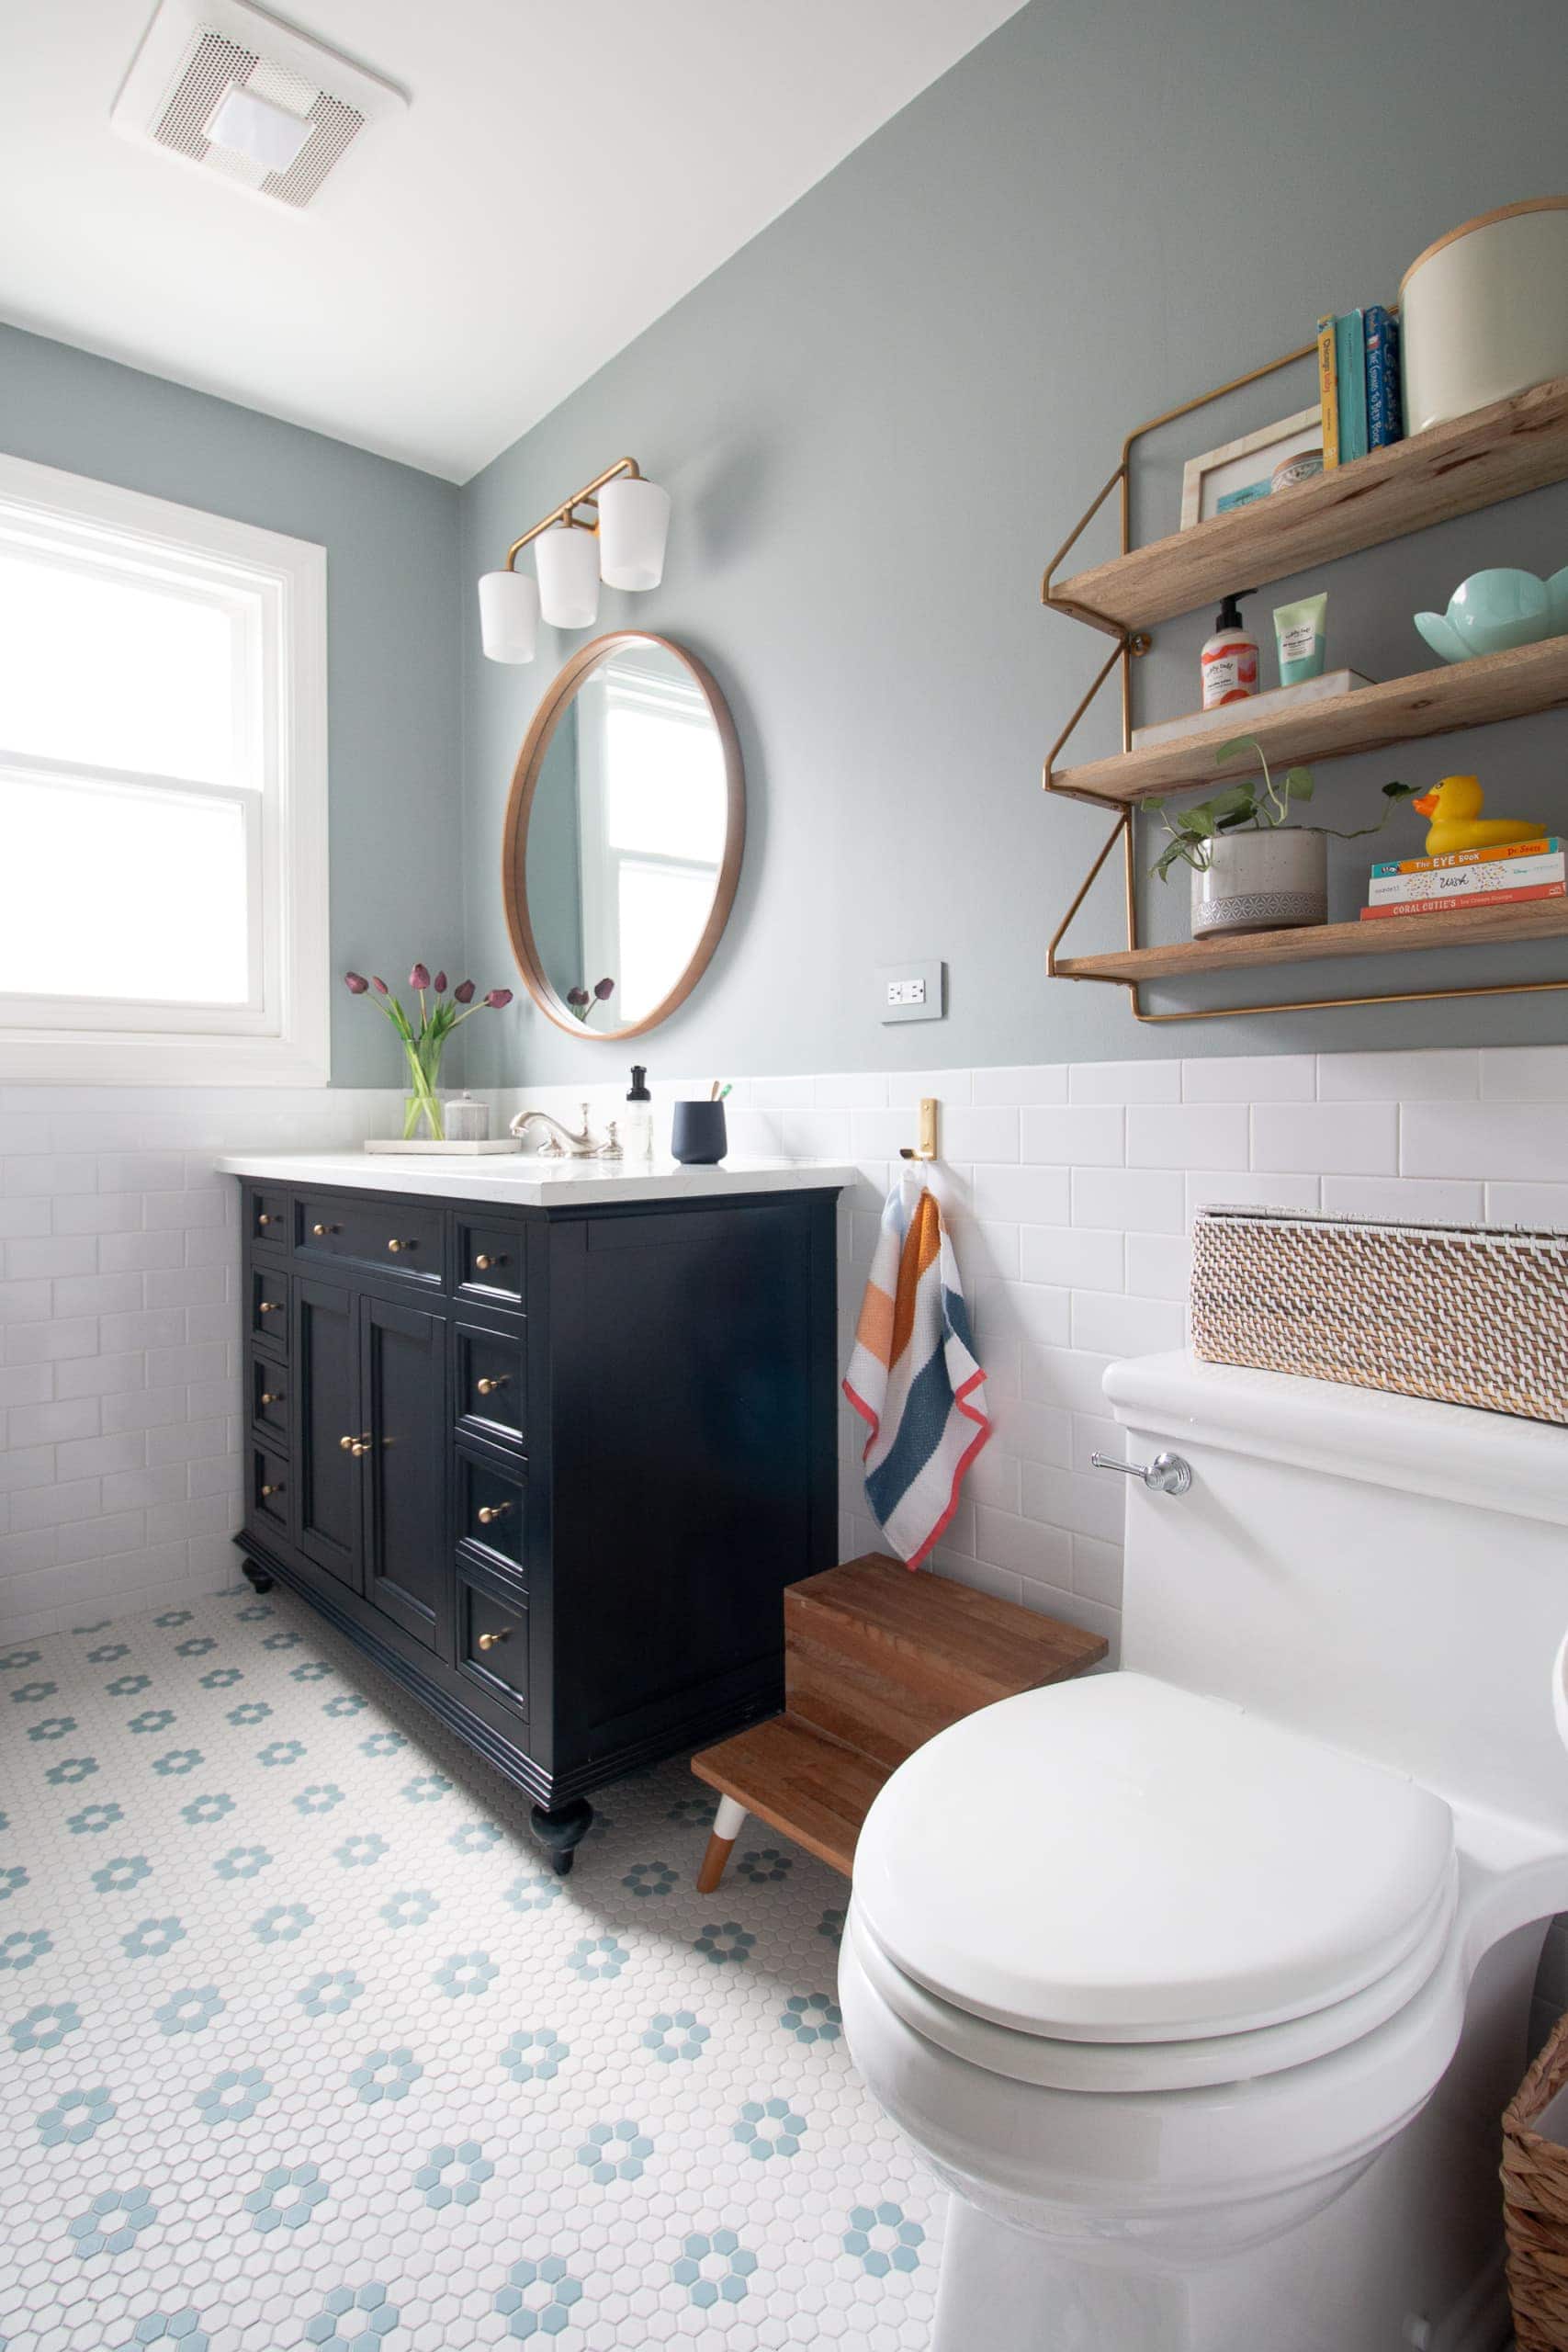
Here’s a look at the new space. At first glance, it might not even seem that wildly different from the Phase One cosmetic upgrade. I mean, the layout is the same, the new vanity is also navy, and I even kept the same light fixture and shelving.

But beyond that, it’s so incredibly different and upgraded. The tile is gorgeous, the vanity functions well, the shower and tub are modern and fresh. I walk into this space and I feel light and happy!
The Magnificent Tile

The floor tile might be my favorite new addition. I’m so happy I opted for this mosaic floor with light blue flowers. It’s really grippy, which is perfect for kids, and it works so well for a room dedicated just for them.
I know there are a lot of grout lines, but I went with the color “platinum” for the grout (a light gray), to avoid it looking dirty. I’ll keep you posted on how it holds up.
As for the walls, I’m in love with the traditional white subway tile all the way around the room. We’ve already had a lot of baths in here and I’m not cringing every time the kids and Finn make waves and splash all over. The water can wipe off those tiles easily! I debated doing more of a contrast, with a darker grout, but I ended up sticking with the color “bright white” to match the white subway tile. That way it’s less busy and detailed.

As I mentioned in this blog post, I opted for a white bullnose tile for the top and edges. You can always choose Schluter for the edging, but since they sold bullnose to match, I went with this. I think it makes it look really polished.
The Shower & Tub Area

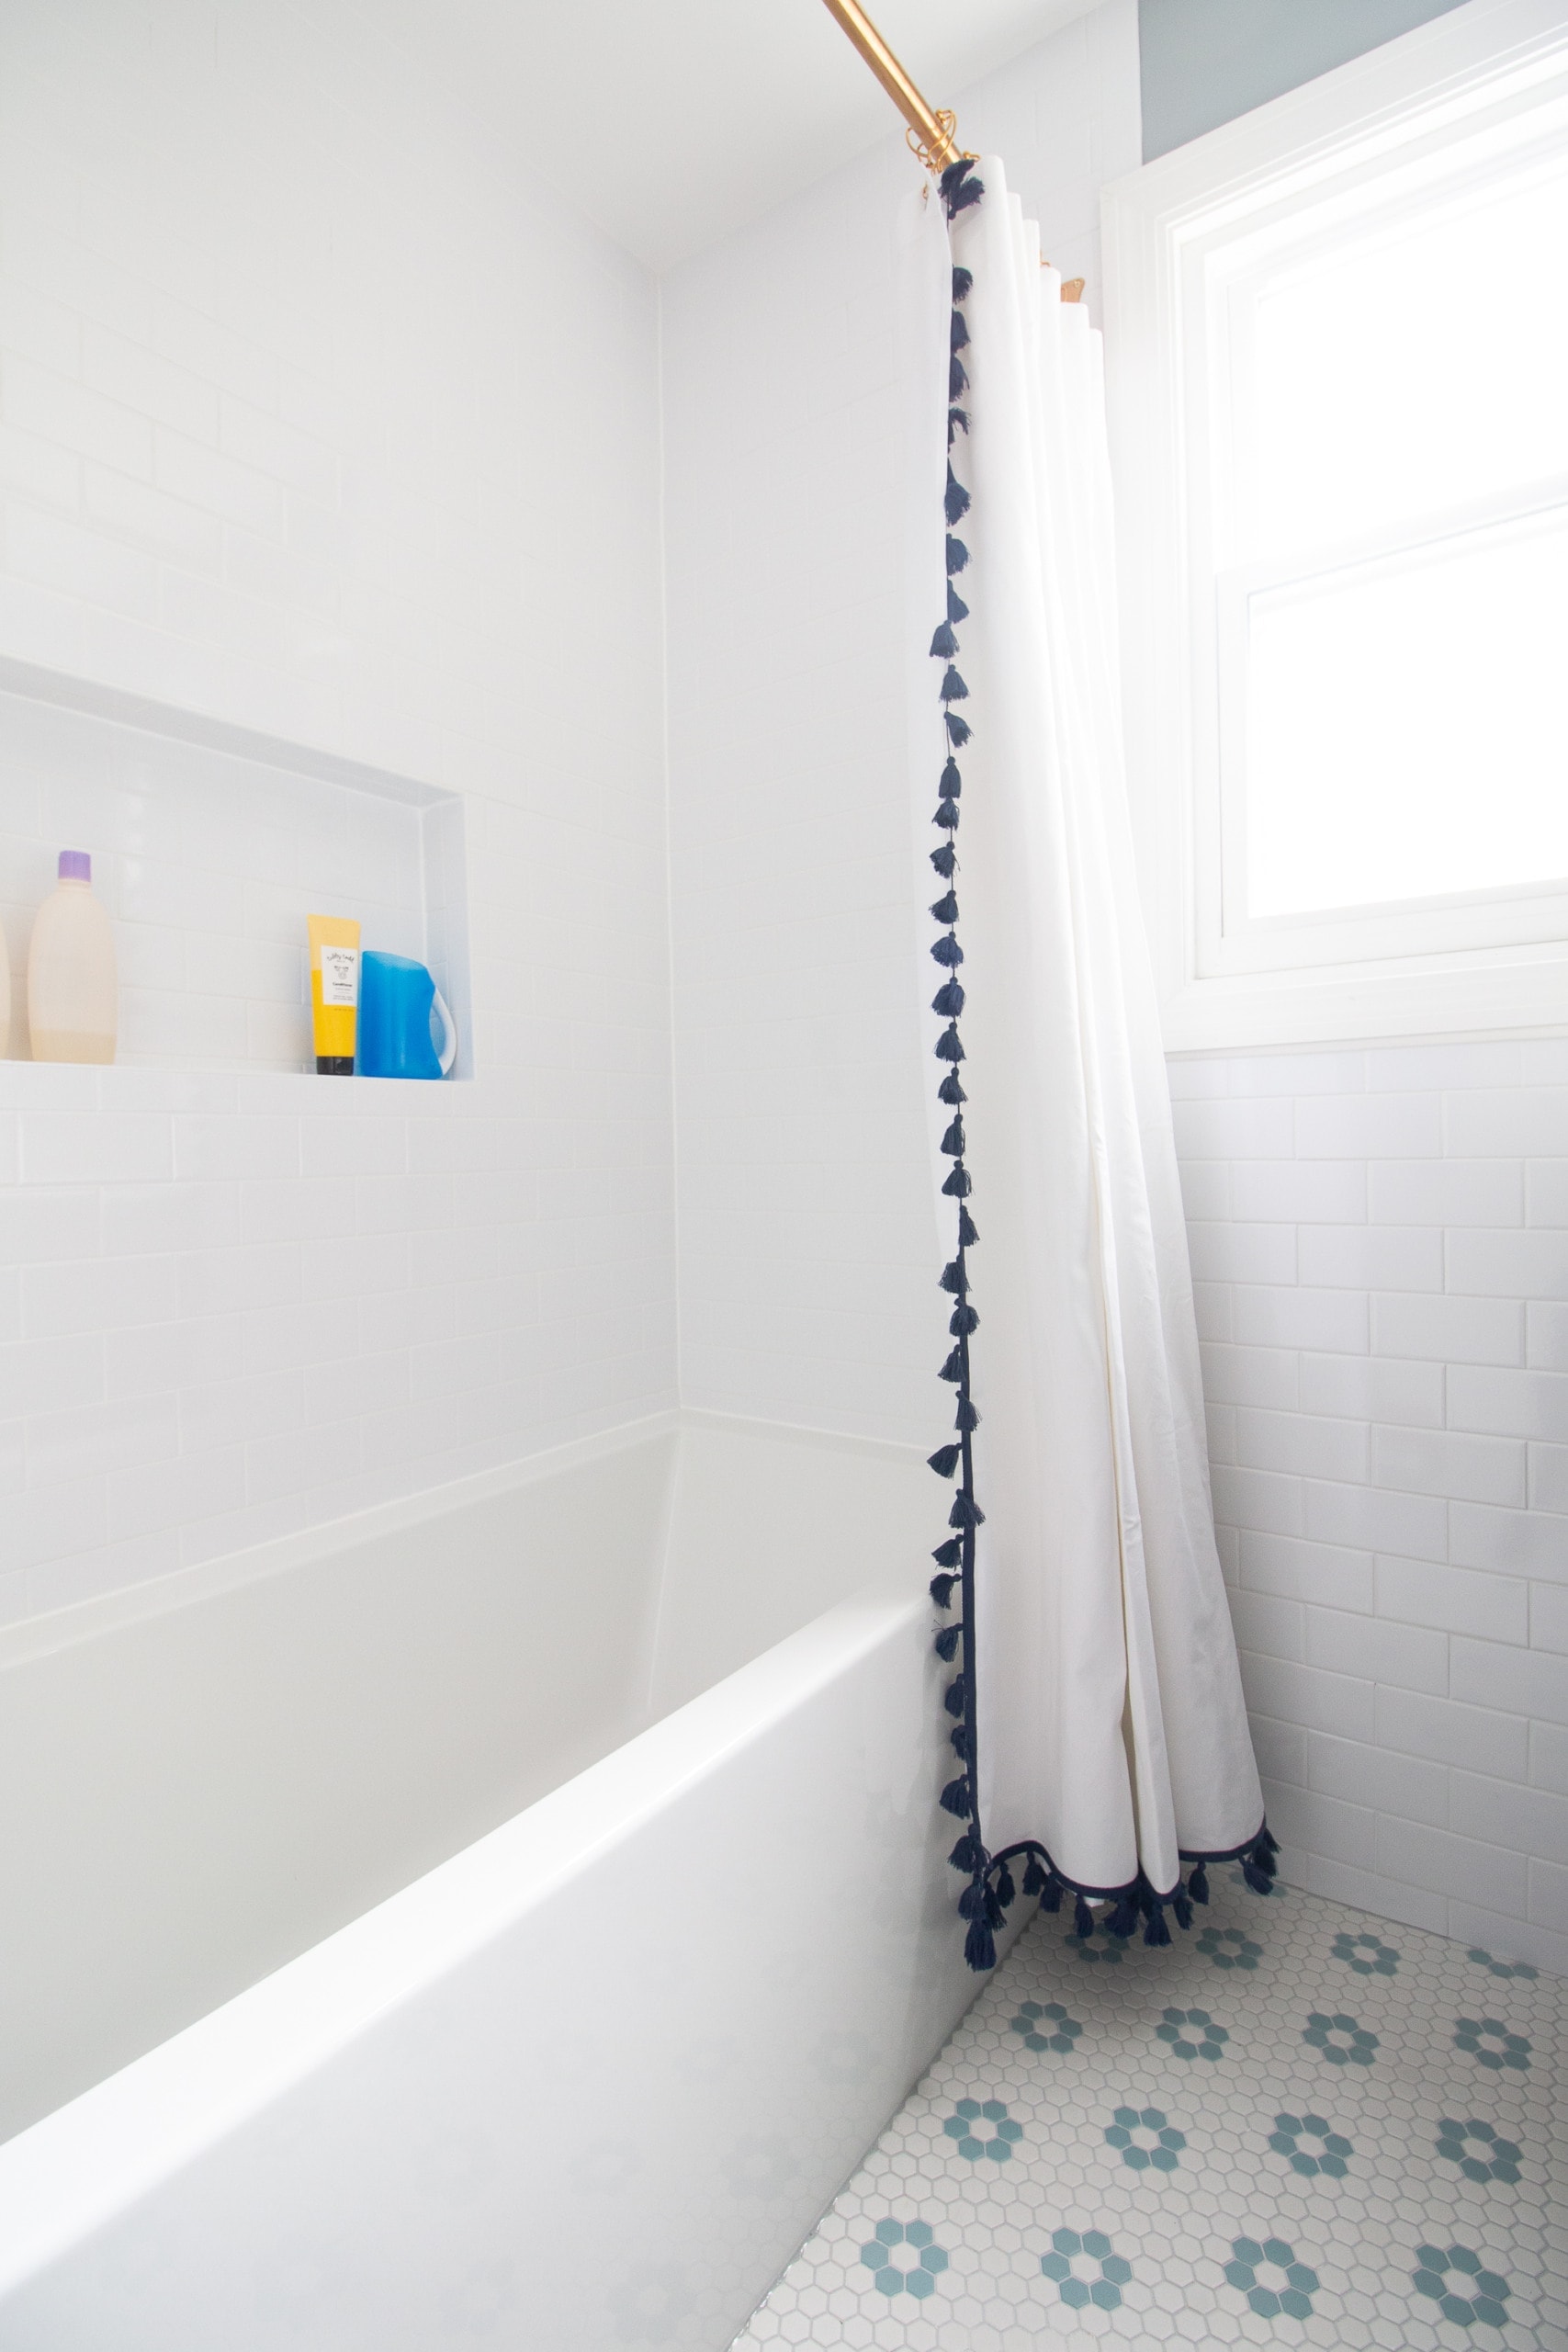
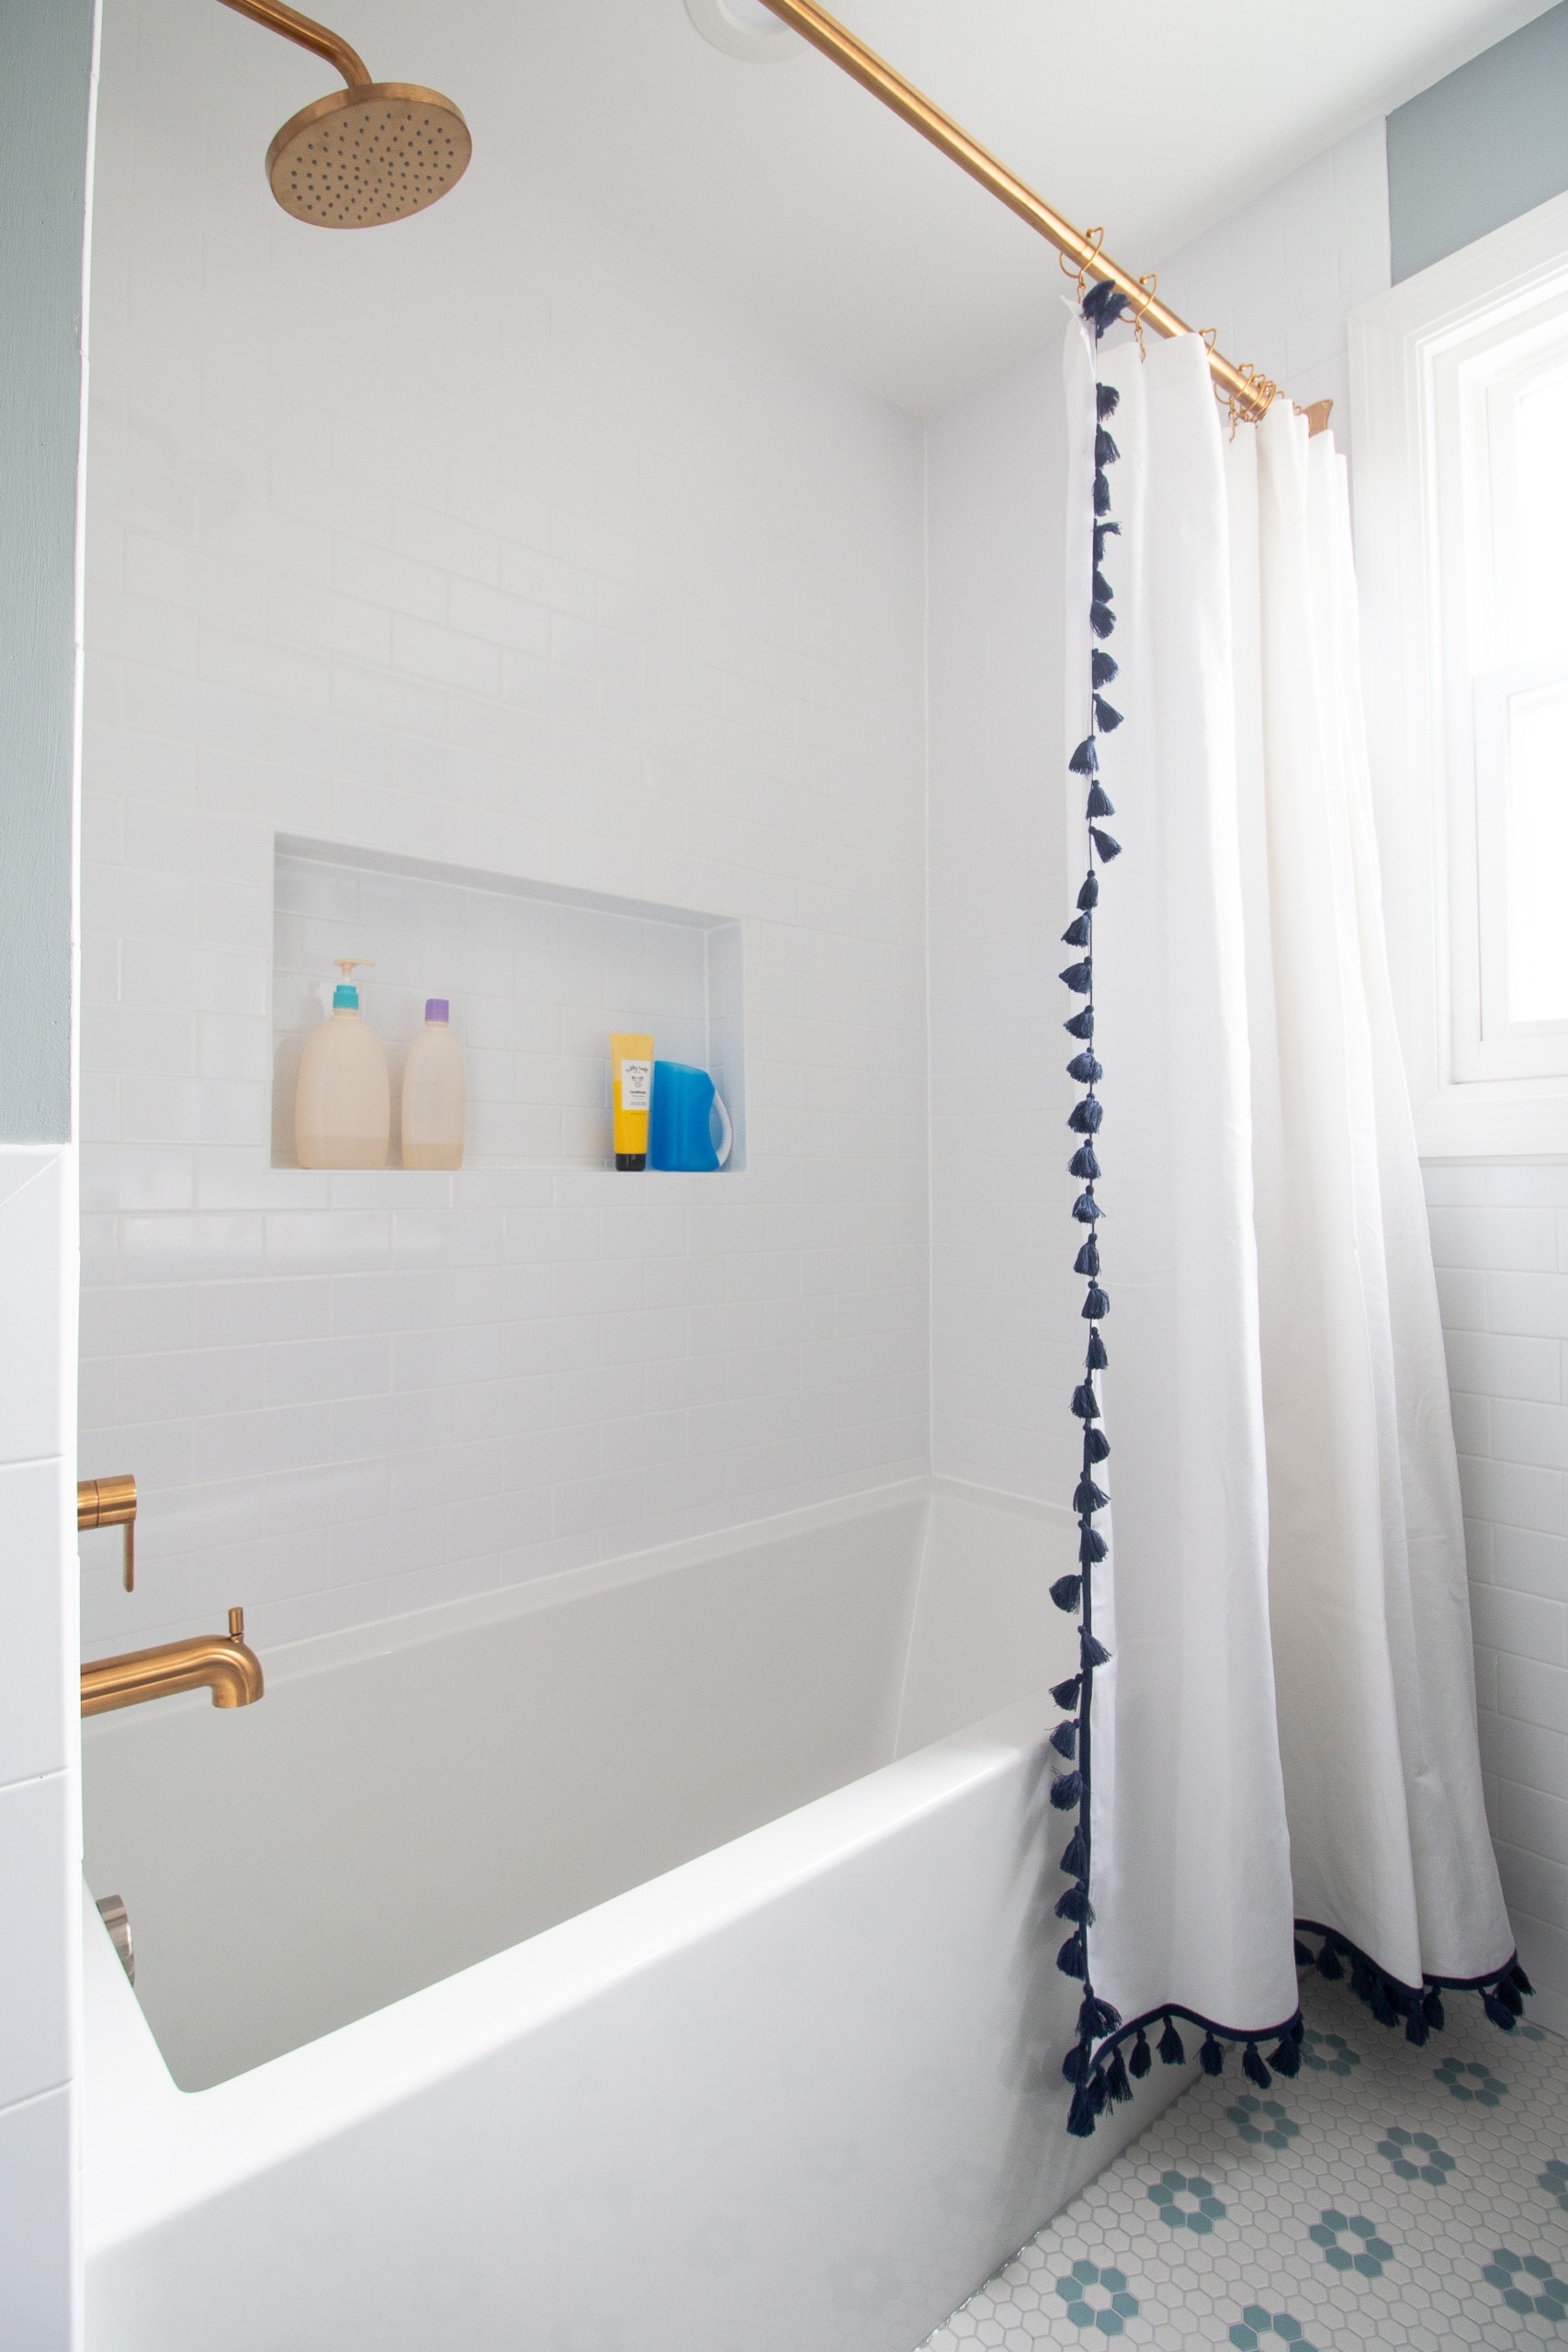
The tub….ohhhhh the tub! Since we’re removing the bathtub in our main bathroom, I wanted to add an extra deep soaking tub here for the adults. Finn isn’t much of a bath guy, but I love a good soak at least once a week.
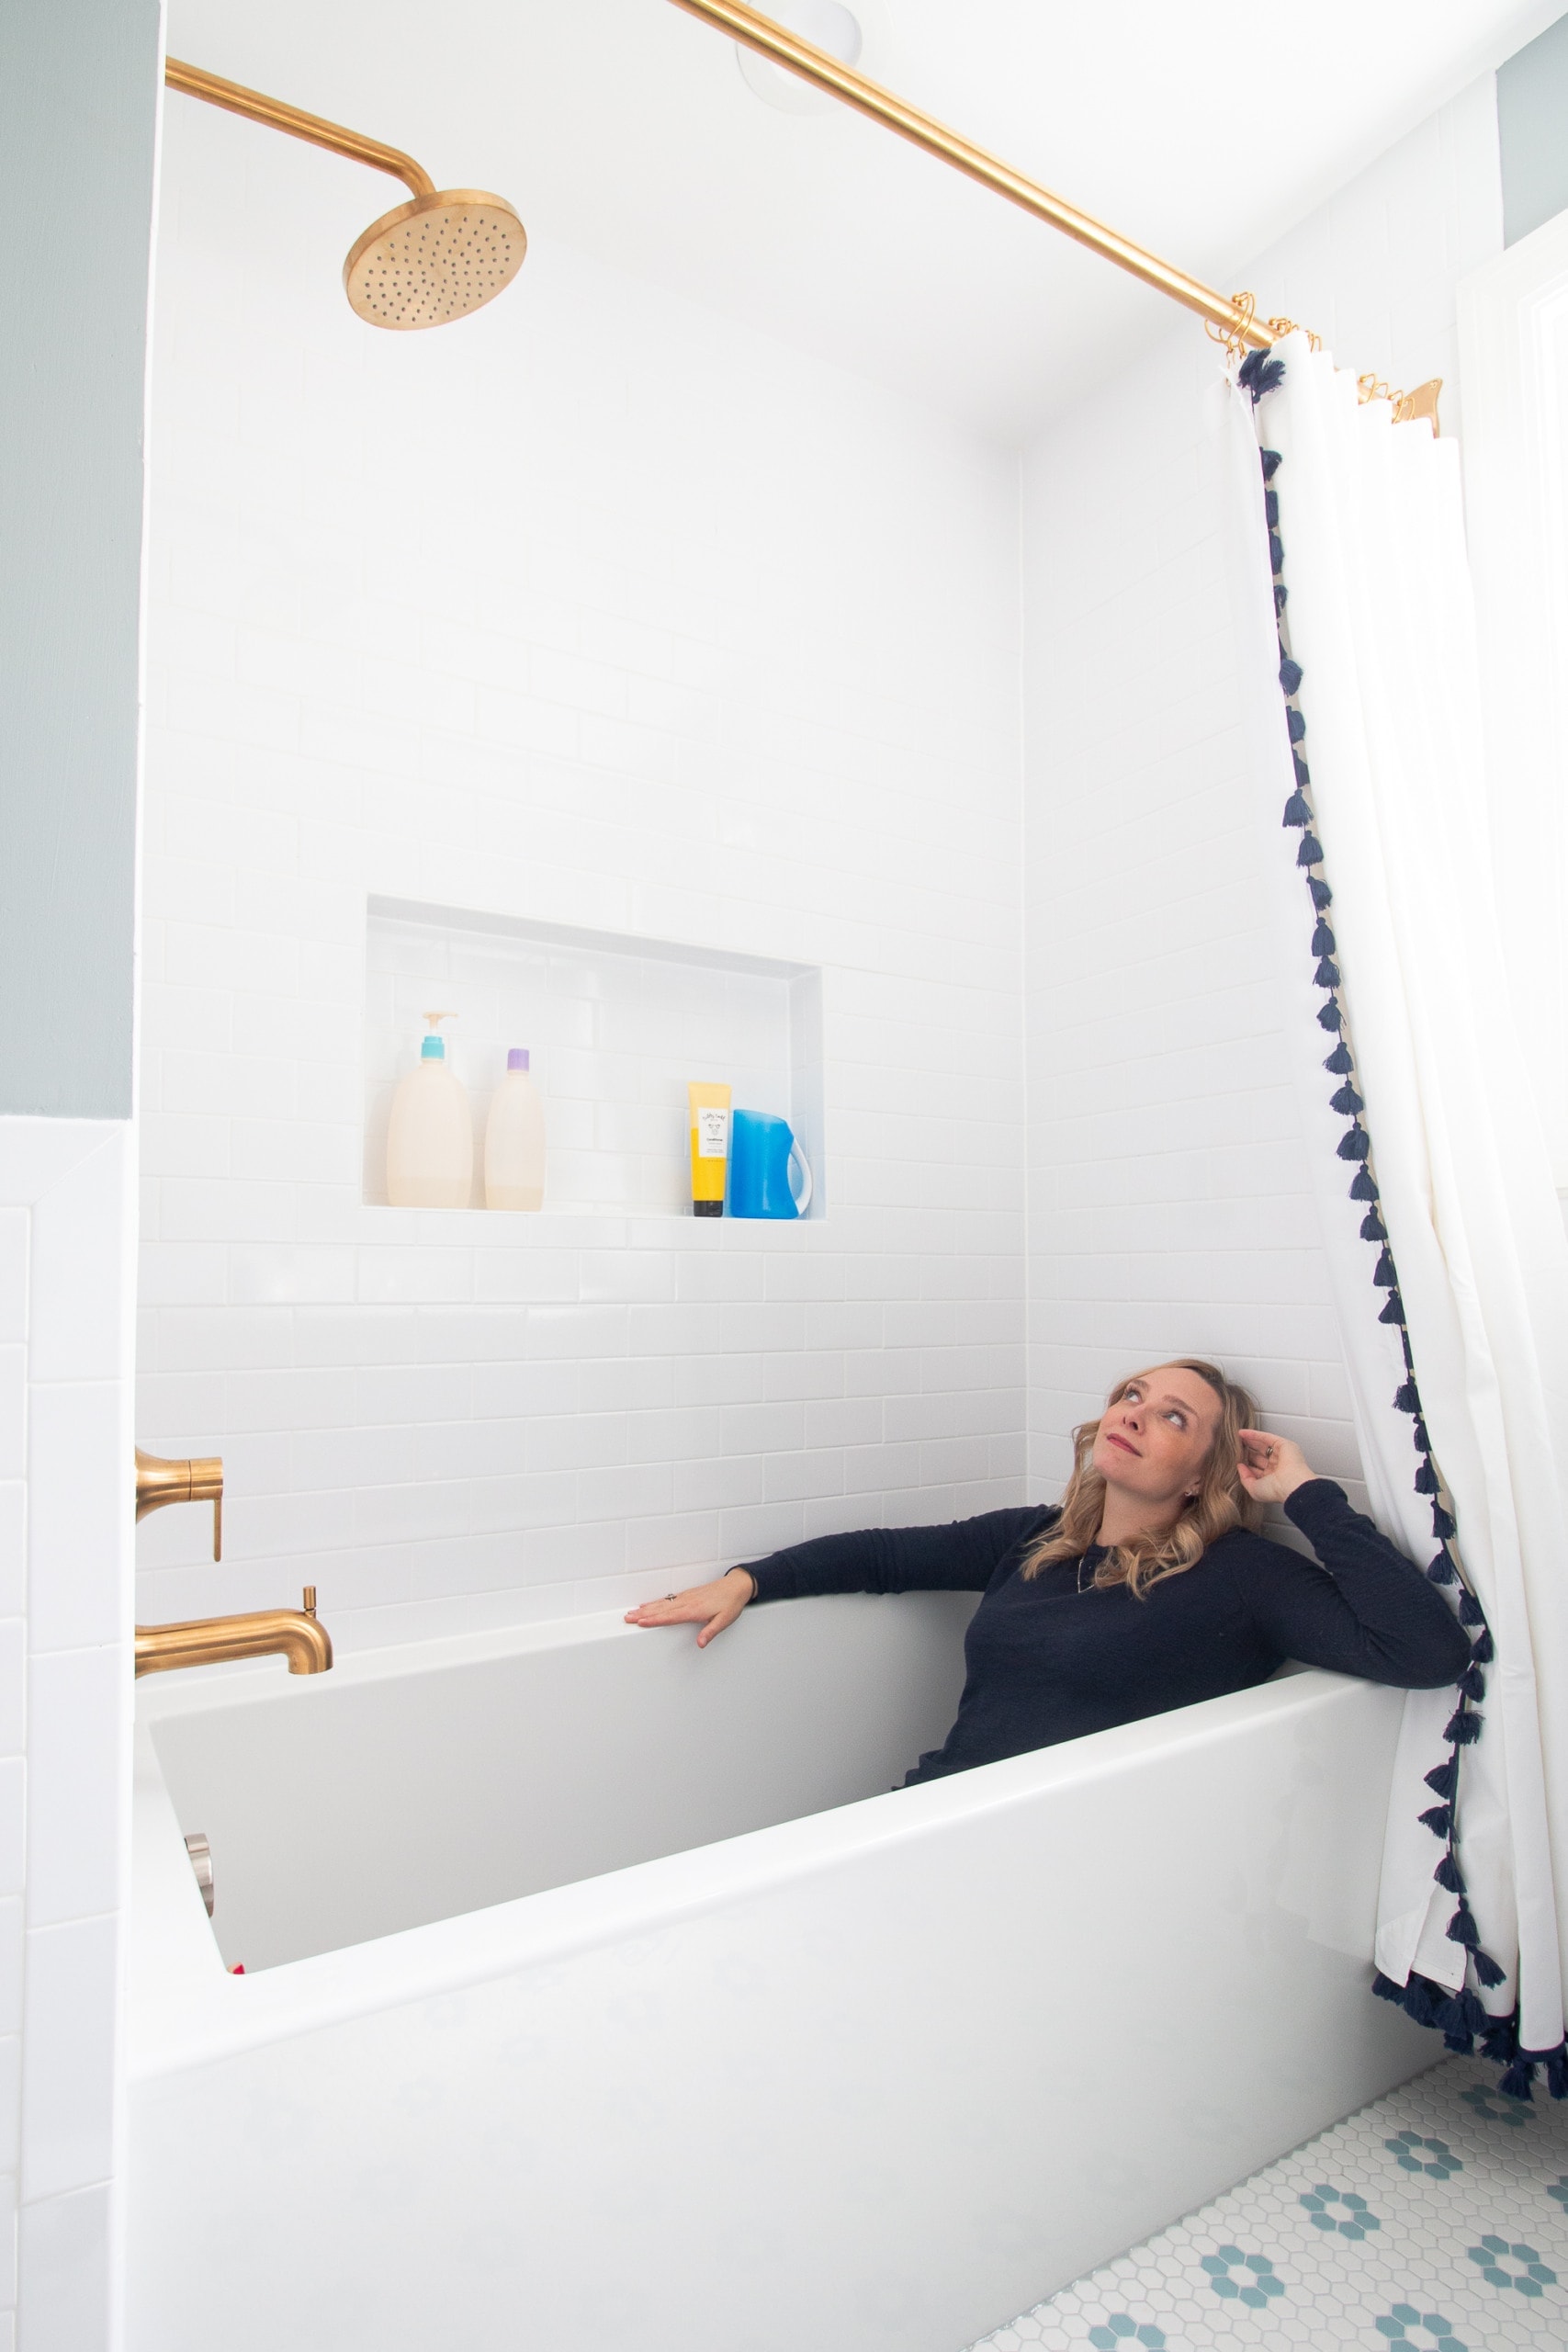
Wow, it’s big! Even though we had a 90’s jacuzzi in our old main bathroom, I couldn’t extend my legs all the way out. (I’m 5’8″ for reference.) Here, I can sit and extend them long. It’s a very comfortable and deep bath and I’m here for it.
I was worried that the deep tub might make it tough to bathe the kids. We still have Ellis in his little bathtub, so we do have to reach over and down to bathe him. But it’s not bad. Rory’s baths are fine. We can sit on a stool and let her do her thing!
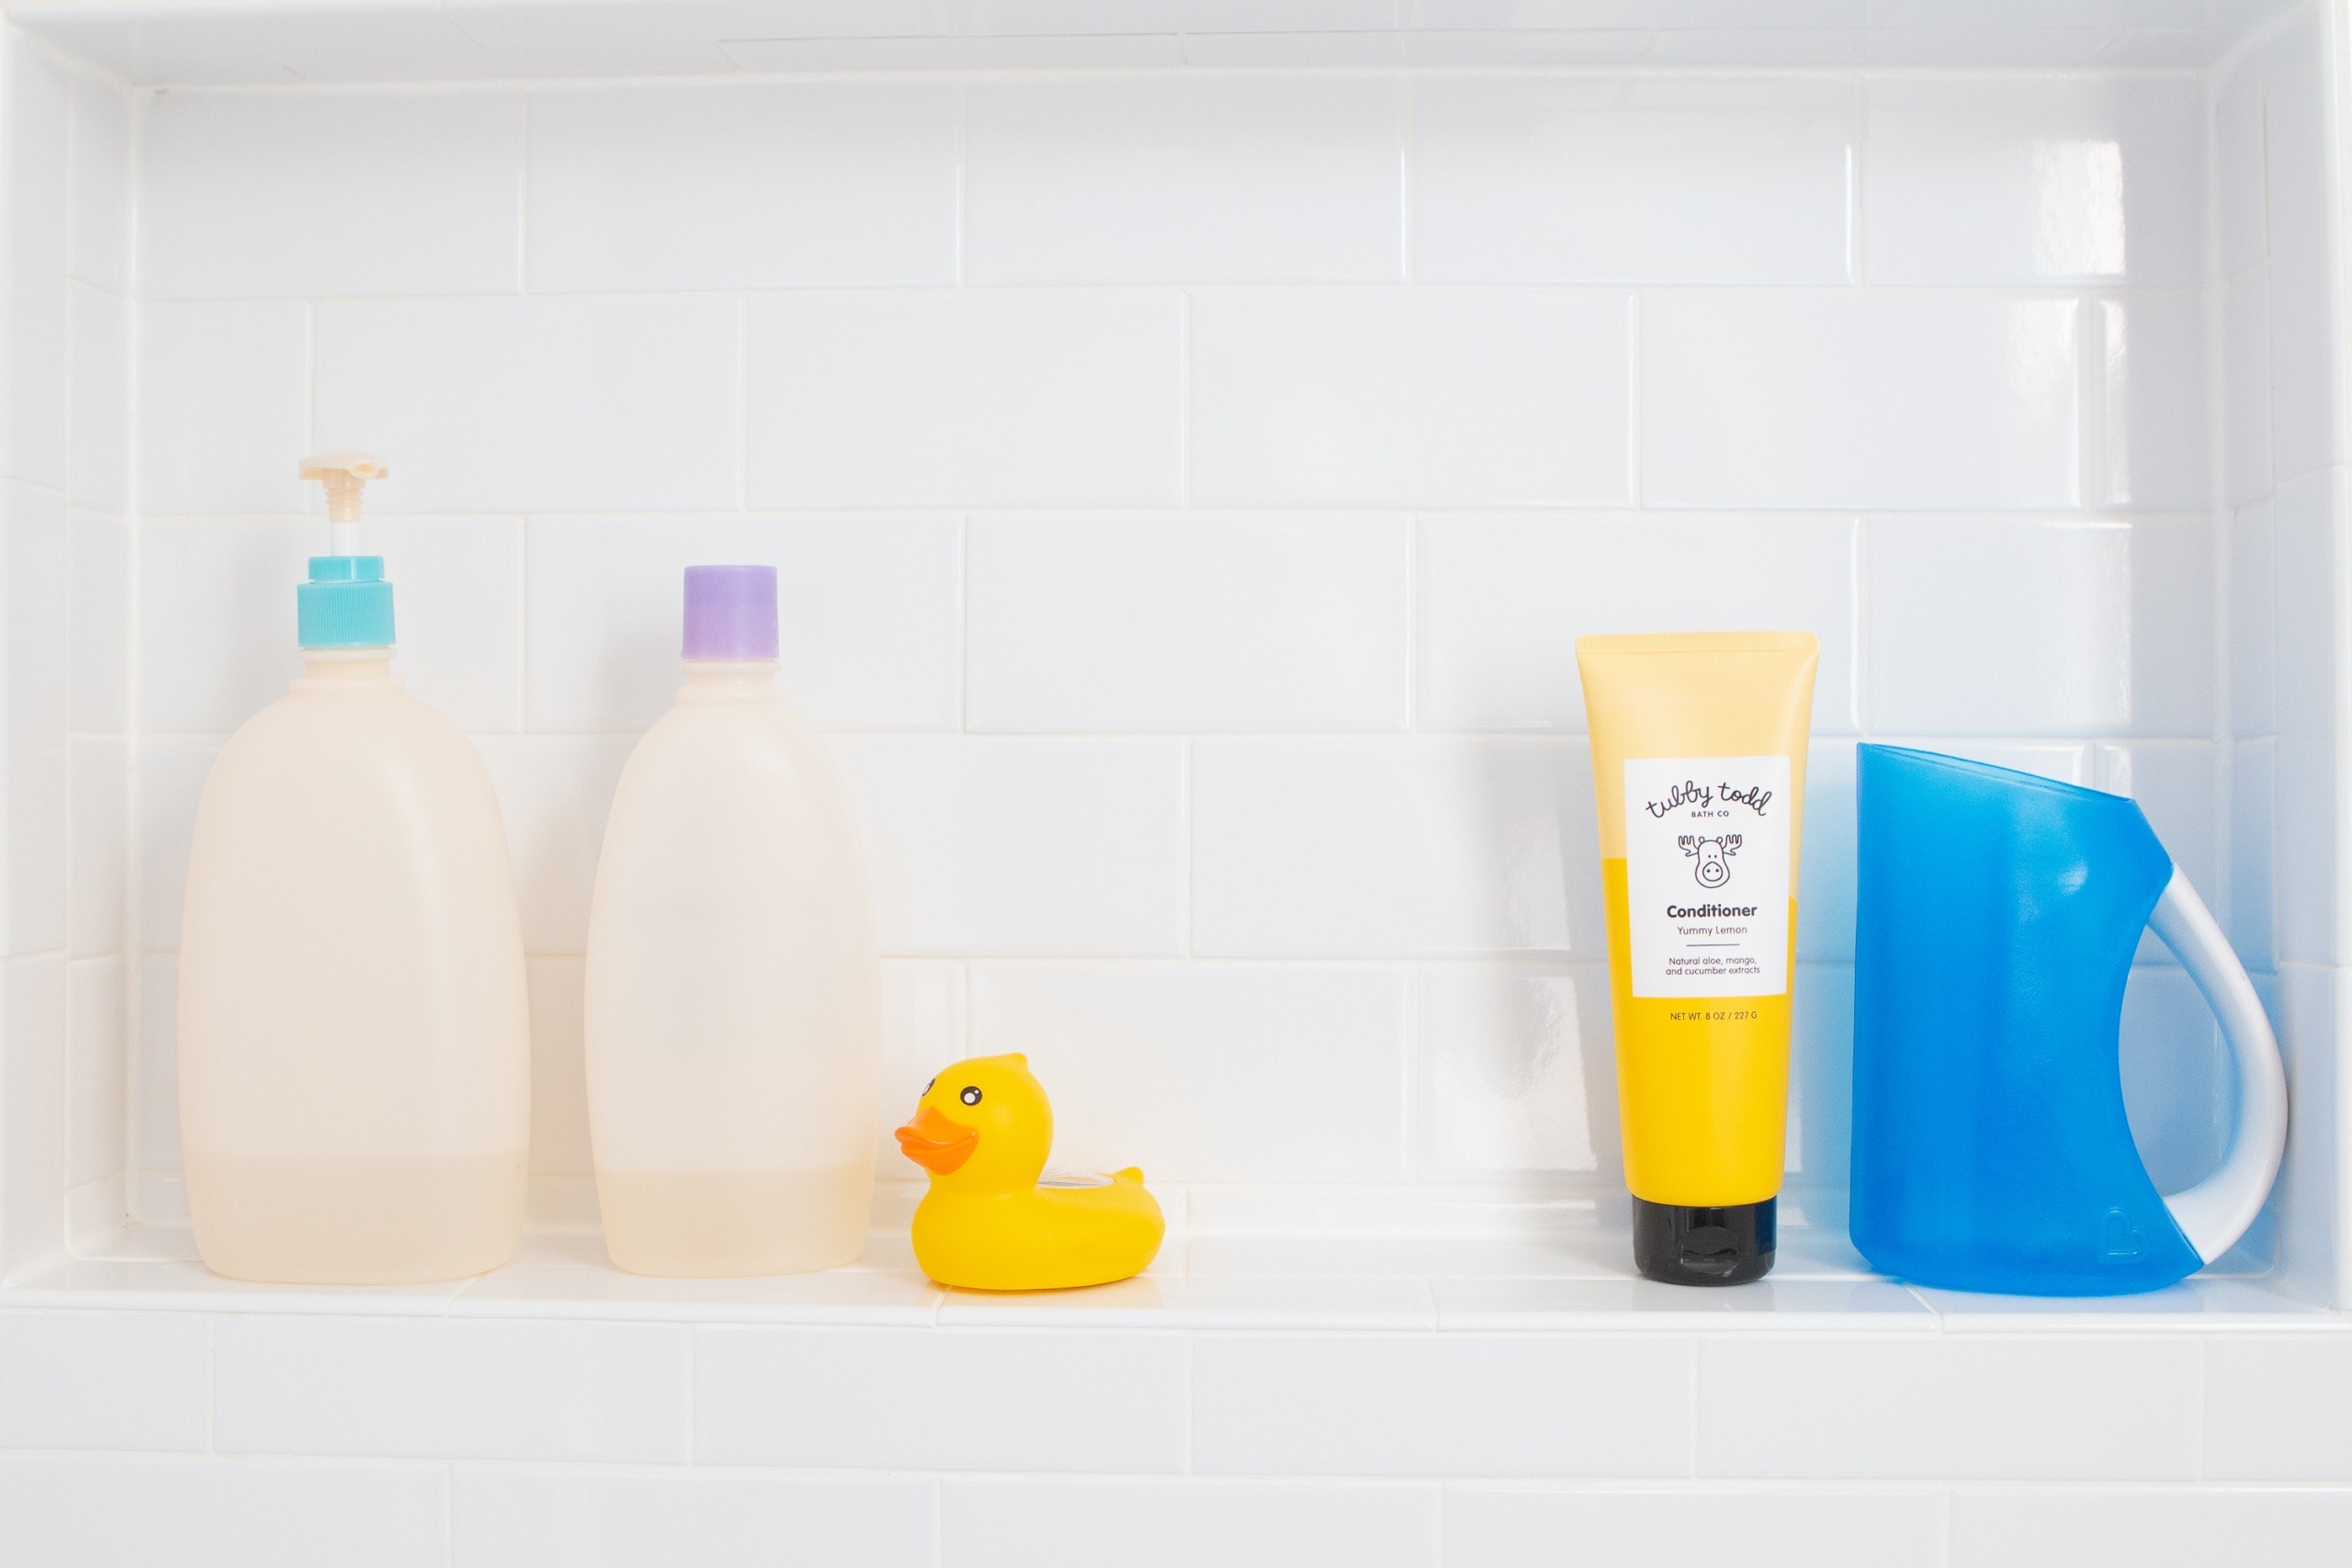
I adore the long niche in here. Again, this was something I hemmed and hawed over. I thought I might want it under the showerhead so you couldn’t see it when looking into the shower, but I’m happy I went for a big one. We have a lot of tall bottles for the kids, along with their cups and toys. With this niche layout, we have a lot more room. I’m still working on getting cute matching bottles for their toiletries, but haven’t found any that I love so far. Stay tuned for that.
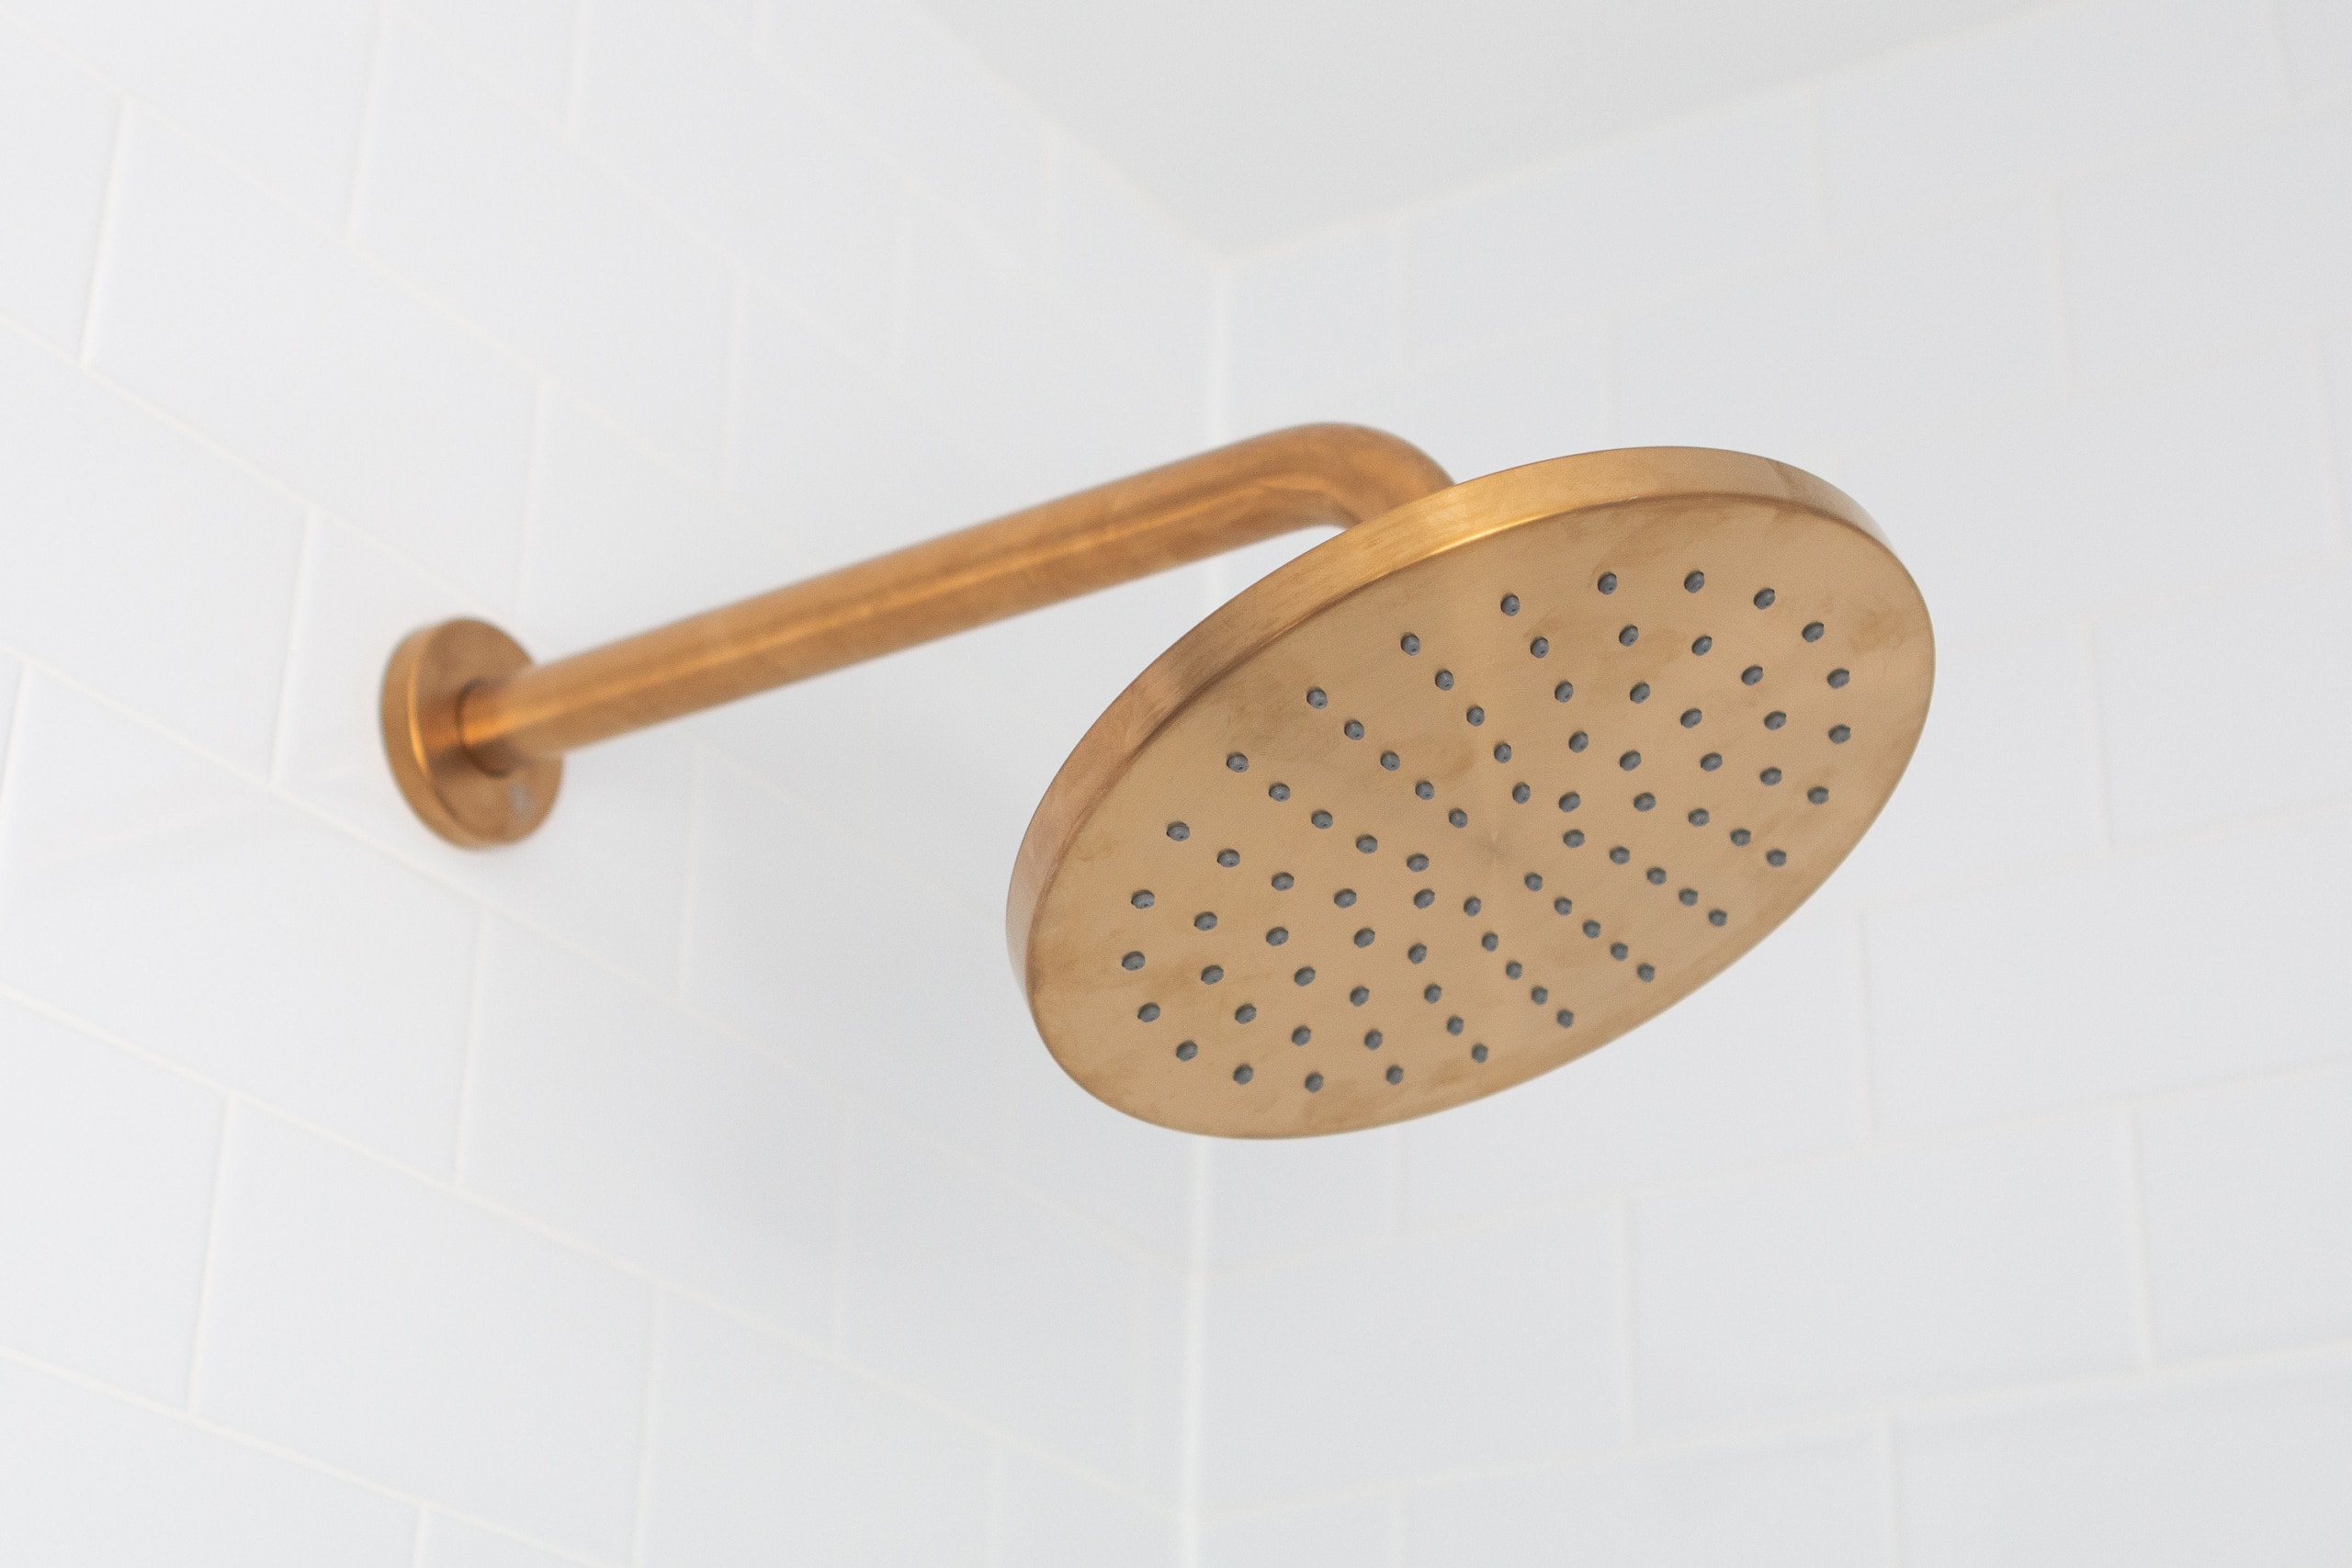
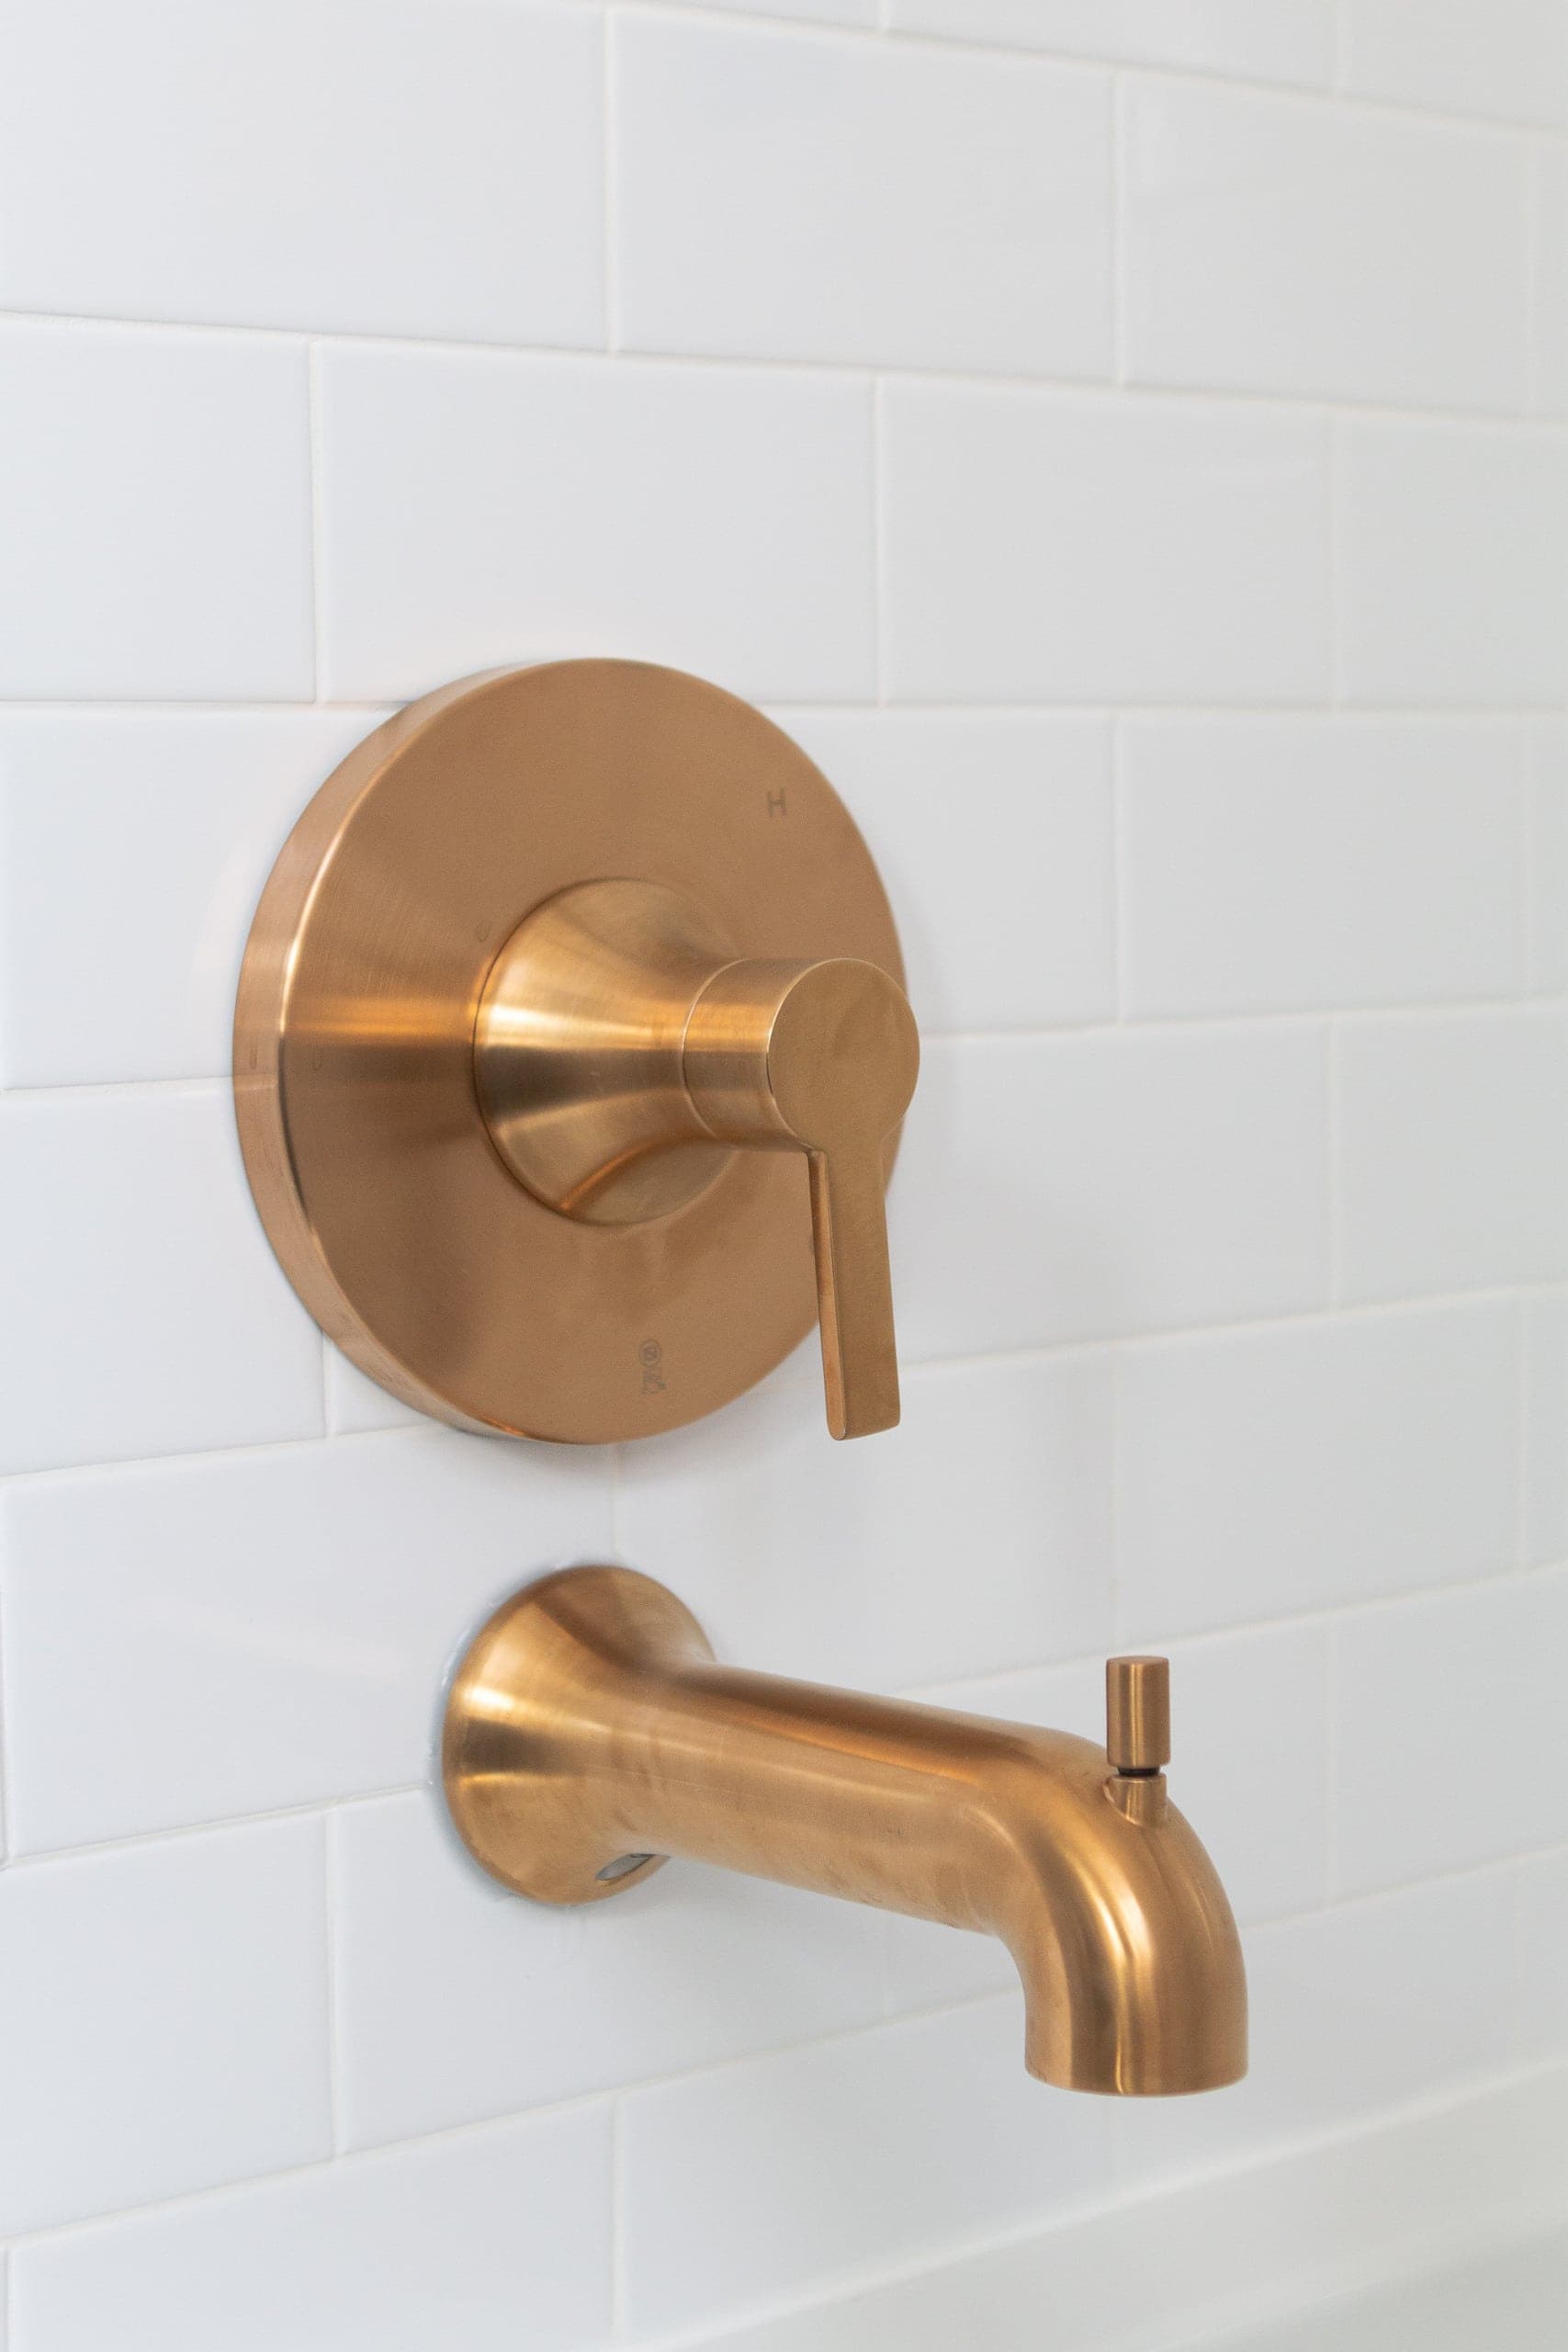
As for the shower hardware, this gold can’t be beat. It’s absolutely stunning and we had them raise the position of the showerhead to accommodate taller people. Most older bathrooms have the showerhead pretty low, so this is something we’ve always done when renovating and I highly recommend it. The tub spout and valve have that same gold finish.
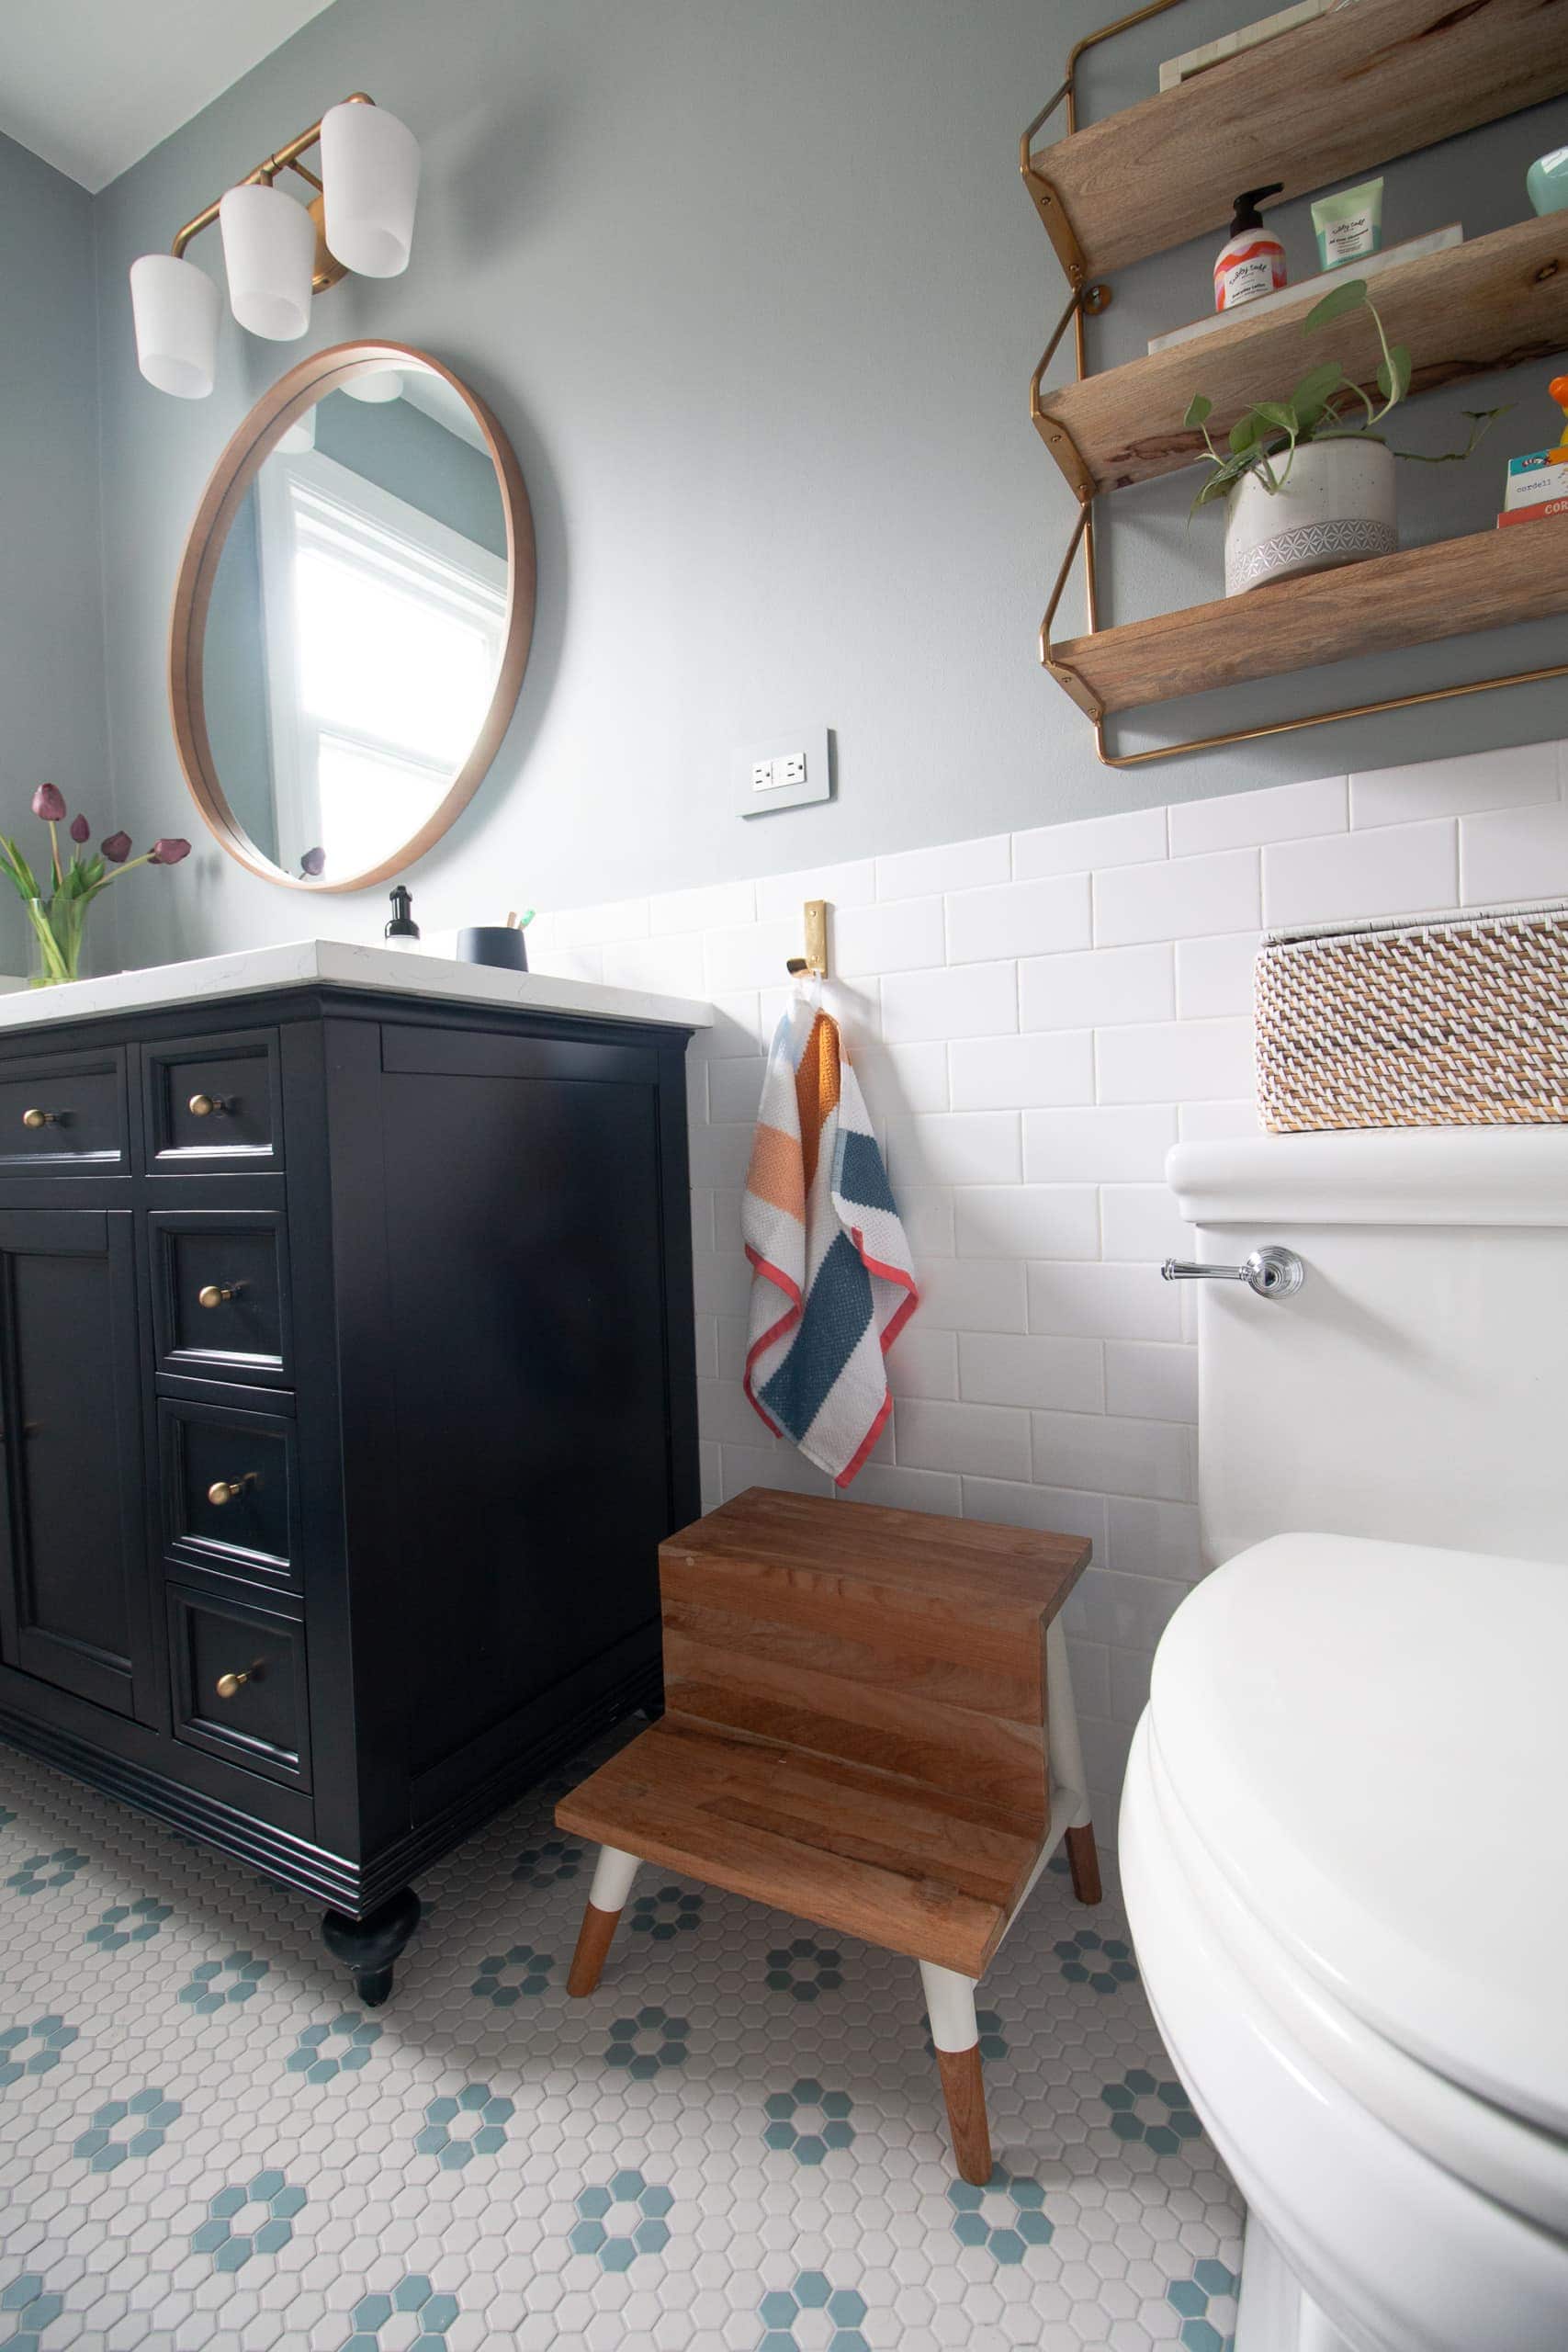
The Navy Vanity
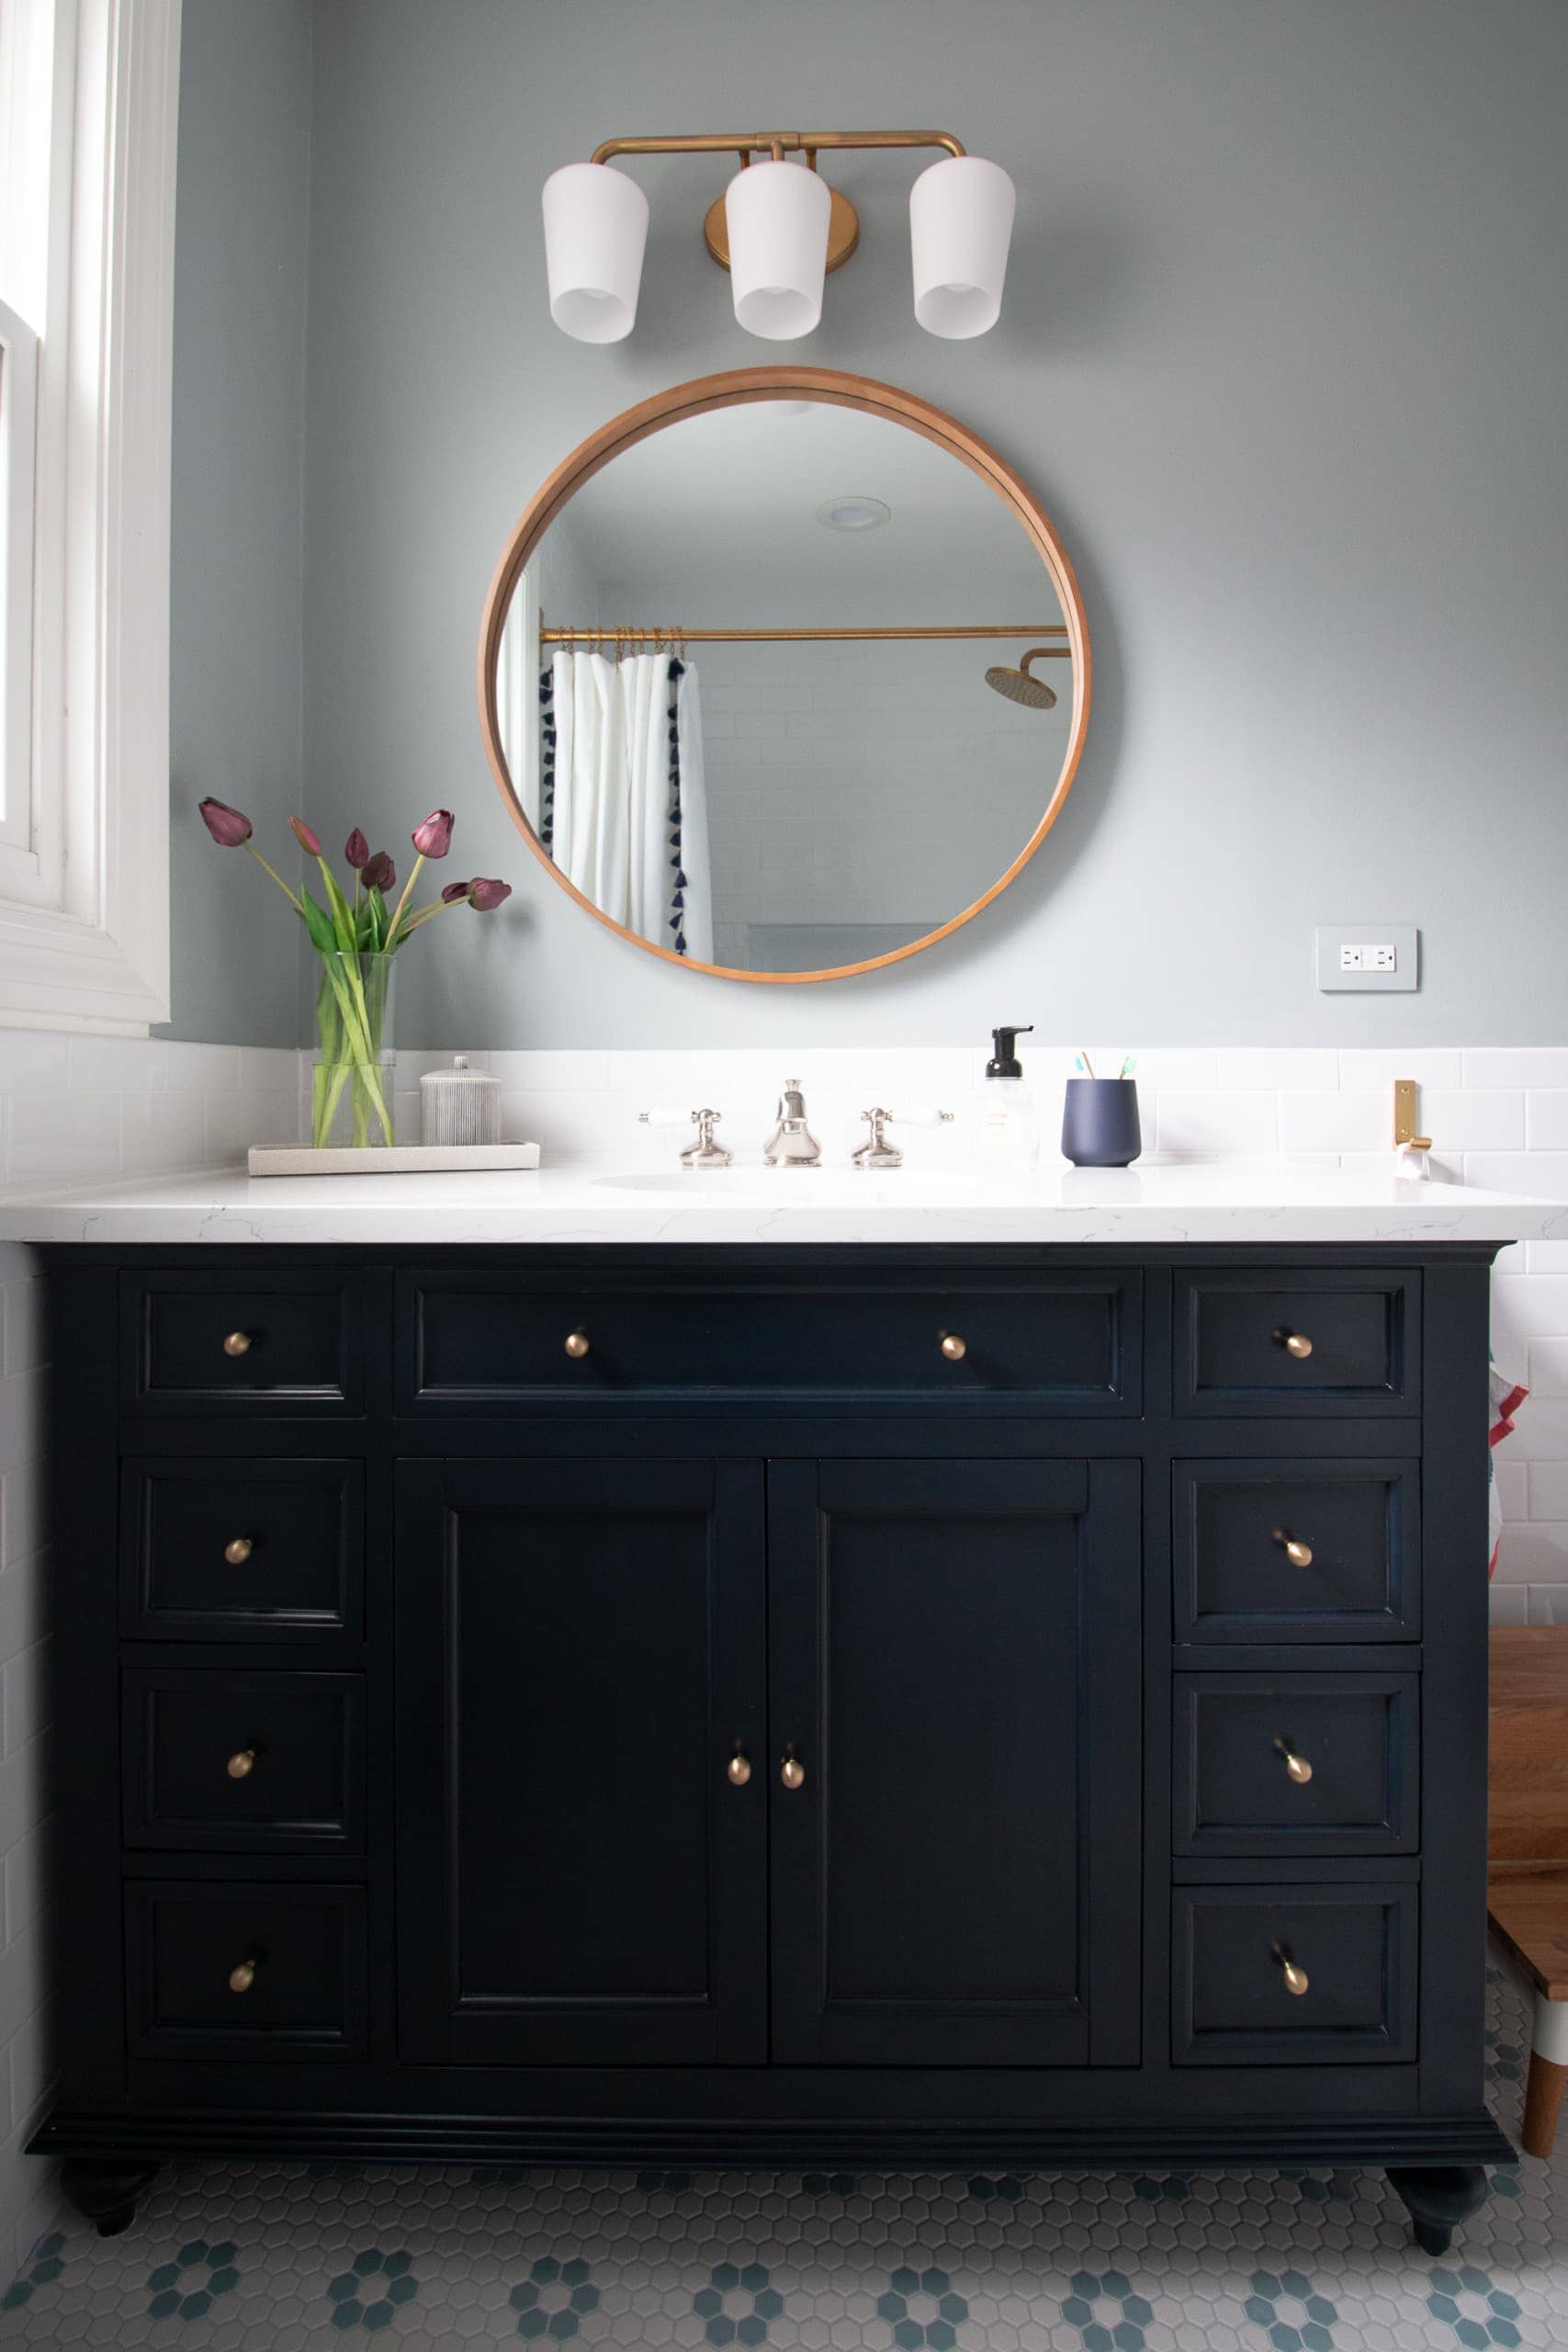
The vanity is gorgeous. I love the traditional legs on the navy piece, along with the new modern knobs I added. As for storage, it has loads of it, with six drawers and then the cabinet underneath.

Honestly, it’s mostly empty (minus a few of the drawers for teeth and hair supplies for Rory) because we keep most of the kids’ bath stuff in the closet in here.
For the top, I chose their feathered white quartz. It came with a backsplash, but we didn’t install it since we have the subway tile all the way around the room. There was no reason to use both and I think the subway tile as backsplash makes it look a bit more high-end and custom.
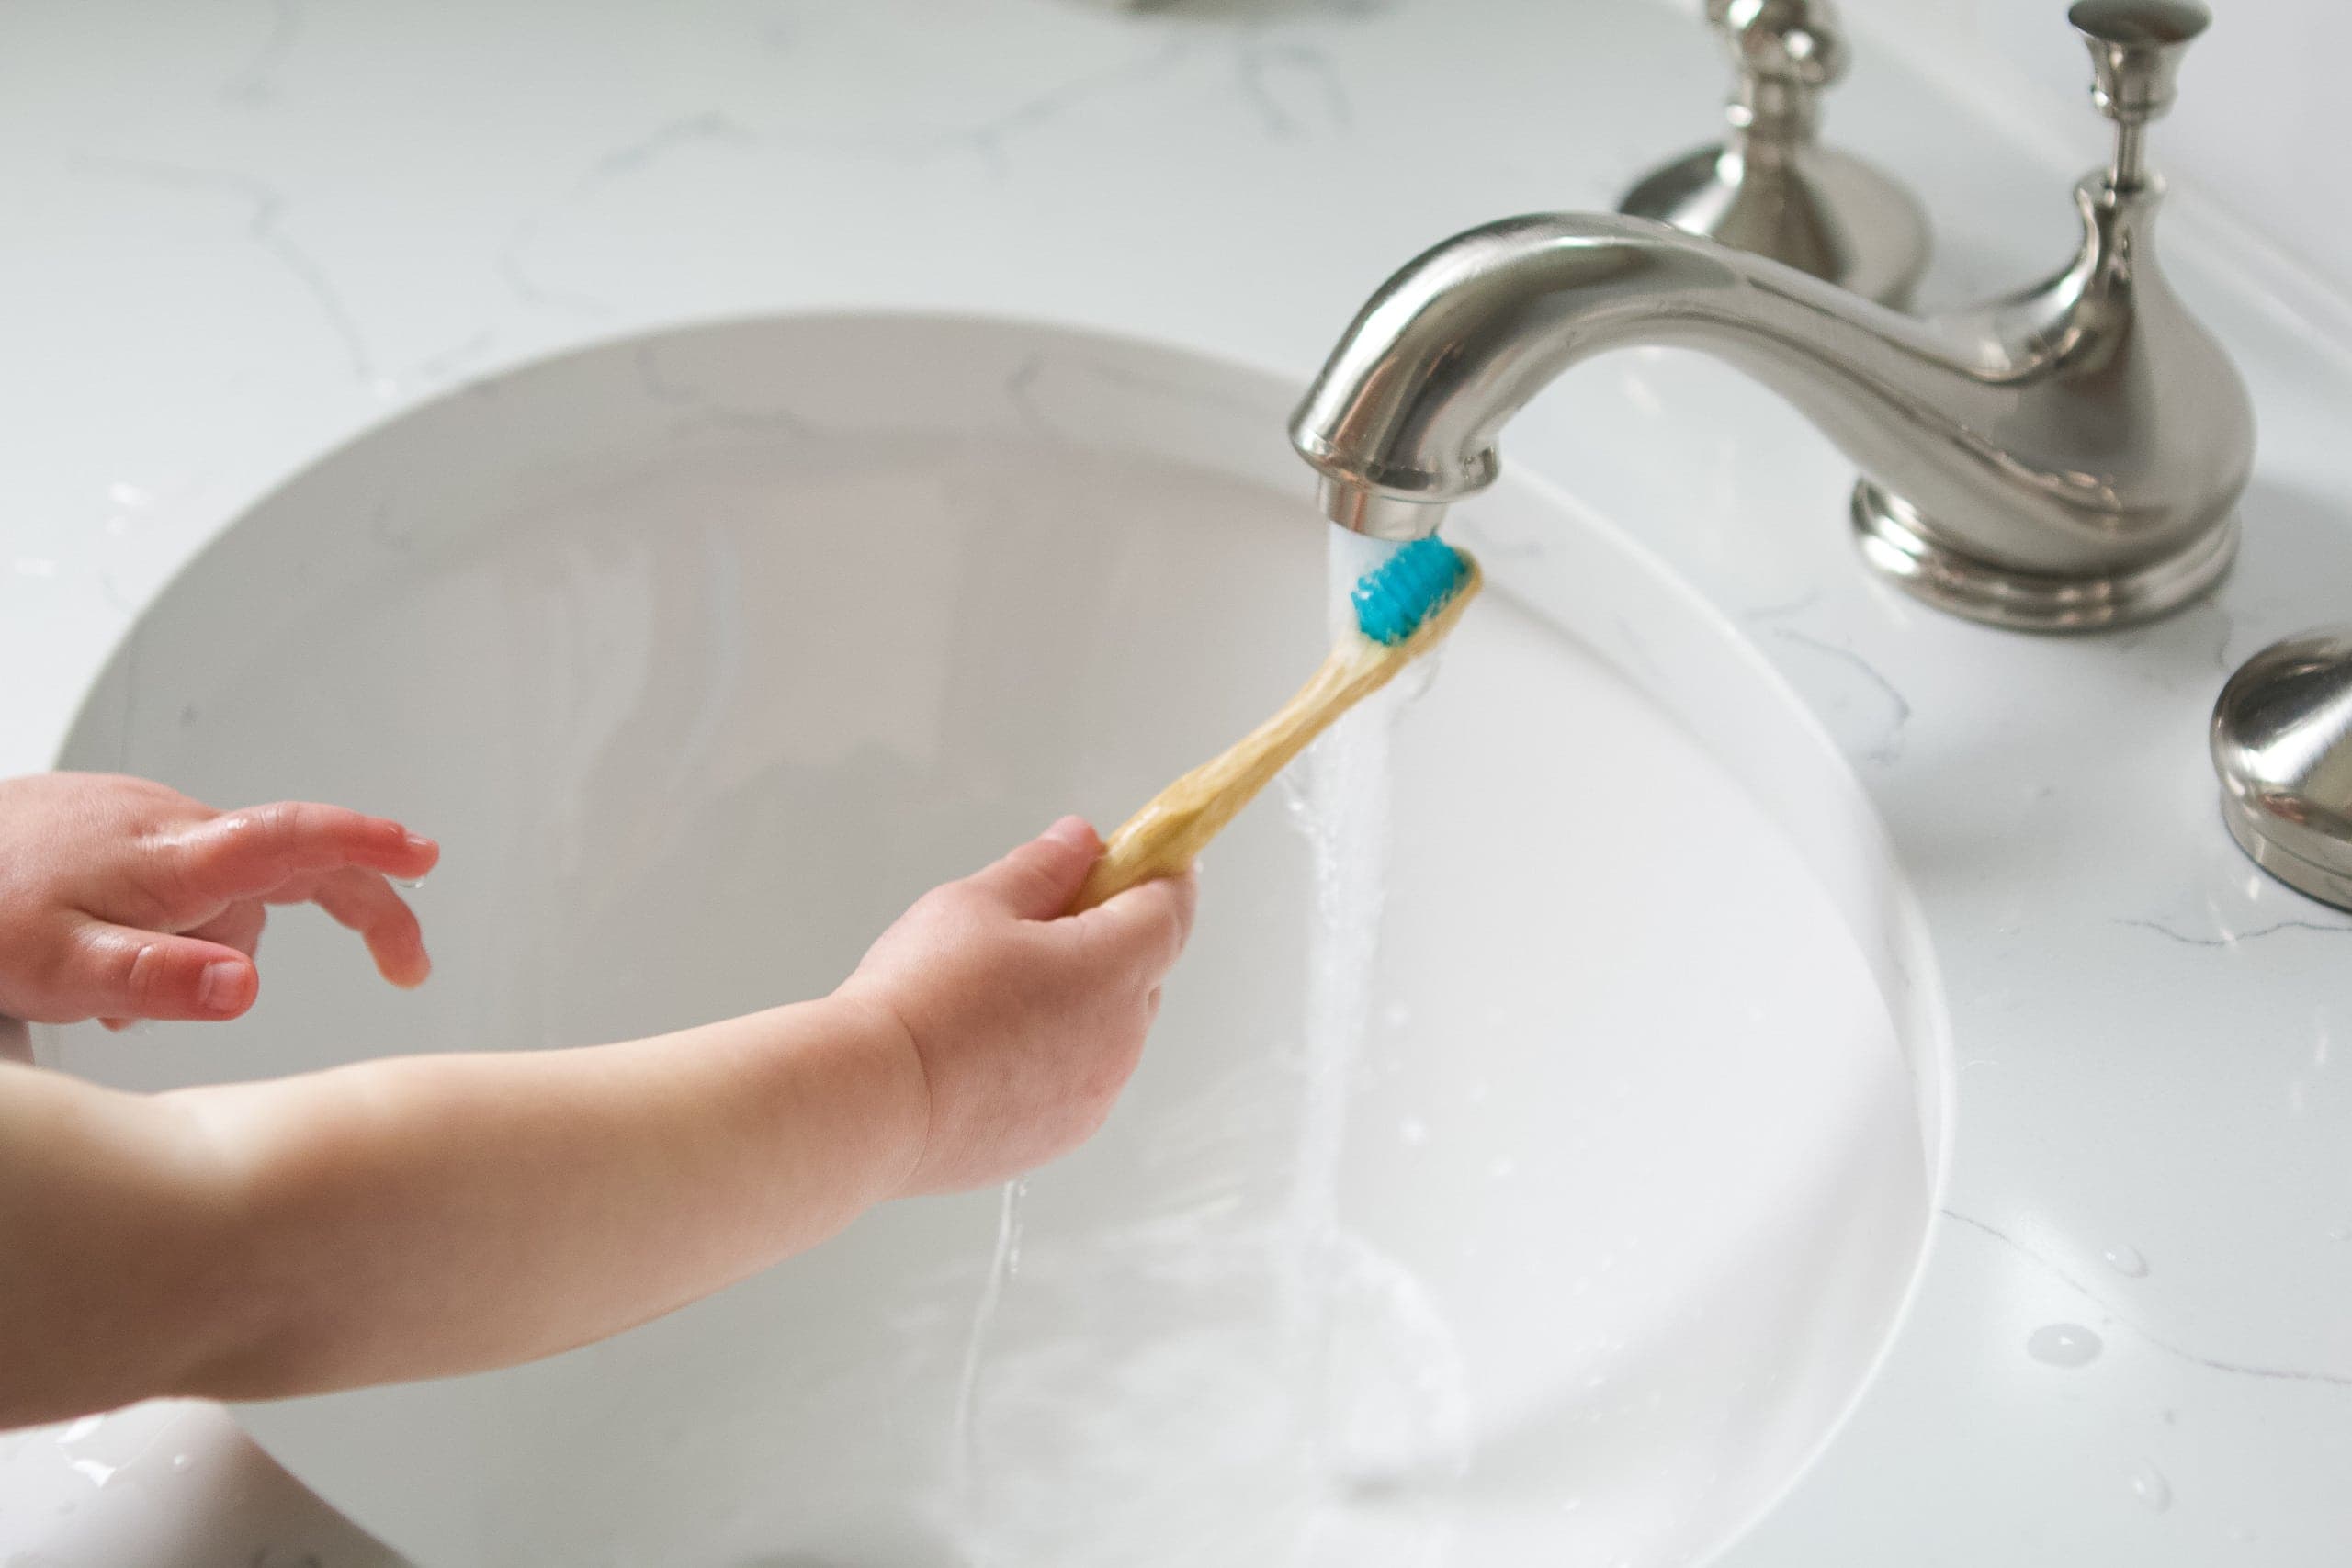
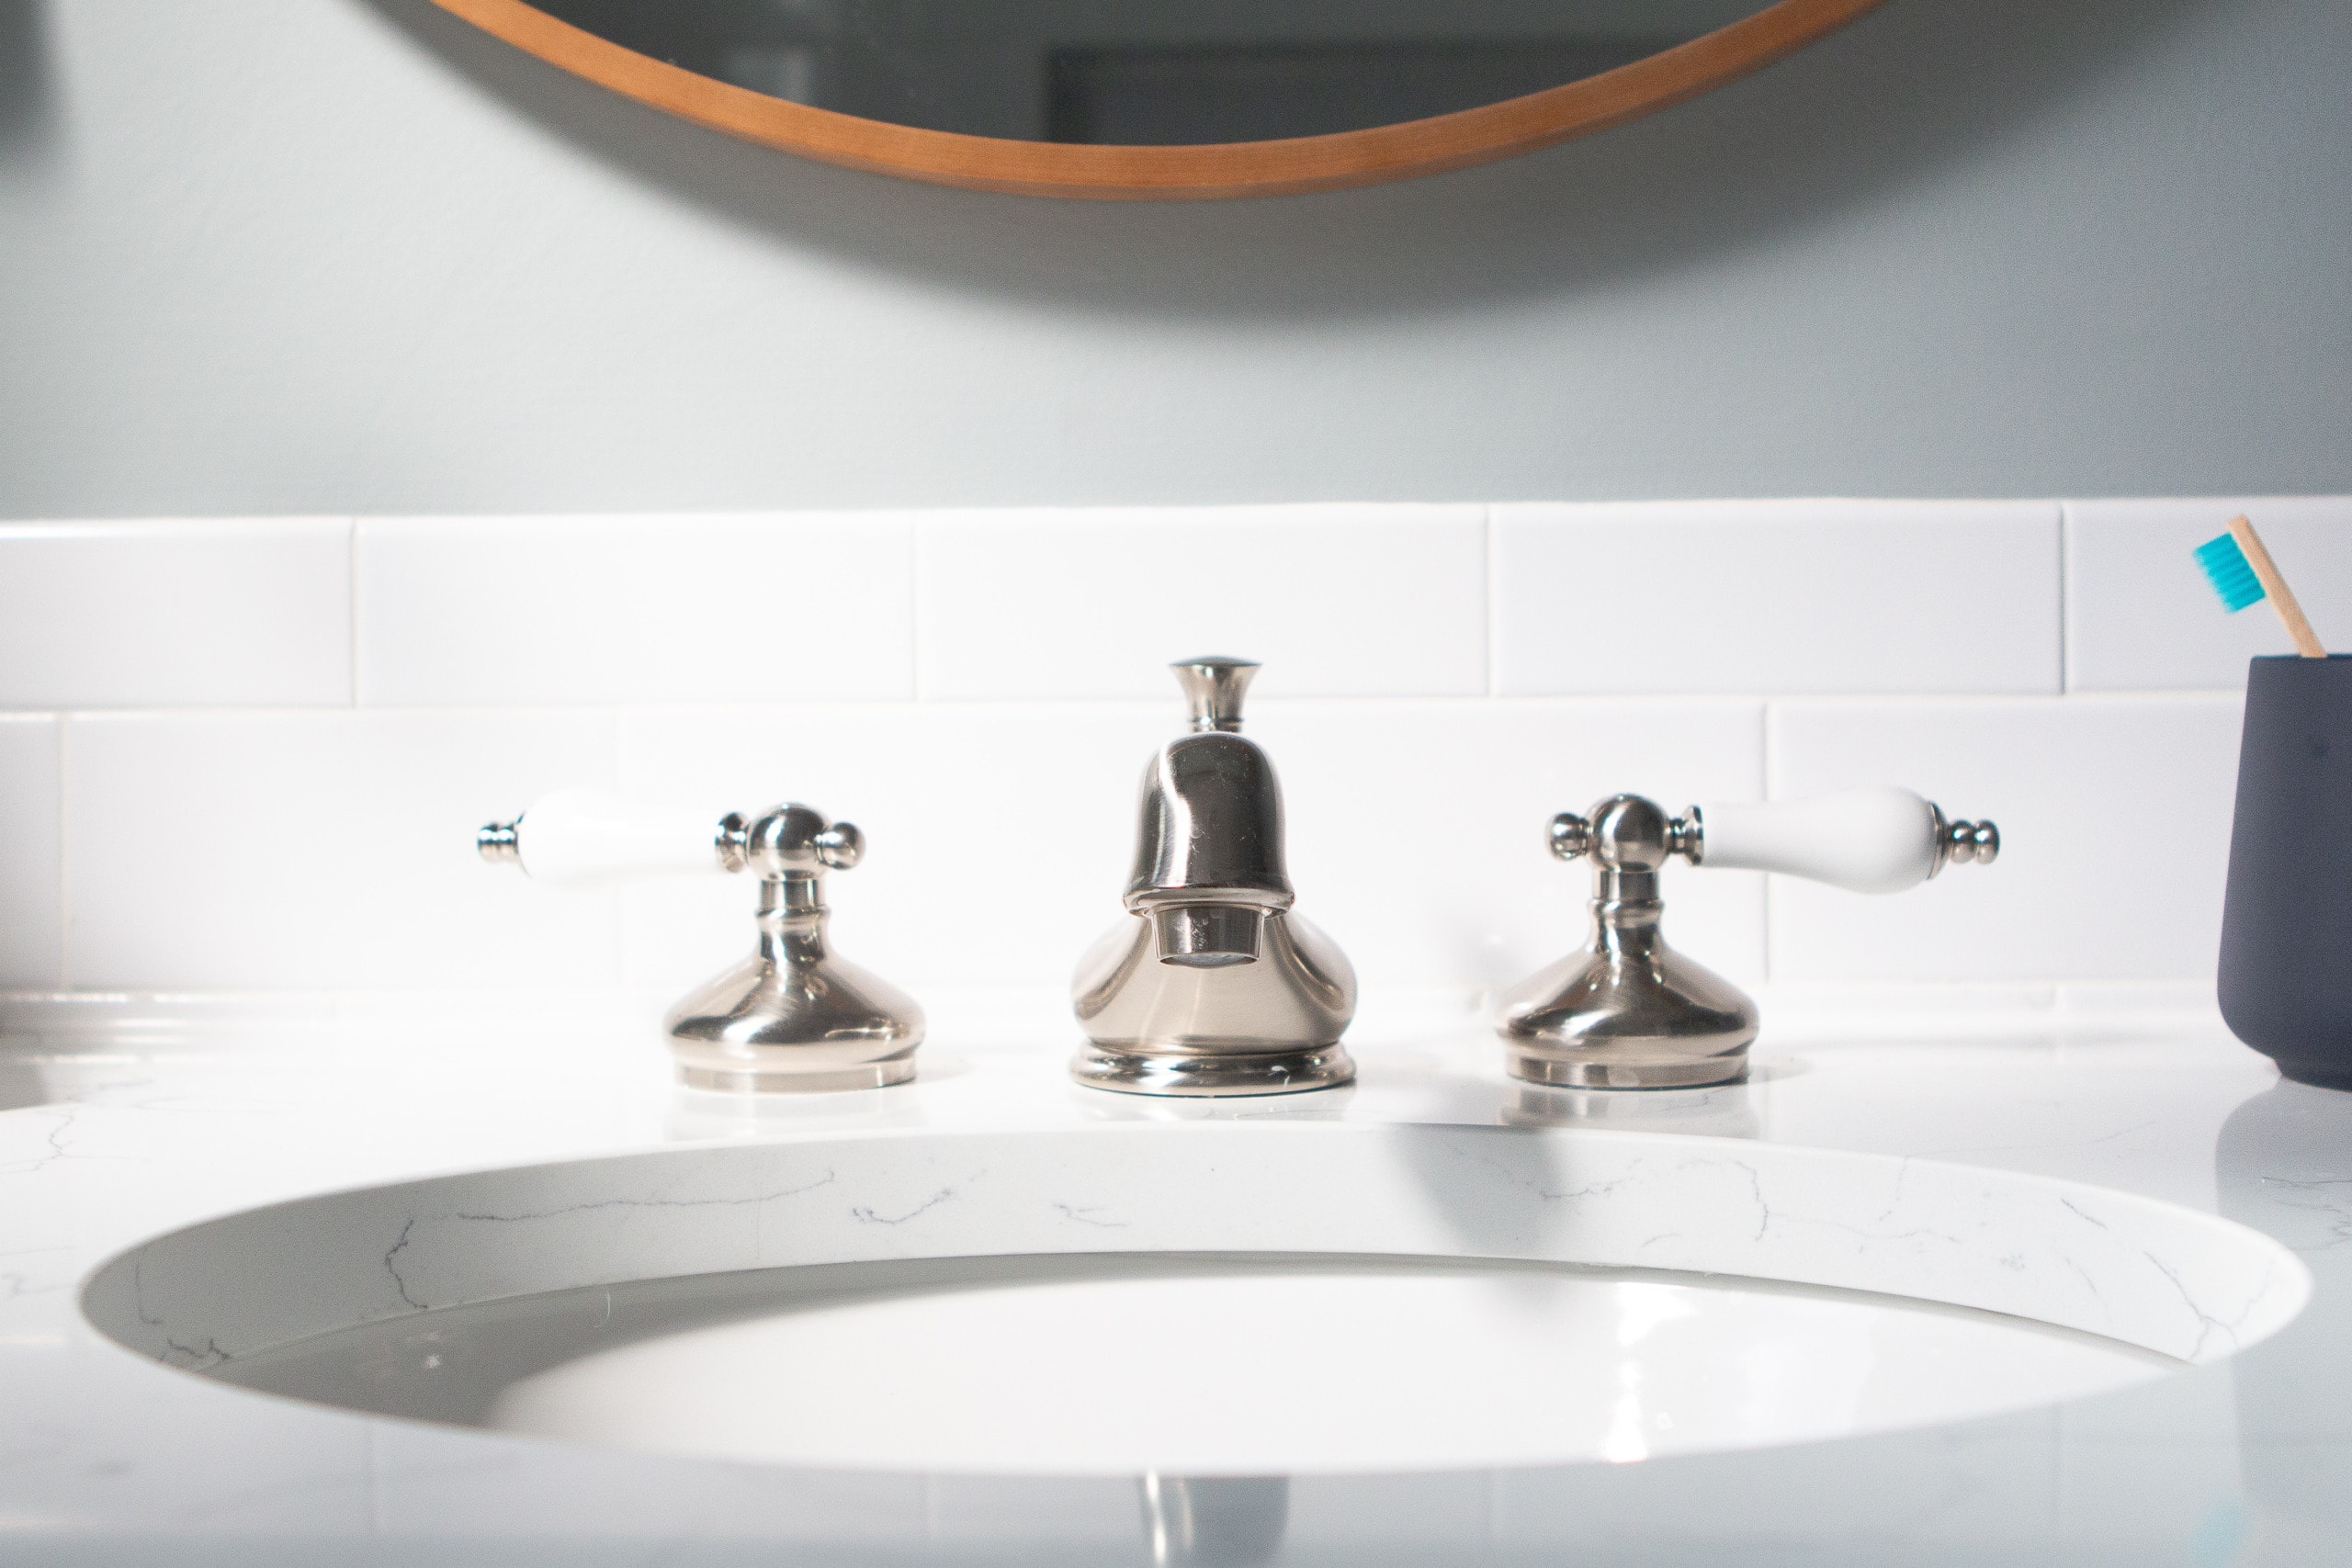
The faucet is so freakin’ cute. When I originally showed it to Finn on my mood board, he was uncertain.
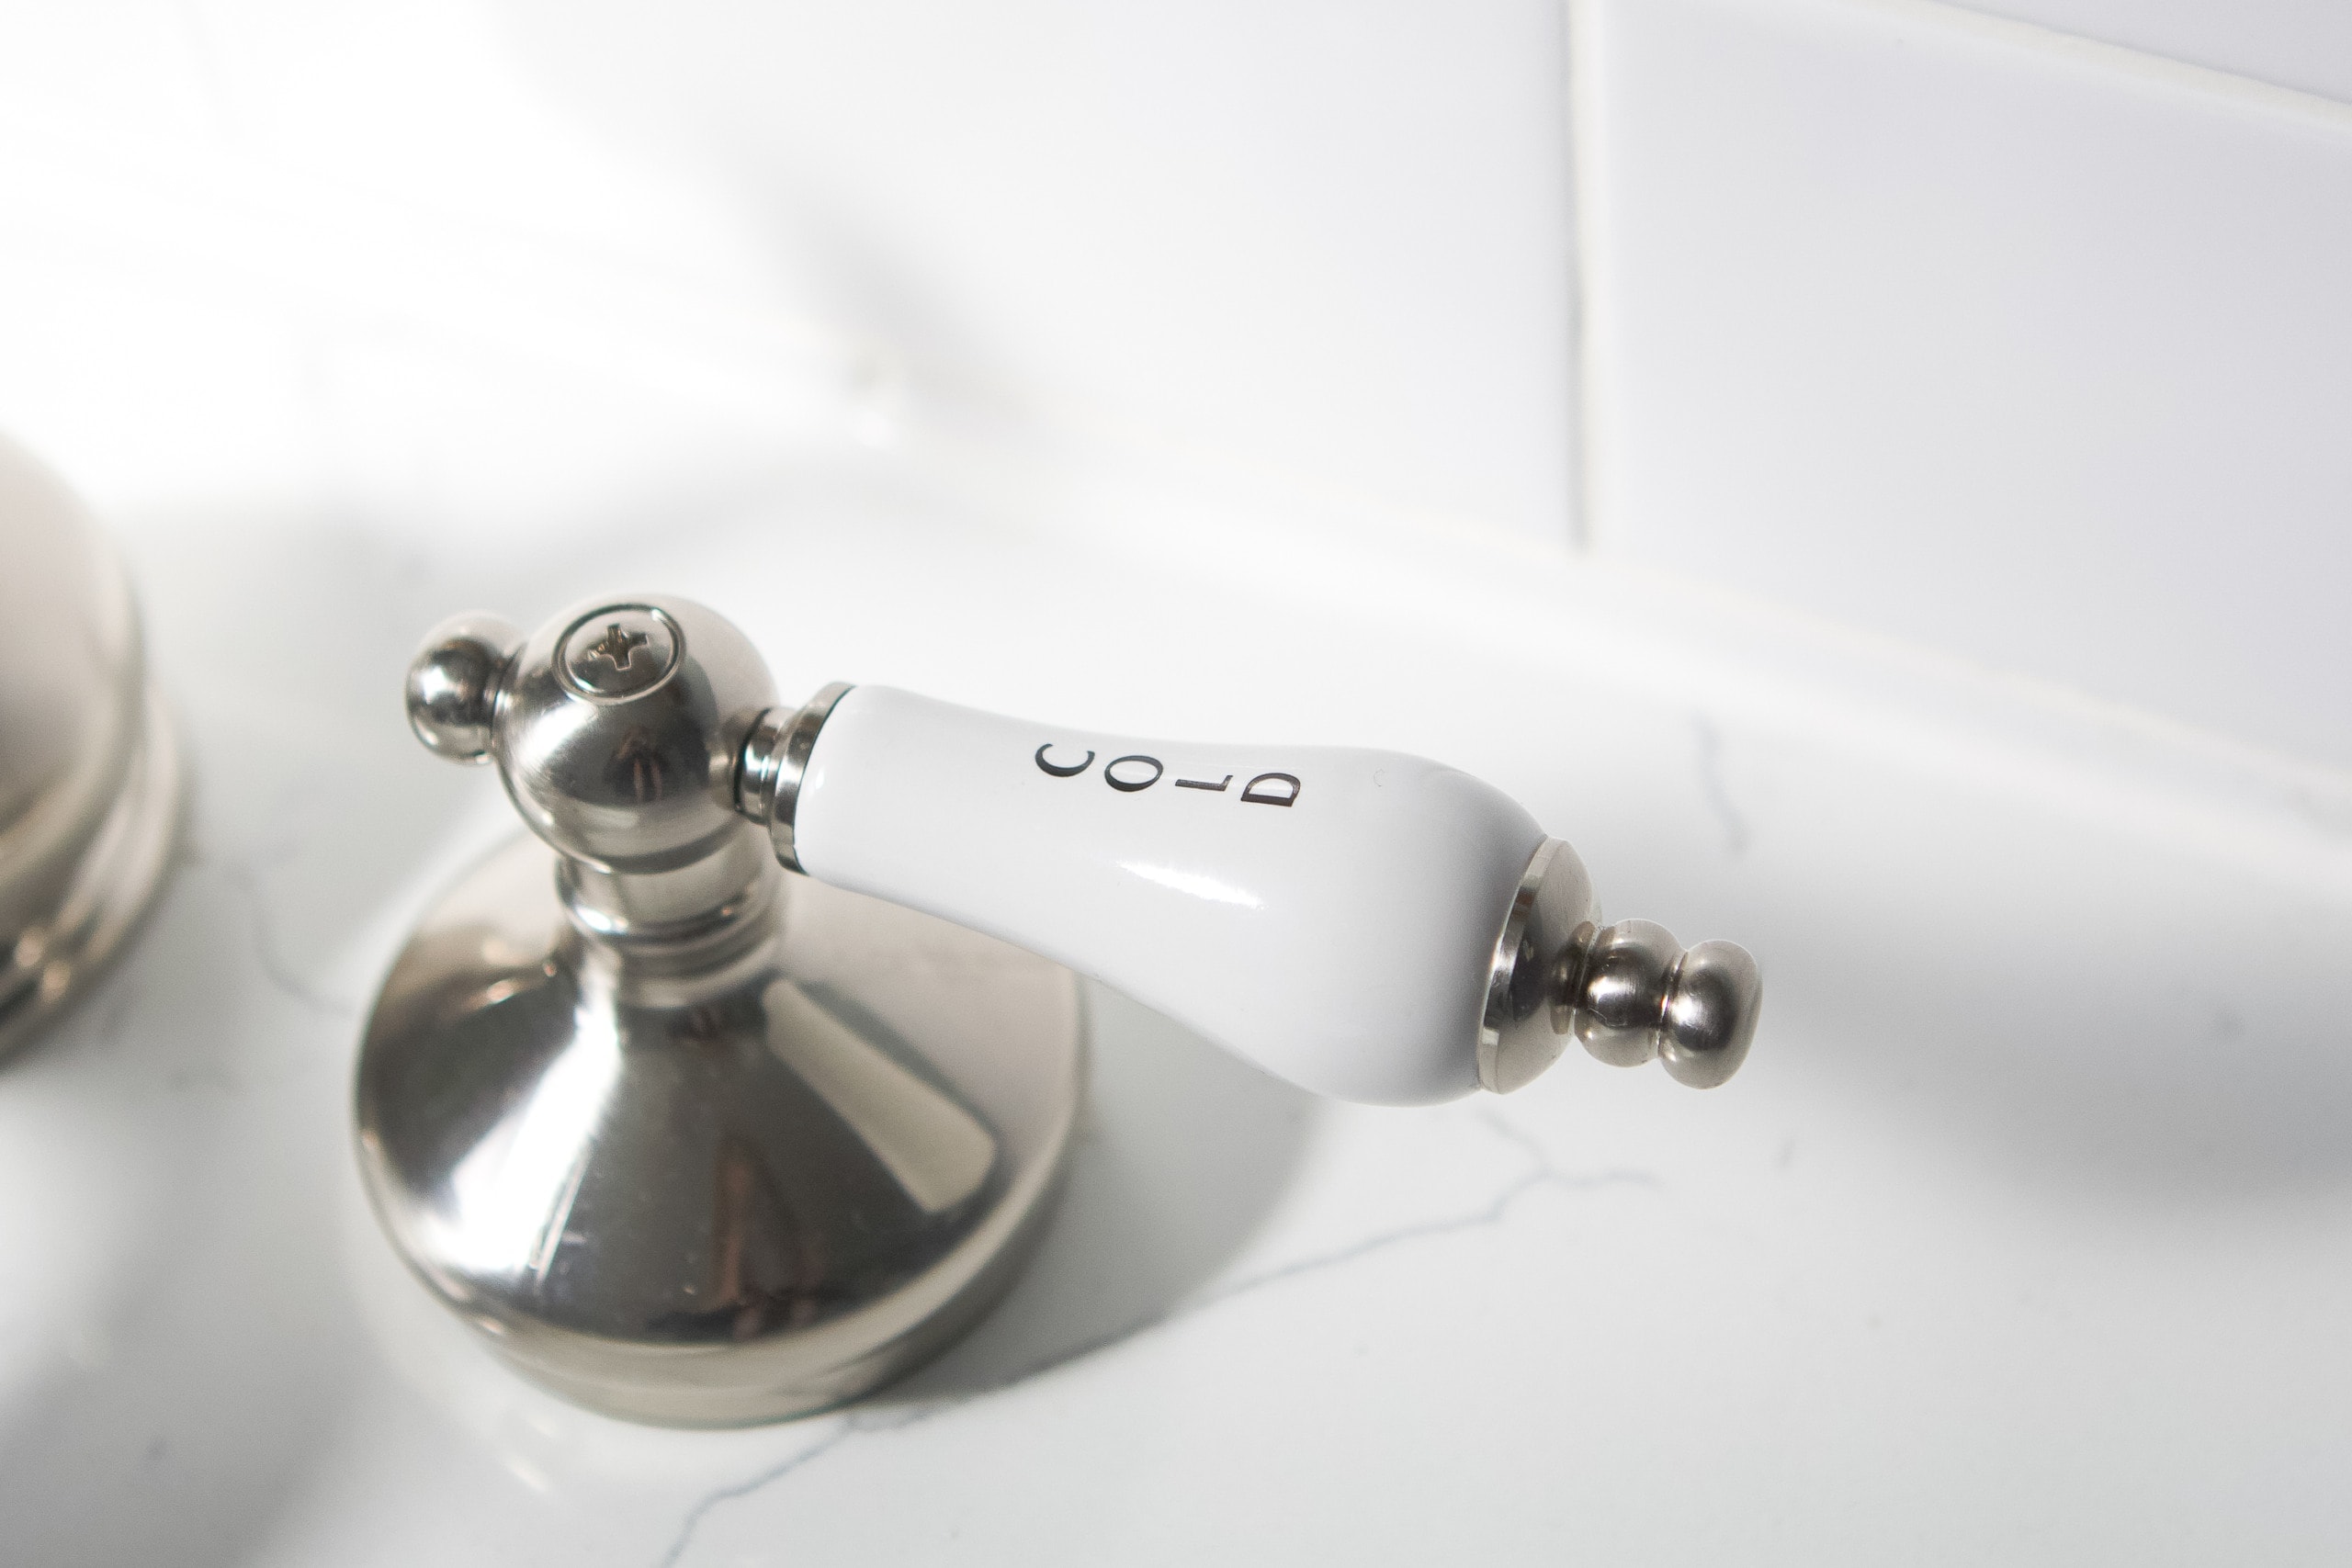
But I thought it would be perfect for a kids’ bath since it has the words “hot” and “cold” on there and that’s always smart for new readers and children using a faucet.
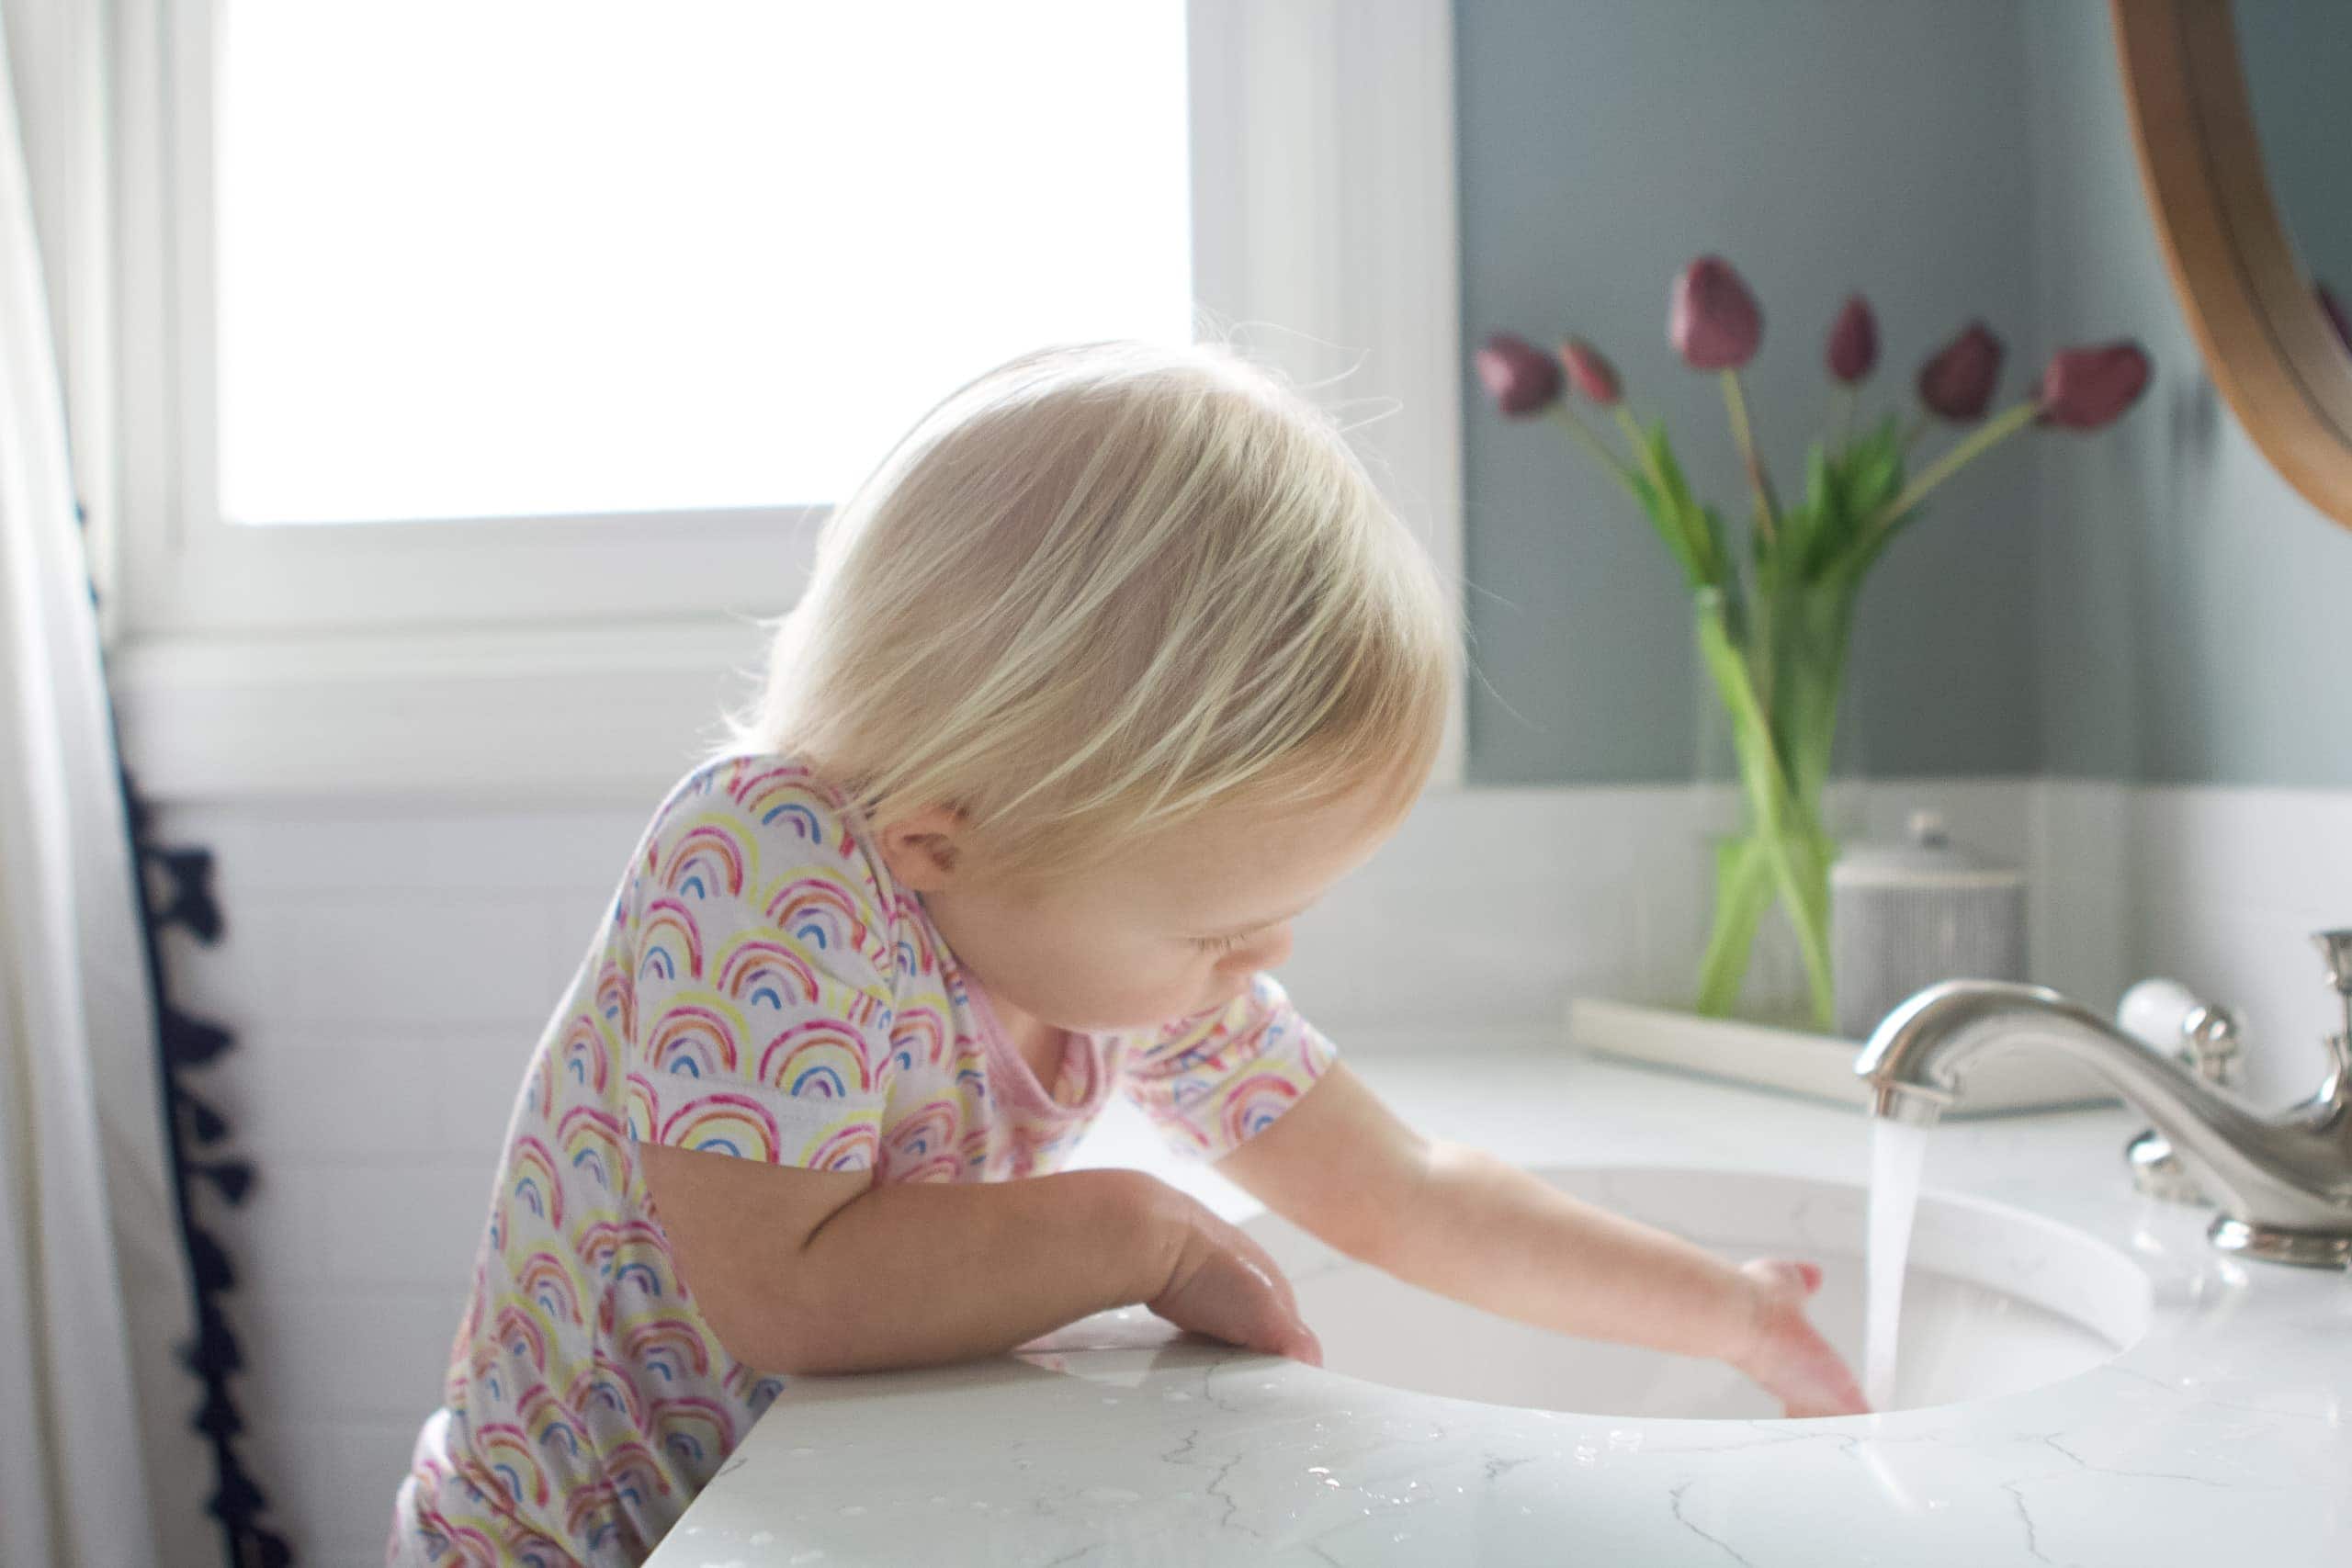
Rory has had so much fun pulling the stool over to wash her hands in here and Finn now loves the faucet too.
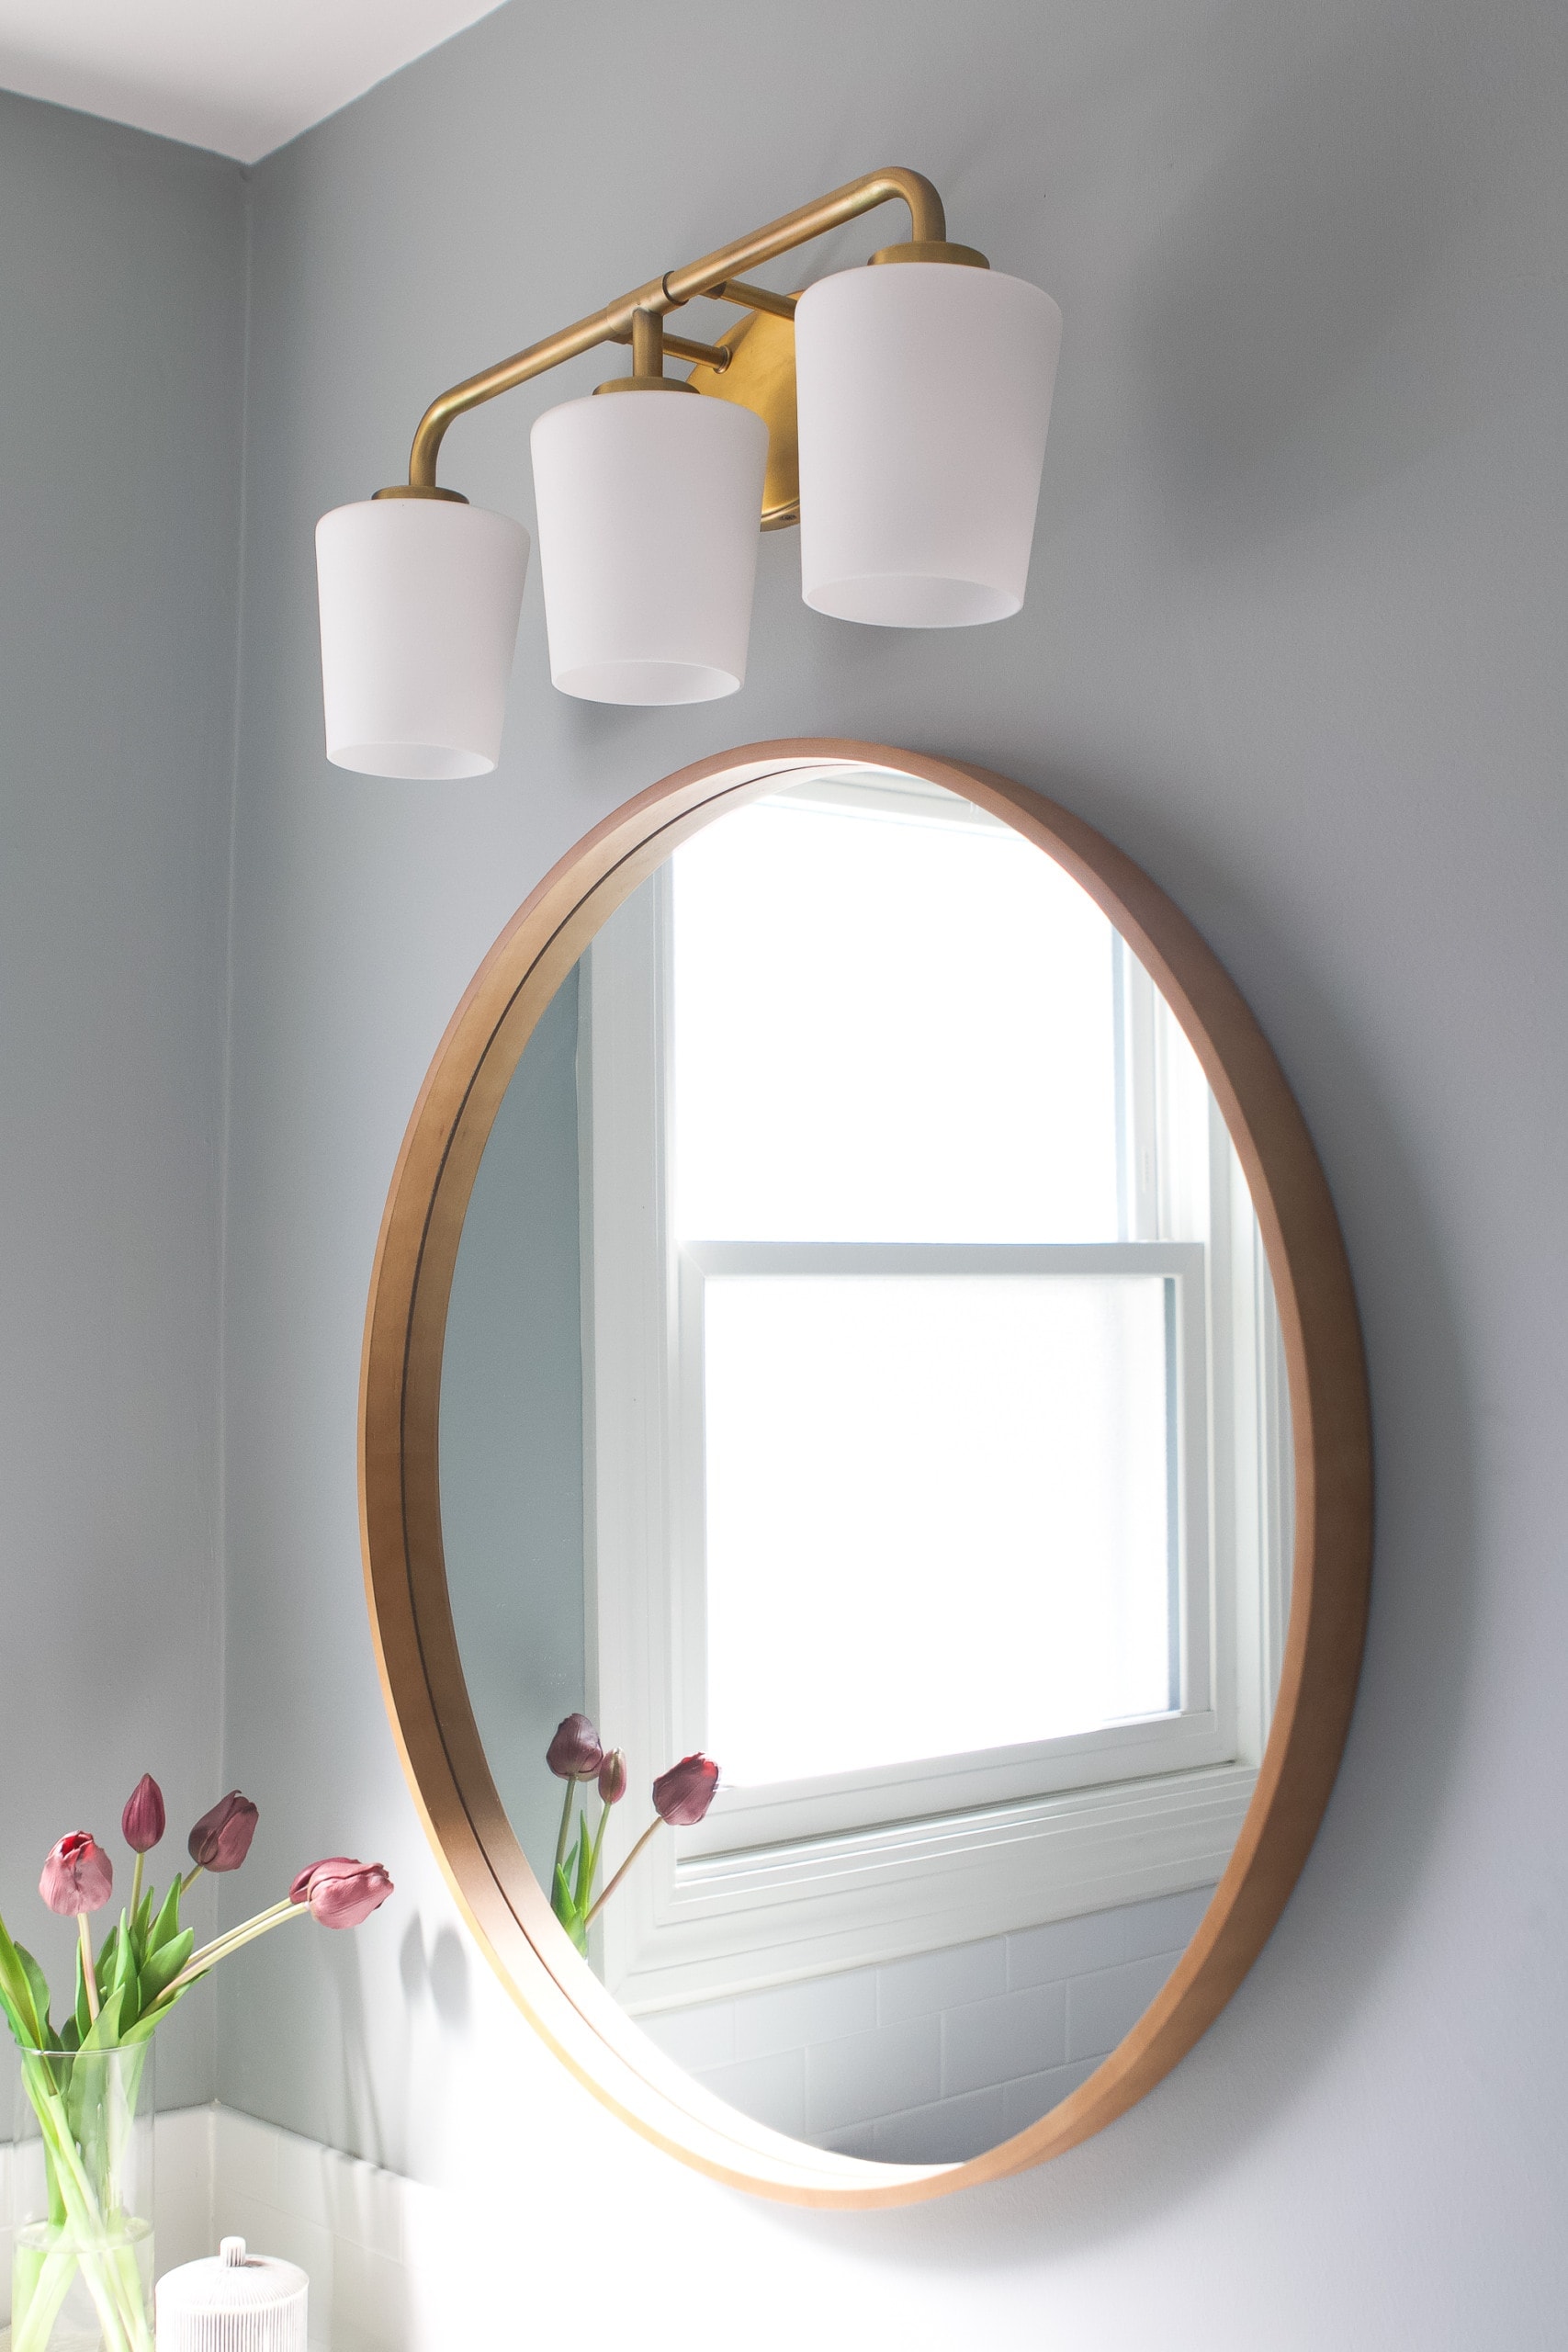
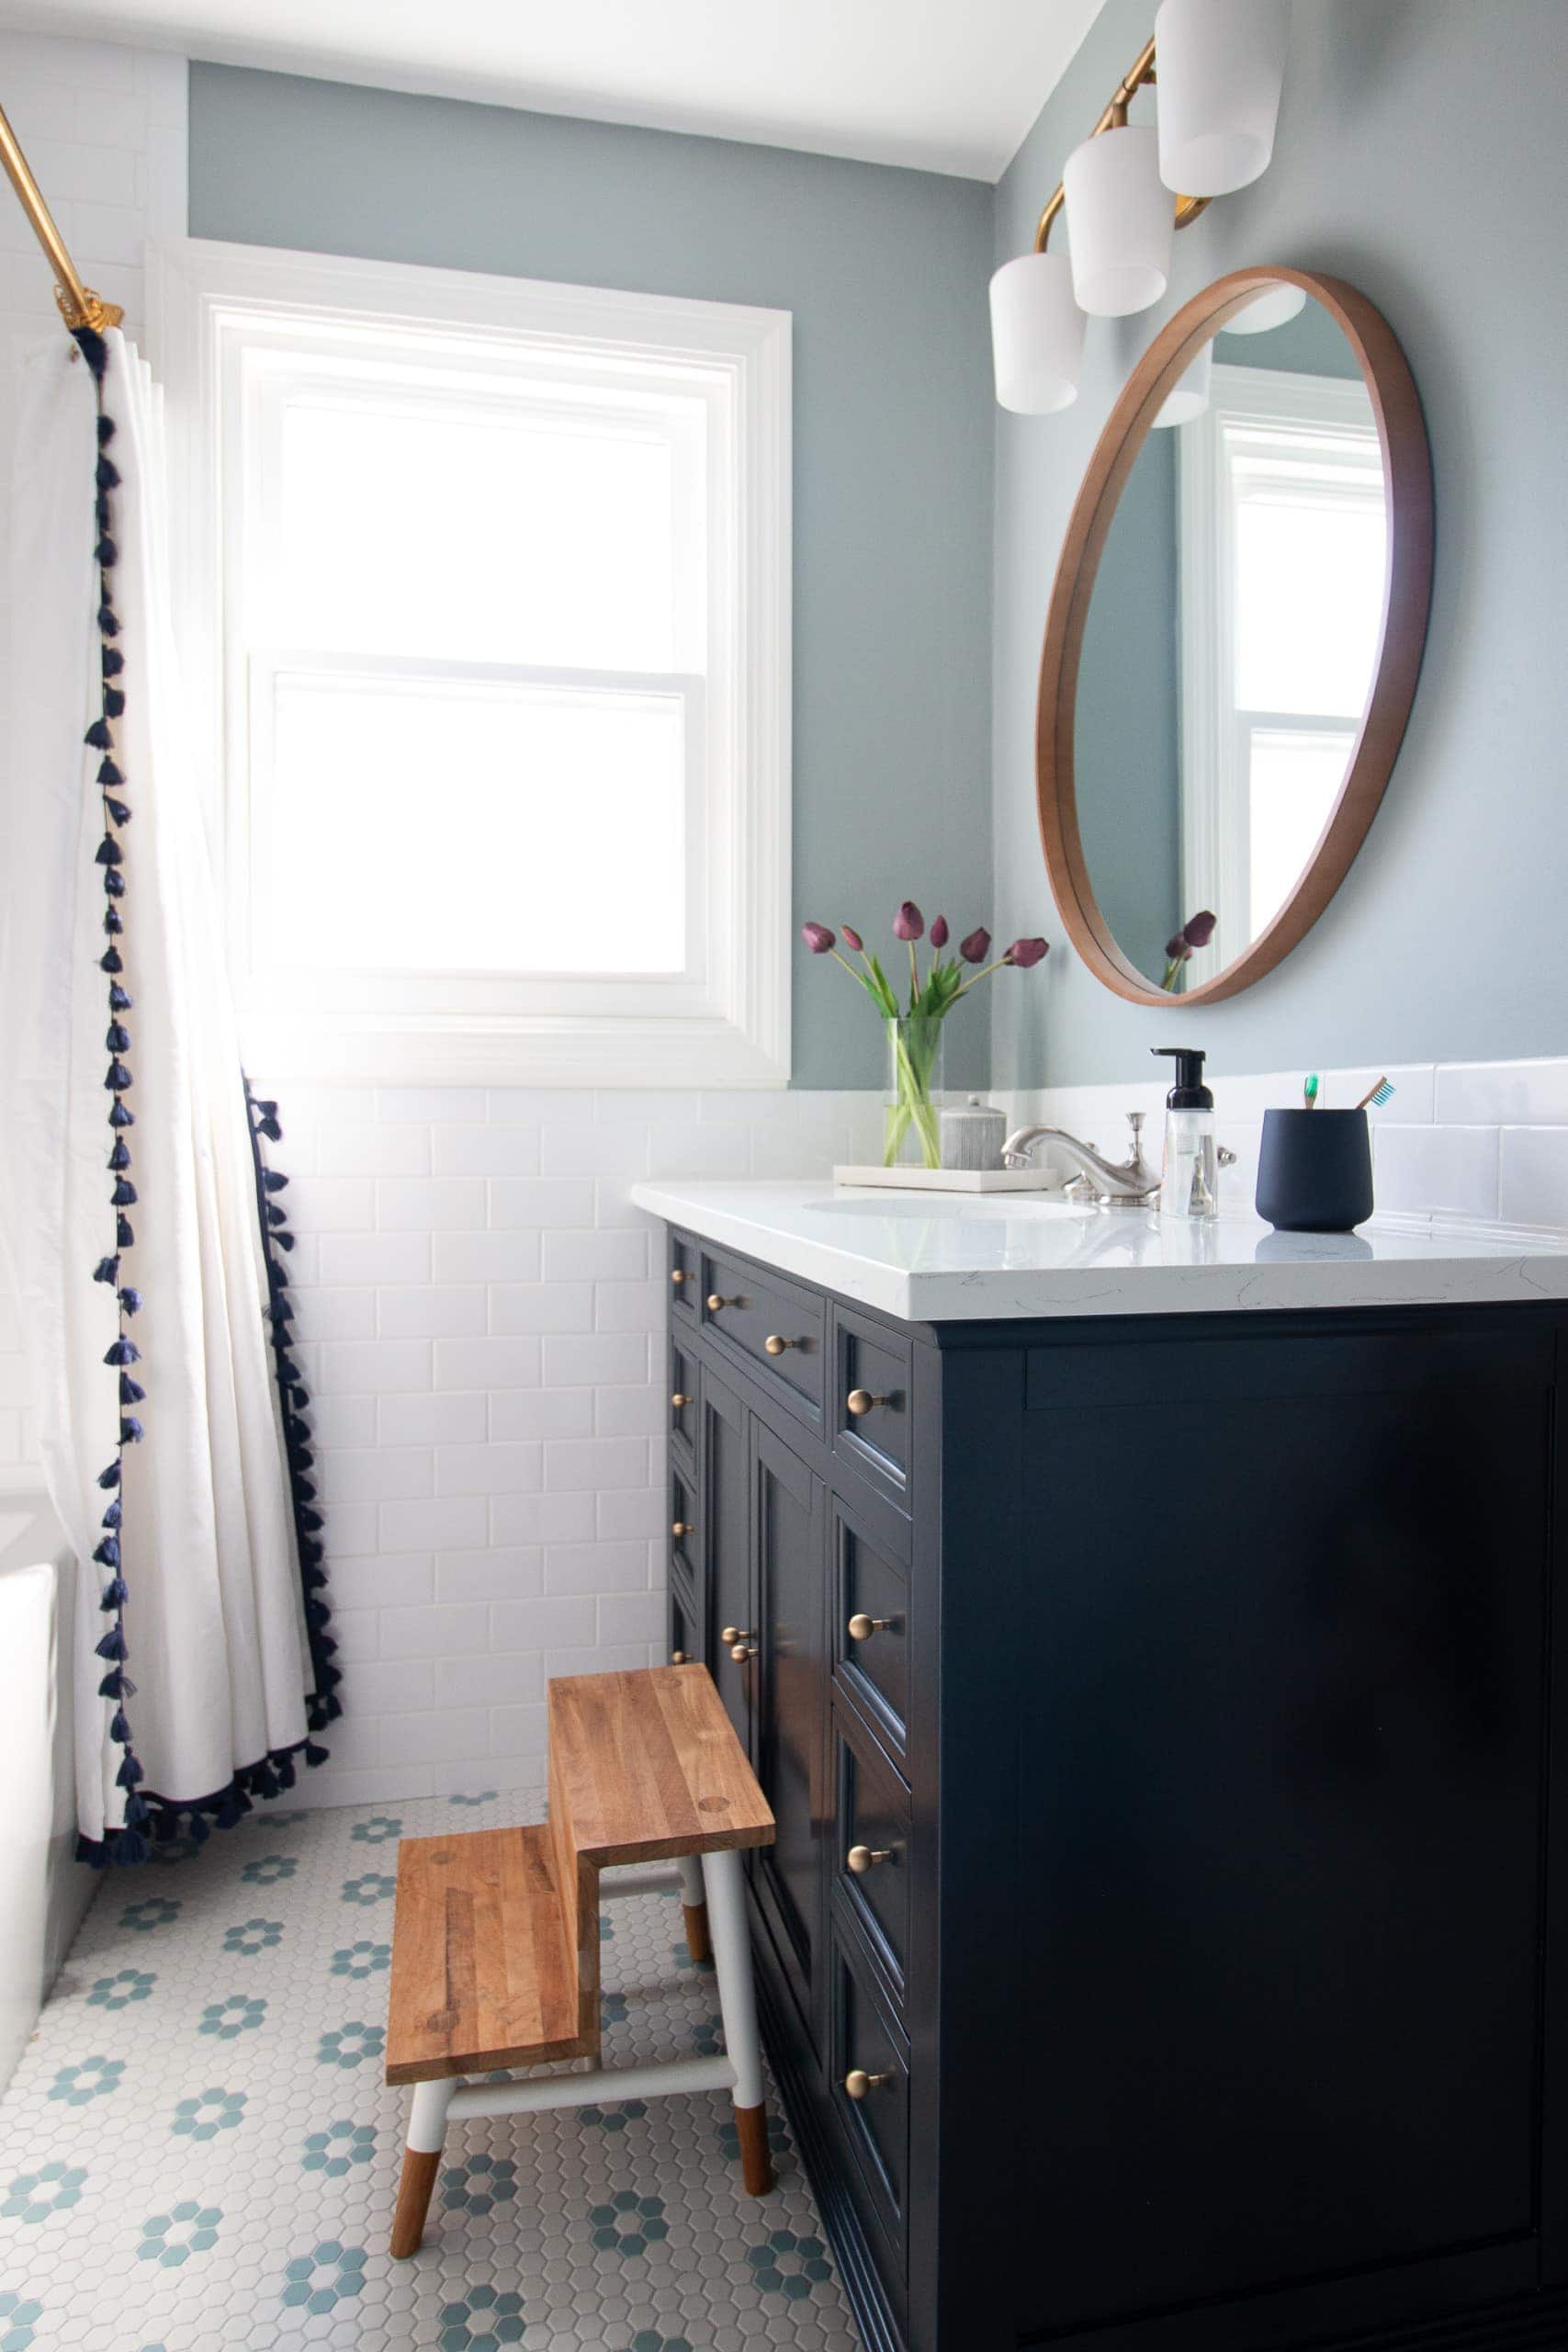
I thought I would be able to use the circular mirror that I had in the space before. But when we hung it with the new taller vanity and the subway tile backsplash it was much too large for the space. (The old mirror was 36″ in diameter.) I ended up quickly buying this wood one (it’s a 30″ diameter) and I love it. The wood adds some warmth and the scale is much better.

The vanity light stayed in place and still works wonderfully here. It emits a lot of light and I love that the gold matches the hardware in the shower.
New Toilet Setup
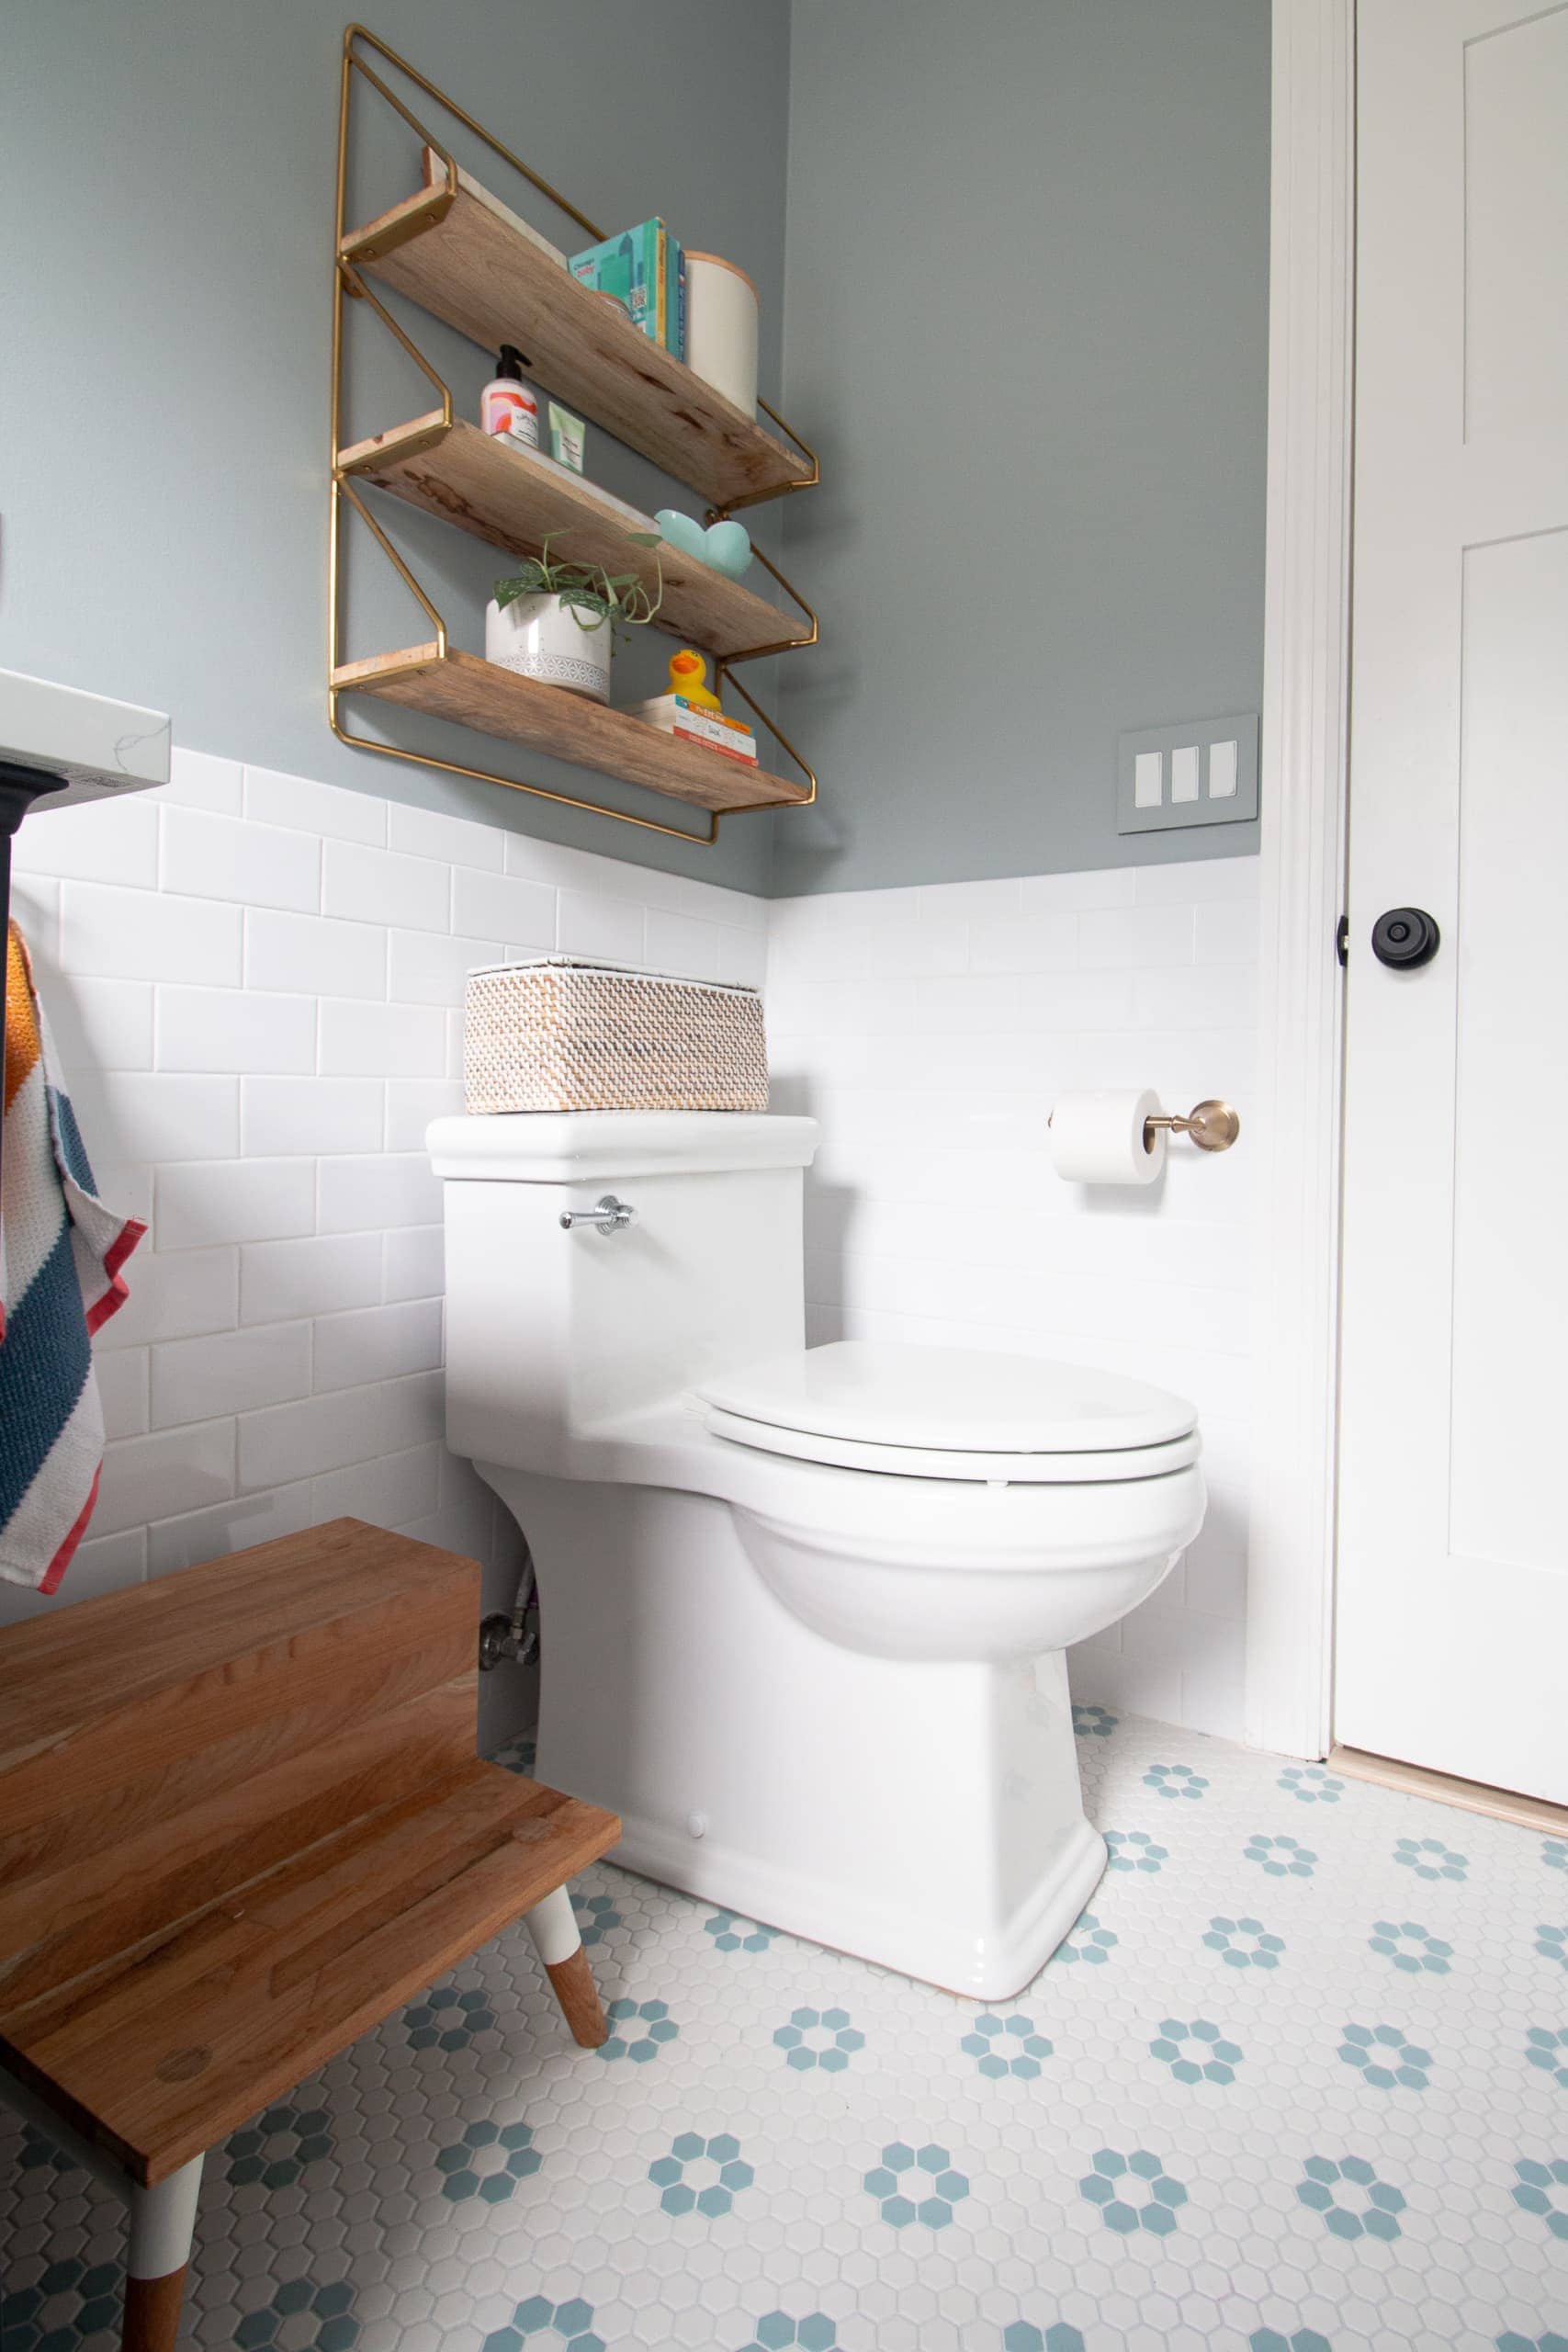
One of our pain points here was the toilet smushed up against the wall. My contractor was unsure if he could move it over until he opened up the floor below. In the end, we were able to move it a few inches over, which really helps out. I wish we could have gone more, but the floor joists got in the way.

It’s okay though because now we have a dedicated spot for the cute step stool. And the new skirted toilet is fantastic and easier to clean!
When I showed the toilet, I got a lot of questions about the toilet seat. I purchased this one that has a small potty lid attached to it, which is ideal for potty training. I also purchased this same toilet seat for our downstairs bathroom, so Rory has lots of places to go! And this toilet tank basket holds wipes and extra toilet paper.
Adding Cute Touches
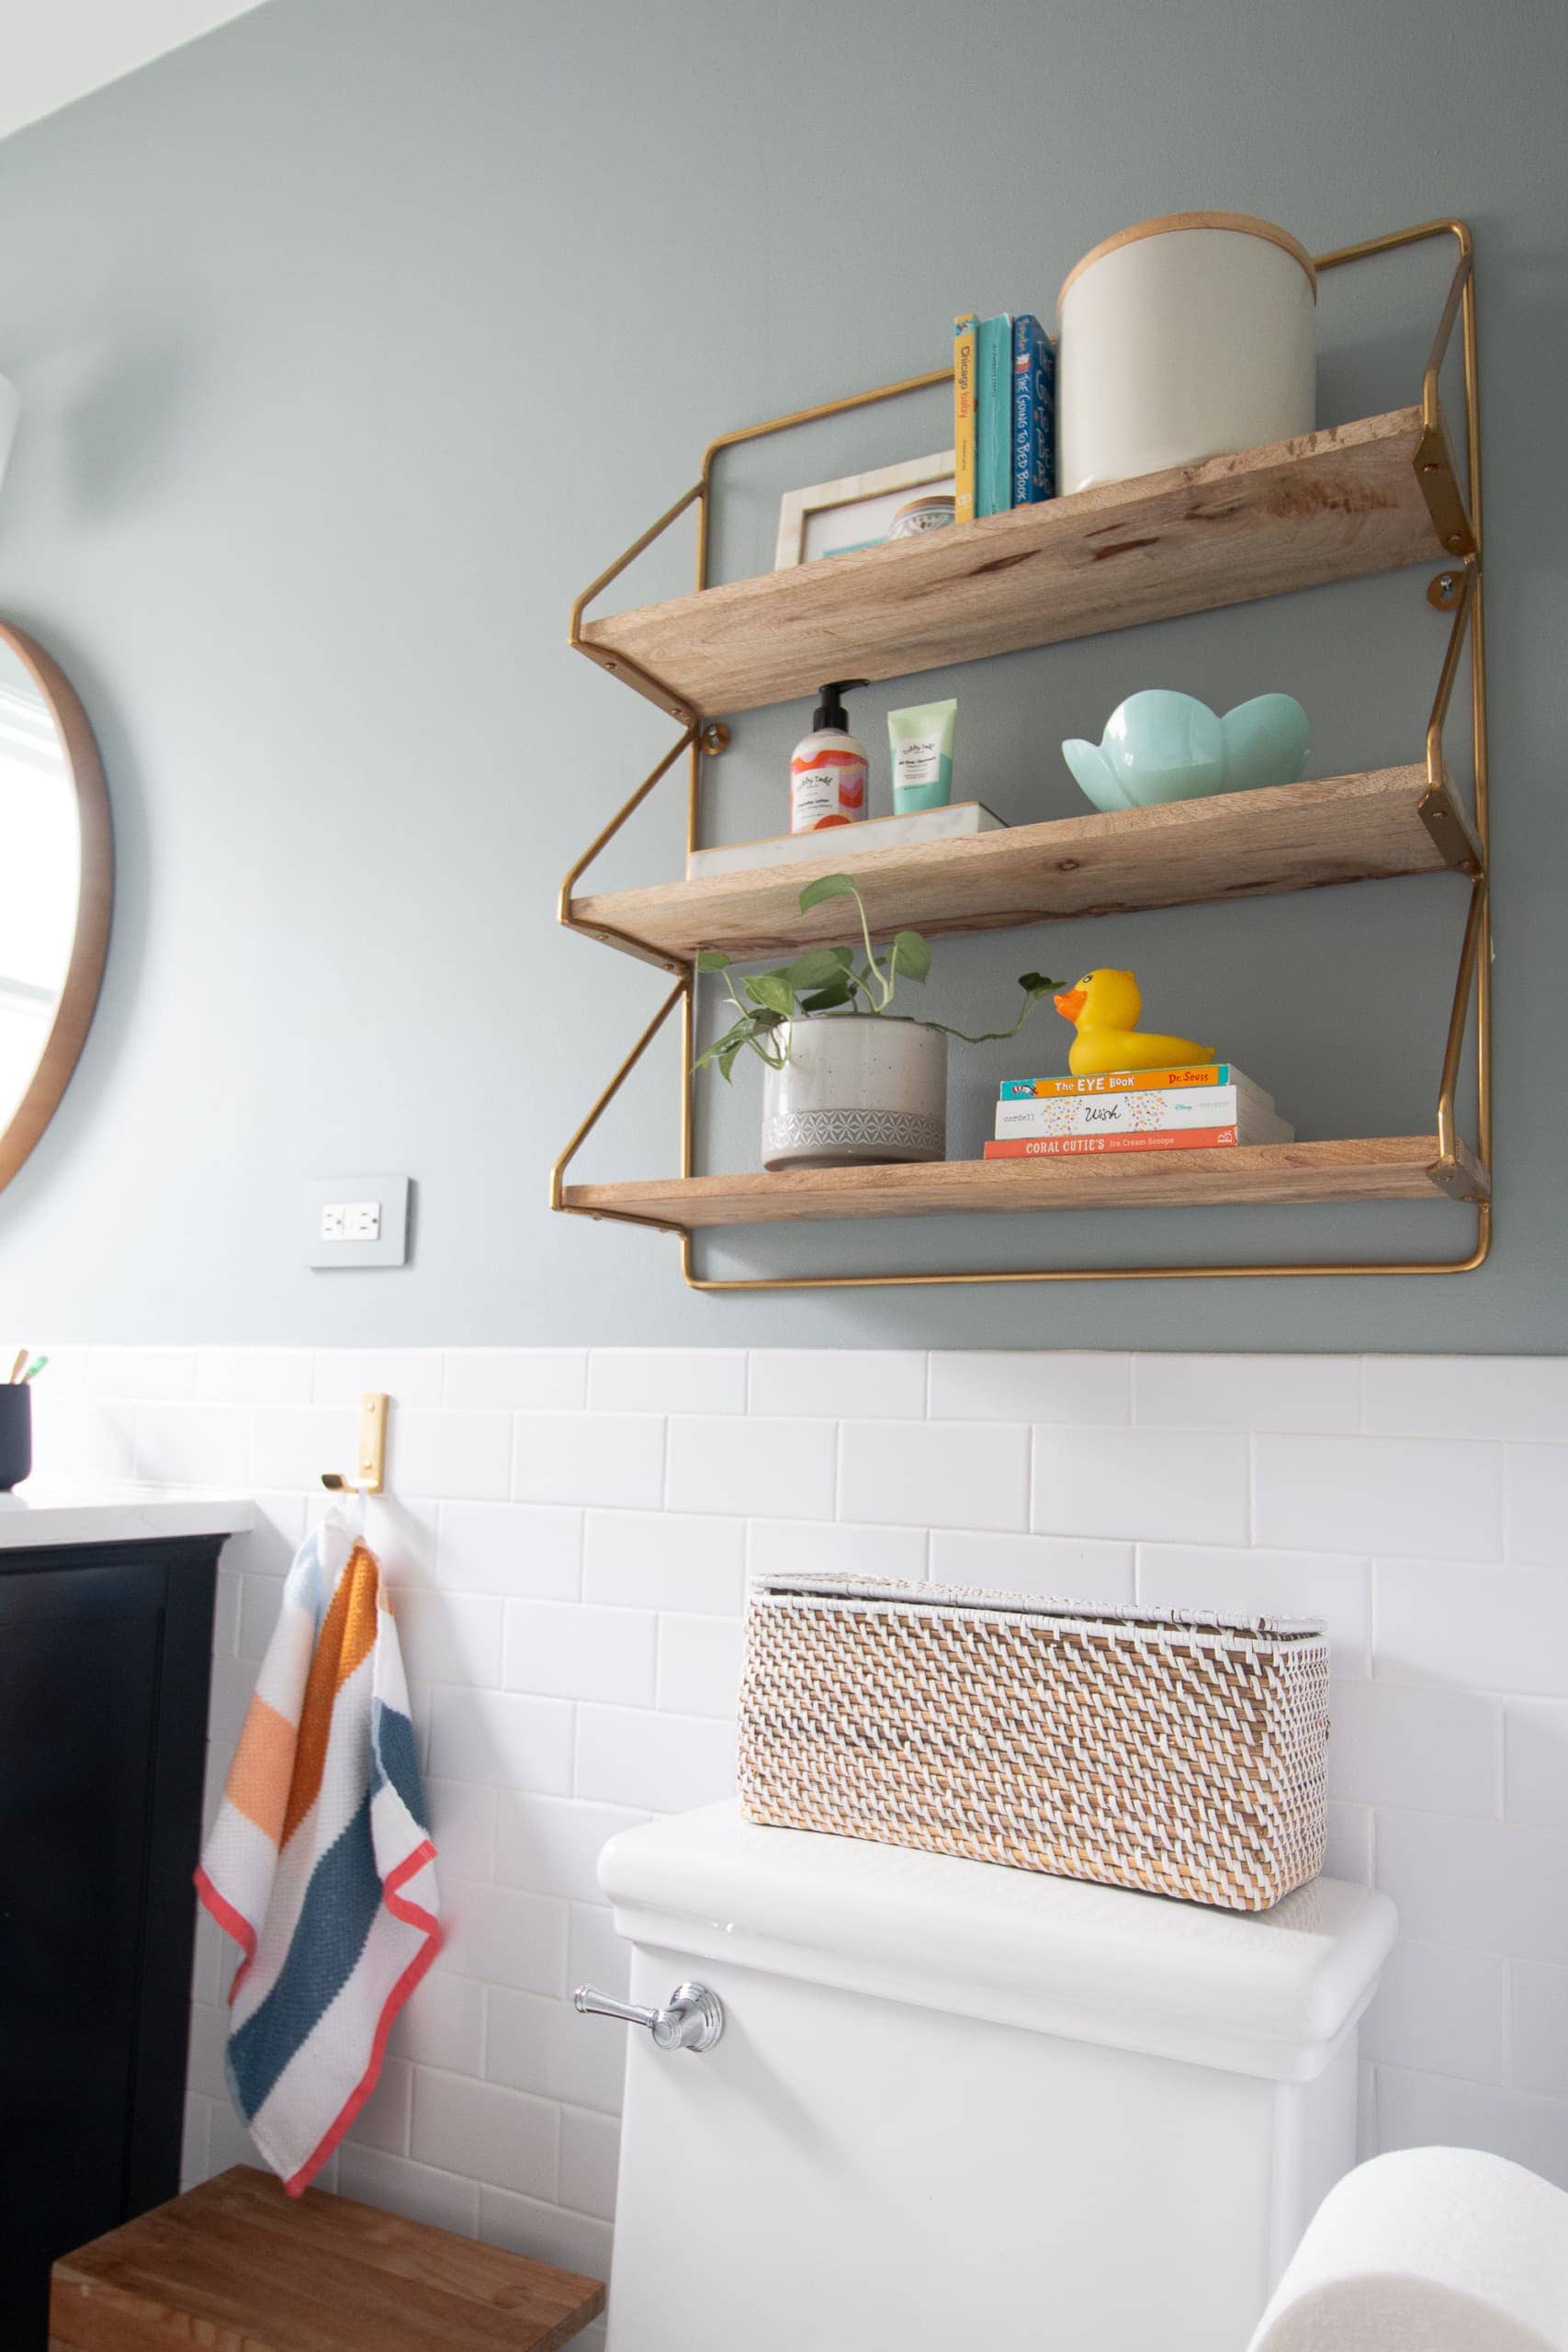
The accessories really bring the space to life and give it that joyful colorful look. Even though the basics are pretty classic (white, blue, and navy), the styling makes it feel fun and kid-like.

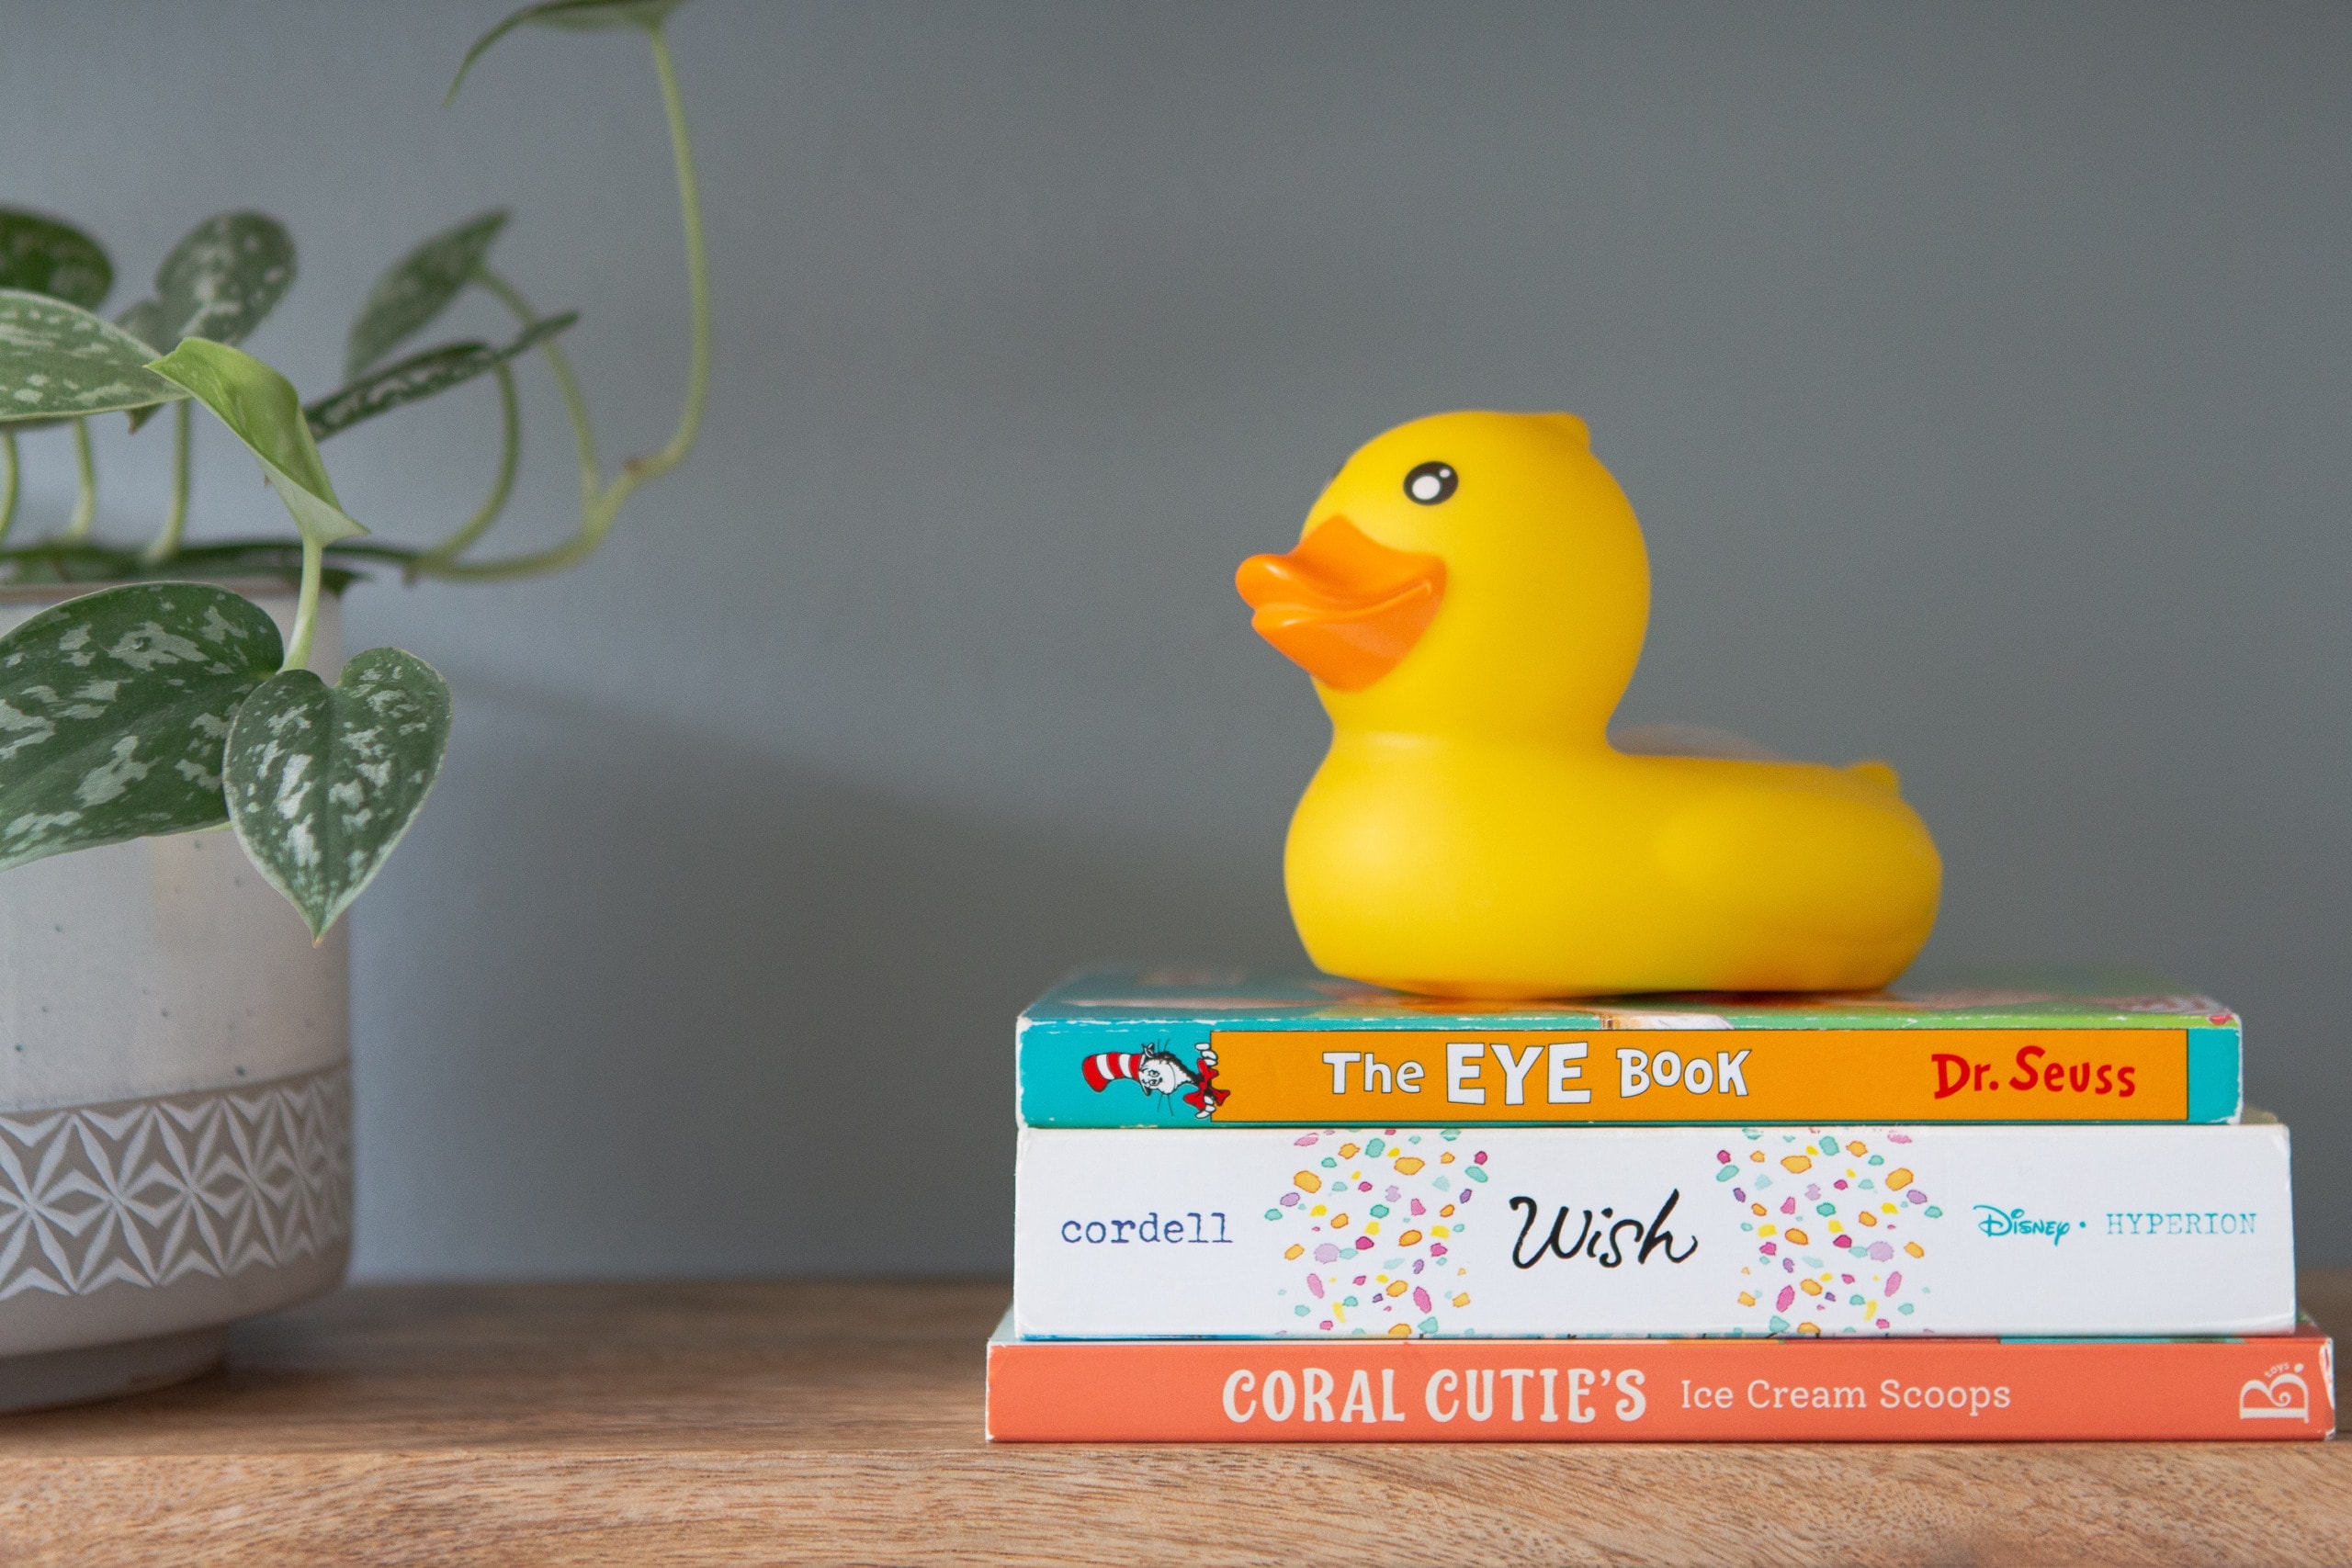
I ended up using the same shelving unit (no longer sold) in here because it fits the space so well and I still loved it. On the shelves, I “styled” it with kid stuff that we actually use every day. There are books for Rory to read while using the potty, a cute flower bowl for her hair ties, lotions and brushes, and even a piece of art I picked up from our vacation to Seaside, Florida in this bone frame.
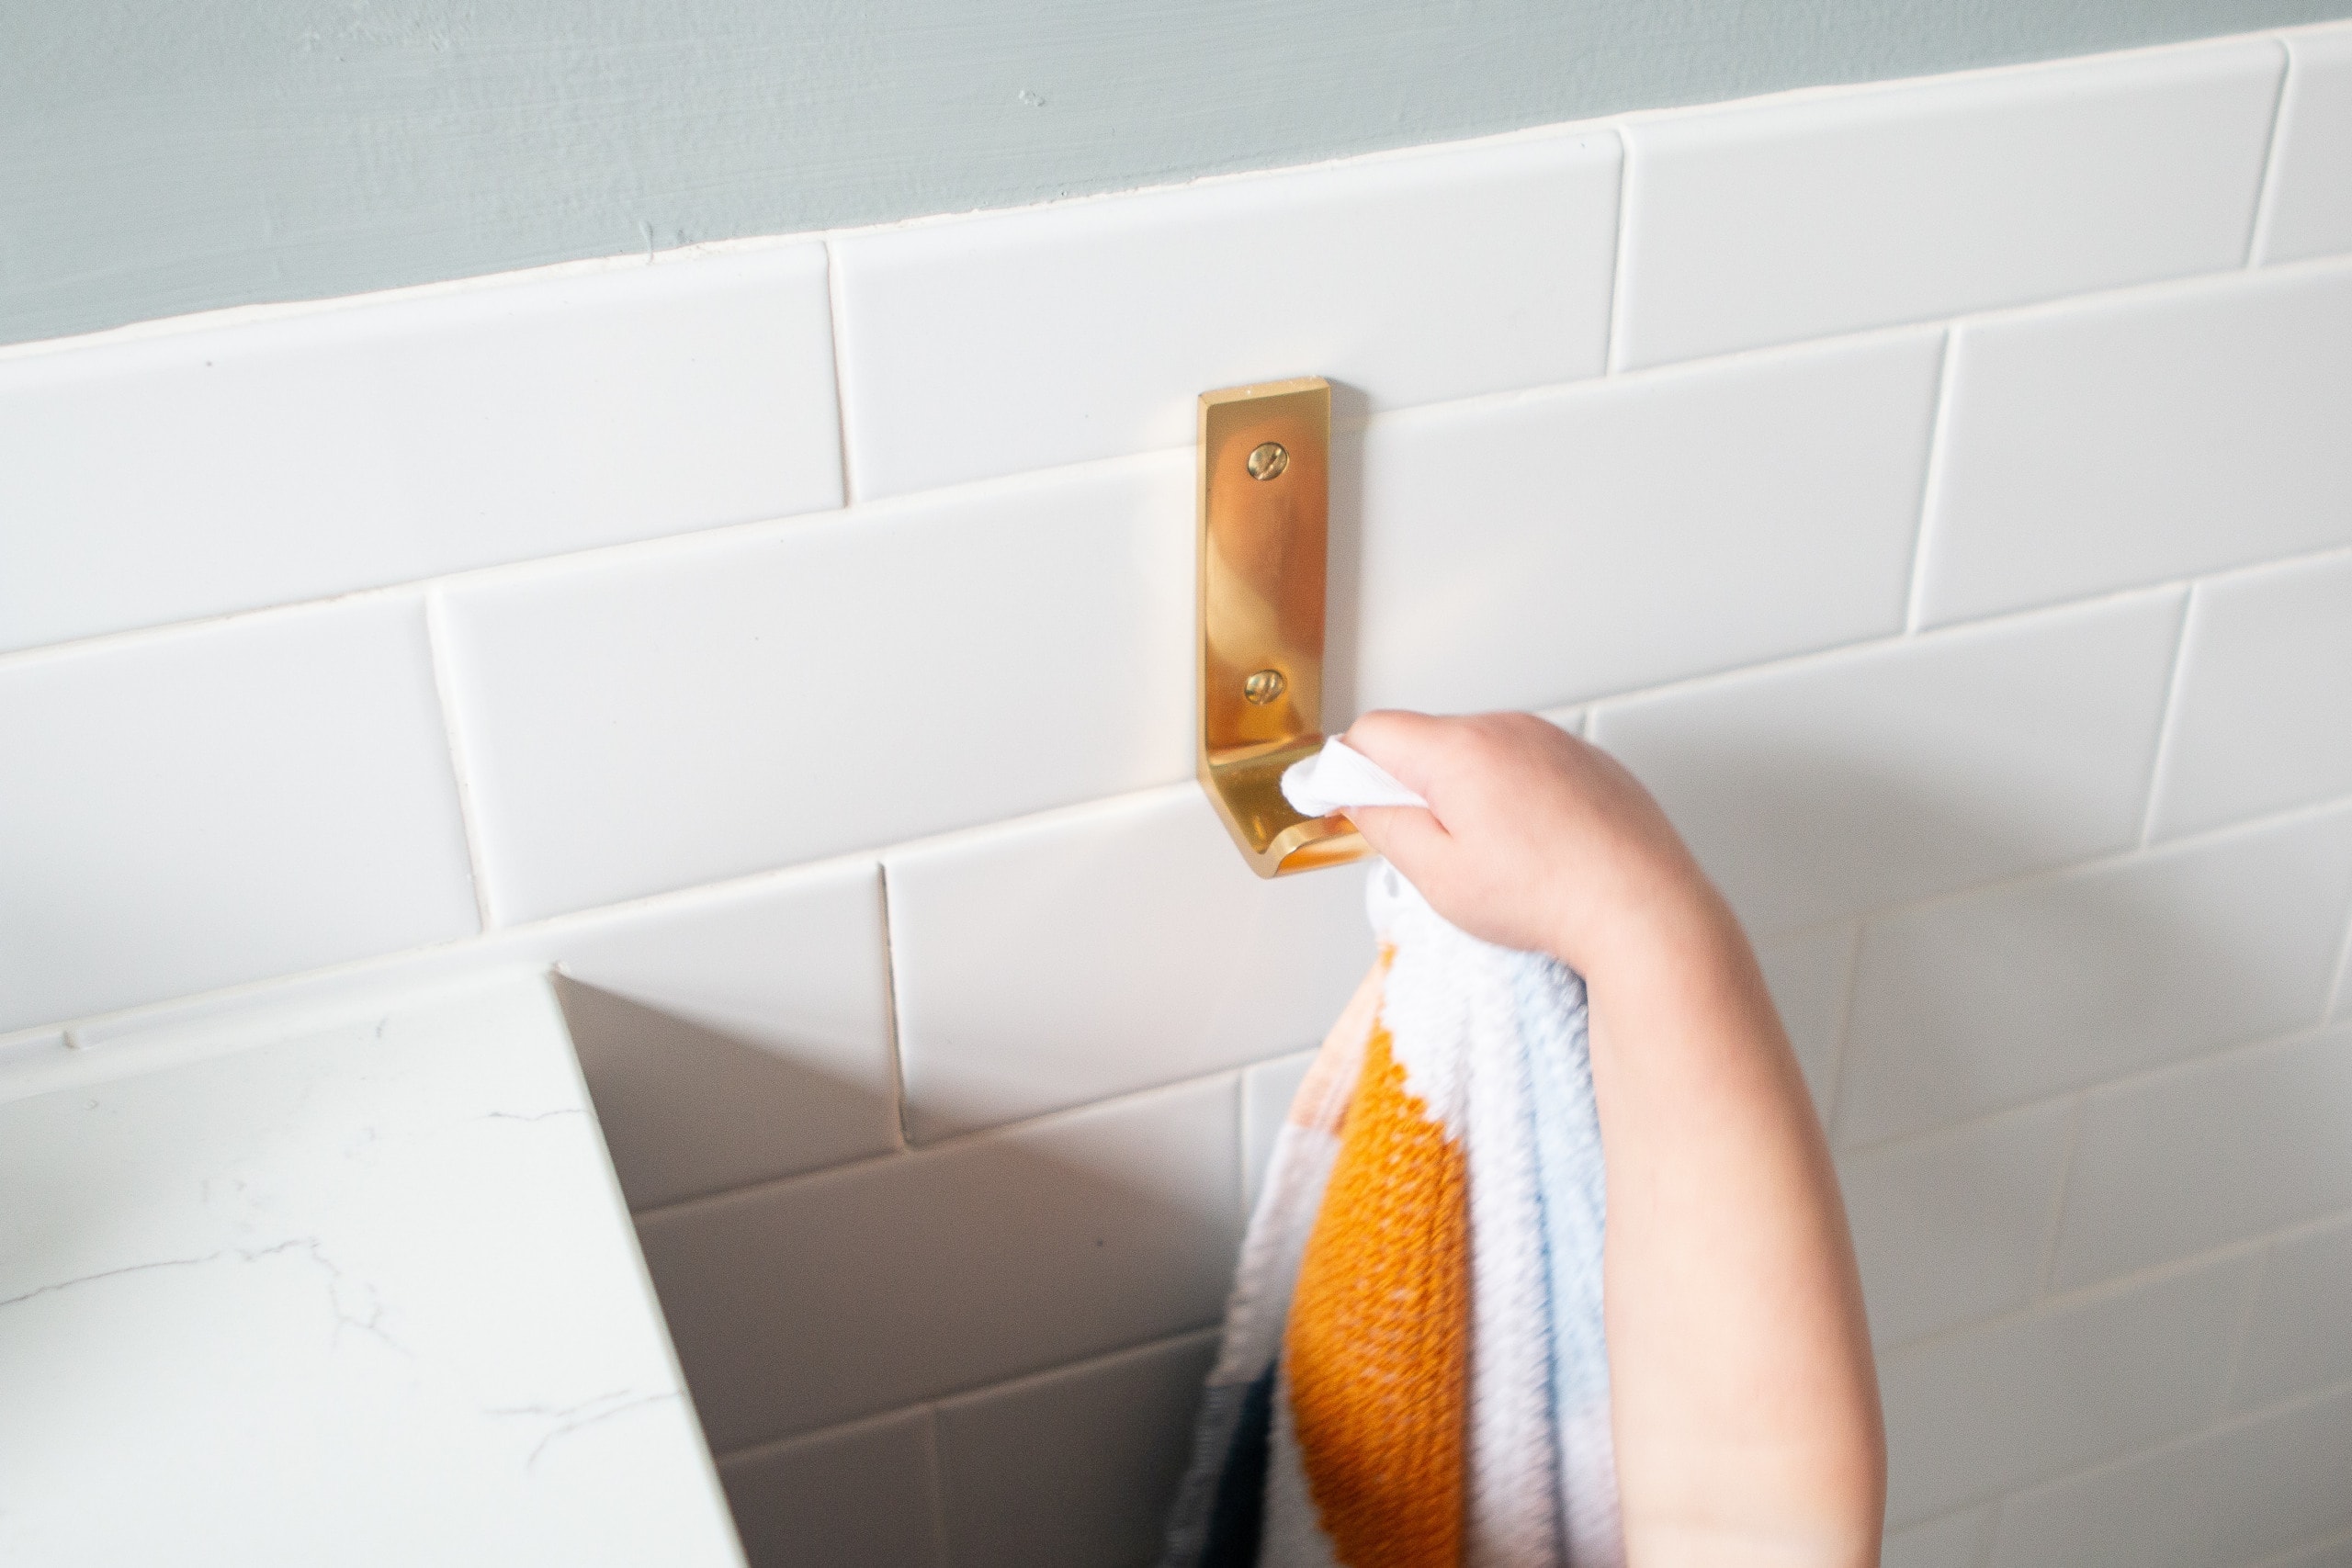
I kept the same towel hook we had and had my contractor install it right into the tile. (Install tip: use a diamond-tipped drill bit like these and go slow!) I found this super cute colorful hand towel to hang and absolutely adore the colors.

On the vanity, I have my favorite faux tulips in this new tray (similar). (Can you even believe they’re fake?!) I also have small kids’ flossers in the small canister.
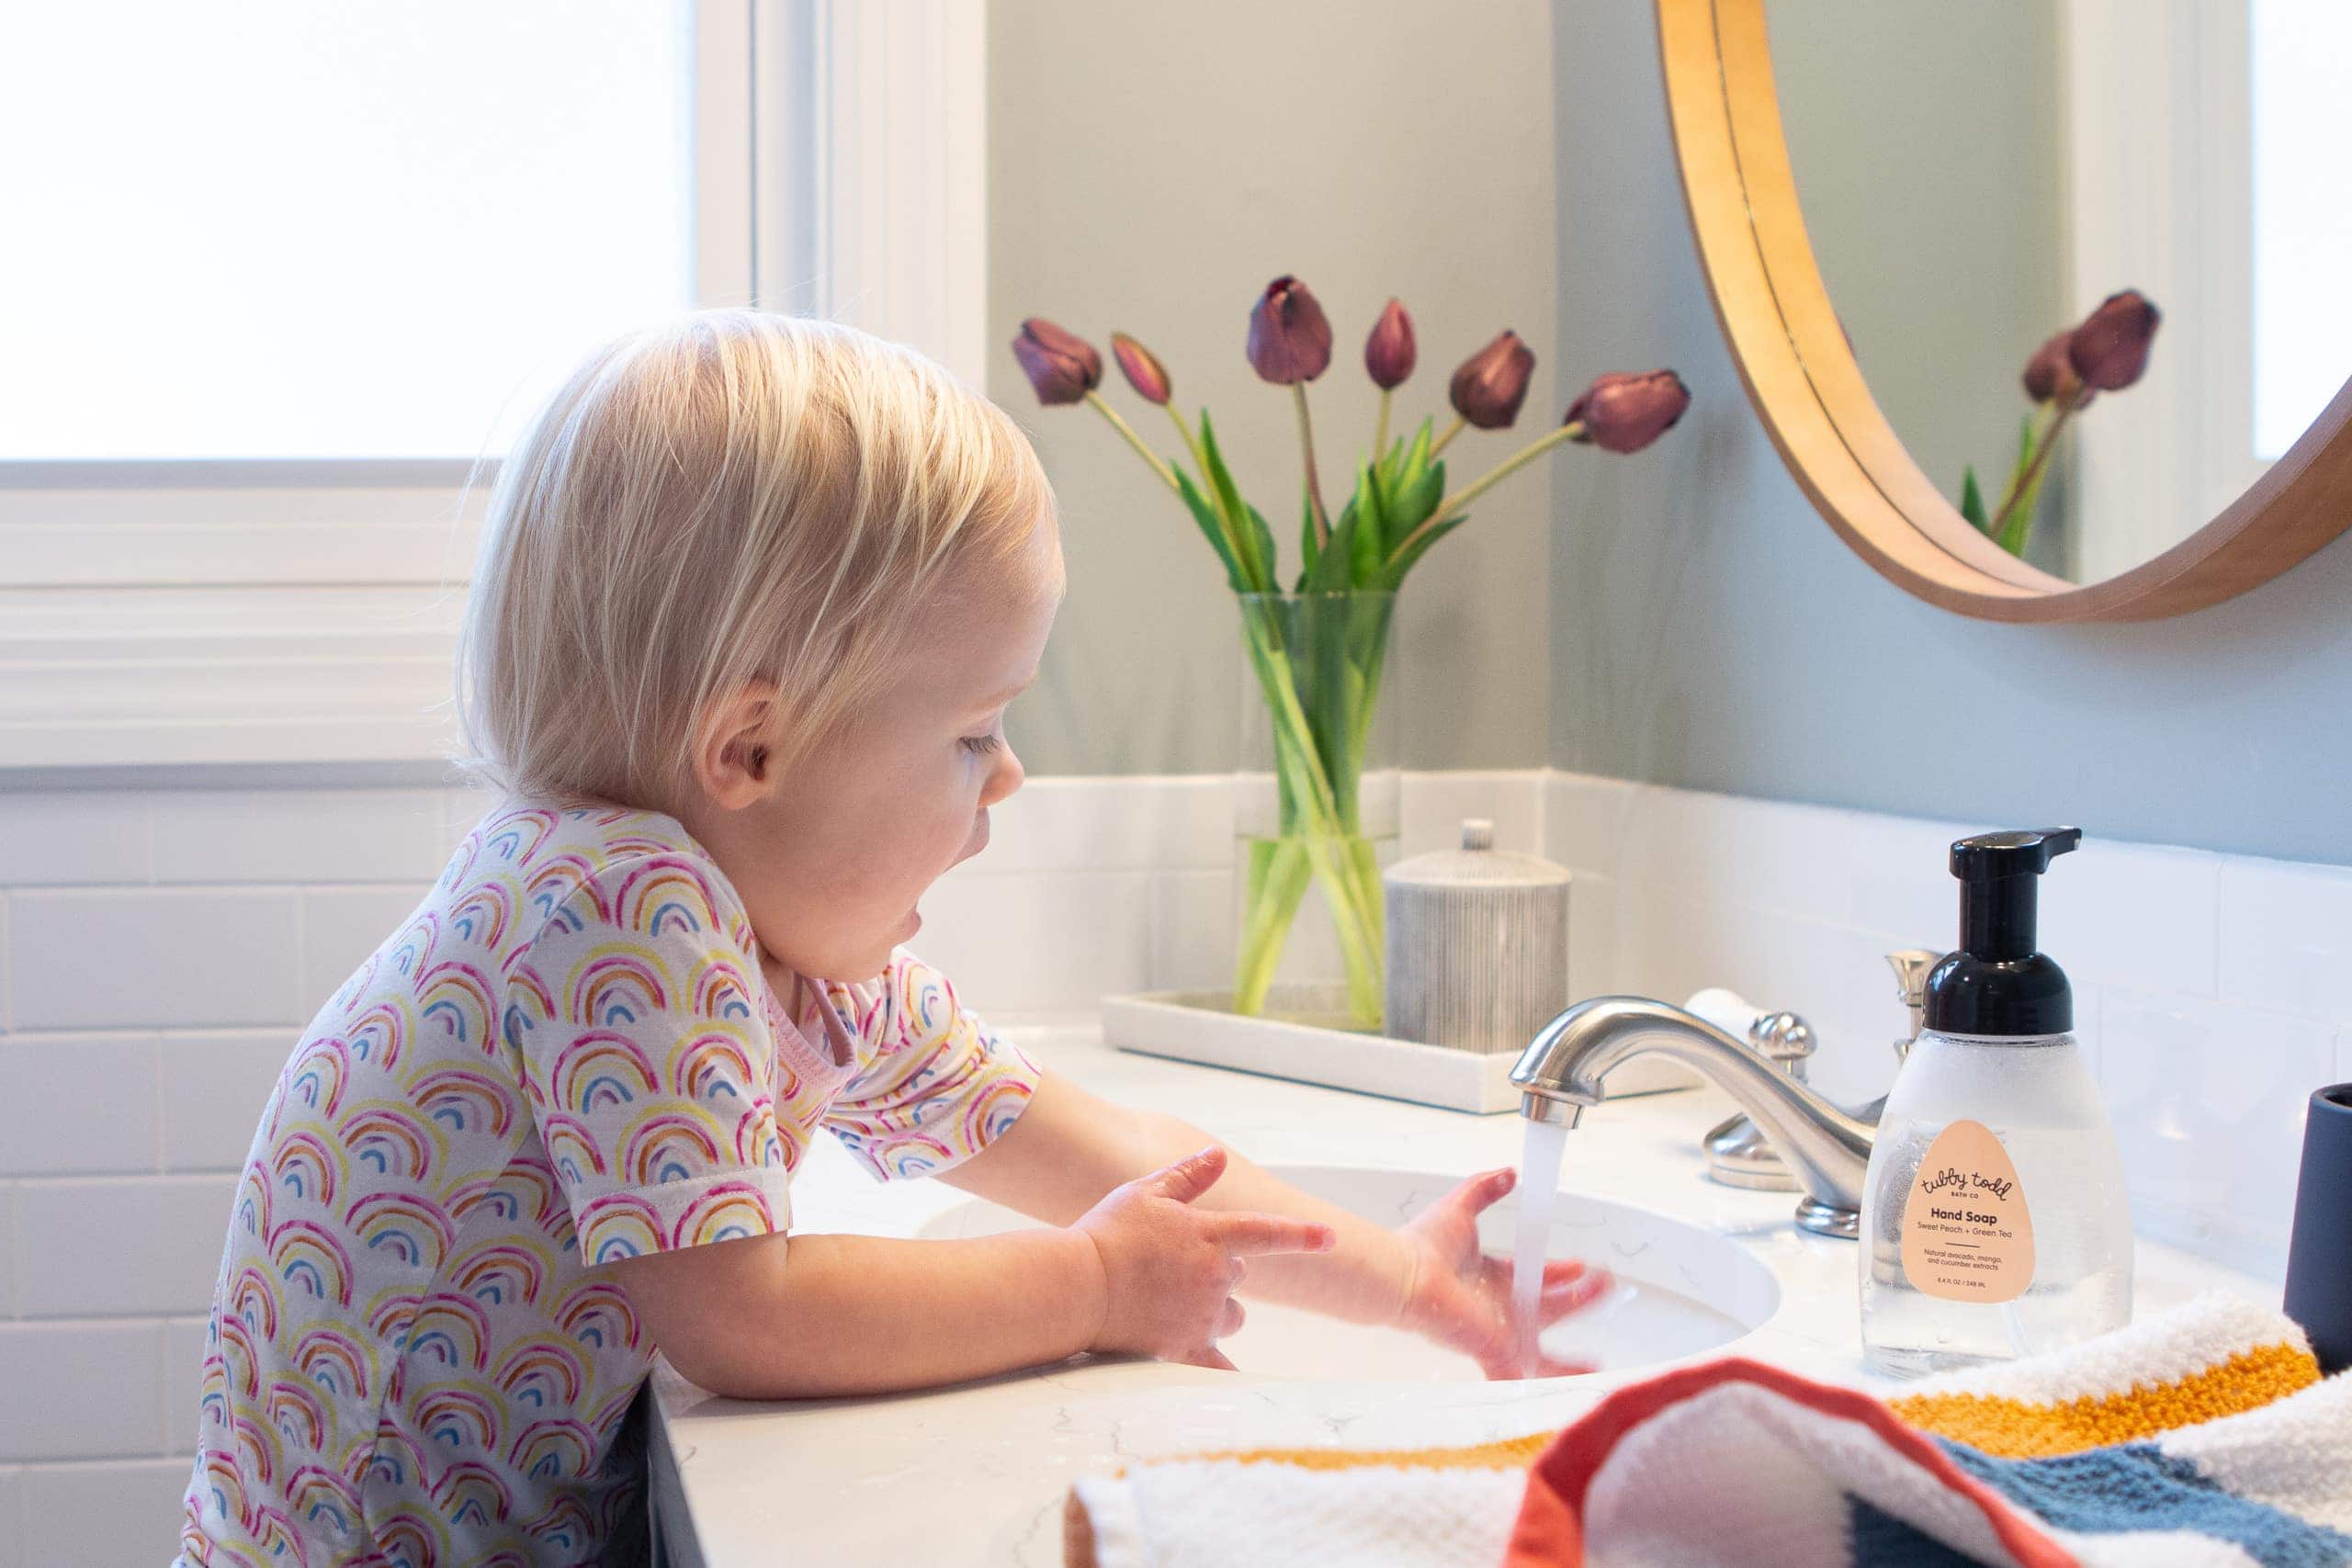
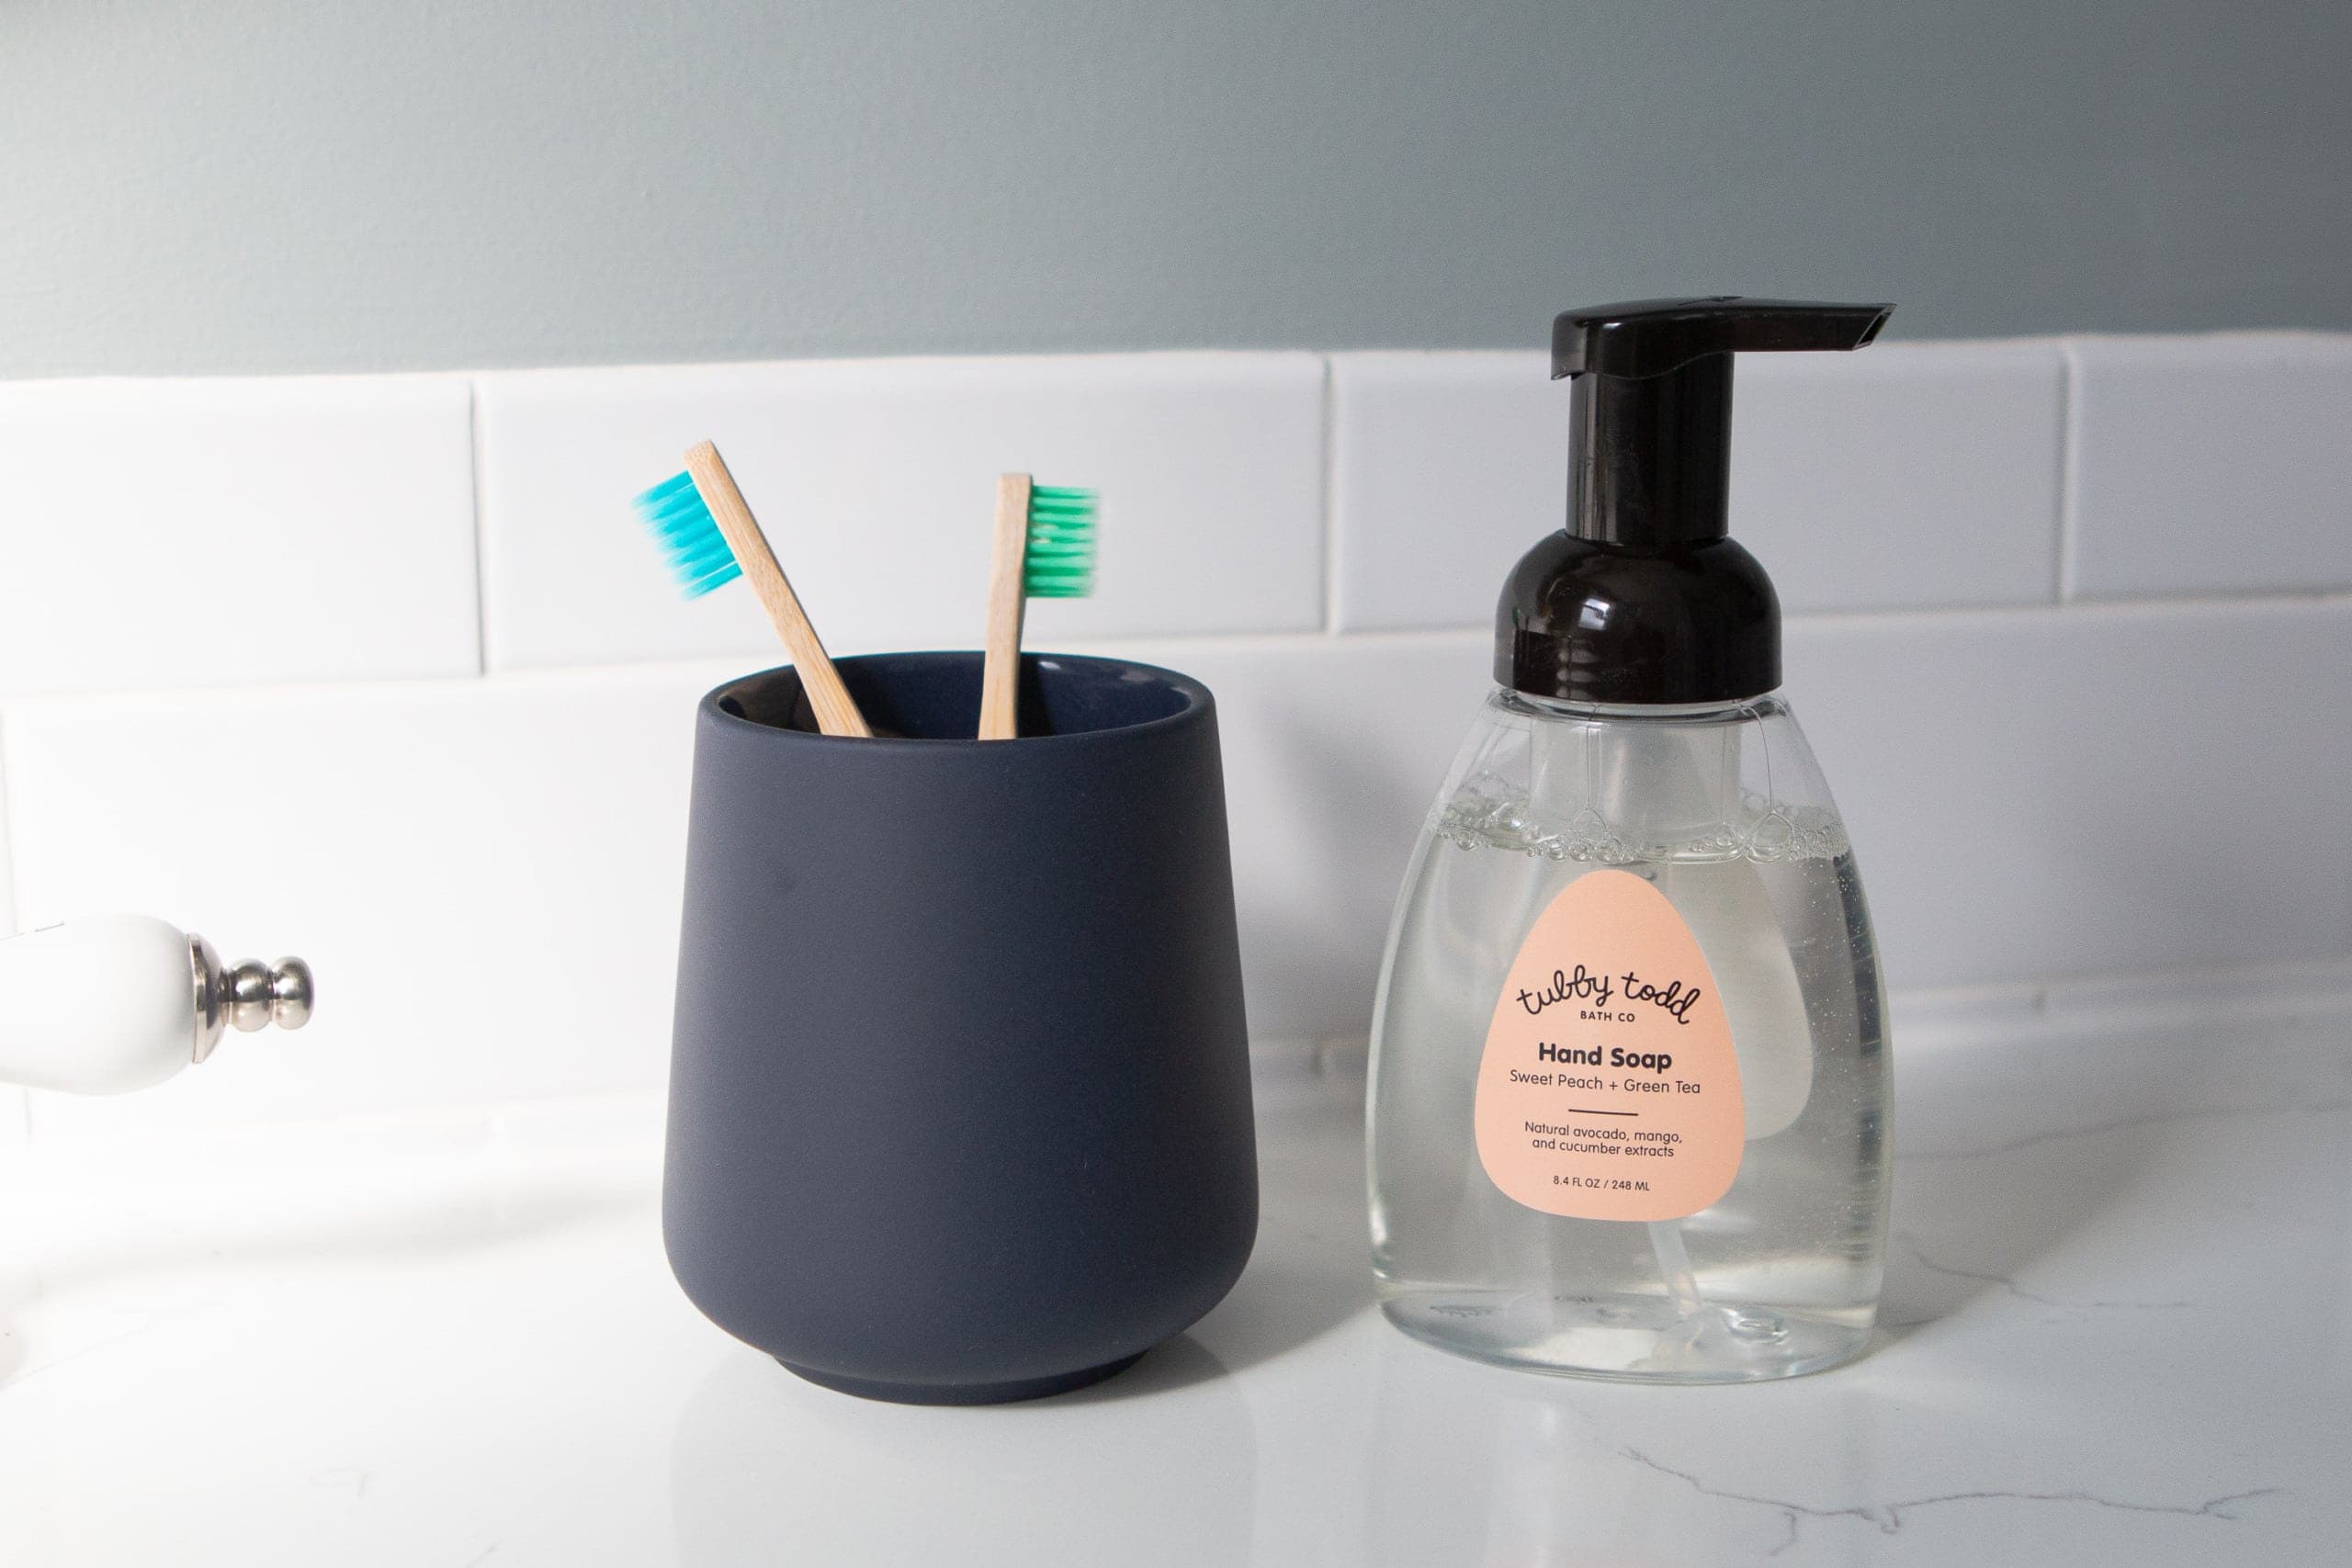
Rory loves opening it up and choosing one each night, but I’ll admit, she isn’t the best at actually flossing. I then have her toothbrushes in this navy cup, along with our favorite kid-friendly soap.

In the shower, I opted for this gold curtain rod. Yes, it screws right into the tile! We had an incident a few months back where the shower rod crashed down during Rory’s bath. It scared us all and prompted me to choose a screw-in unit for this space.
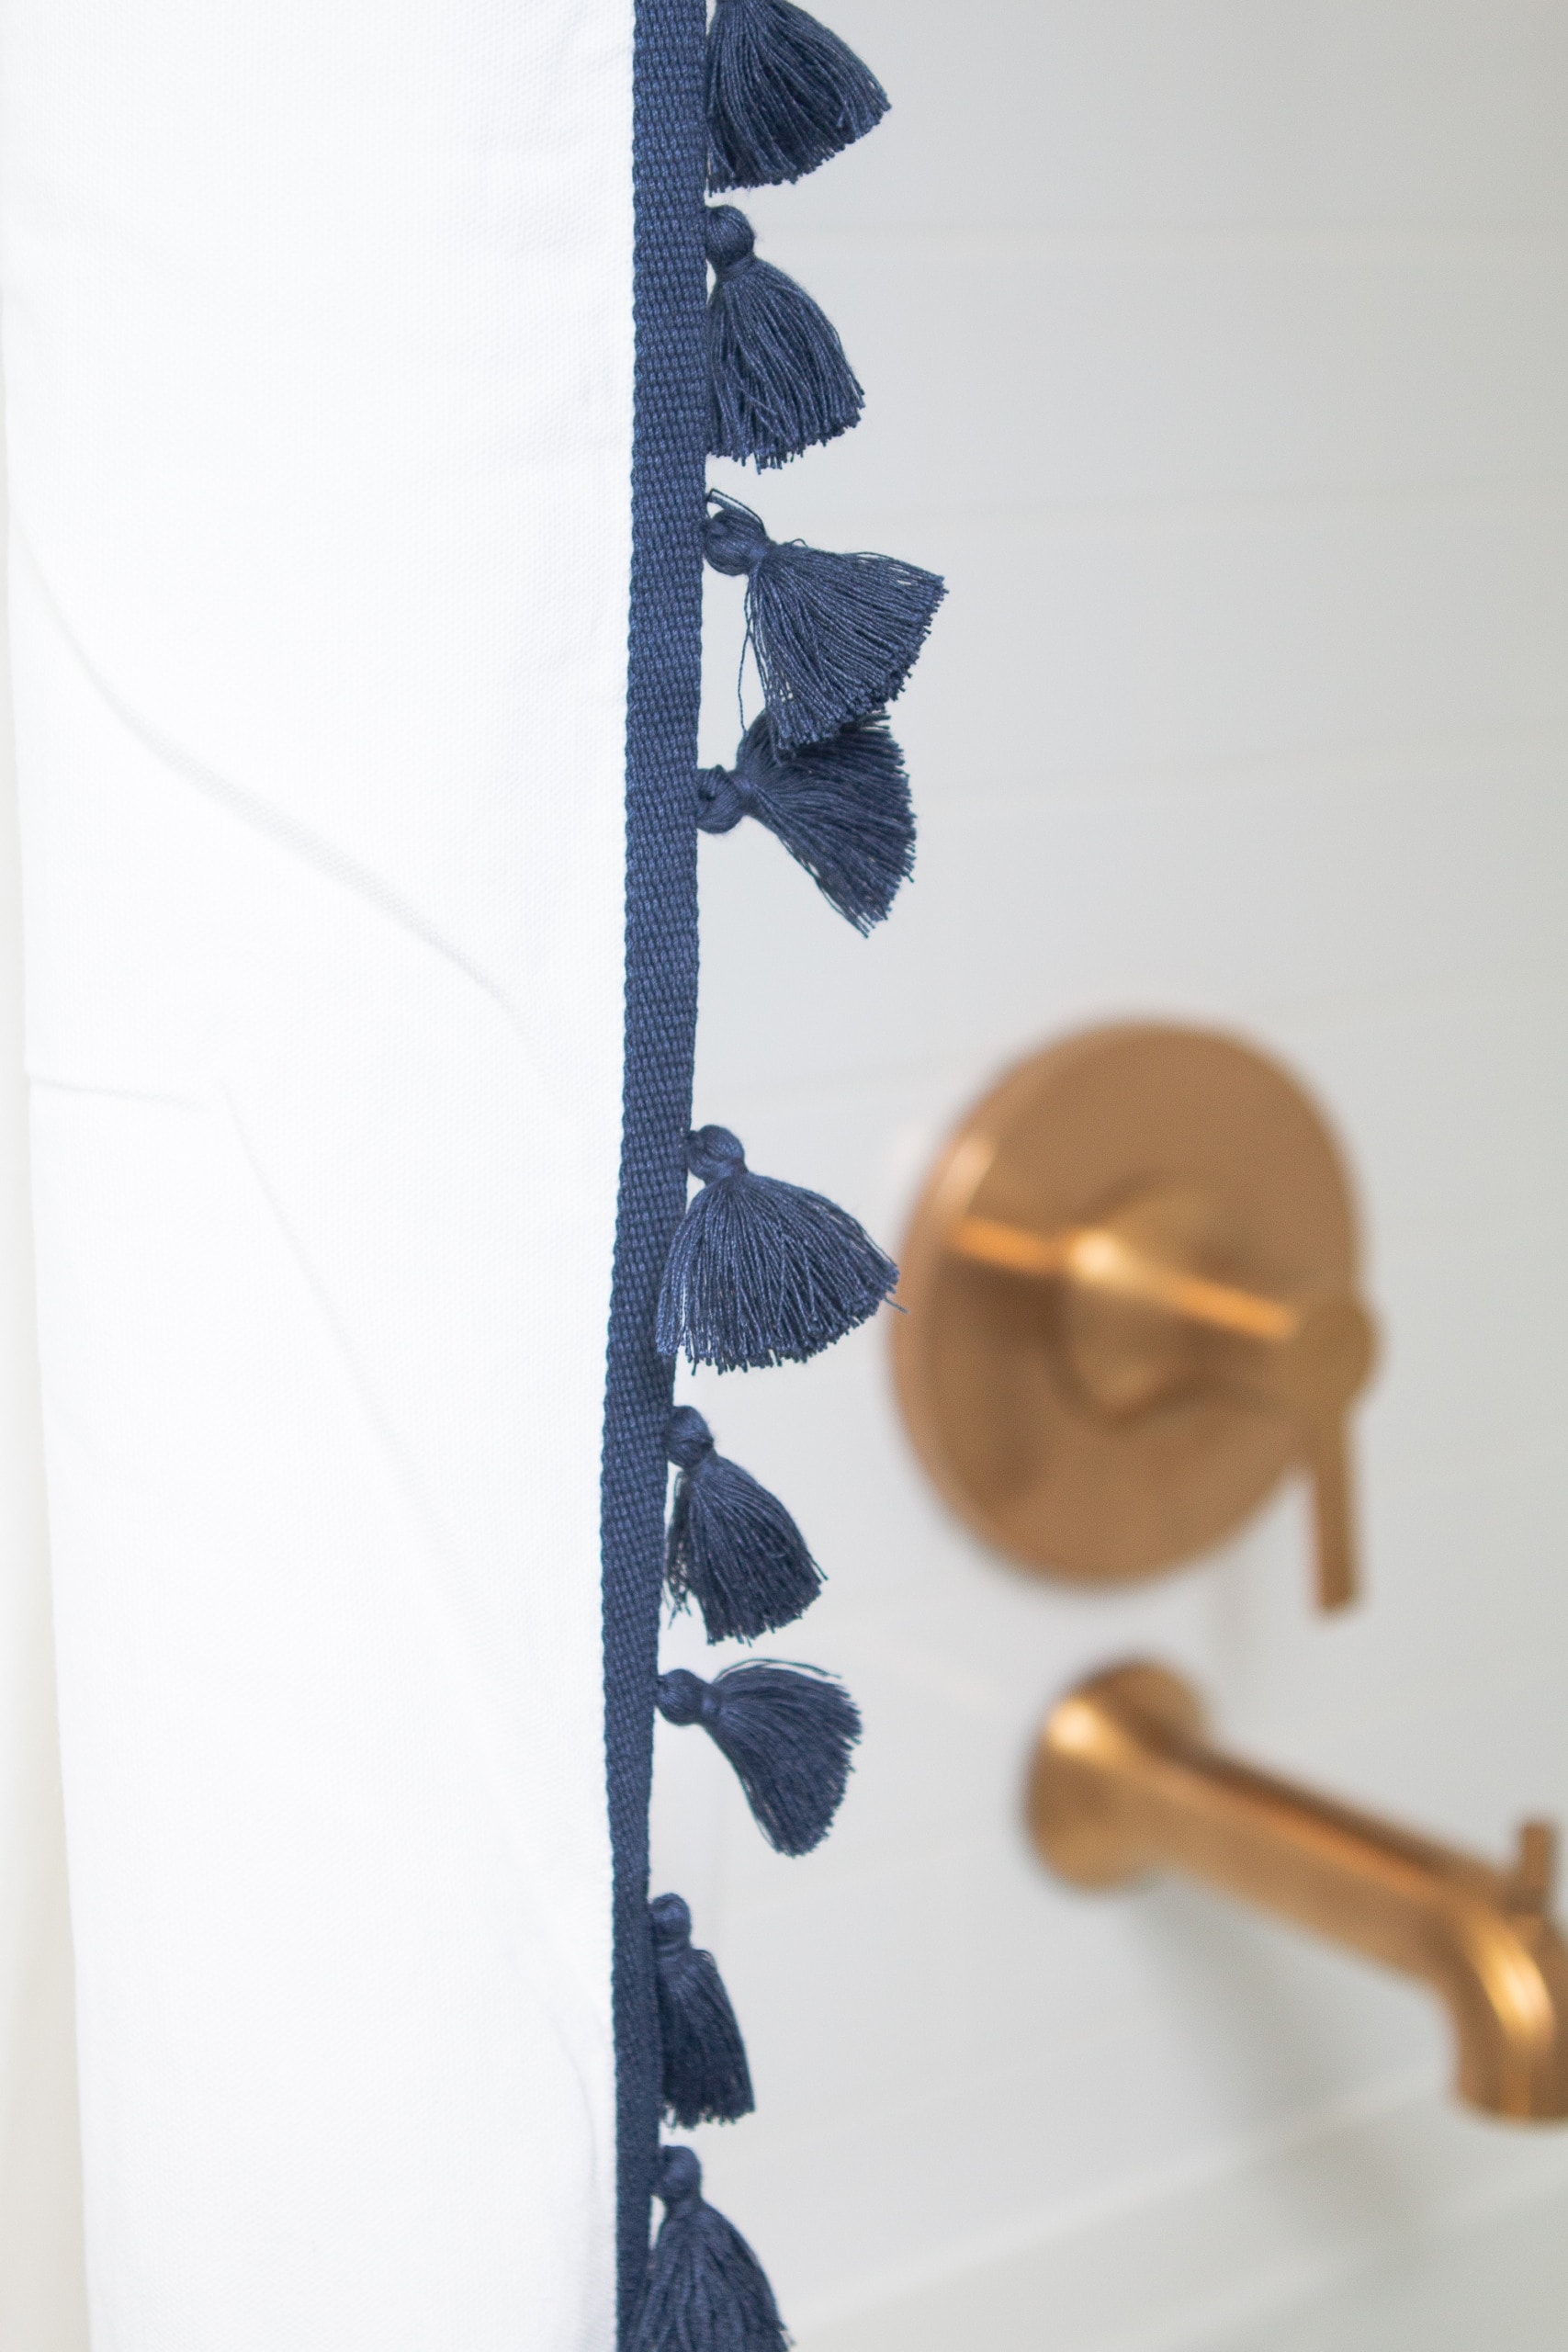
I love the gold hardware and the gold clips that came along with it. I opted for this curtain liner and this pretty navy tasseled shower curtain to complete the look.
Before & After

This bathroom has had many phases over the past three years, but I think we have finally made it to the finish line in here and I couldn’t be happier!
Kids’ Bathroom Sources
Paint Color: Benjamin Moore “Boothbay Gray” // Floor Tile with “Platinum” Grout // Shower Tile with “Bright White” grout // Bullnose Tile // Bathtub // Vanity // Mirror // Vanity Light // Gold Shower Hardware // Cabinet Knobs // Faucet // Toilet // Potty Training Toilet Seat // Towel Hook // Hand Towel // Shower Rod // Curtain Rings // Shower Curtain // Shower Curtain Liner // Teak Step Stool // Ceiling Fan // Faux Tulips // White Tray // Navy Toothbrush Holder // Soap
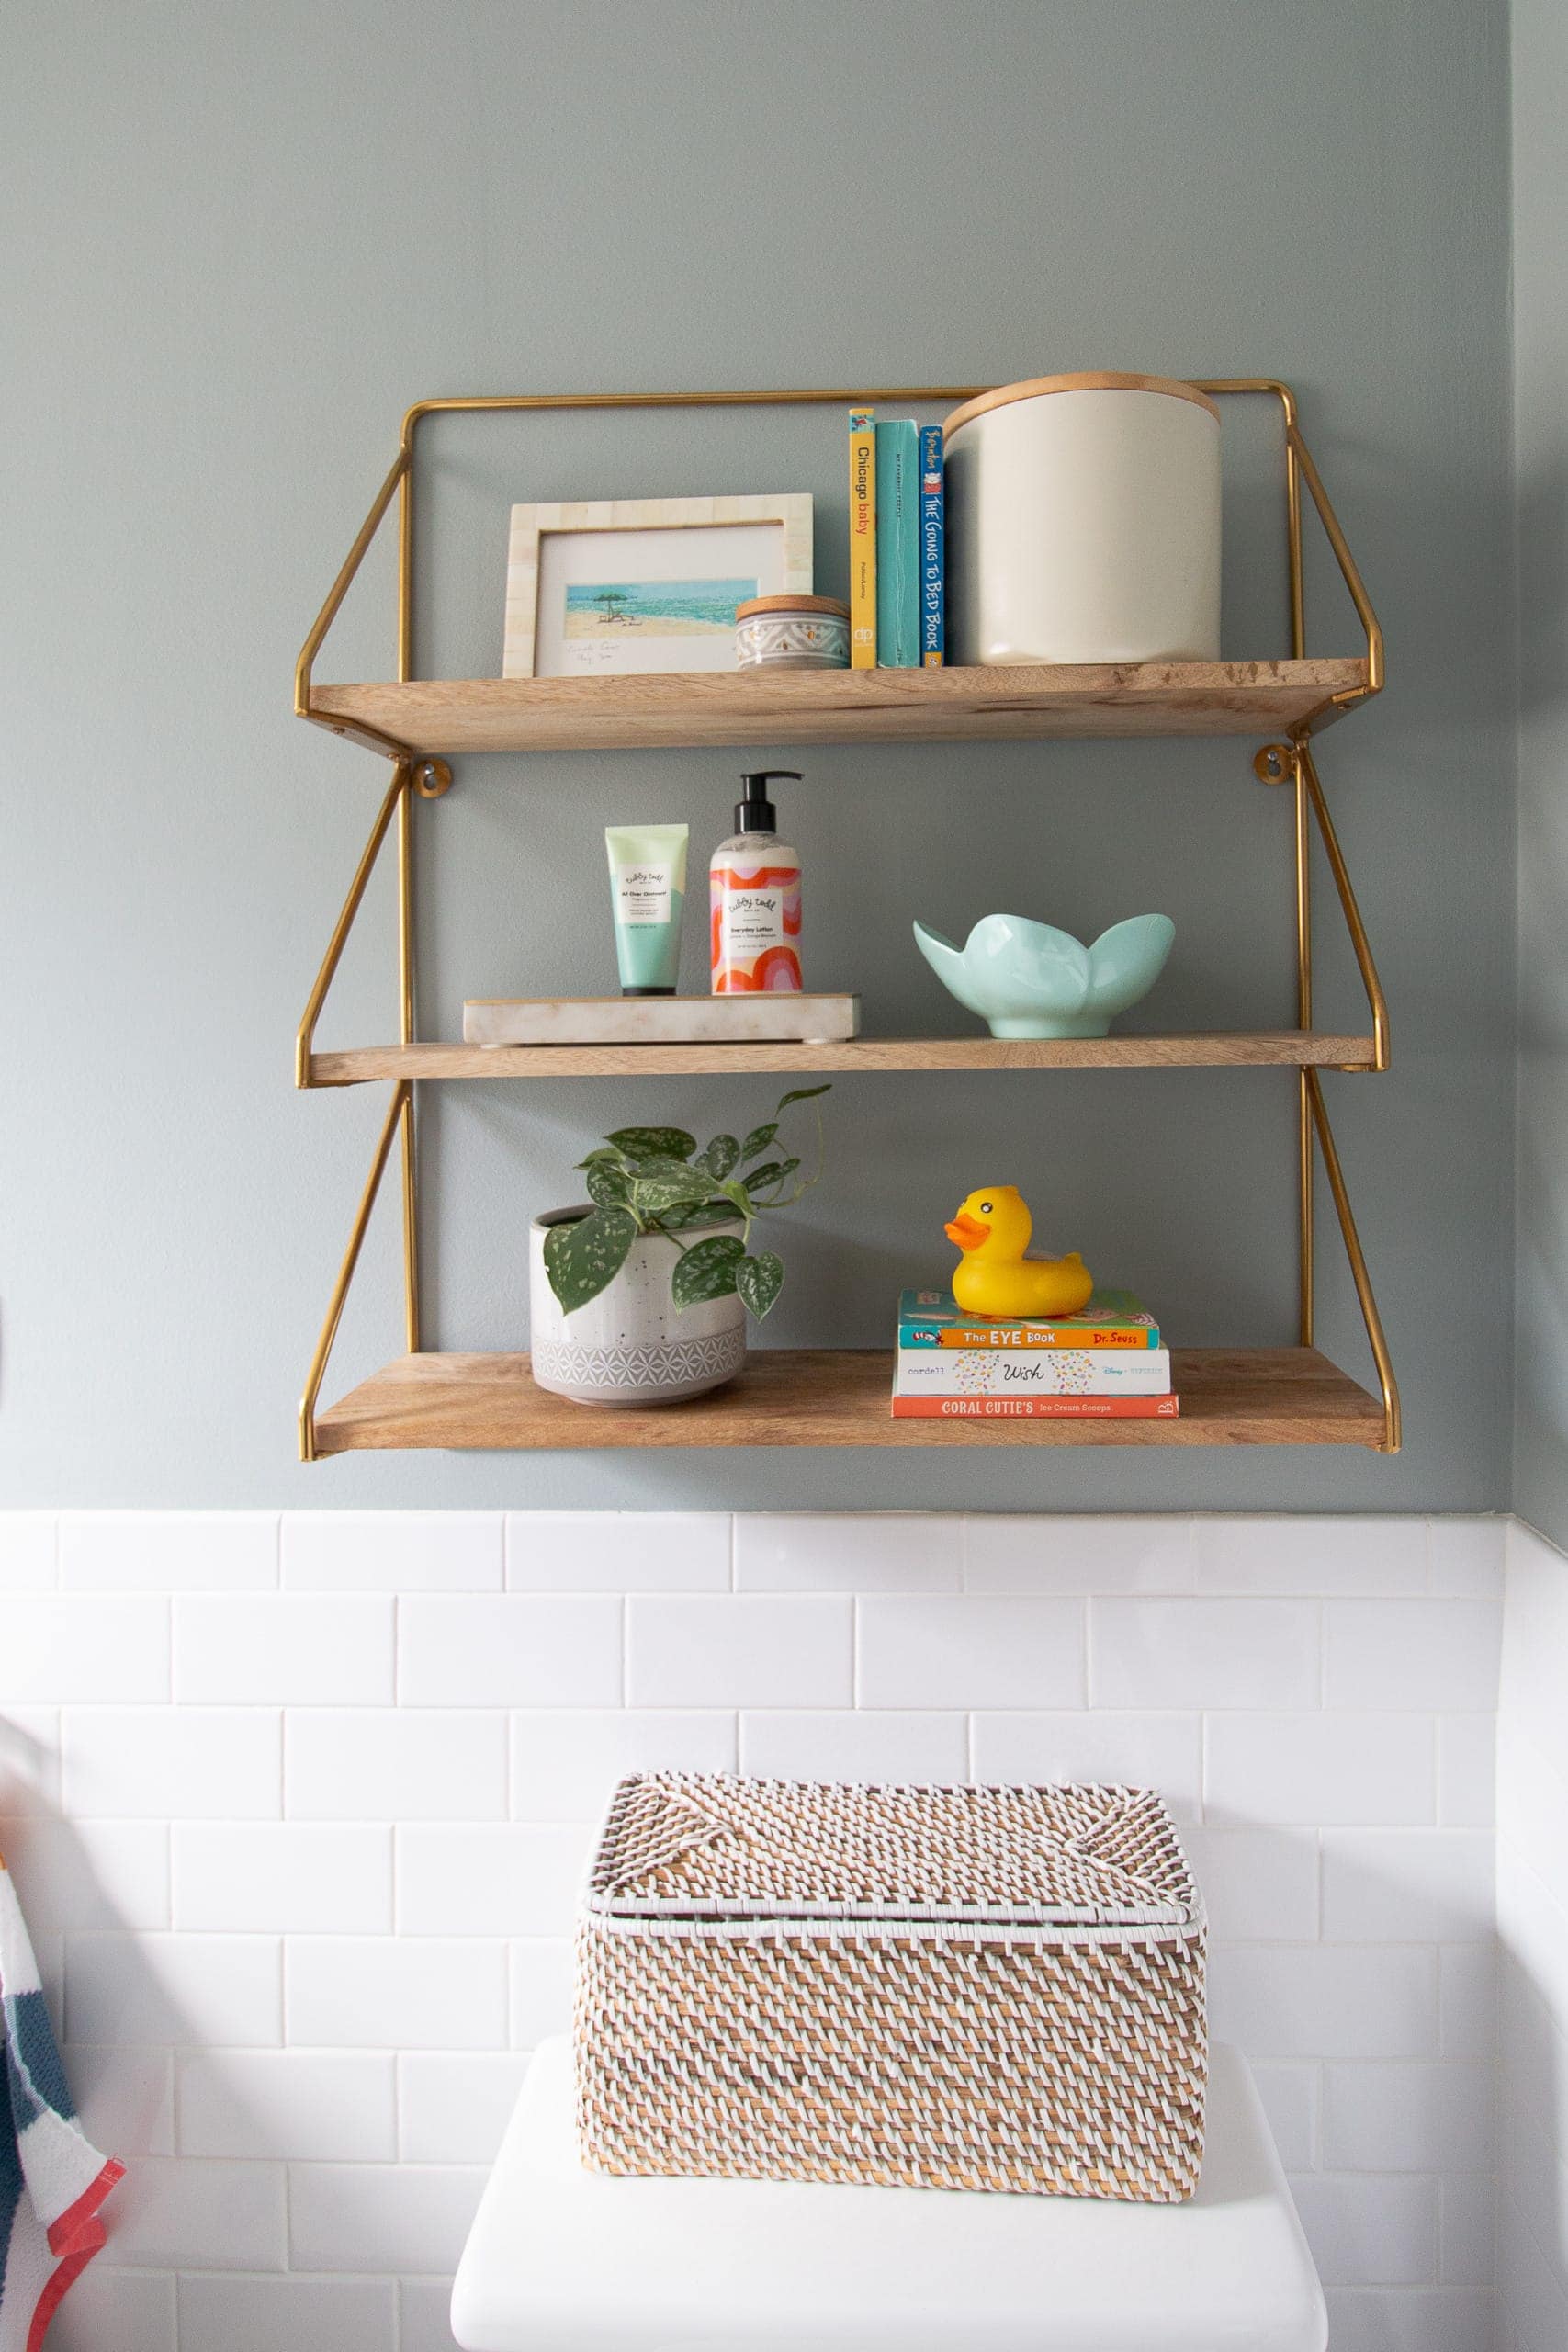
Shelving (no longer sold) // Toilet Tank Basket // Bone Picture Frame // Toilet Paper Canister // Gray Ceramic Dish // Flower Bowl (no longer sold) // Marble Tray // Fave Kids’ Lotions // Planter // Temperature Ducky
What’s Next?

I’d consider this space finished from a decorating/renovation standpoint – which feels amazing, btw. However, I still want to work on the organization systems we have in place in the room. The linen closet could use an overhaul and I want to make sure we’re making that vanity work really well for us. I’ll be sure to share any changes I make right here on the blog.
Casey