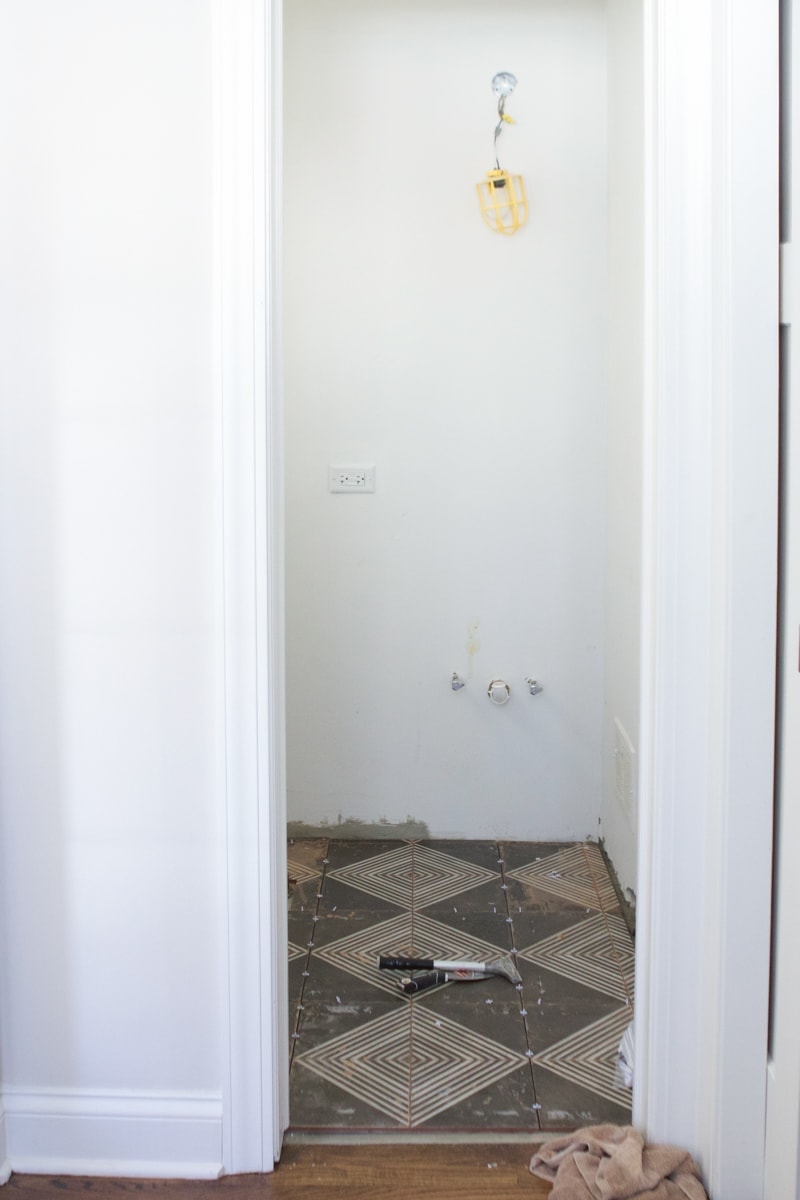
Large Geometric Tile In The Bathroom

Today I’m sharing the first step in the process — tiling the bathroom floor with large geometric tile.
Choosing Large Geometric Tile
 Casey encouraged me to try and look for tile that had straight edges since she felt that would make the process a heck of a lot easier than her bathroom tile project. That advice was key! From the very start, I narrowed down my search to straight-edged tiles.
Unfortunately, that criteria narrowed down my options pretty significantly. I’m not complaining, because I was happy to stick with the straight edges, but this is a fact worth noting for others trying to follow this same advice. And it’s not that you can’t go with tile with non-straight edges. We just wanted to knock this project out as quickly as possible, and knew that straight edges would help do just that, and would minimize the number of cuts we had to make!
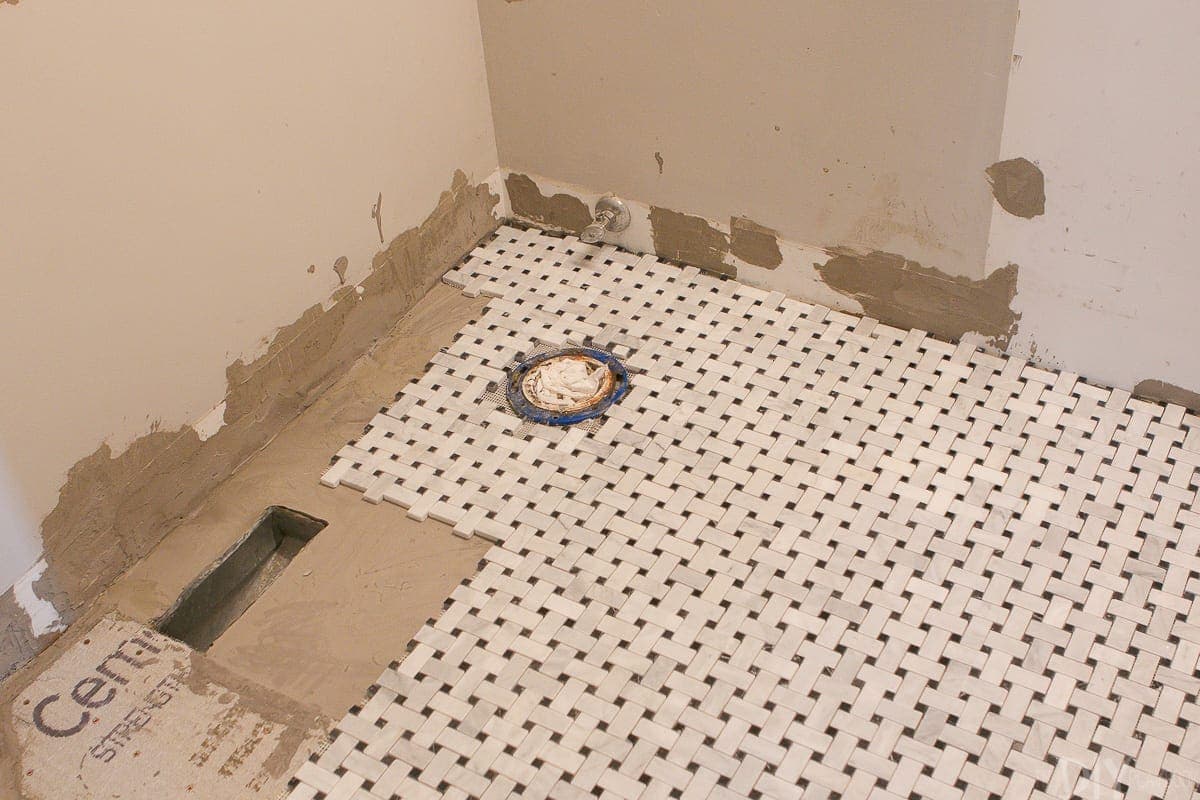
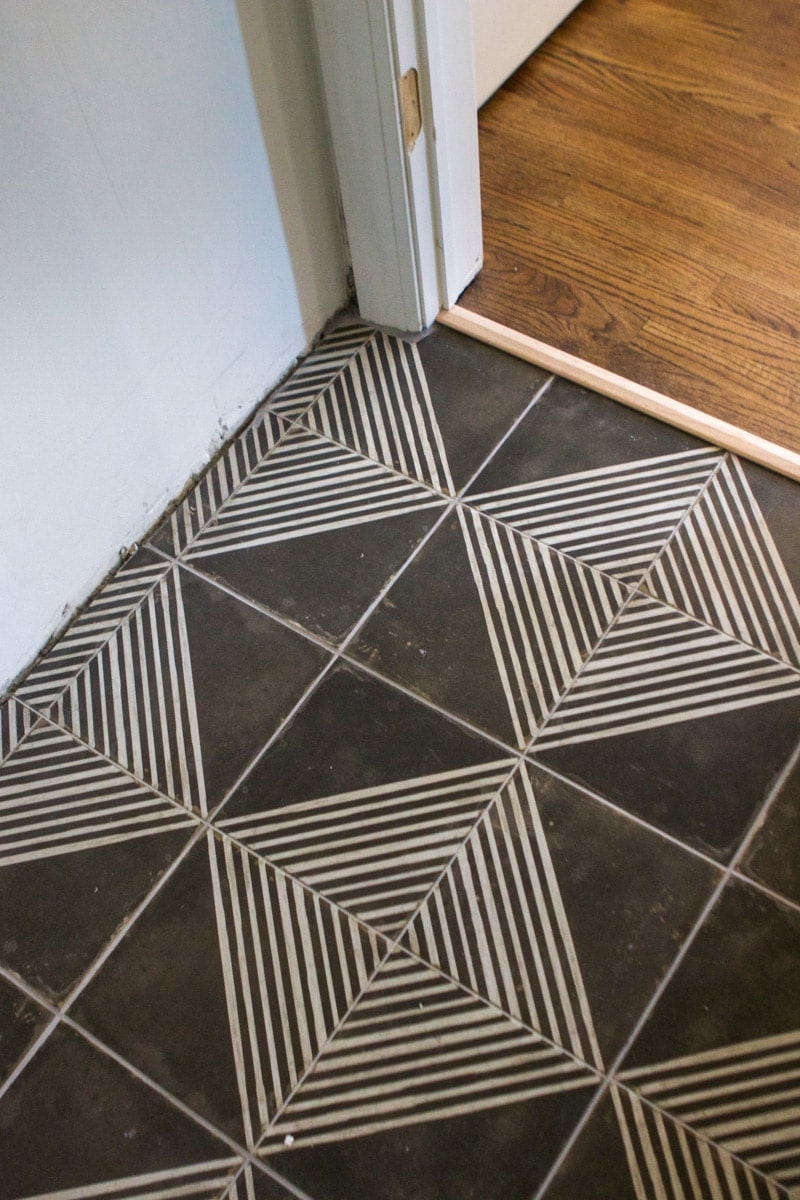
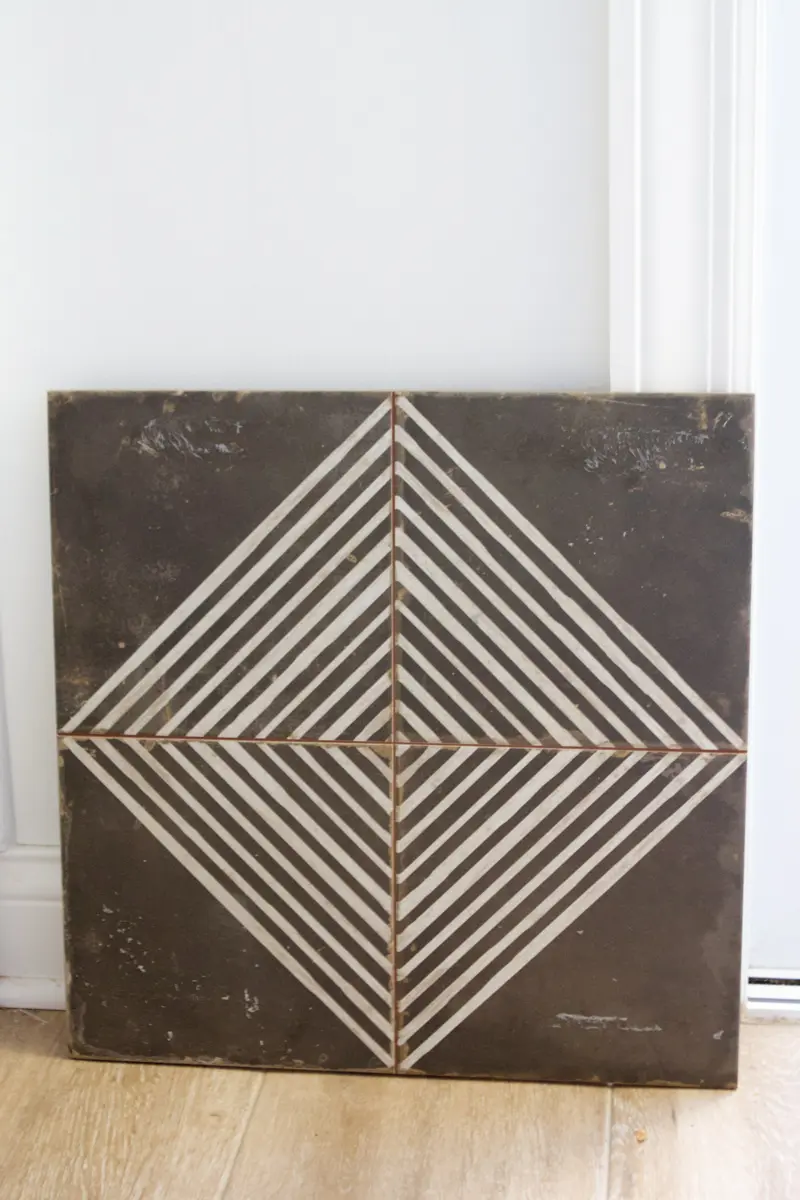 I ultimately decided on this tile! Not only does it have straight edges, but I love the design. Plus, it’s almost 18″ x 18″, meaning I only needed like 9 tiles to cover the ENTIRE bathroom (plus some extra just in case we screwed up).
Tiling With Large Tiles
Casey came over and we followed all of the tips and tricks she learned during her bathroom reno to knock this project out in a few hours. Having straight edges and large tiles was GLORIOUS!
Here are some of the factors worth noting for others tackling a tile project using large tiles.
1. Having a Level Floor Is KEY
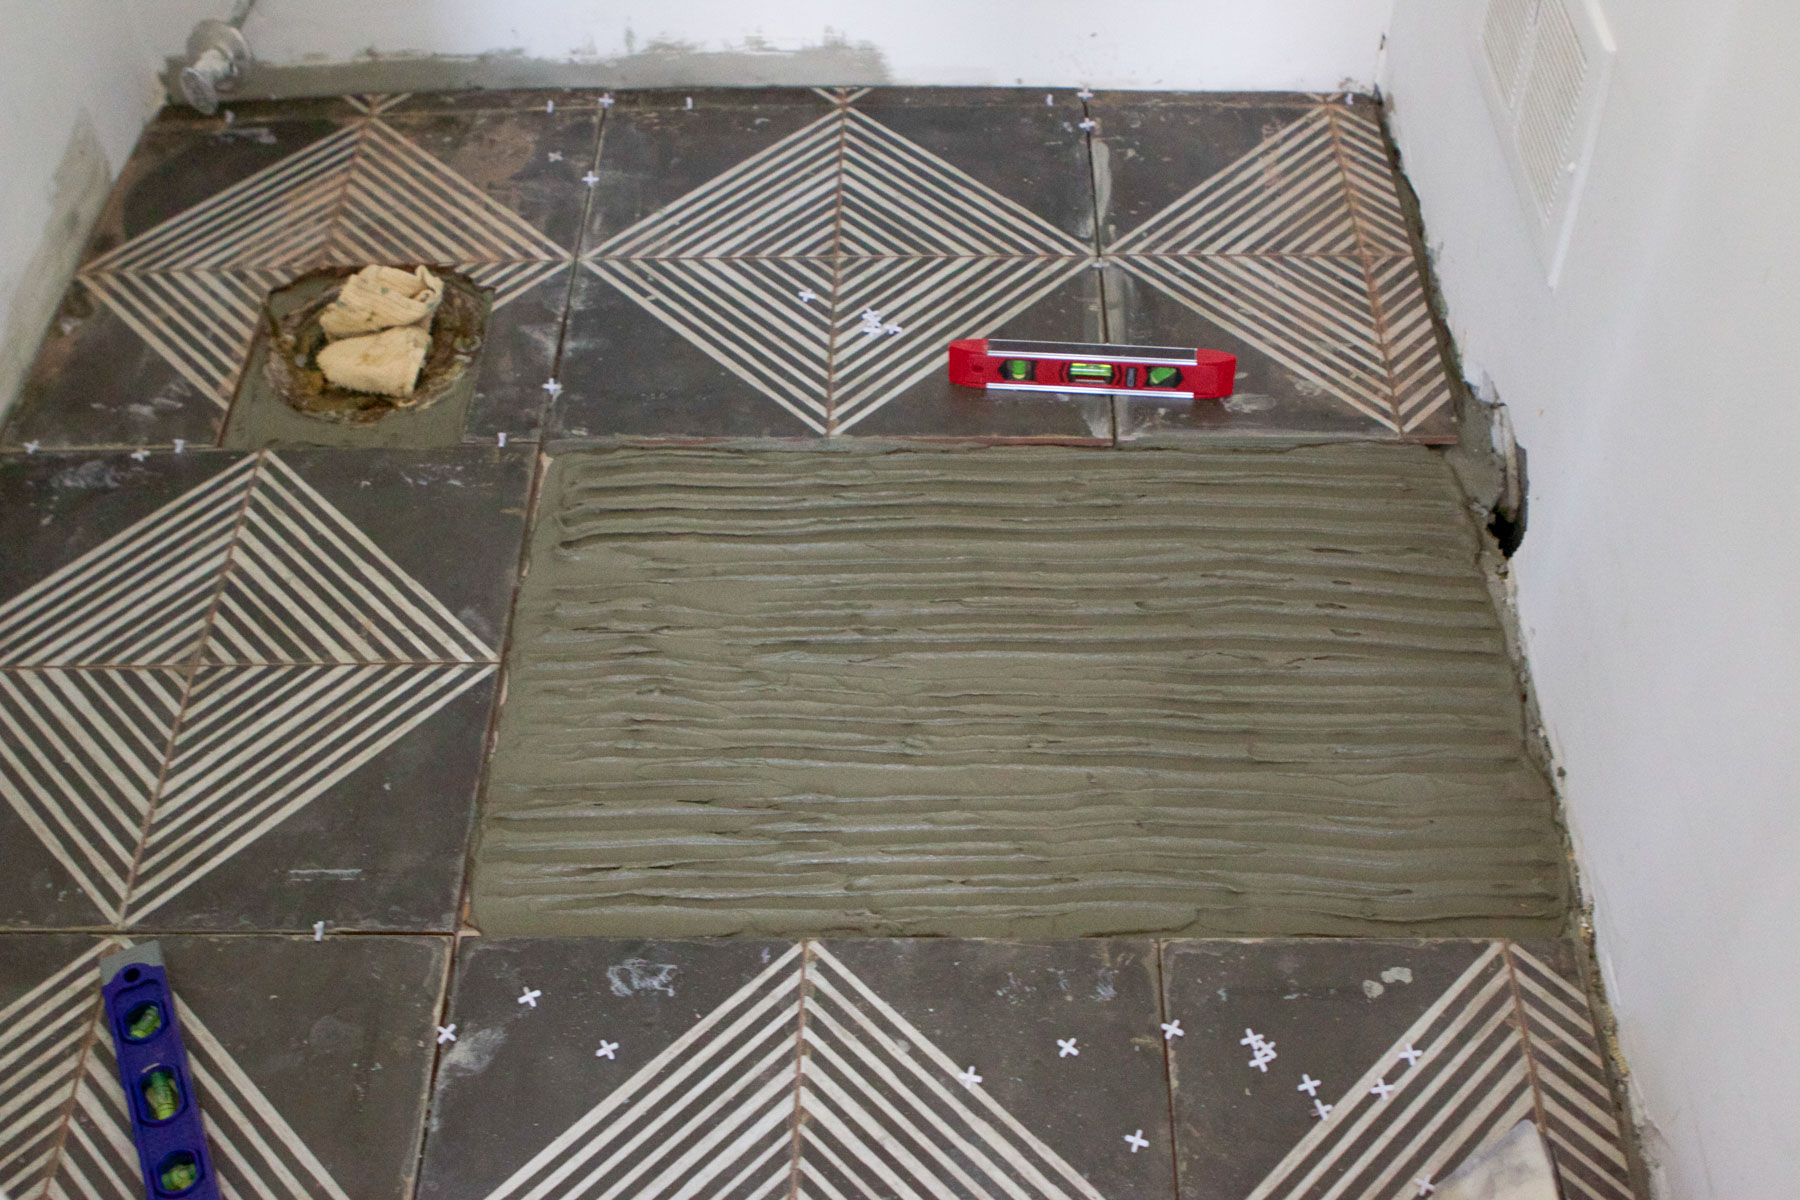
2. Account for Scraps

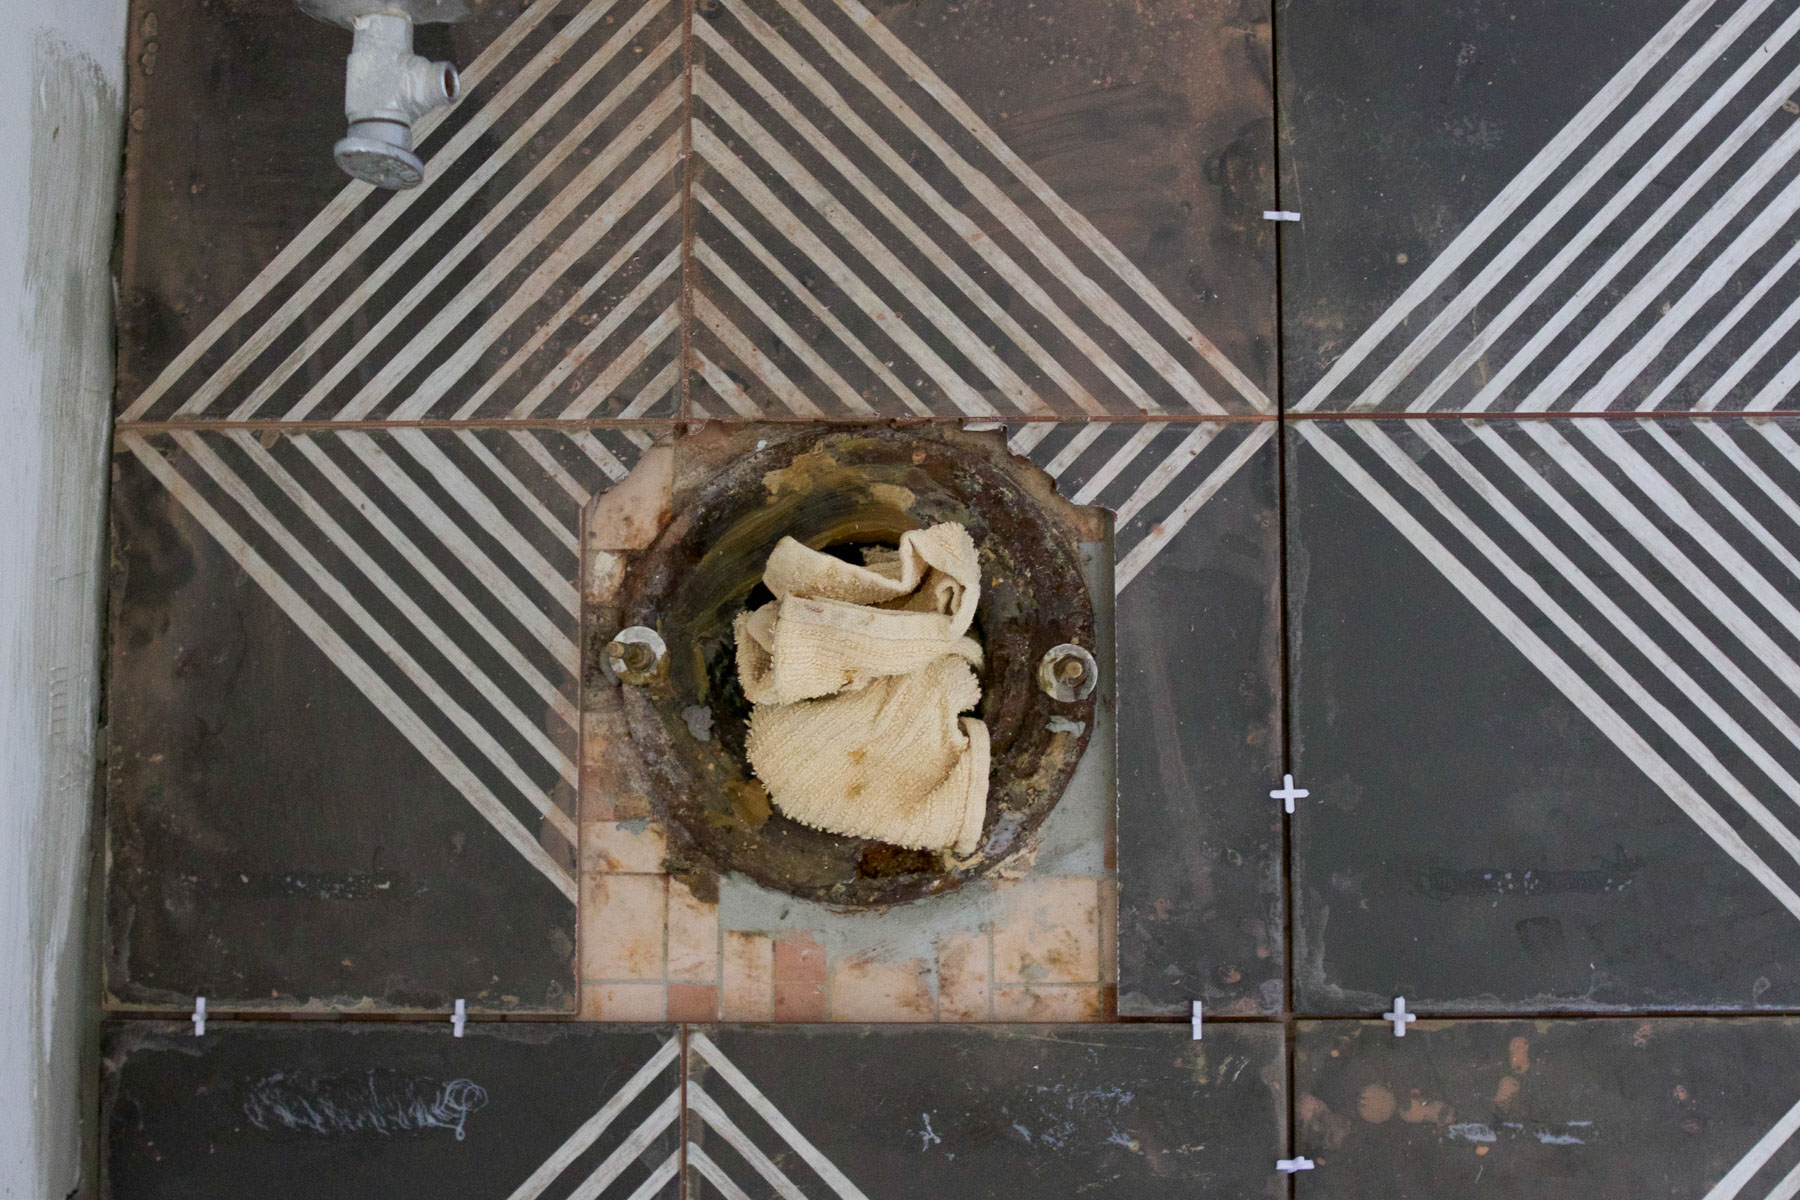
3. Working Around The Toilet
Tiling With Large, Straight-Edge Tile
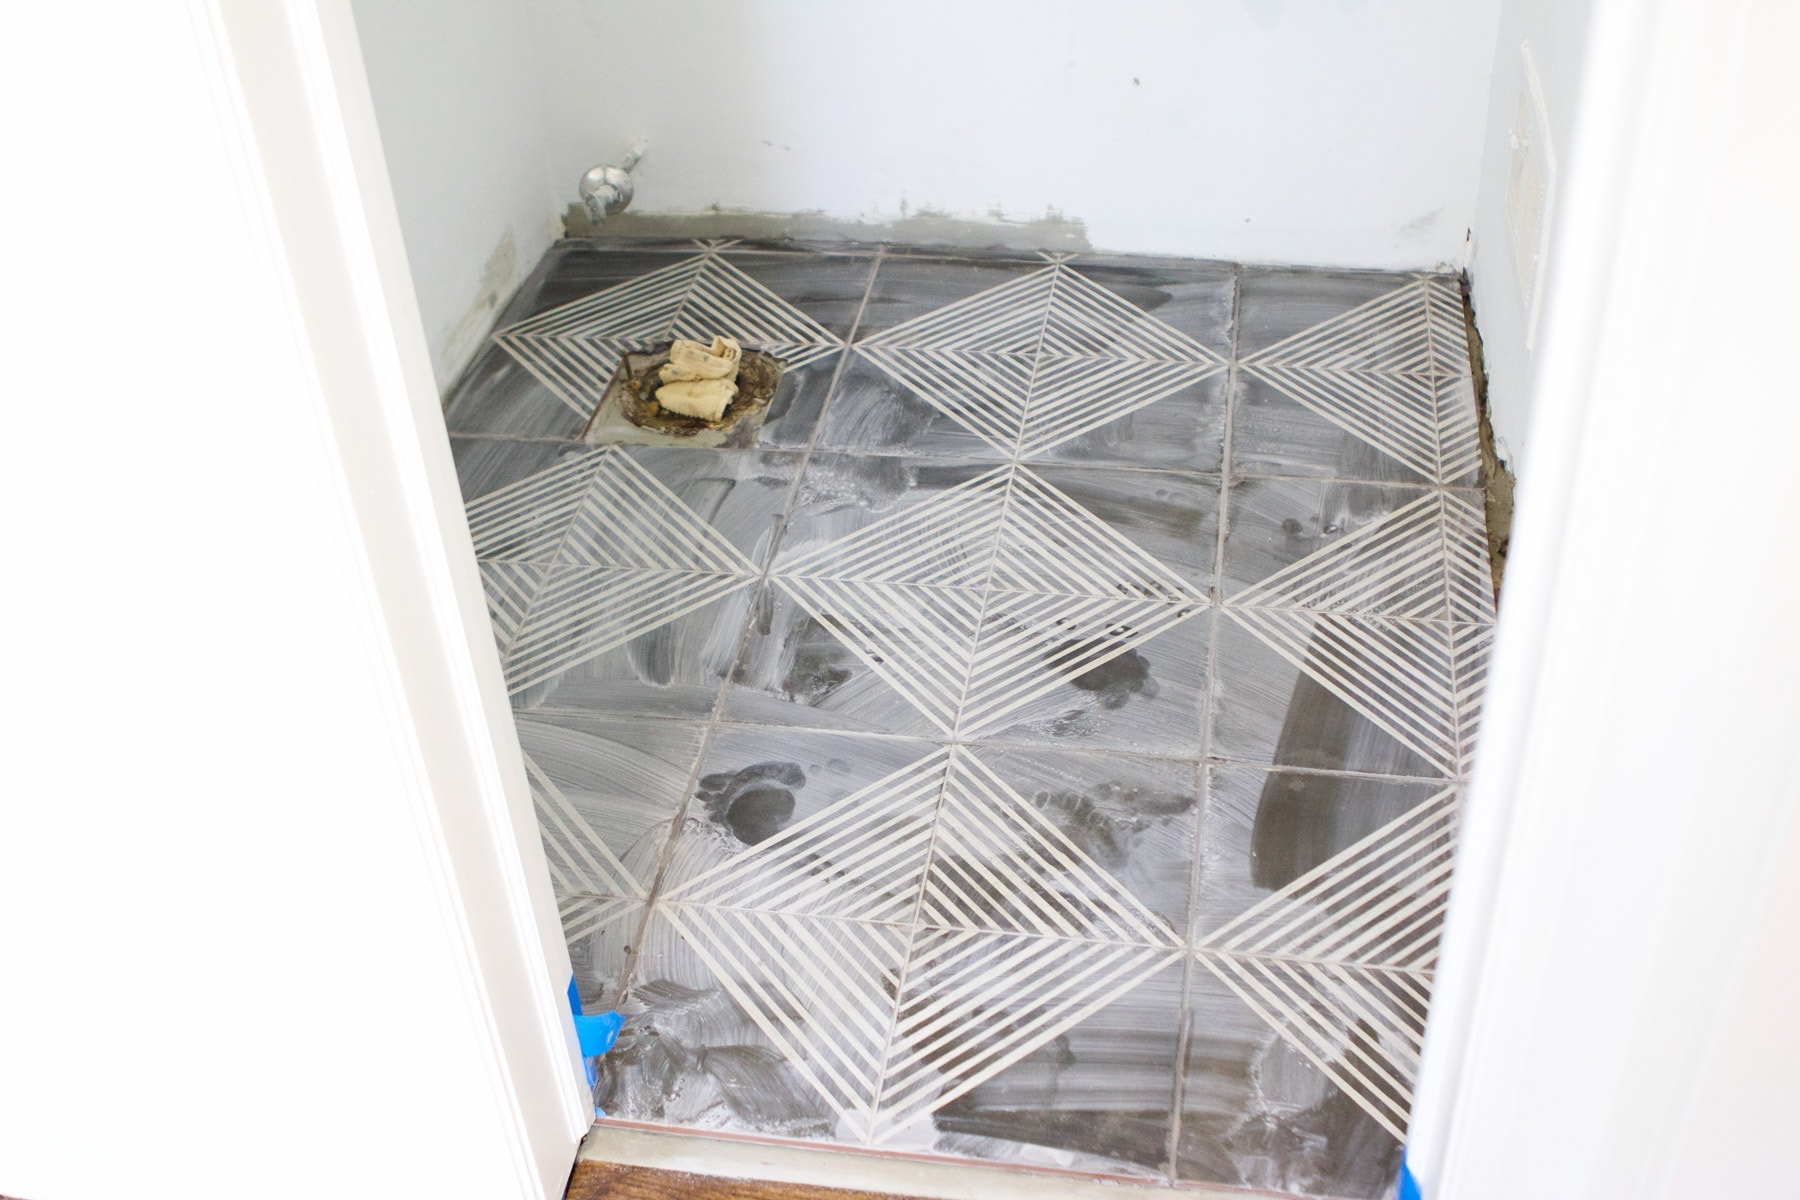
Overall, I’m happy to report Casey’s advice really paid off. Working with large, straight-edge tiles made this job a lot easier than I expected and one I’d highly recommend to others. I grouted the next day using delorean gray, sanded grout (be sure to use sanded when using large tiles!) and have been loving the look ever since.
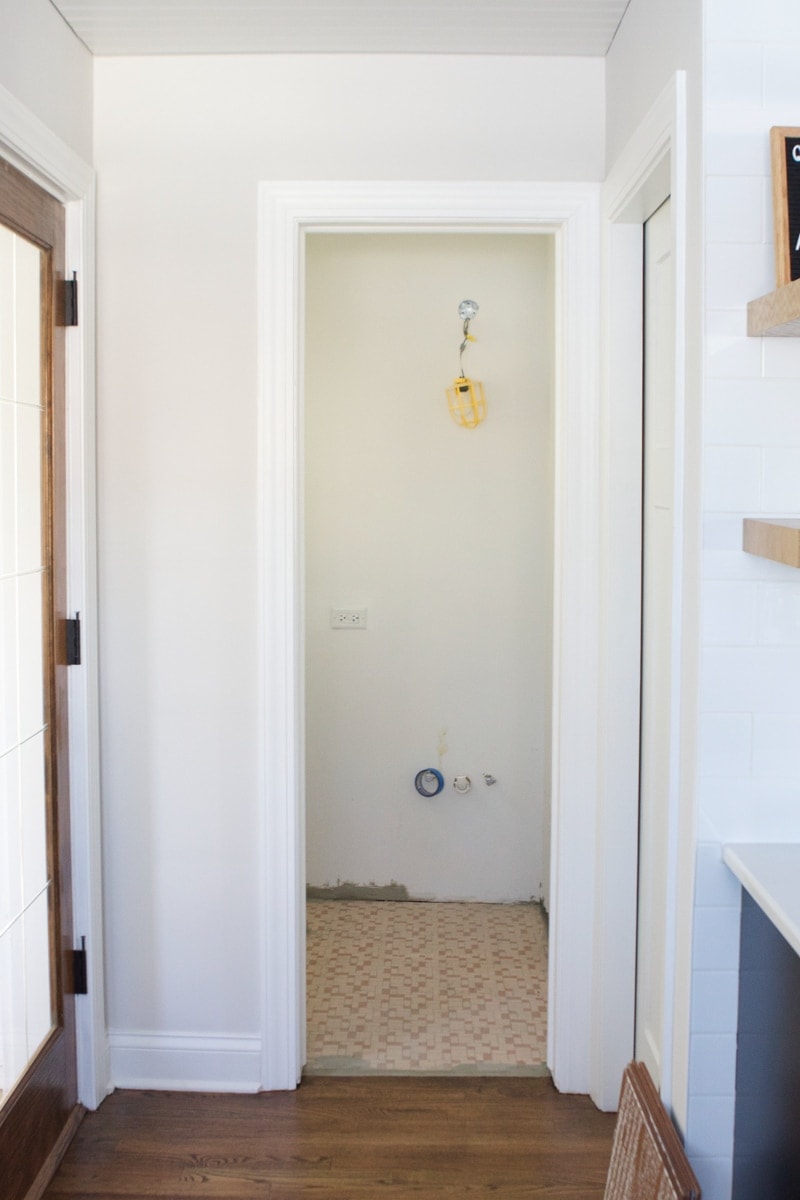
I still need to add a transition piece between the wood floor and the tile. I’ll probably go with a wood transition piece and stain it to match our hardwoods (you can read more about our stained floors in this post). That will finish off the floor tile look and you won’t see the raw edge of the tile.
What’s Next?
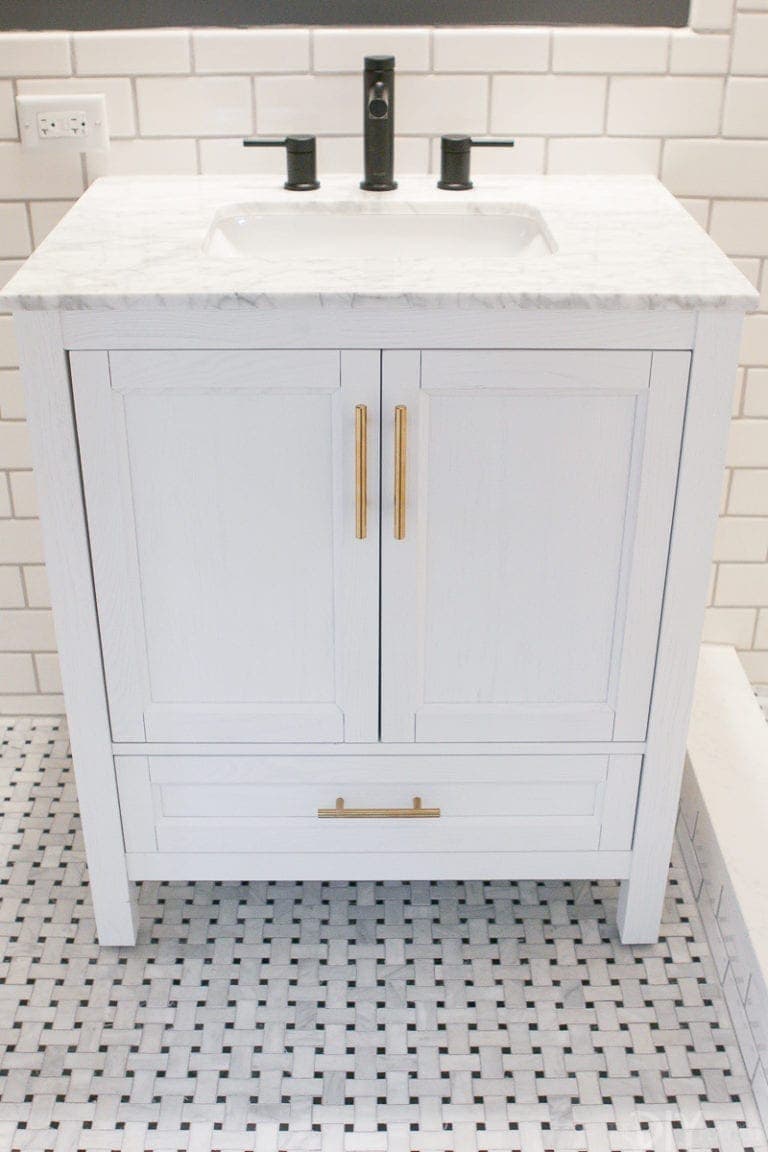
 Next order of business is deciding on a faucet to go with the vanity I already purchased. Then it’s wood wall detailing, and paint. Oh, and I still need to install a toilet in here. Before long, we will have our half bath up and running again and I’m so excited! We’ve only been living without it for 5 months…
Bridget