Using Rub ‘N Buff On Our Black Curtain Rod
Today I am back with more main bedroom updates! Last week, I showed you our new bed and mattress for the room and now it’s time to talk a bit about layout and a quick crafty project I did in here. When I painted the room, I ended up taking down the curtains and hardware so painting would be a bit easier. I wasn’t totally sure if I would put the same curtains back up or even the same hardware. I kinda wanted to see the color in the space before deciding. Once I saw that beautiful blue-gray color on our walls, I knew that the curtains we have would still work well, but I wasn’t sold on the black hardware that accompanied them.
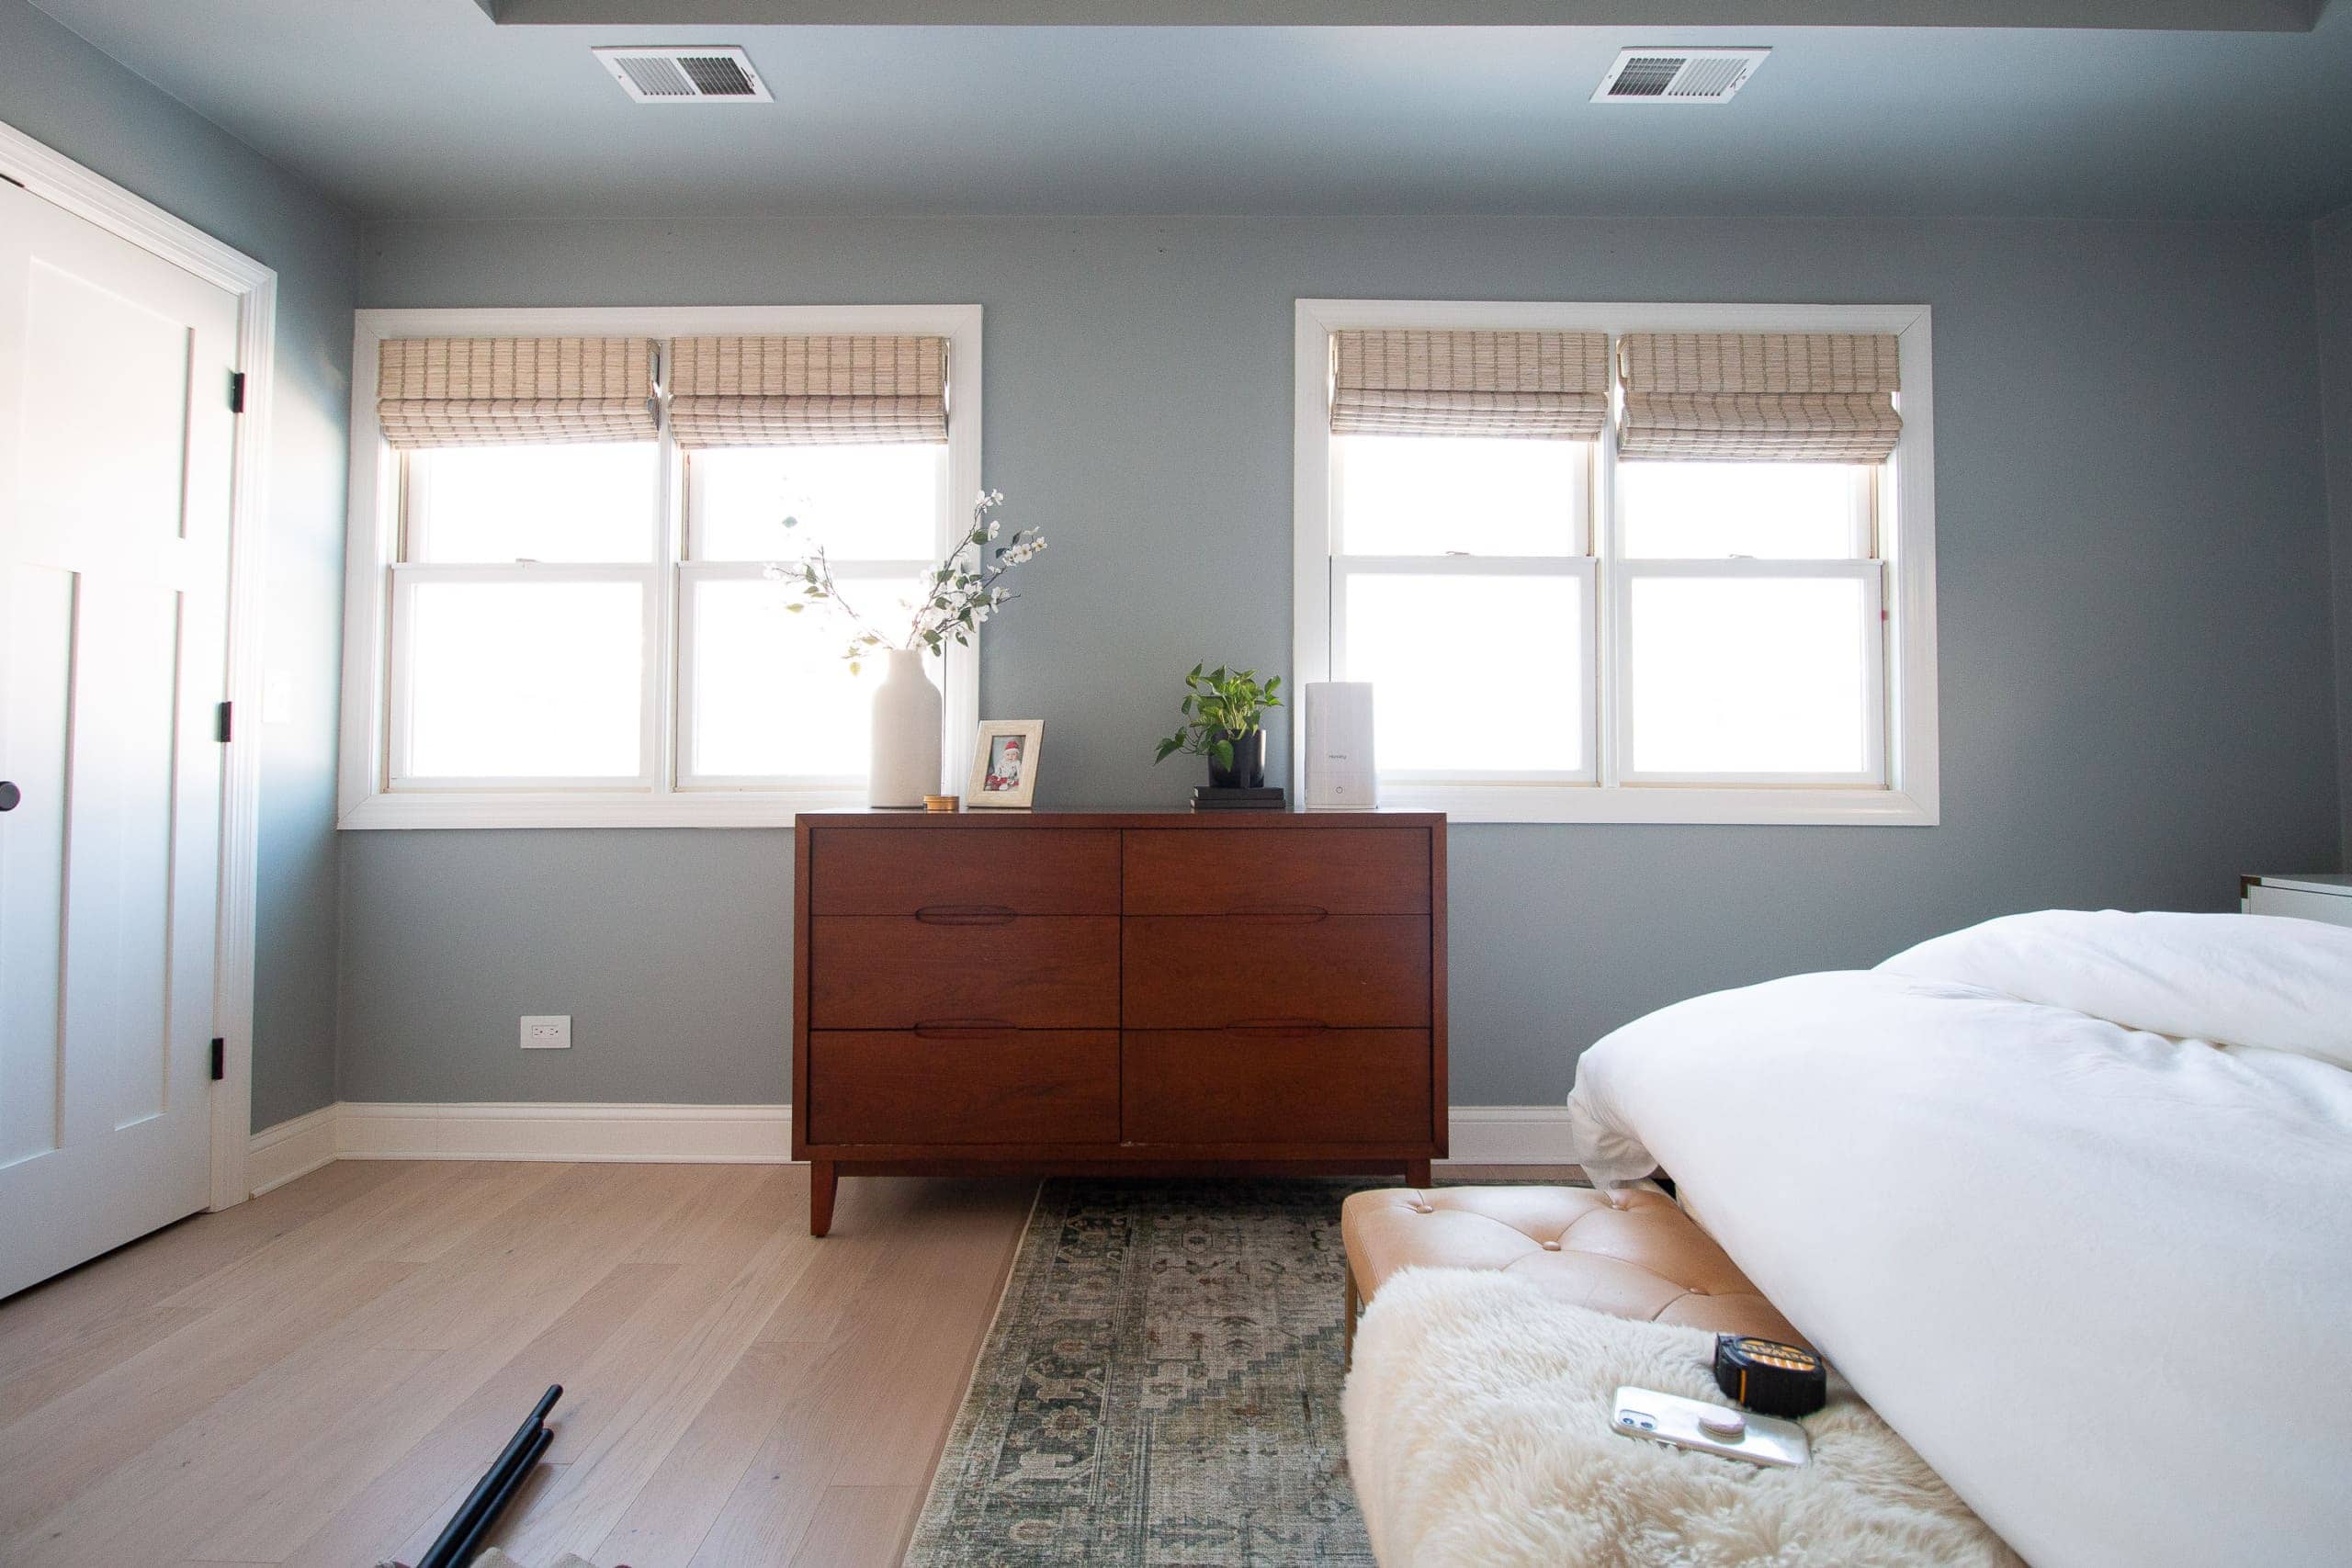
Instead, I envisioned gold curtain rods up there, especially since the sconces over our nightstands will be gold too. (That is, whenever they decide to arrive.) Not wanting to spend money on new rods and time installing them, I decided that I should give the popular product Rub ‘n Buff a try!
What’s Rub ‘n Buff?
Rub ‘n Buff is a paste that you can apply to wood, glass, metal, and other materials to give a gold sheen. They have lots of different gold colors to choose from and I’ve always been super intrigued by the product. In fact, I think a few years ago I tried to use it on hardware and it ended up turning into a mess, so I kinda gave up. This time around, I was determined to learn how to use it the right way!
Essentially, you rub the product on and then buff it to a sheen. It has great staying power and I think it’s much less likely to chip or flake than spray painting. Not to mention, it isn’t exactly spray painting weather here in Chicago, so I wanted to give Rub ‘n Buff a try, since I could use it inside, sitting on the floor of our bedroom.
My Best Rub ‘n Buff Tips
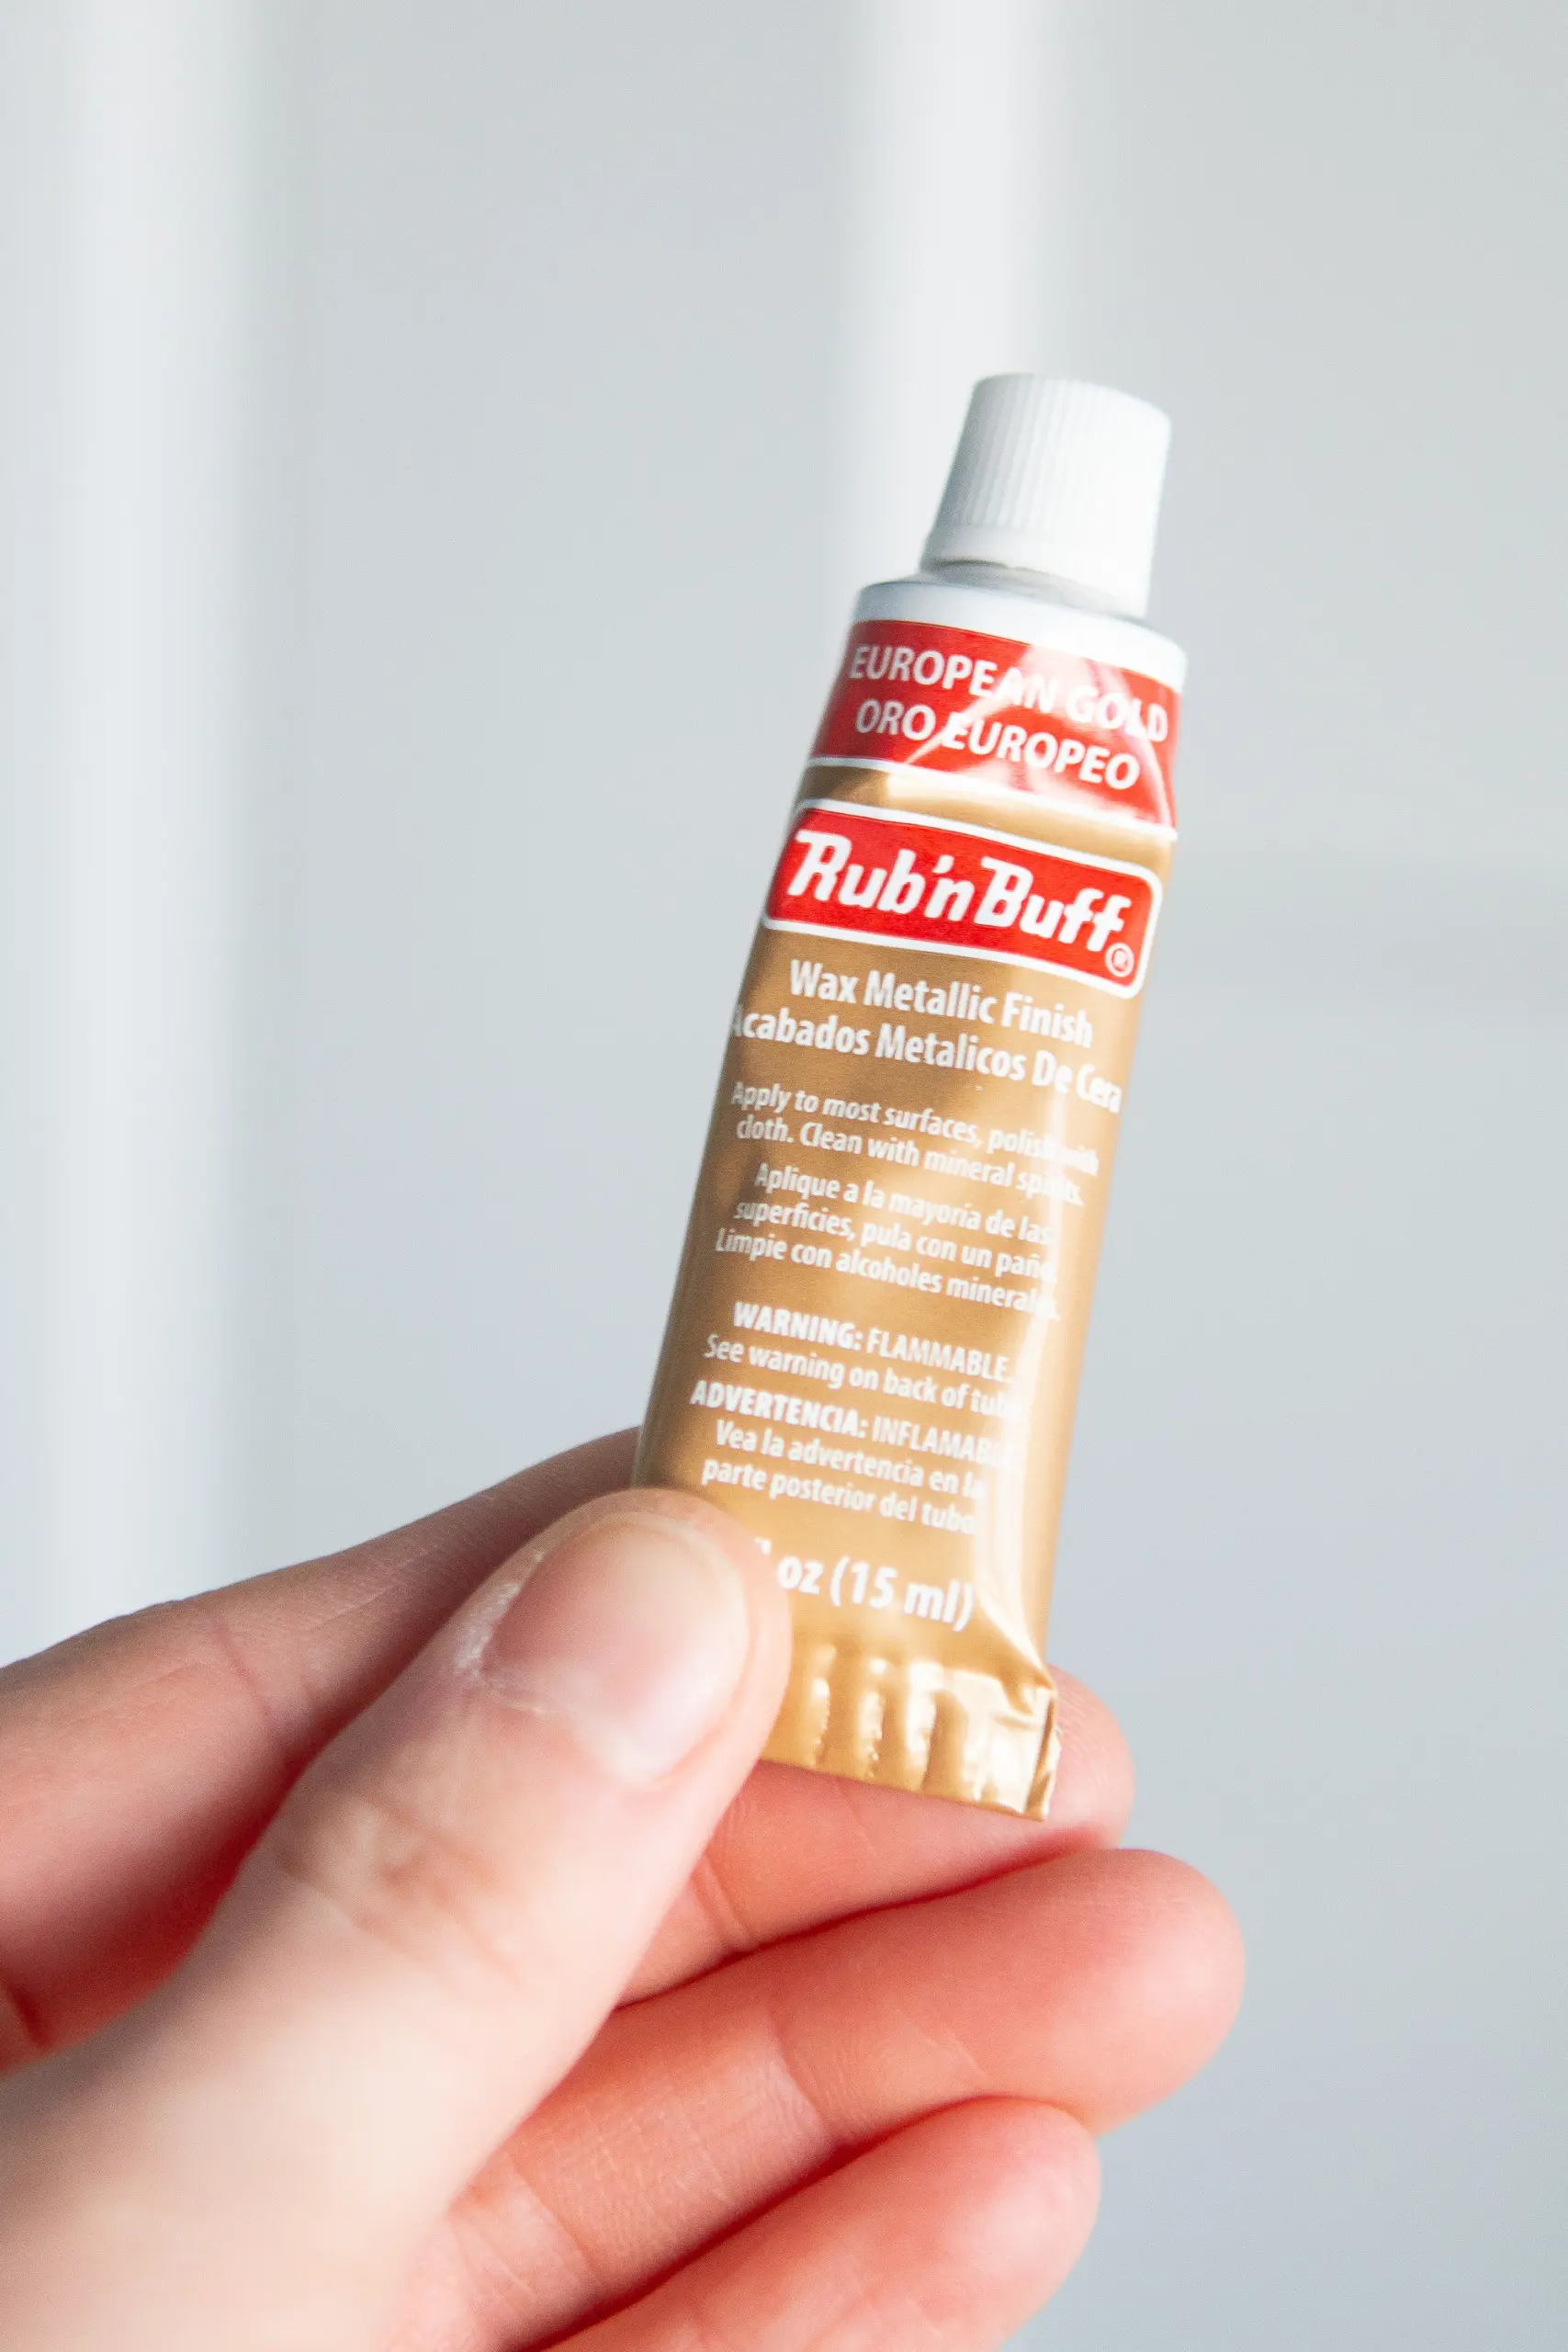
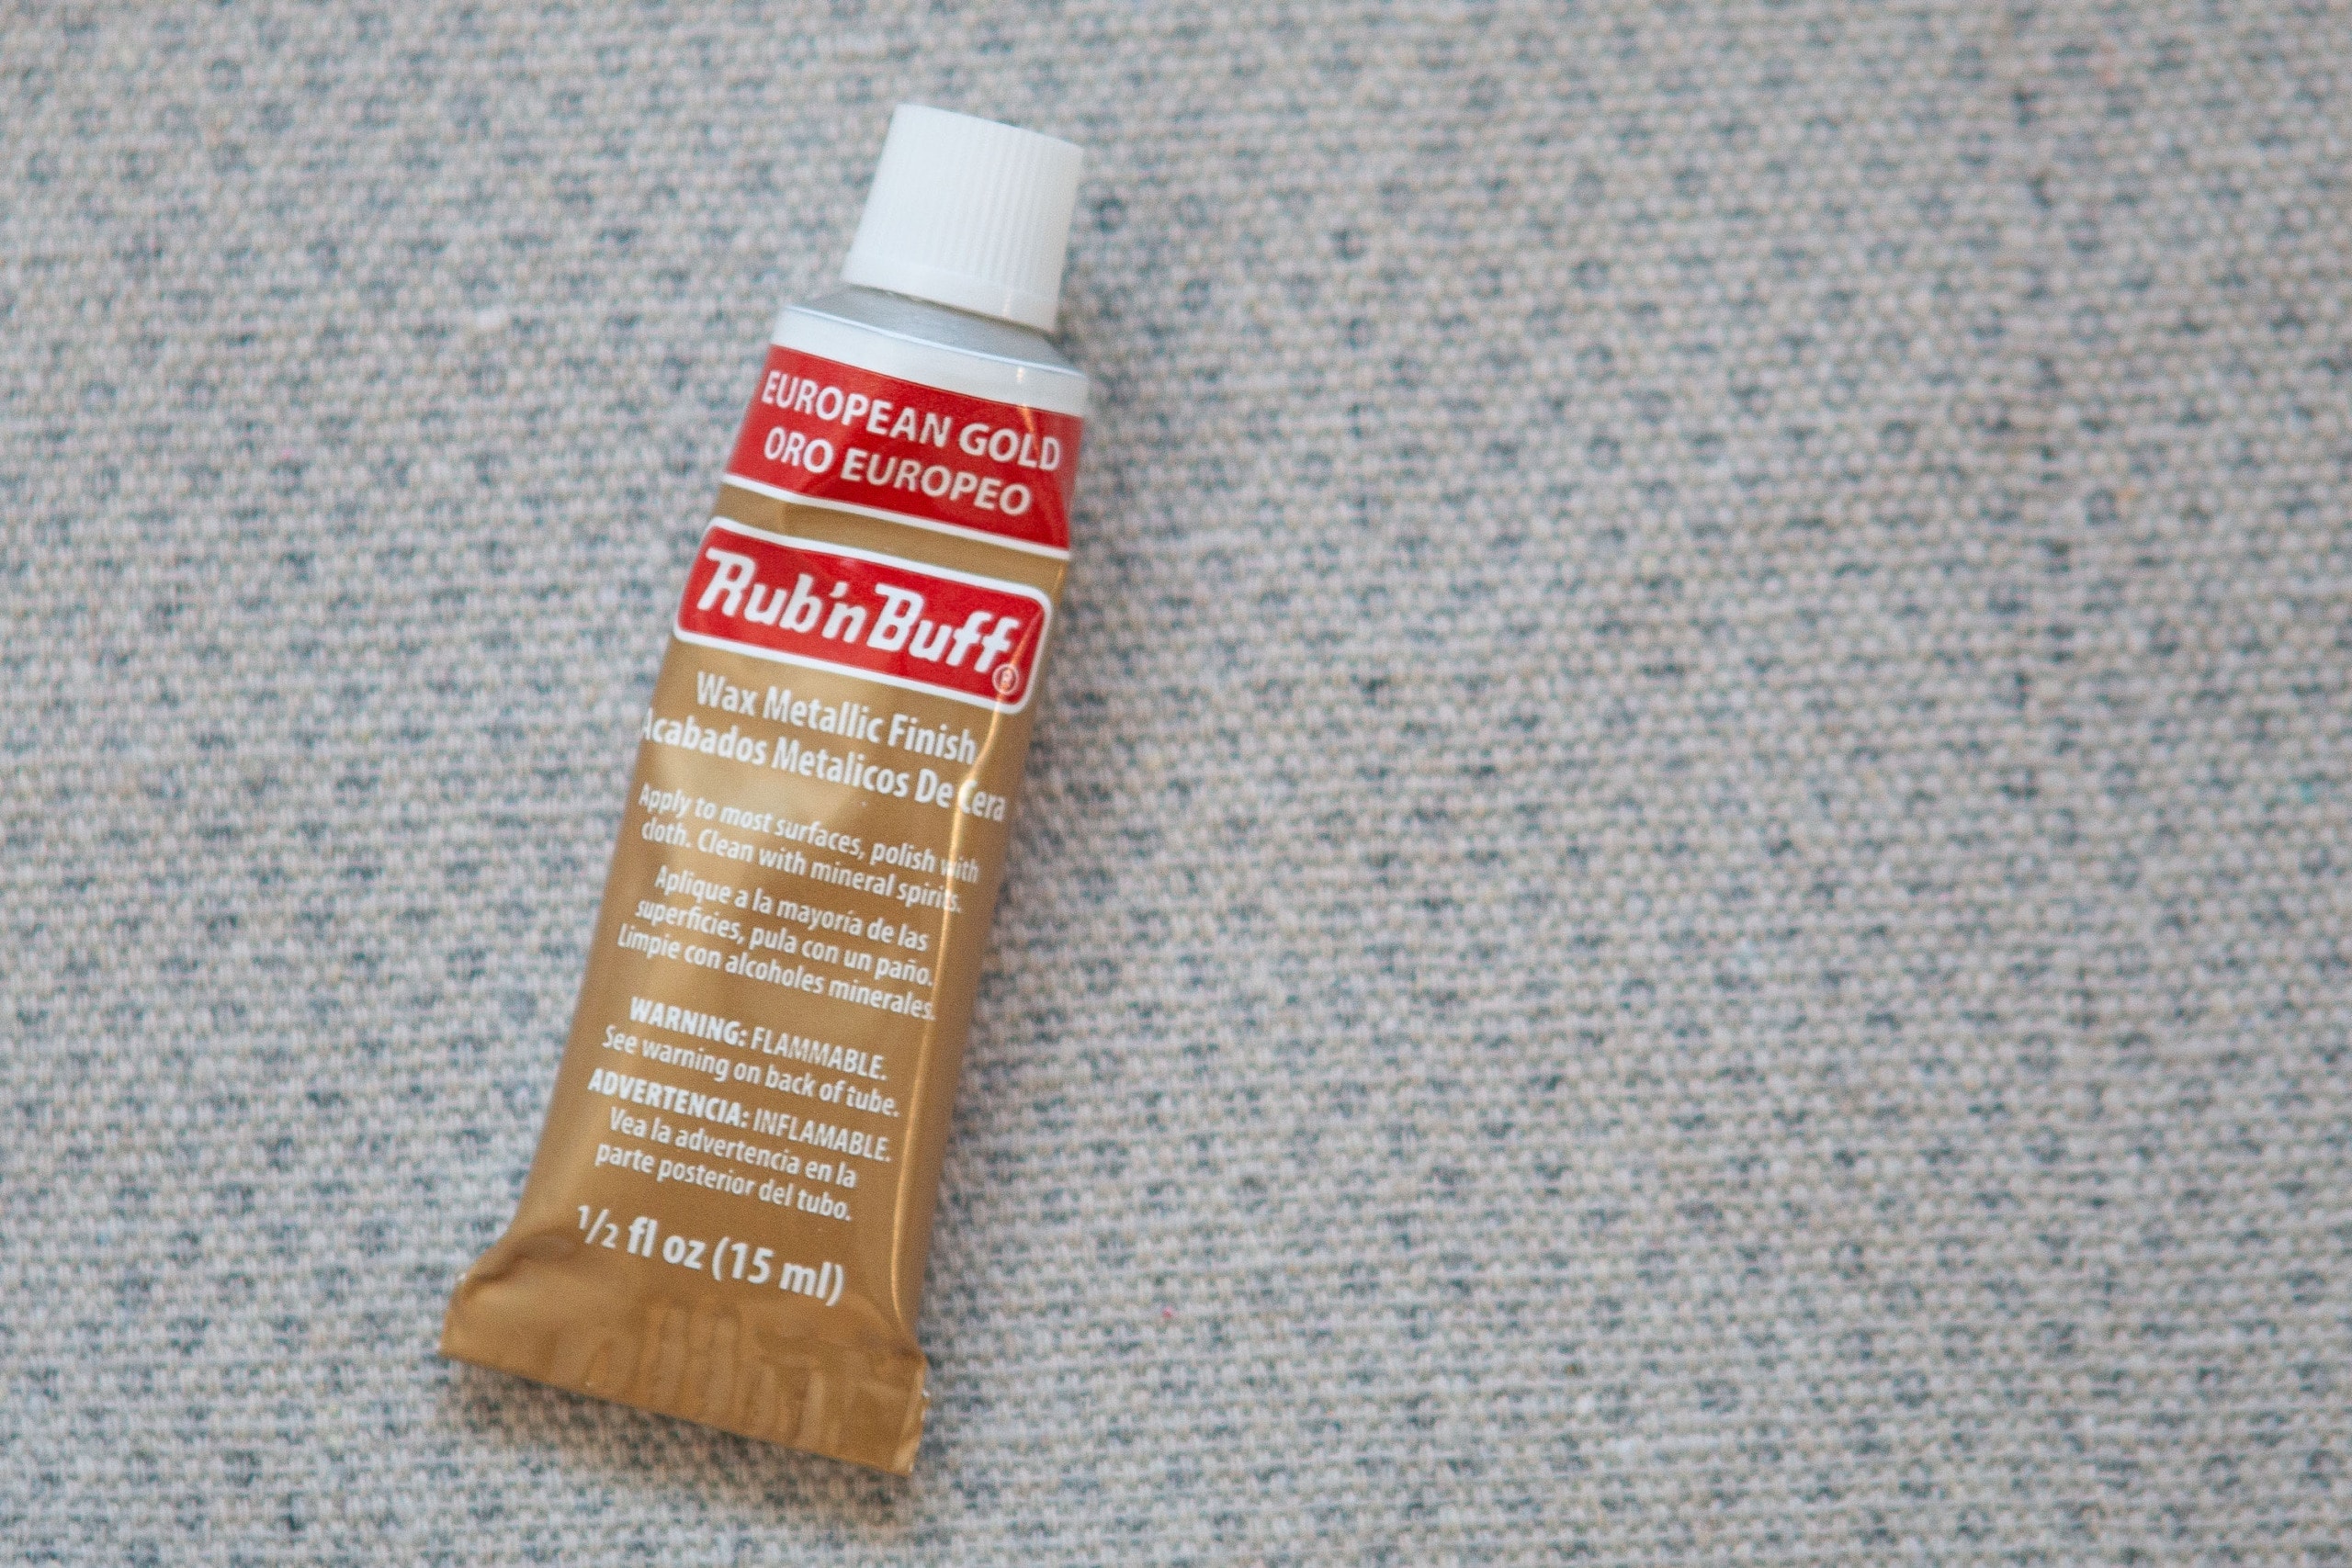
Determined not to screw it up this time around, I read lots of tutorials about how to best use Rub ‘n Buff. I found this one from Jenna Sue Design the most helpful, especially because she shows you how the various gold colors actually look when you apply them. That was crucial for me because I had no clue which color to choose for this project. After reading her post, I decided to order a small tube of “European Gold” to cover the black curtain hardware. 
From her post, and many others that I peruse, I also learned that you should wear gloves and apply the product using a soft, yet stiff, makeup brush. I looked through my makeup drawer and found an old concealer brush that I no longer use and designated it my new Rub ‘n Buff brush. A brush like this one would work well. 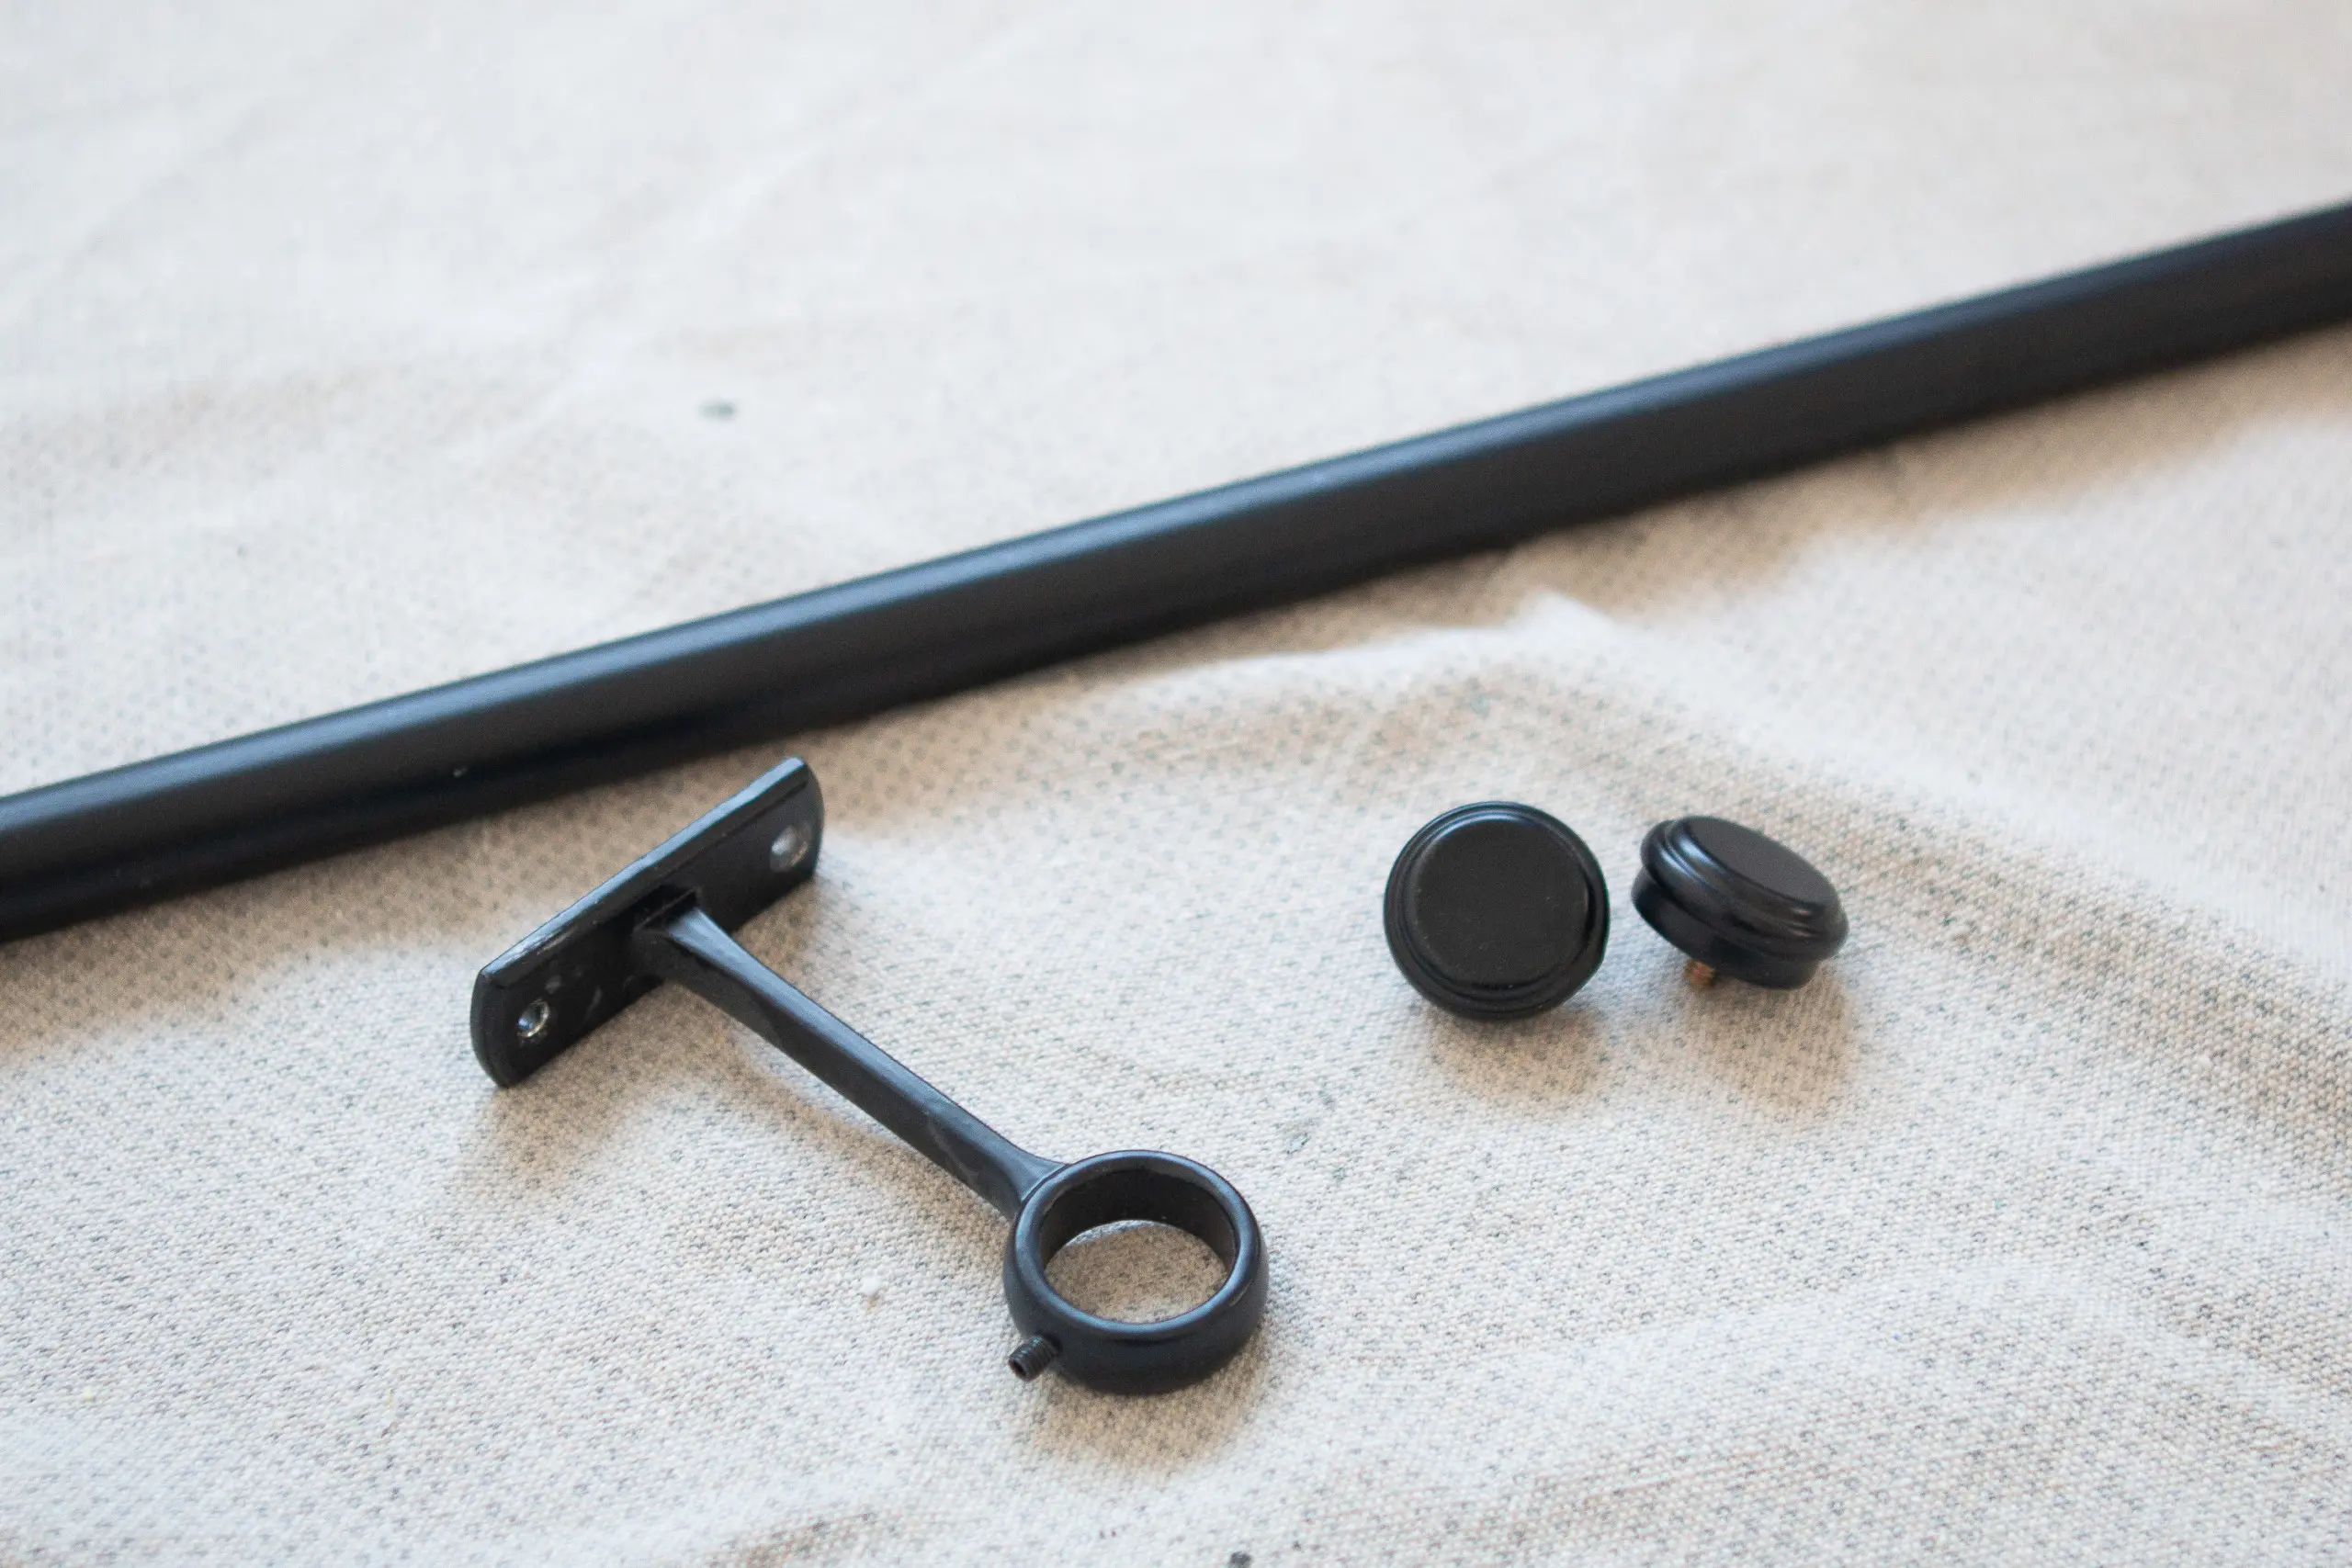
Here’s a look at the curtain rod hardware before. It’s black and I had four rods, six rings, and four end caps that I needed to “paint” for this project. I started slowly and I got the hang of it quickly. Here are some key takeaways…
- A little bit goes a long way. Don’t use too much! Just put a little bit on the plate, dip your brush in, and then apply it.
- Once you get the product on there, it’s on there. So apply a little and add more as you go.
- I found it easiest to use circular movements as I went.
- Wear gloves because it can get a bit messy.
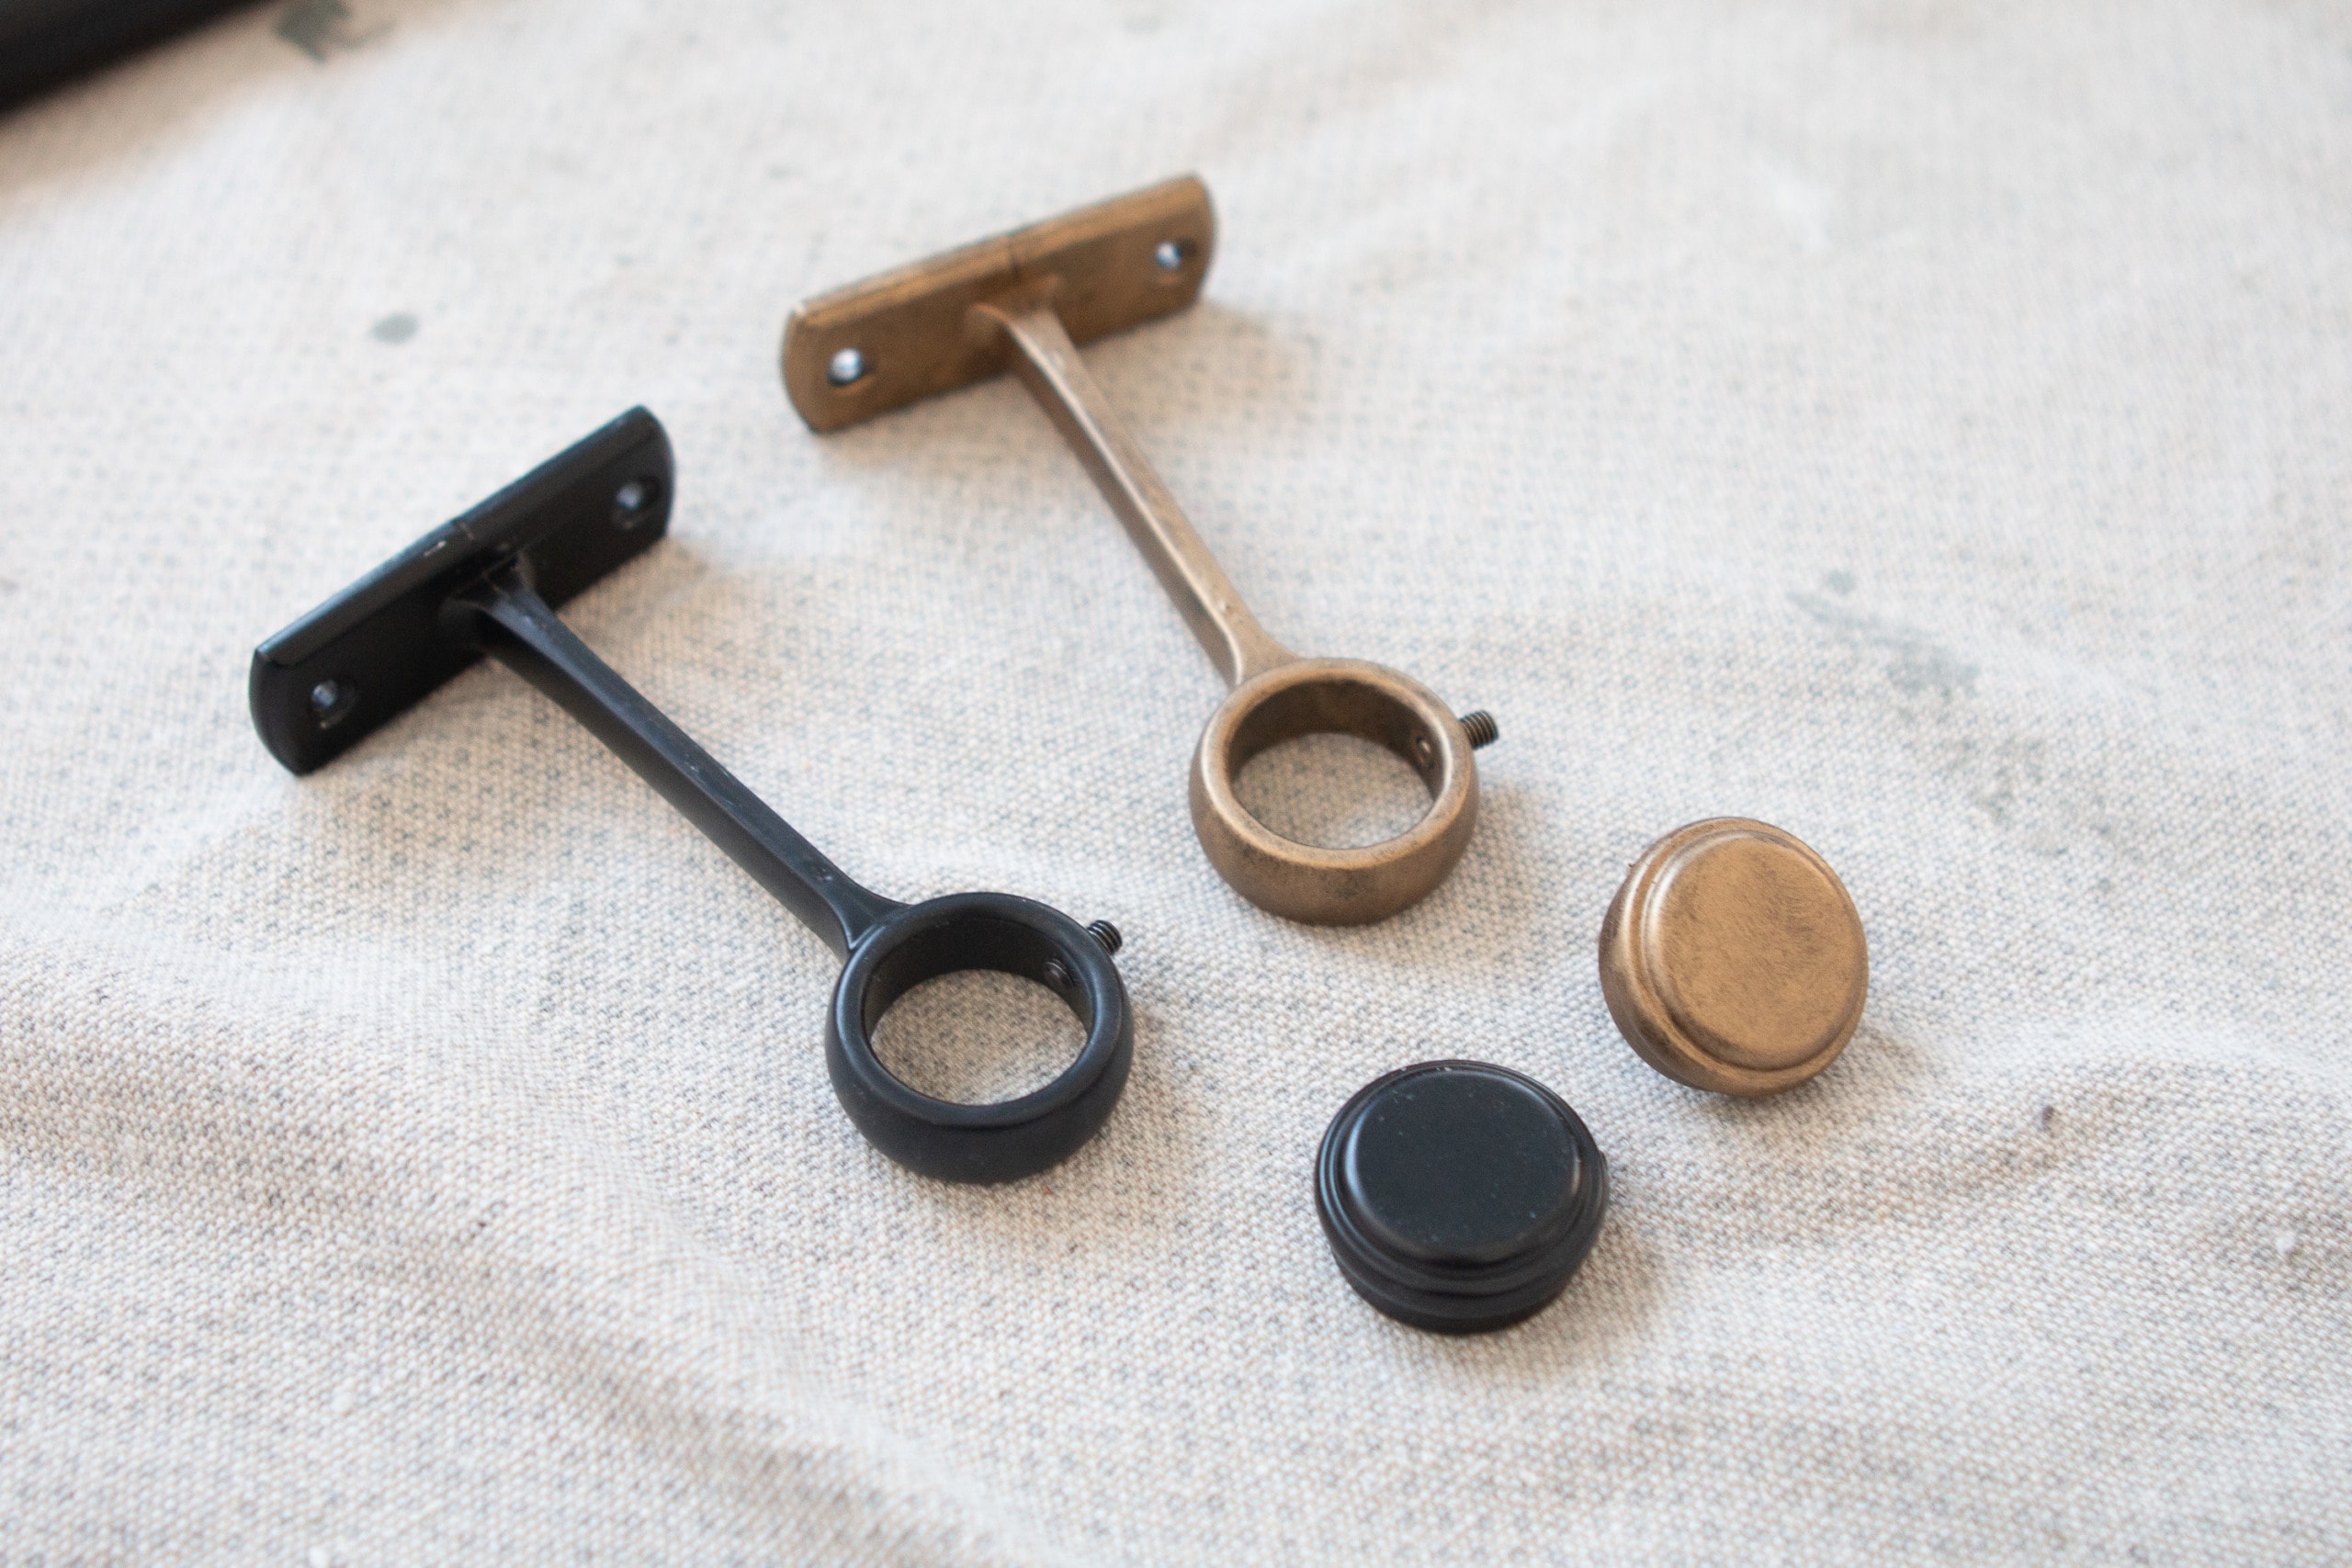
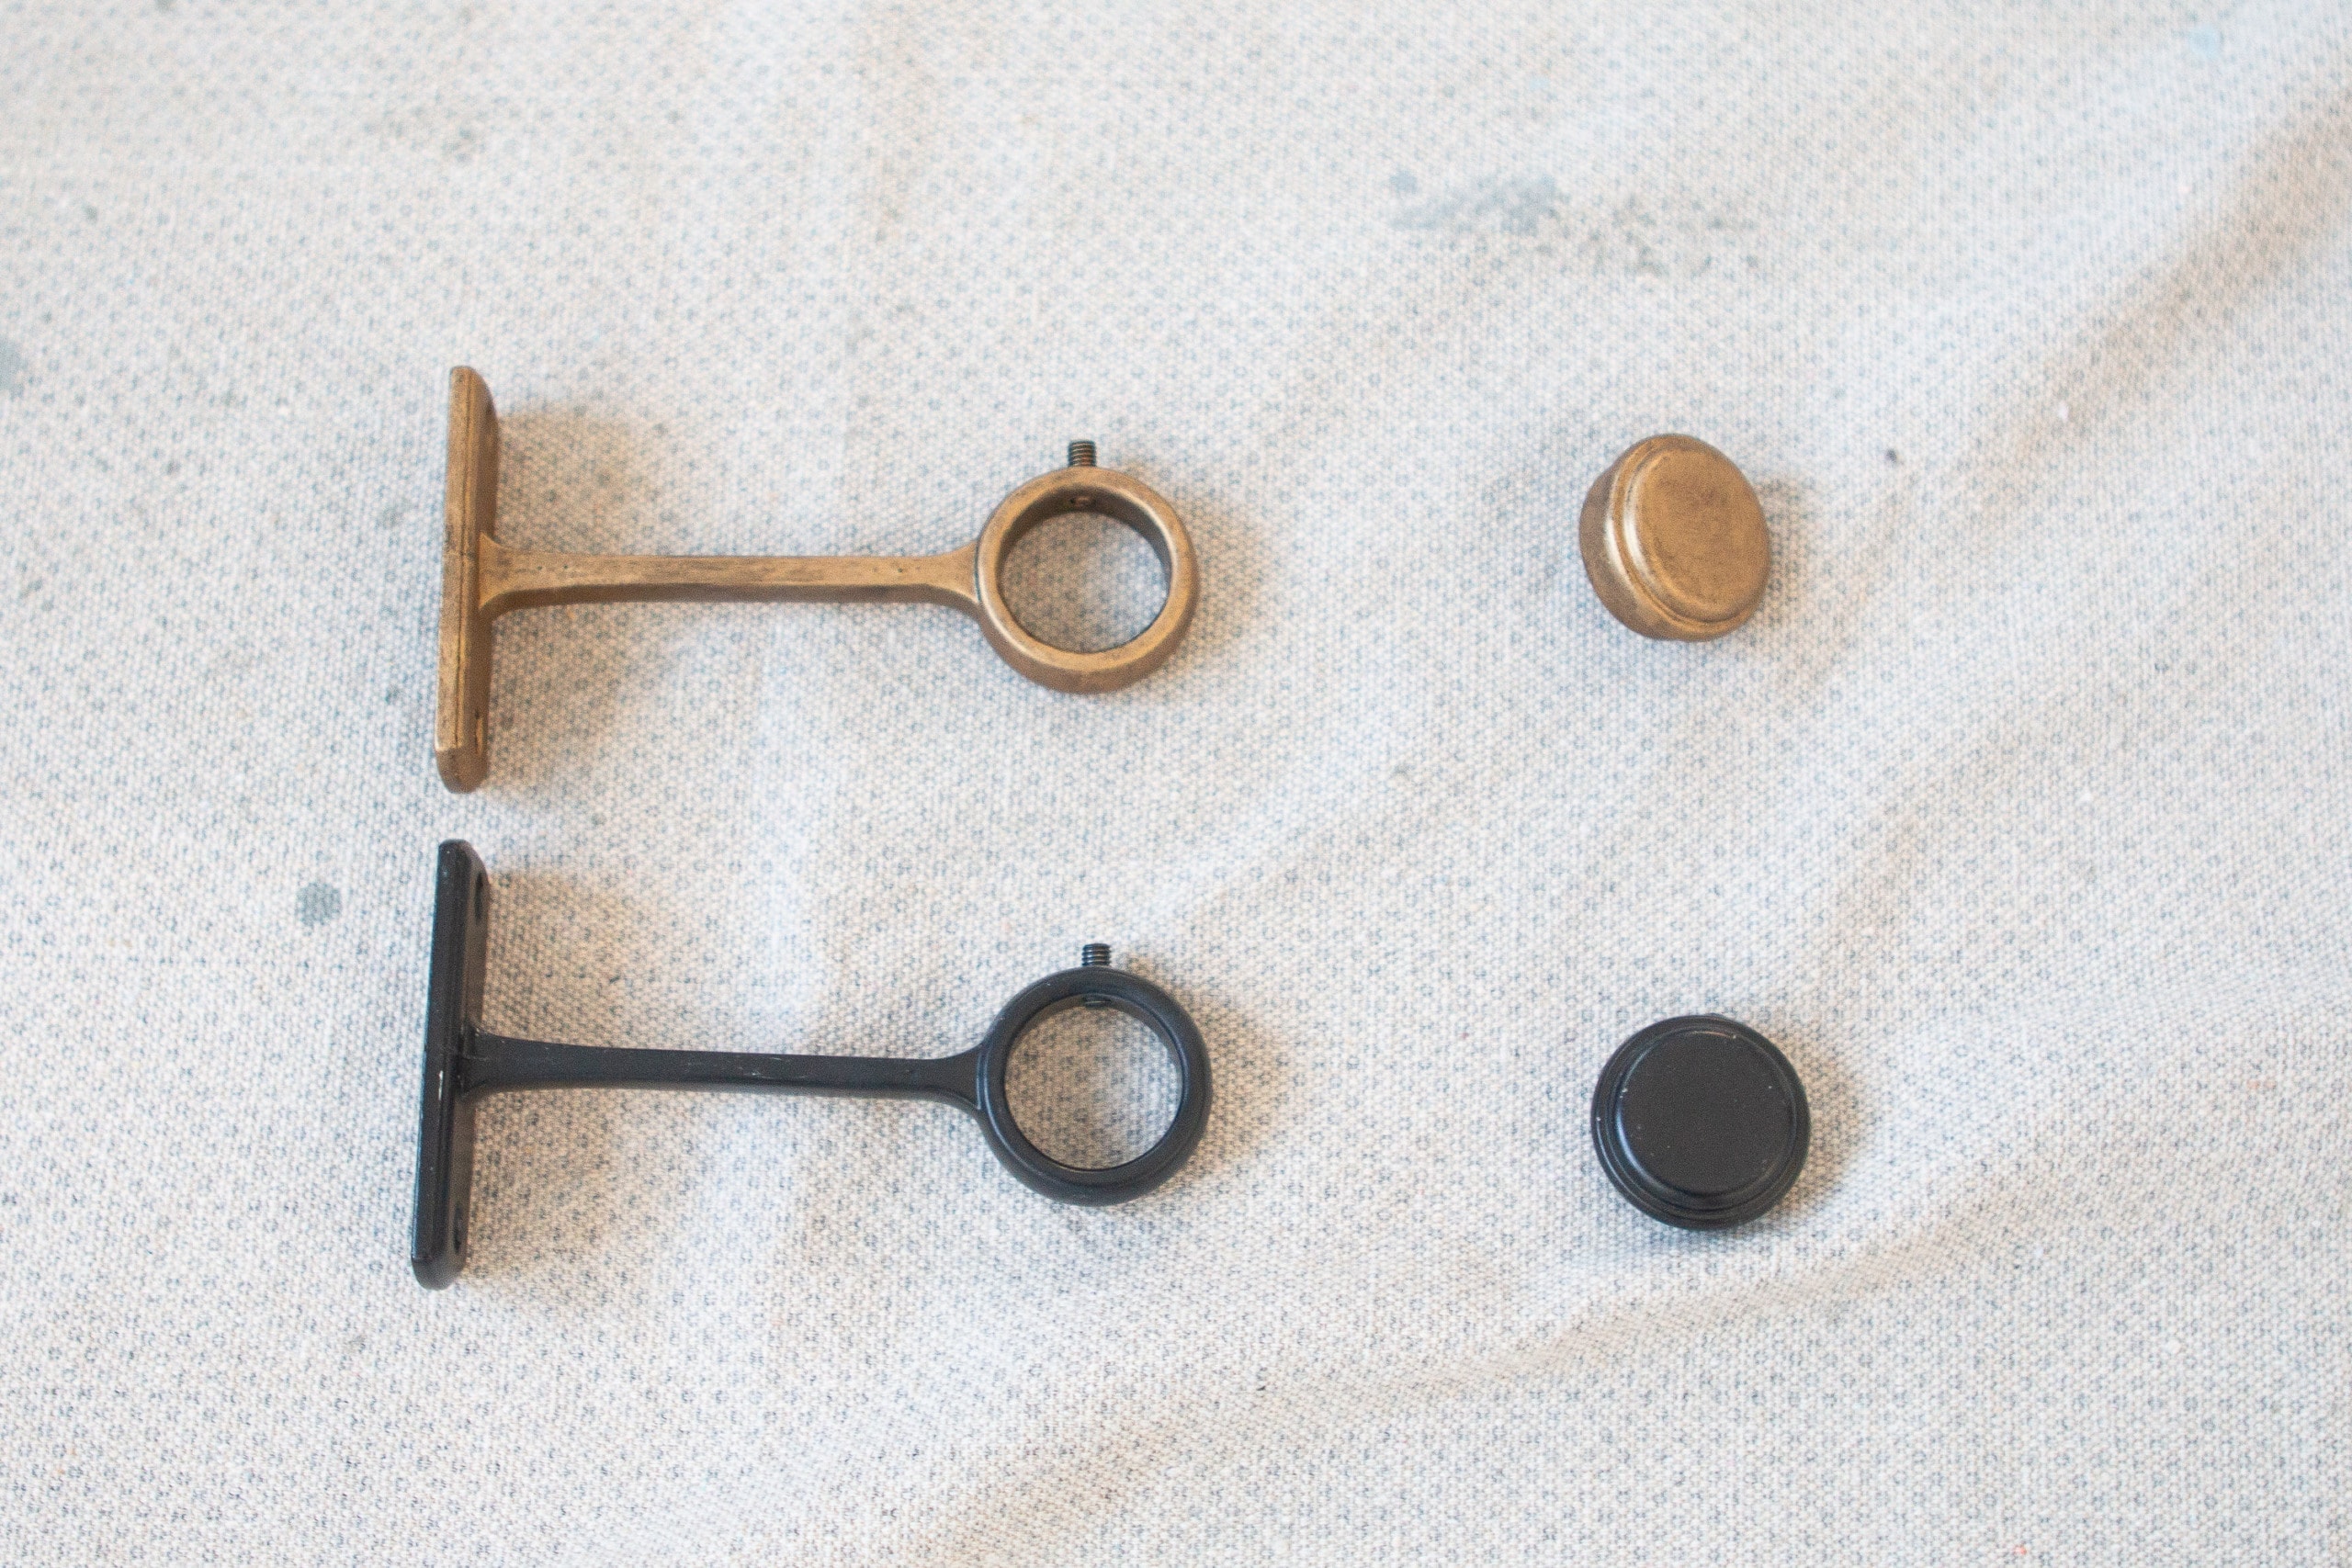
I was seriously amazed by how quickly these pieces transformed. I’d say it took me about an hour to get everything coated. 
Also, I think it worked in my favor that I was starting with something that was black. The gold with a bit of black showing through makes it look a bit more antique and it has a pretty patina to it. I might recommend spray painting your object black first and then using the product over it if you want a more antiqued end result. 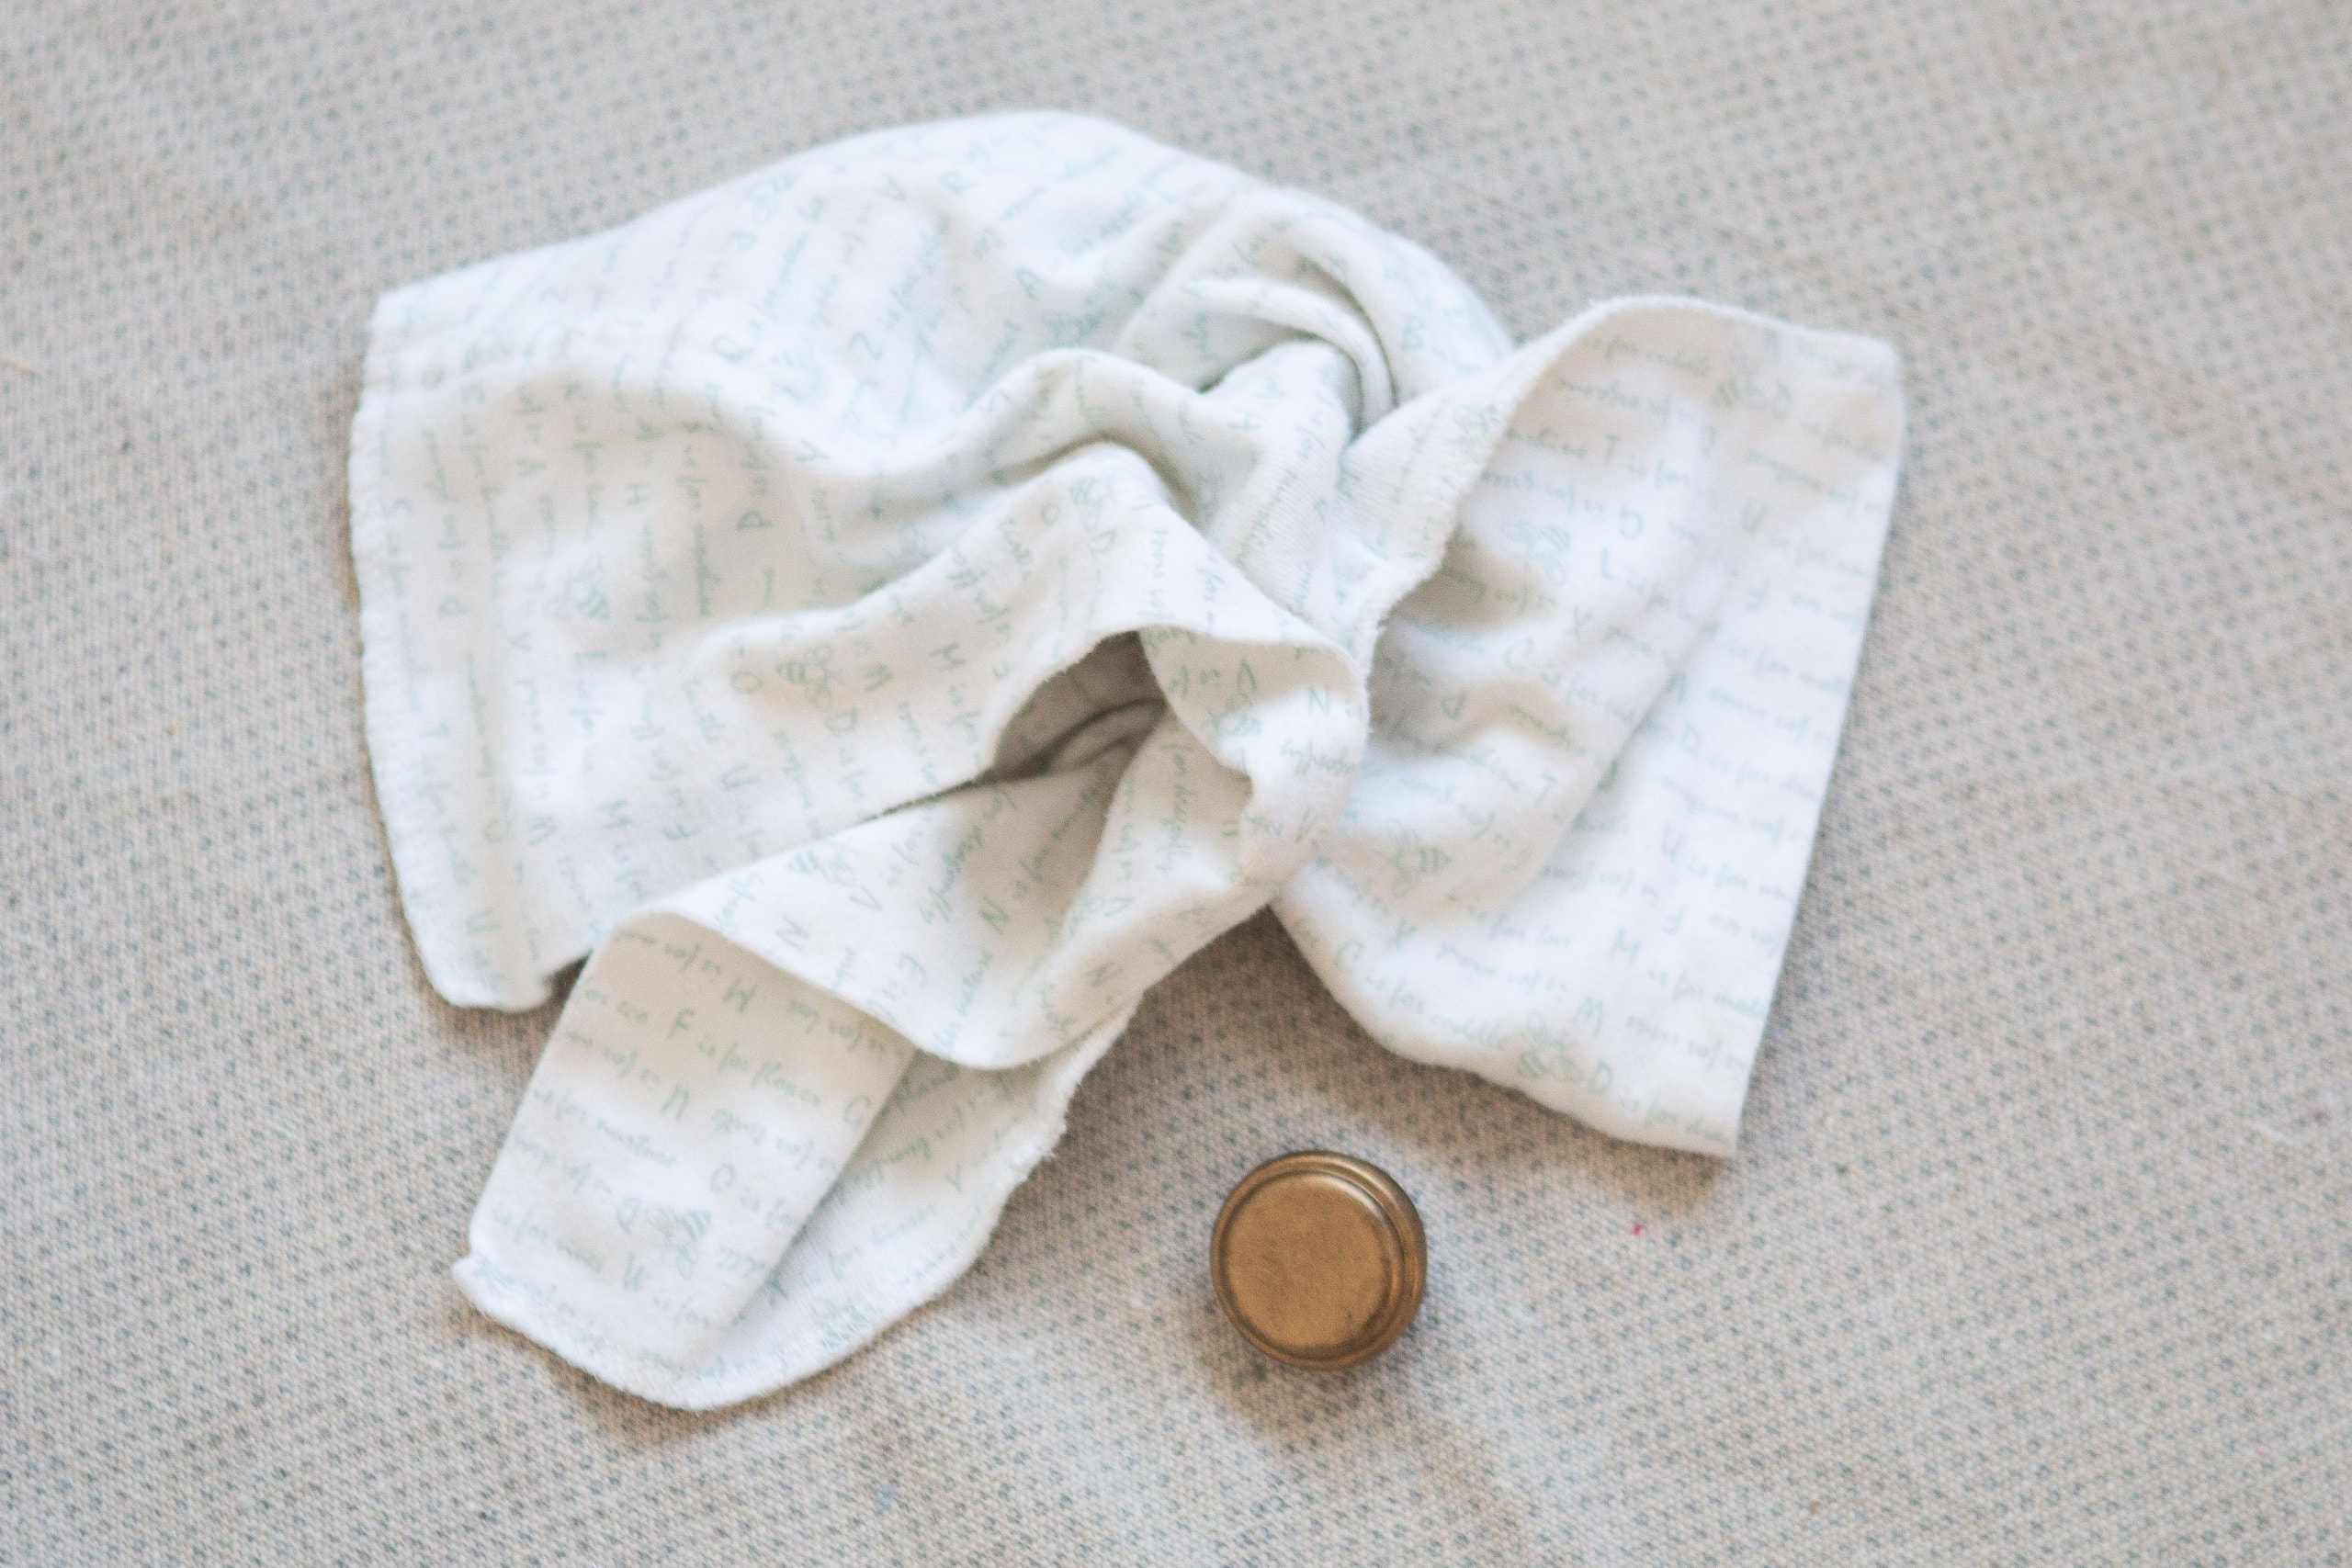
Once everything was covered, I used a soft rag and buffed everything. It dries right away, so you don’t have to wait for a certain amount of time before buffing.
This last step is optional, but I decided to go for it. If the item you’re working on will be touched often, like a door knob or hardware, then you might want to seal it. I had this clear shellac leftover from another project, so I gave everything a quick coat of this before re-installing the rods. I figured with the curtains rubbing back and forth over the top, it would protect the color from coming off. I don’t think this step is necessary if you’re doing something that you might not touch often, like a picture frame or piece of home decor.
My New Gold Curtain Rods
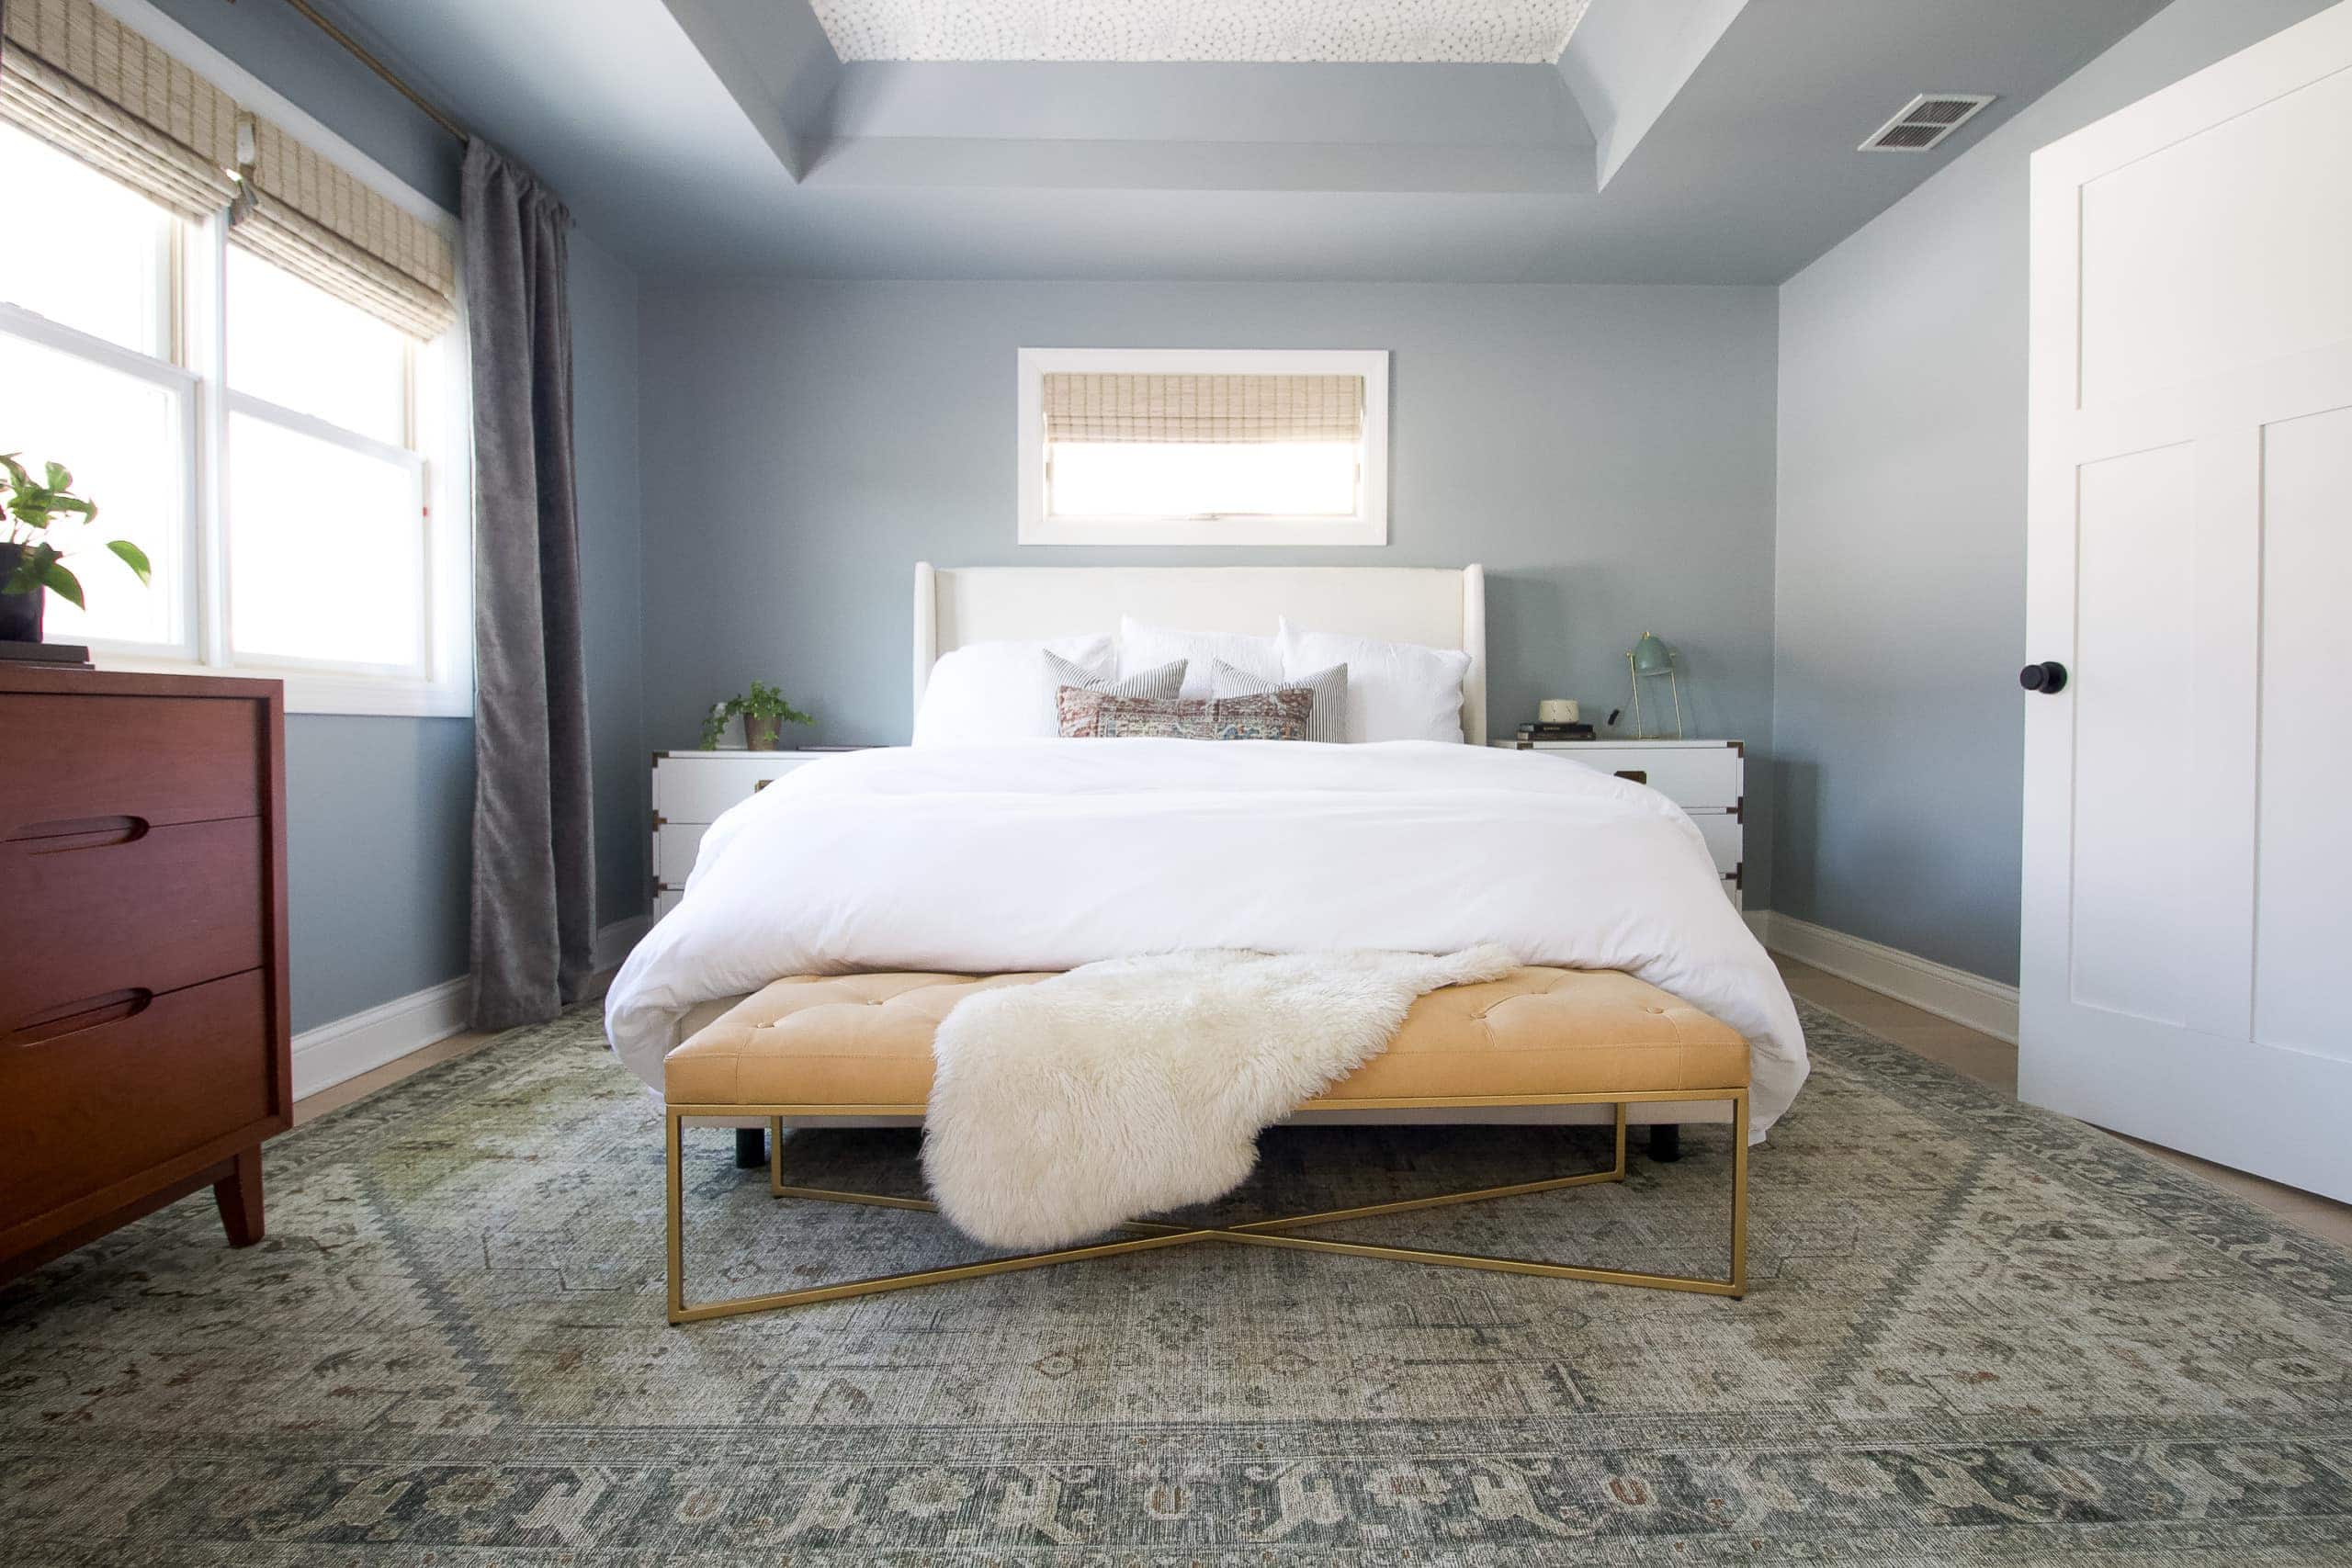
Here’s a look at the room before…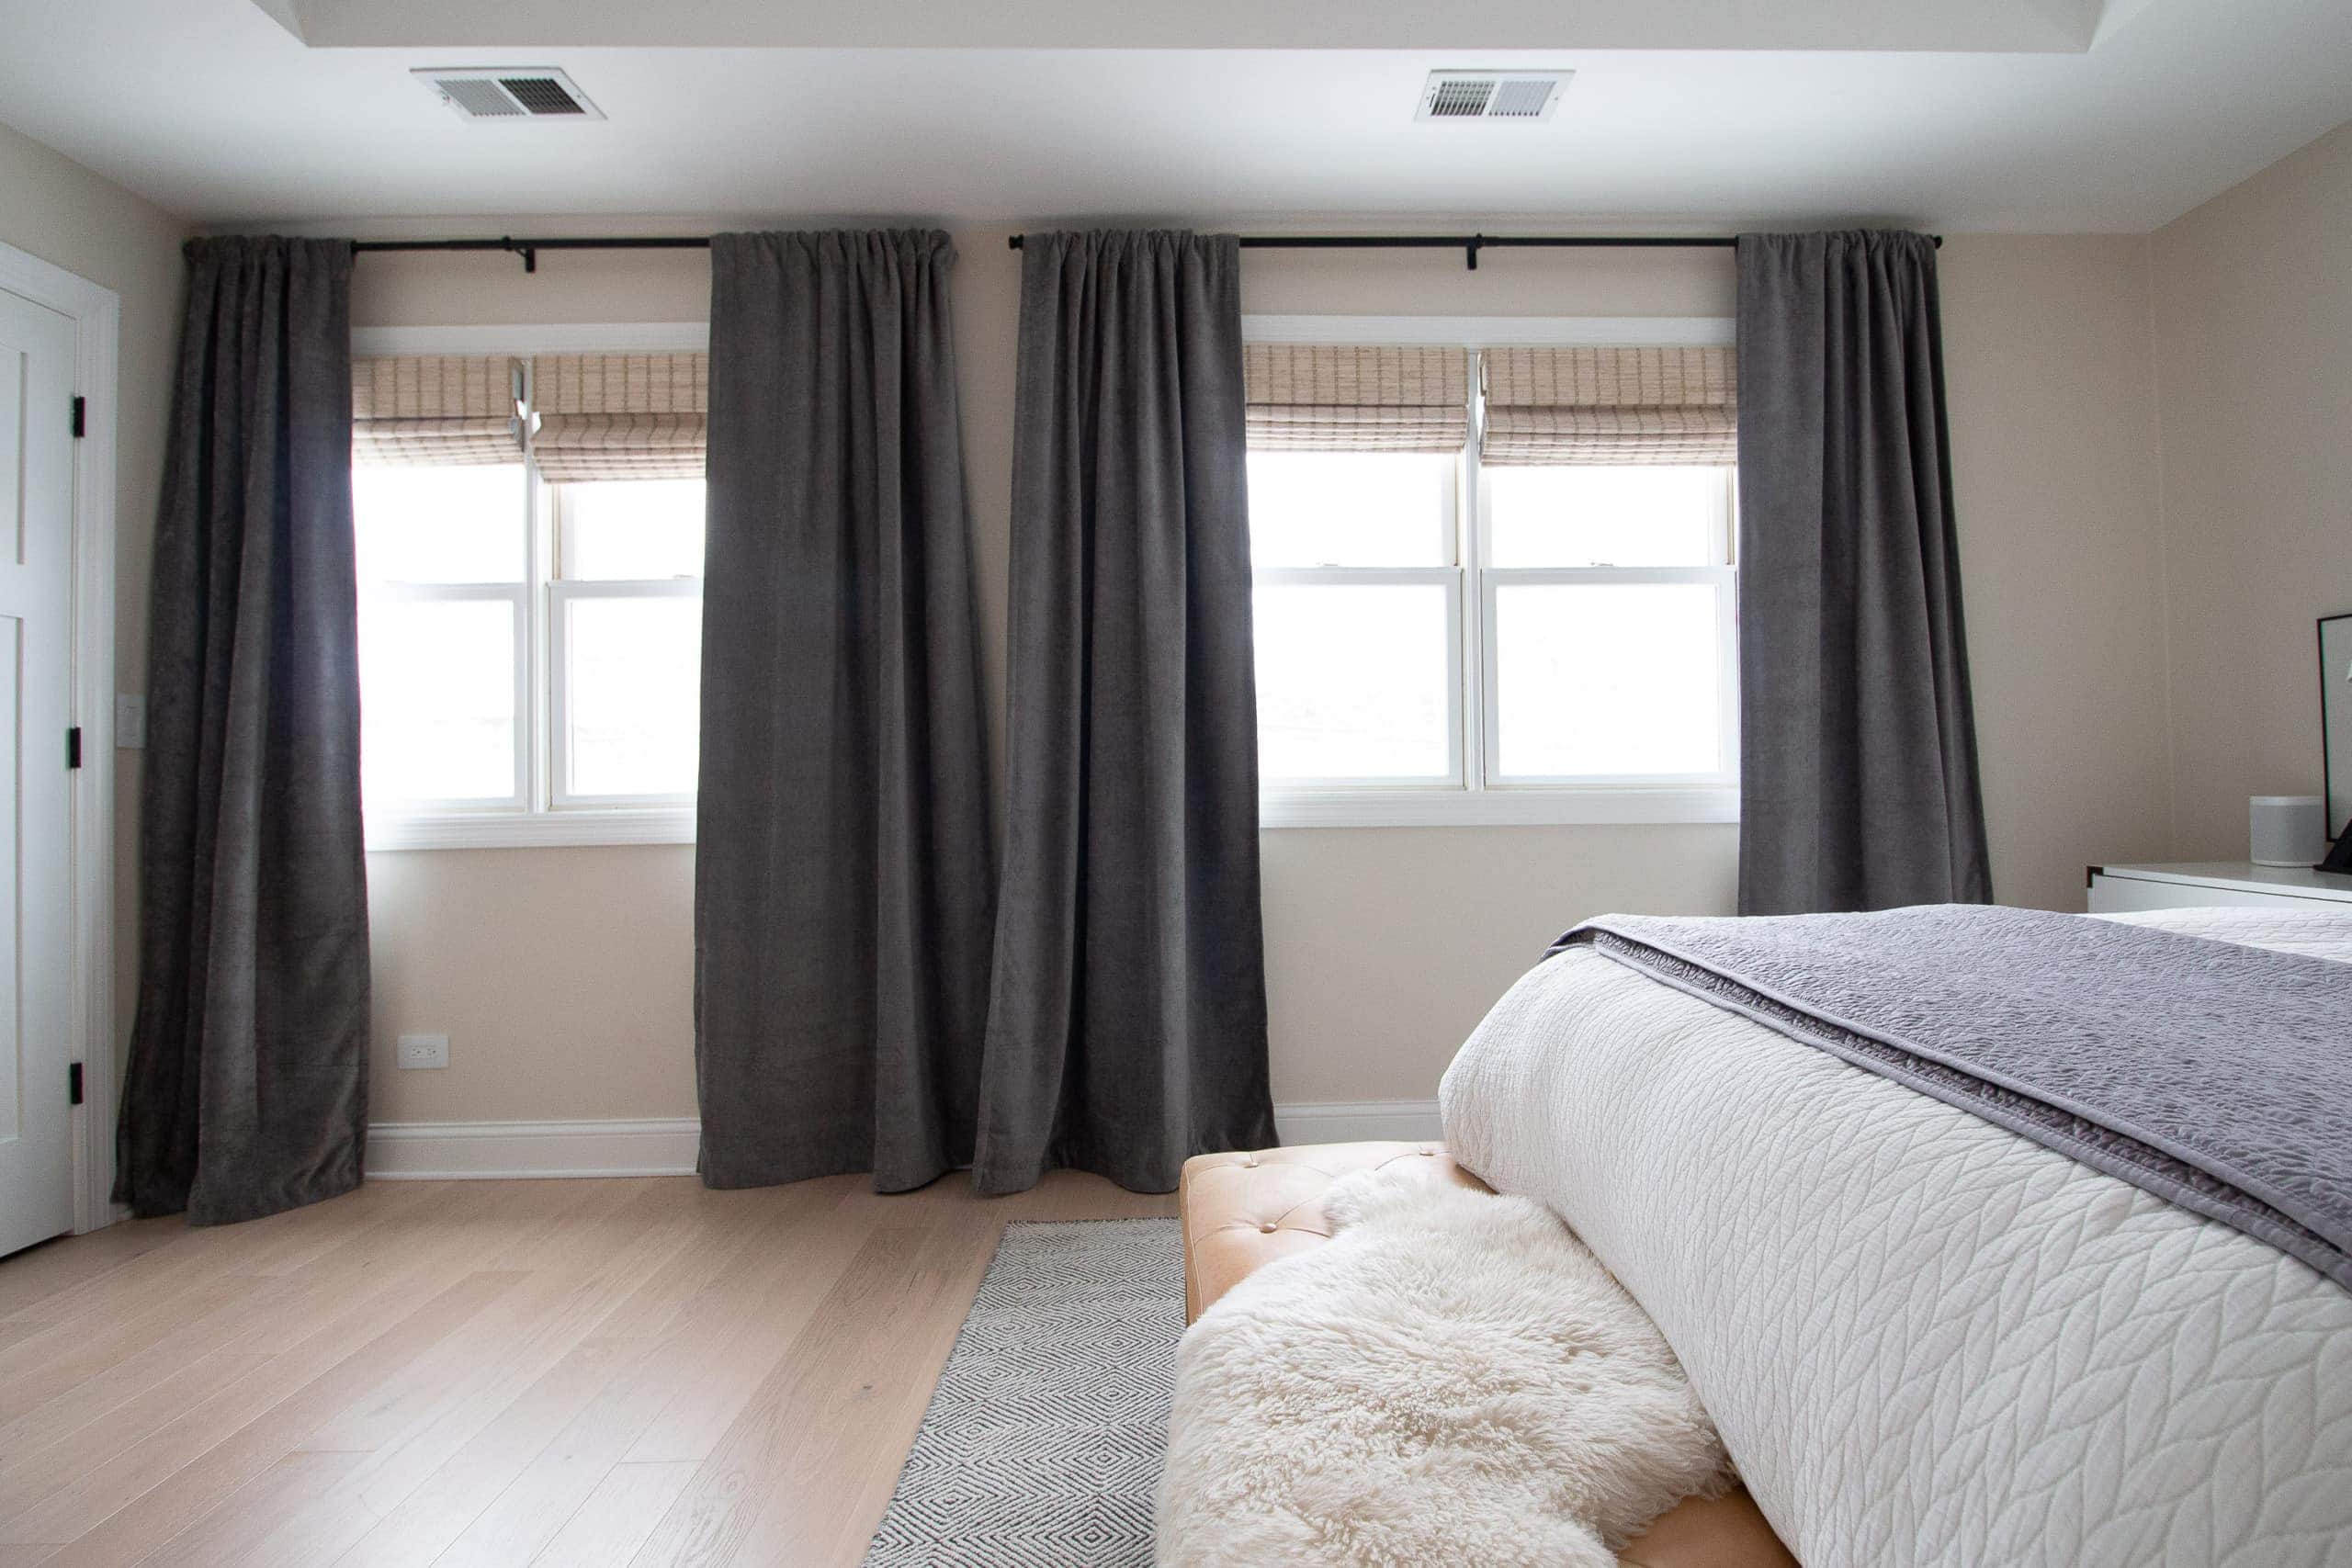 And now…
I absolutely adore it. Not only is the paint color so pretty, and so much warmer than that before picture, but the gold hardware really looks gorgeous against the blue walls.
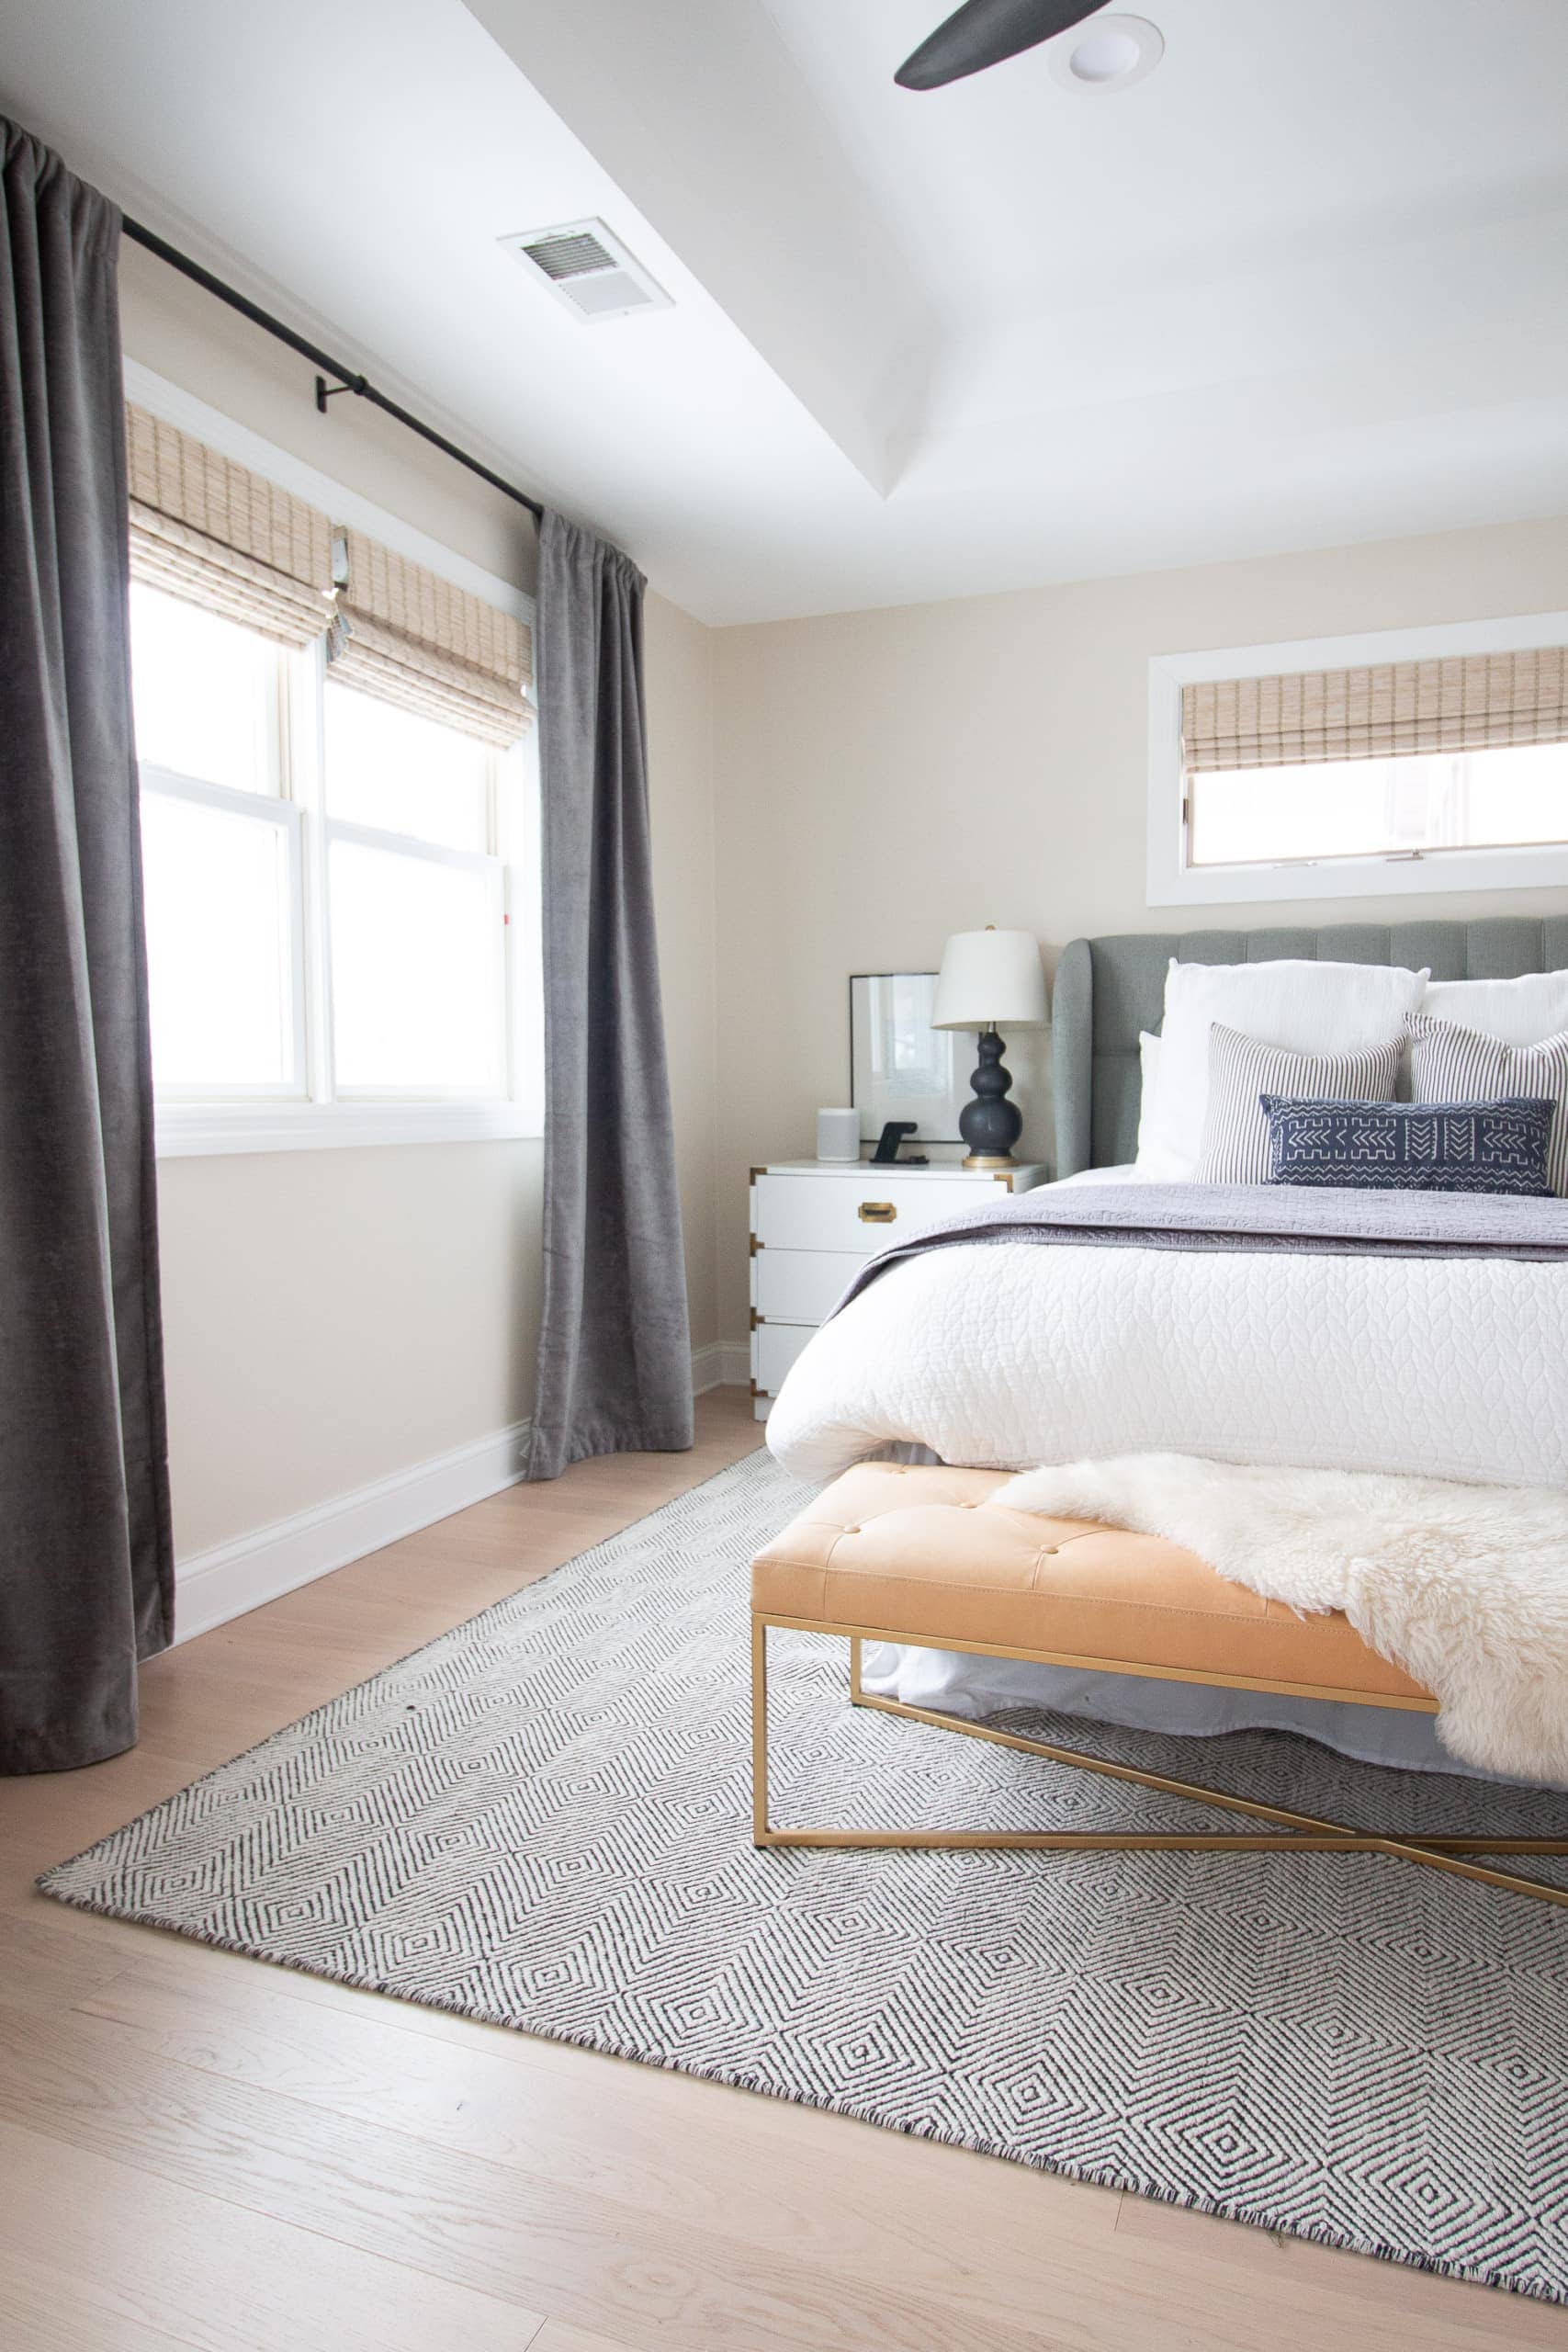

The room is far from being finished, but it already looks so much better to me. It feels full of personality. 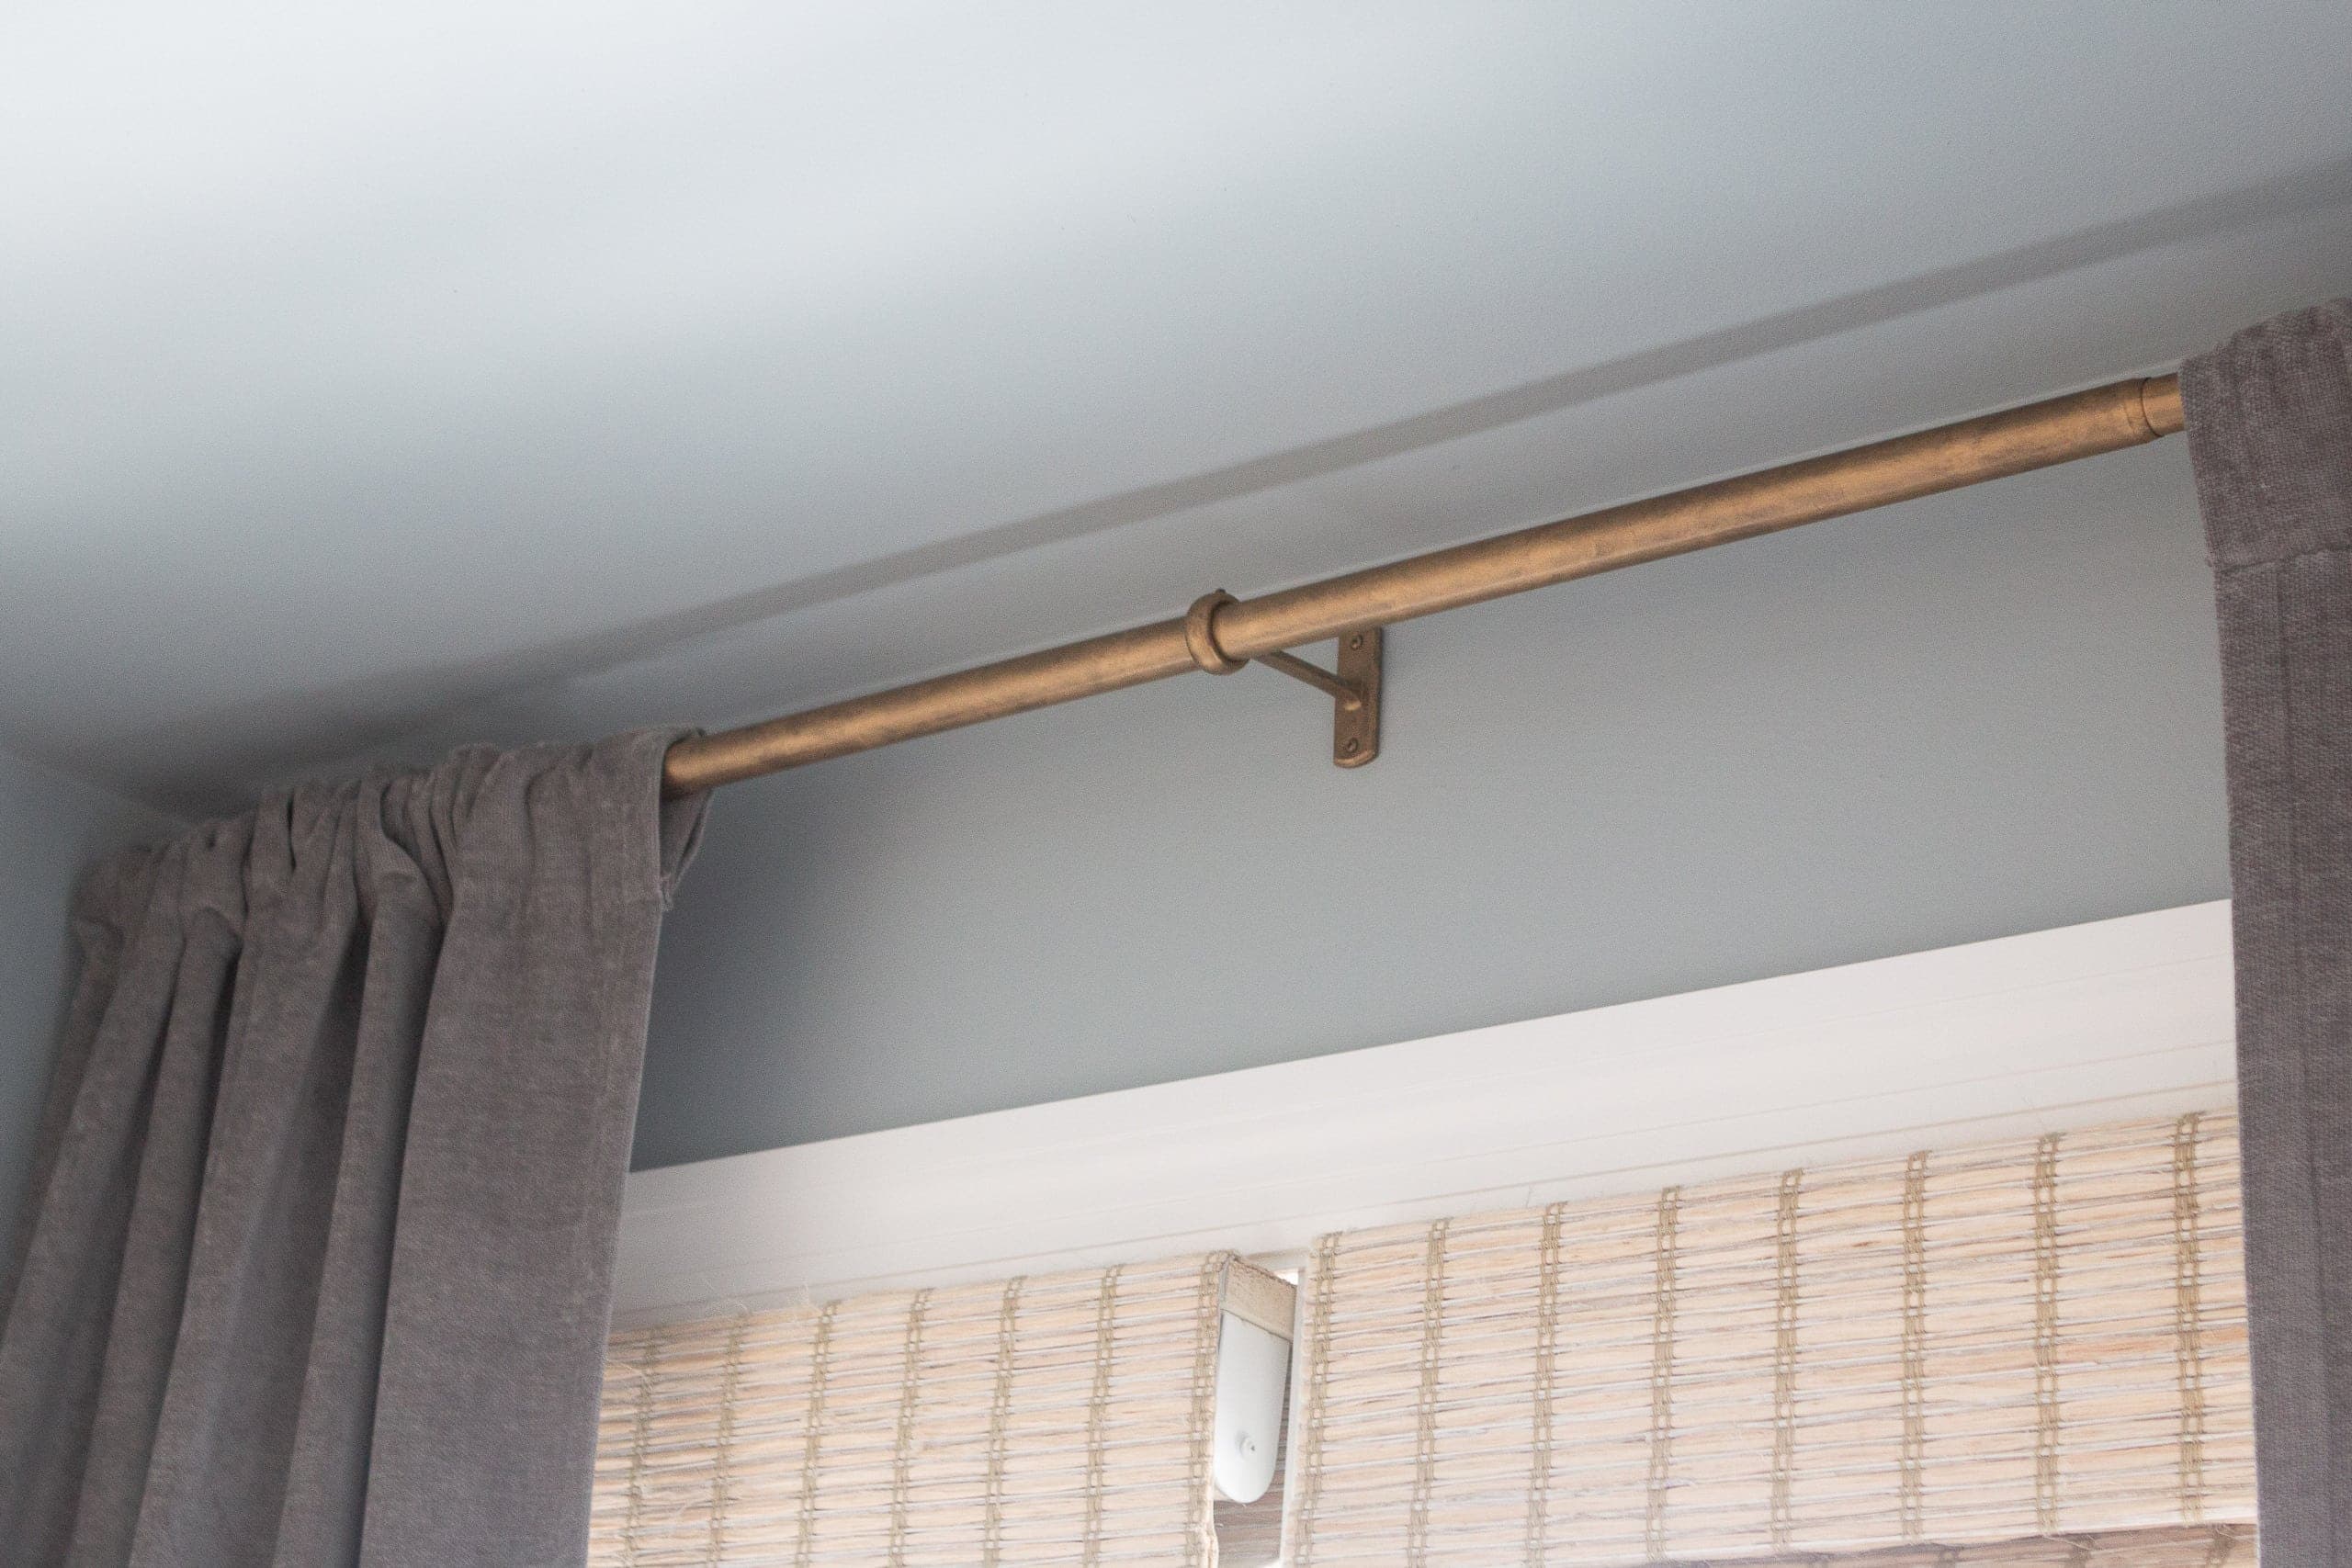
I’m really happy I gave Rub ‘n Buff a try for this project too. I bought a tiny tube and only used about a quarter of it, so I’ll definitely have to use it on another DIY around the house. 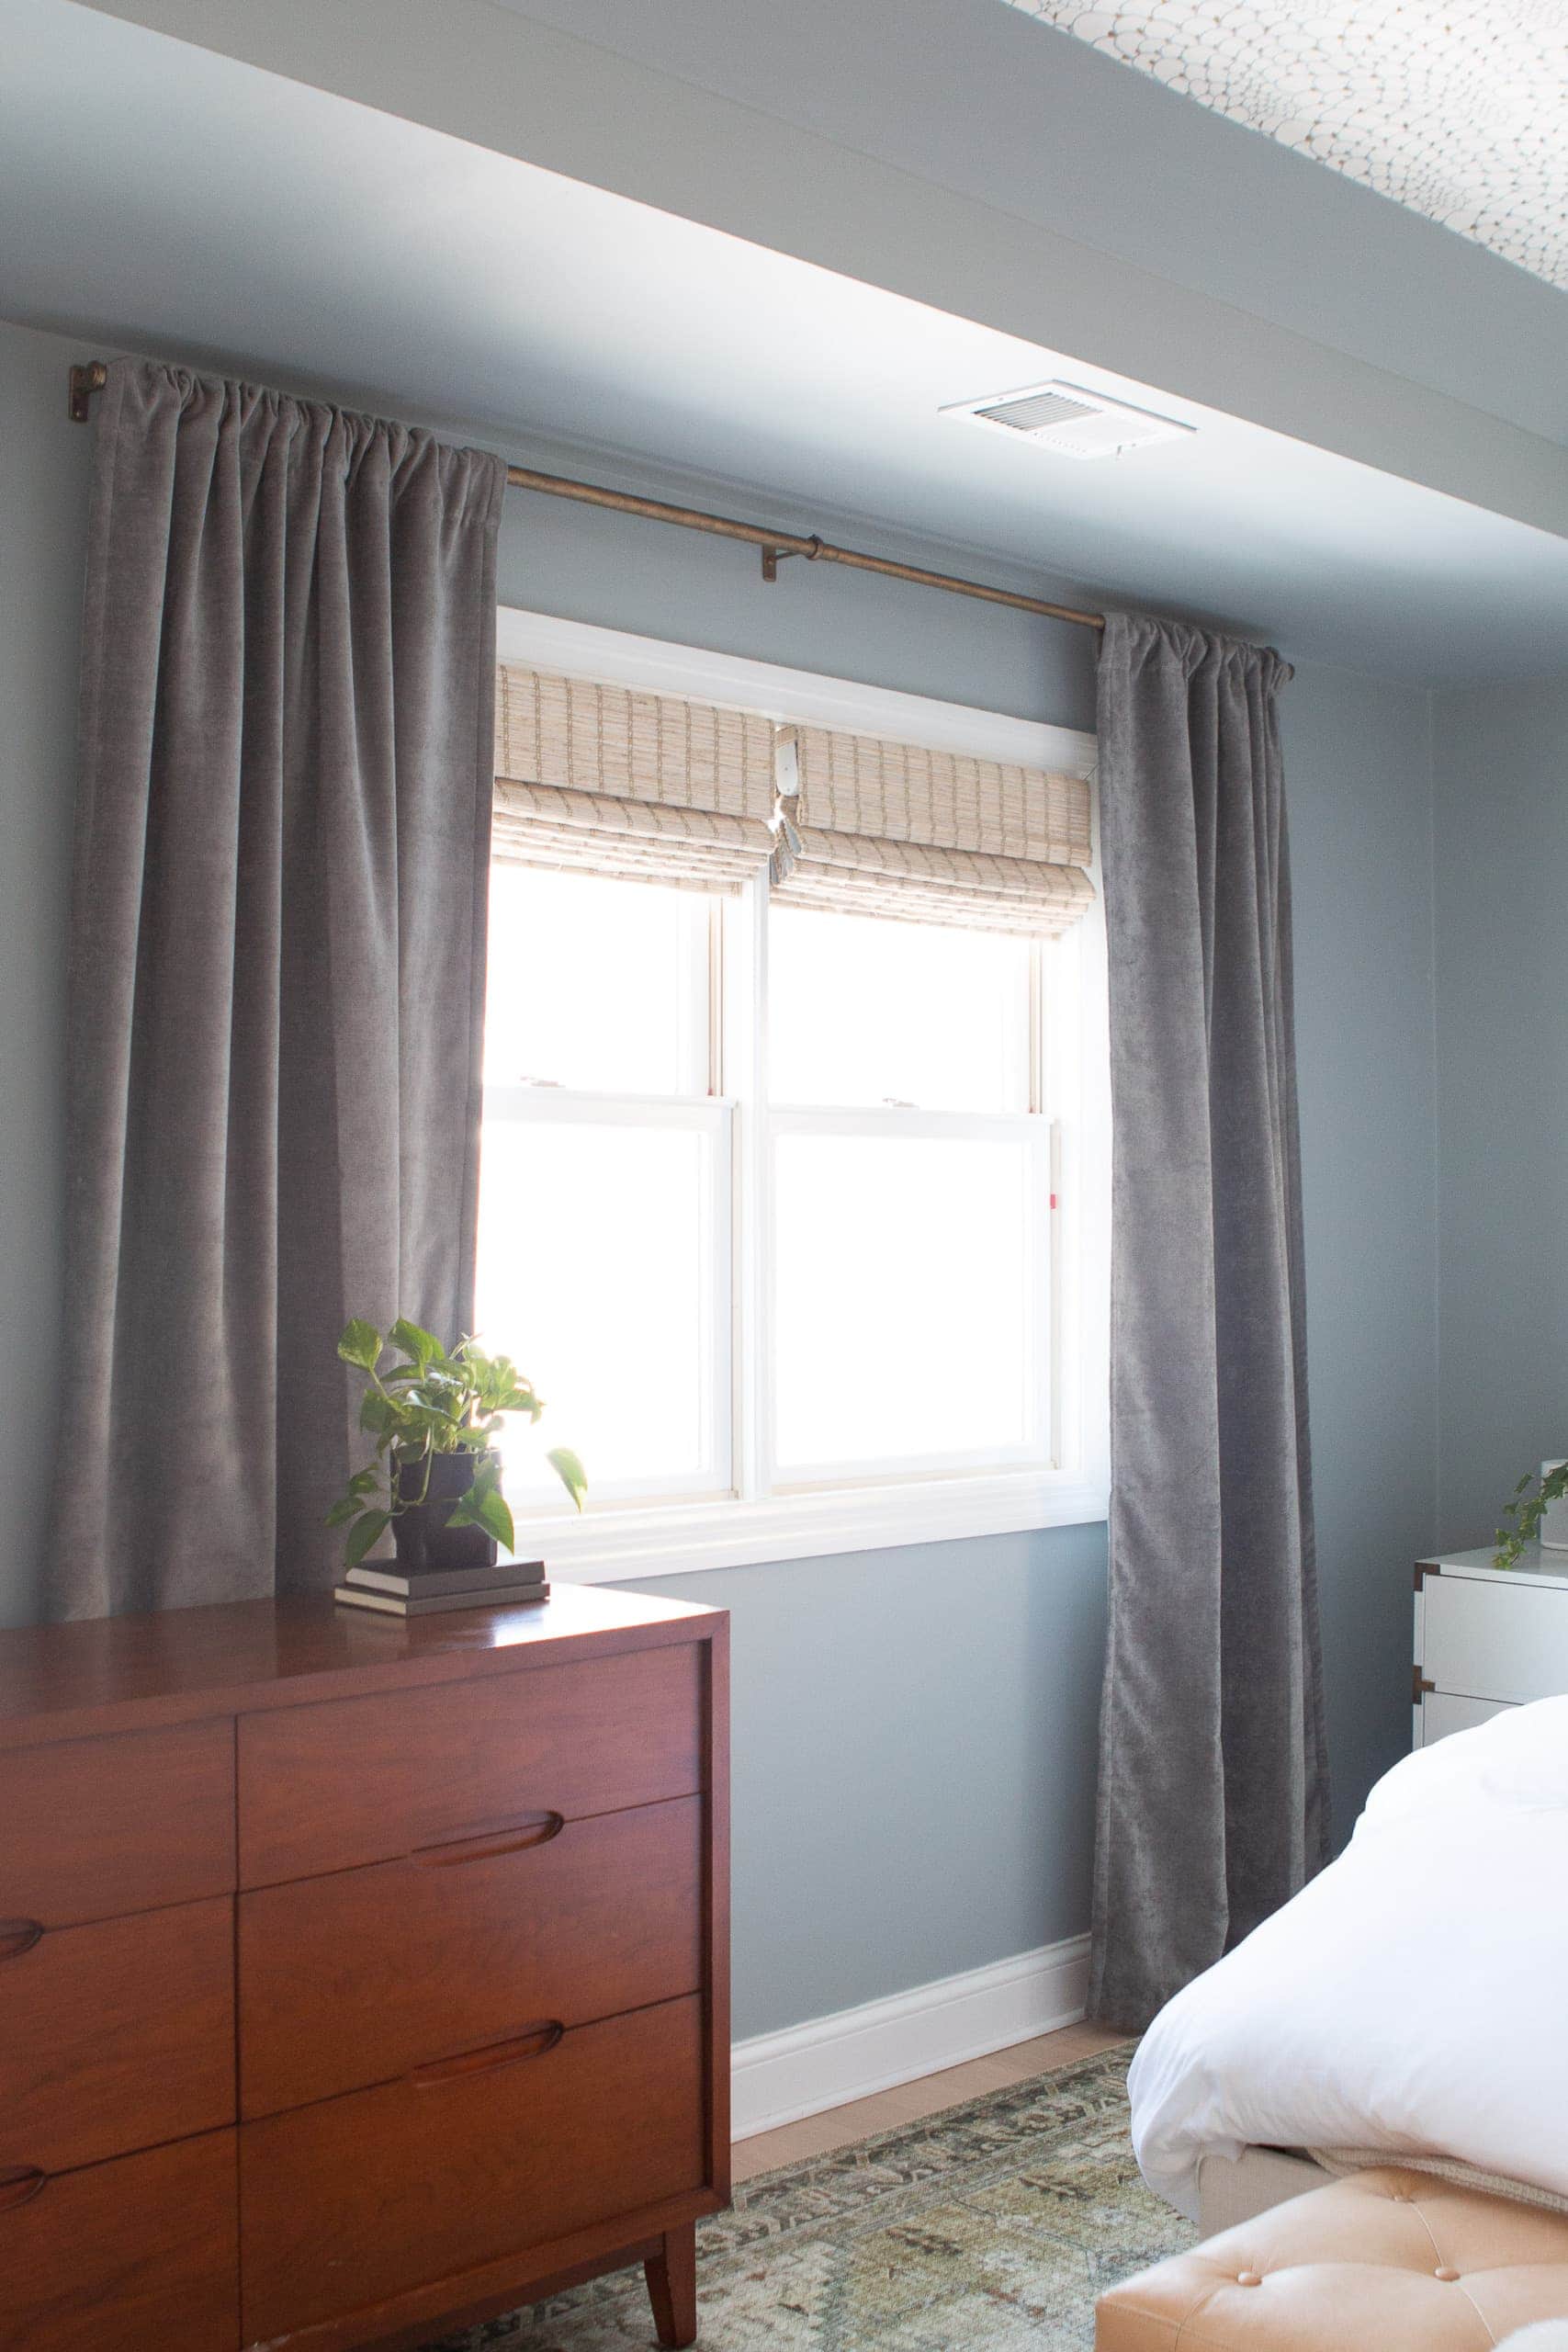
It was also a lot easier than I anticipated. Finn went to the grocery store when I first started this project and I was all done by the time he got back. He was pretty amazed at how quickly this project went down.
Playing Around With The Layout
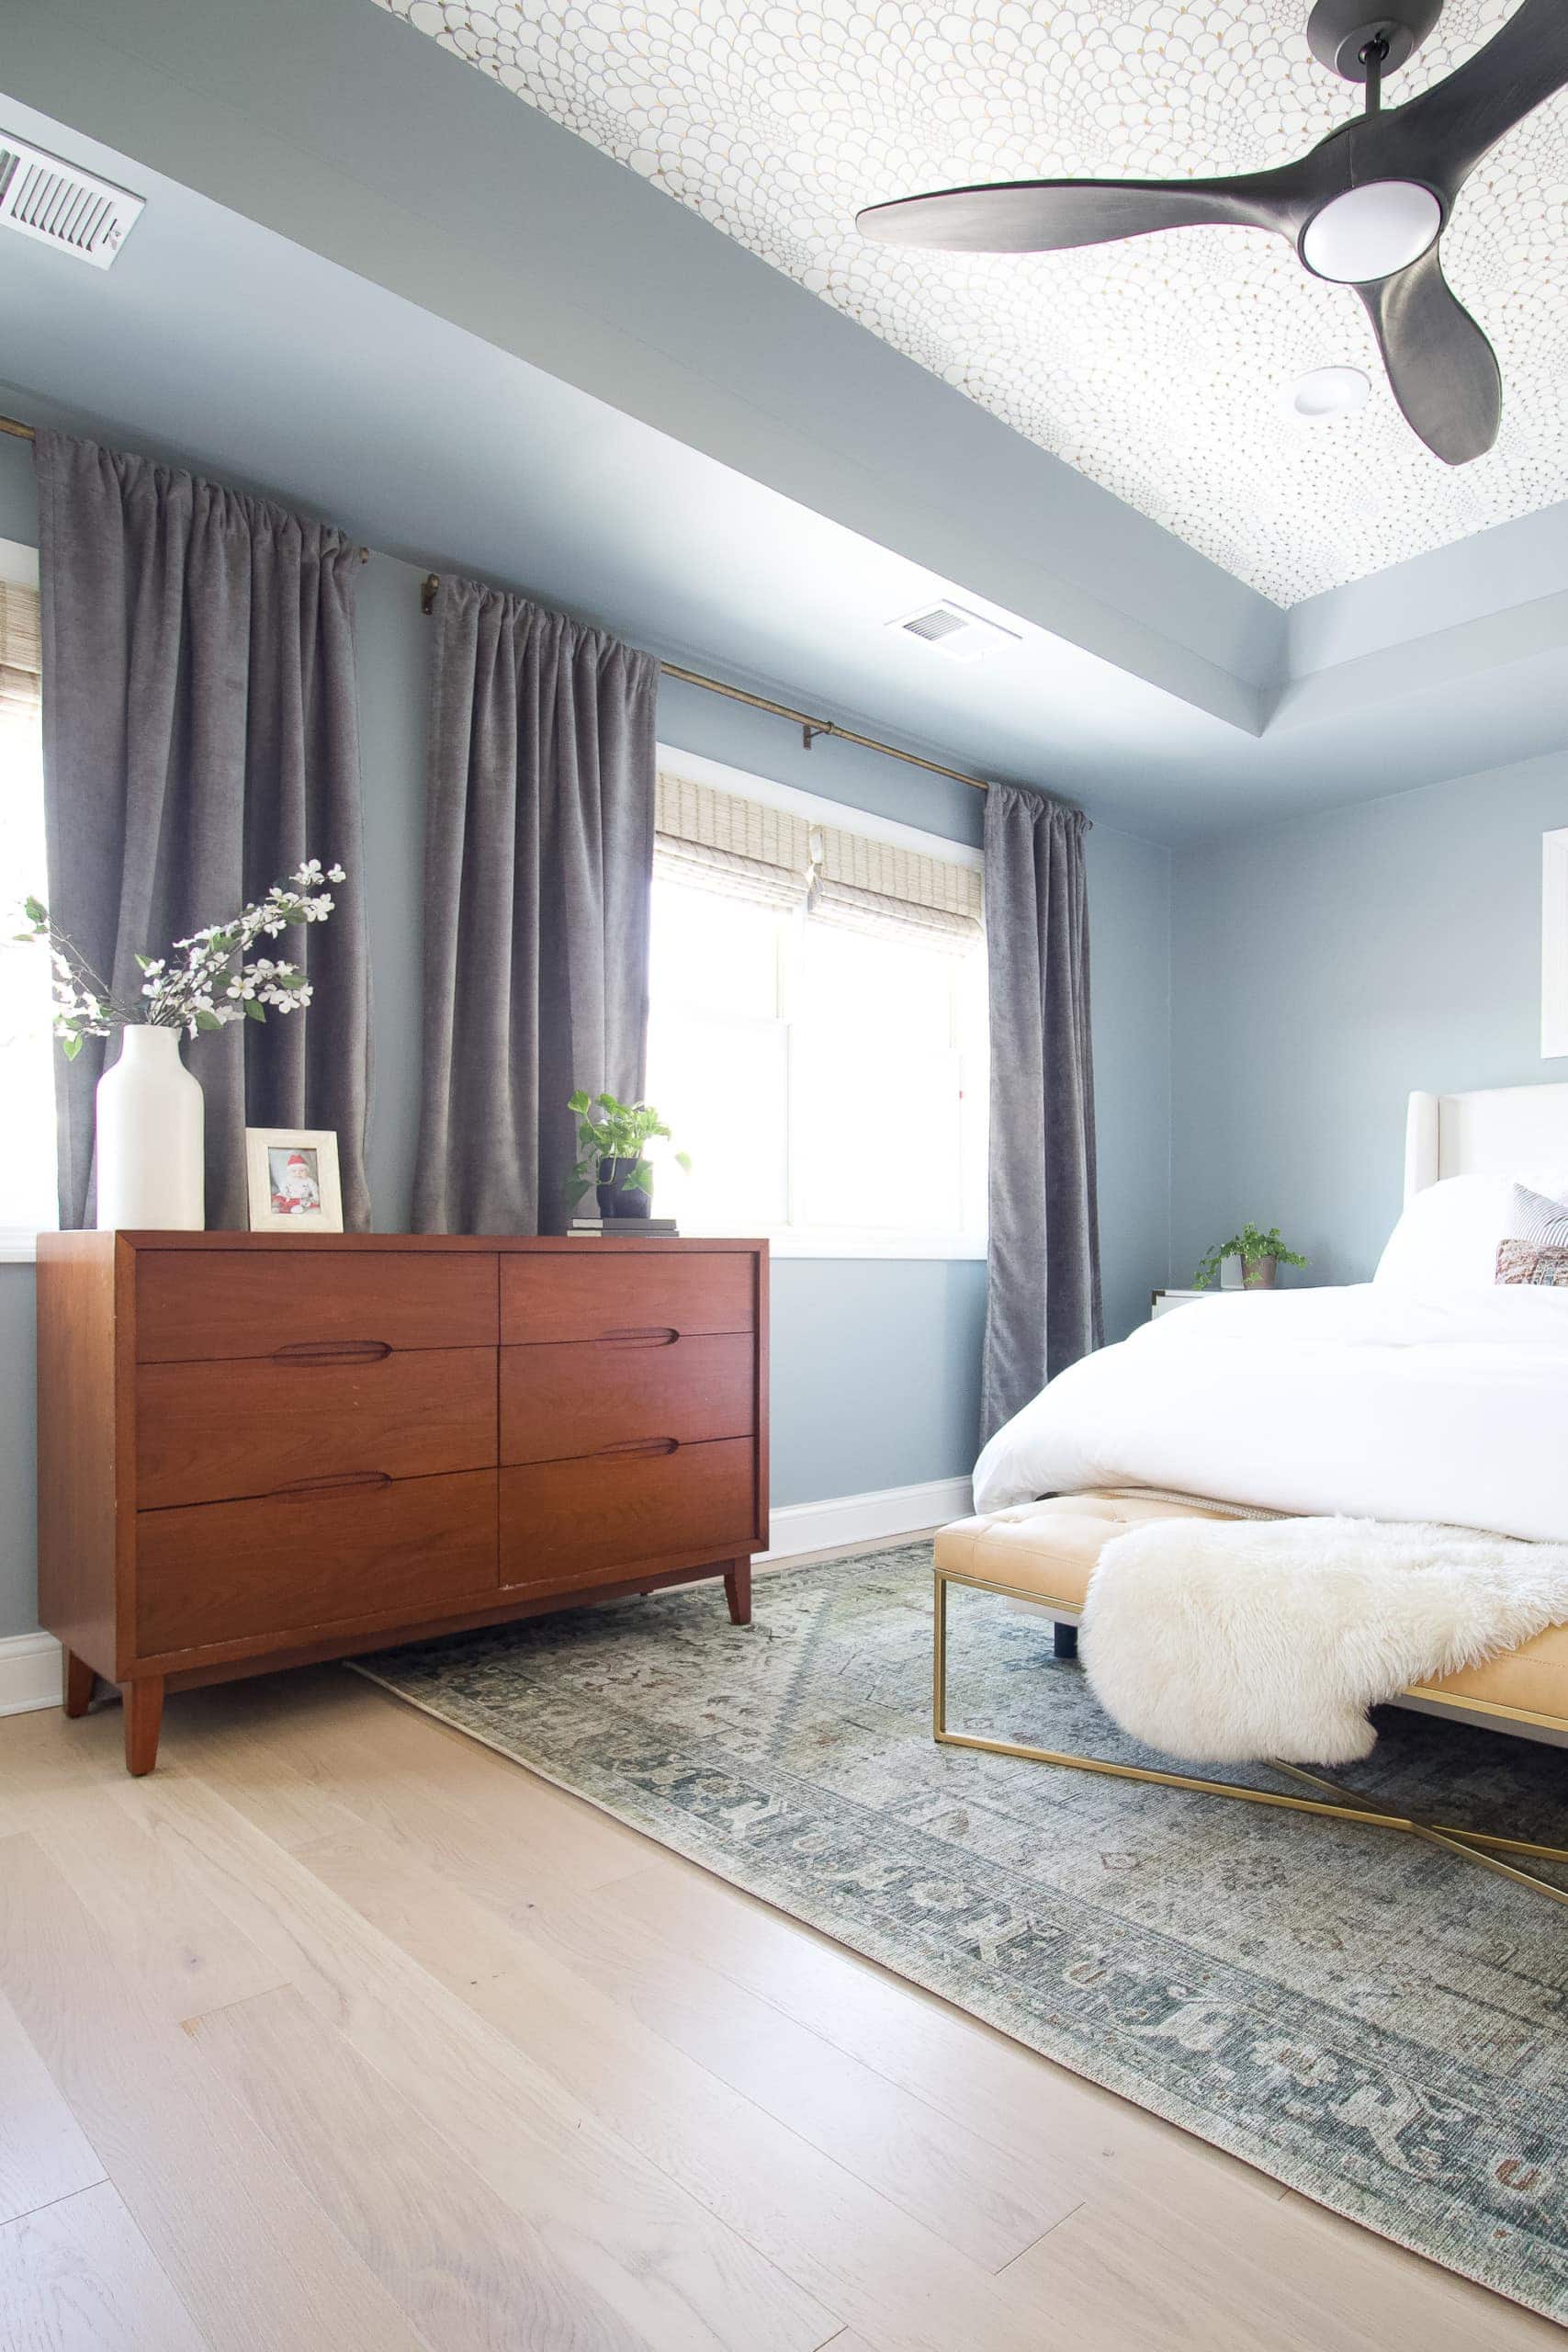
You’ll also notice that the dresser is now on the other side of the room. Once we put our king bed in place, the dresser just felt too squished in there. We will have new smaller nightstands eventually – they come in April – but even with smaller nightstands, the space still felt too tight on that side of the room.
Finn and I moved the dresser near the windows and I was kinda blown away by how much I liked it. I thought I would hate it! We lived with it for a few days without curtains while I waited for my Rub ‘n Buff to arrive to do this project. I kept telling Finn that I didn’t know if the dresser would stay in this spot once the curtains were in place. I thought it might just feel too weird with them behind the dresser.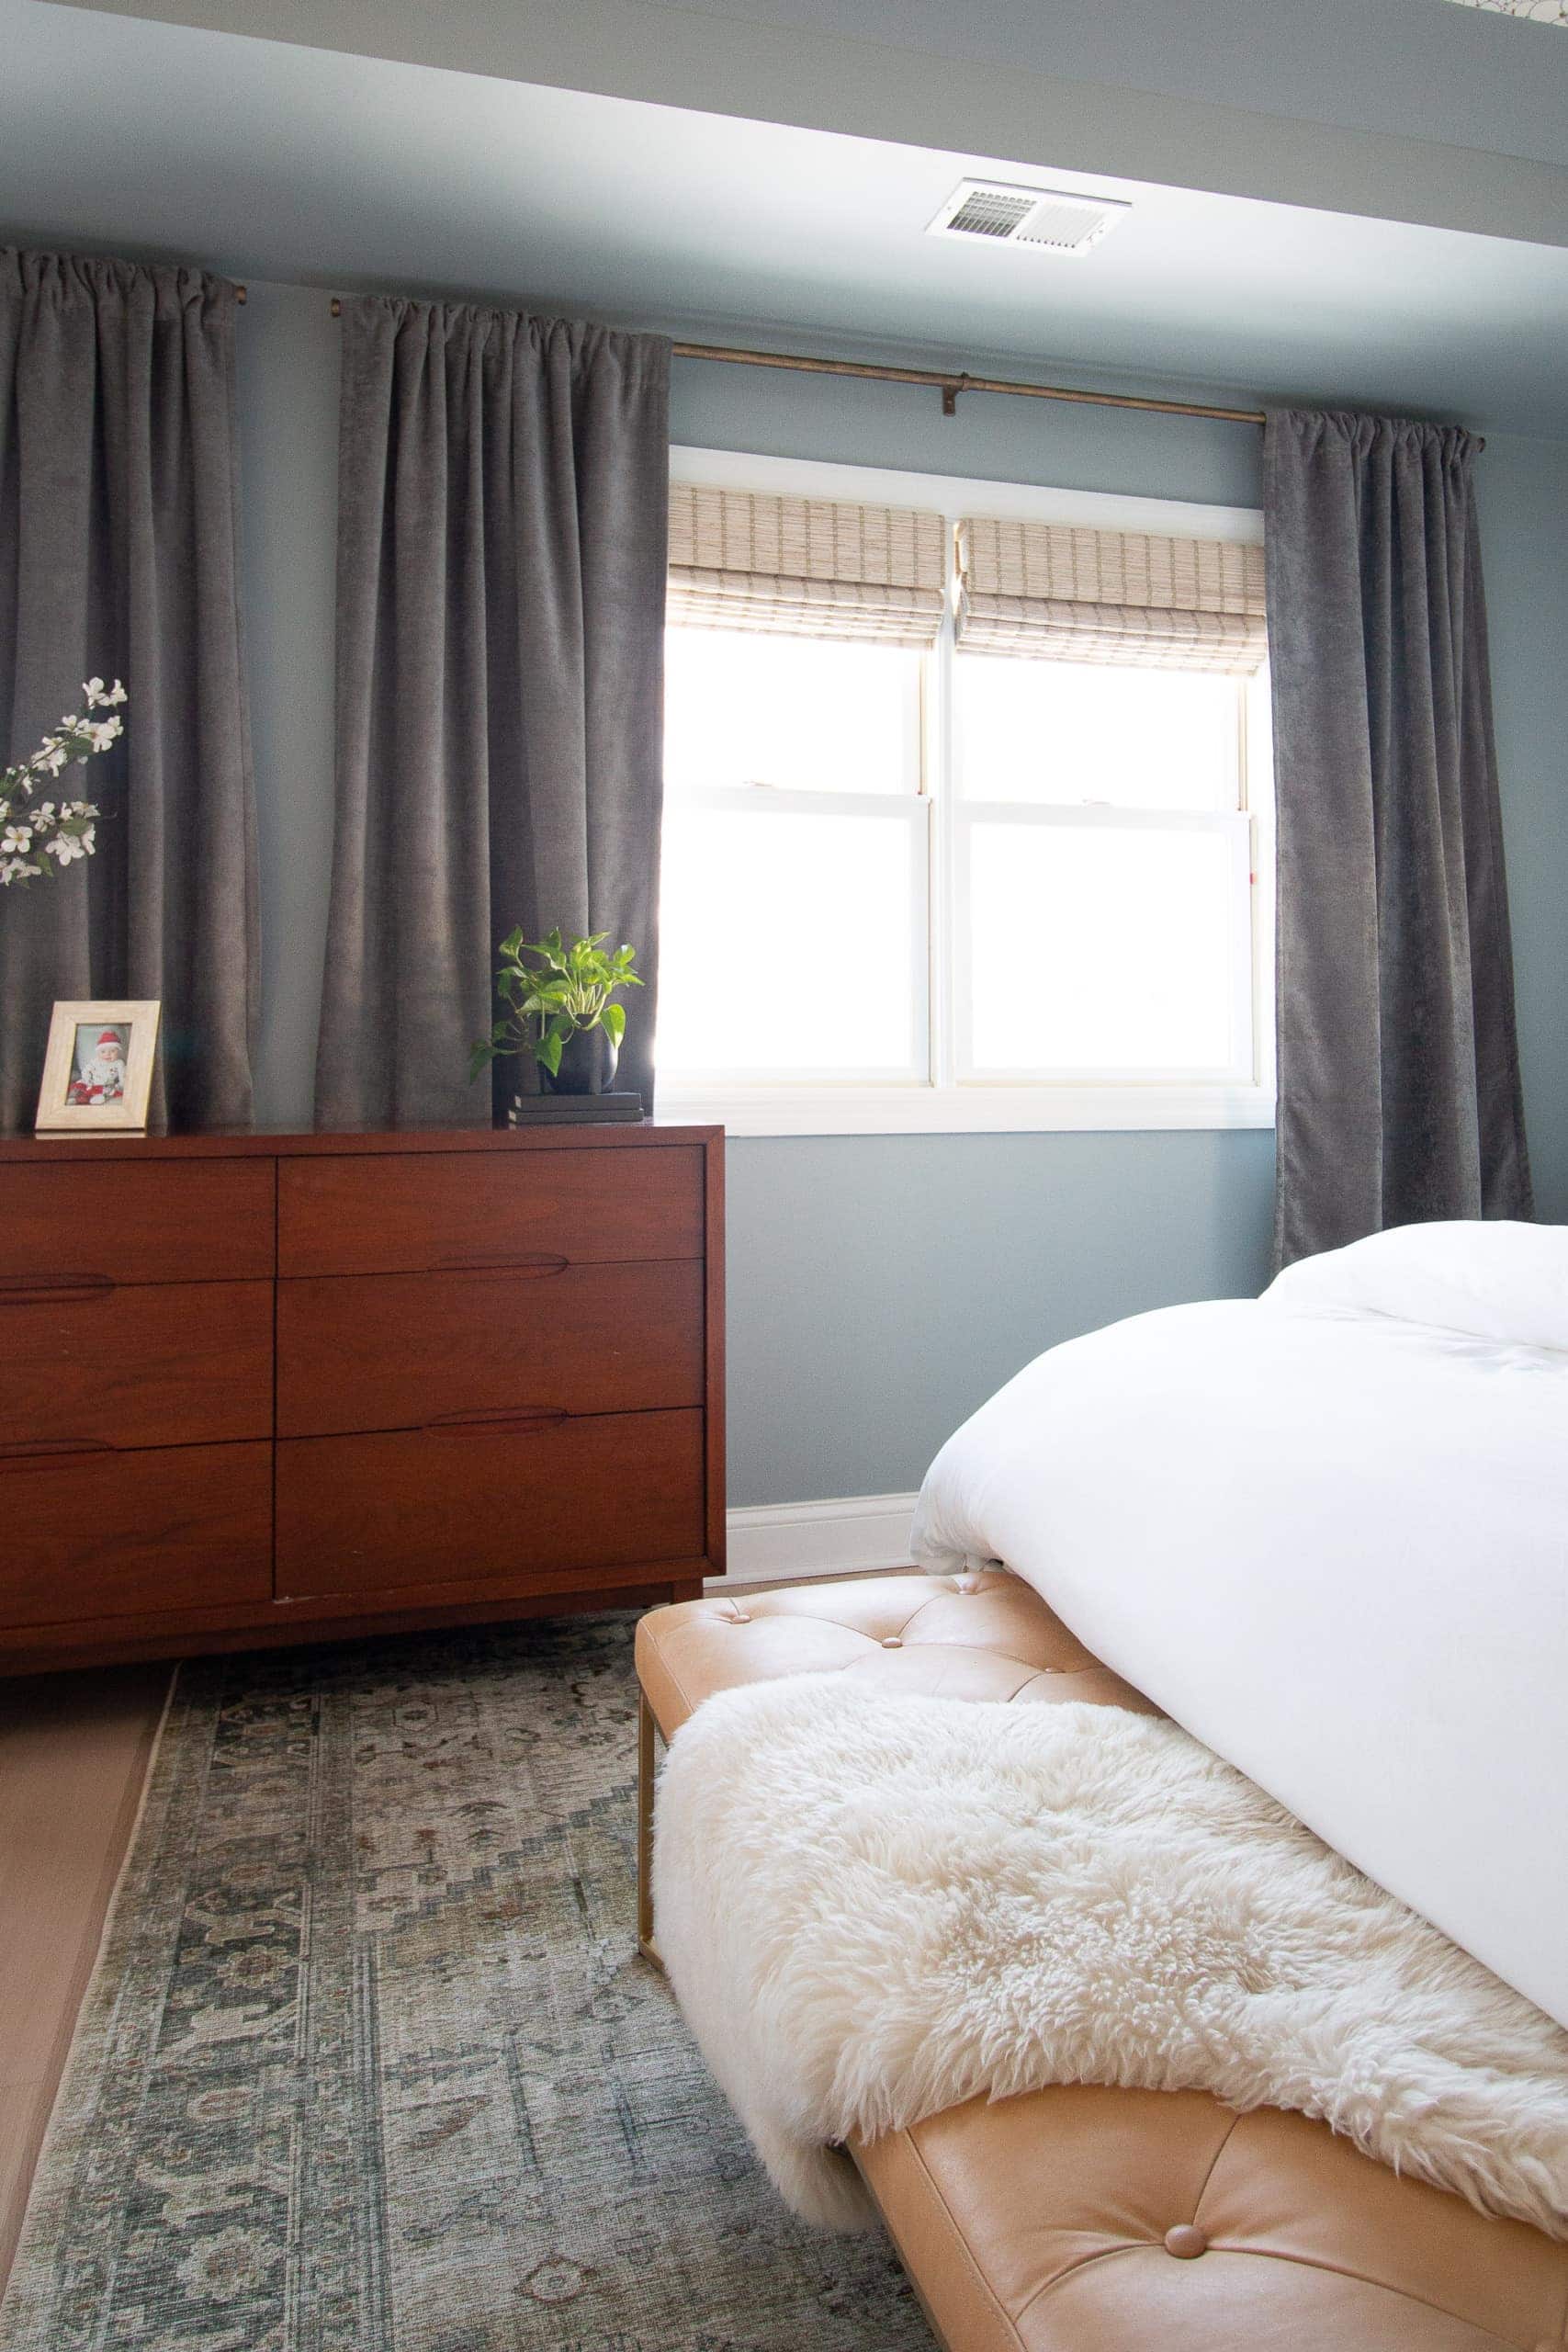
However, once I got these curtains in place, I actually didn’t mind them behind the dresser. The furniture is pulled an inch or two away from the wall, so I’m still easily able to close the curtains at night. I never in a million years thought that this layout would work in this room, so I’m pleasantly surprised and very happy with the new layout. 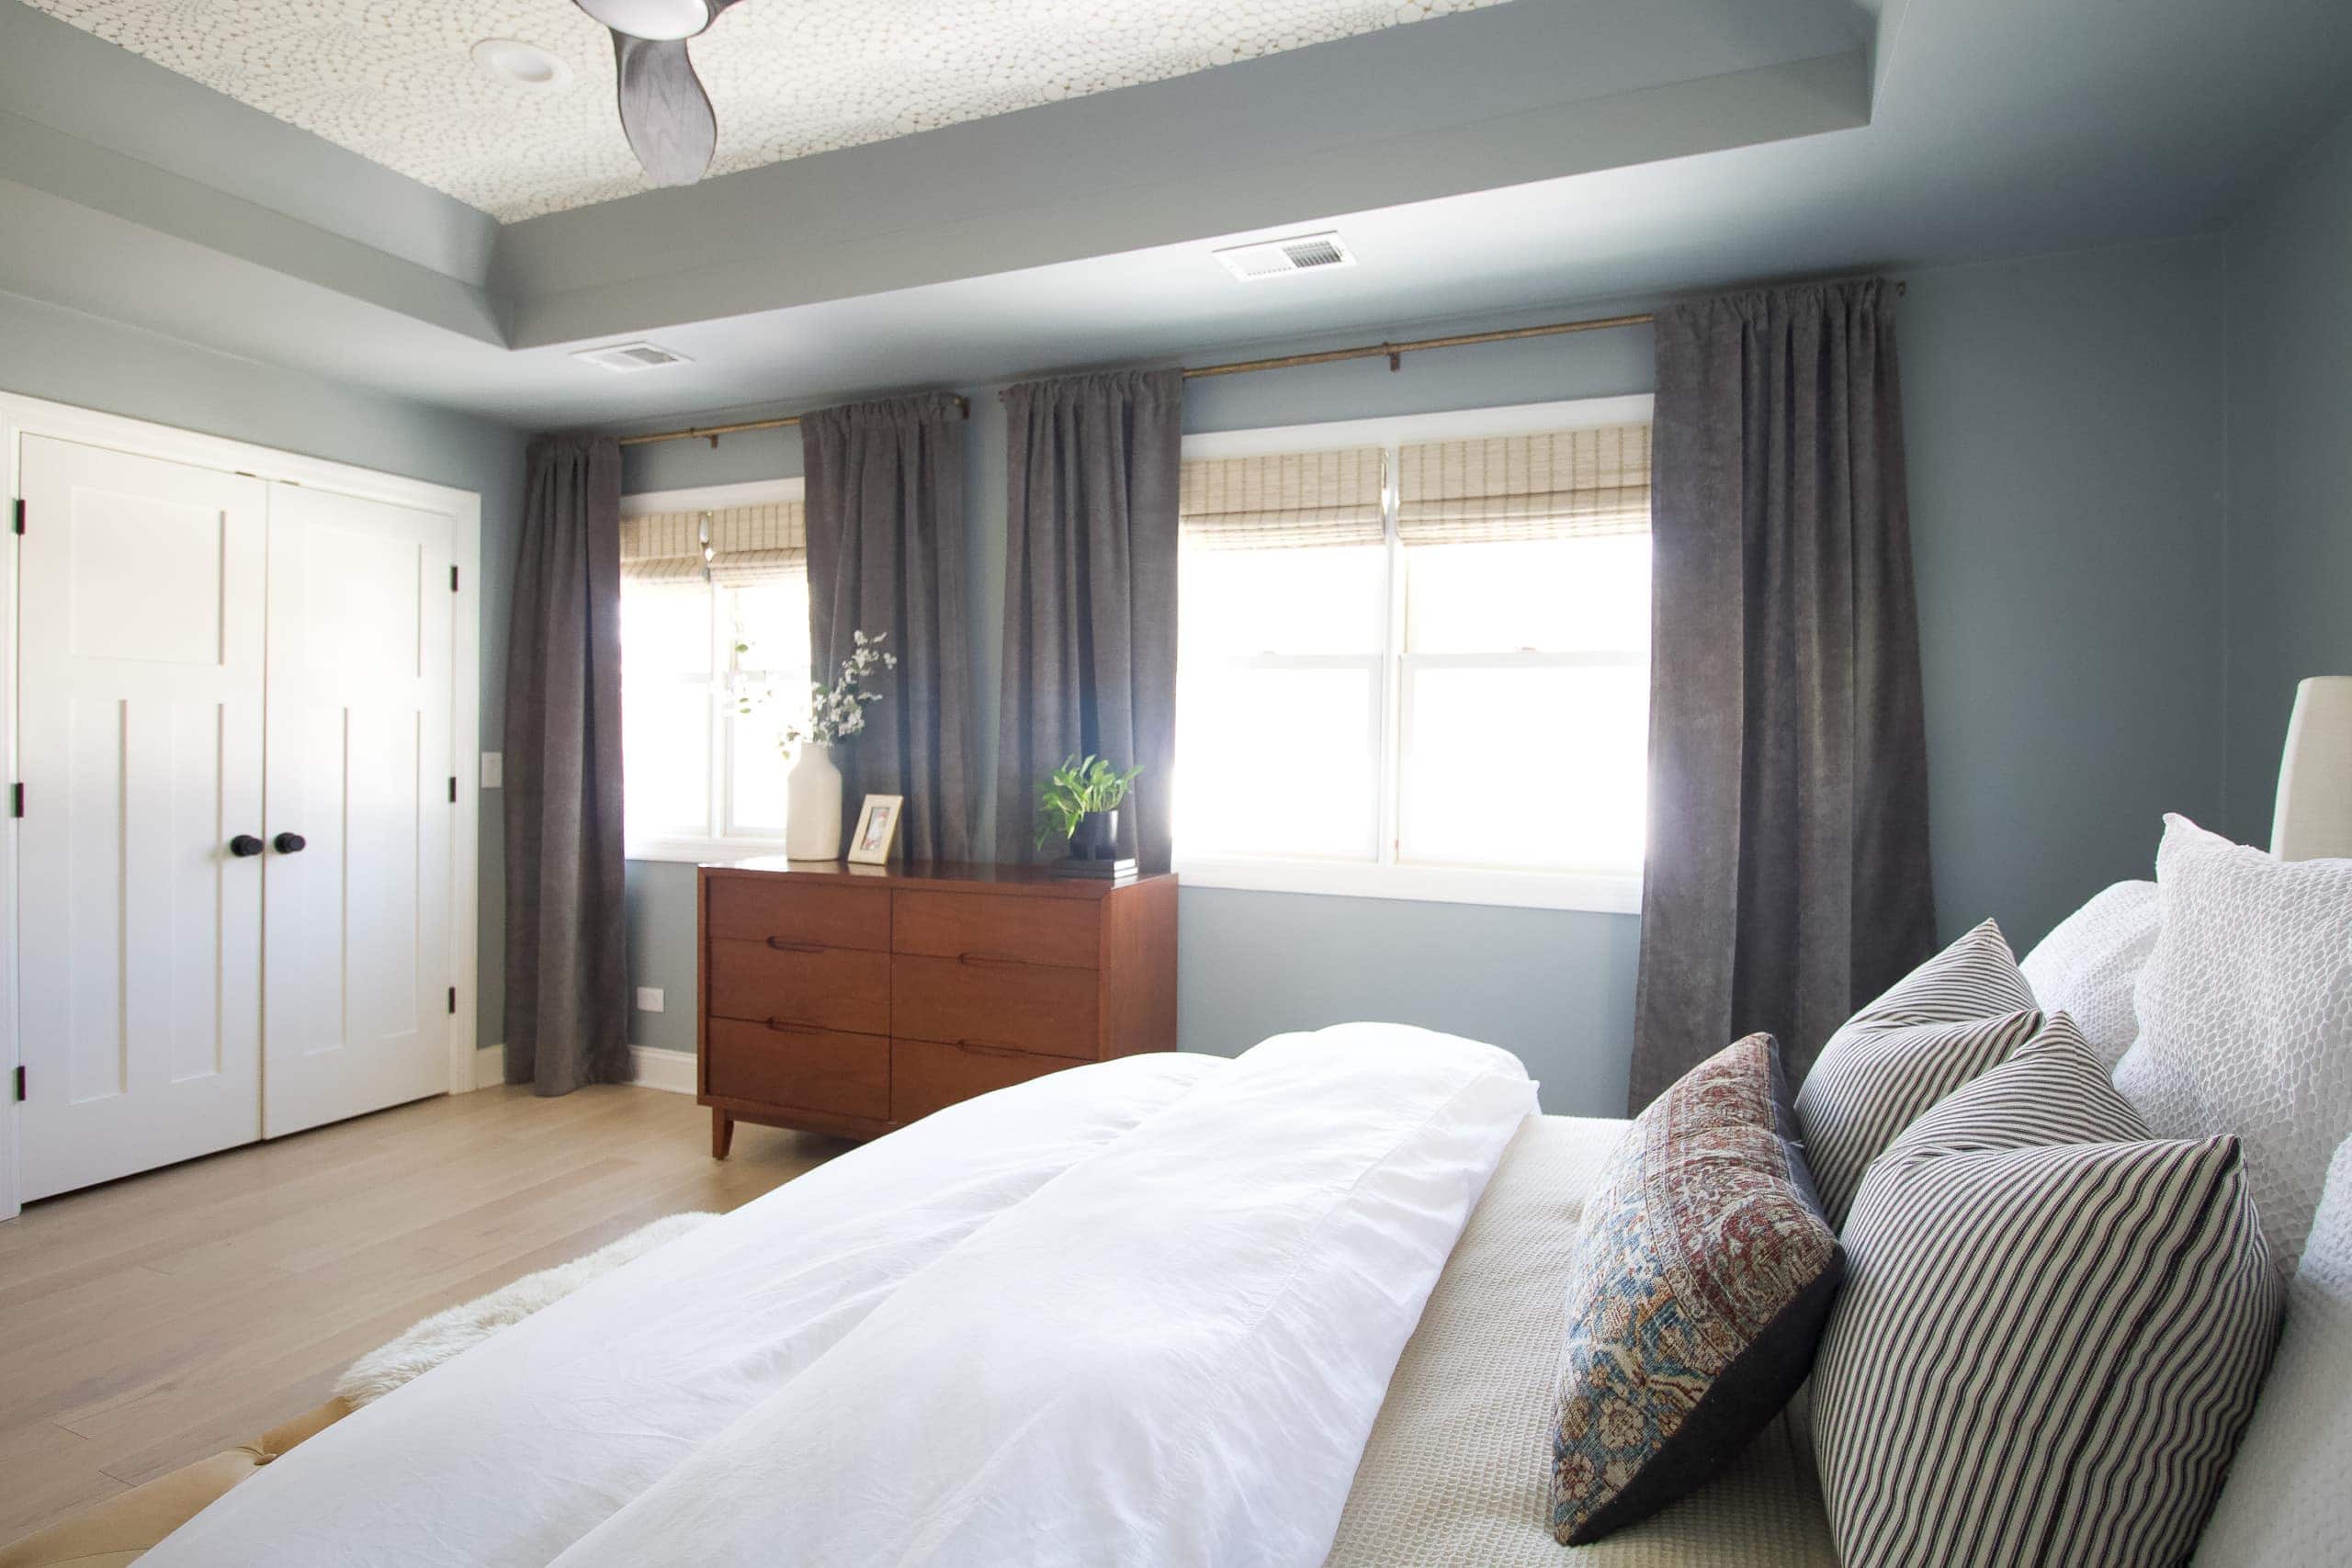 Plus, I feel like it helped my conundrum of the one side of the room feeling full and the other side feeling empty. I’m digging it.
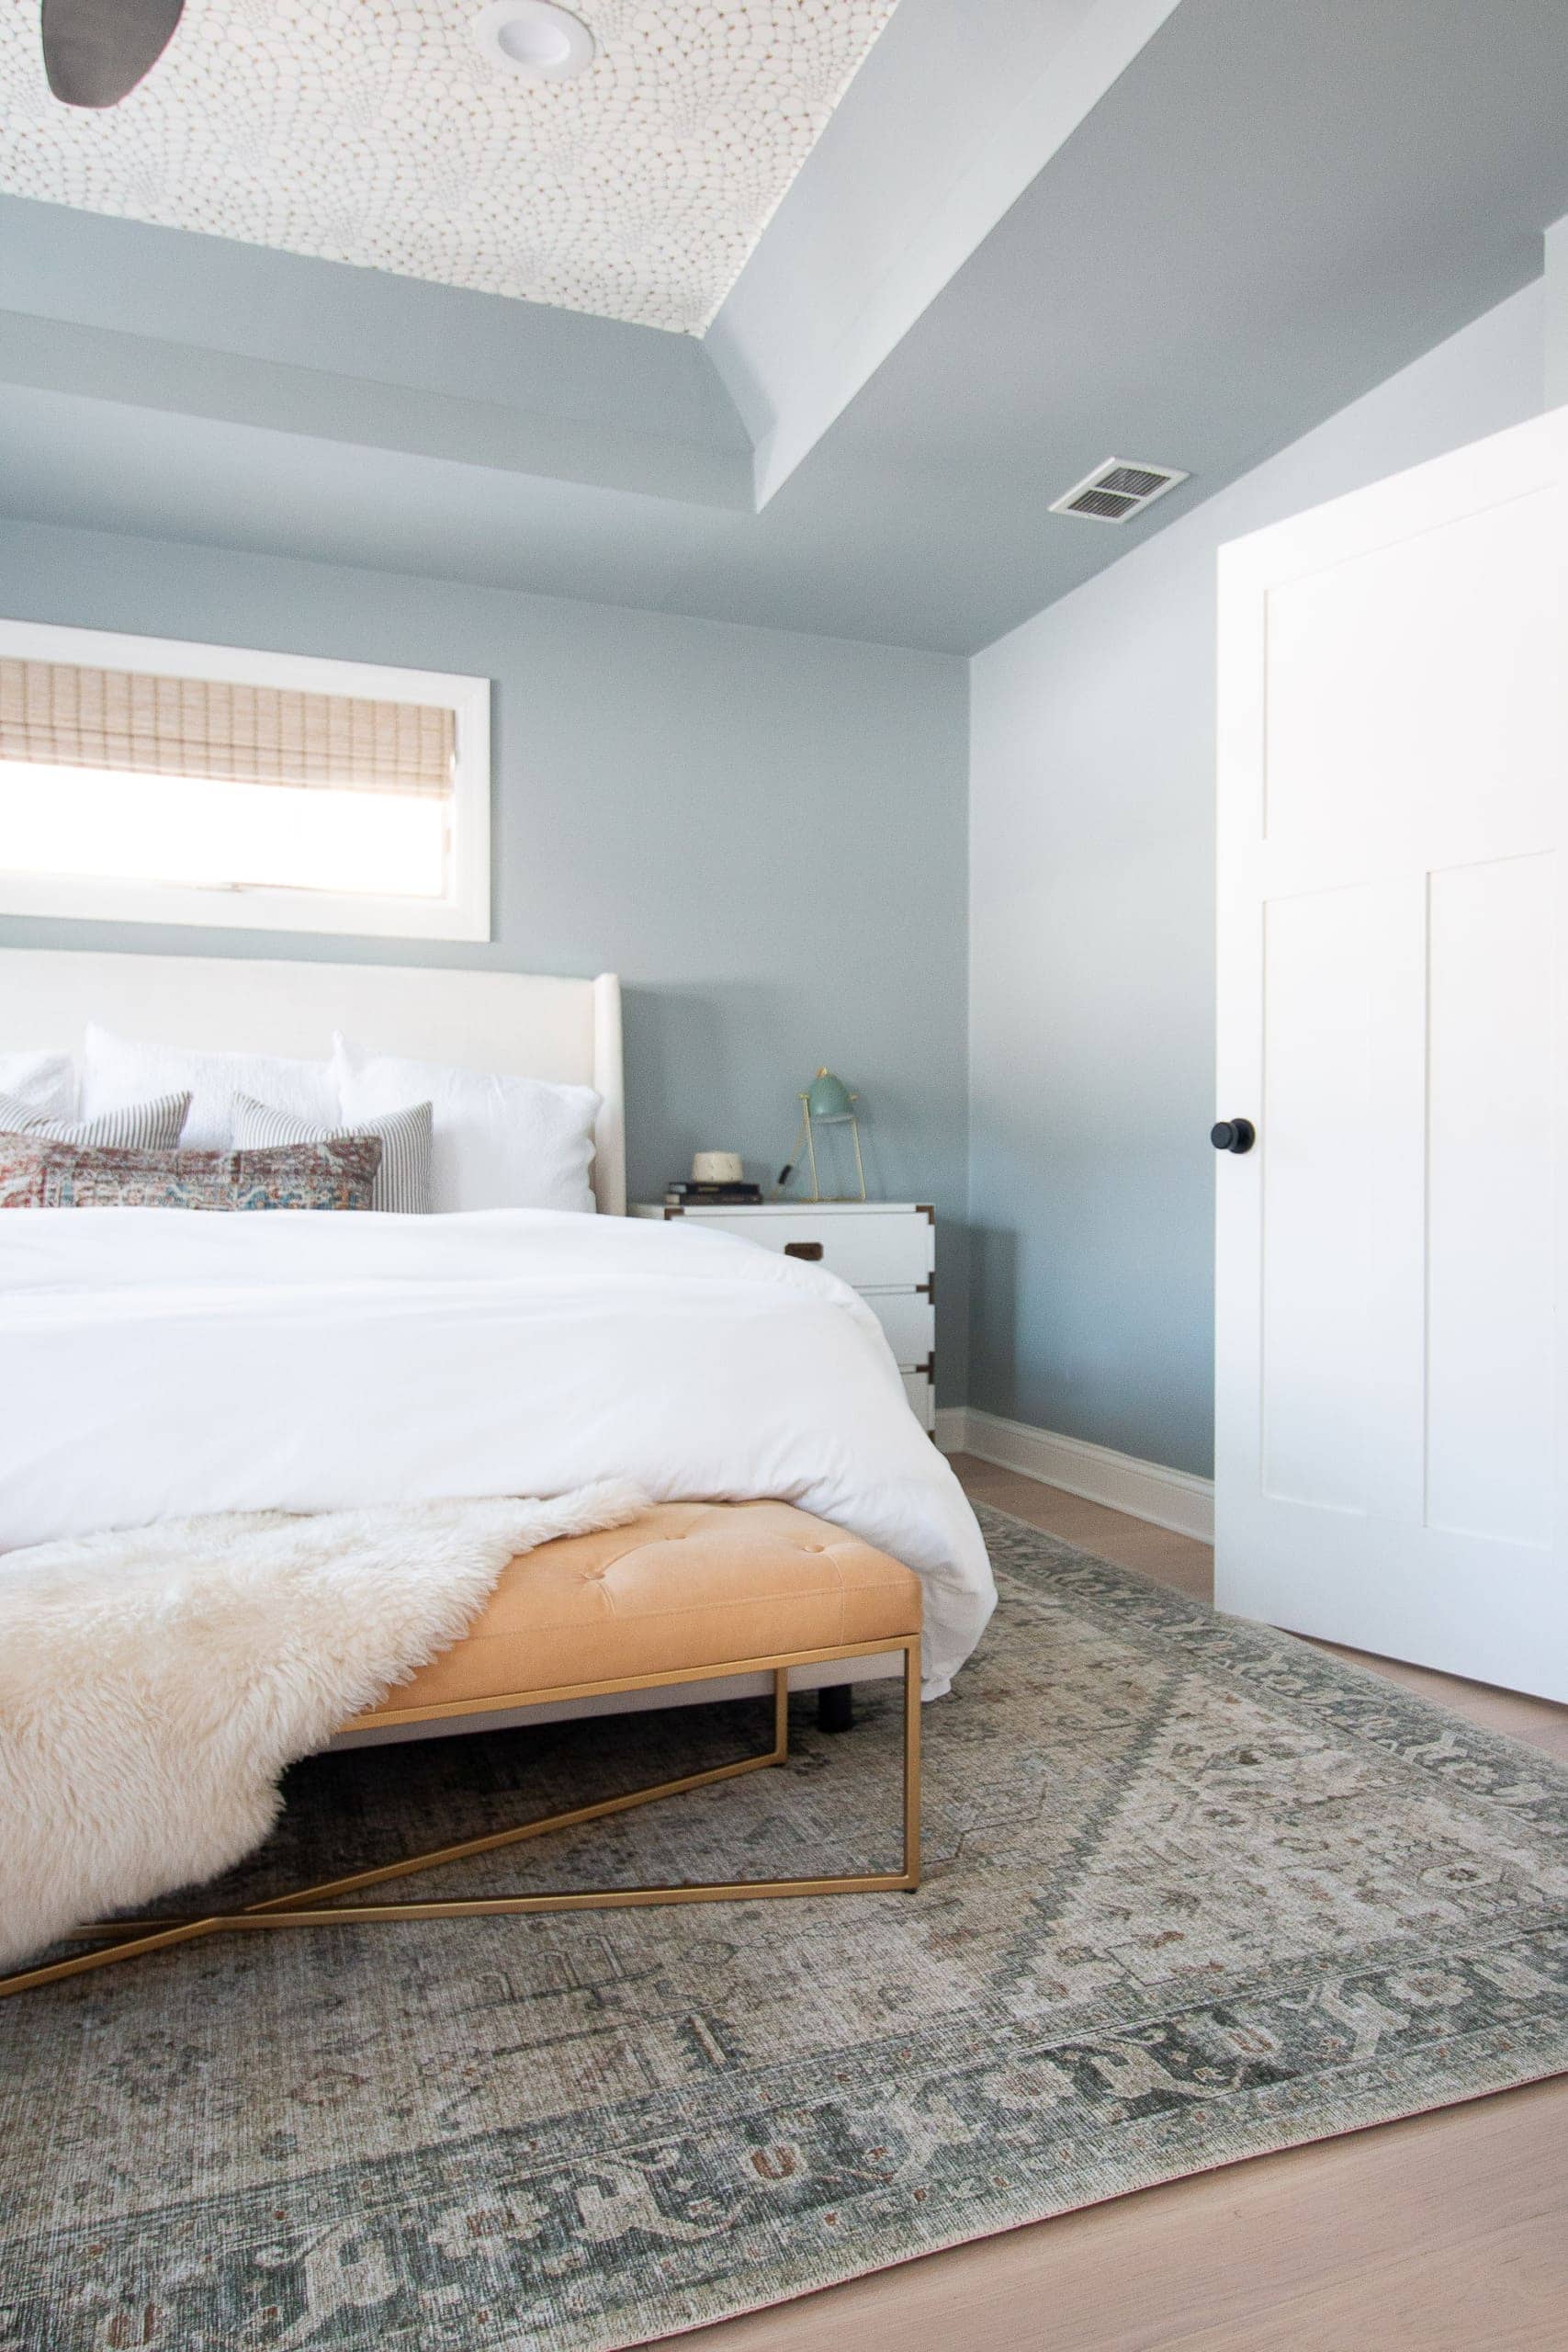
But, I still have to figure out the Frame TV that has been sitting in our basement since Black Friday. It was originally going to go over the dresser on the wall, but now it will just go on the wall by itself, so we have to figure out a solution to hide the TV box that comes with it. And will the TV look strange just hanging on a bare wall? Maybe I could do a gallery wall around it? I still have lots to figure out in this space, but I’m very excited about the progress we’ve made.
What’s Next?
Wall Color: Benjamin Moore “Boothbay Gray” // Bamboo Shades // Wood Dresser (no longer sold) // Door Knobs // Ceiling Fan // Nightstands (from MegMade) // 9×12 Rug // Cream Bed // Wallpaper // Rug Pad // Mattress // Gray Velvet Curtains // Curtain Rods (with European Gold Rub ‘n Buff) // White Duvet // Sheets // Cream Bed Blanket // Bench (old from Article) // Sheepskin Throw (no longer sold) // Striped Pillows (no longer sold) // Lumbar (custom) // Large White Vase
I’m in a bit of a holding pattern as I wait for the nightstands and sconces to arrive. In the meantime, I’m on the hunt for a new dresser. This one will be heading to our guest room, where we need one, so I need to find a replacement. I may take a trip to the Restoration Hardware Outlet since I had a lot of luck there with our living room TV console.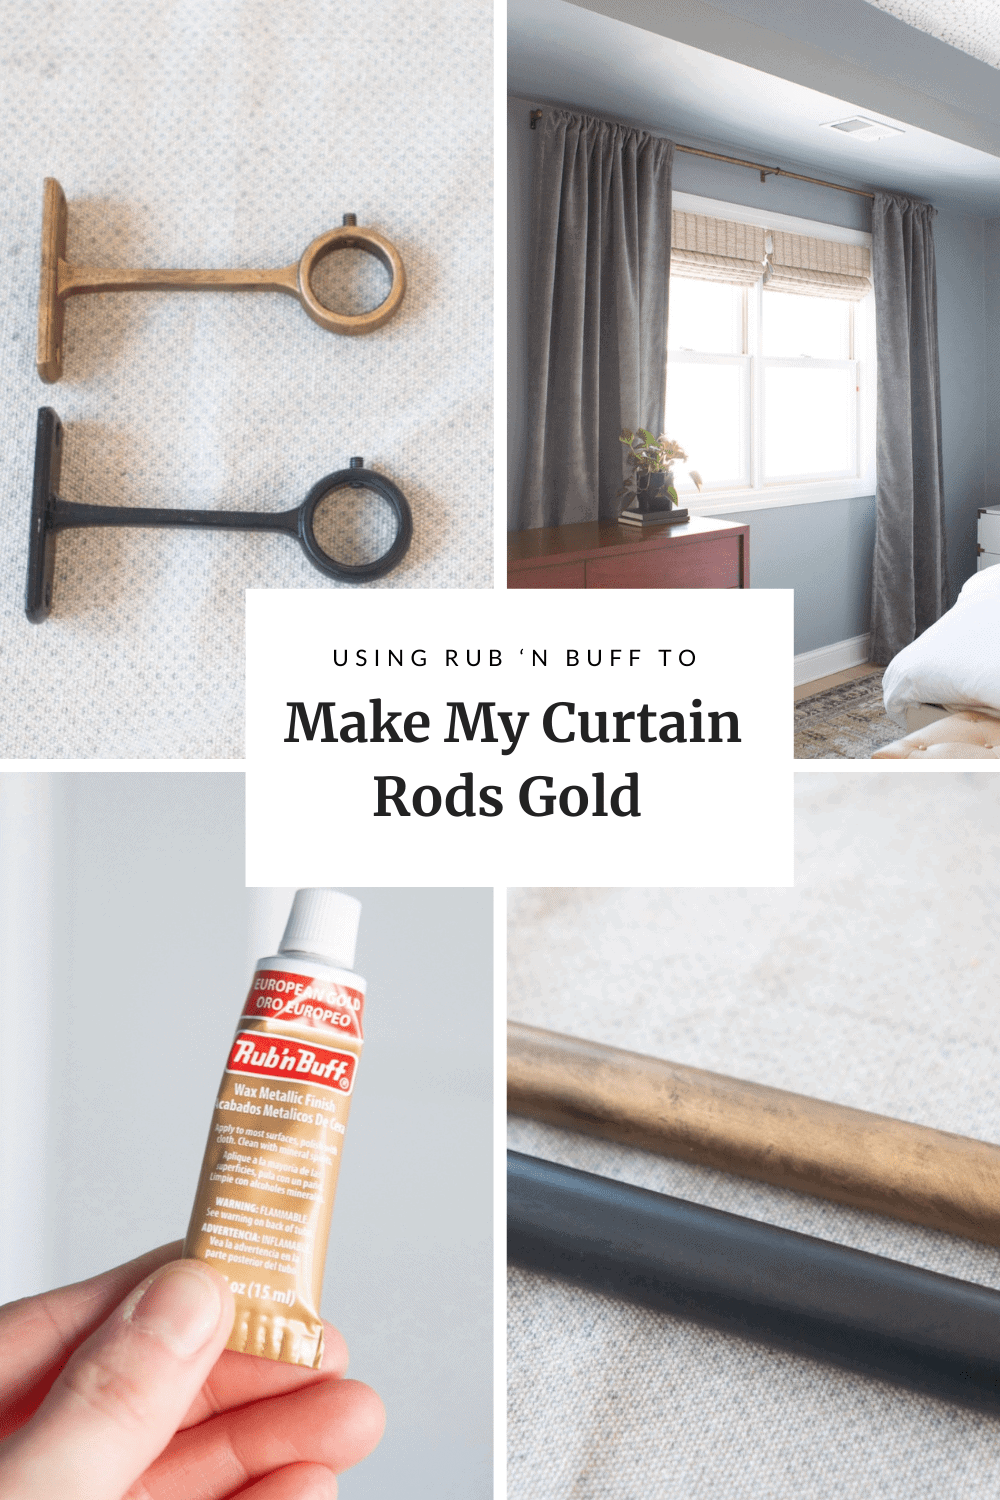
I’ll keep you posted as this room progresses. Baby steps…
Casey