A DIY Guide to Painting a Room From Start to Finish
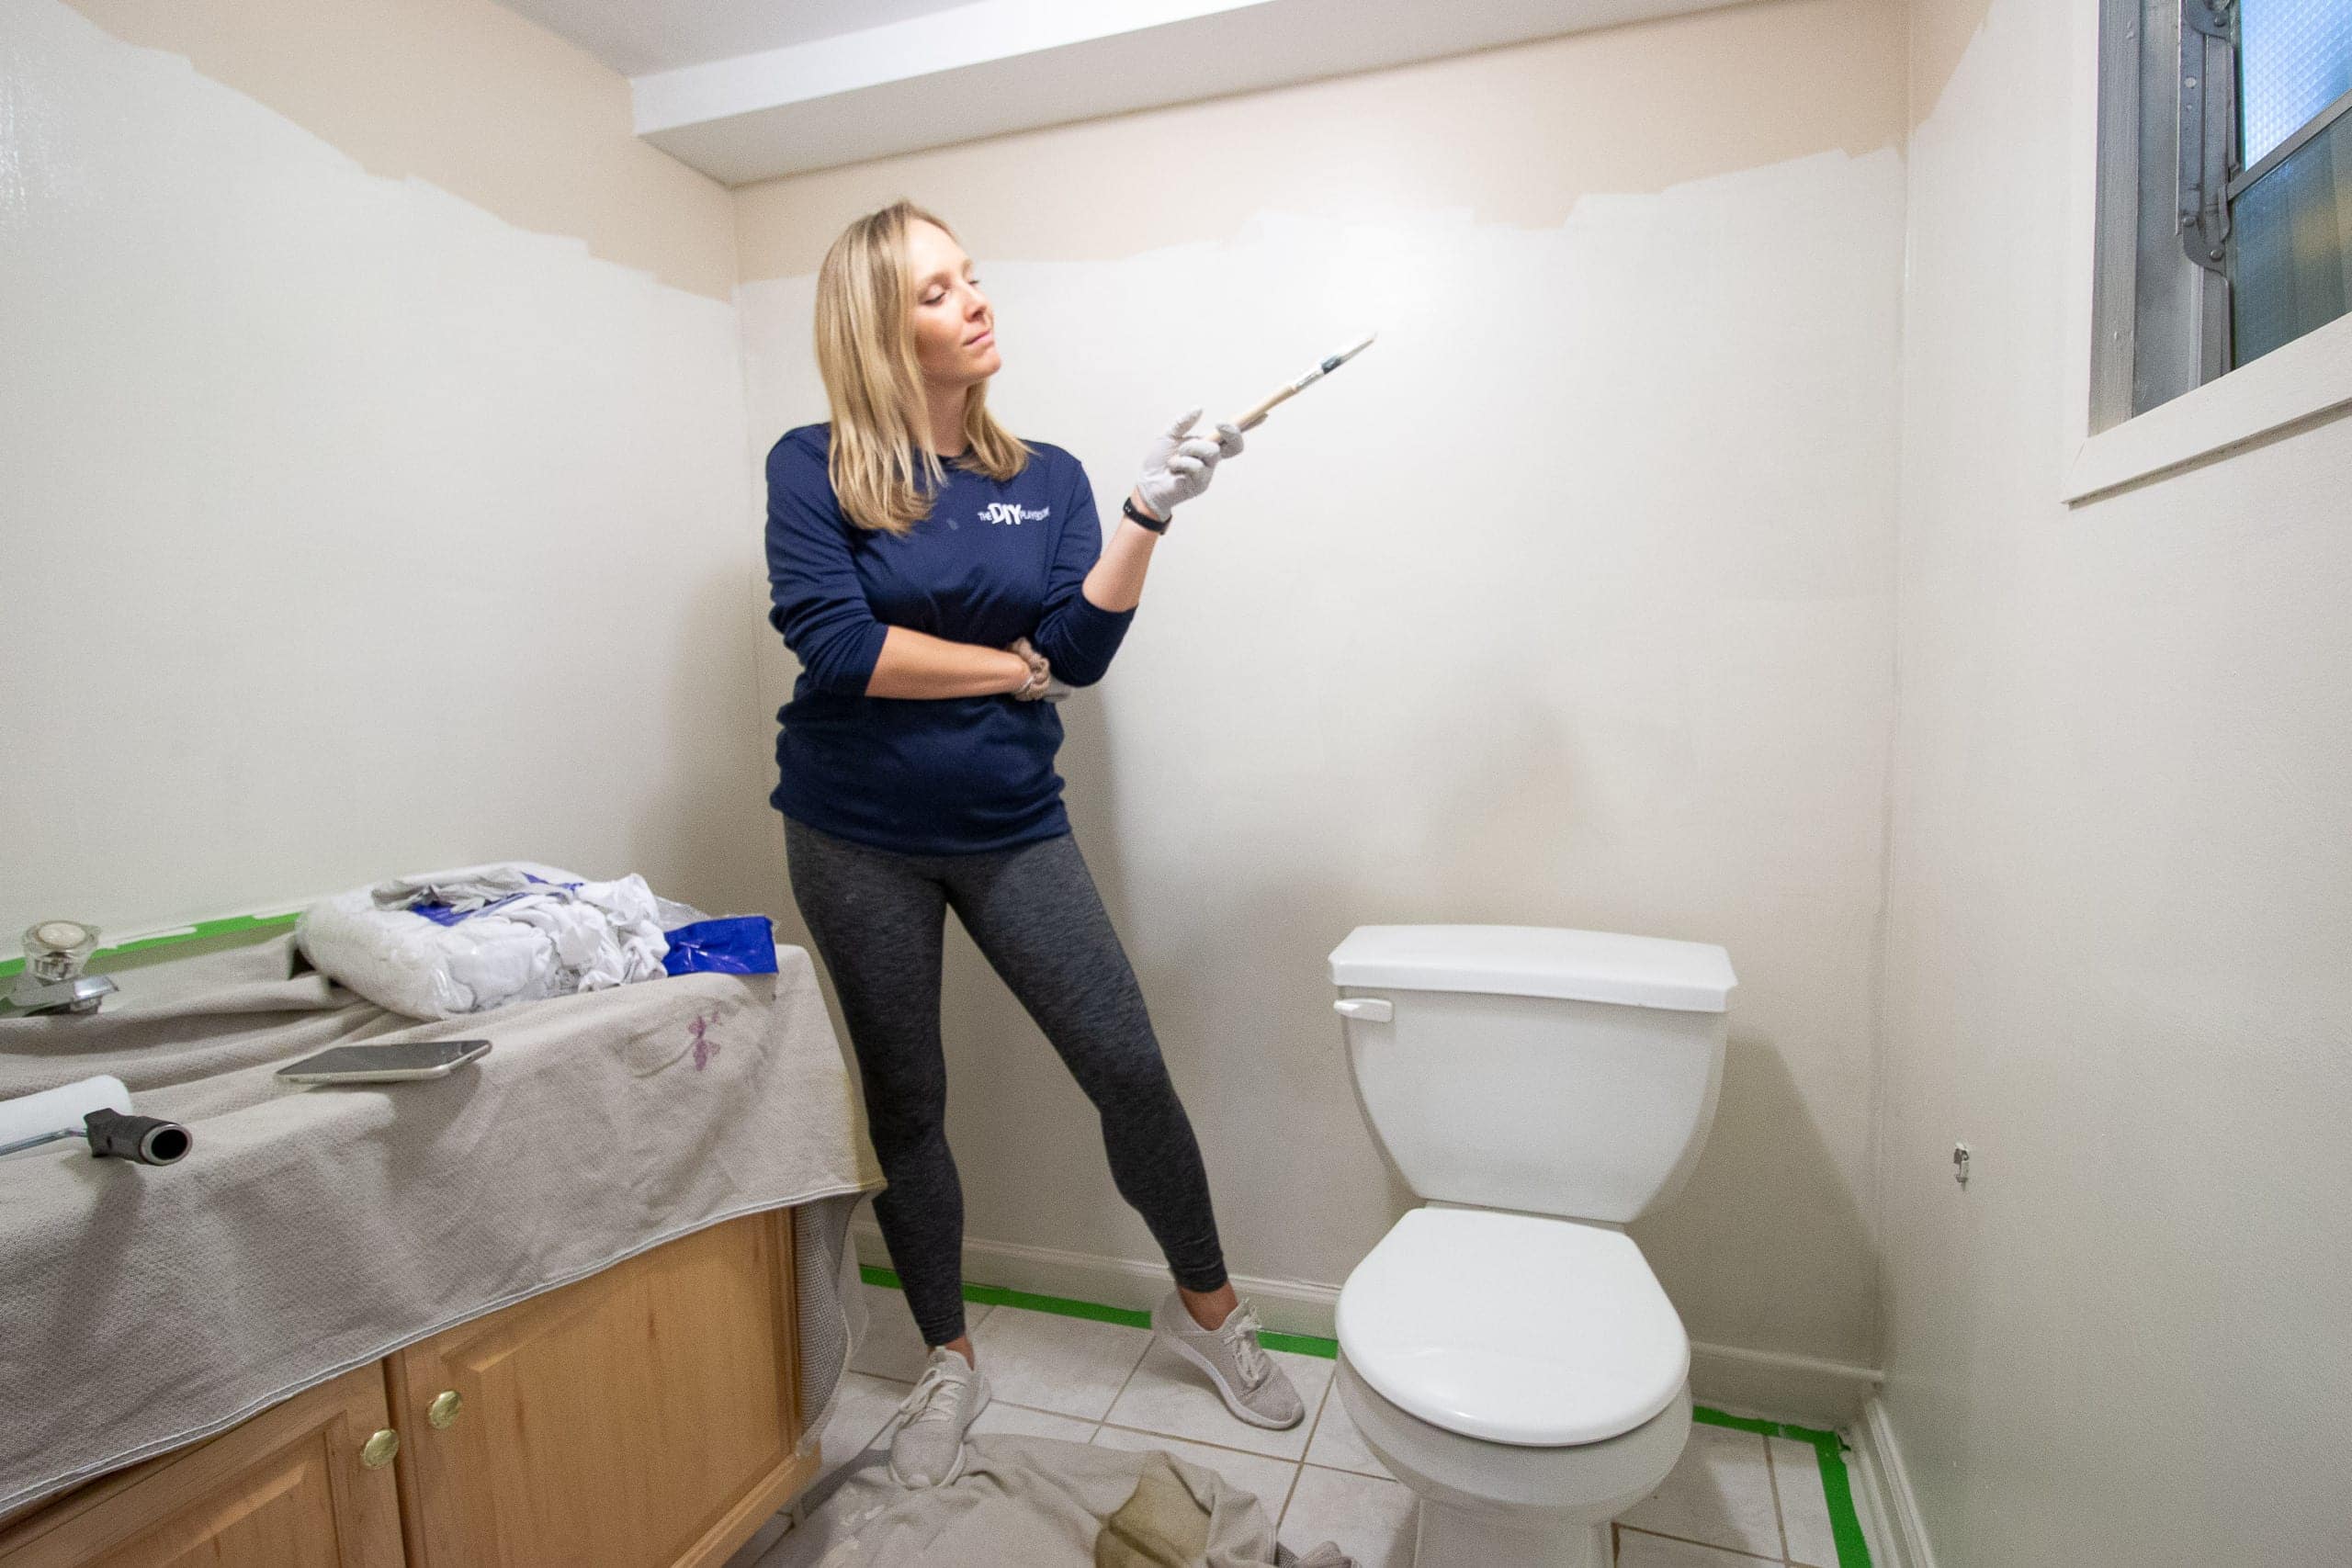
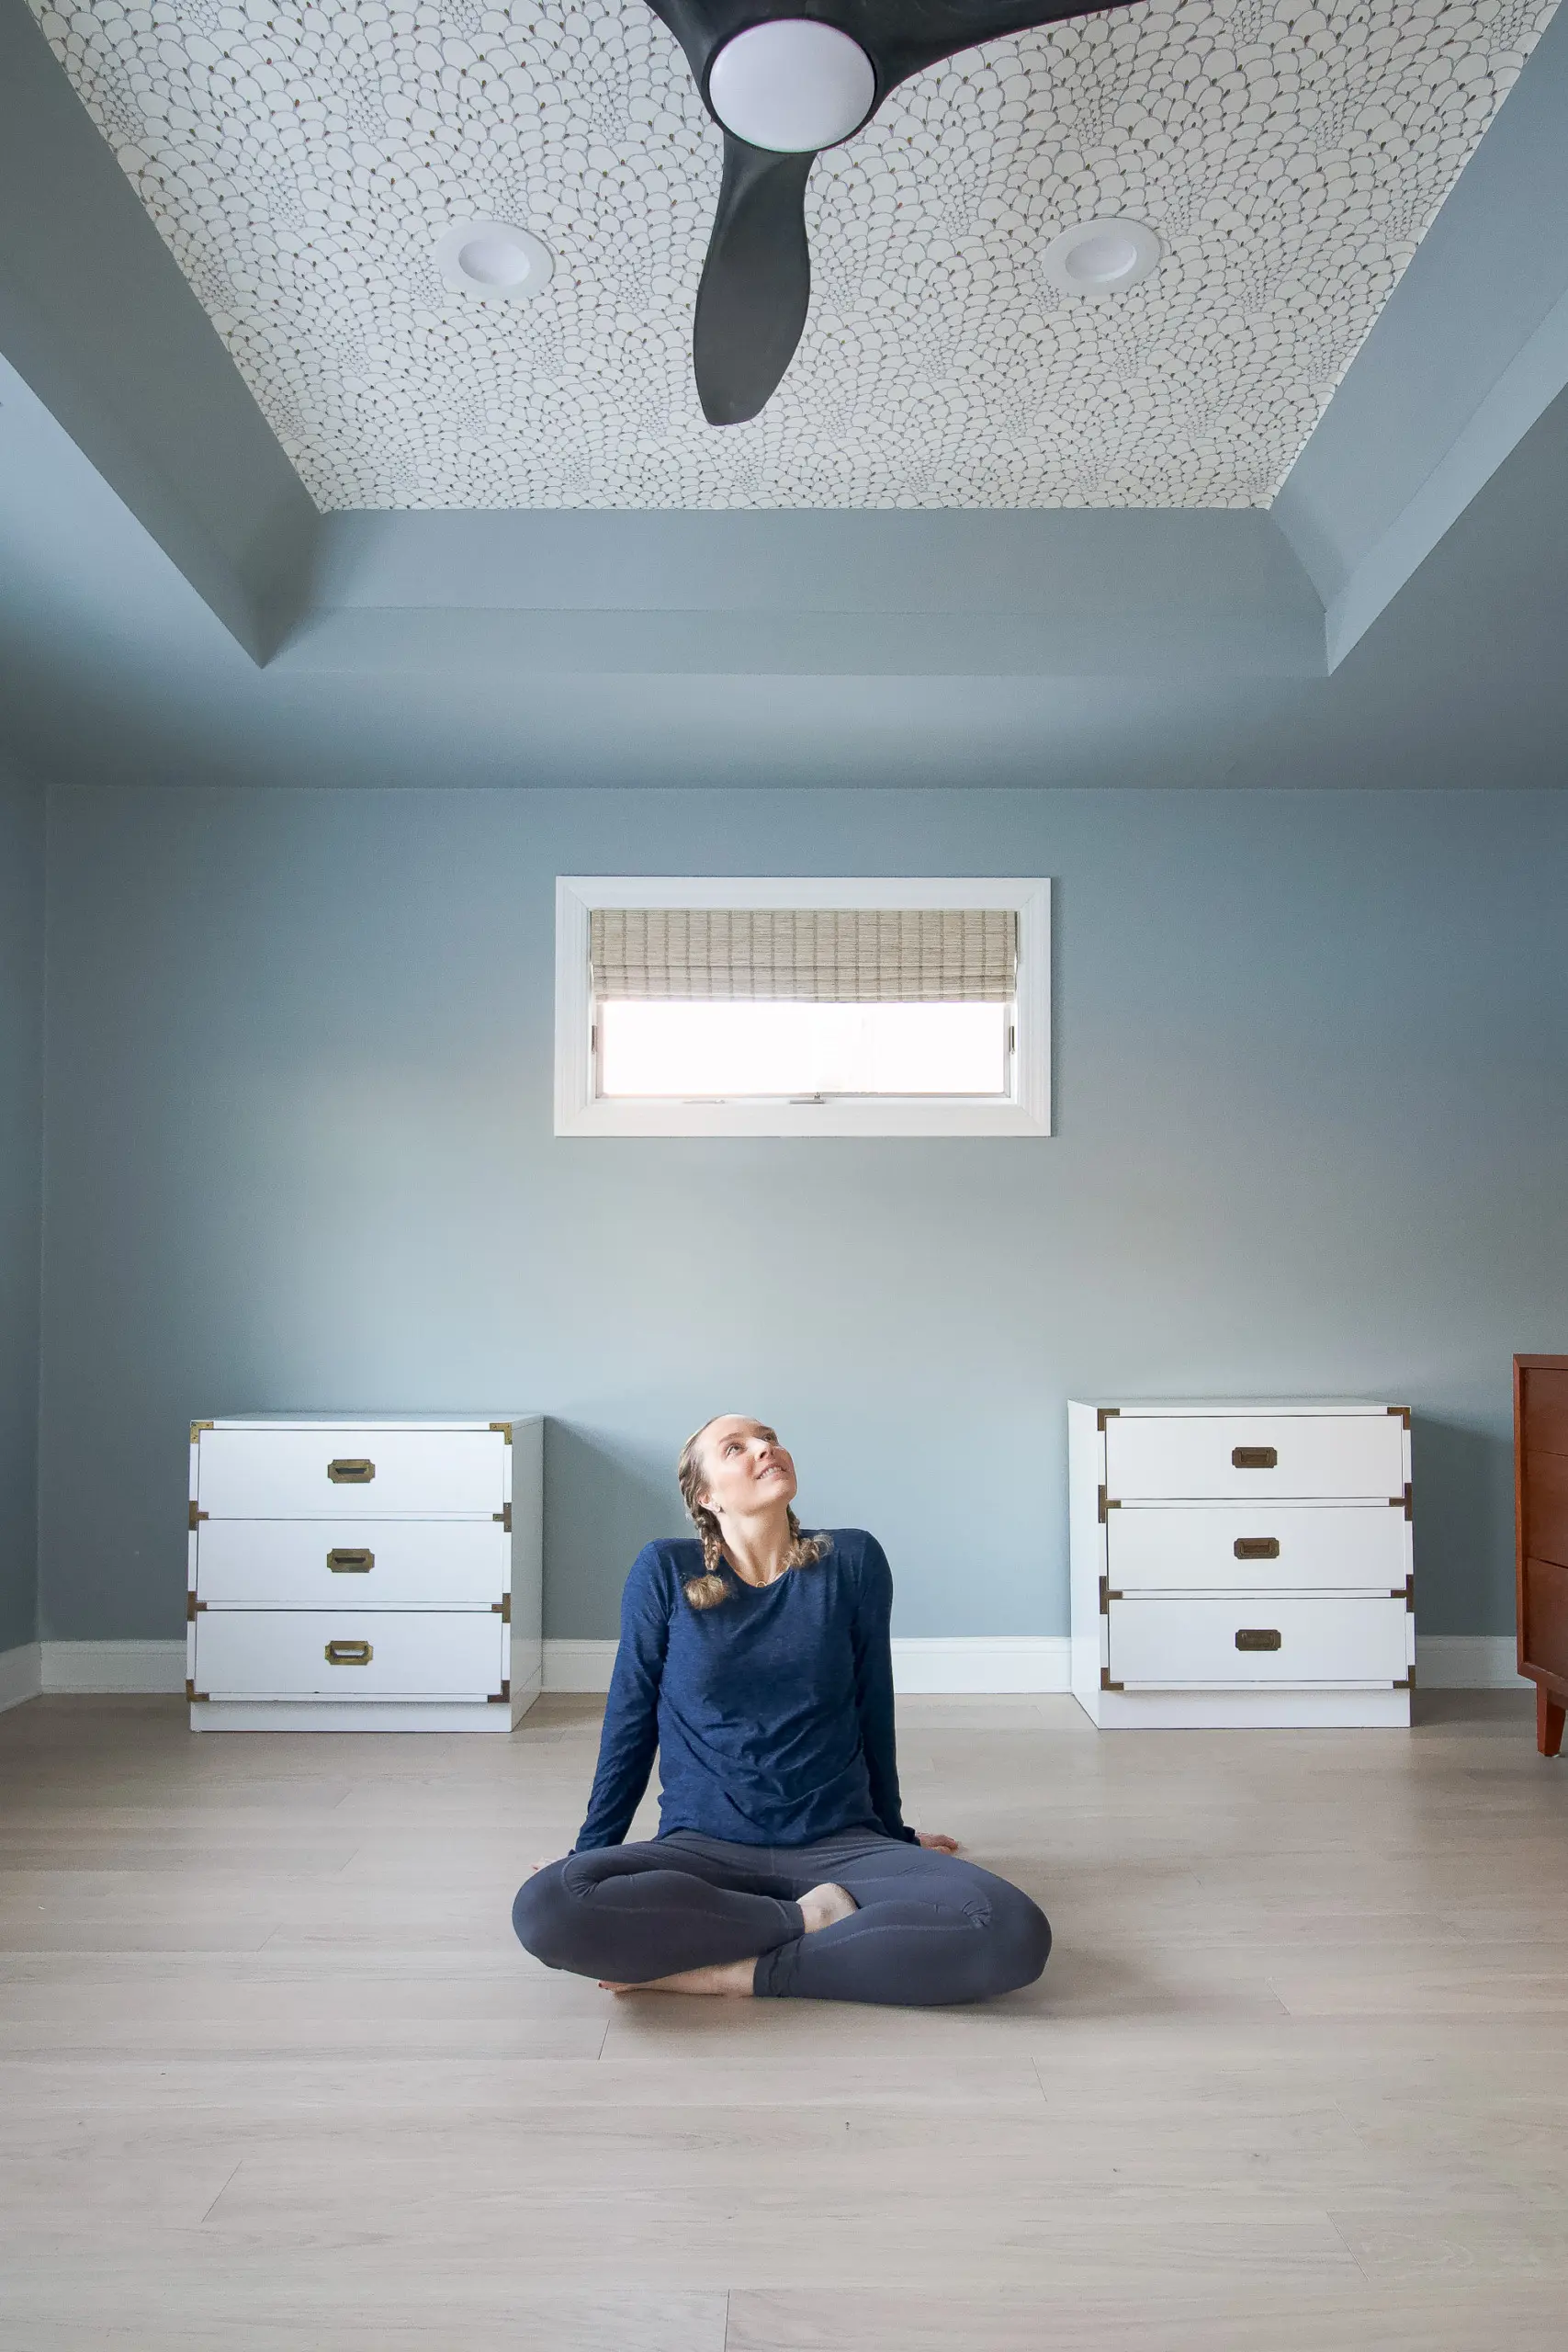
Painting a room is one of the best ways to get (almost) instant gratification! I’m telling you, after a fresh coat of paint, there’s no denying that feeling (No, it’s not a paint high!), of accomplishment! It feels empowering to be able to transform a room with paint and this is a fantastic project for any DIY-er, including beginners.
It’s also a skill that you can really improve on over time. So, here are my tips and tricks for how to paint a room like a pro. Now, think about that space – the one you’ve been trying to convince yourself that the color isn’t that bad – and start planning your project.
Paint Supplies
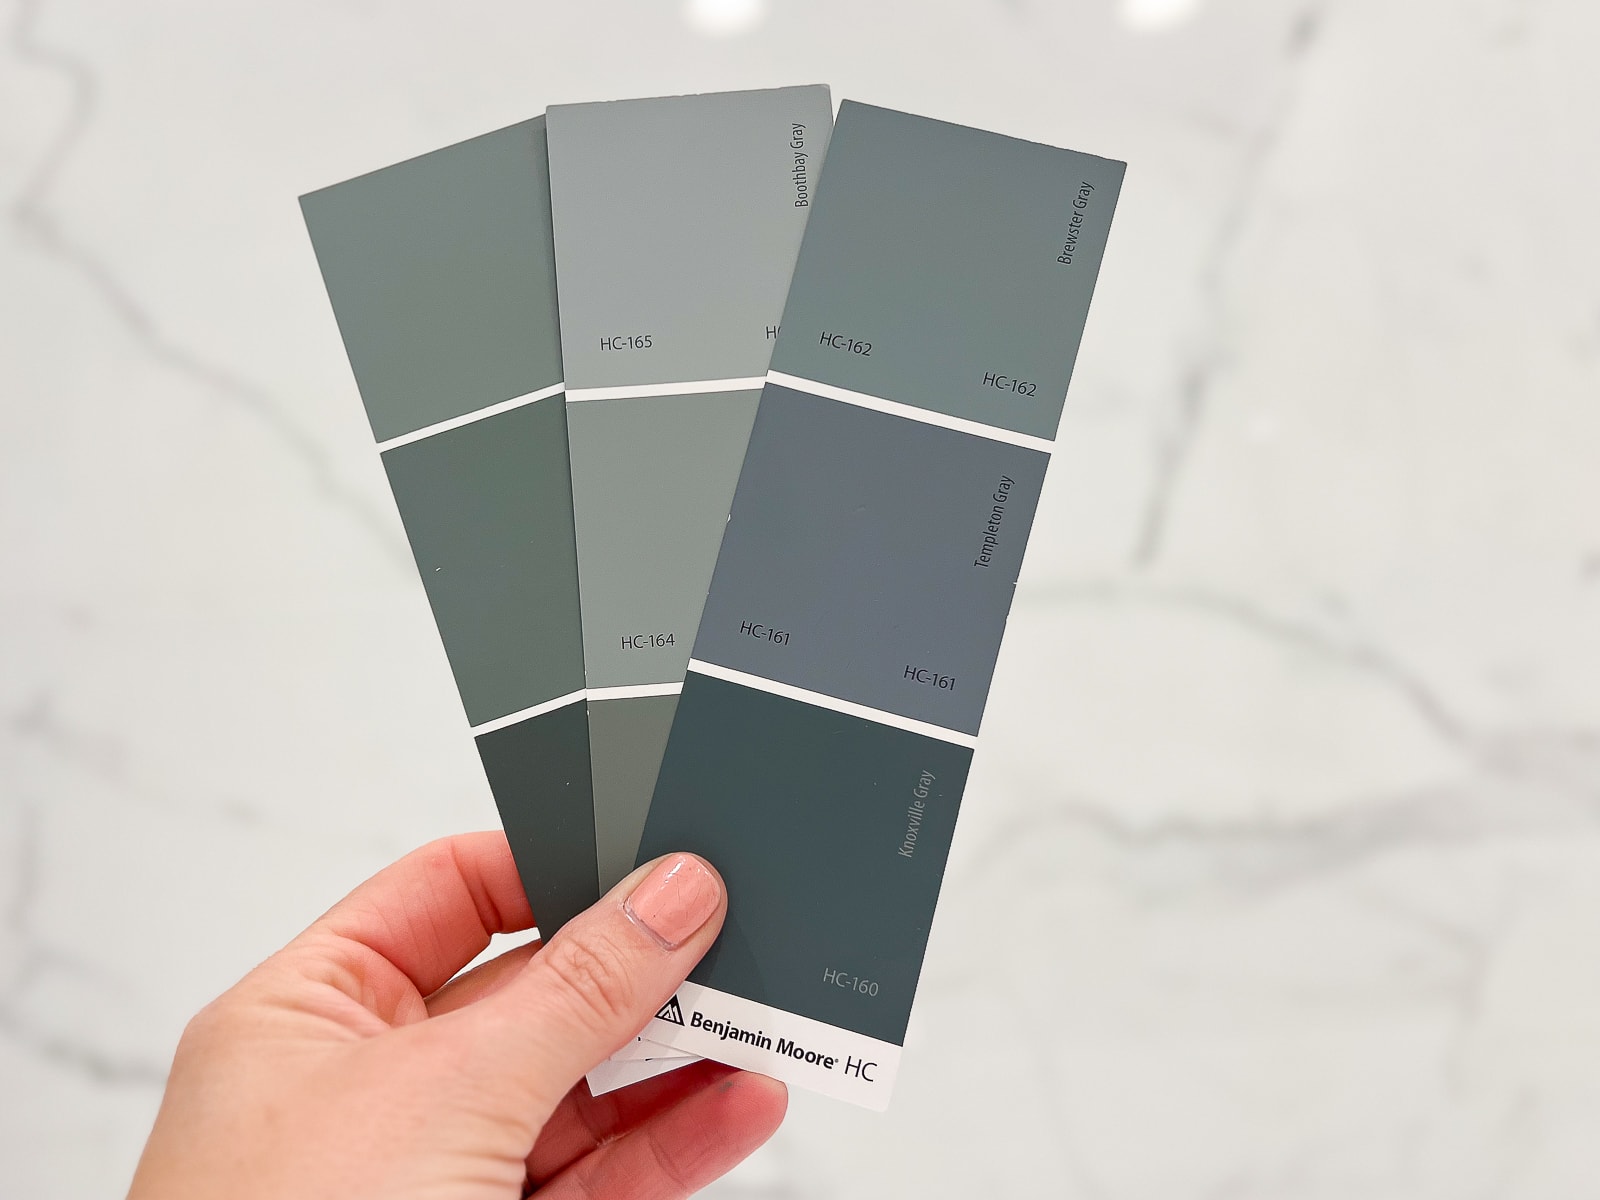
Before any painting can begin, you must decide on your paint color. Believe me when I say, that if you did this, you’re through the hardest part! You can check out this blog post for my best tips to do just that. Plus, here’s a roundup of all of my favorite colors that I personally use in our own home.
Once you’re ready to buy your new paint, it’s time to head to your local paint store. For me, that’s my trusty Benjamin Moore. I’ve been to a lot of paint stores over the years, and I find that the people who work there are generally very knowledgeable and happy to help.
So, when in doubt, never be afraid to ask questions. Be prepared with the measurements of the room you’re painting, so they’re able to help you figure out how much paint to buy.

In addition to your good quality paint, these are the right tools that I consistently use for any paint job:
- Paint can opener and hammer (for opening and re-sealing the can of paint)
- Stir sticks (usually the paint store will give you the opener and the sticks for free)
- Painter’s tape (I especially like this Frog Tape)
- High-quality paint brush (this pack will last forever and has every size you need)
- Miracle Wipes (for any spills)
- Paint roller
- Paint roller cover (I recommend 3/8″ nap for typical interior walls)
- Depending on height, you may need a ladder or an extension pole for your roller
- Canvas drop cloths
- A hand held, small paint bucket – especially helpful if you’re up on your ladder. Don’t forget the plastic inserts for easier clean up.
- Paint trays (again, don’t forget a paint tray liner for quick clean-up)
- If you’re going the paint sprayer route, read about my tips here
Whether you’re at Benjamin Moore, or another home improvement store, I recommend going with the nicest line of paint within the brand, if your budget allows.

It’s not so much about a specific brand name; it’s about picking high-quality paint. In the long run, the paint will be more durable, have better coverage, and it will look more like the work of a professional painter!
5 Steps to Prepare Your Space for Painting
If you are tight on time, or want to do some prep work in advance, these are things that you can do in the days leading up to painting. Also, wall repairs must be done ahead, so that the putty has time to dry!
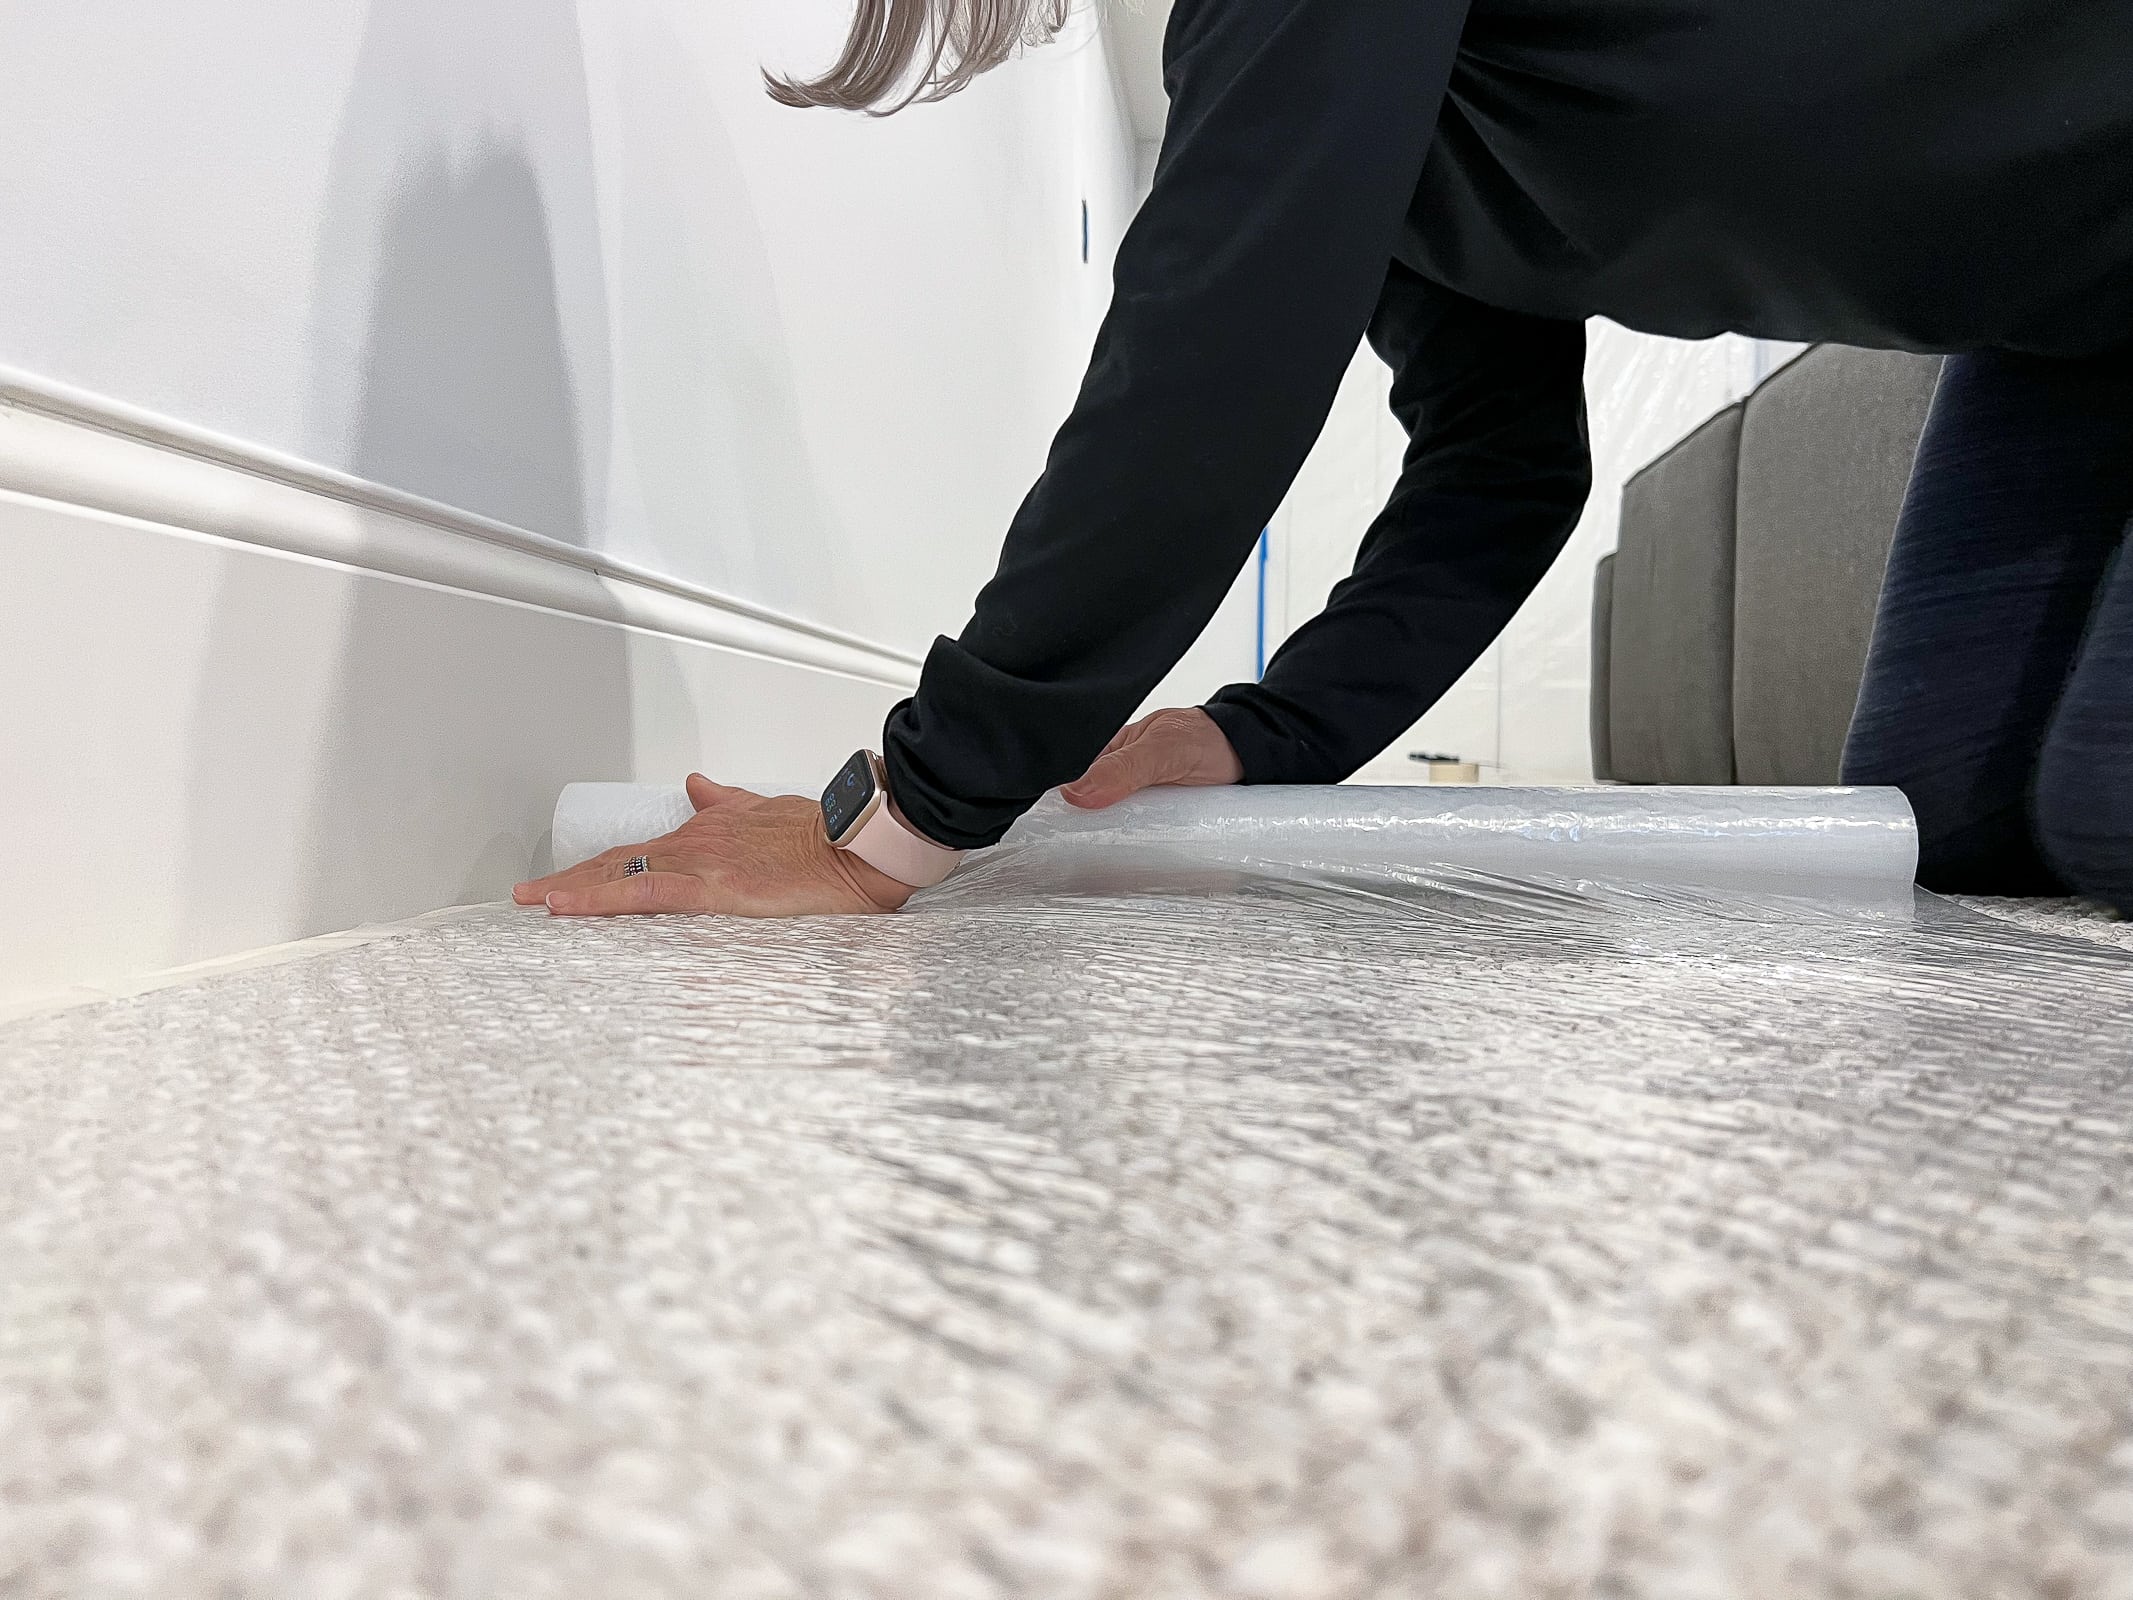
1. Empty The Room & Protect Furniture
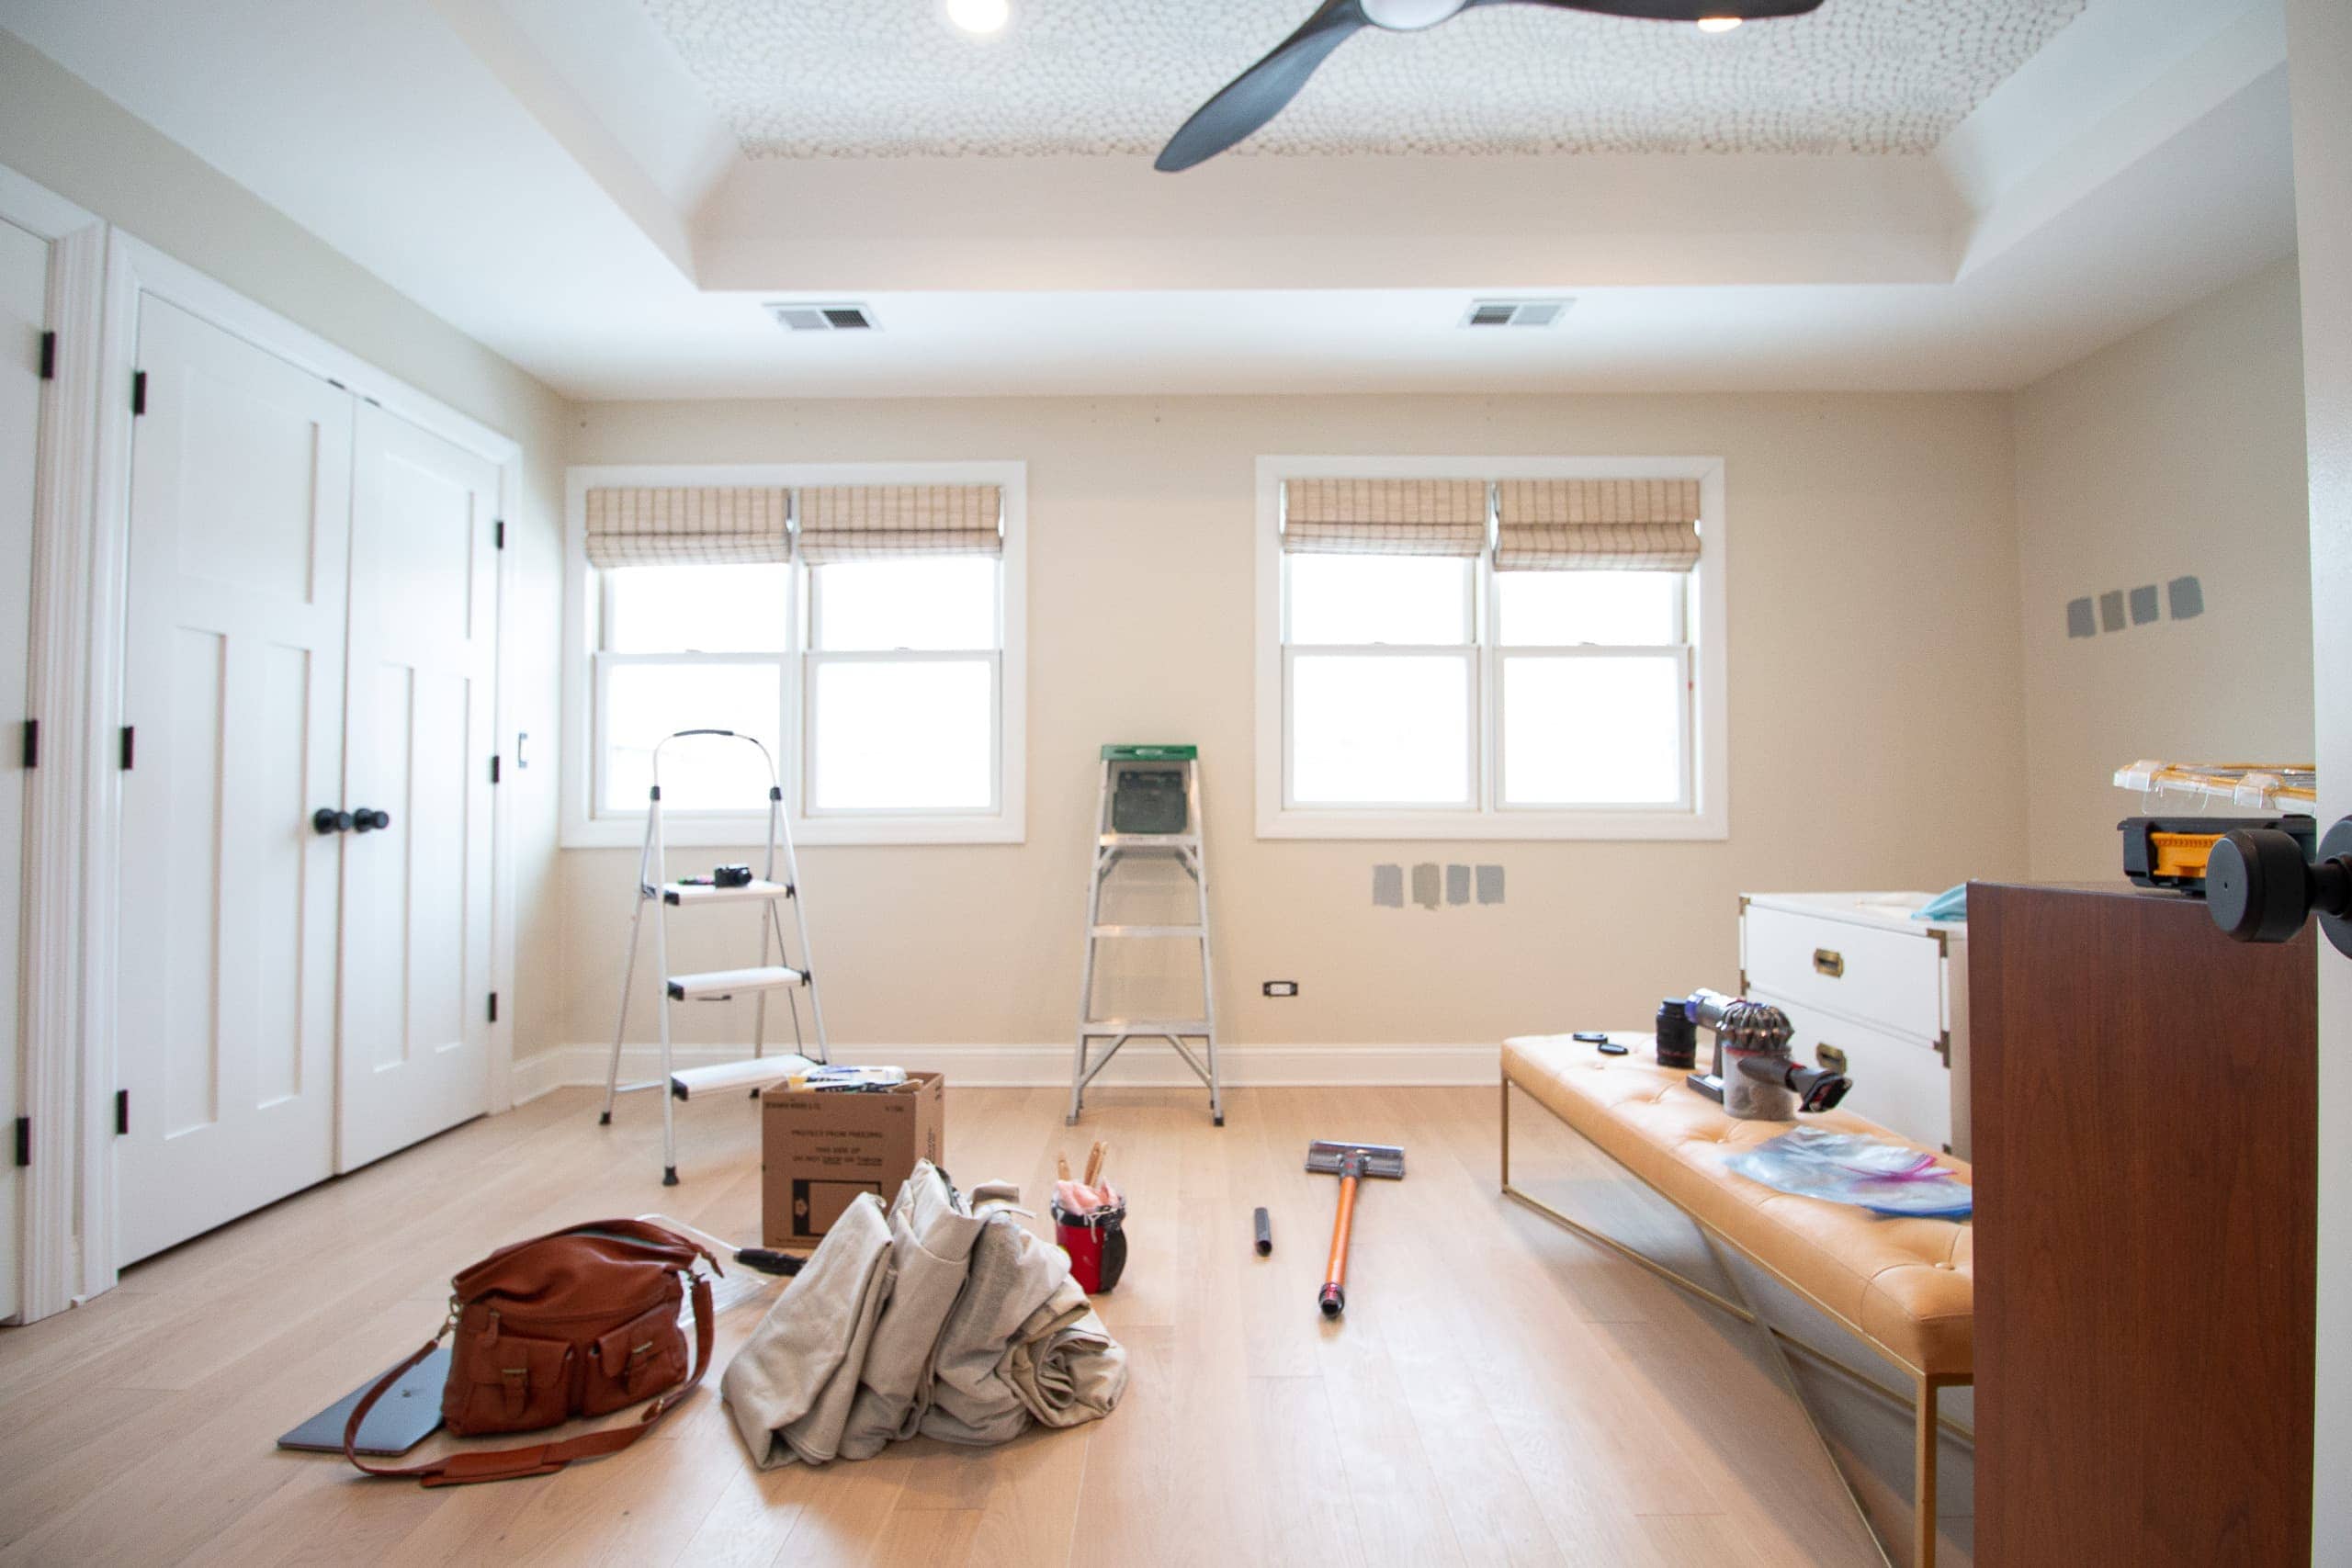
The first step is to empty the room as best you can. You can push the bigger furniture to the center of the room. However, I like to give myself as much swing space as possible. If I can move something out of the room, I do. This also minimizes the small chance of any stray paint spatter getting on your special items.
2. Remove Curtains & Rods
The next step is to remove your curtains and rod. While you can leave your rods up and paint around the hardware, I think it’s more efficient to take it all off.
3. Take Everything Off Your Walls & Repair Them
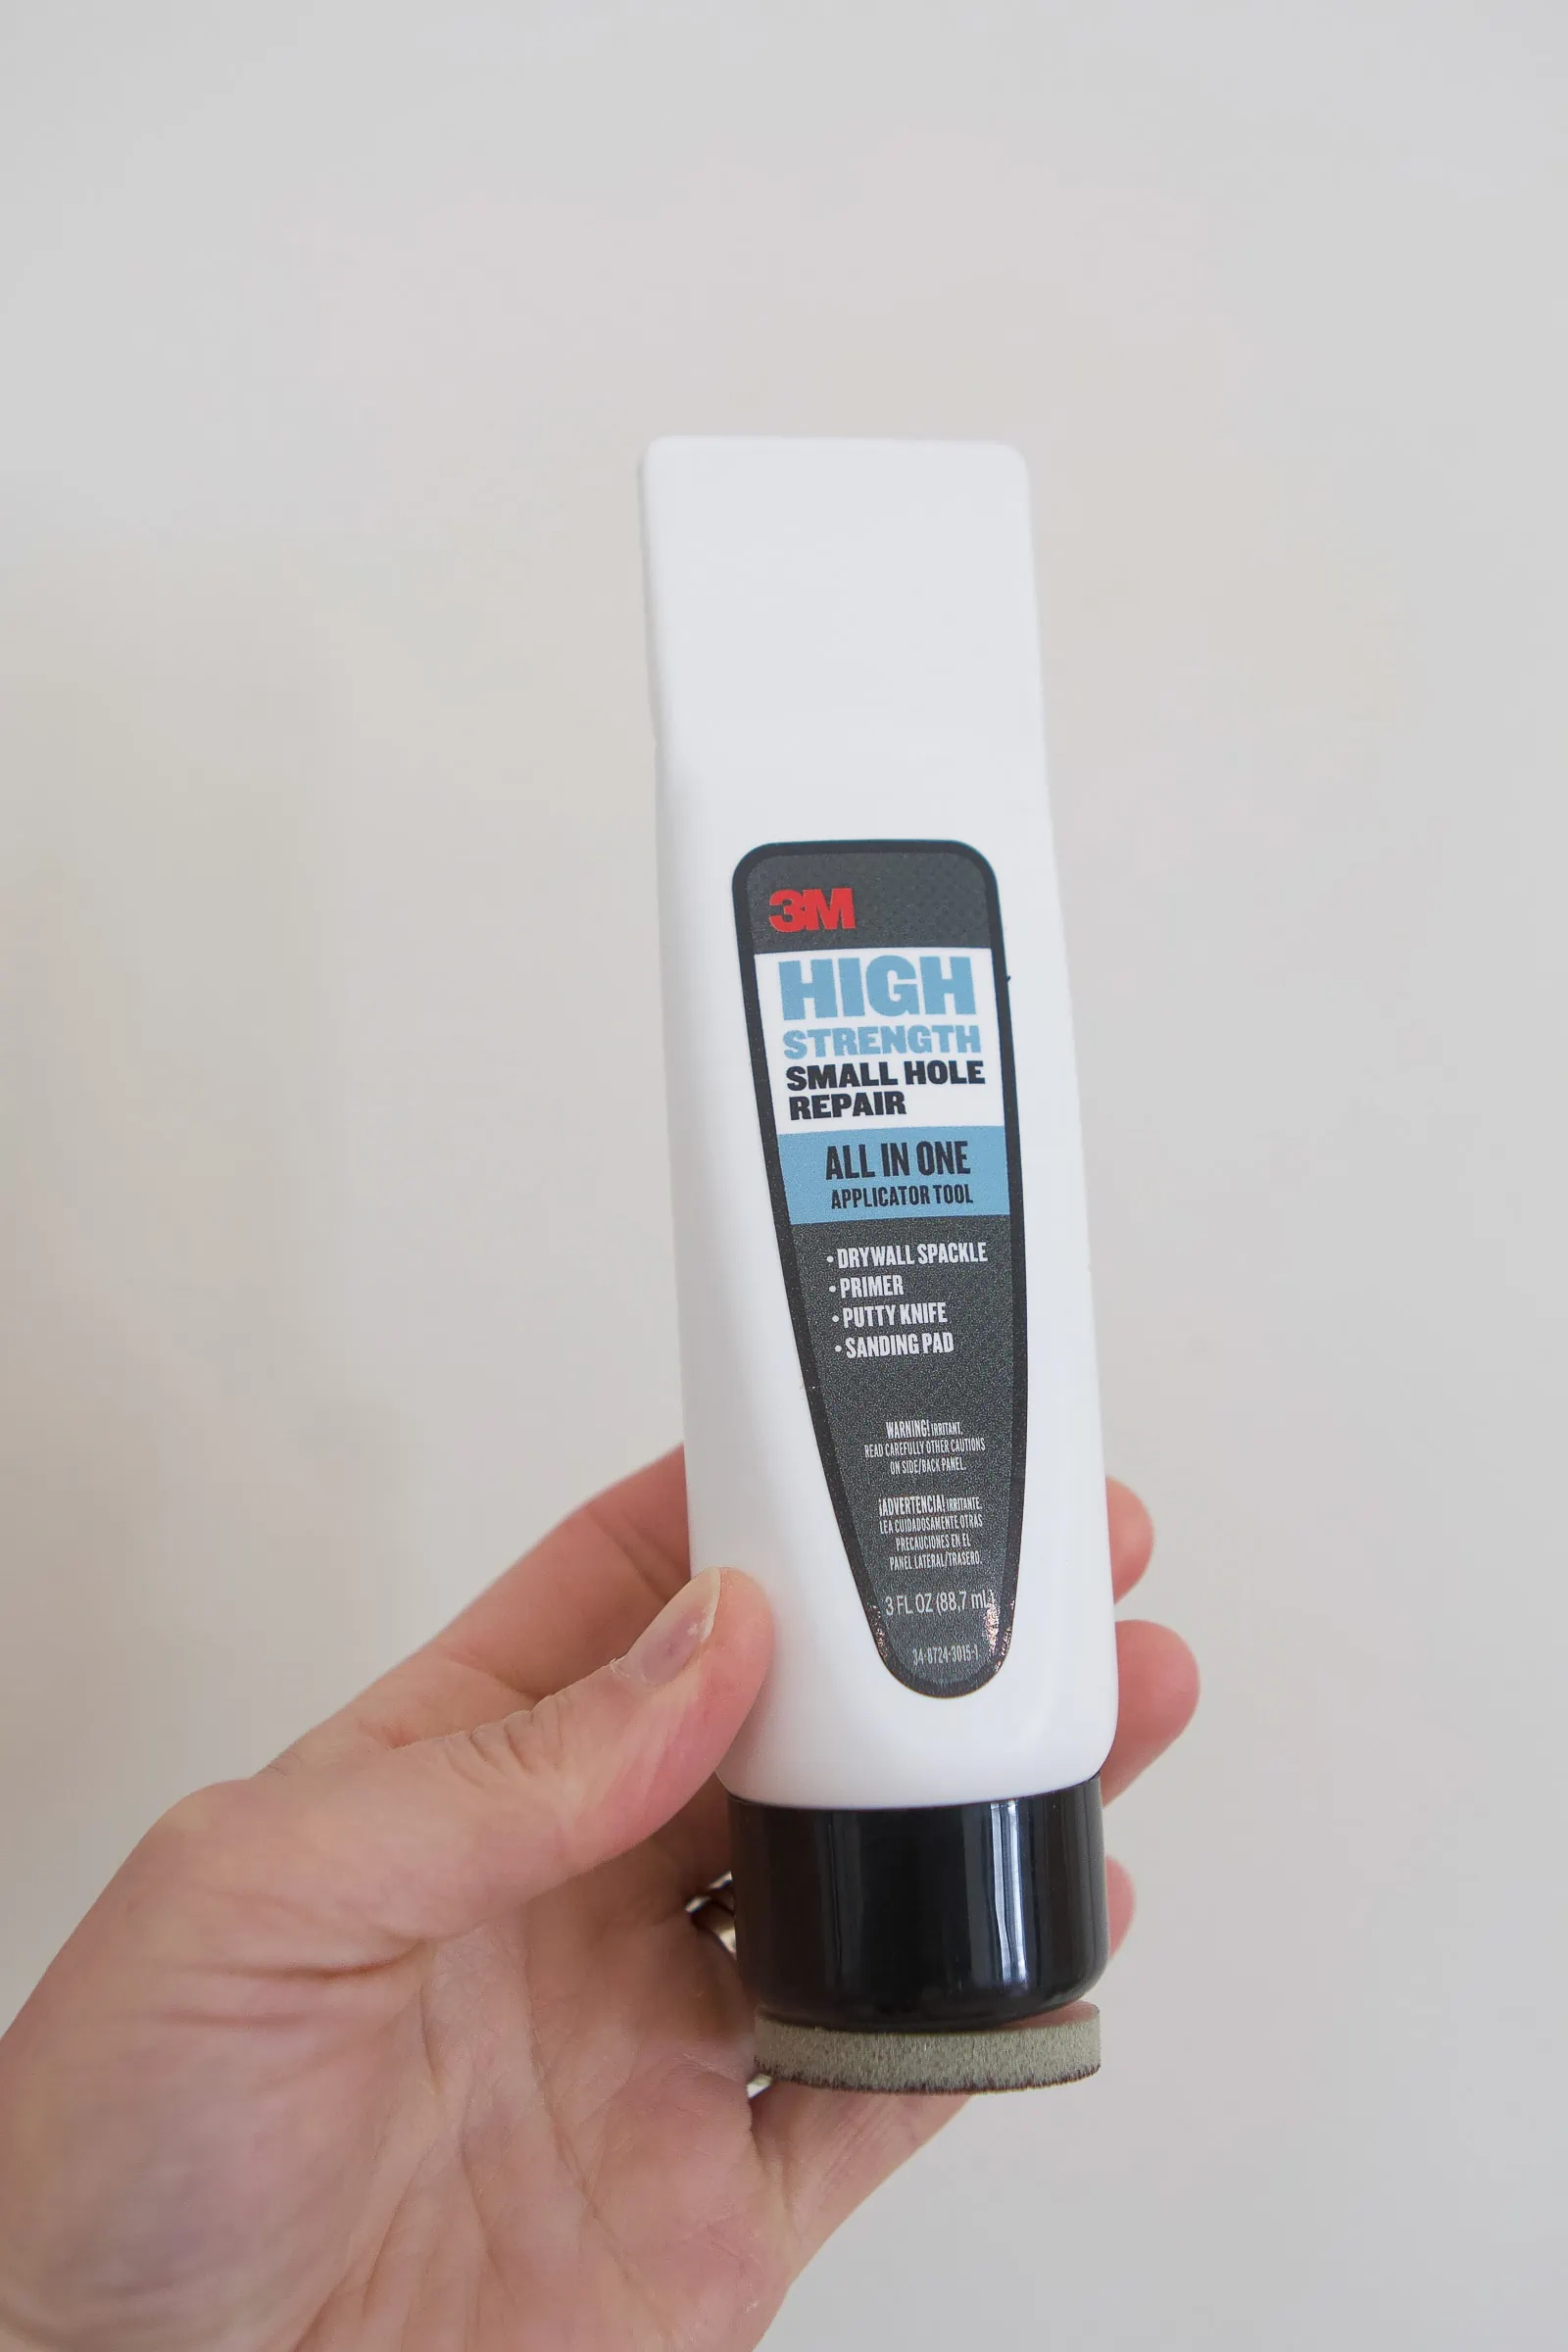
If you want to move your art around, get rid of nail holes, or cover up old anchor holes, now is the time. You can check out my tips for repairing holes in drywall here. This is my favorite tool for filling holes (putty knife, sander and spackle all in one!).
4. Figure Out Switches & Outlets
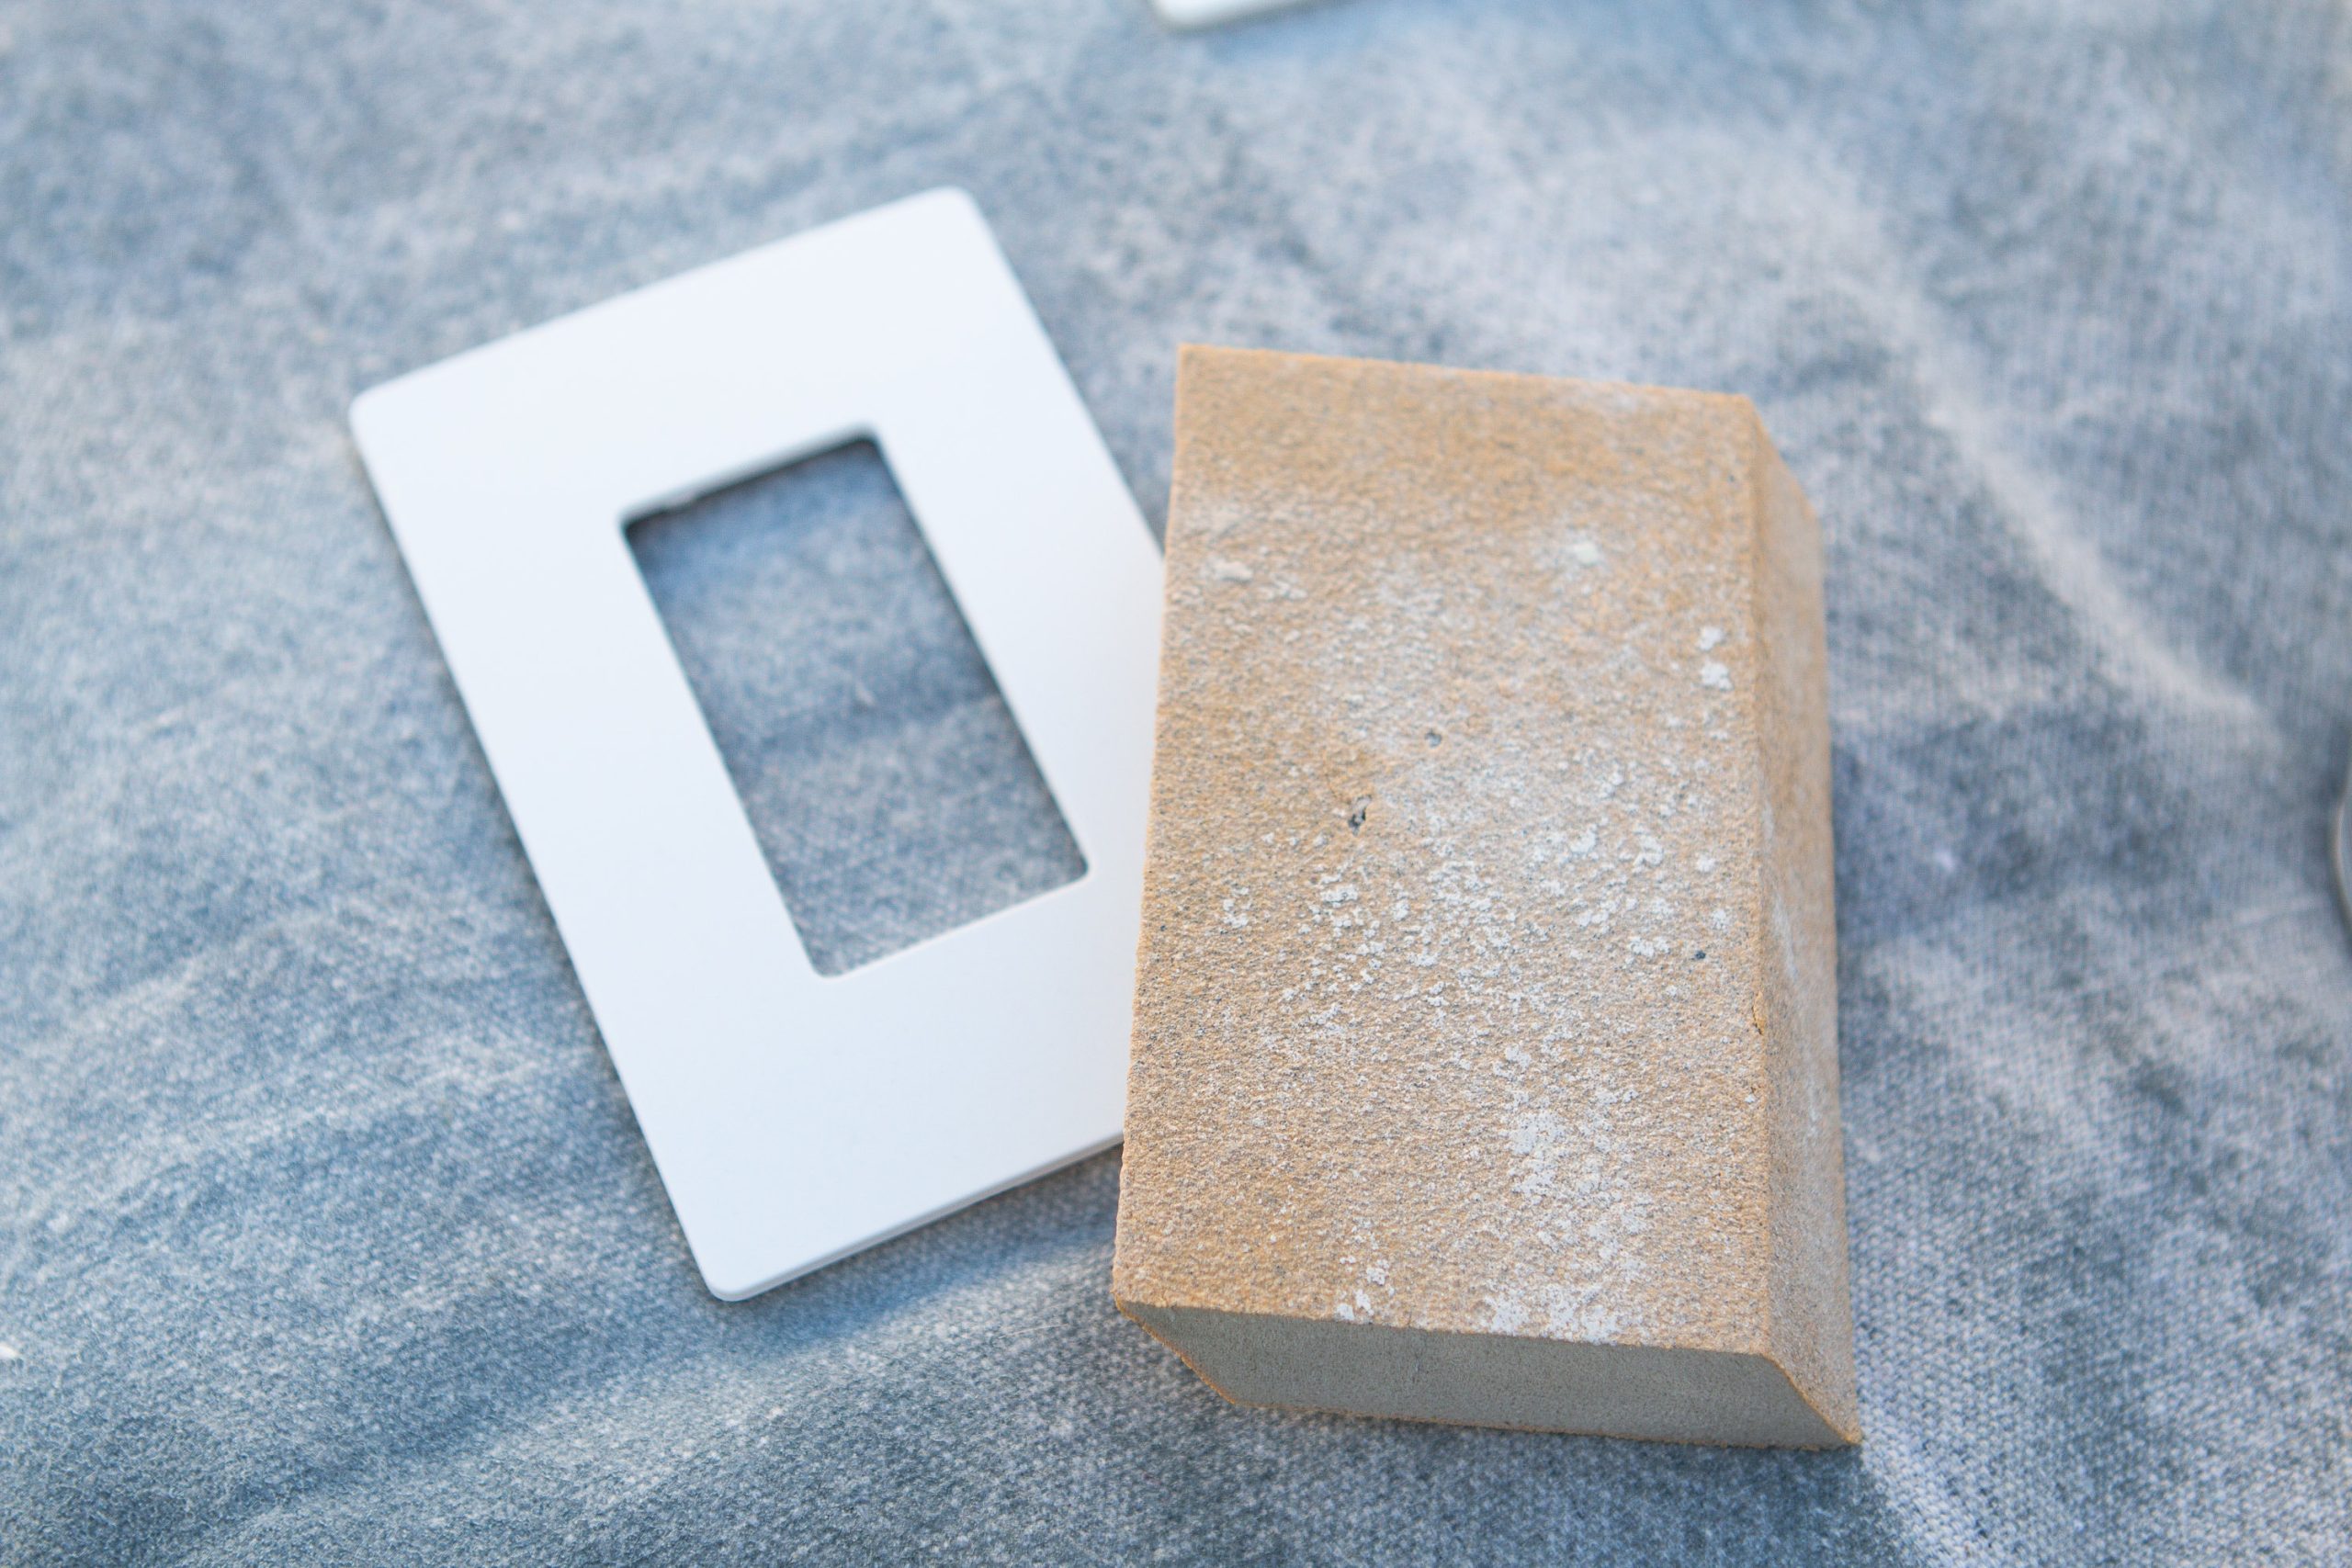
Next, decide on how you want to handle painting around outlet covers and light switch plates. You can tape around them, but I find that it’s easier to remove them. And I get the best results, with clean lines, by doing this.
If you’re going to remove them, I like to put the screws and outlet covers / light switch places into their own Ziploc bags. This makes re-installation SO easy! If you’re going with a saturated hue on your walls, you may want to consider painting those outlet covers too. This blog post walks you through that simple process.
5. Prep Your Walls
Finally, it’s a good idea to grab a duster and go over the walls. Moving things around and sanding putty areas creates dust. You don’t want to be painting over any existing particles on the walls.
Bonus Step: If you’re worried about any brush strokes left behind from the samples you painted on the walls, you could choose to sand this area down. If you used a smooth brush and a light coat, you likely don’t need to do this. However, if you can easily see the brushstrokes and it’s in an obvious spot, it may be worth doing a quick sand. Don’t forget to use your duster after!
The Nitty Gritty Prep Work
No sugar-coating it, this part of the prep work is tough. It’s time-consuming and not super glamorous. However, it’s also the most important part. If you put in the time here, you’ll have fewer mistakes that need touching up later! So, get your audiobook, painting playlist, or your favorite podcast going, and just enjoy!
I like to start at the bottom of the room and work my way up. This is just my personal preference – do what works for you! You’ll need to tape around all the baseboards and window frames. Then, it’s time to get on the ladder and get the crown molding or ceiling.
I like to leave this for last so I can do all my ladder work in one swoop. You want to make sure your tape is placed ON the edge of the crown molding and baseboards, parallel to the wall, and not on the wall.

It’s vital that you make sure the tape seals to the wall when you put it up. I like to run a plastic putty knife, my finger, or even a credit card along the edges after I finish an area. I’ve also heard about running a wet finger or damp cloth over it too, but have never personally tried that method. If the tape hasn’t adhered to the walls, the paint will sneak underneath, messing up the clean line we’re aiming for.
You can read some common painter’s tape mistakes right here.

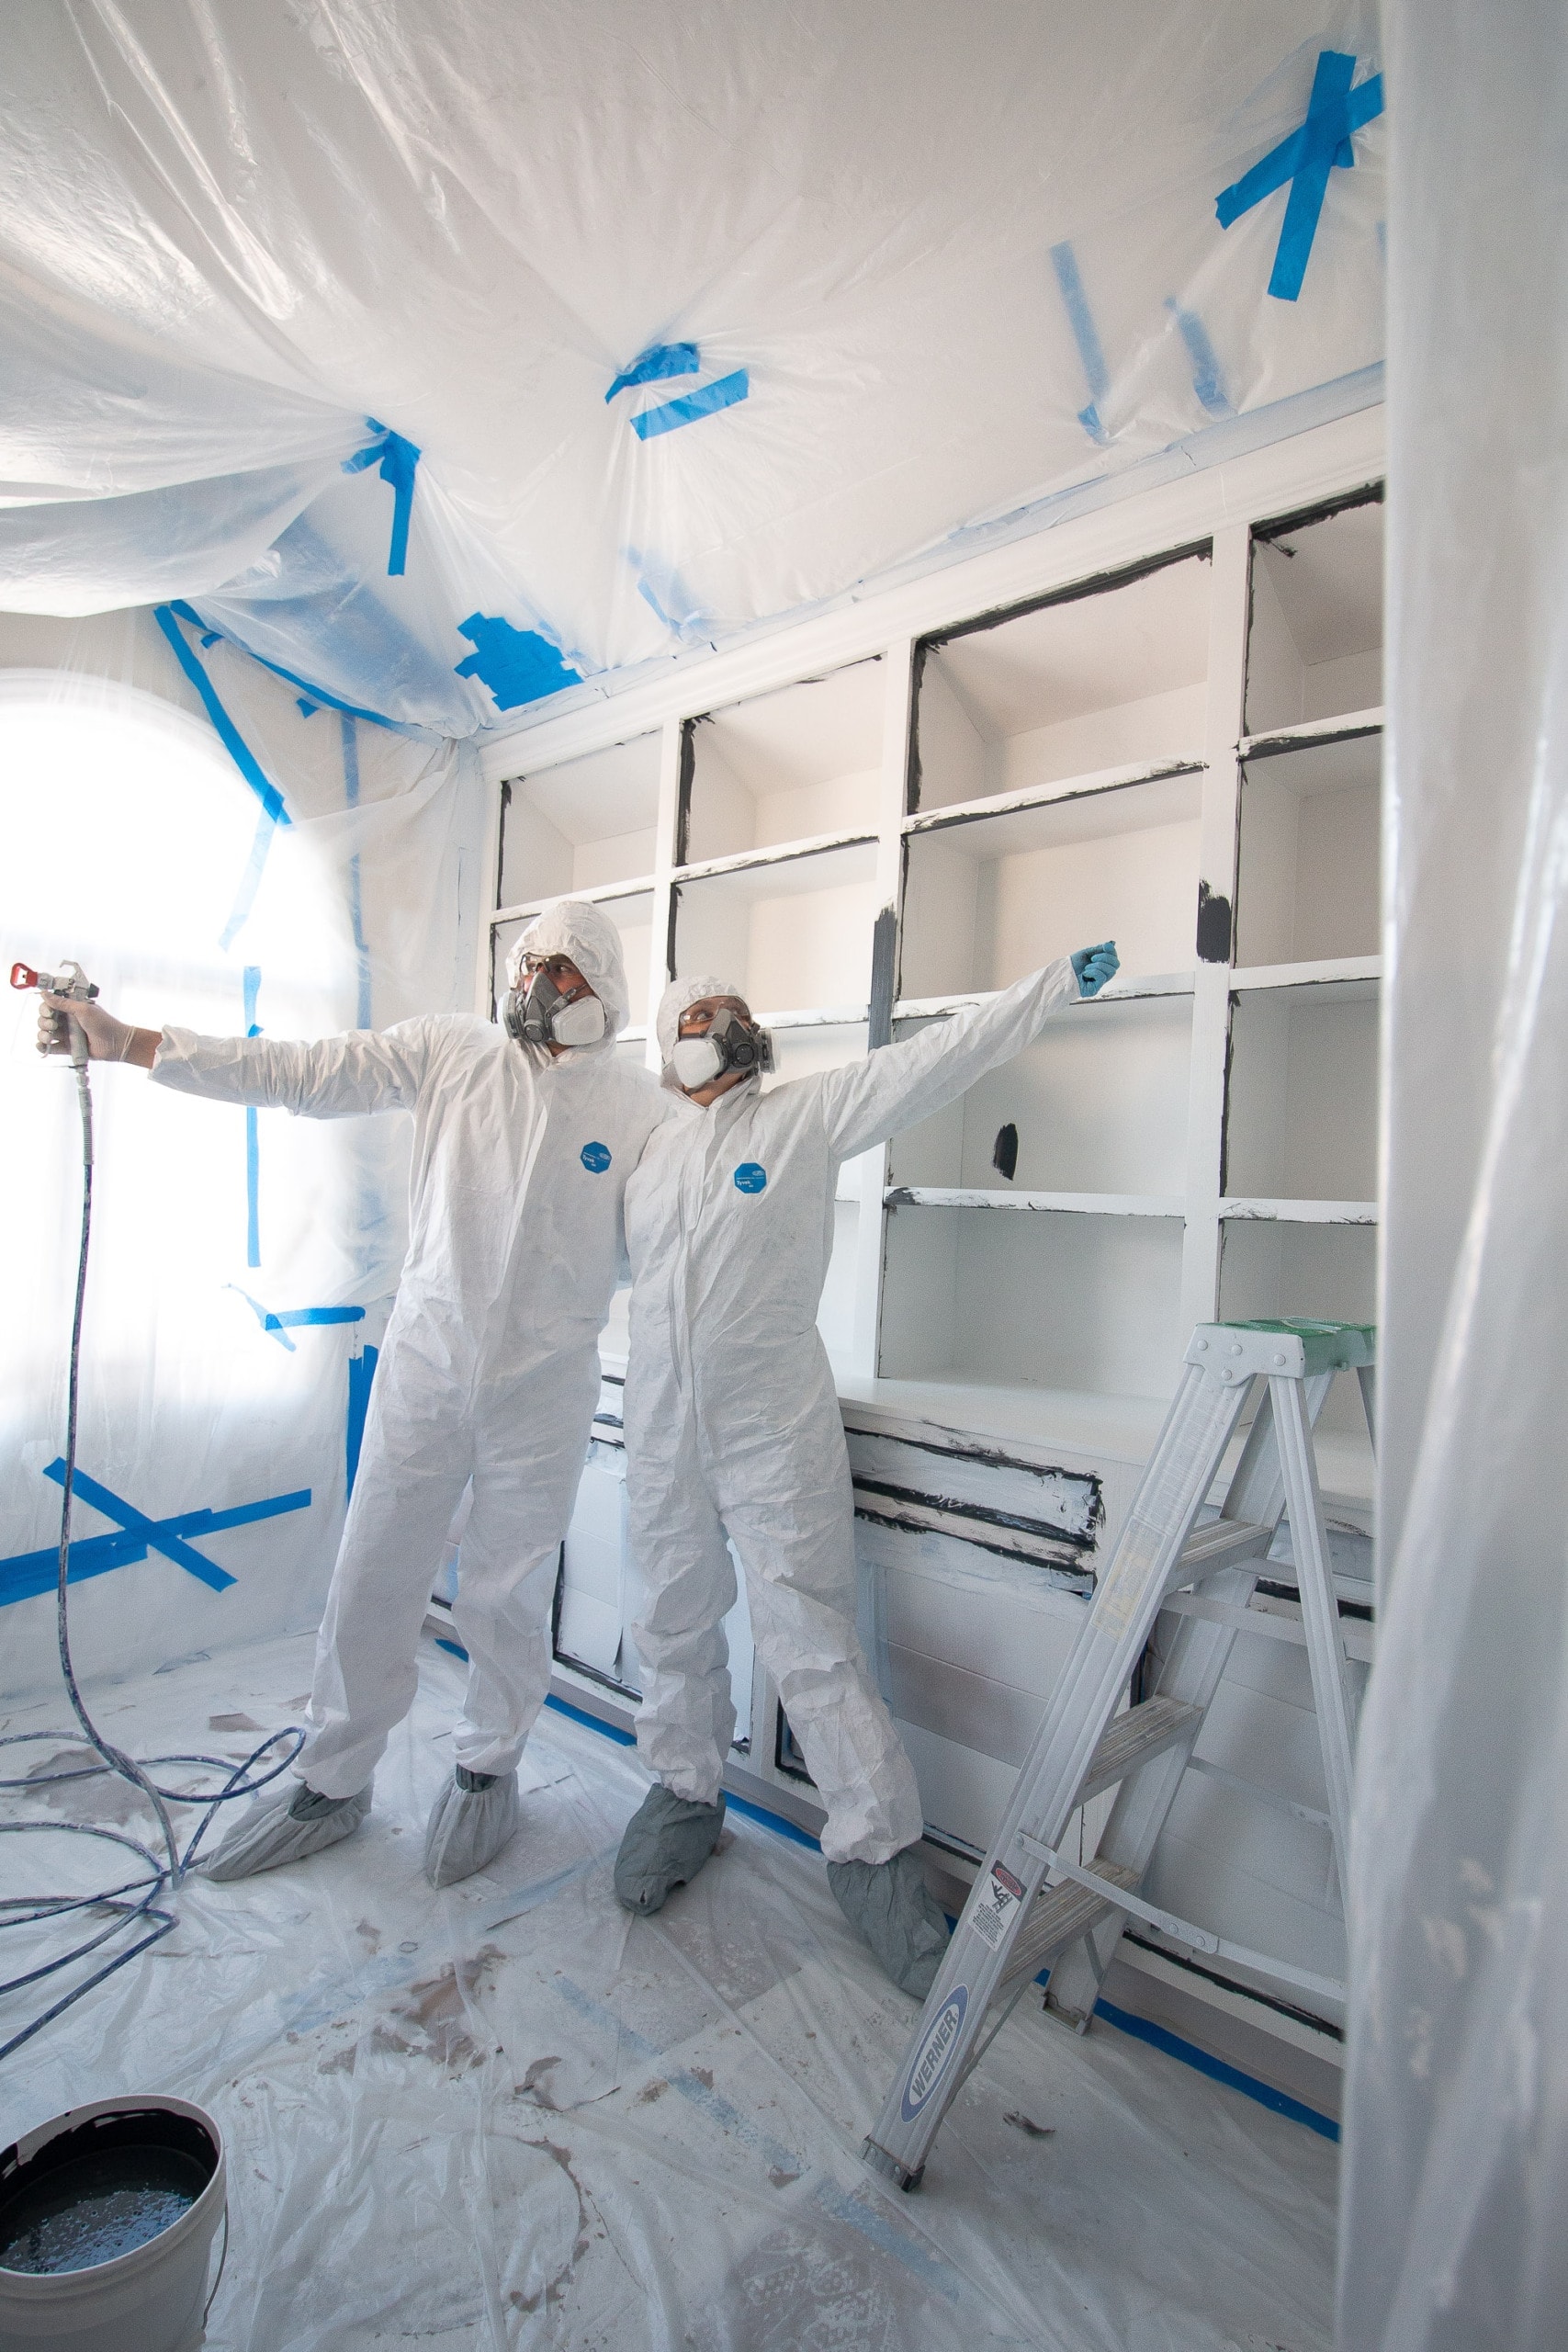
If you’re planning to use a paint sprayer, your prep work and painting process will be different and much more intense. Check out my best paint sprayer tips here.
You’ve Made It To (Prime)r Time
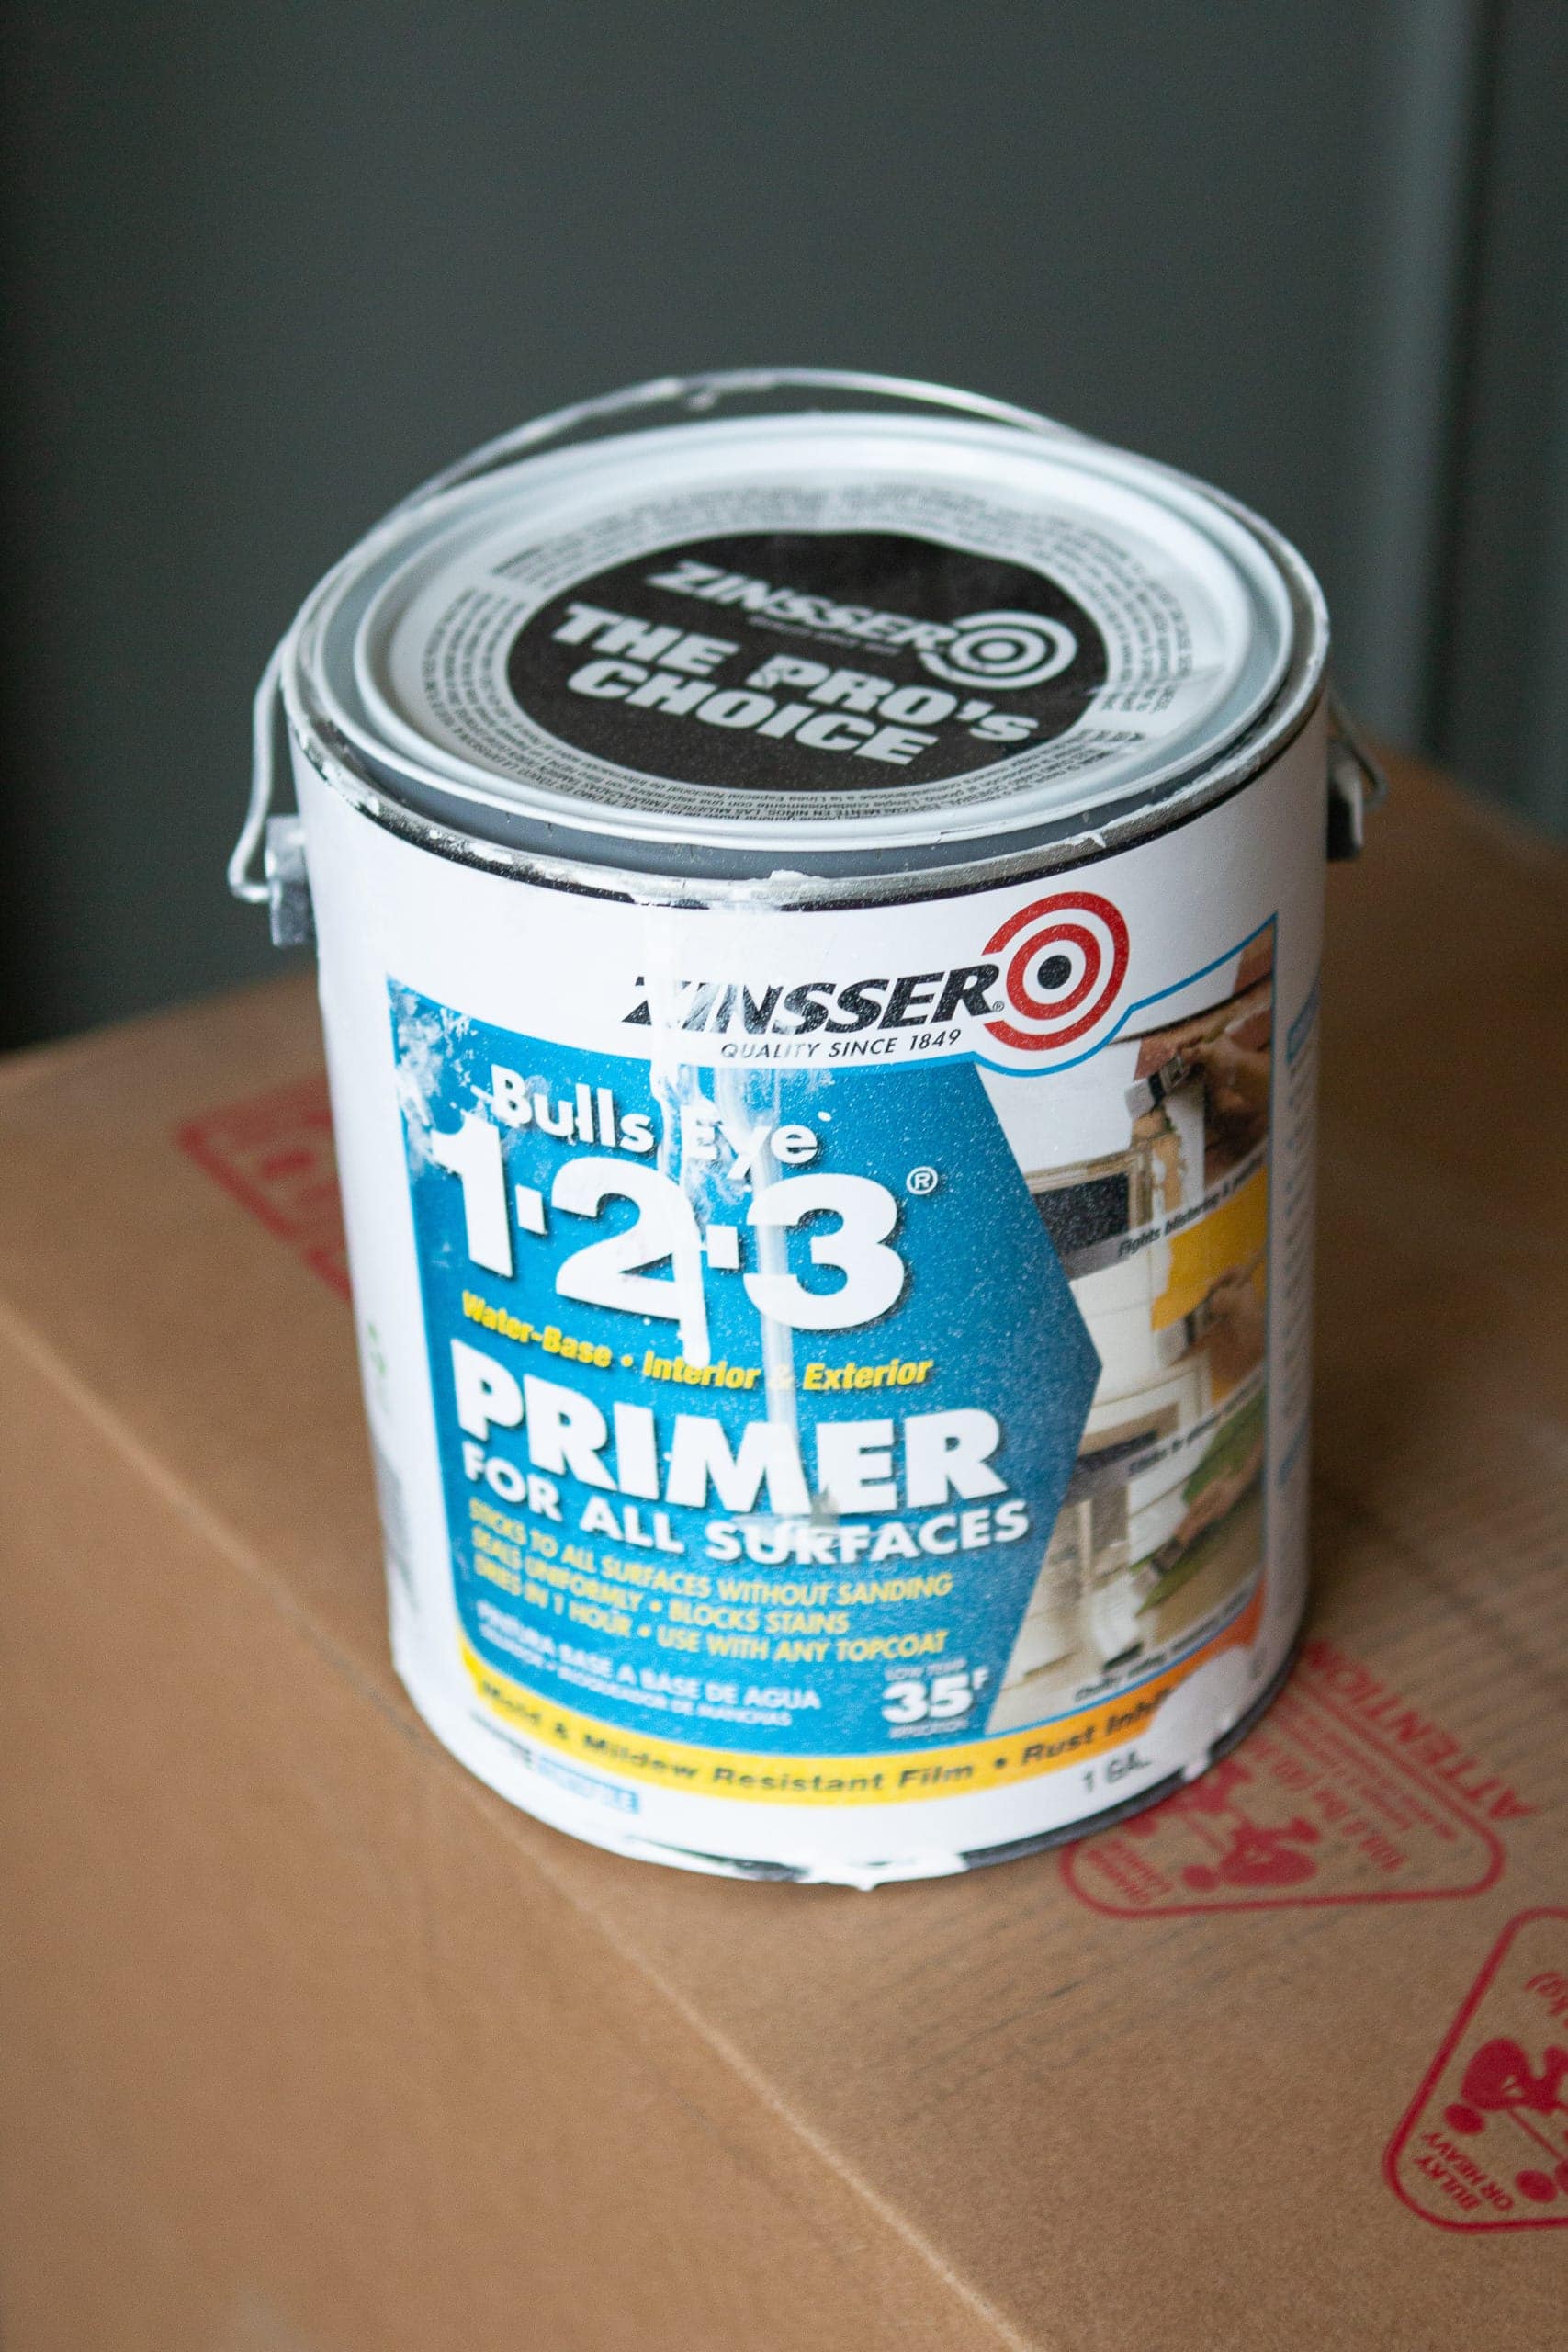
Do you need to prime your walls? This is a question I get asked often. And the answer is…it depends.
You can generally skip this step if you’re going to be painting clean walls that are in good condition and that are similar in color to the paint you’re using. However, I would opt for primer in the following situations…
- New drywall
- Patched holes (you can just prime over these areas)
- Painting over a dark color (use a stain-blocking primer)
- Changing paint sheen

Primer provides a porous surface for the paint to adhere to and it hides surface stains. I often use it when I’m adding a wood wall treatment. I’ll paint the wood and drywall with the primer before moving to the paint. This makes everything look cohesive and seamless.
With both primer and paint, think of it like nail polish or self-tanner. More is NOT better. Thin coats are the way to go! Excess paint causes paint bubbles that eventually peel and create a “globby” look. No thank you!
How to Paint a Room
When it comes to how to paint a room, there isn’t one specific answer. Other than appropriate prep work, it’s really up to you. This is just the method that works for me!
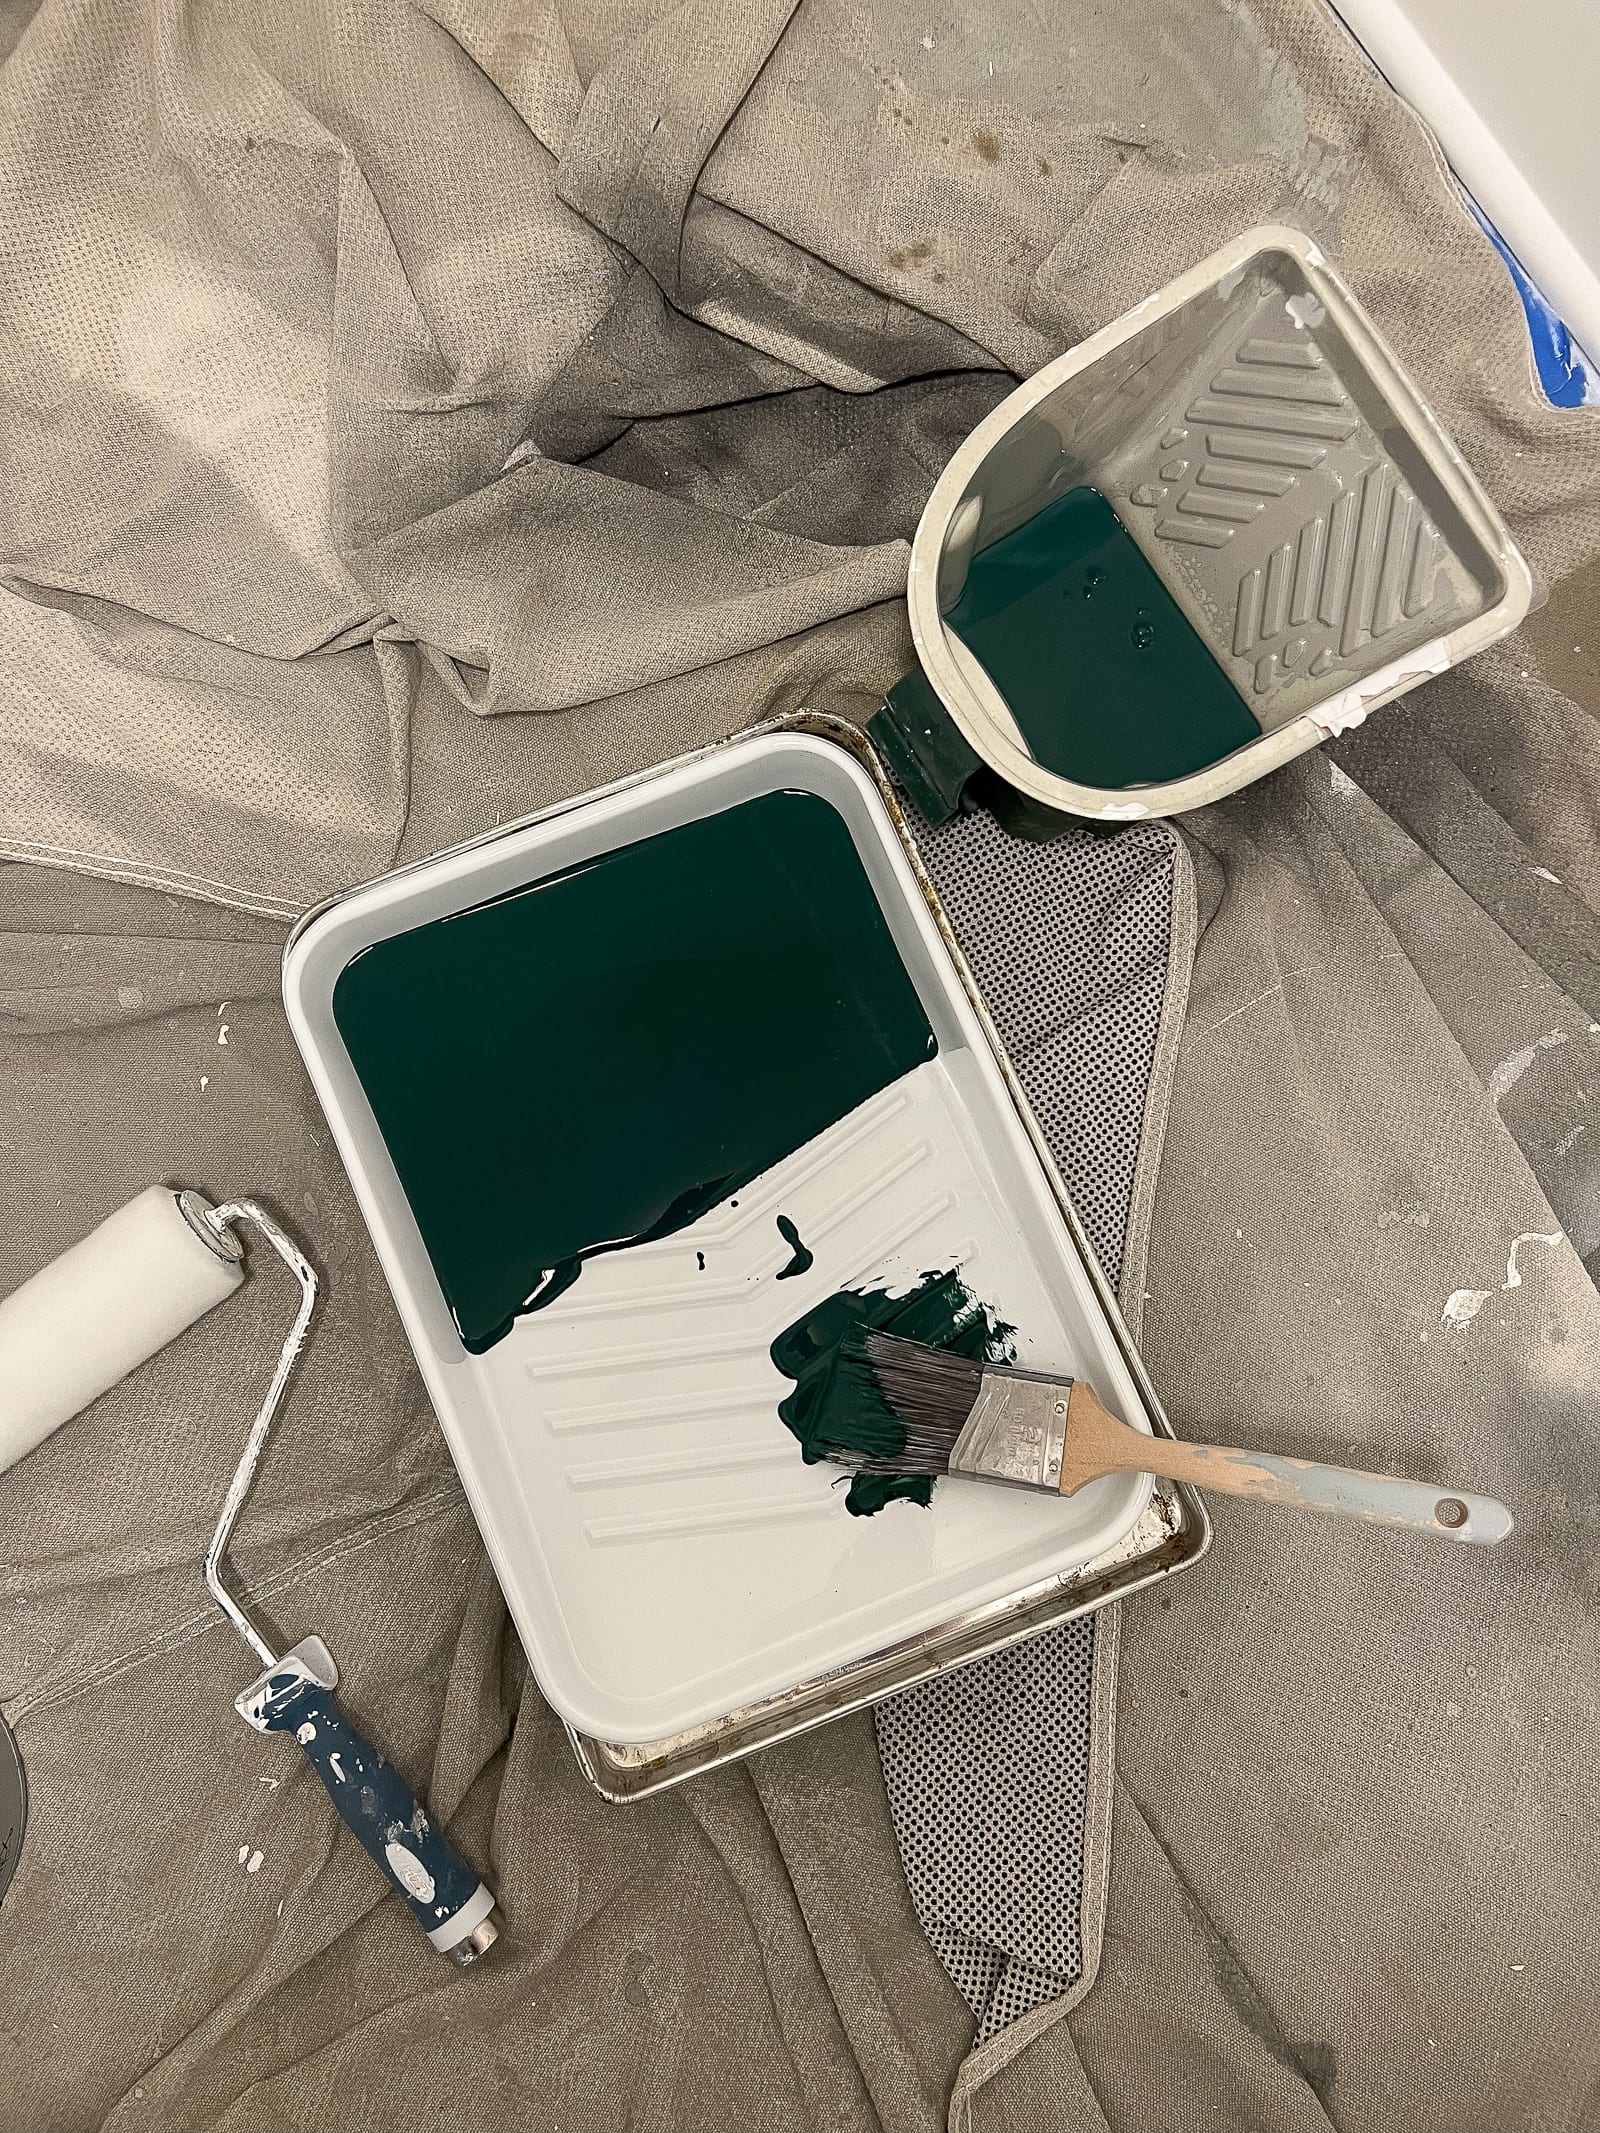
Start By Cutting In
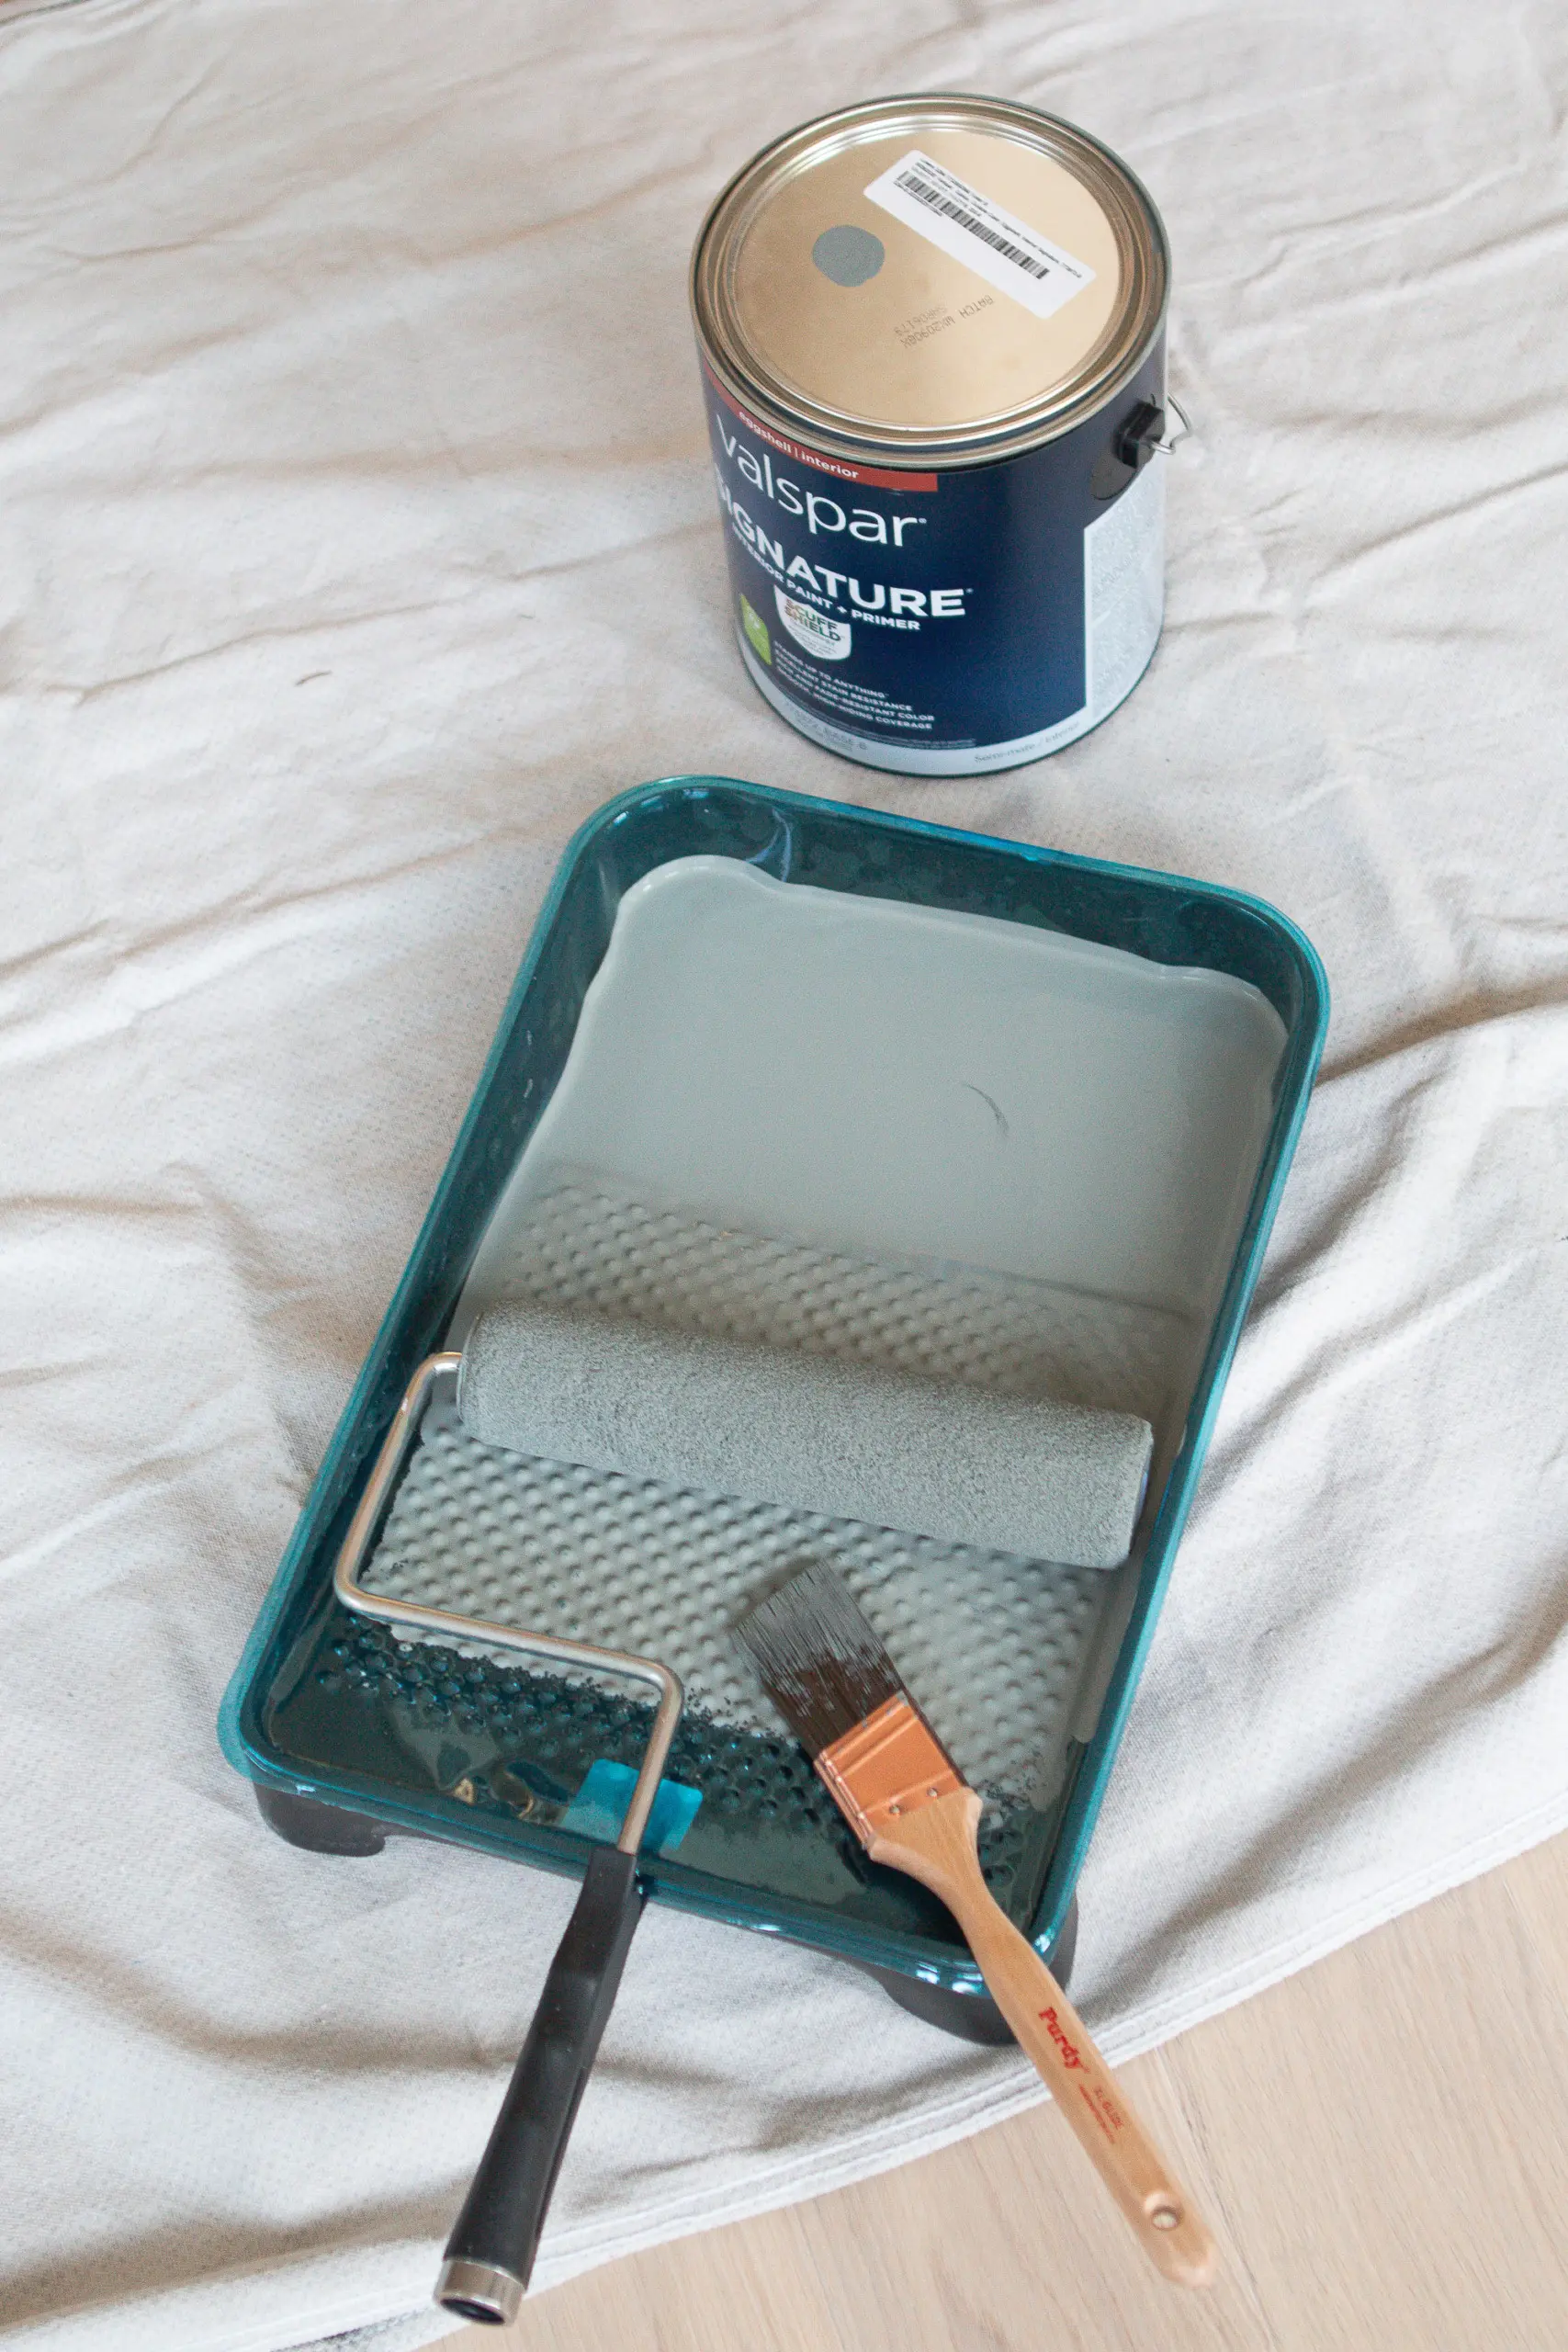
Once you’ve opened your gallon of paint, lay out your paint tray, and place the plastic insert in (inserts are optional). Then, it’s time to pour that paint! Exciting! I typically pour about 2-3 cups worth of paint into the tray at a time. You don’t want to have to constantly fill up, but you don’t need it sloshing around.
I like to do one entire wall at a time because it helps me feel like I’m making progress, and I’m in more control when it comes to an even coat of paint and the drying.
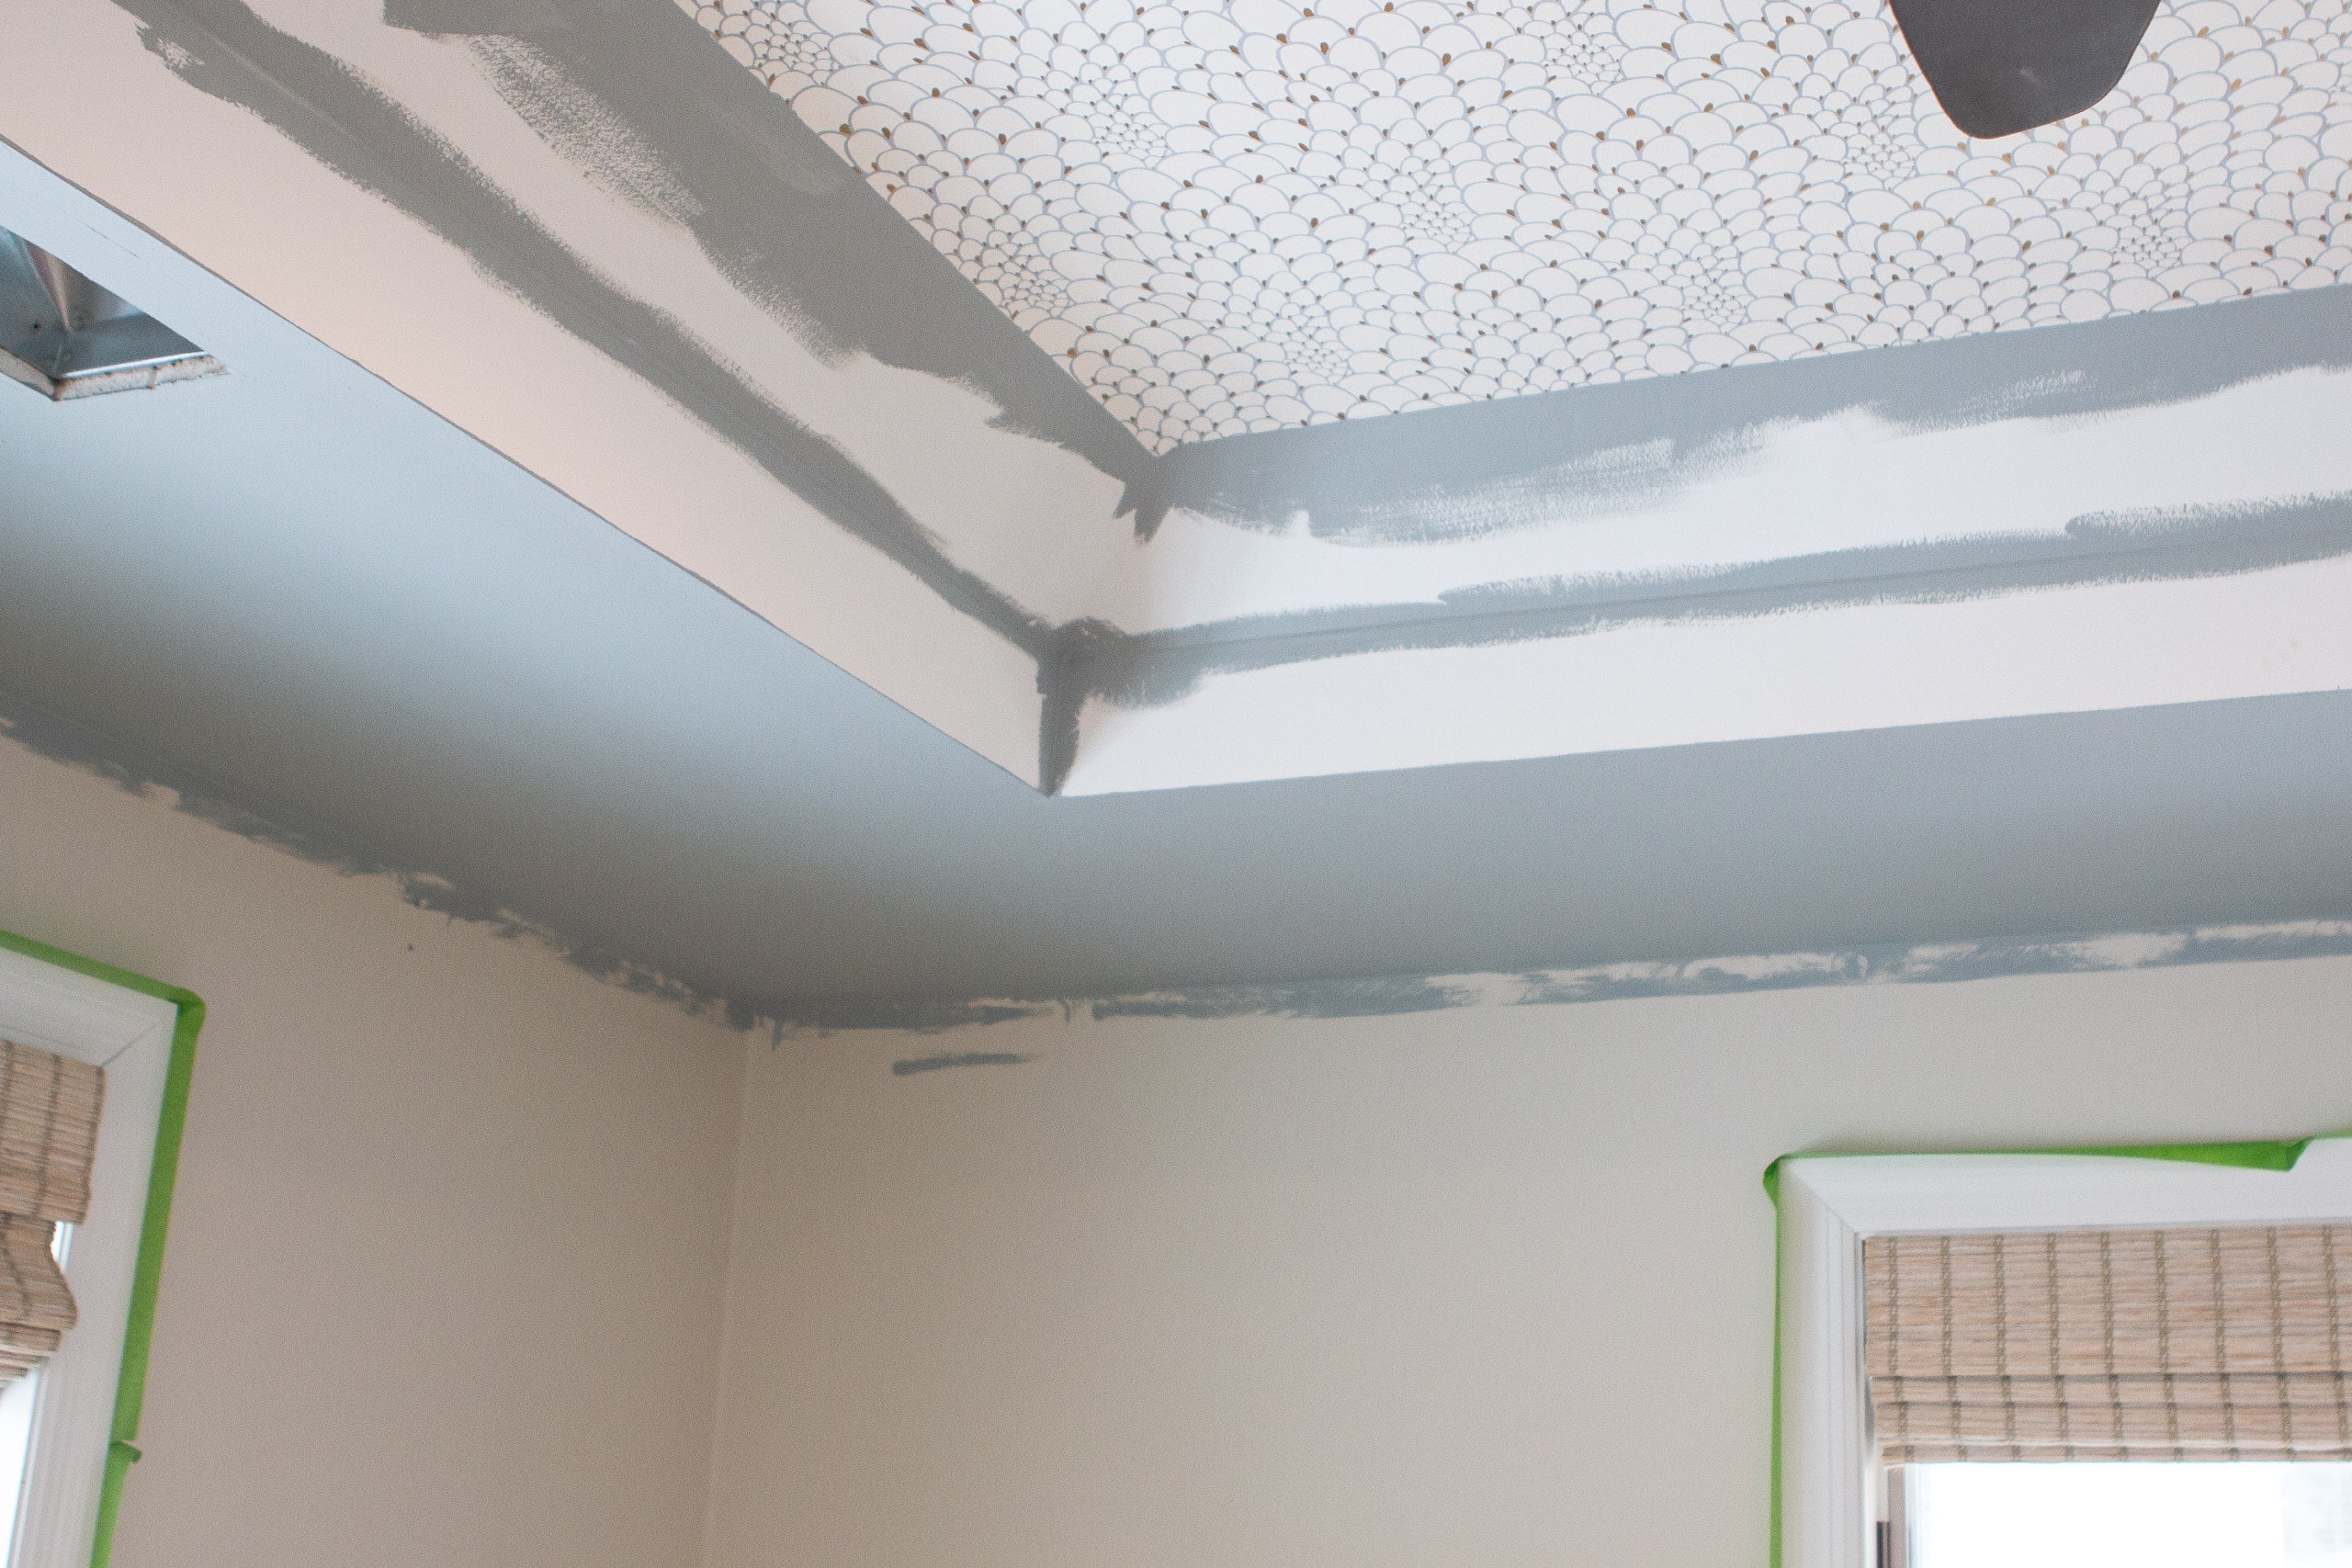
I find that corners are the trickiest part and that doing the edges takes the most focus. So, these are the places where I like to start. Use your brush to run along your painter’s tape at the baseboards, ceiling, corners, and around any obstacles like windows and doors.
Rolling The Rest Of The Wall
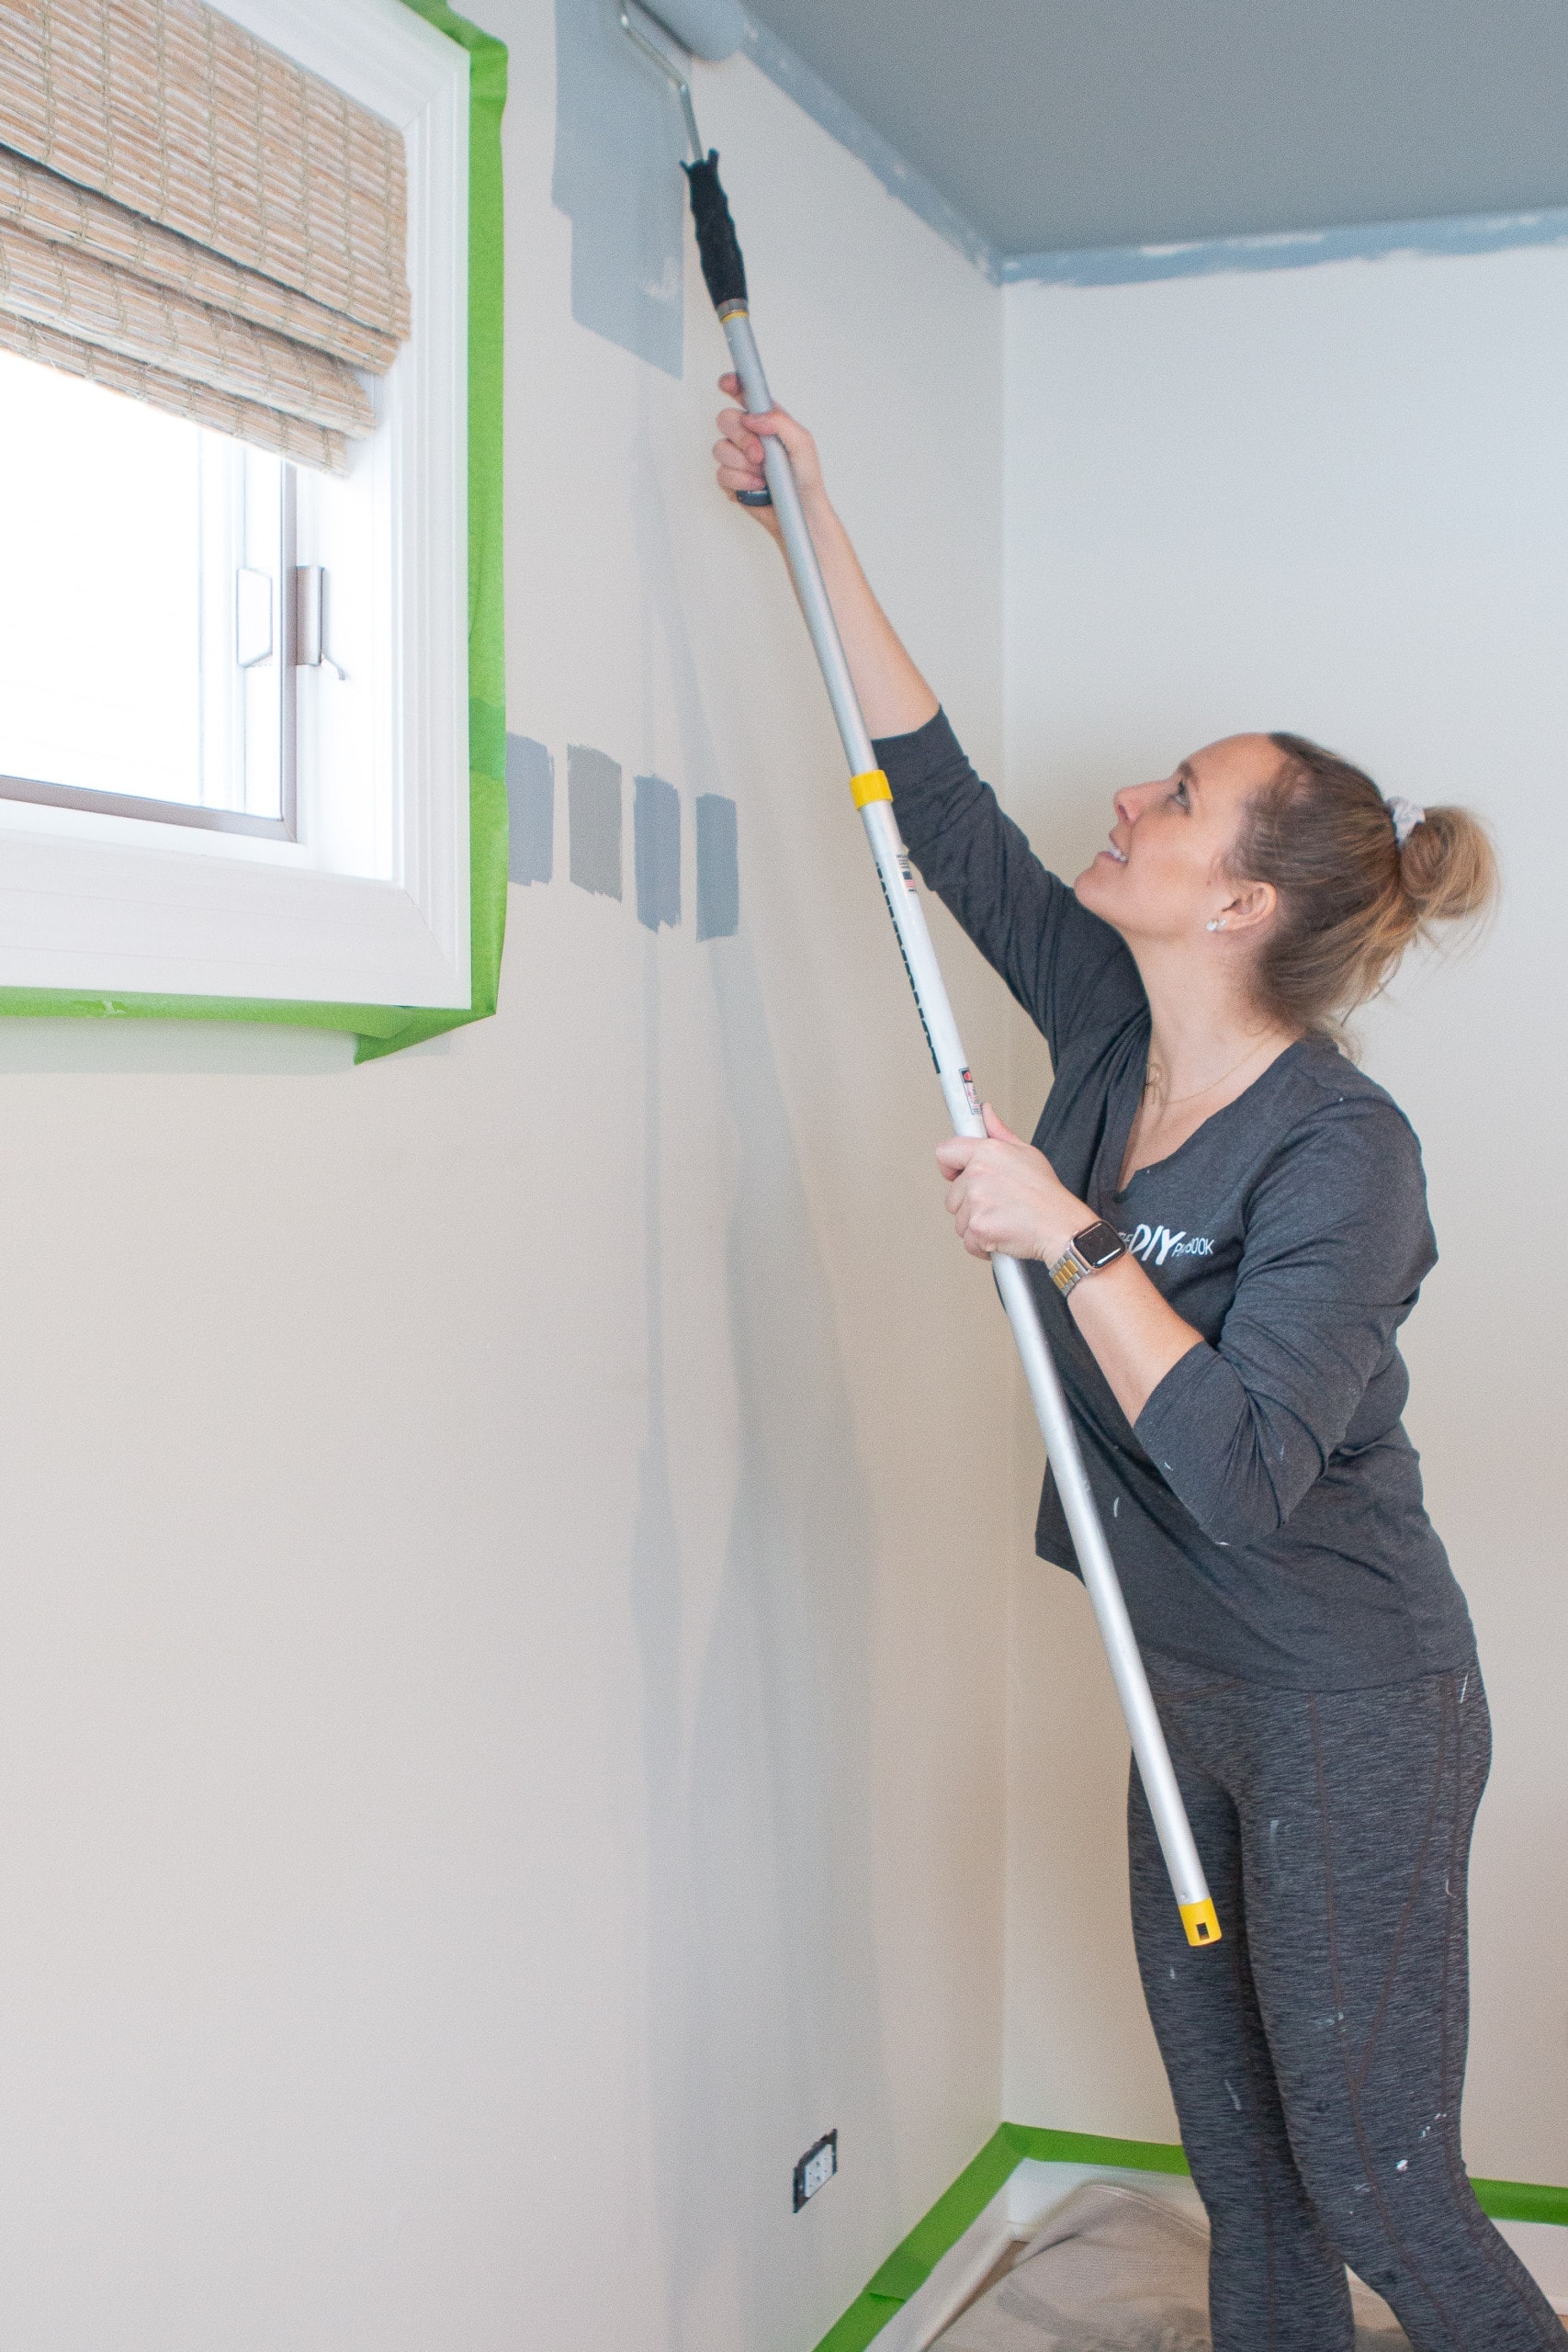
Once the perimeter is done, you can use your roller. Give the roller a couple of turns through the paint, making sure that the paint isn’t dripping off when you pick it up.
Then, start covering your walls. It’s suggested that you go for large “W” shapes with your roller. I start this way, but then switch to more up-and-down strokes when it gets time to fill in smaller spaces.
You should get many strokes, or a couple of minutes worth, out of your roller before needing to dip it again. Wait until you start to see the paint significantly running out in your strokes, before filling up again. As long as you painted a light coat without too much excess paint, the roller lines will fade and it will look nice and smooth when the wall dries!
Finally, be prepared – paint drips happen! Don’t sweat it! If you catch the drips pretty quickly, you can almost always wipe them clean off of hard surfaces – even hardwood floors. (I know from experience.) I usually have a couple of damp cloths and one dry cloth available for these moments.
How Many Coats Should You Paint?

I don’t care what the paint can promises, you will always need more than one coat of paint! I would plan on at least two to three coats, letting the surface dry to the touch before coming in with another round of paint.
If you’re painting an entire room, you might want to plan to prep and prime one day and then paint and clean up the next.
Your Own Final Reveal
Once the final coat is done, you should pull off the painter’s tape immediately. I know, this almost seems too good to be true! However, if the paint dries on the tape, as you’re pulling it off, it can take the paint from the wall with it. So, to get those gorgeous clean lines, start pulling right away!
While your paint will likely feel dry within a couple of hours, it may still be tacky to the touch. Let it cure for a couple of days before pushing your furniture back against it, or hanging your art. In the meantime, the last item on your to-do list (aside from clean-up) is to pat yourself on the back!

I hope that this post has given you the confidence and knowledge needed when it comes to painting a room! Tell me, what’s the next room you’re hoping to paint?
Need More Painting Tips? Read These Posts!
- Tips To Choose The Right Paint For Your Project
- Dos & Don’ts For Painting
- How to Choose The Right Paint Sheen
- How to Fix Peeling & Flaking Window Paint
- 10 Tips To Paint Exterior Doors
- Guide To Paint Interior Doors
- How To Paint Outlet Covers
- How To Use A Paint Sprayer
- How To Paint Baseboards With Carpet
- How To Paint Two-Tone Walls


