Our New Kitchen Window Shades
When I revealed our kitchen makeover back in December, I figured that the room was pretty much finished. But I should have known better. There are always things to tweak when you live in a home and want it to suit the needs of you and your family.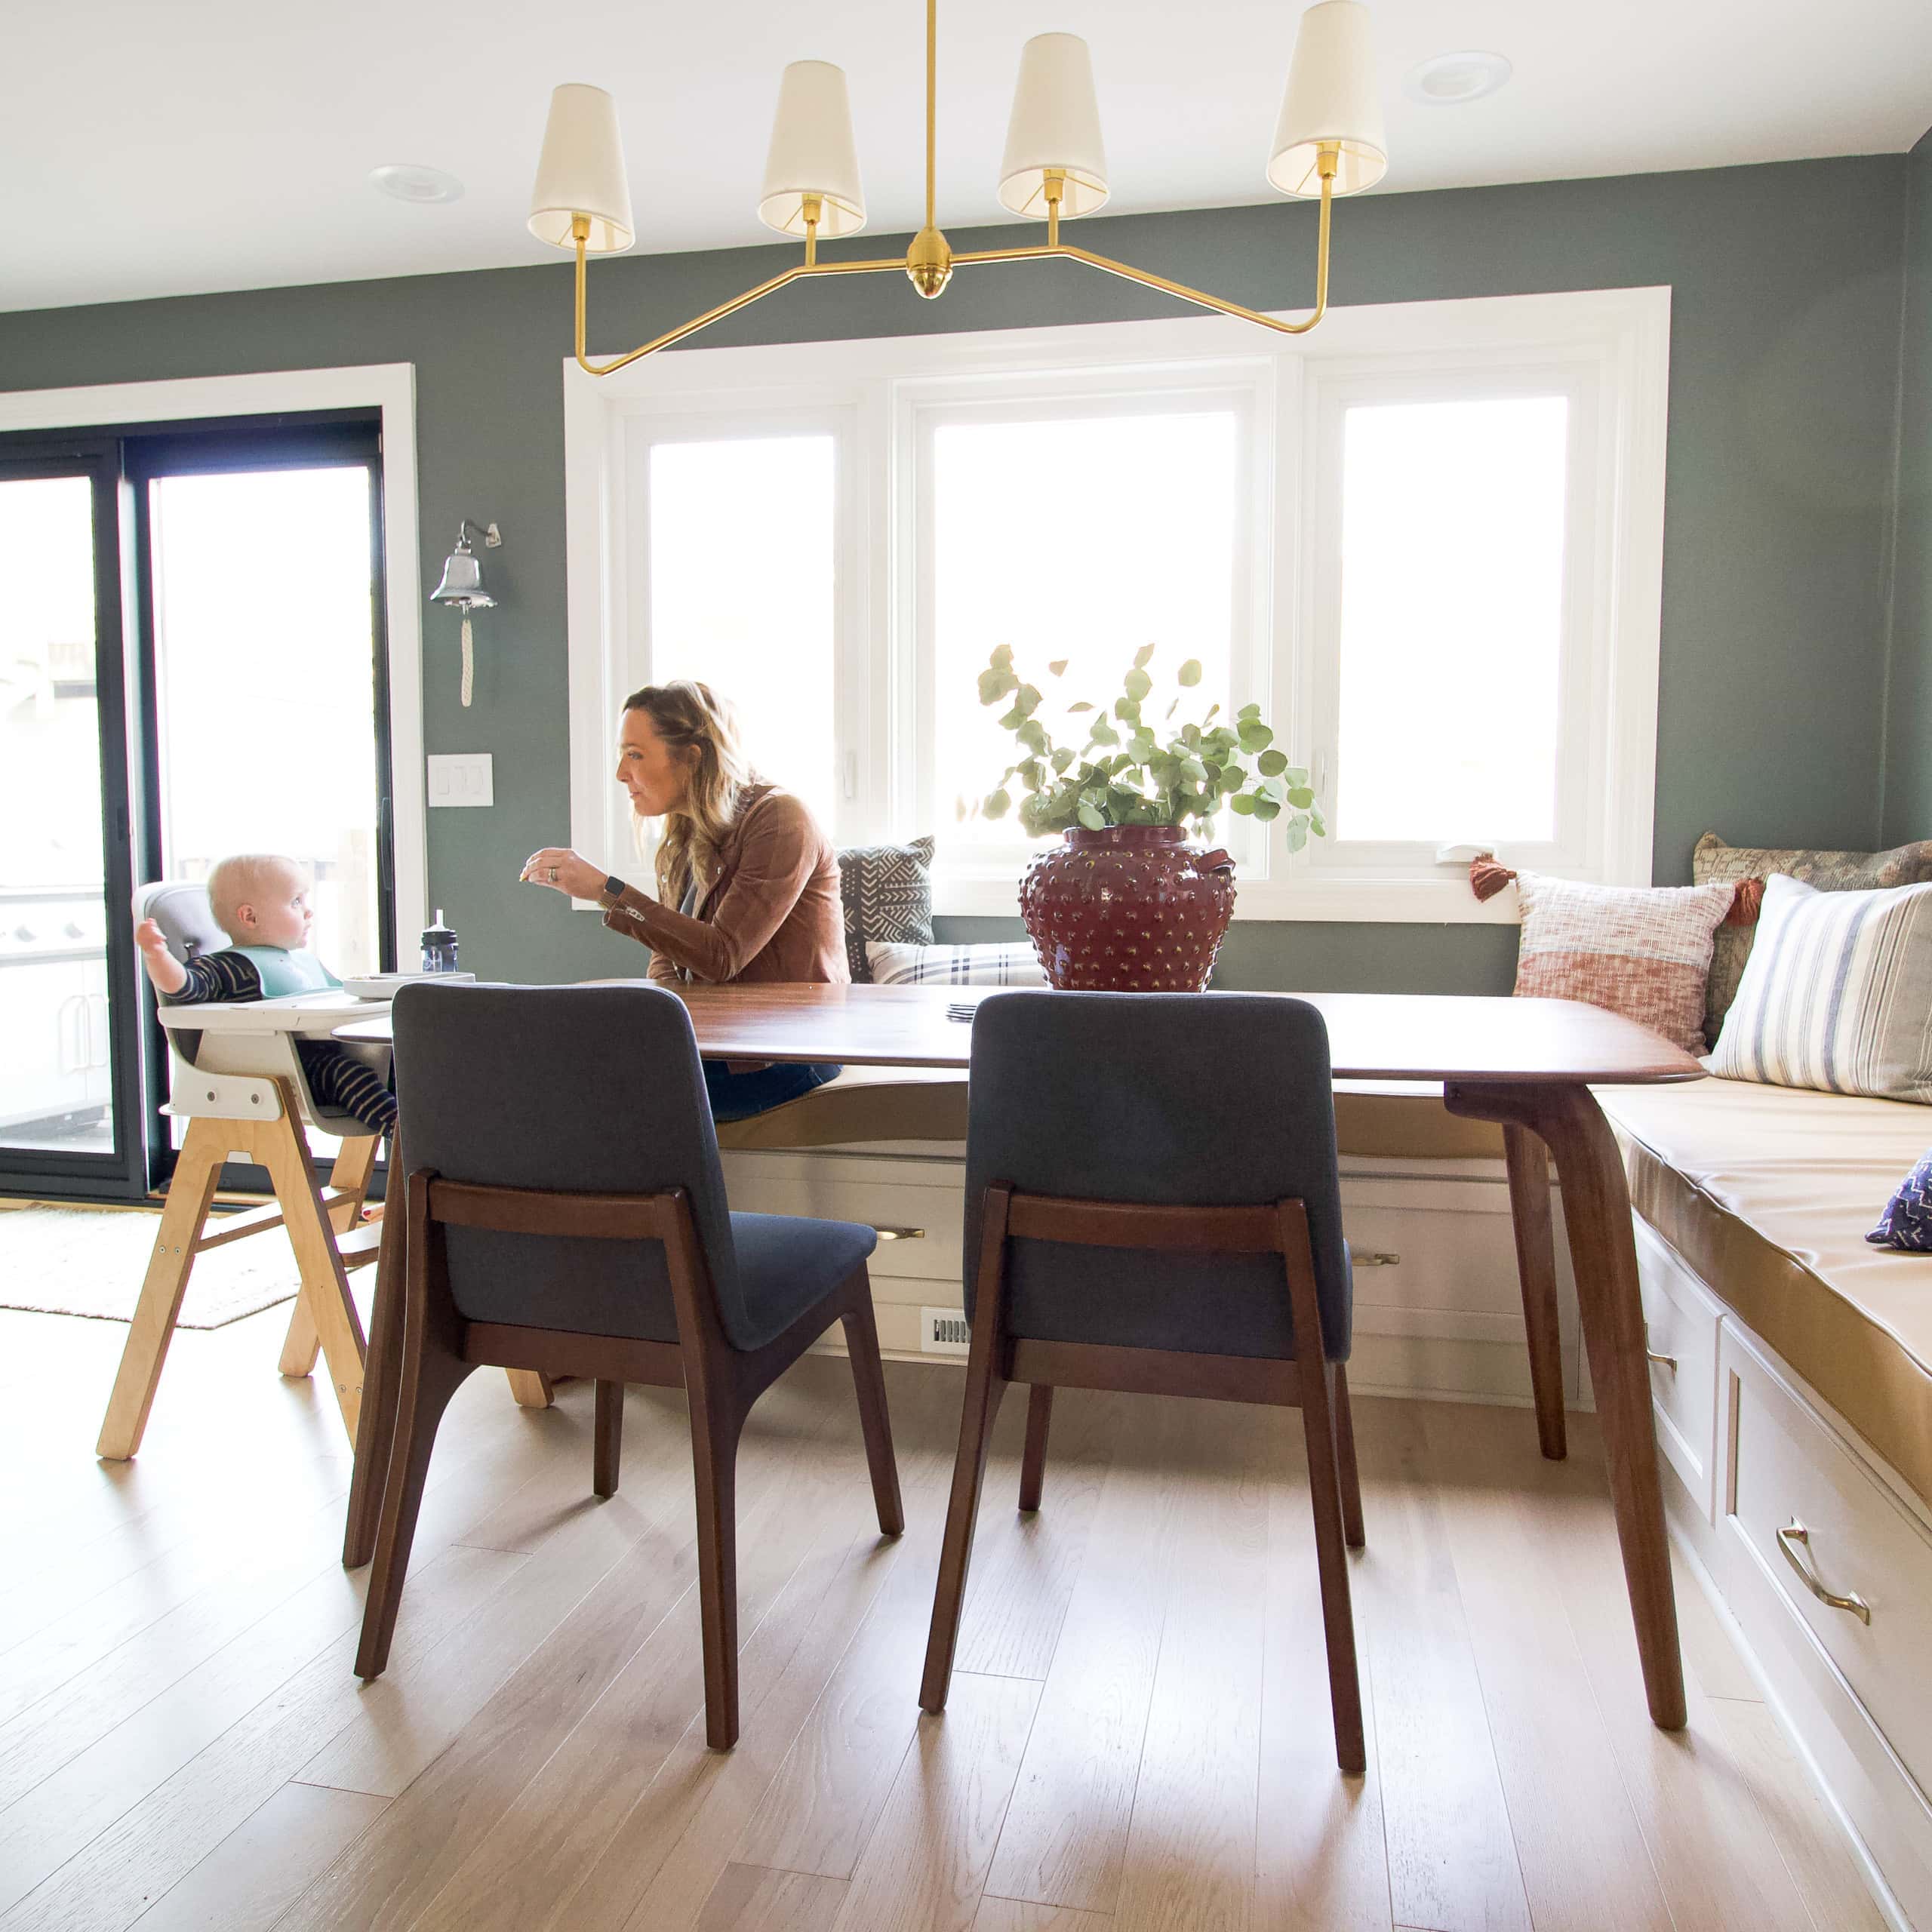
For one, we ended up getting new windows in here and we absolutely love them. In fact, we love them so much so that we’re actually replacing the rest of the windows on our first floor. Hopefully, the will be installed later this month! Once the new kitchen windows were in place, I decided that it was finally time to add some kitchen window shades in here.
Why Now?
I never actually thought that these windows needed shades. So many of you asked if we would be adding window treatments back here for privacy and the truth is it’s already super private. These windows look out to our backyard and garage, so our neighbors can’t see in.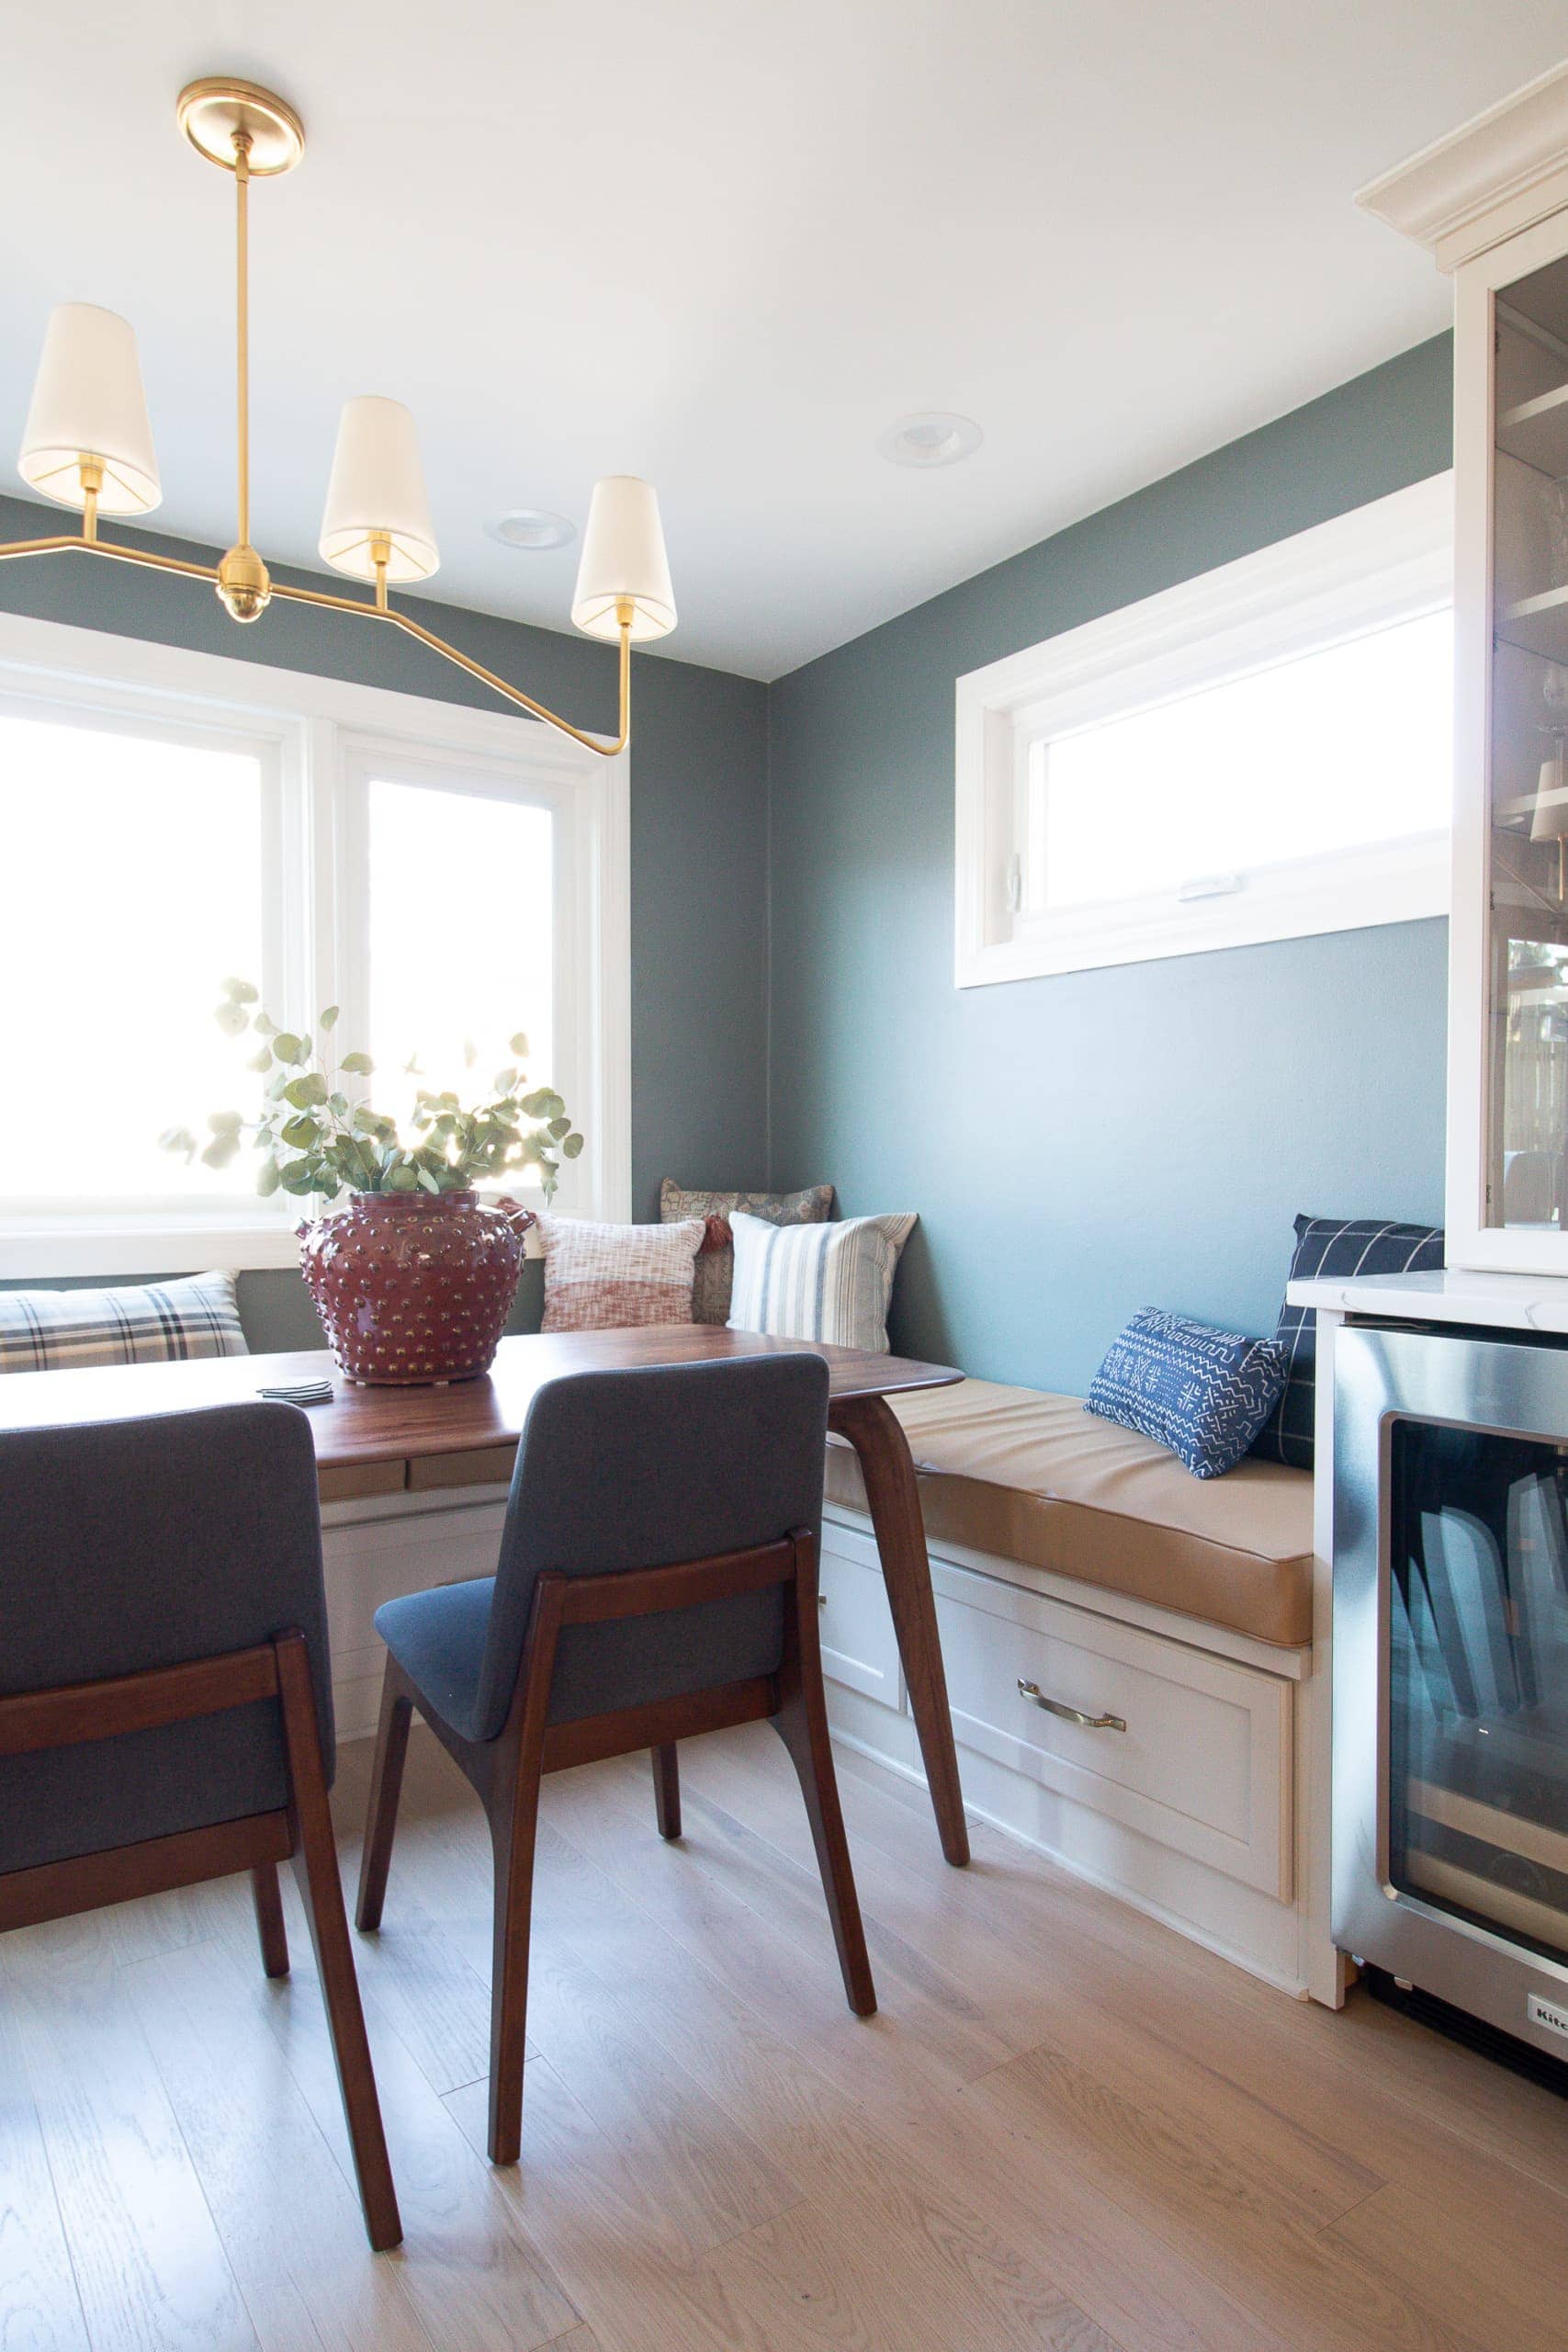
But what can get in is the sun. And now that it’s sunny and the days are longer (yes!), the sunshine streams right into these west-facing windows – no! We eat dinner between 5:30 and 6:00 pm (I know…it’s early! But we like to eat with Rory before she goes to bed) and if we’re sitting at the table on a sunny day we will be blinded by the light! After too many meals of squinting, I decided enough was enough – it was time for some kitchen window shades.
Choosing Kitchen Window Shades
Choosing the kind of window treatment for this space was actually super easy. I wanted them to be the same as the rest of the window treatments on our first floor.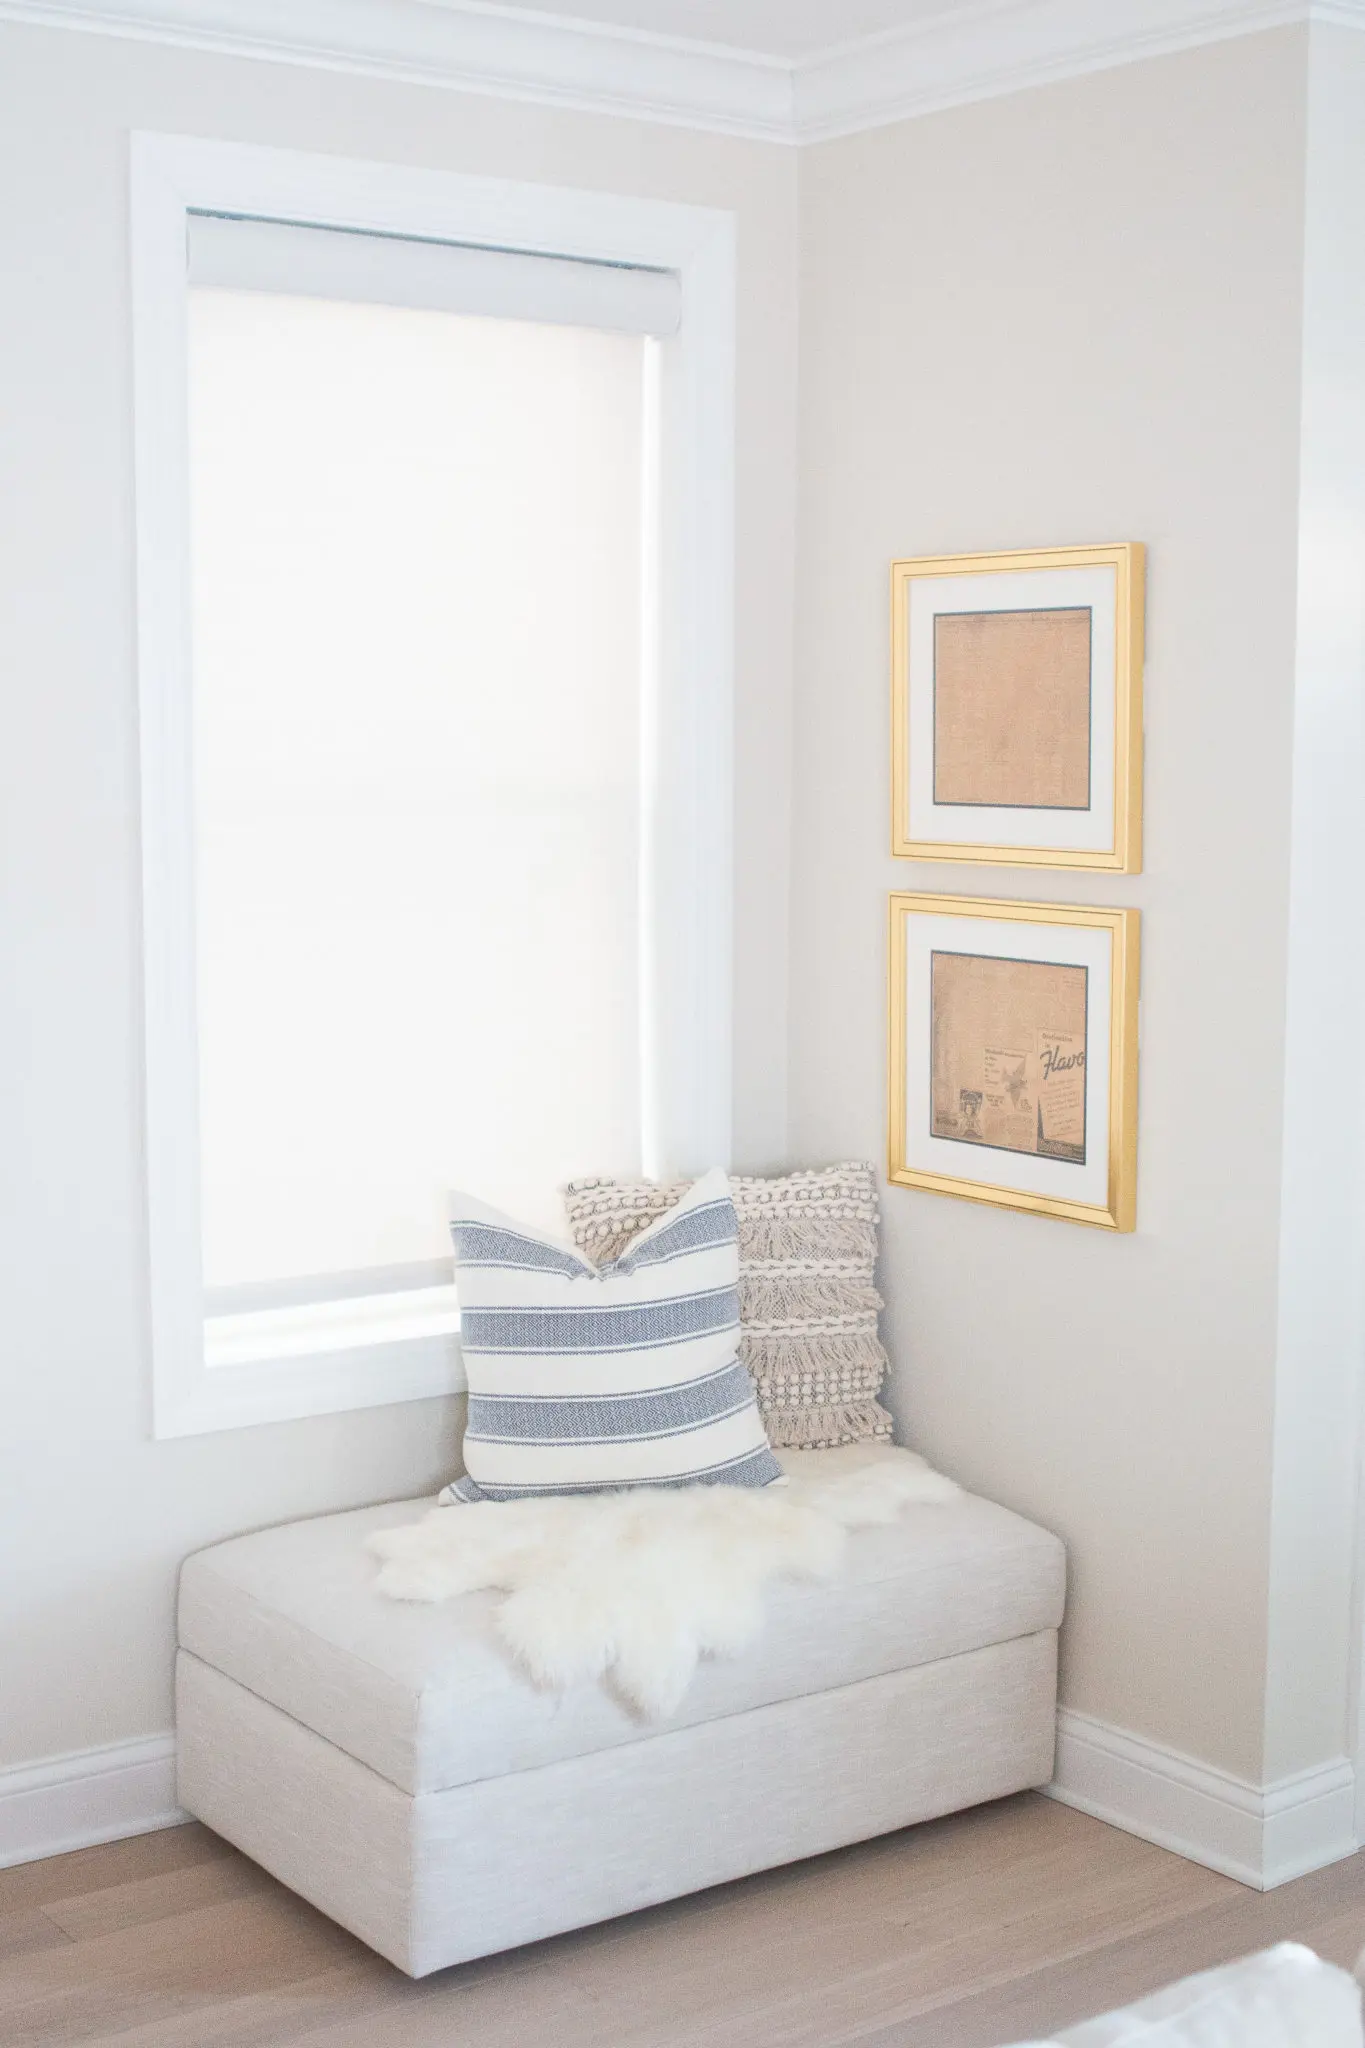 If you remember this blog post, I installed these solar shades in our living room from Lowe’s Home Improvement. We’ve absolutely loved them because they give us privacy, block out the sunshine, and really blend into our existing windows.
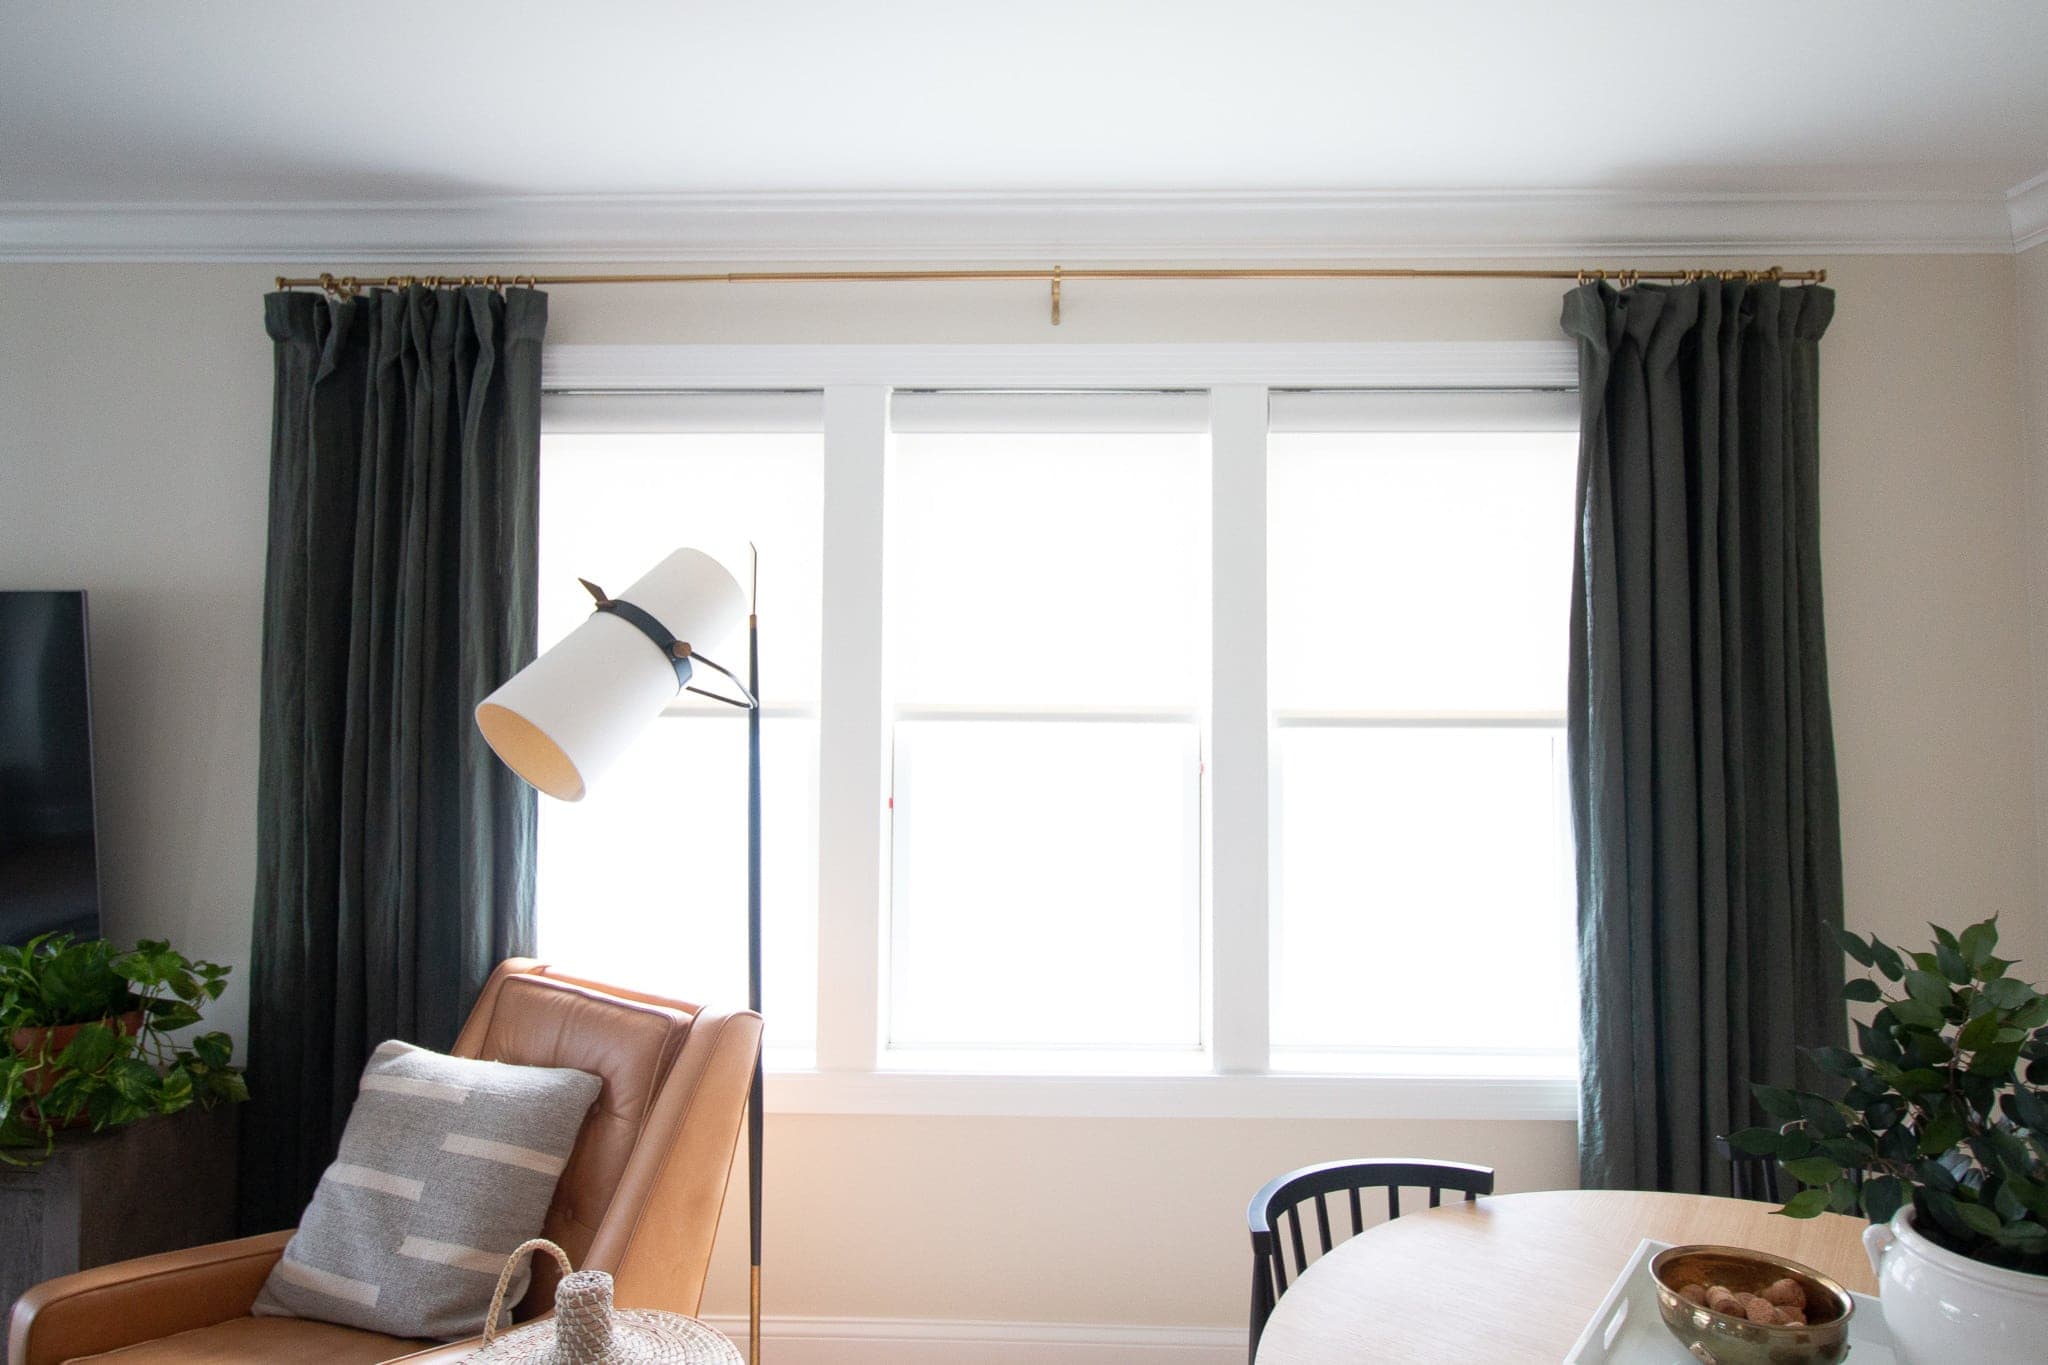
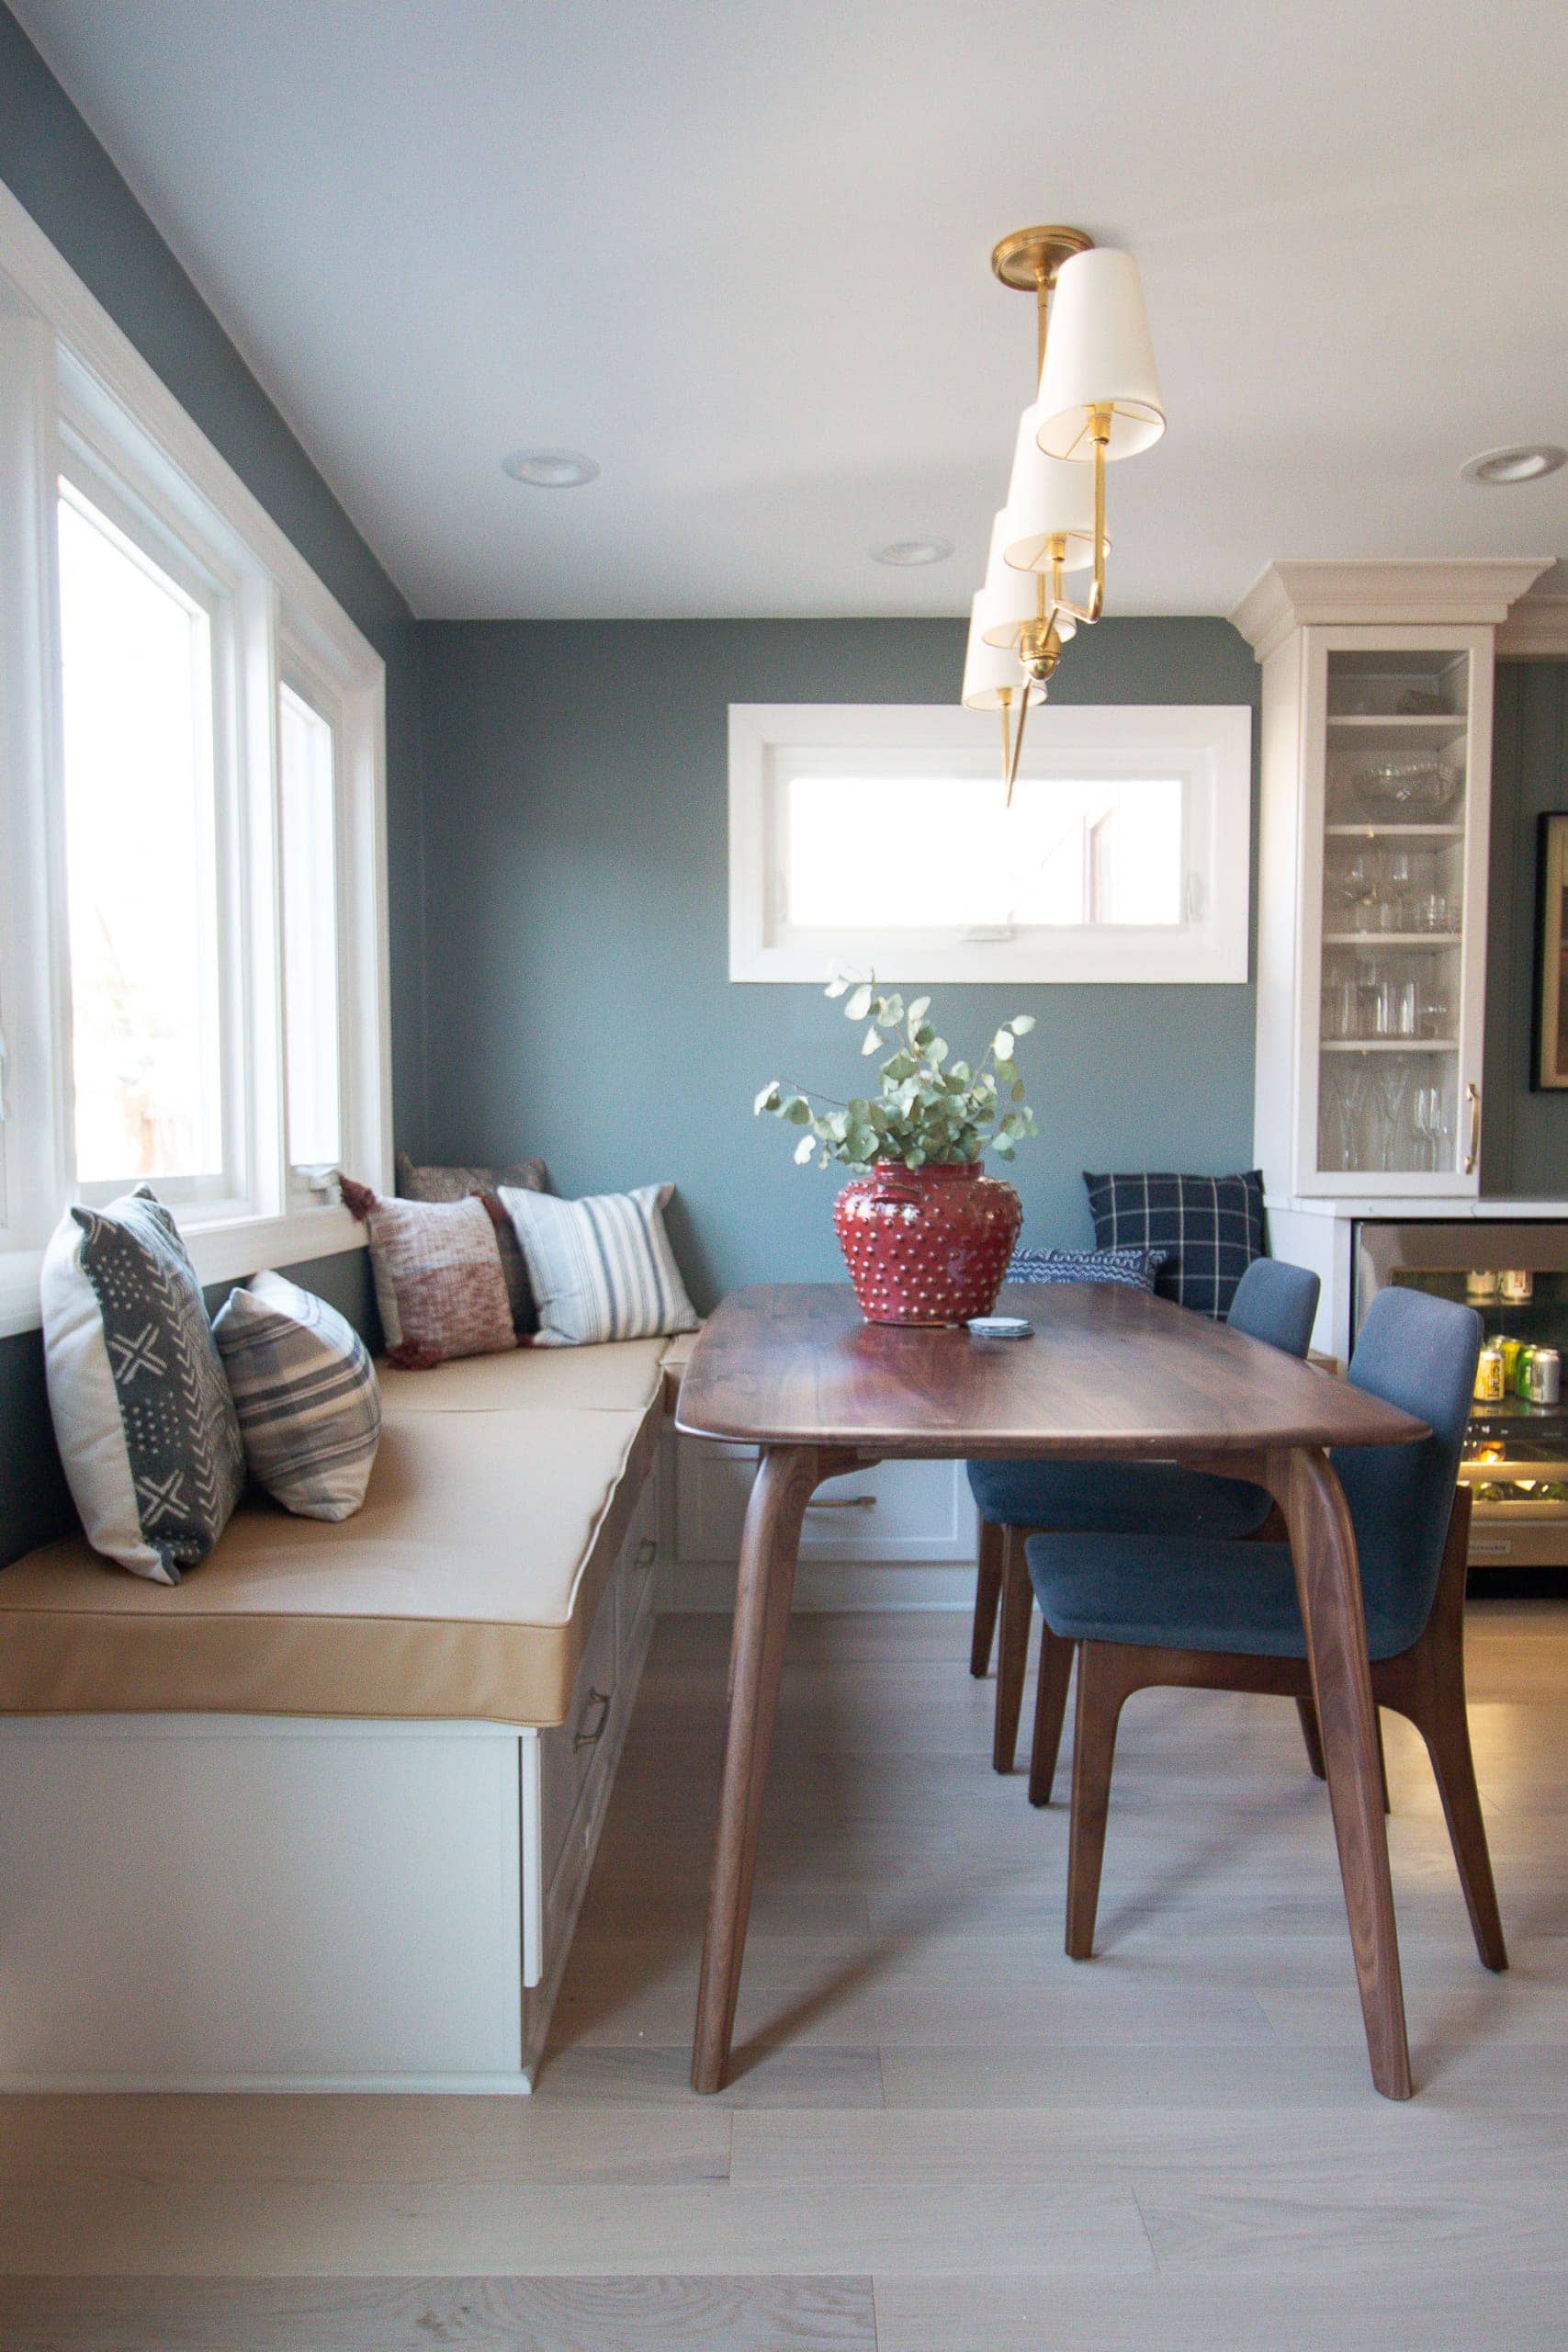
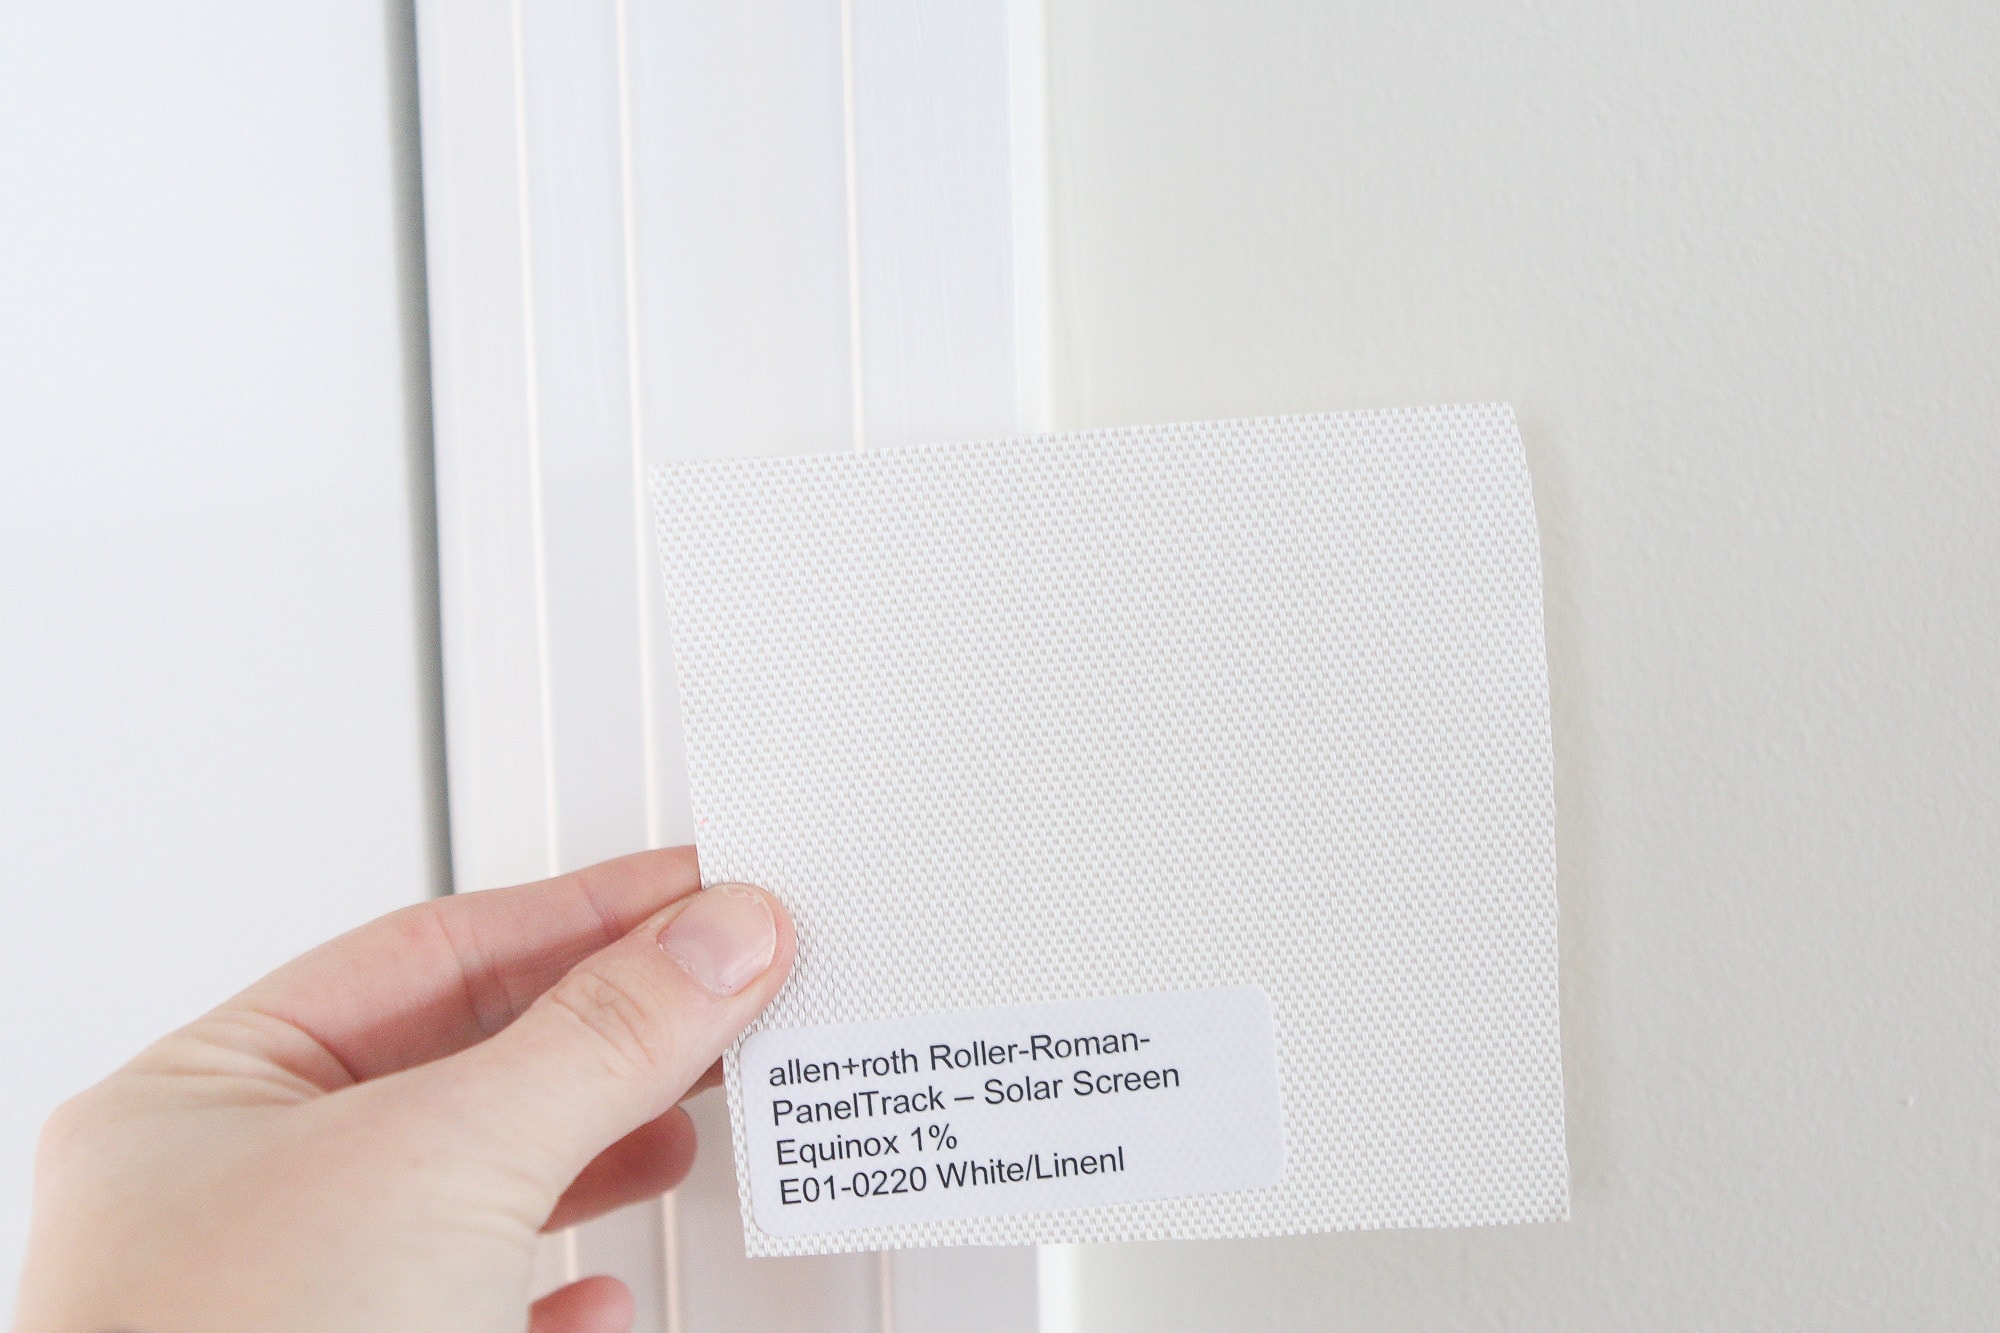
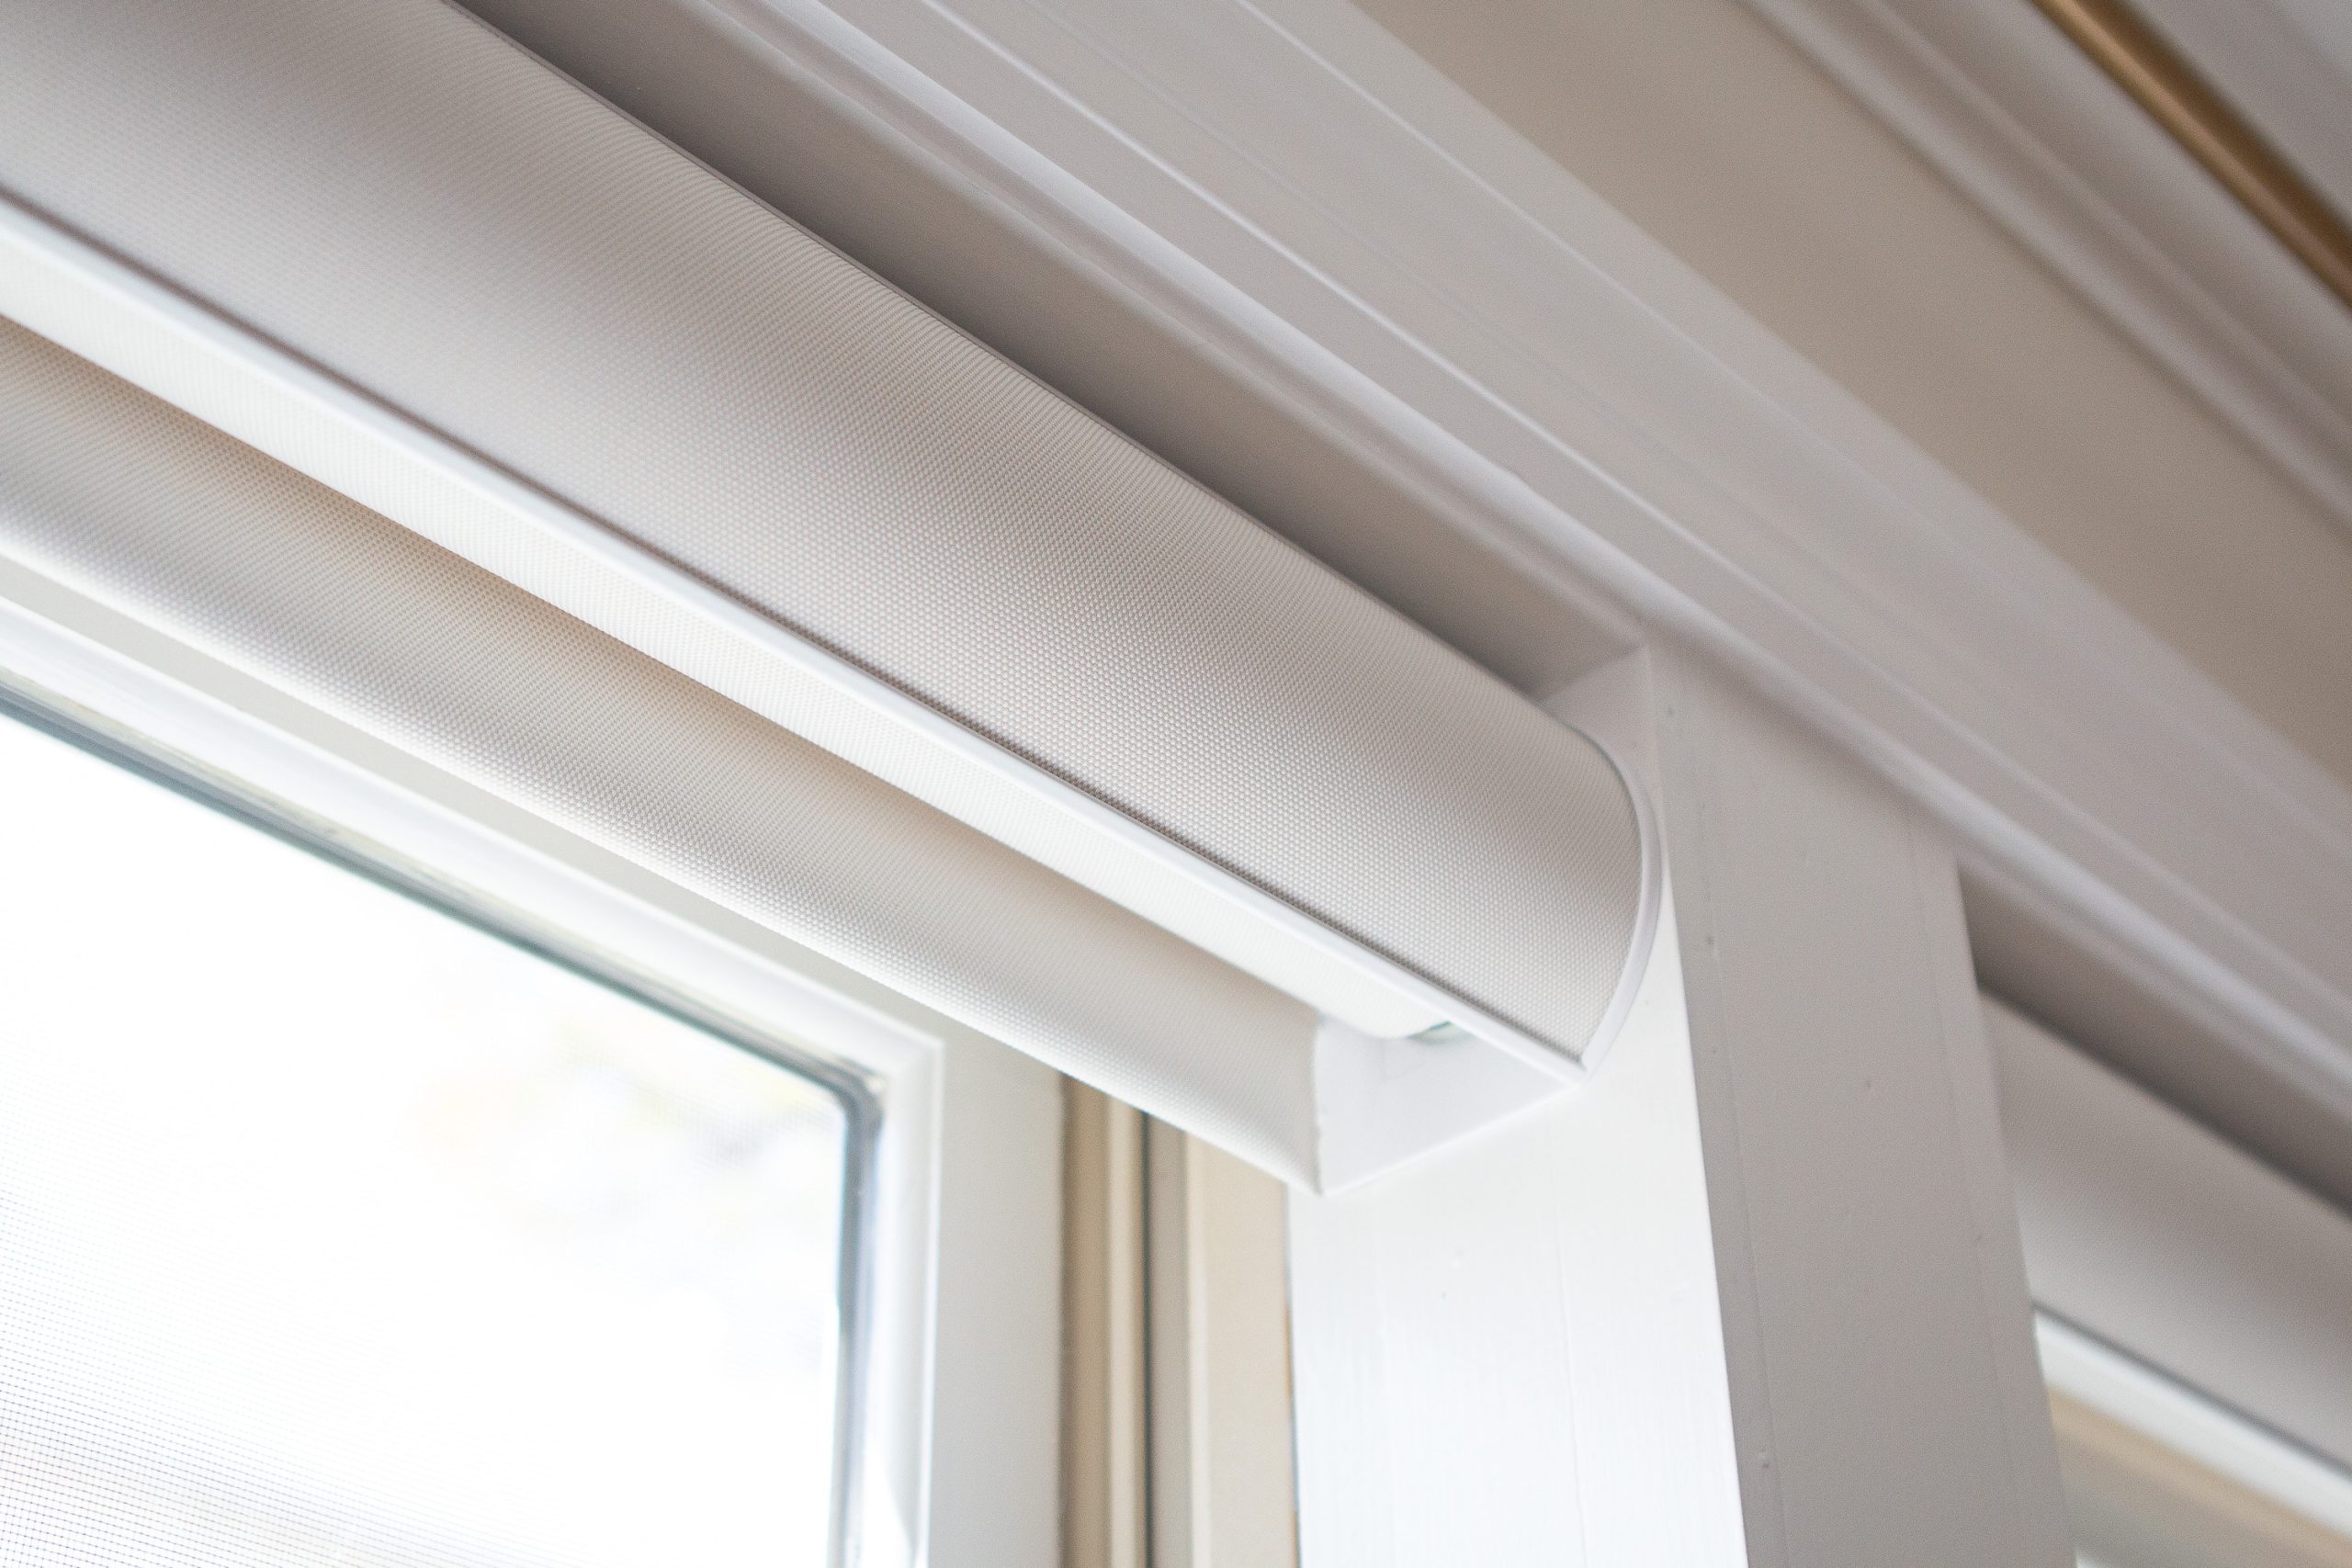
For the kitchen, I ended up ordering the same Allen + Roth solar shades in the color white/linen at 1%. These are inside mounts with a cordless lift and a weighted pocket hem. They’re almost identical to the shades in our living room with one adjustment…
Take Note of Your Window Depth
When ordering window treatments, you must take the depth of your window frame into account. I’ve ordered shades before without considering this and I’ve been left with shades that stick out way past the trim or can’t be installed at all! (That’s the worst, so measure carefully!)
Our living room windows are very deep, so this wasn’t a worry when I ordered those shades. In fact, I was even able to install a valance (a decorative piece that hides the rolled-up shades) at the top. You can view it in the photo above. 
Our kitchen windows are only about two inches deep at the top and these shades called for a minimum of two inches in order to have an inside flush mount. I barely made it! But because of the shallow depth, I wasn’t able to add a valance, so that’s really the only big difference between the kitchen window shades and the ones in our living room.
Oh, and I do want to note that these only took about two to three weeks to arrive, which seems so fast during these times! Earlier this year, I installed shades in my mom’s bedroom and those took months and months, with many delays, to finally arrive. So that’s something to keep in mind if you have a window treatment project on your hands.
Let’s Talk Cost

I’m not gonna lie, window treatments of any kind are expensive. They are not something I love spending money on, but if you’re using them every single day, and operating them up and down constantly, you want them to work well. Plus, if your windows are random sizes, you’ll often have to go with custom shades. These three shades cost me $515 total and I got them from Lowe’s. I’ve also had success with Select Blinds – they often have good sales – and their pricing is similar.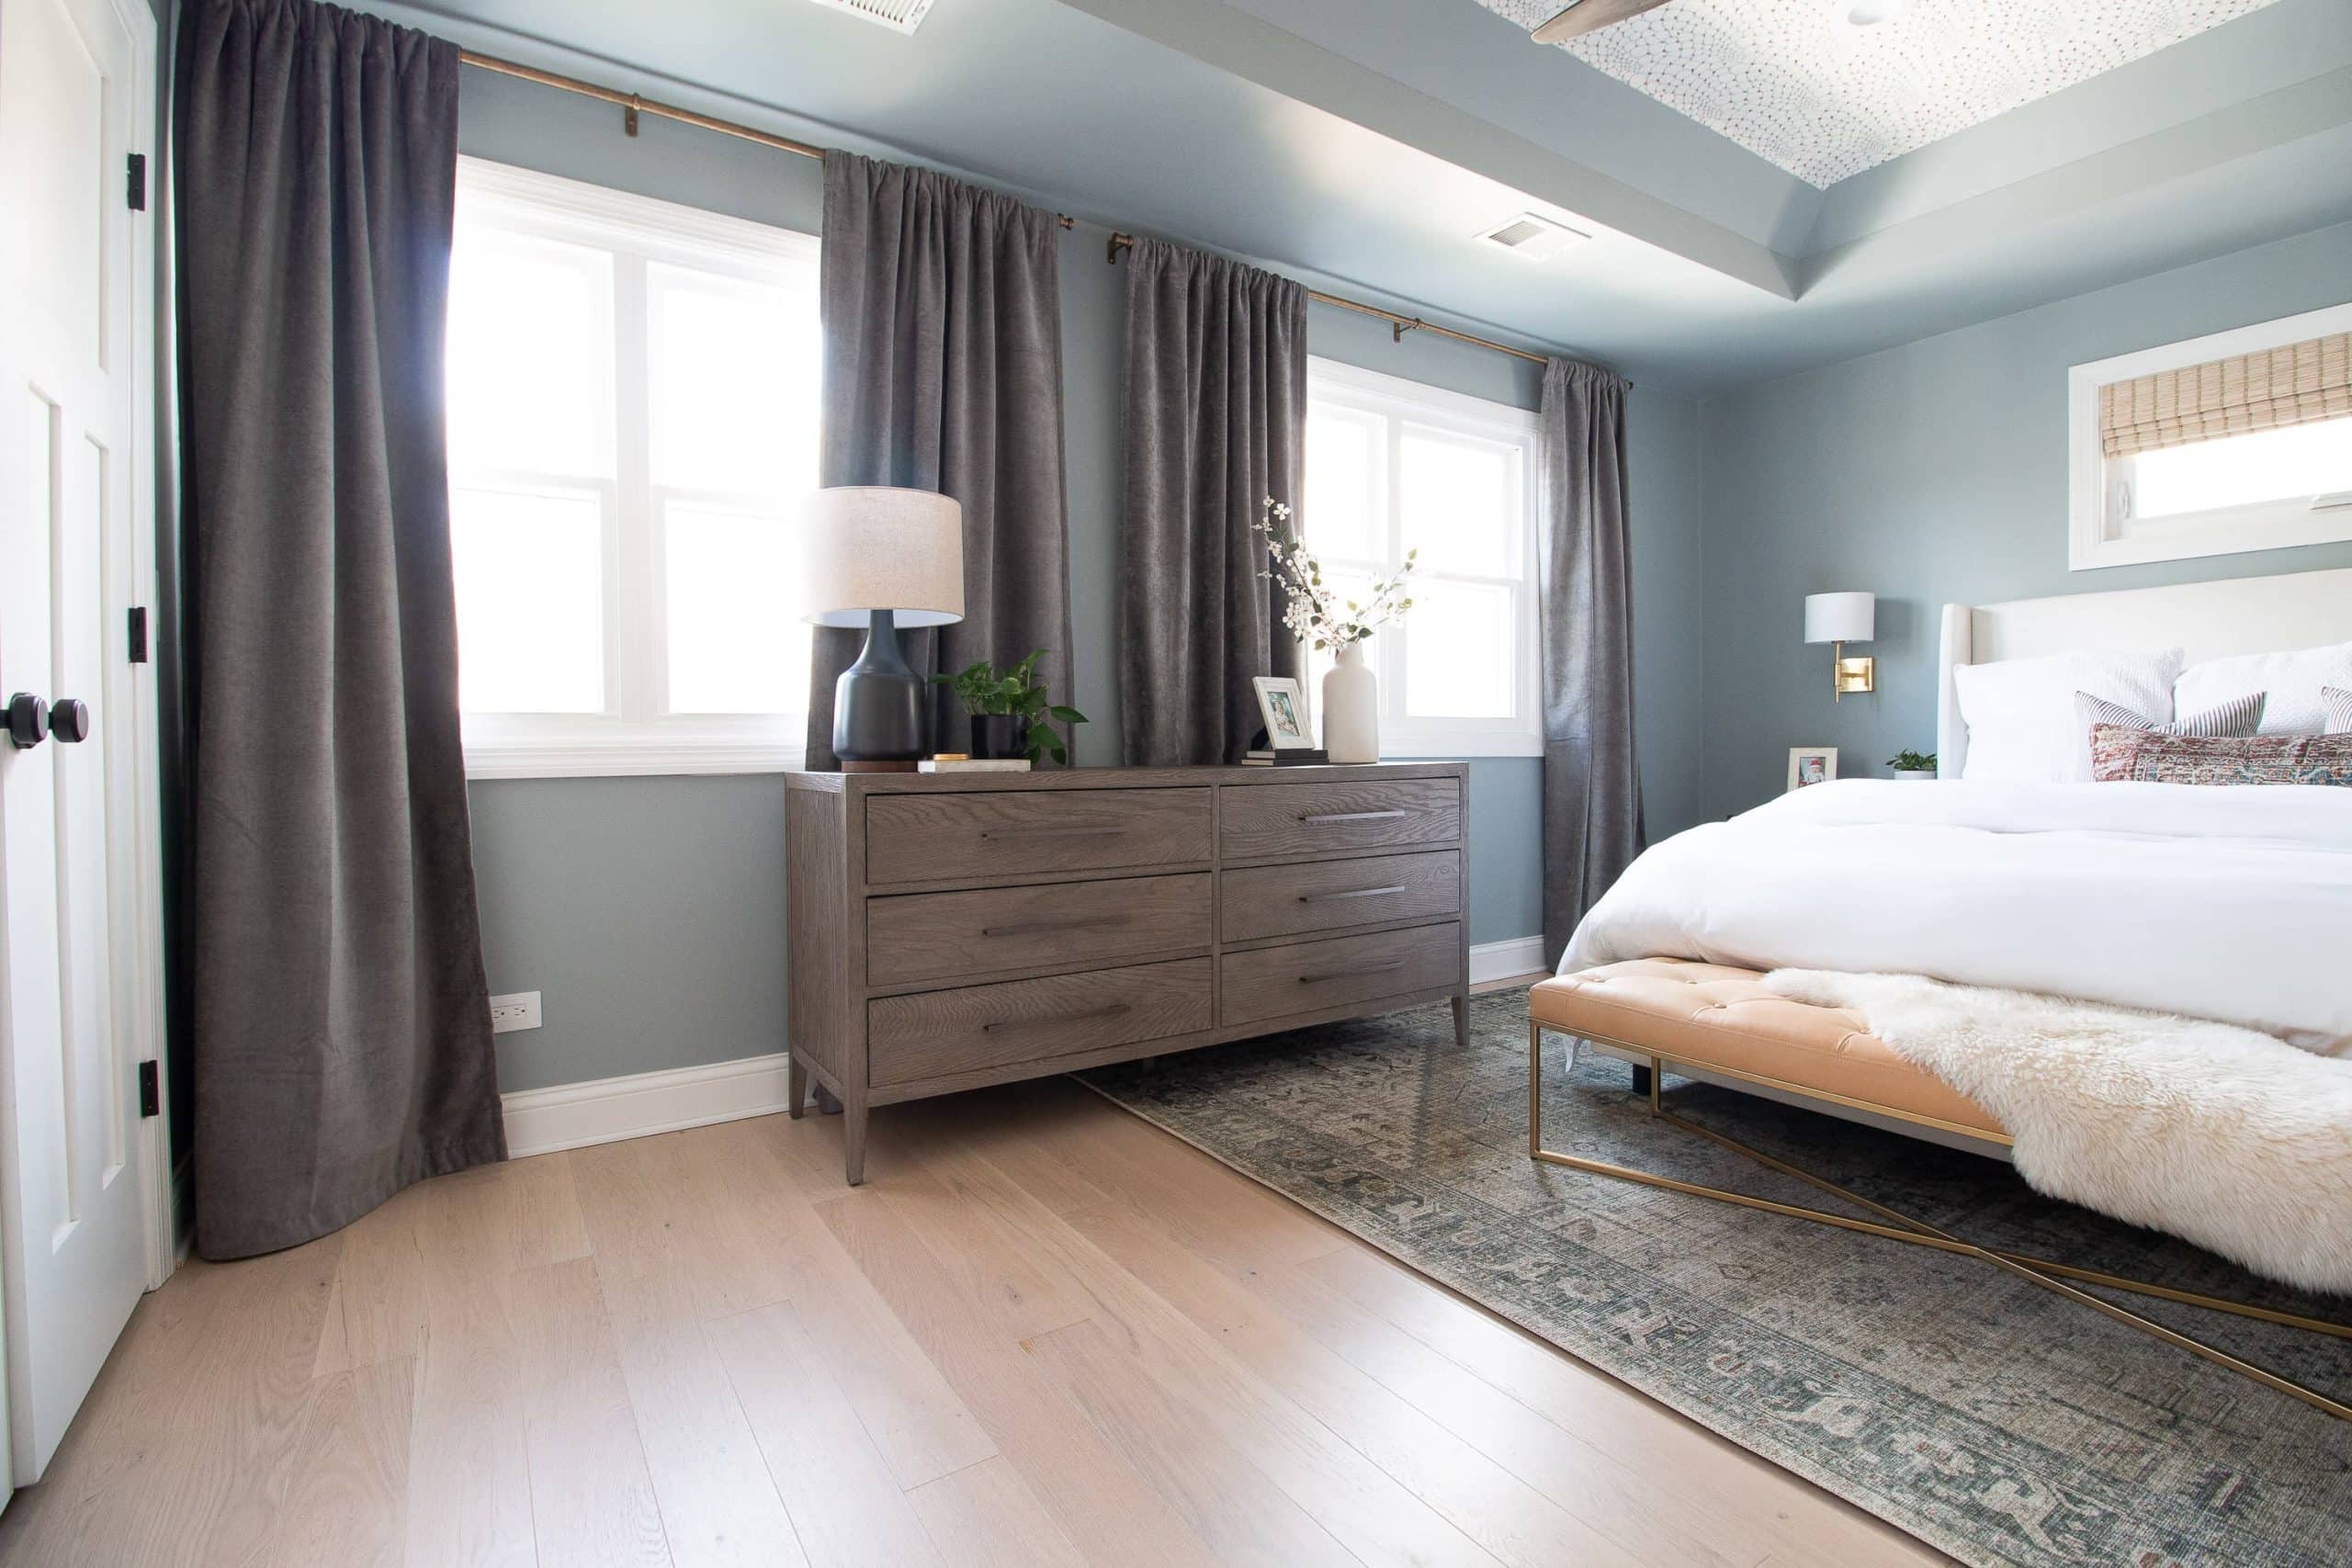
While curtains wouldn’t work for this particular space, they can sometimes be more cost-effective. However, when you add up the rod, rings, fabric, and any blackout liners you might need, those prices rise! All this to say, window treatments are a necessary home expense and you’ll often have to pay a bit more for custom shades that function well.
Tips to Install Kitchen Window Shades

I’ve shared lots and lots of tutorials for window treatments here on the blog and I’ve linked them all at the bottom of today’s post. I’ve got to say…these shades might be some of the easiest I’ve ever installed. And that’s because I didn’t even really have to measure, which always a good thing! I’ll share some of my tips along the way…
Mark Your Hole
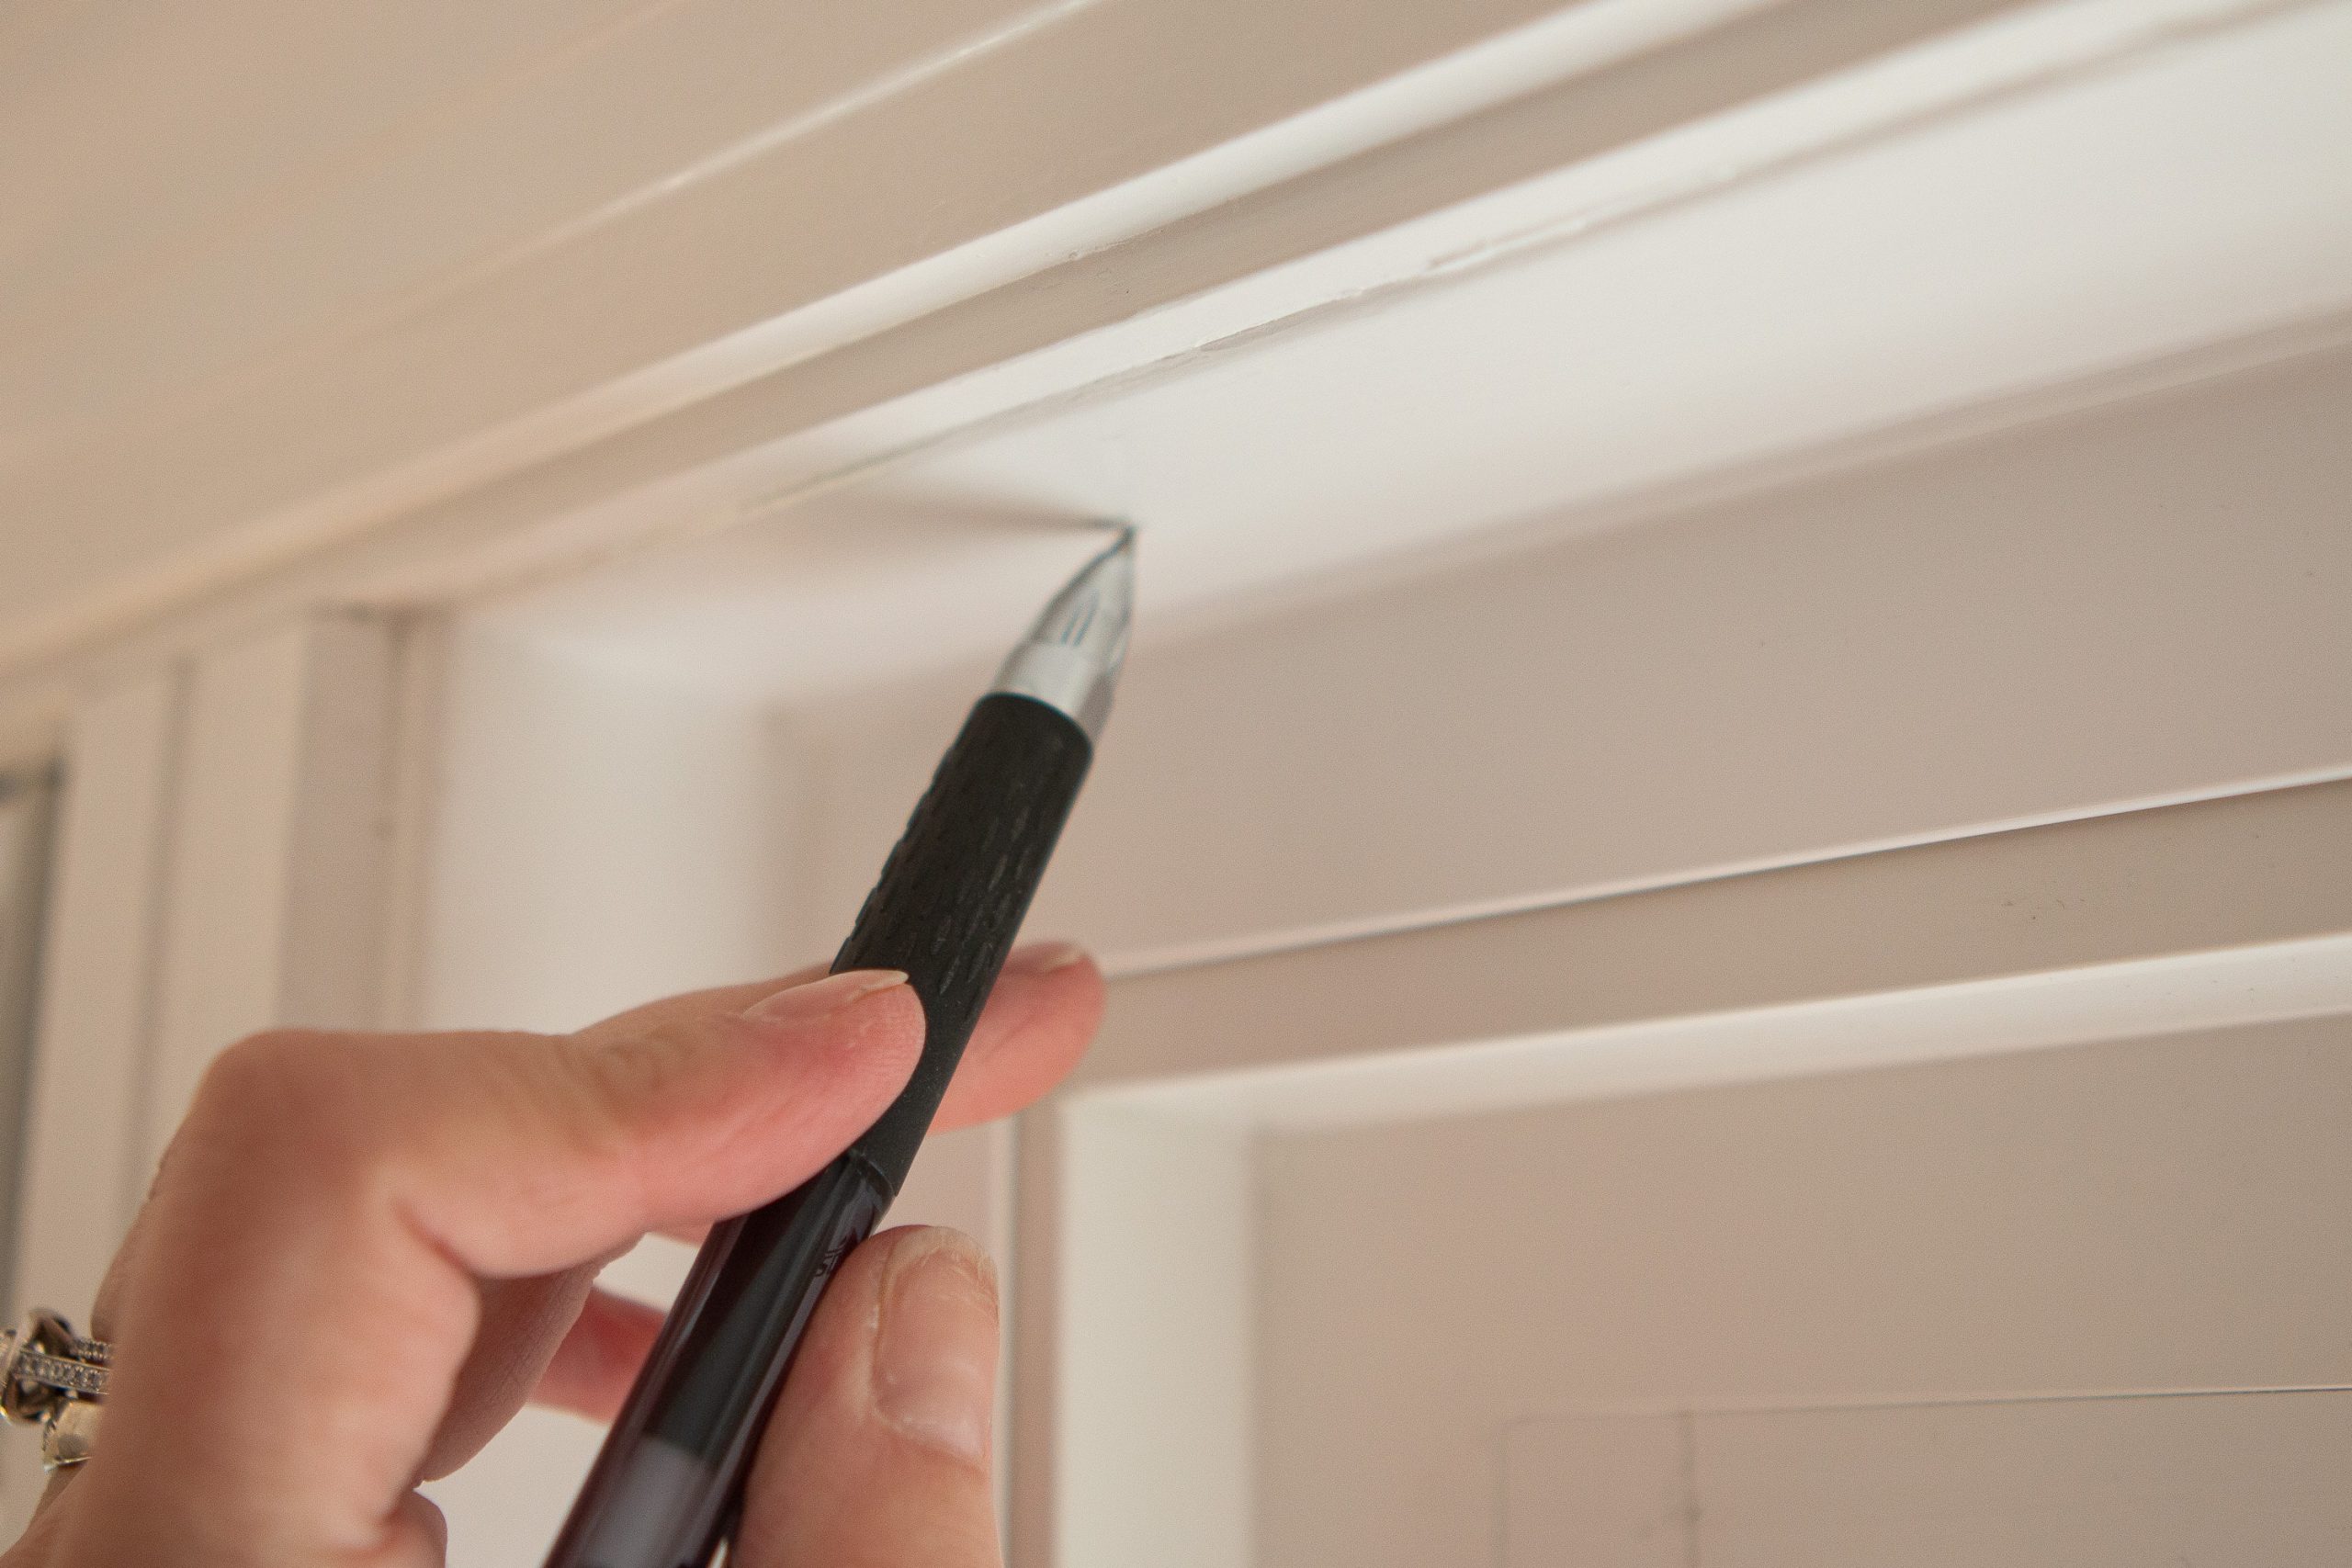
Usually, when you install window treatments, you have to measure in from the sides so your hardware is placed correctly. (If I’m installing multiple shades, I often make a template to save time. This post explains the process for that.) However, with these shades, you can install the hardware anywhere along the length of the top of the trim. That meant I could just mark the top and go!
Drill a Pilot Hole

Pilot holes are always a good idea because having a starter hole for your screw is so much easier when drilling into just about anything. I usually just eyeball the diameter of the provided hardware and try my best to find a pilot bit with a similar diameter. 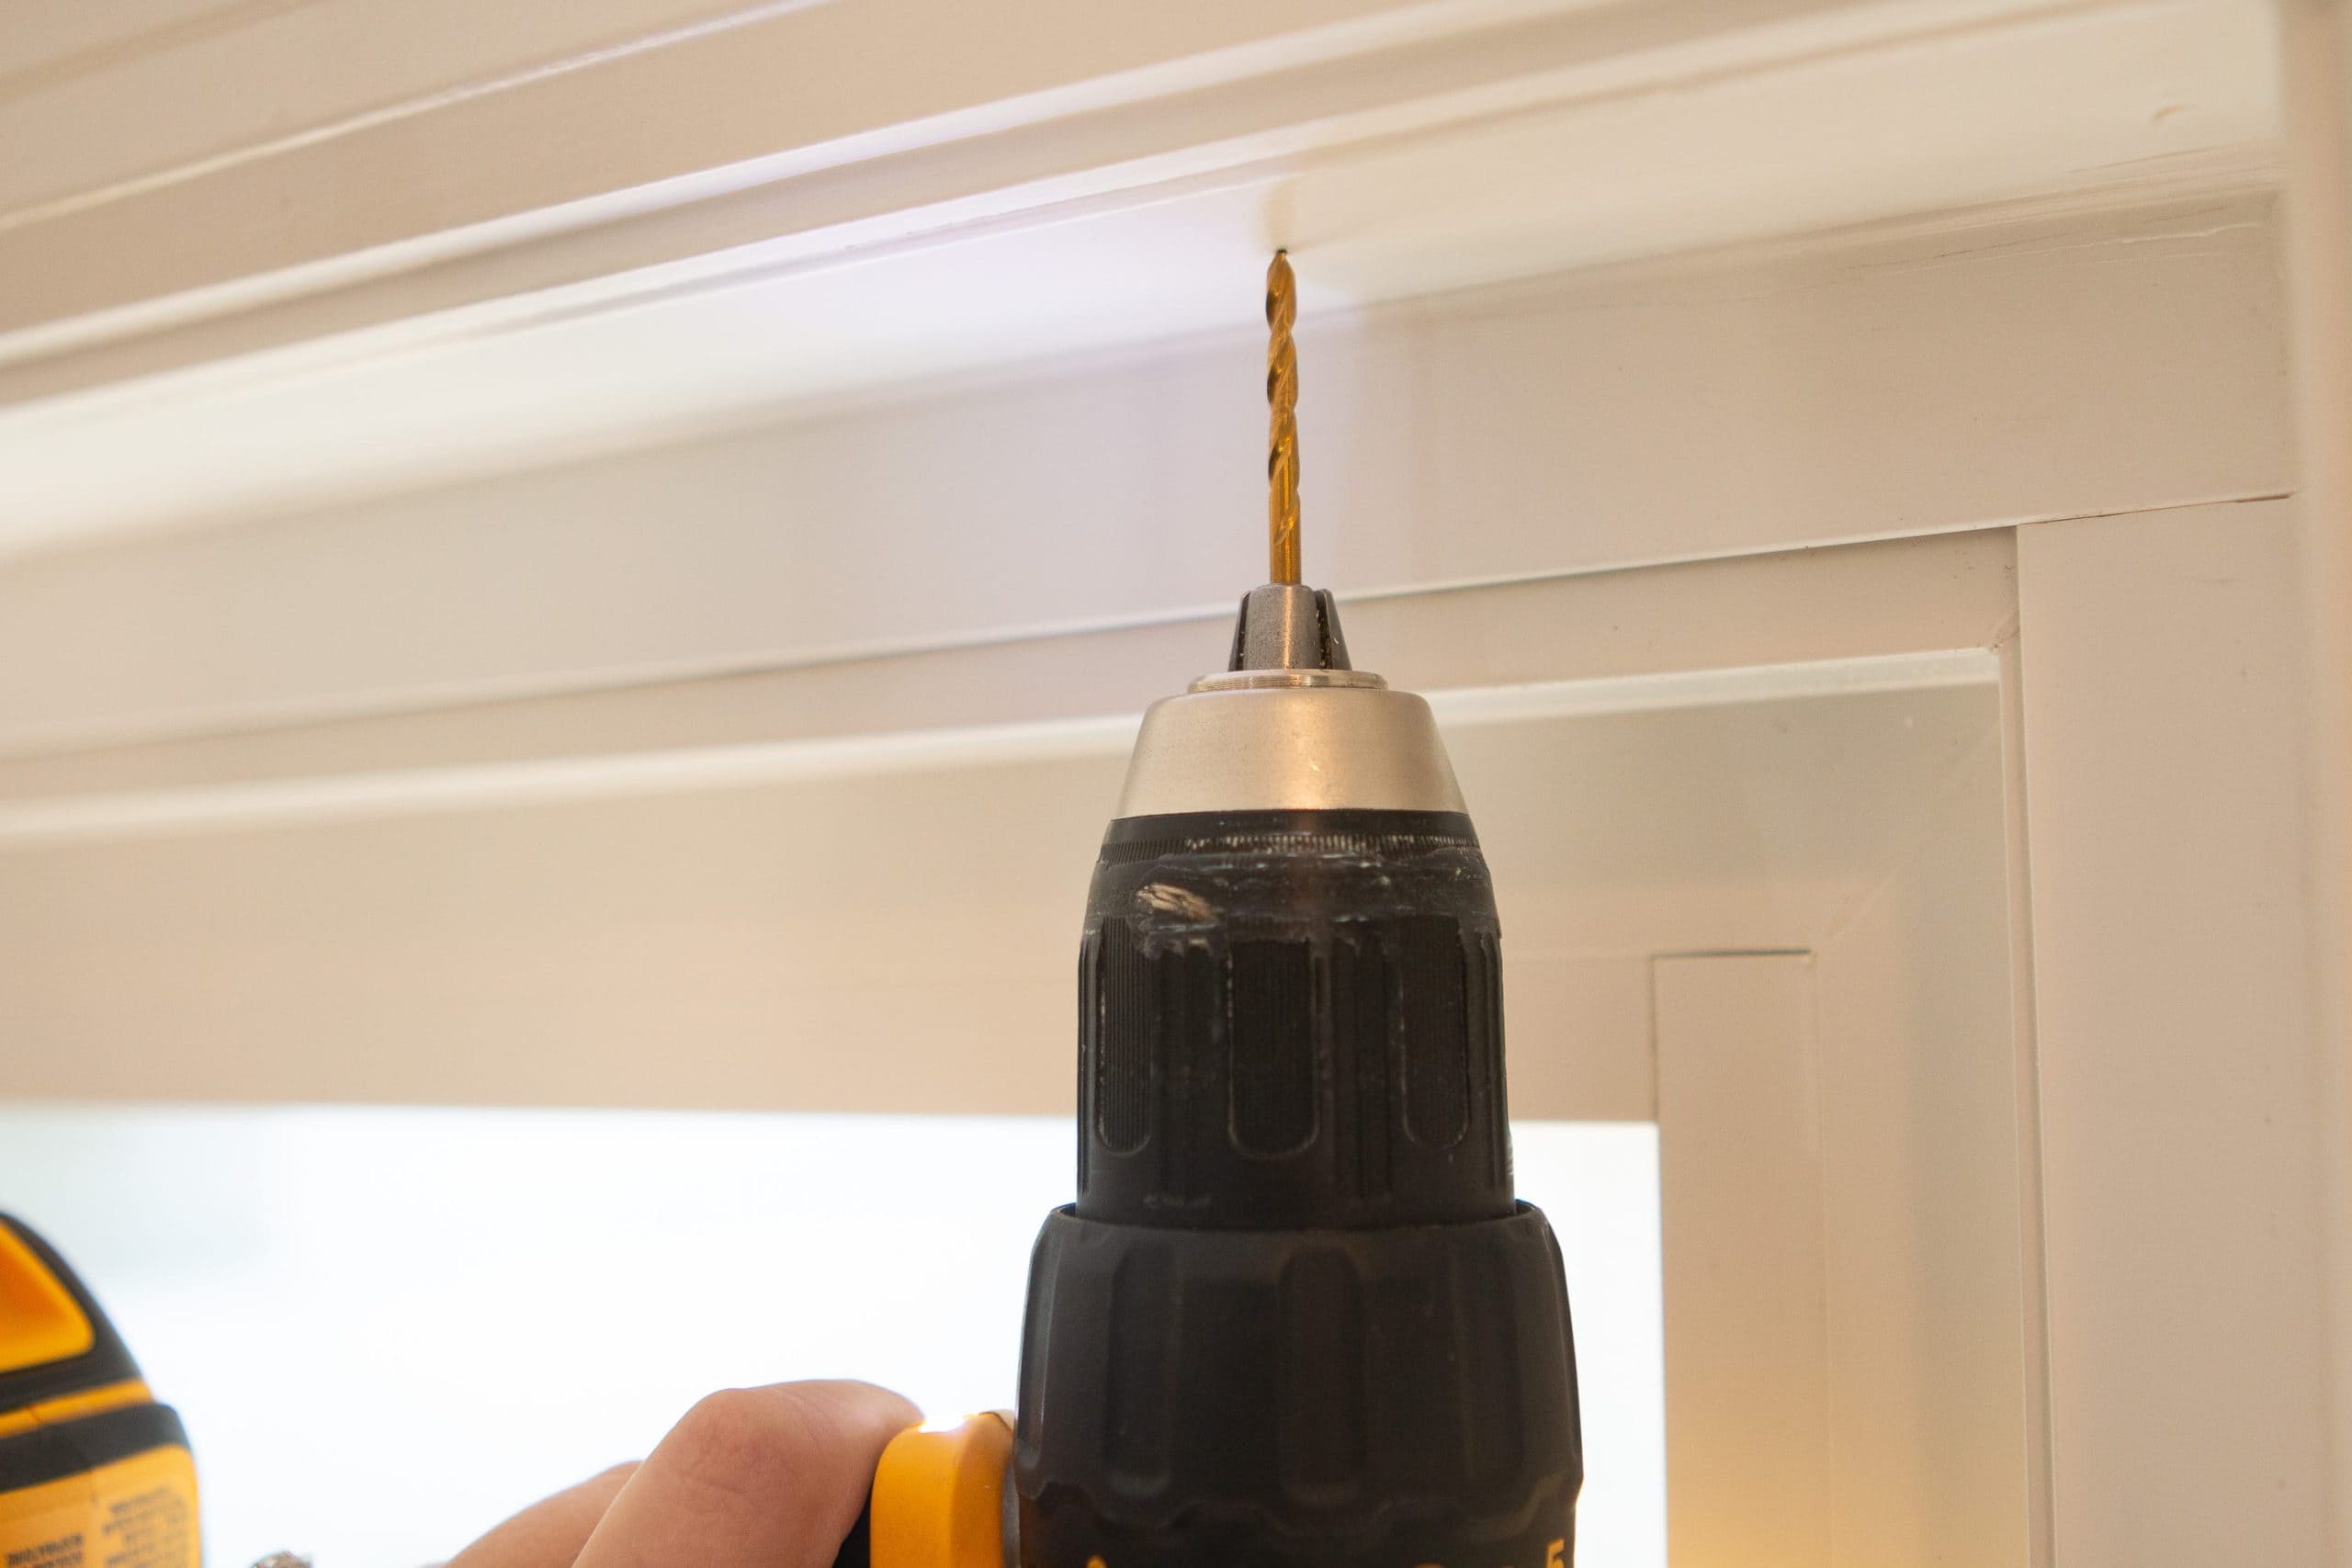
Each window only called for one pilot hole on each side, so it was quick work! (Quick note: If you need some tips for using your drill, I have a beginner’s guide right here. Installing window treatments is a DIY that anyone can tackle and it’s great for a newbie DIY’er.)
Use a Hex Socket Nut Bit

Now, this is a new-to-me tip. I’ve often complained about the hardware that comes with items like window treatments, especially when flathead screws are included. (They are my least favorite because the drill slips so often!) Well, I now feel like a dummy because most of the time those same screws are shaped to work with a hex socket nut bit. 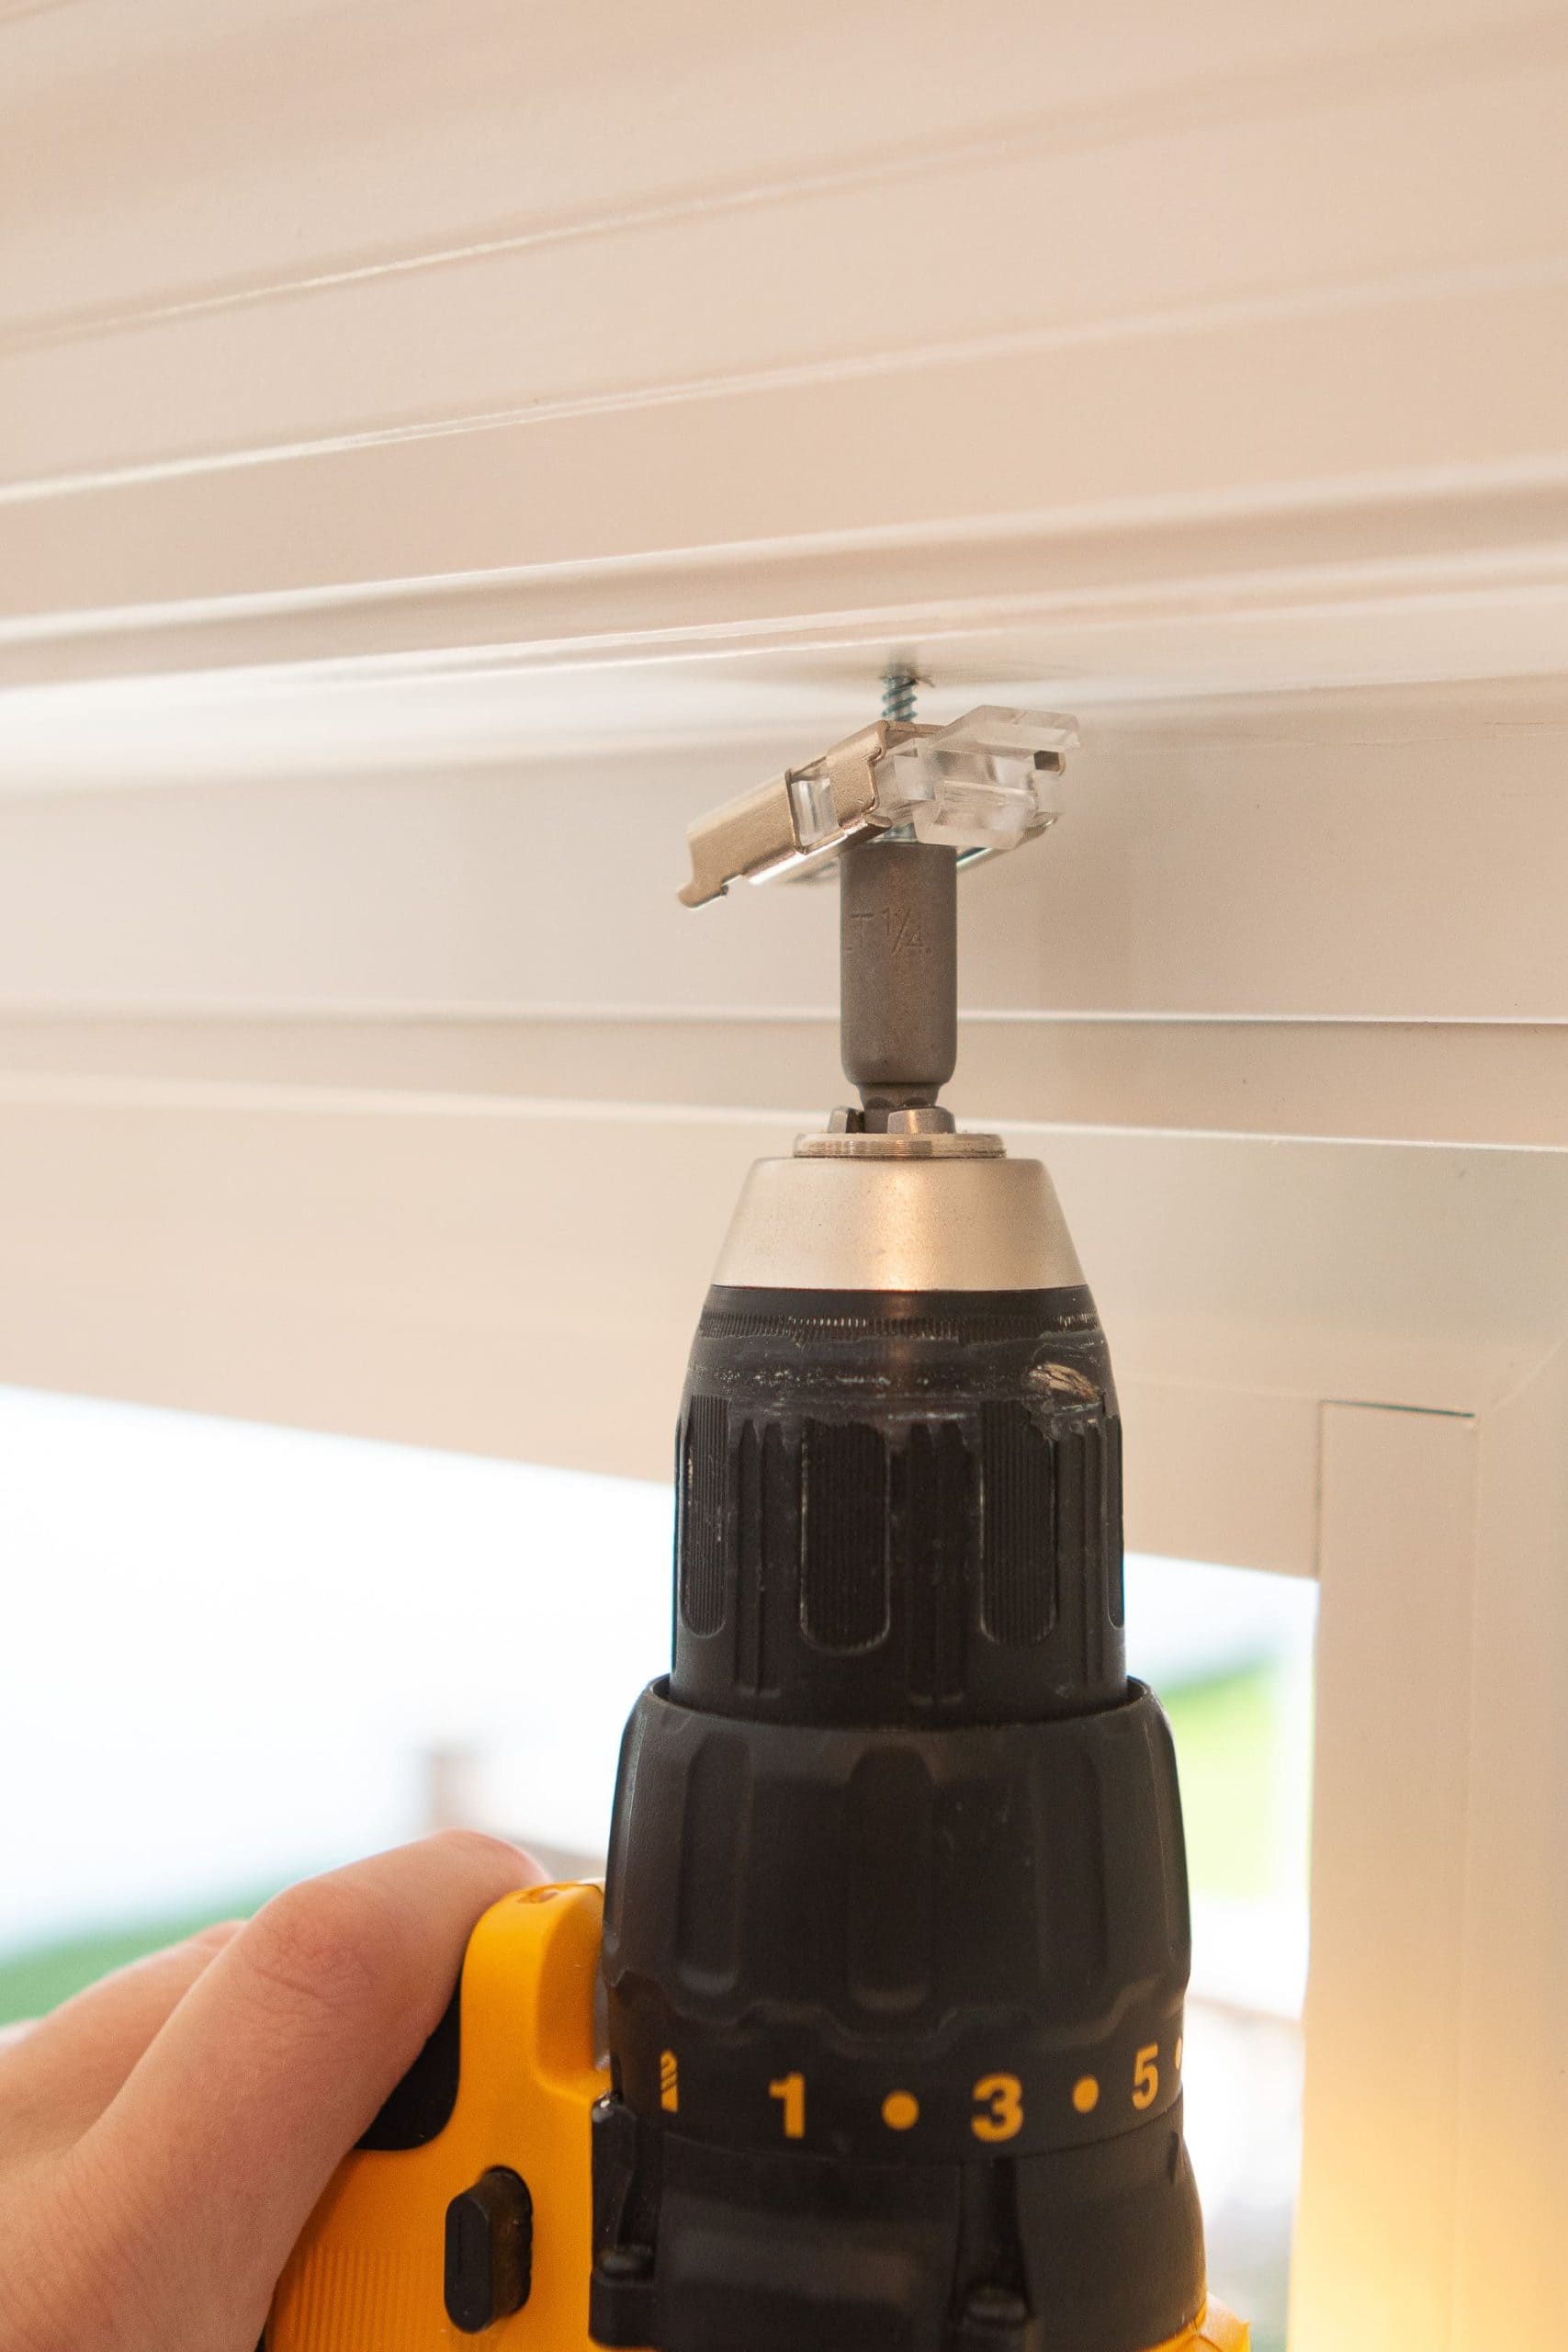
A hex socket nut bit is a gamechanger. It goes all the way around the outside of a screw; it’s usually magnetic to hold the screw in place; and it snuggly holds it when you drill. That means no stripping the screw and no slipping with your drill. I found a bit to fit these particular screws and whoa…gamechanger!
Snap In Your Shade (The Right Way…)
With all of my hardware installed – six pieces for my three windows – it was time to snap in the actual window treatments. On the first window, I ended up snapping it into place backwards. Ugh. I got the other two in just fine, but I could not for the life of me figure out how to snap the shade out to flip it around to the correct side.
It ended up taking both Finn and me thirty minutes with a butter knife to figure out how to snap the shade on and off. I don’t even know what technique ended up working in the end. I was just thrilled to snap it off and get it back into place correctly. Sheesh!
Our New Kitchen Window Shades

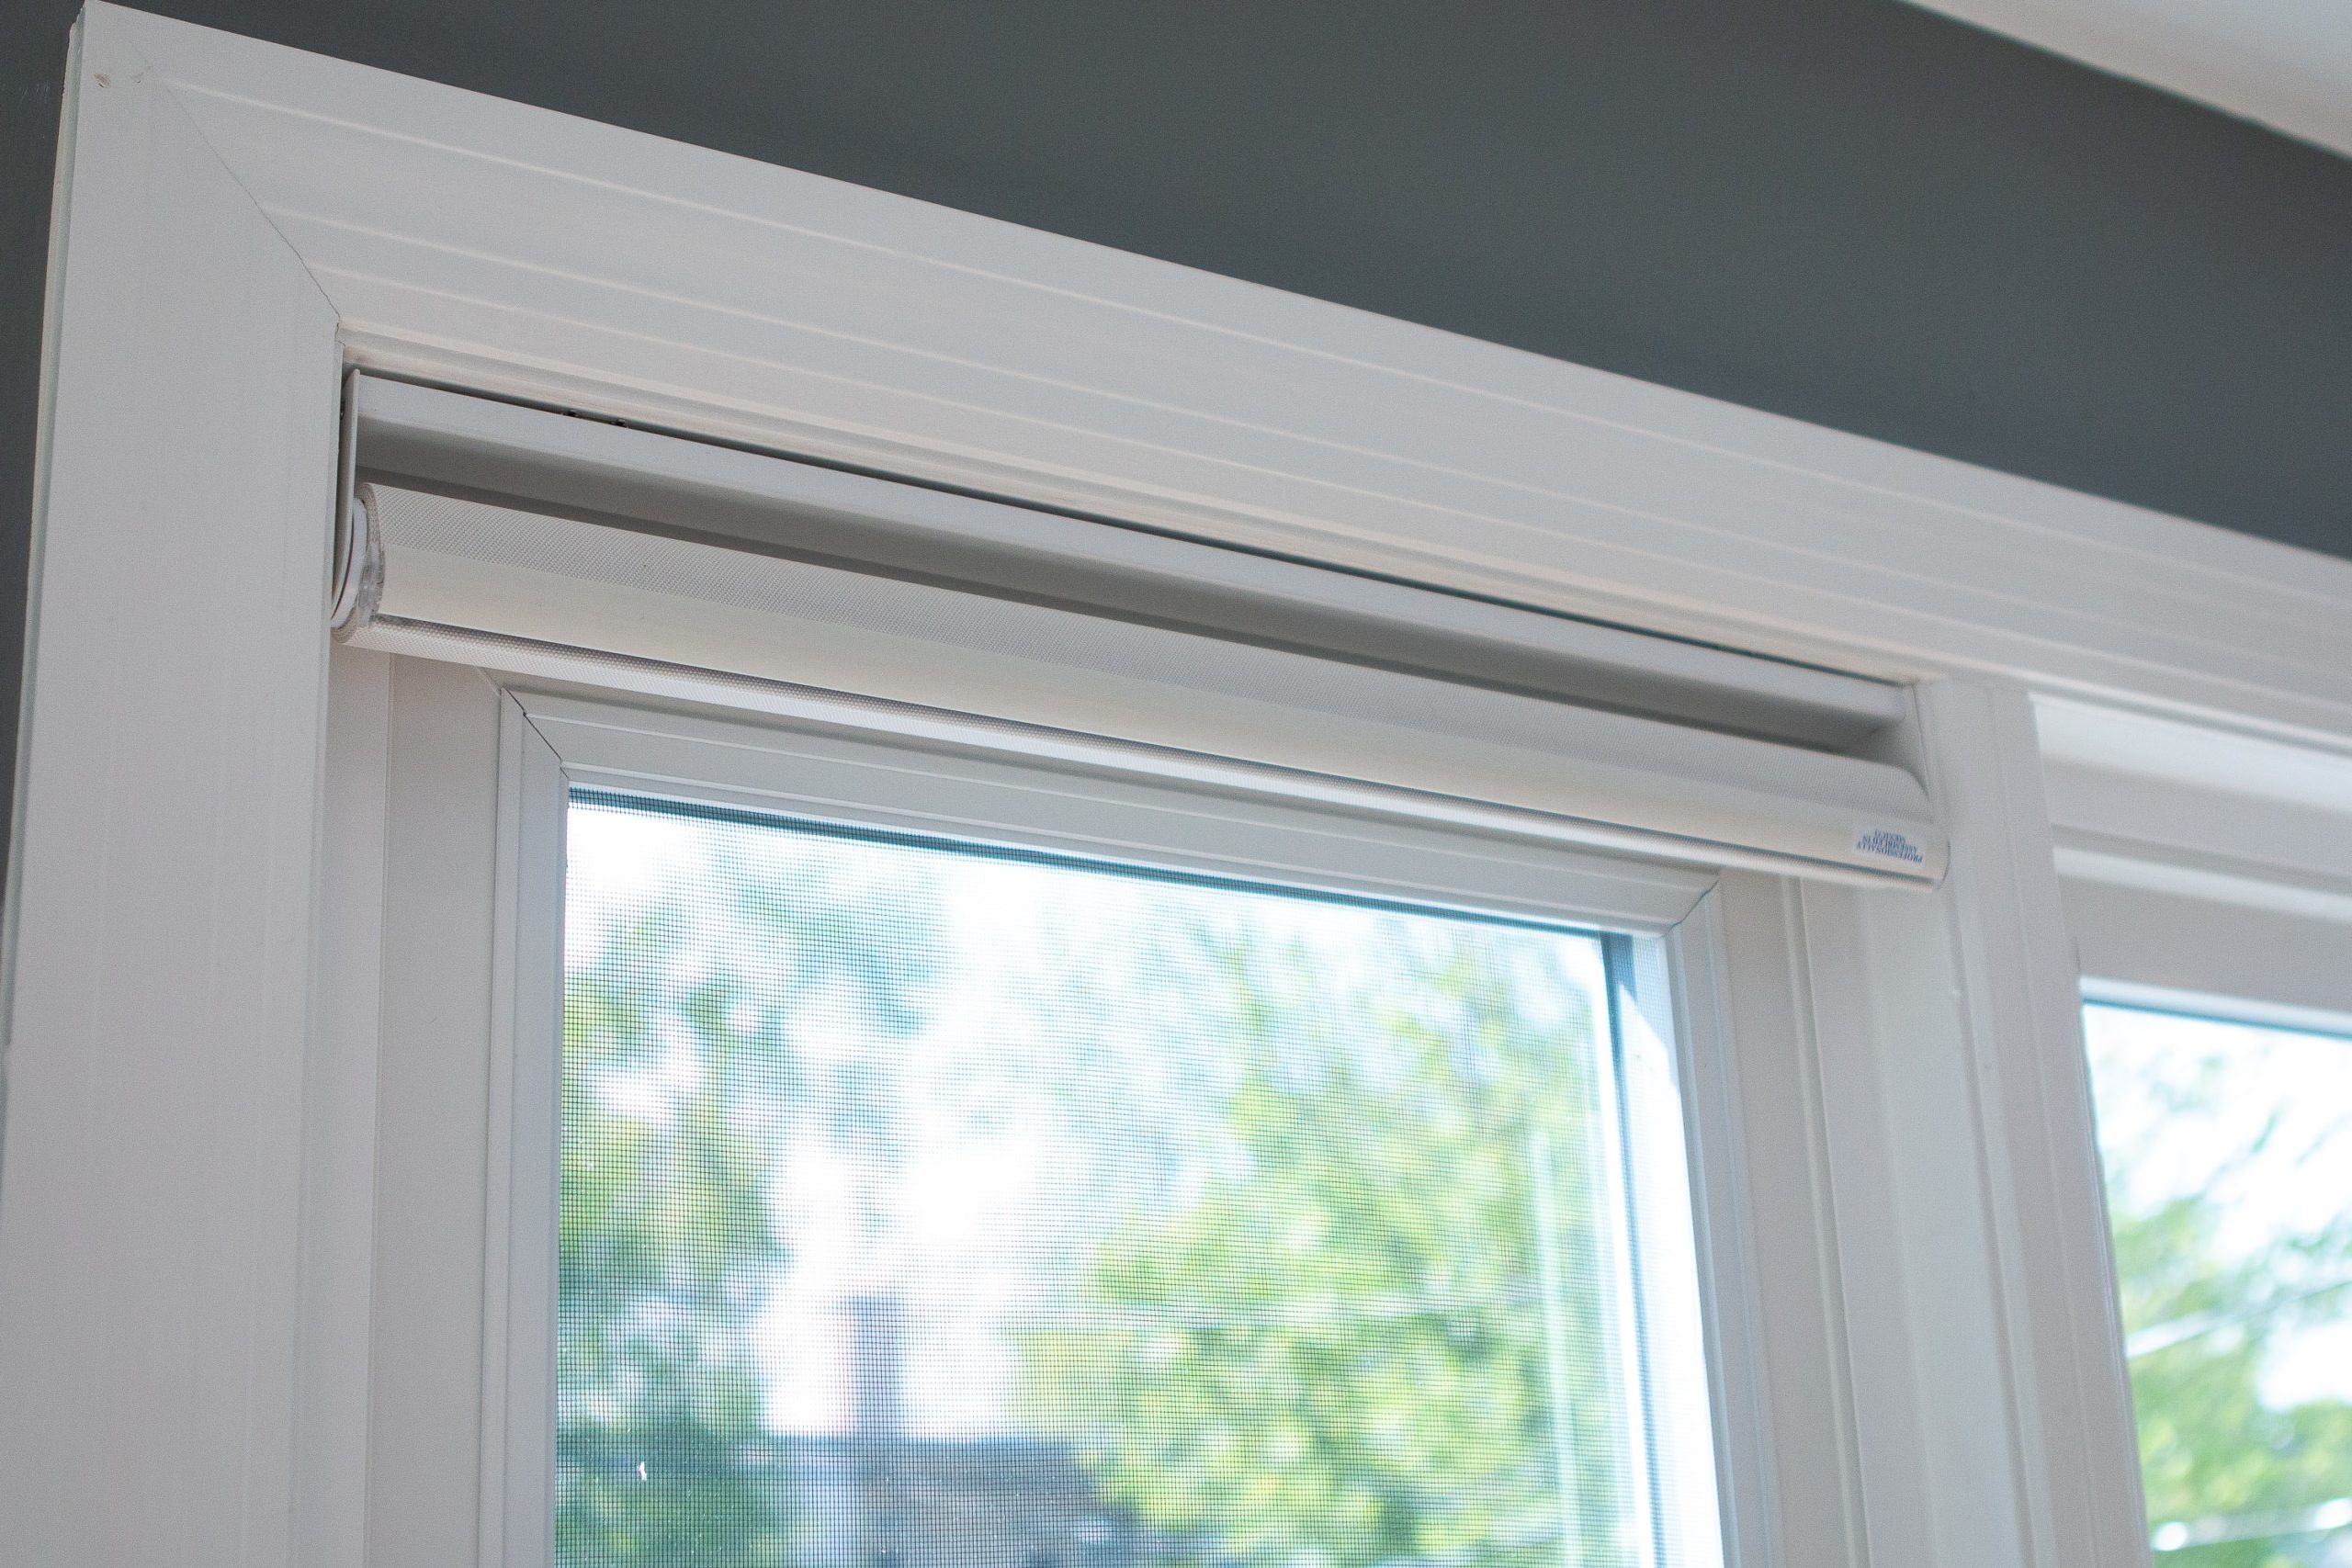
Here’s a look at our new kitchen window shades. They’re very subtle and we hardly notice that they’re there…which is exactly what I was going for in our kitchen.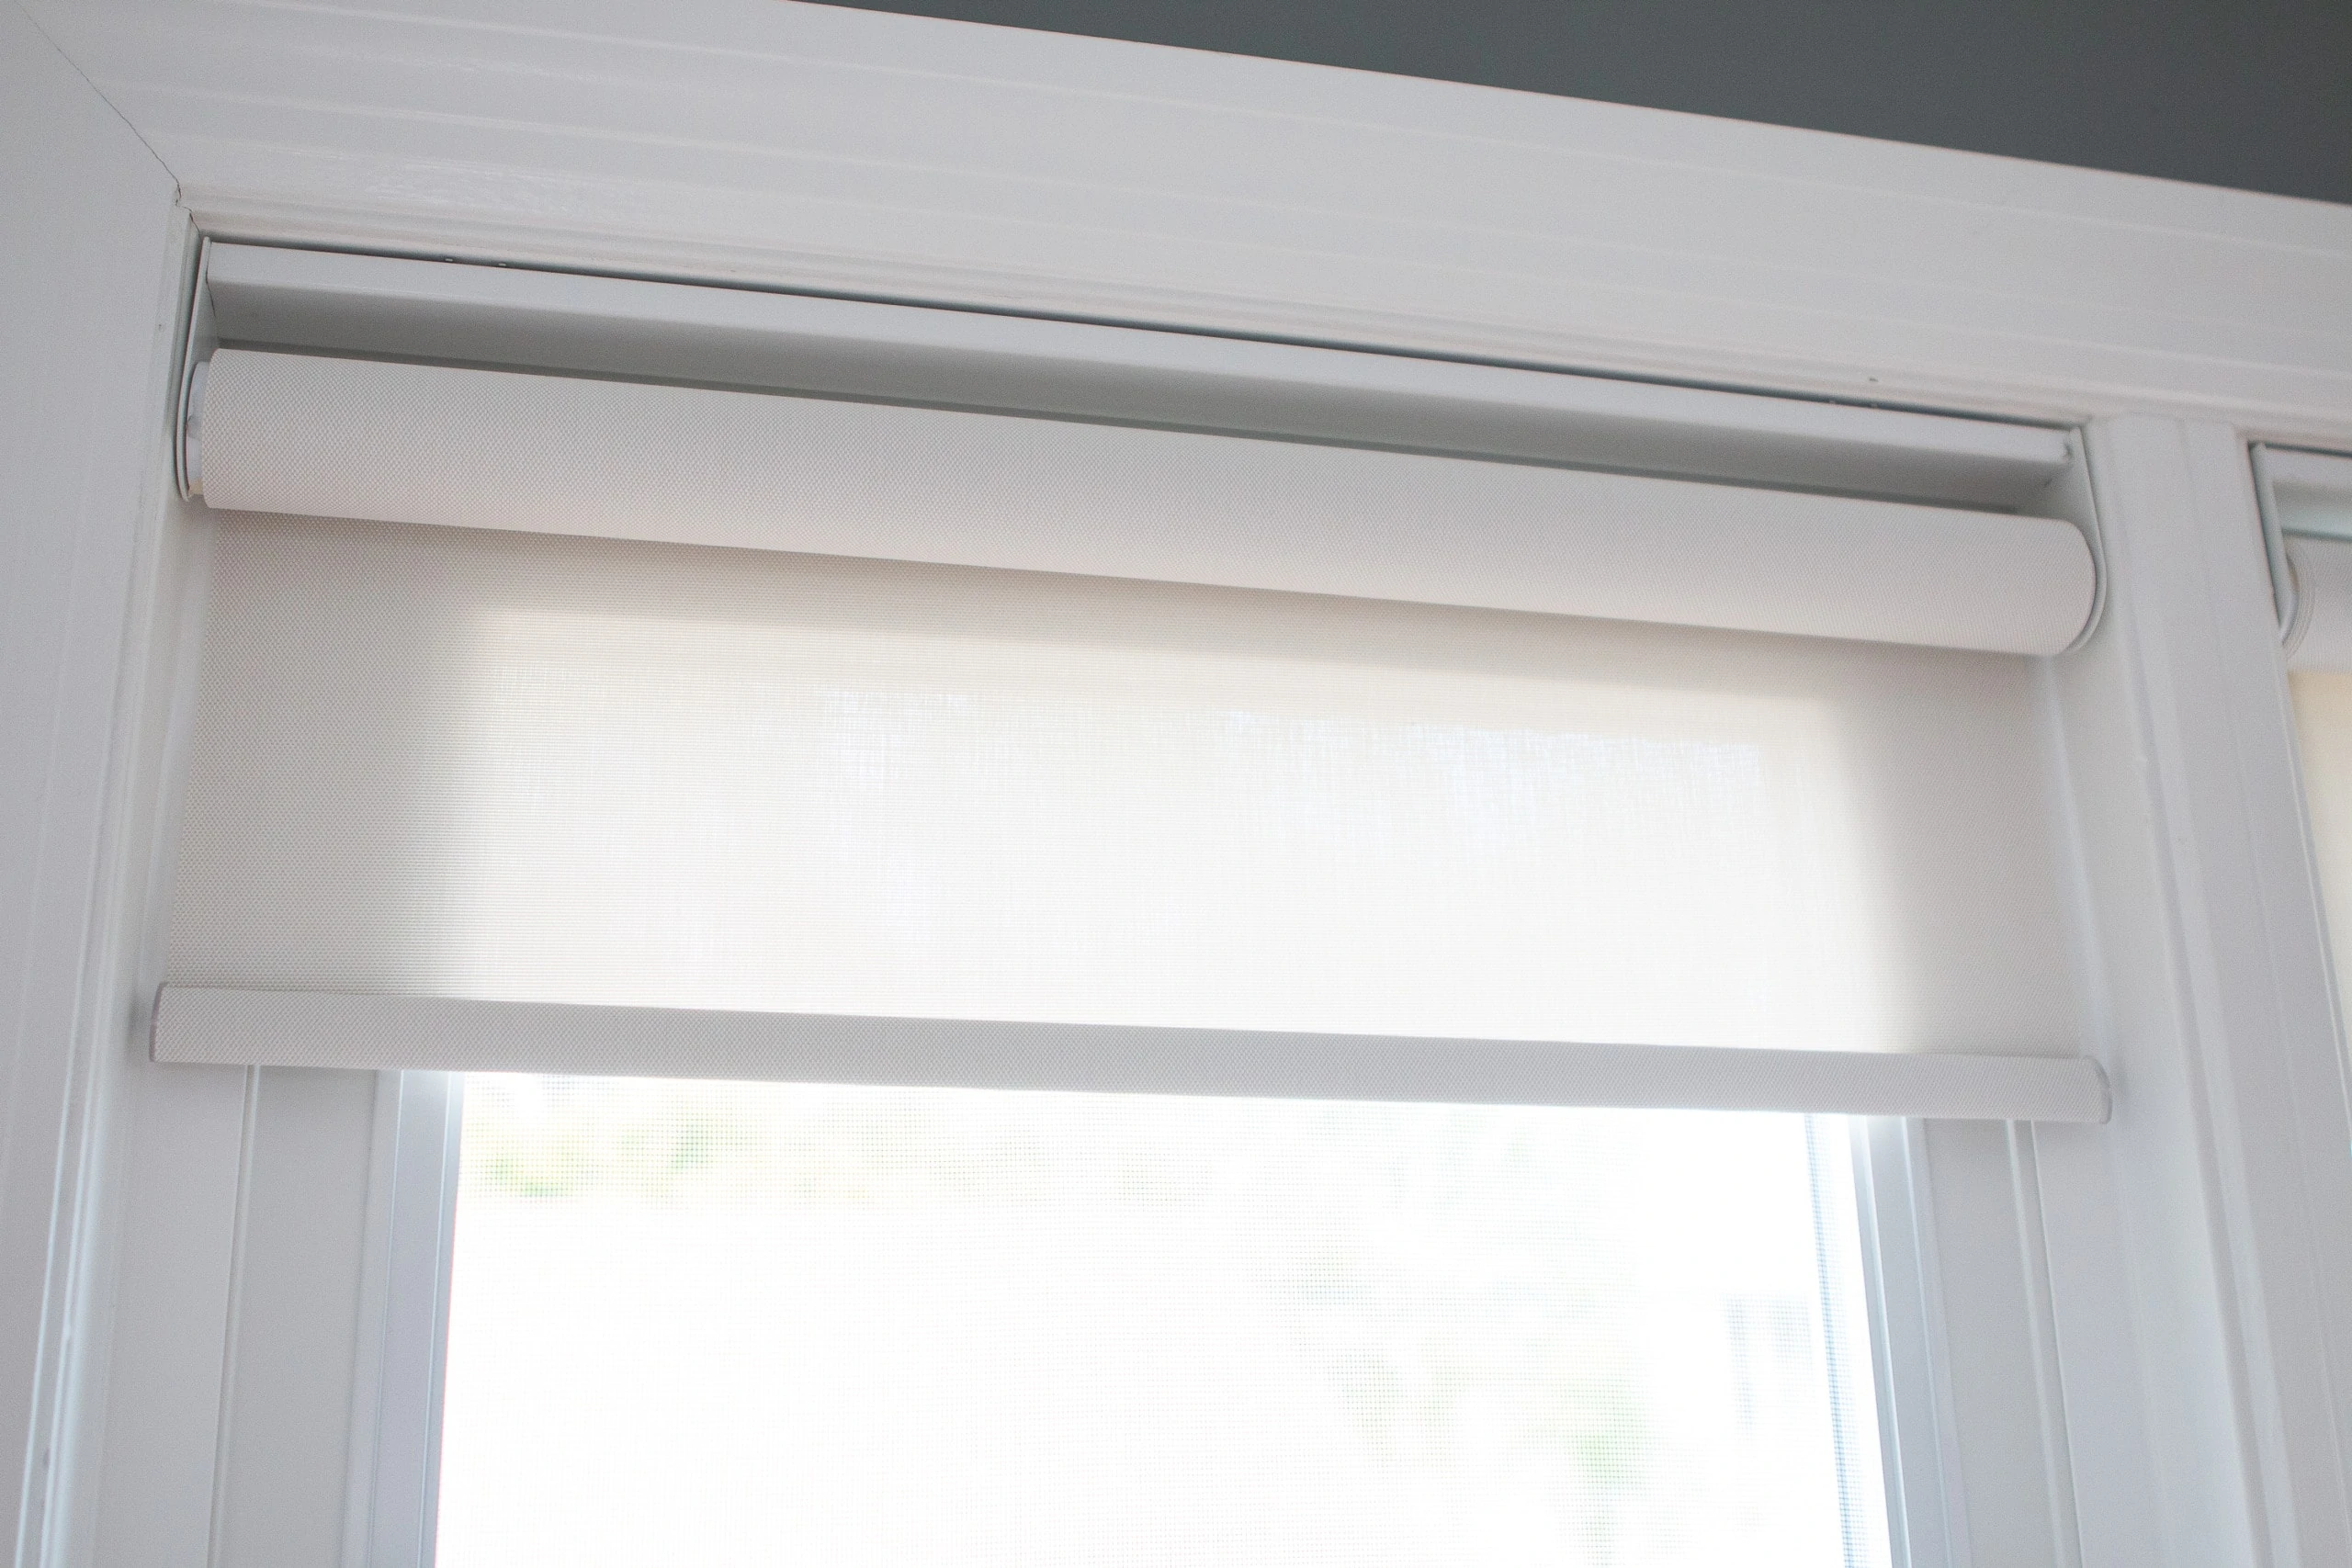
I was worried about the look without a valance to hide the roller, but it’s totally fine. Because all of the hardware is light, along with the shades themselves, it all blends into our trim and windows well. We can barely tell that they’re there when rolled all the way up.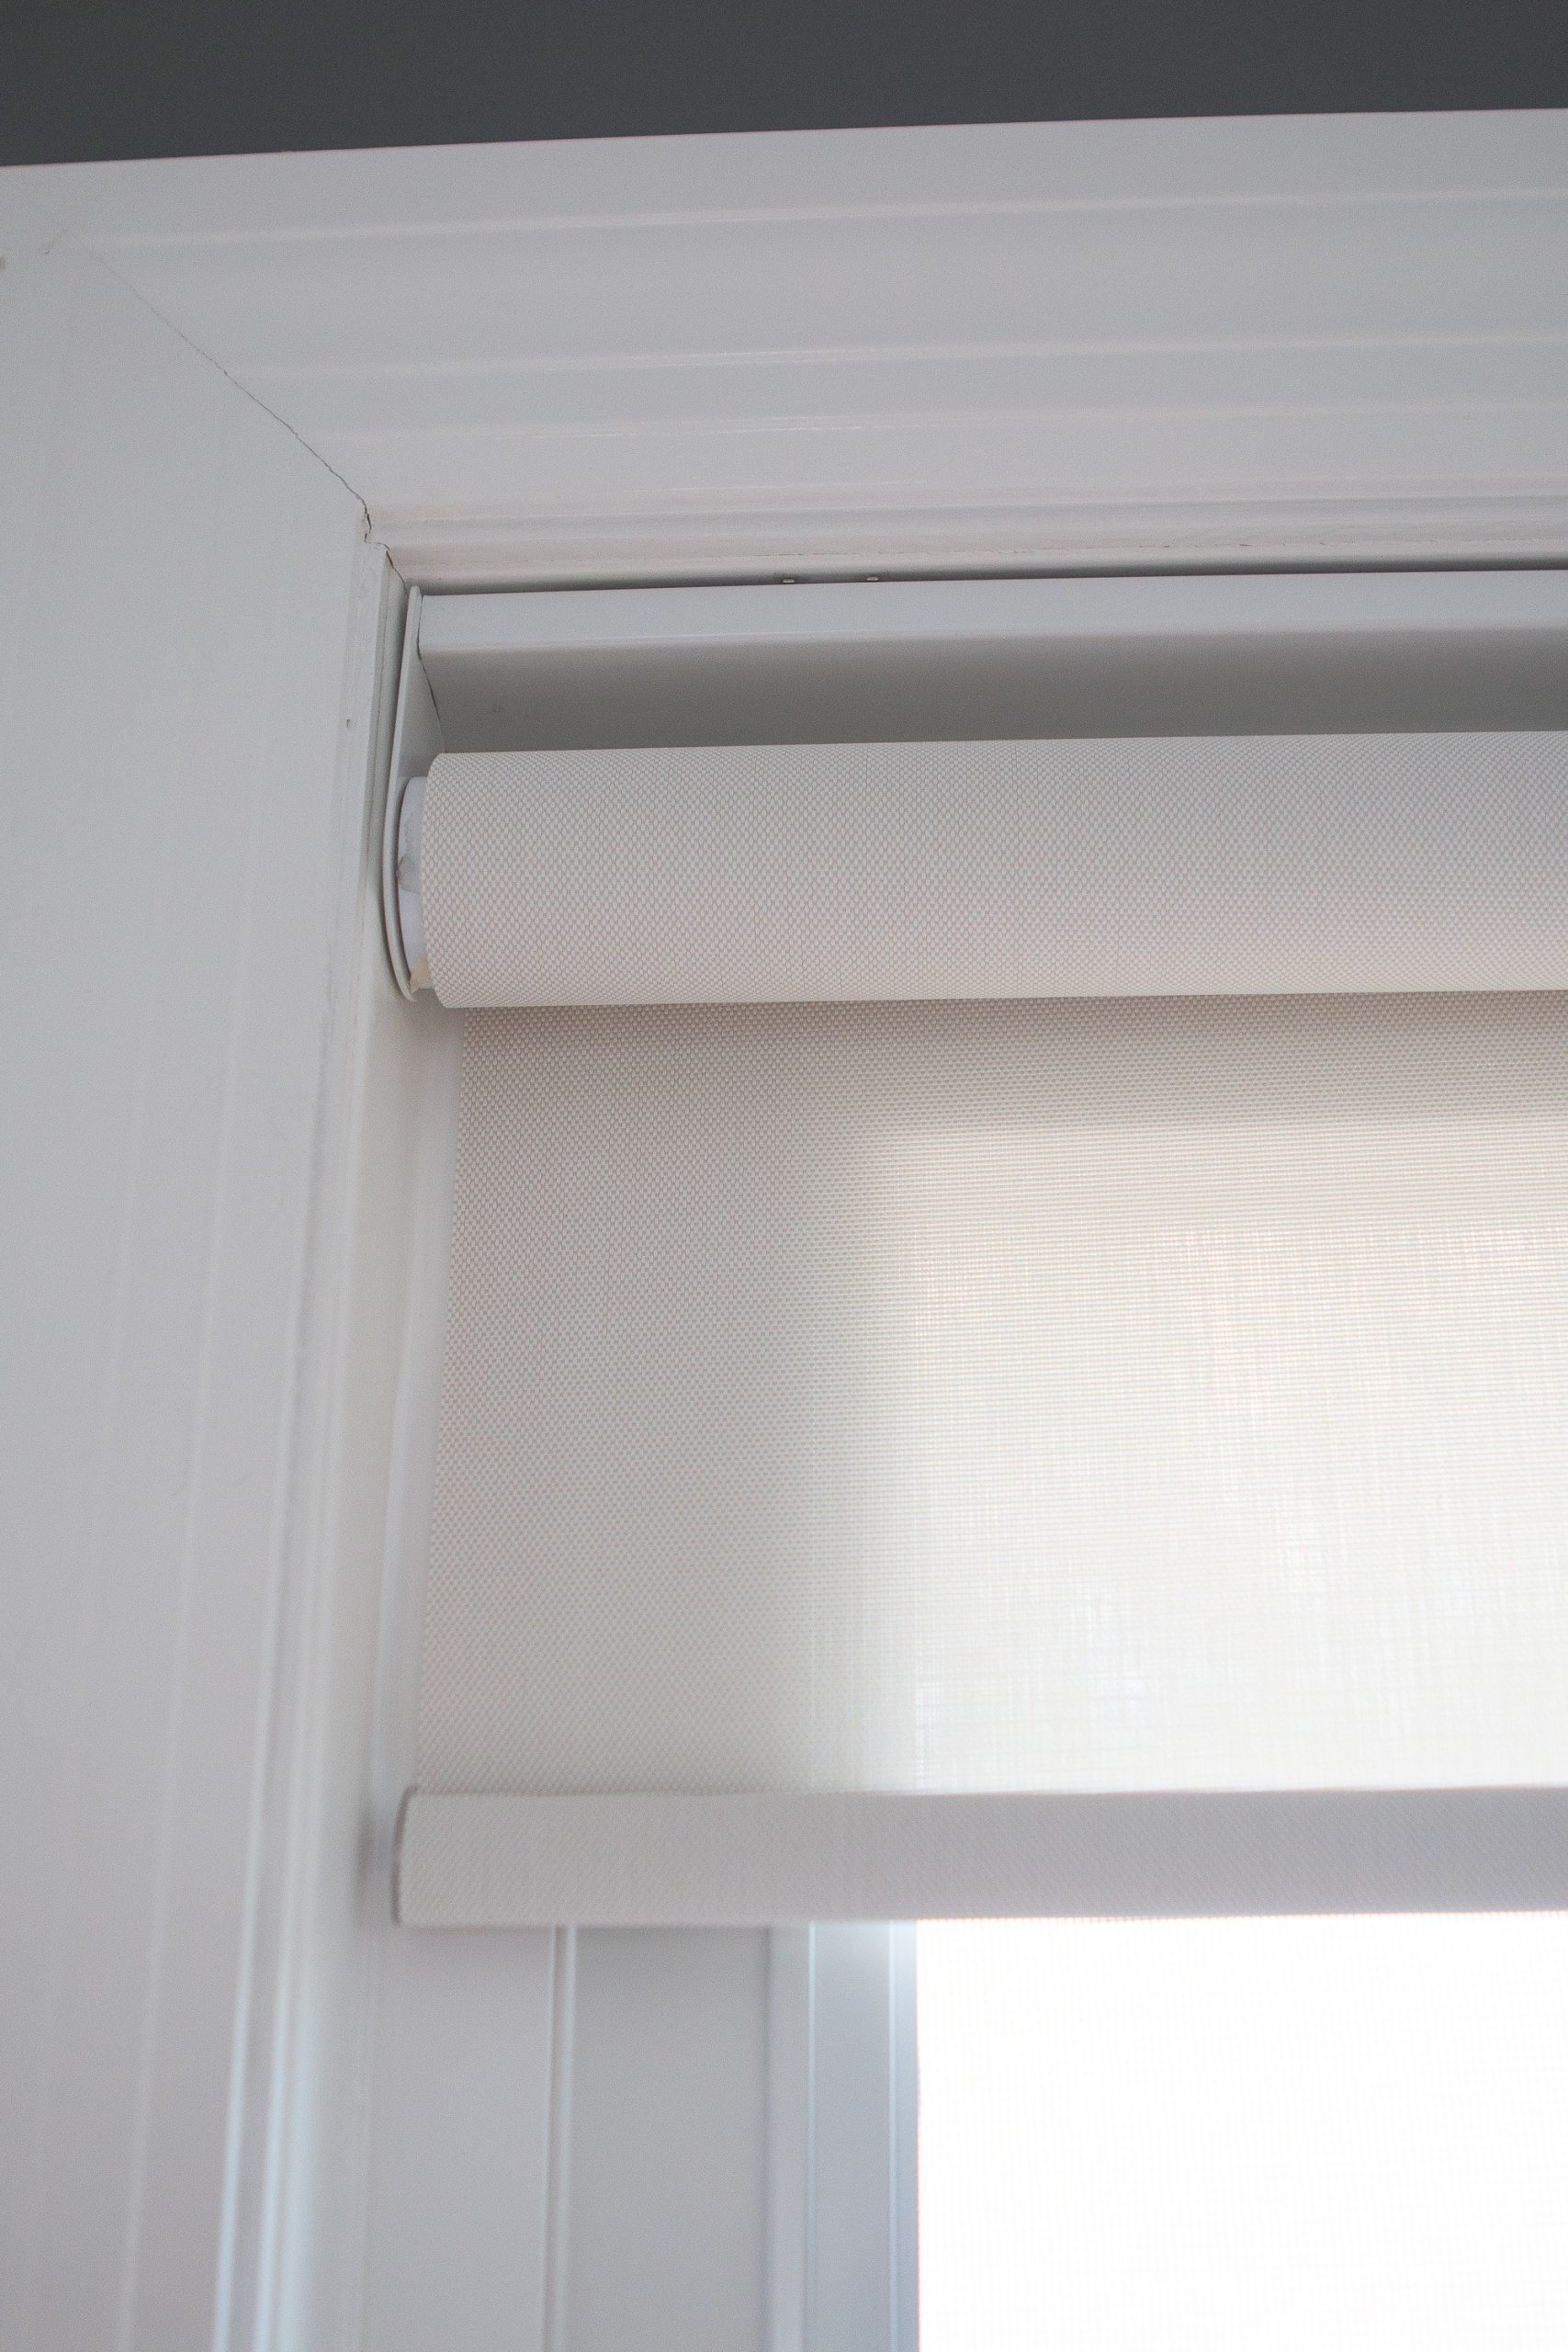
I’m also happy we upgraded to the cordless lift. Not only does it look a lot cleaner without a cord, but I don’t have to worry about the cord being a safety hazard. 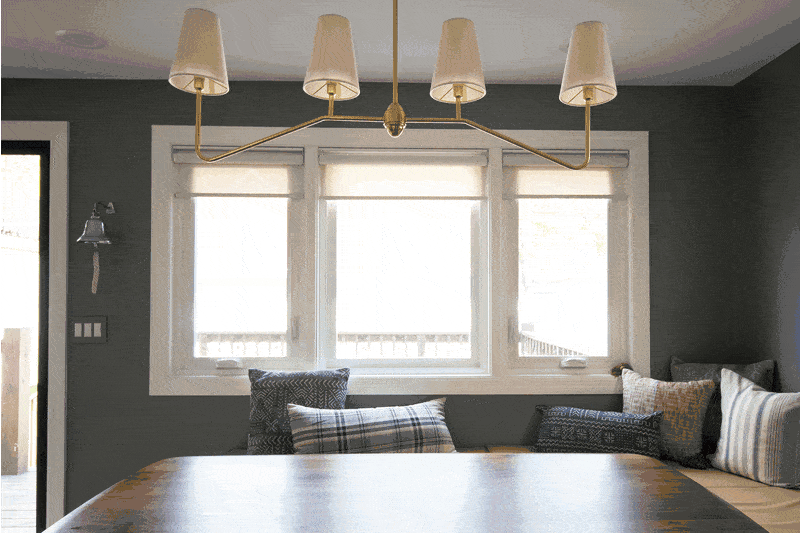
Functionally, they’re amazing. I draw these as the sun starts to go down so our kitchen doesn’t heat up too much and we don’t have sun in our eyes during dinner. 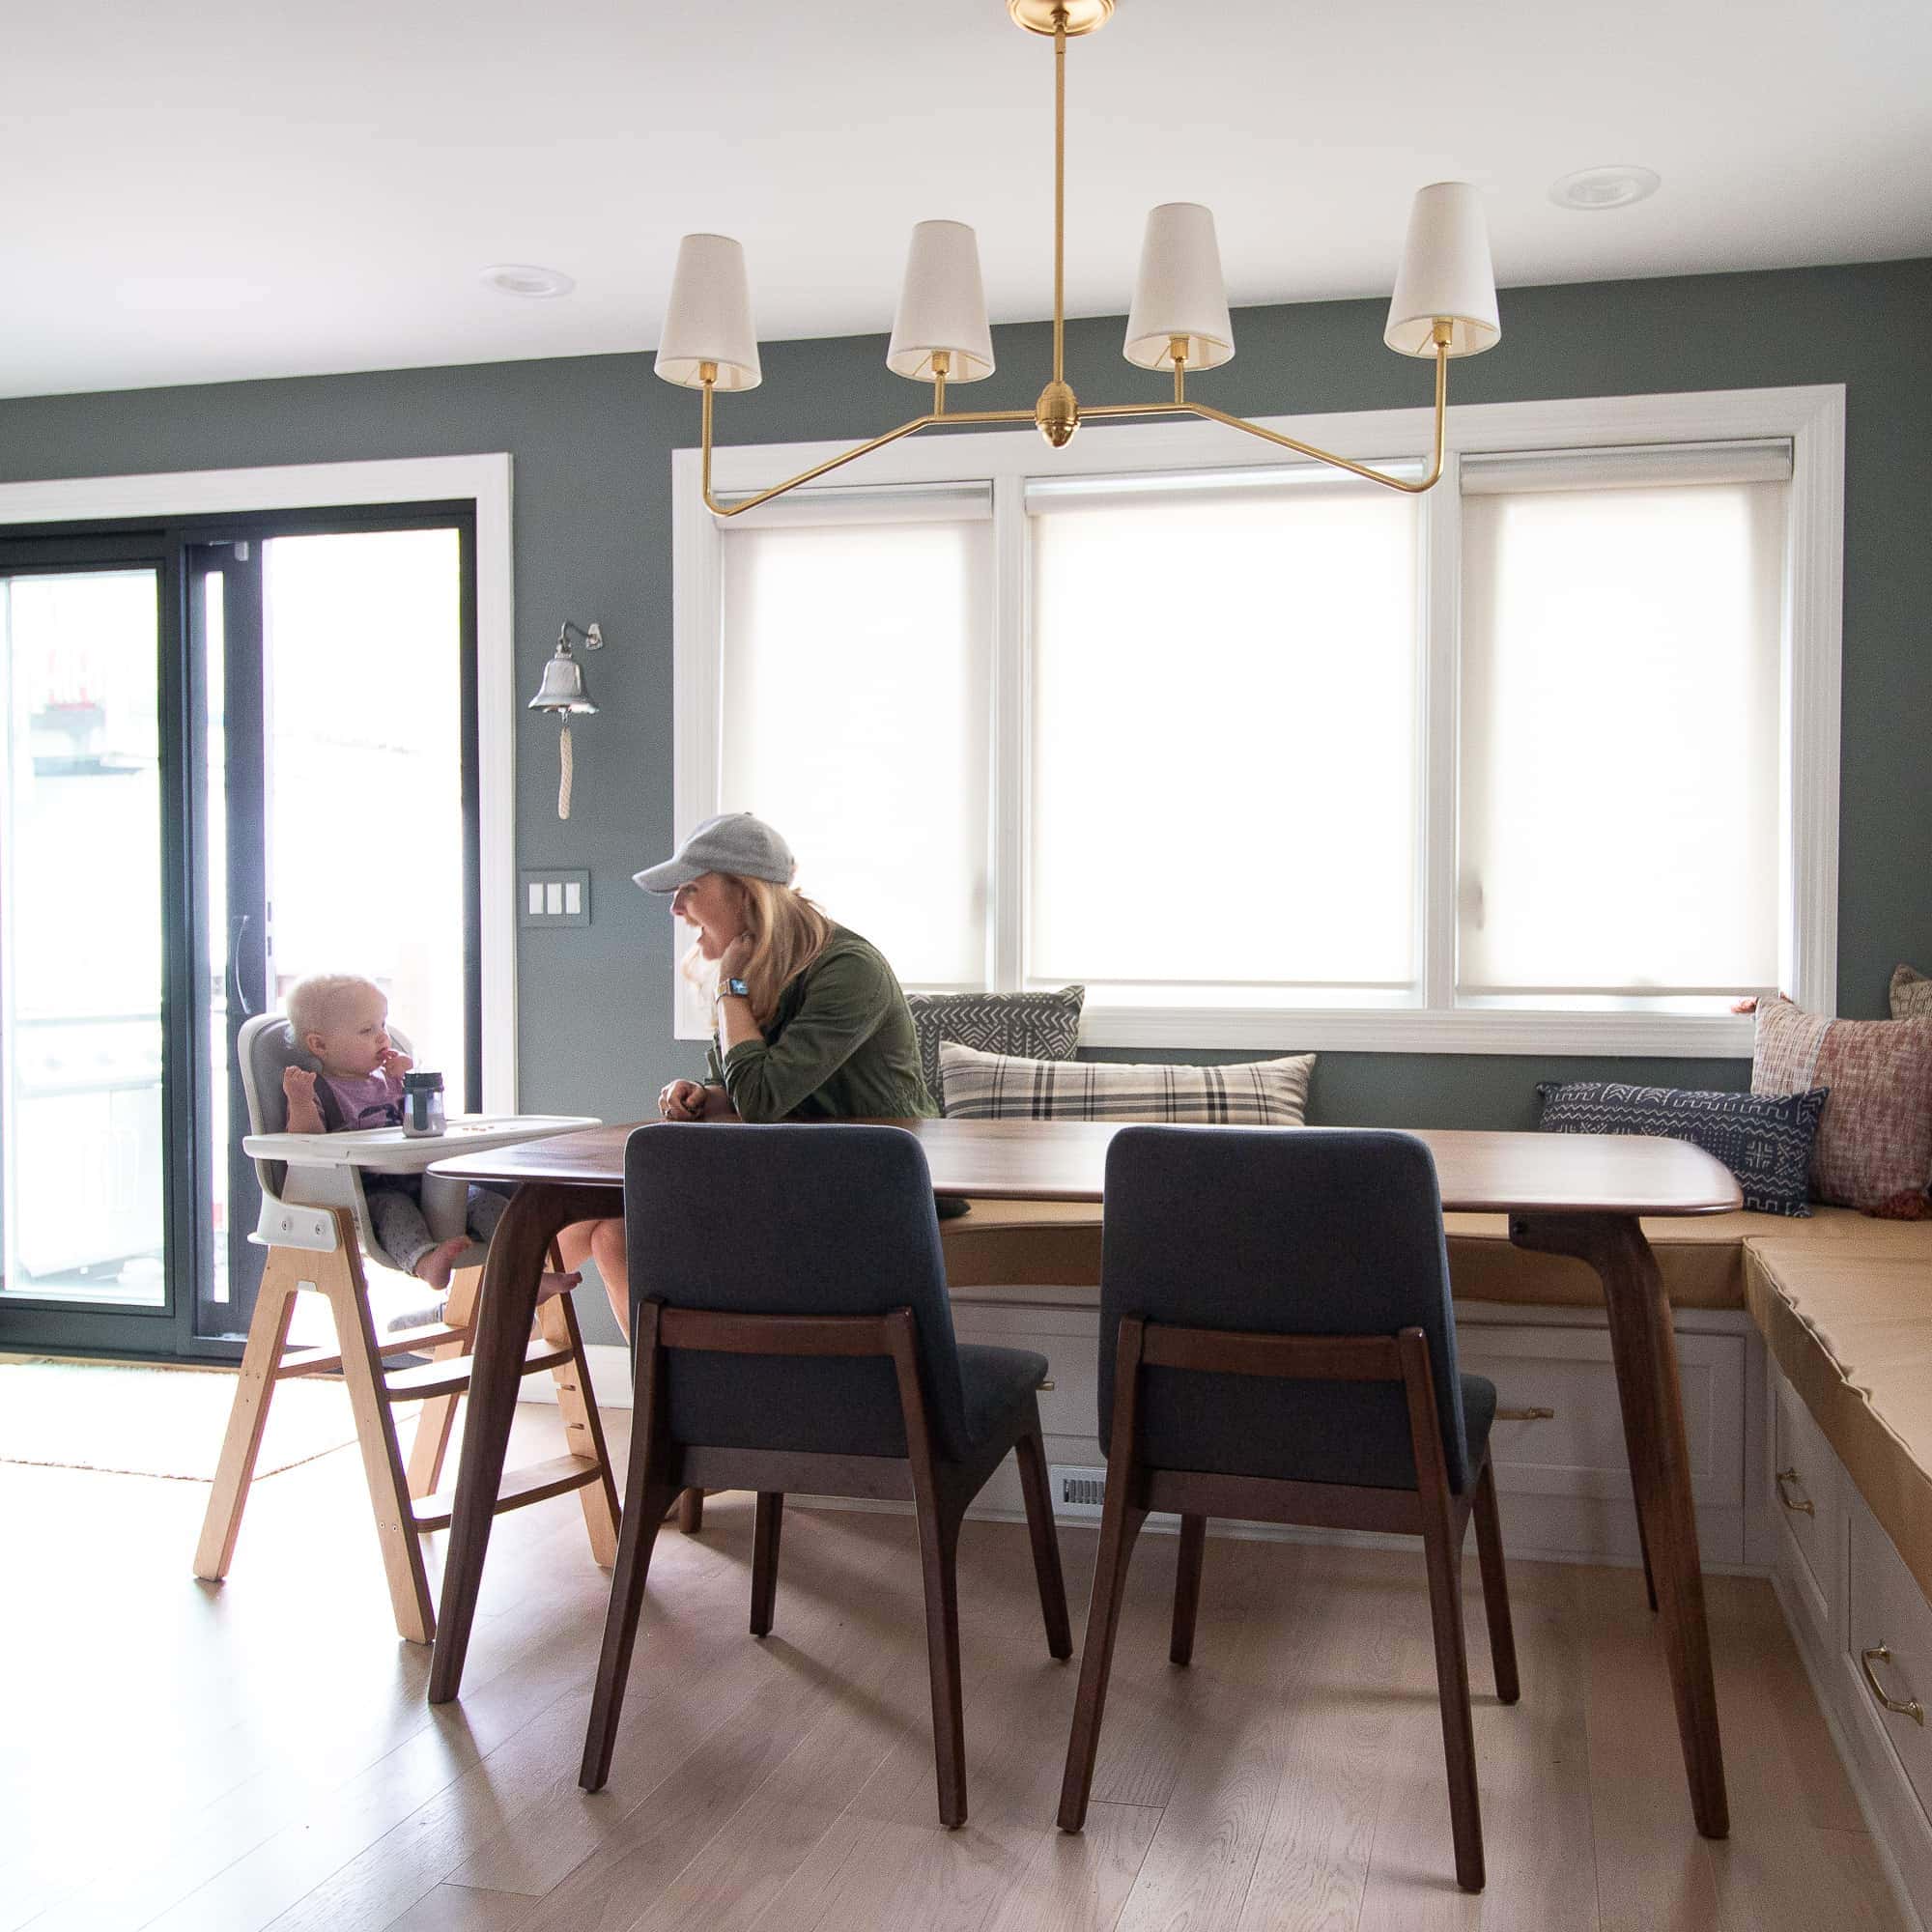 Adding these has made our family dinners so much more enjoyable.
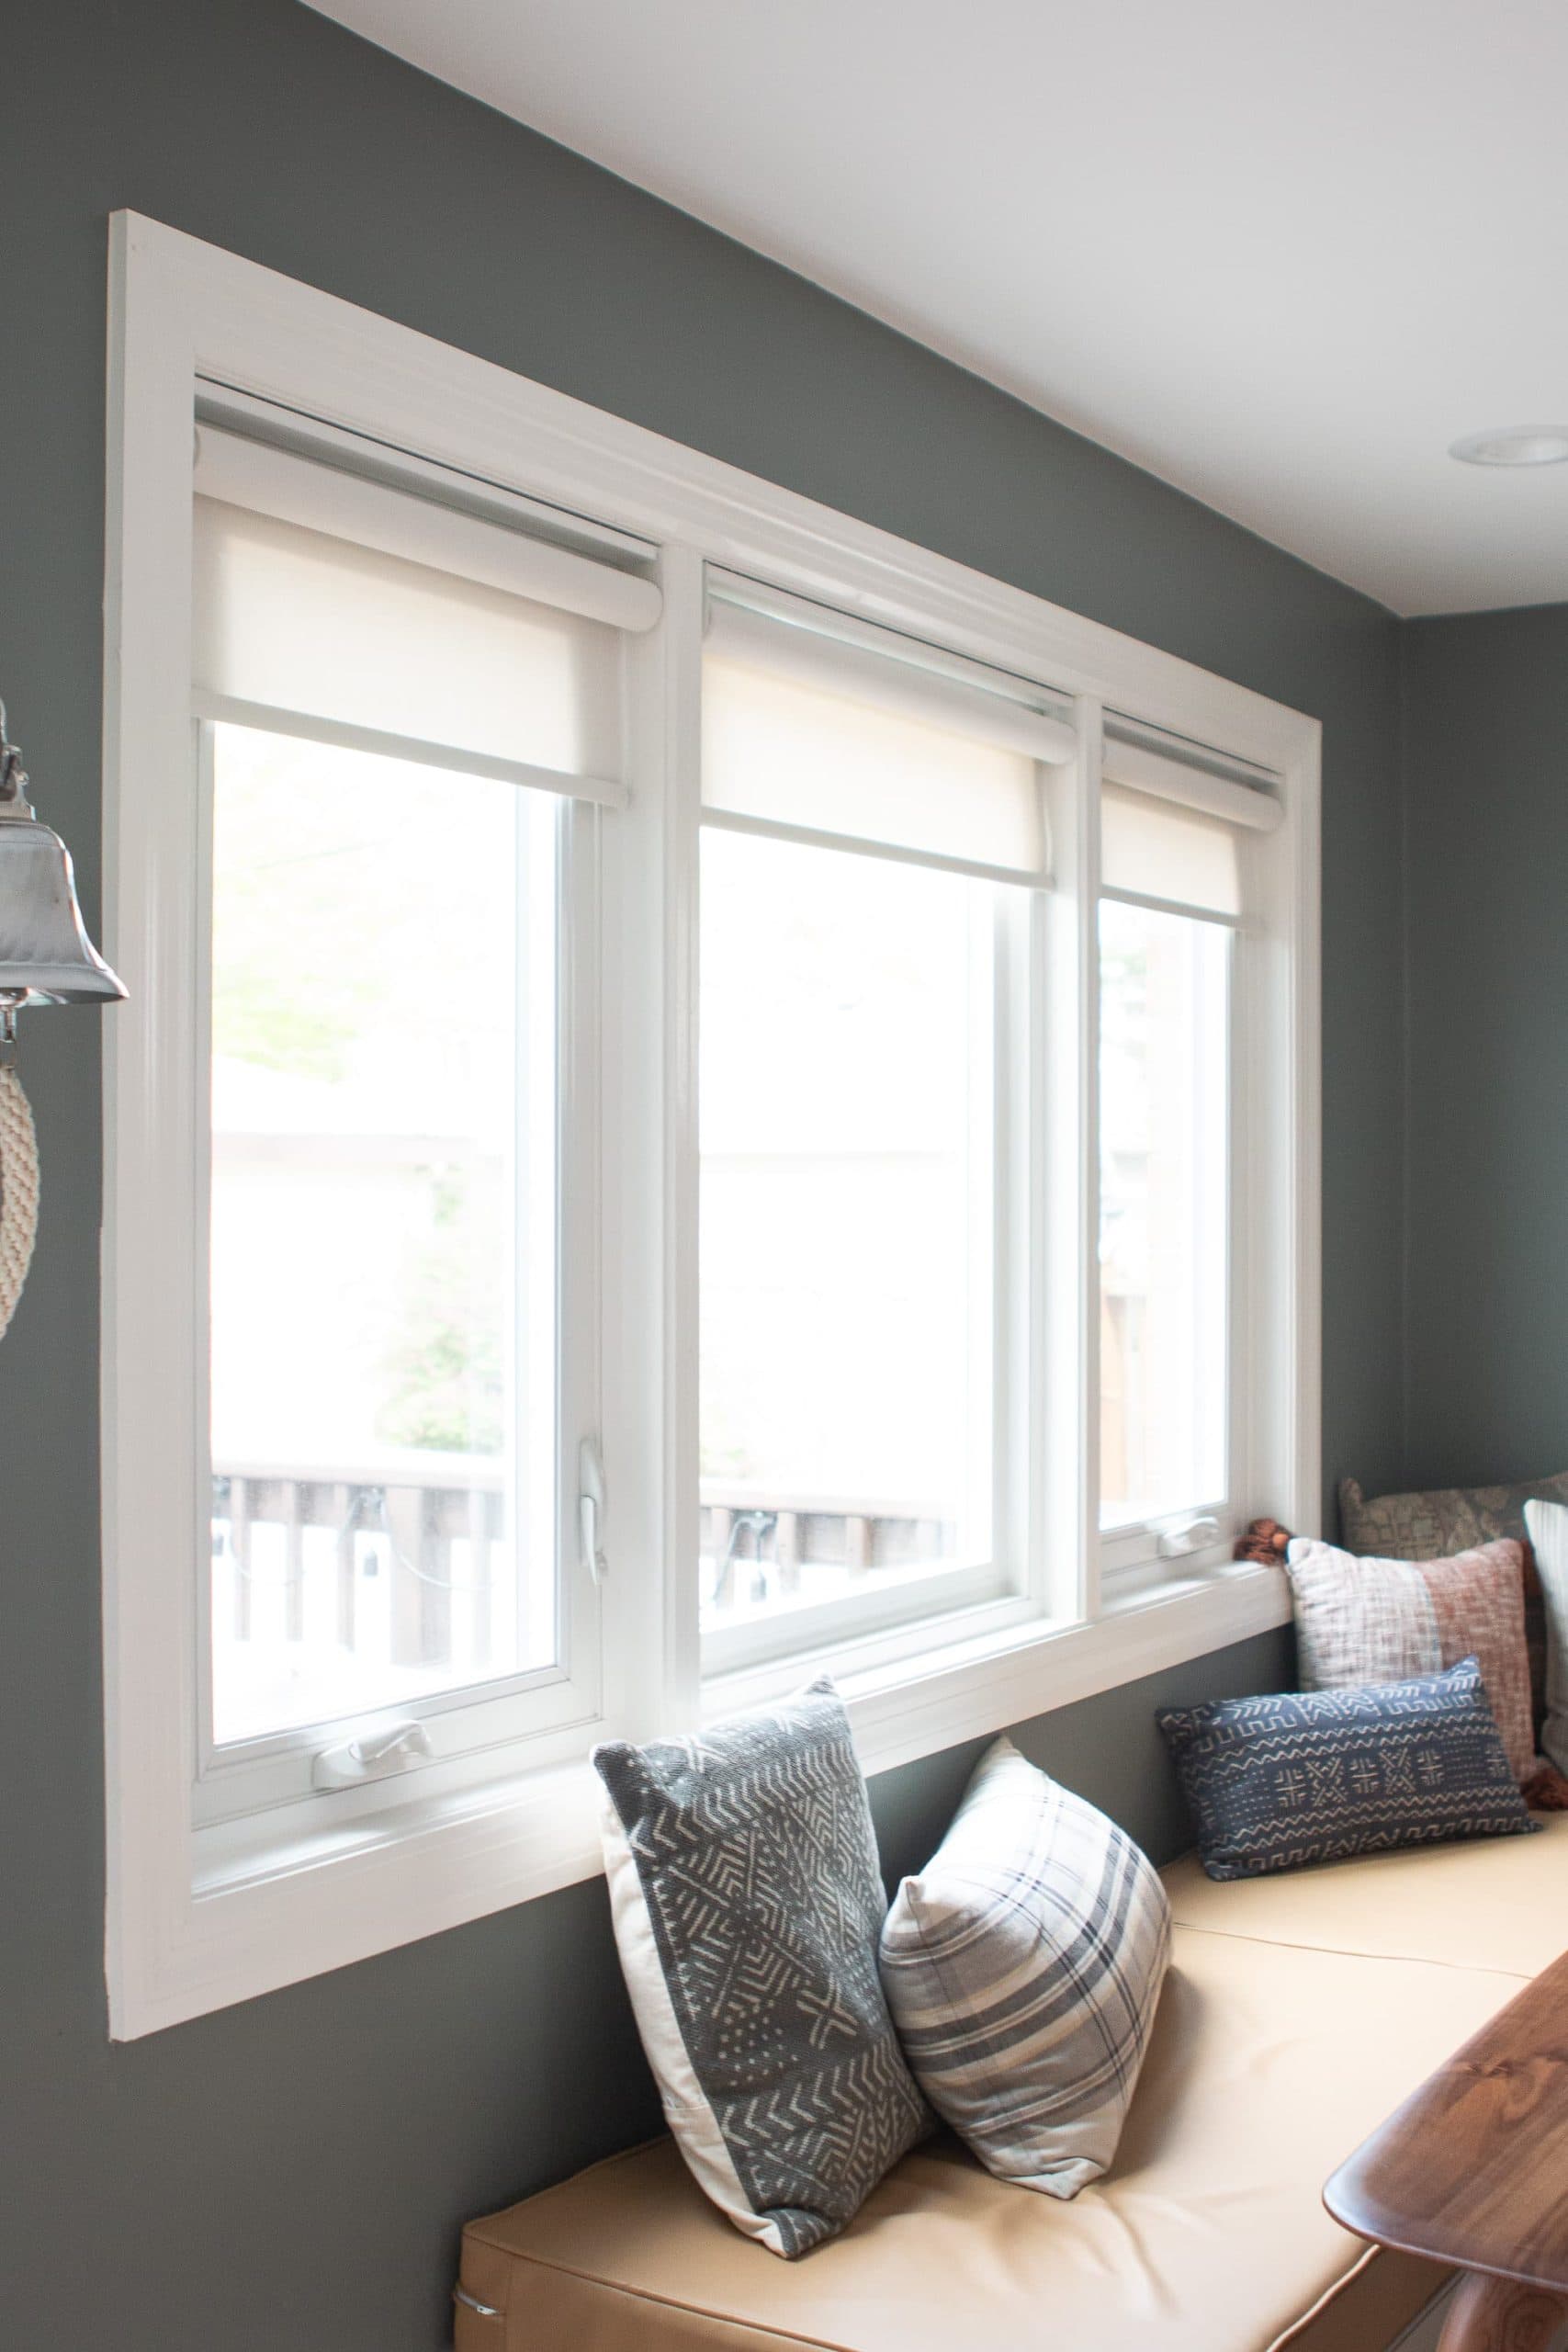
So is our kitchen done now? Ha, probably not. I’m sure there will be more tinkering here and there over the next few years as we figure out how to use each space to its full potential for our little family of three (almost four!).
Casey
Window Treatment Posts from the Past
- How to Choose the Best Window Treatments for Your Space
- Video: How to Install Blackout Bamboo Blinds
- Video: How to Install Solar Shades
- The Wrong Way to Hang Curtains
- Figuring Out Coverings for an Arched Window
- How to Make a Faux Roman Shade
- How to Make a Window Look Bigger
- How to Shorten Bamboo Blinds
- DIY No-Sew Blackout Curtains
- Choosing Custom Curtains
- Jan’s Woven Bedroom Shades