Rules for Lighting: How to Light a Room the Right Way
Want to learn how to light a room properly? Whether you’re relying too much on recessed cans or struggling to make your home feel cozy at night, these rules for lighting will help you create a warm, layered look that actually works in real life.
For a long time, I thought lighting was simple. You flipped on the overhead light, and that was that.
Like a lot of people, I relied almost entirely on “the big lights” to light a room – recessed cans, ceiling fixtures, whatever came standard with the house. And no matter how much I decorated, something always felt off. Rooms felt flat. Cozy spaces never really felt cozy. At night, especially, the lighting just wasn’t doing my home any favors.
Everything changed once I learned how to layer lighting.

I realized that good lighting isn’t about one perfect fixture or following trends. It’s about understanding a few essential rules for lighting. Once I stopped relying only on overhead lighting and started mixing in lamps, sconces, and dimmers, my home felt completely different—more comfortable, more intentional, and honestly, more “done.”
In this post, I’m sharing the lighting rules I wish I had known sooner and breaking down exactly how to light a room so it feels balanced and welcoming, both day and night.
The Biggest Lighting Mistake: Relying Only on Overhead Lights

Lighting can feel overwhelming at first. Between fixtures, recessed lighting, lamps, bulbs, wattage, and color temperature, there’s a lot to think about.
But the biggest lighting mistake I see, and one I made myself, is relying solely on overhead lighting to illuminate an entire space. Ceiling lights are practical, but on their own, they tend to flatten a room and create harsh shadows. No matter how beautiful the furniture or finishes are, overhead lights alone won’t make your home look or feel its best.
You can have a gorgeous room, but if the lighting is off, it will never quite feel right.

That’s why layering light sources makes such a great difference. When you combine overhead lighting with pendants, lamps, sconces, and dimmers, you create depth, warmth, and a home that actually feels good to live in.
And if you’re planning to swap out a ceiling fixture or upgrade an outdated light, I walk through the full step-by-step process in my “How to Install a Light Fixture” guide, which shows exactly how to do it safely.
My Rules for Lighting a Room

I always say rules are meant to be broken, so think of these as guidelines, not hard and fast rules. That said, incorporating these lighting rules into your home will make a huge difference in how your spaces look and feel.
Interior designers and lighting designers use the same general guidelines: build a lighting scheme with more than one light source, and combine different kinds of light for different functions.
Every Room Needs 2-3 Light Sources

Once you stop relying only on overhead lights, the next step is learning how to layer lighting properly.
A good rule of thumb is that every room should have at least two to three different light sources. This creates balanced lighting levels and helps a room feel comfortable instead of flat or harsh.
Think in terms of different types of lighting:
- Overhead lighting for general illumination
- Mid-level lighting like sconces or table lamps
- Lower or accent lighting such as floor lamps or picture lights
This mix gives you ambient lighting for the whole space, plus task lighting for specific areas, like a work surface, and decorative lighting to highlight focal points.
When light comes from multiple sources and different heights, it fills the room more evenly and eliminates dark corners. This layered approach makes a great difference in how a space feels, especially in the evening when artificial lighting is doing most of the work.
This guideline applies no matter the room. Whether it’s a bedroom, bathroom, or kitchen, each space benefits from a mix of light sources at different levels.
So the goal isn’t always MORE light. Instead, it’s better light, placed thoughtfully throughout the entire space.
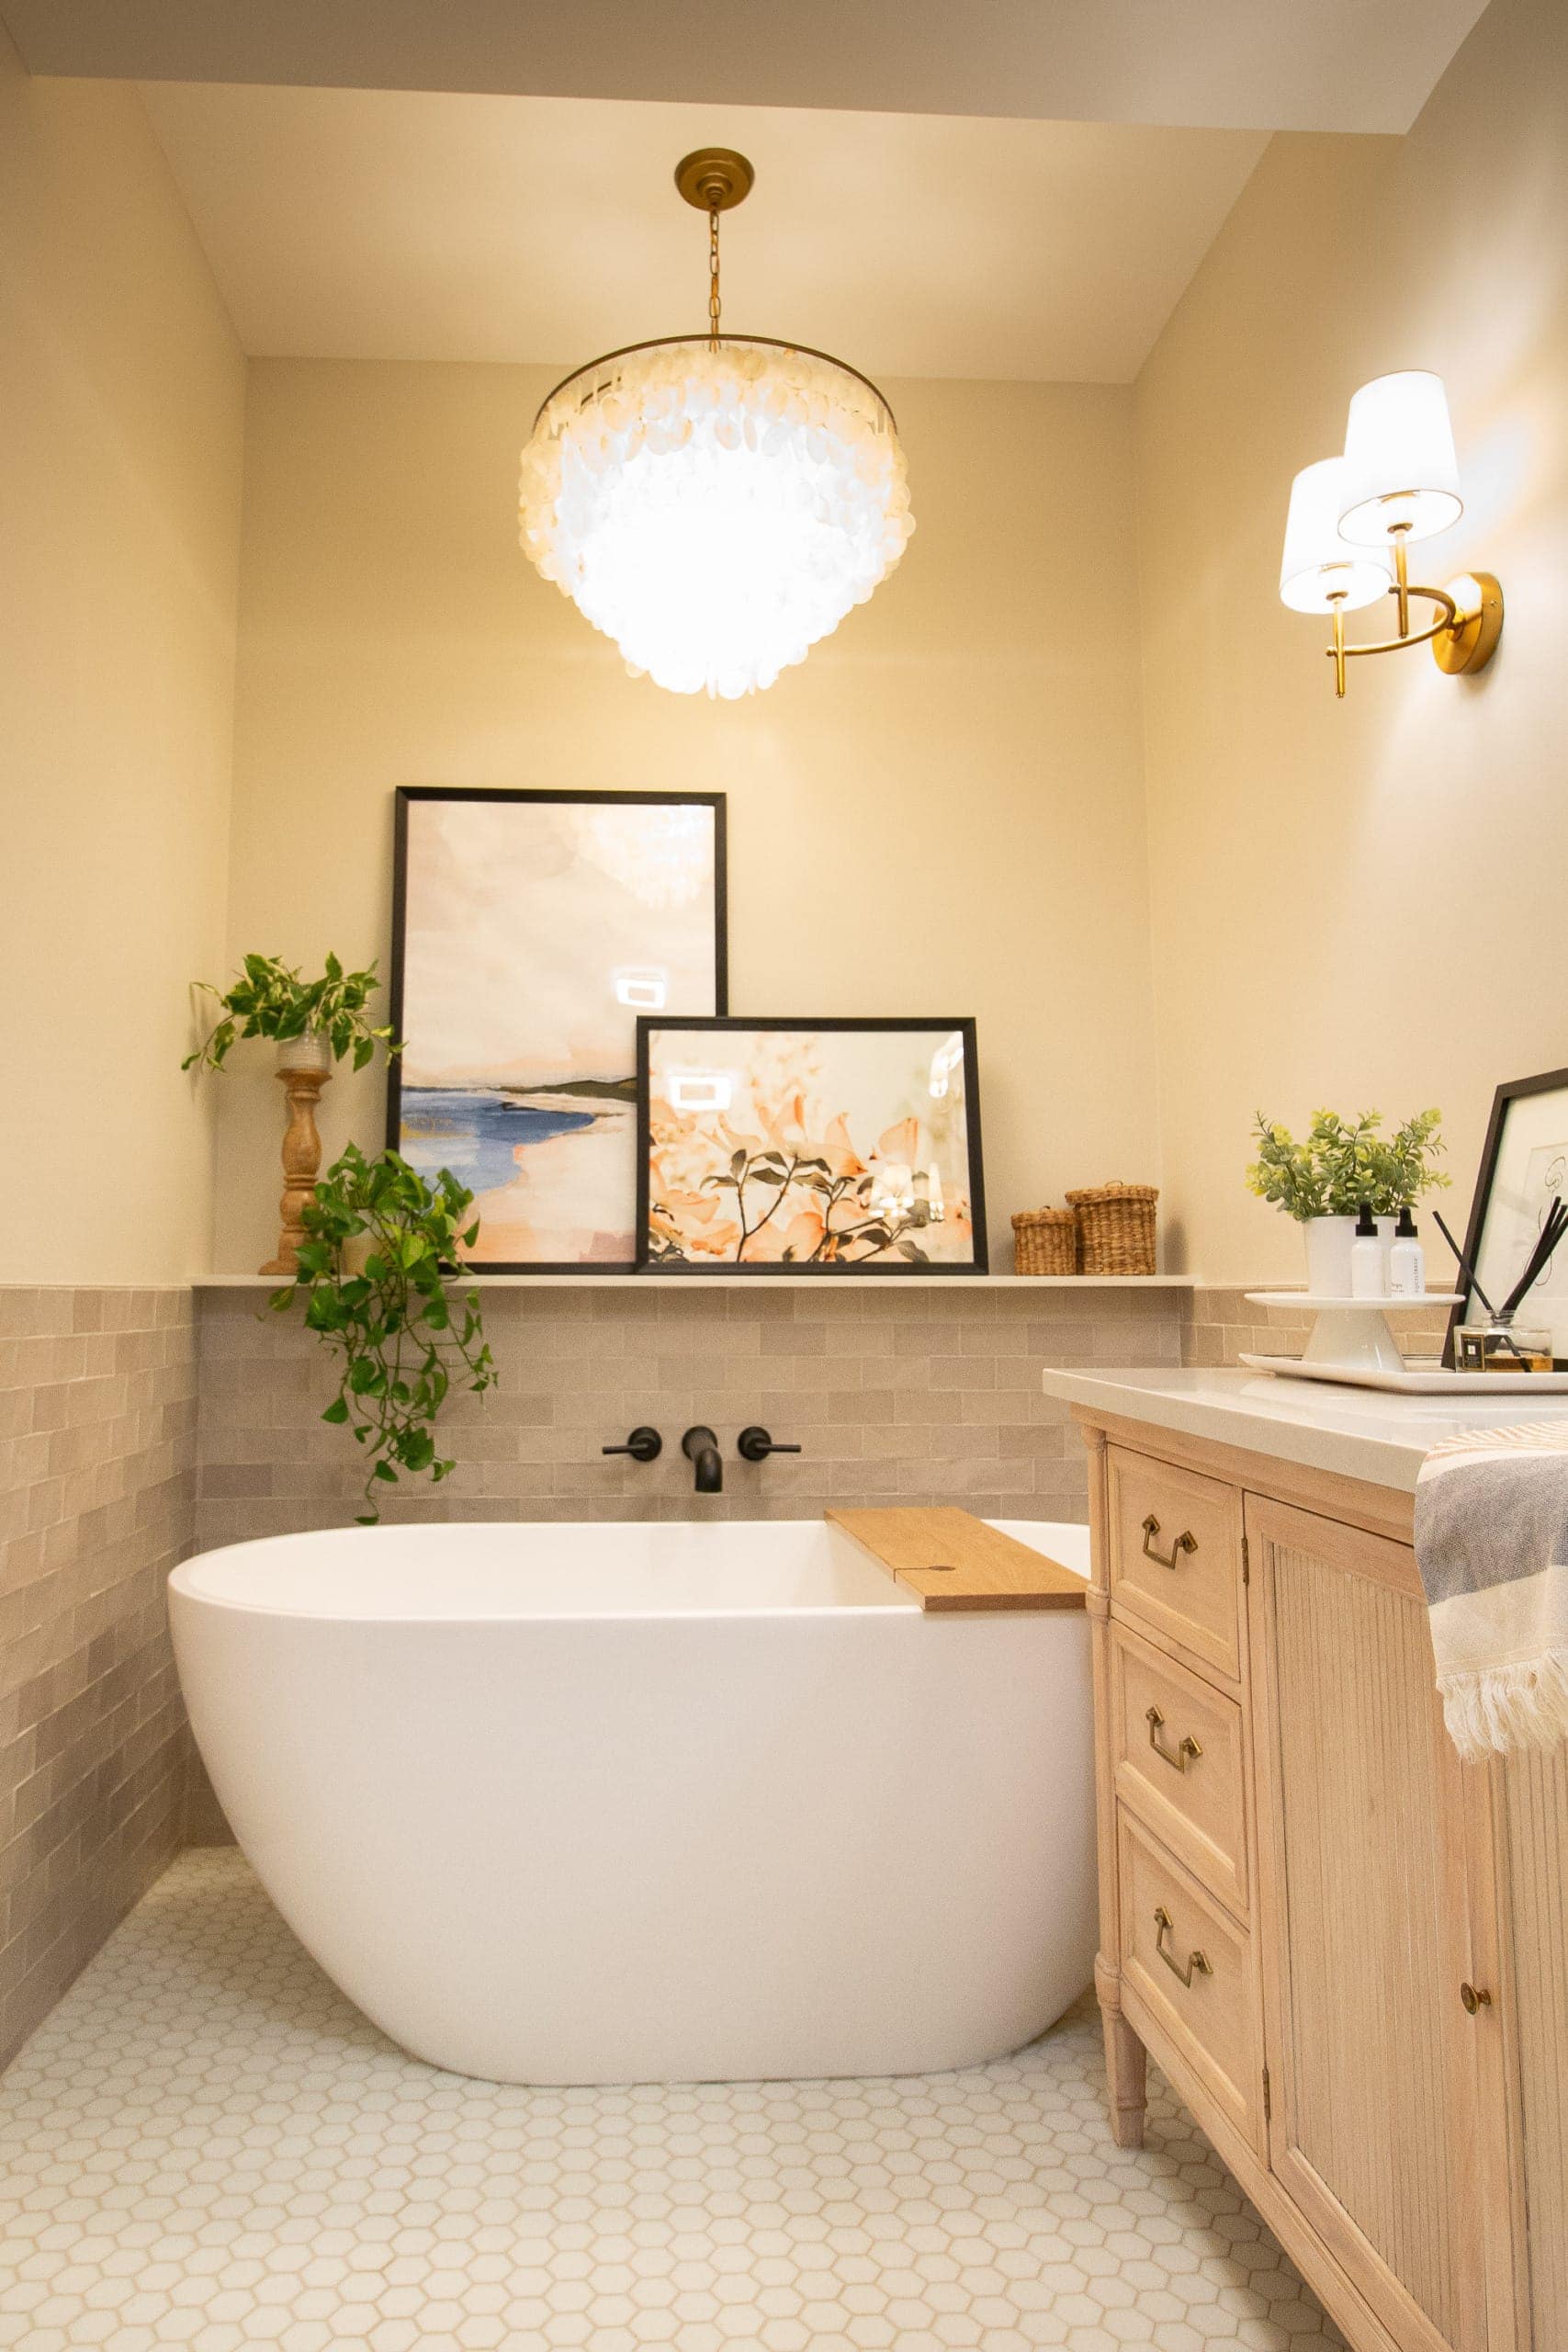
Example: A Layered Bathroom Lighting Plan
For example, our main bathroom has multiple light sources. We have recessed canned lighting, a flush mount fixture, and then sconces on the wall, all at different levels. This is the perfect combination for a layered look and it evenly disperses the light throughout the room.
Even though the bathroom gets plenty of natural light during the day, having layered fixtures ensures the space still feels well-lit and functional in the evening.
Lighting Ideas for Each Room
Once you understand how to layer lighting, the next step is applying it to different areas of your home. Each room has a different purpose, so the lighting should support how the space is actually used.
Below are simple lighting ideas for the most common rooms, focusing on function first and style second.
- Living Room – Use a combination of floor lamps, table lamps, and dimmable overhead lighting. Lamps placed near seating areas help create a softer, more inviting feel at night.
- Bedroom – Bedrooms should feel cozy, not overly bright. Sconces or table lamps work well for bedside lighting, while overhead fixtures can be used sparingly or put on a dimmer. If you have an off-center junction box, consider centering it with a swag light.

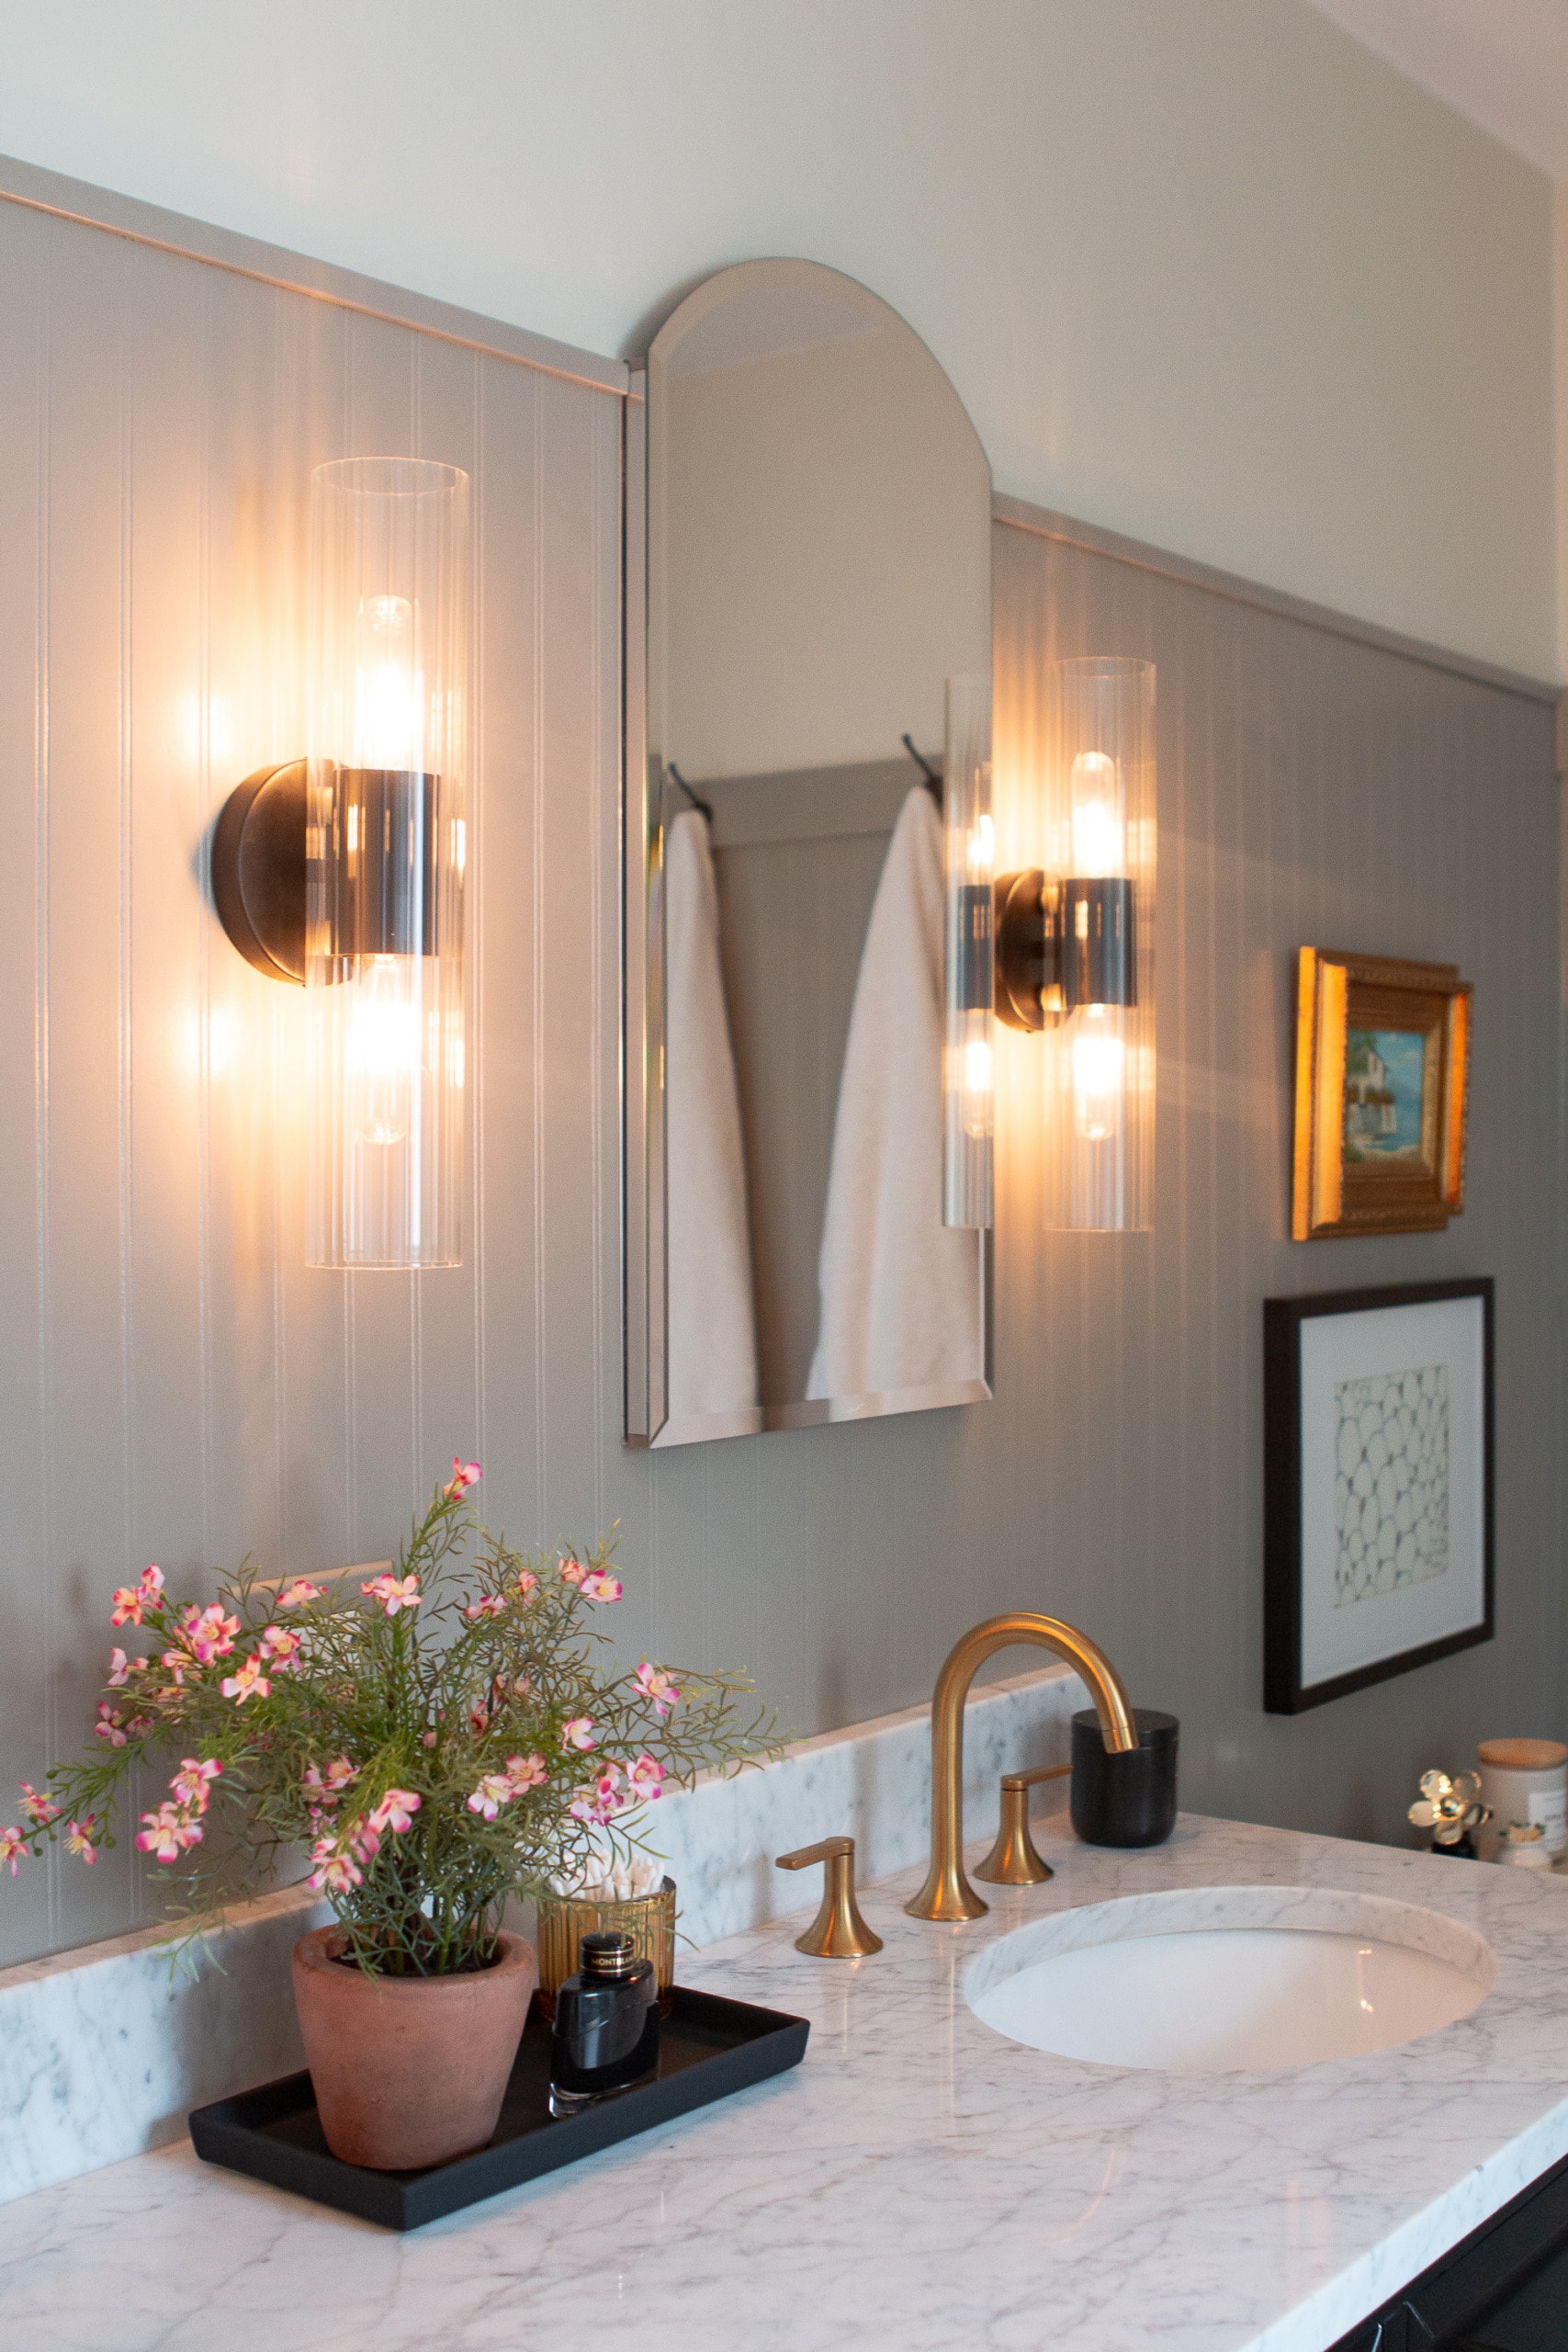
- Bathroom – Include an overhead light (especially for the shower), plus wall lights near the mirror to reduce shadows and improve visibility.
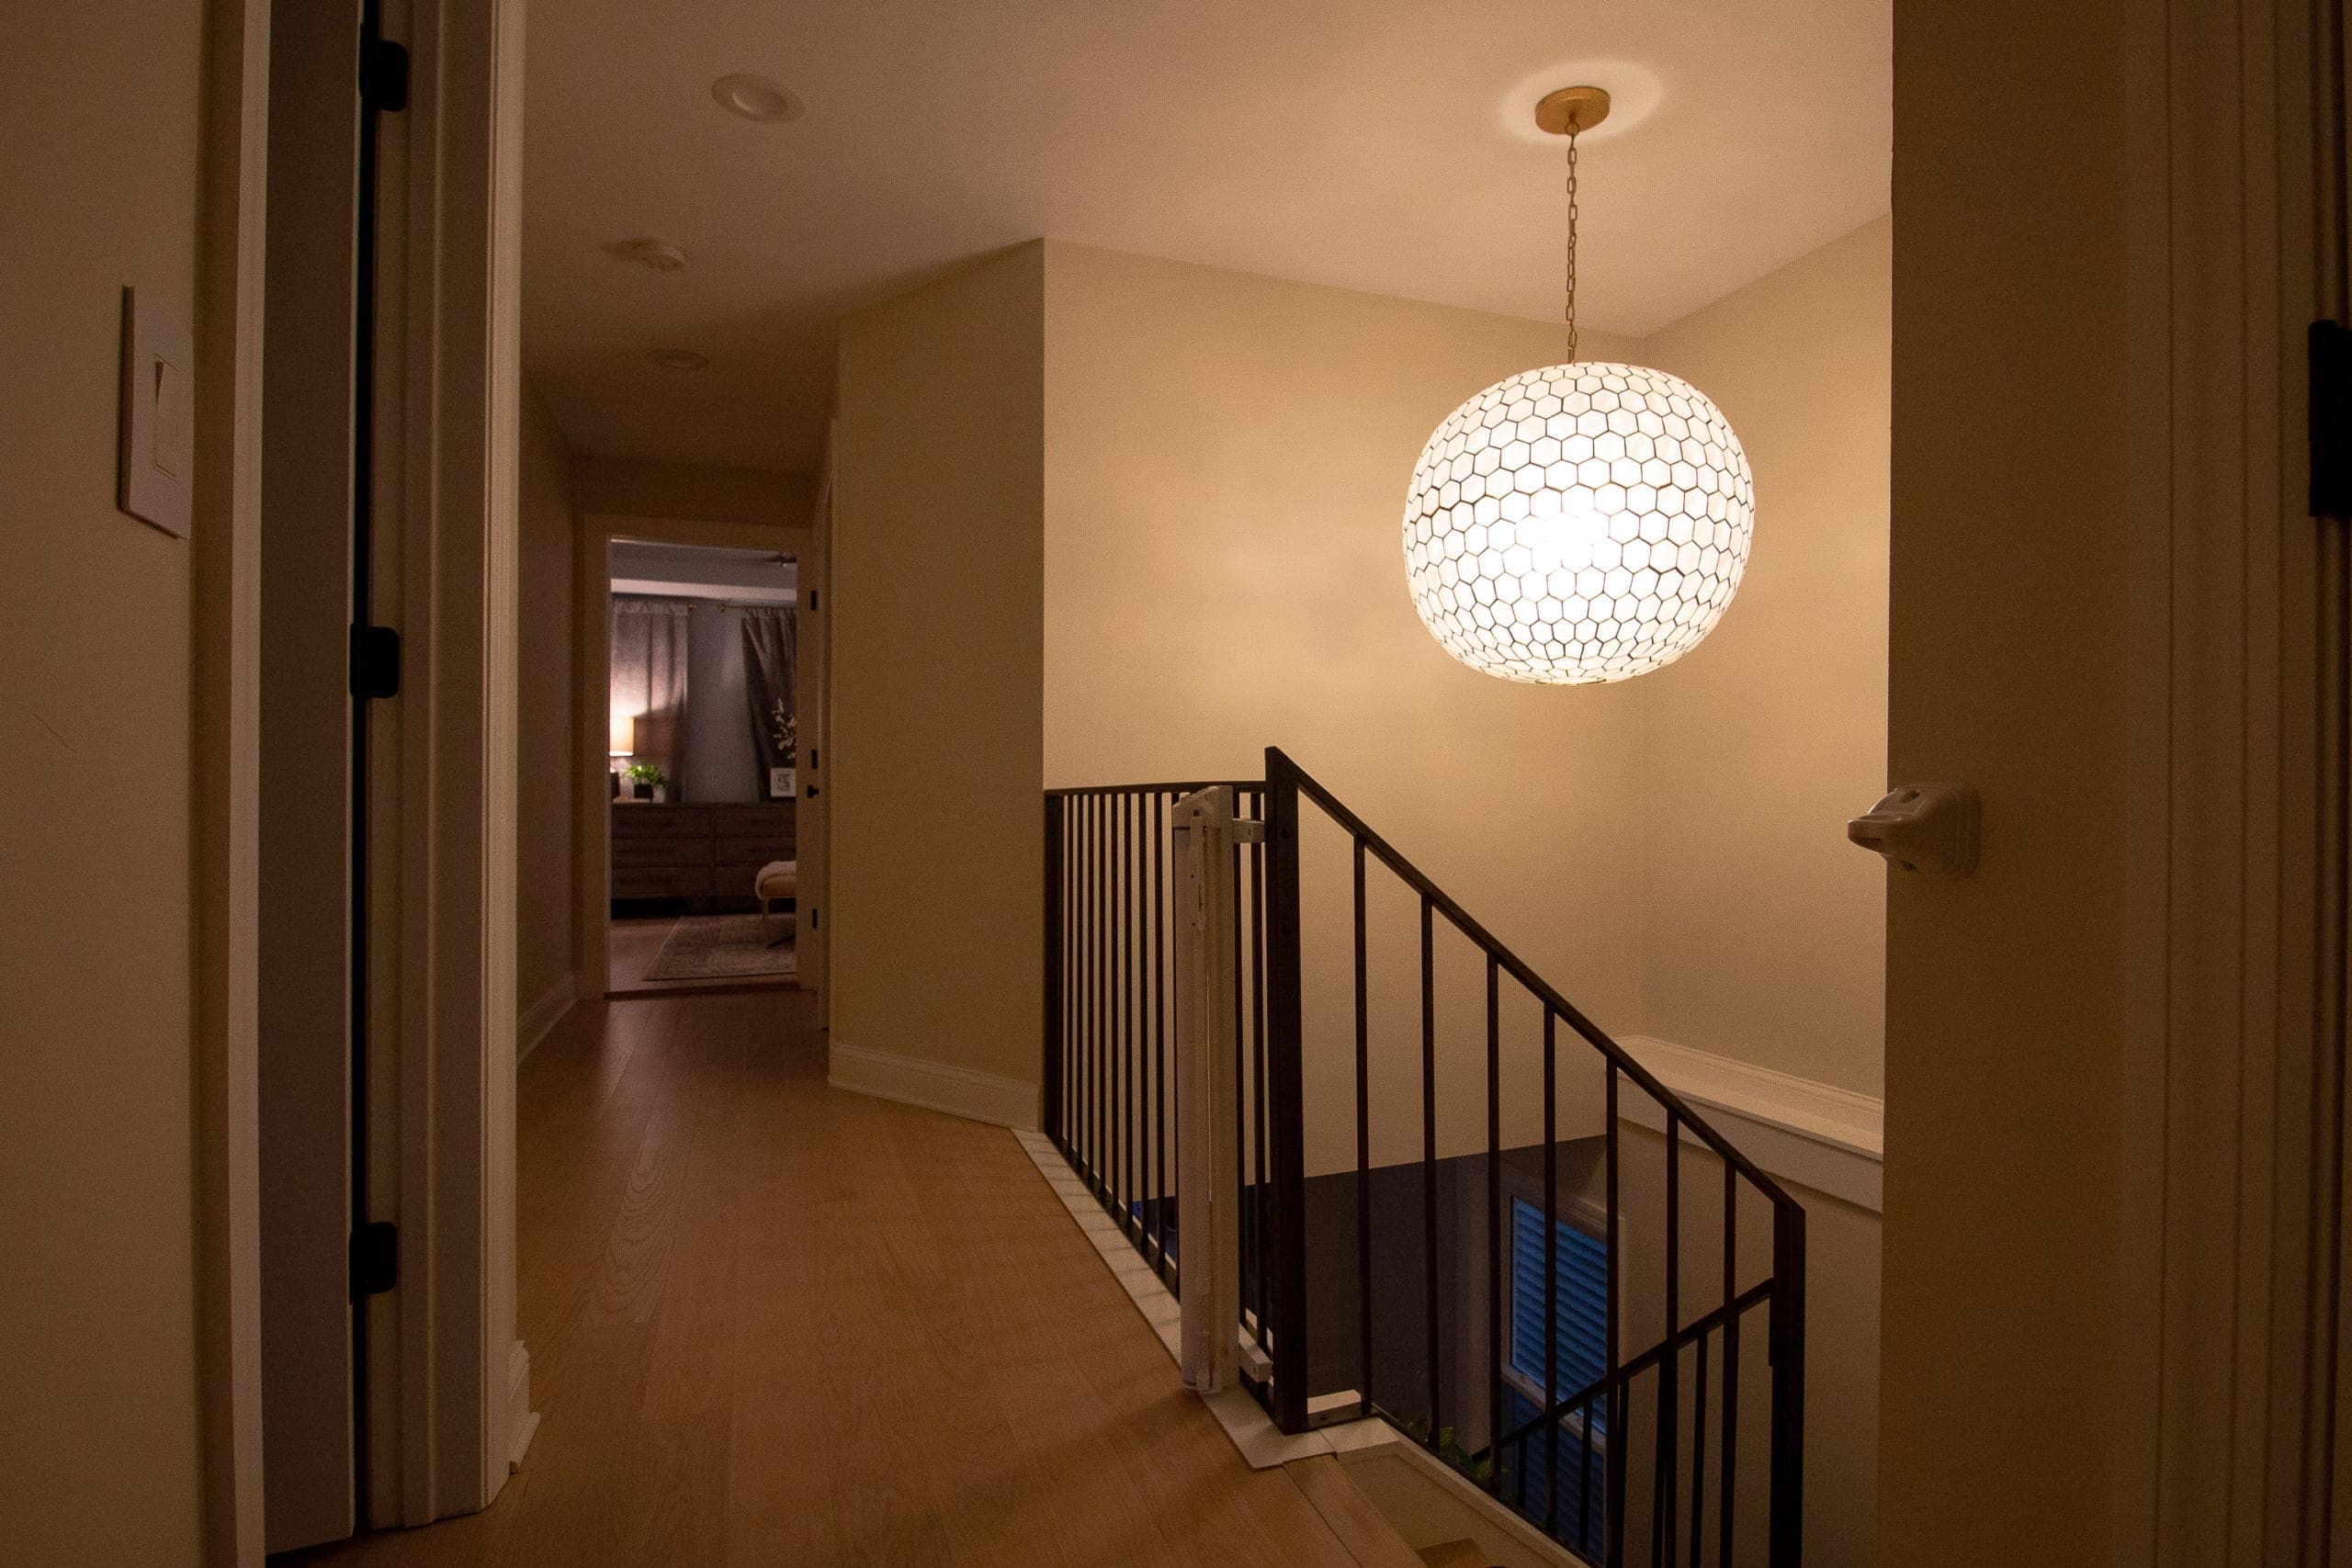
- Hallway – Hallways are easy to overlook, but good lighting here makes a big difference, especially at night. Flush-mount or low-profile ceiling lights usually work best, particularly in hallways with standard ceiling heights.
- Kitchen – Overhead lighting should be bright and functional, but don’t stop there. Add pendant light fixtures over the kitchen island, under-cabinet task lighting for work surfaces, and even in-cabinet lighting for extra depth. This blog post dives into our kitchen electrical plan.
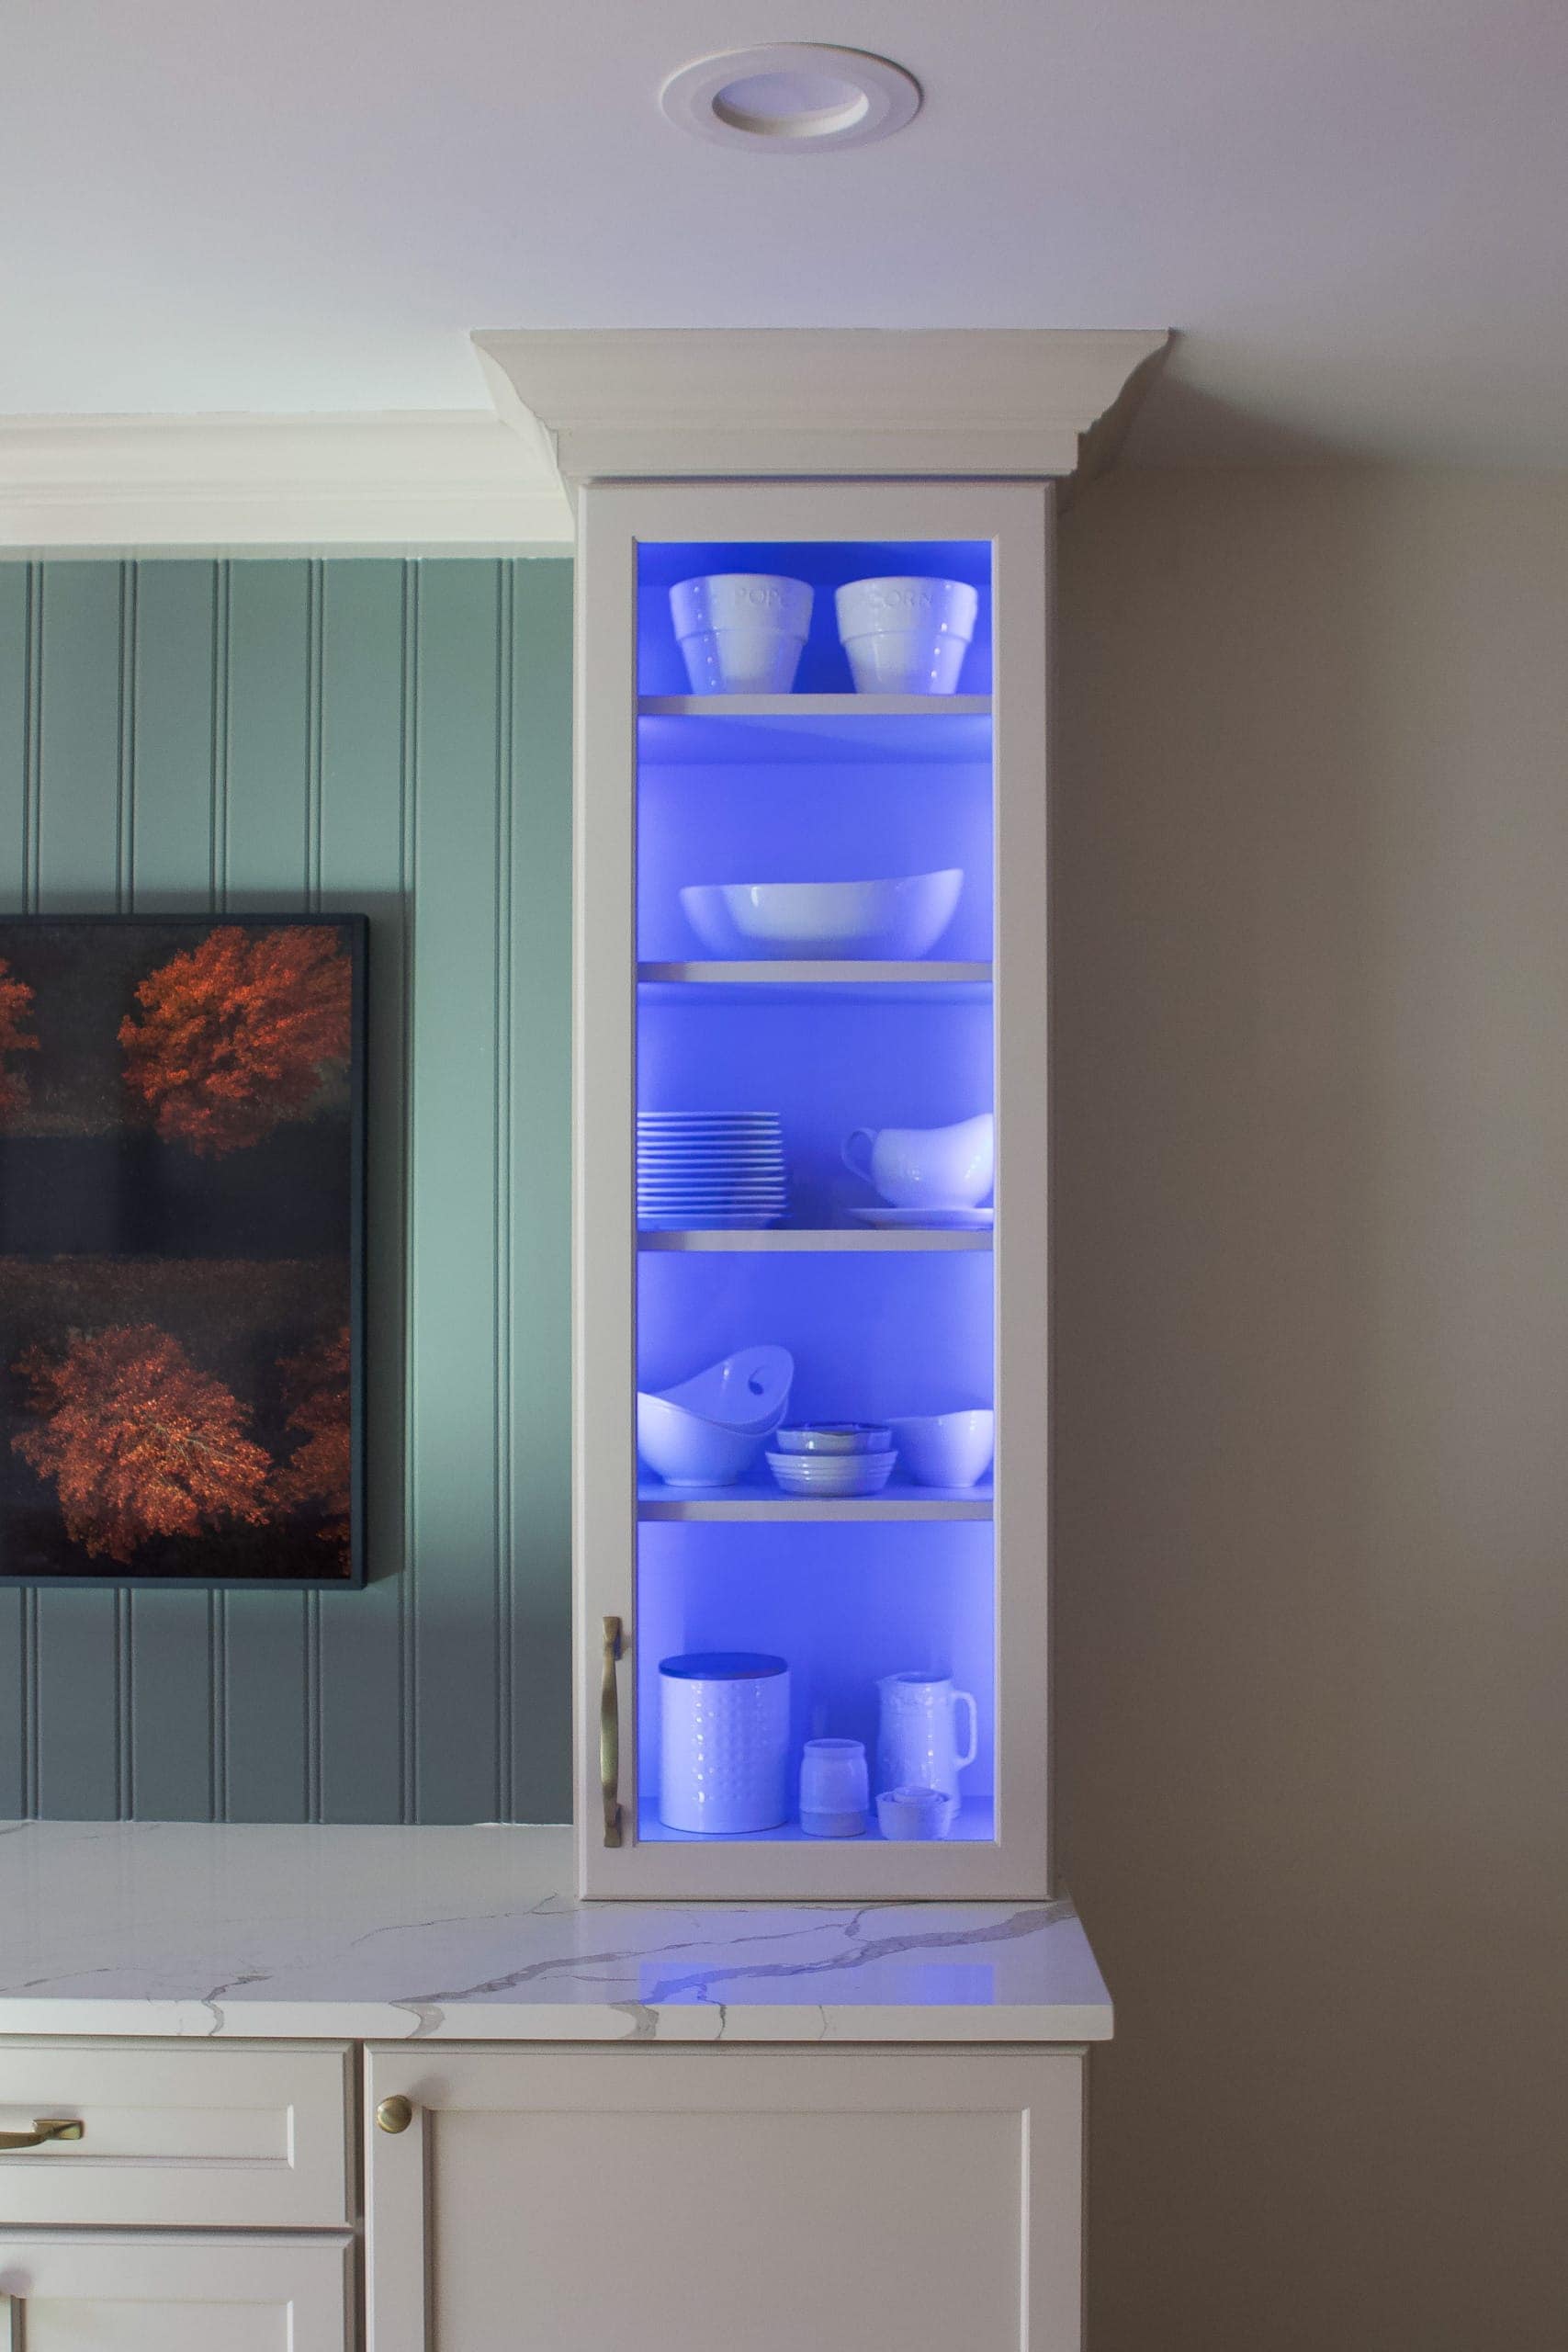
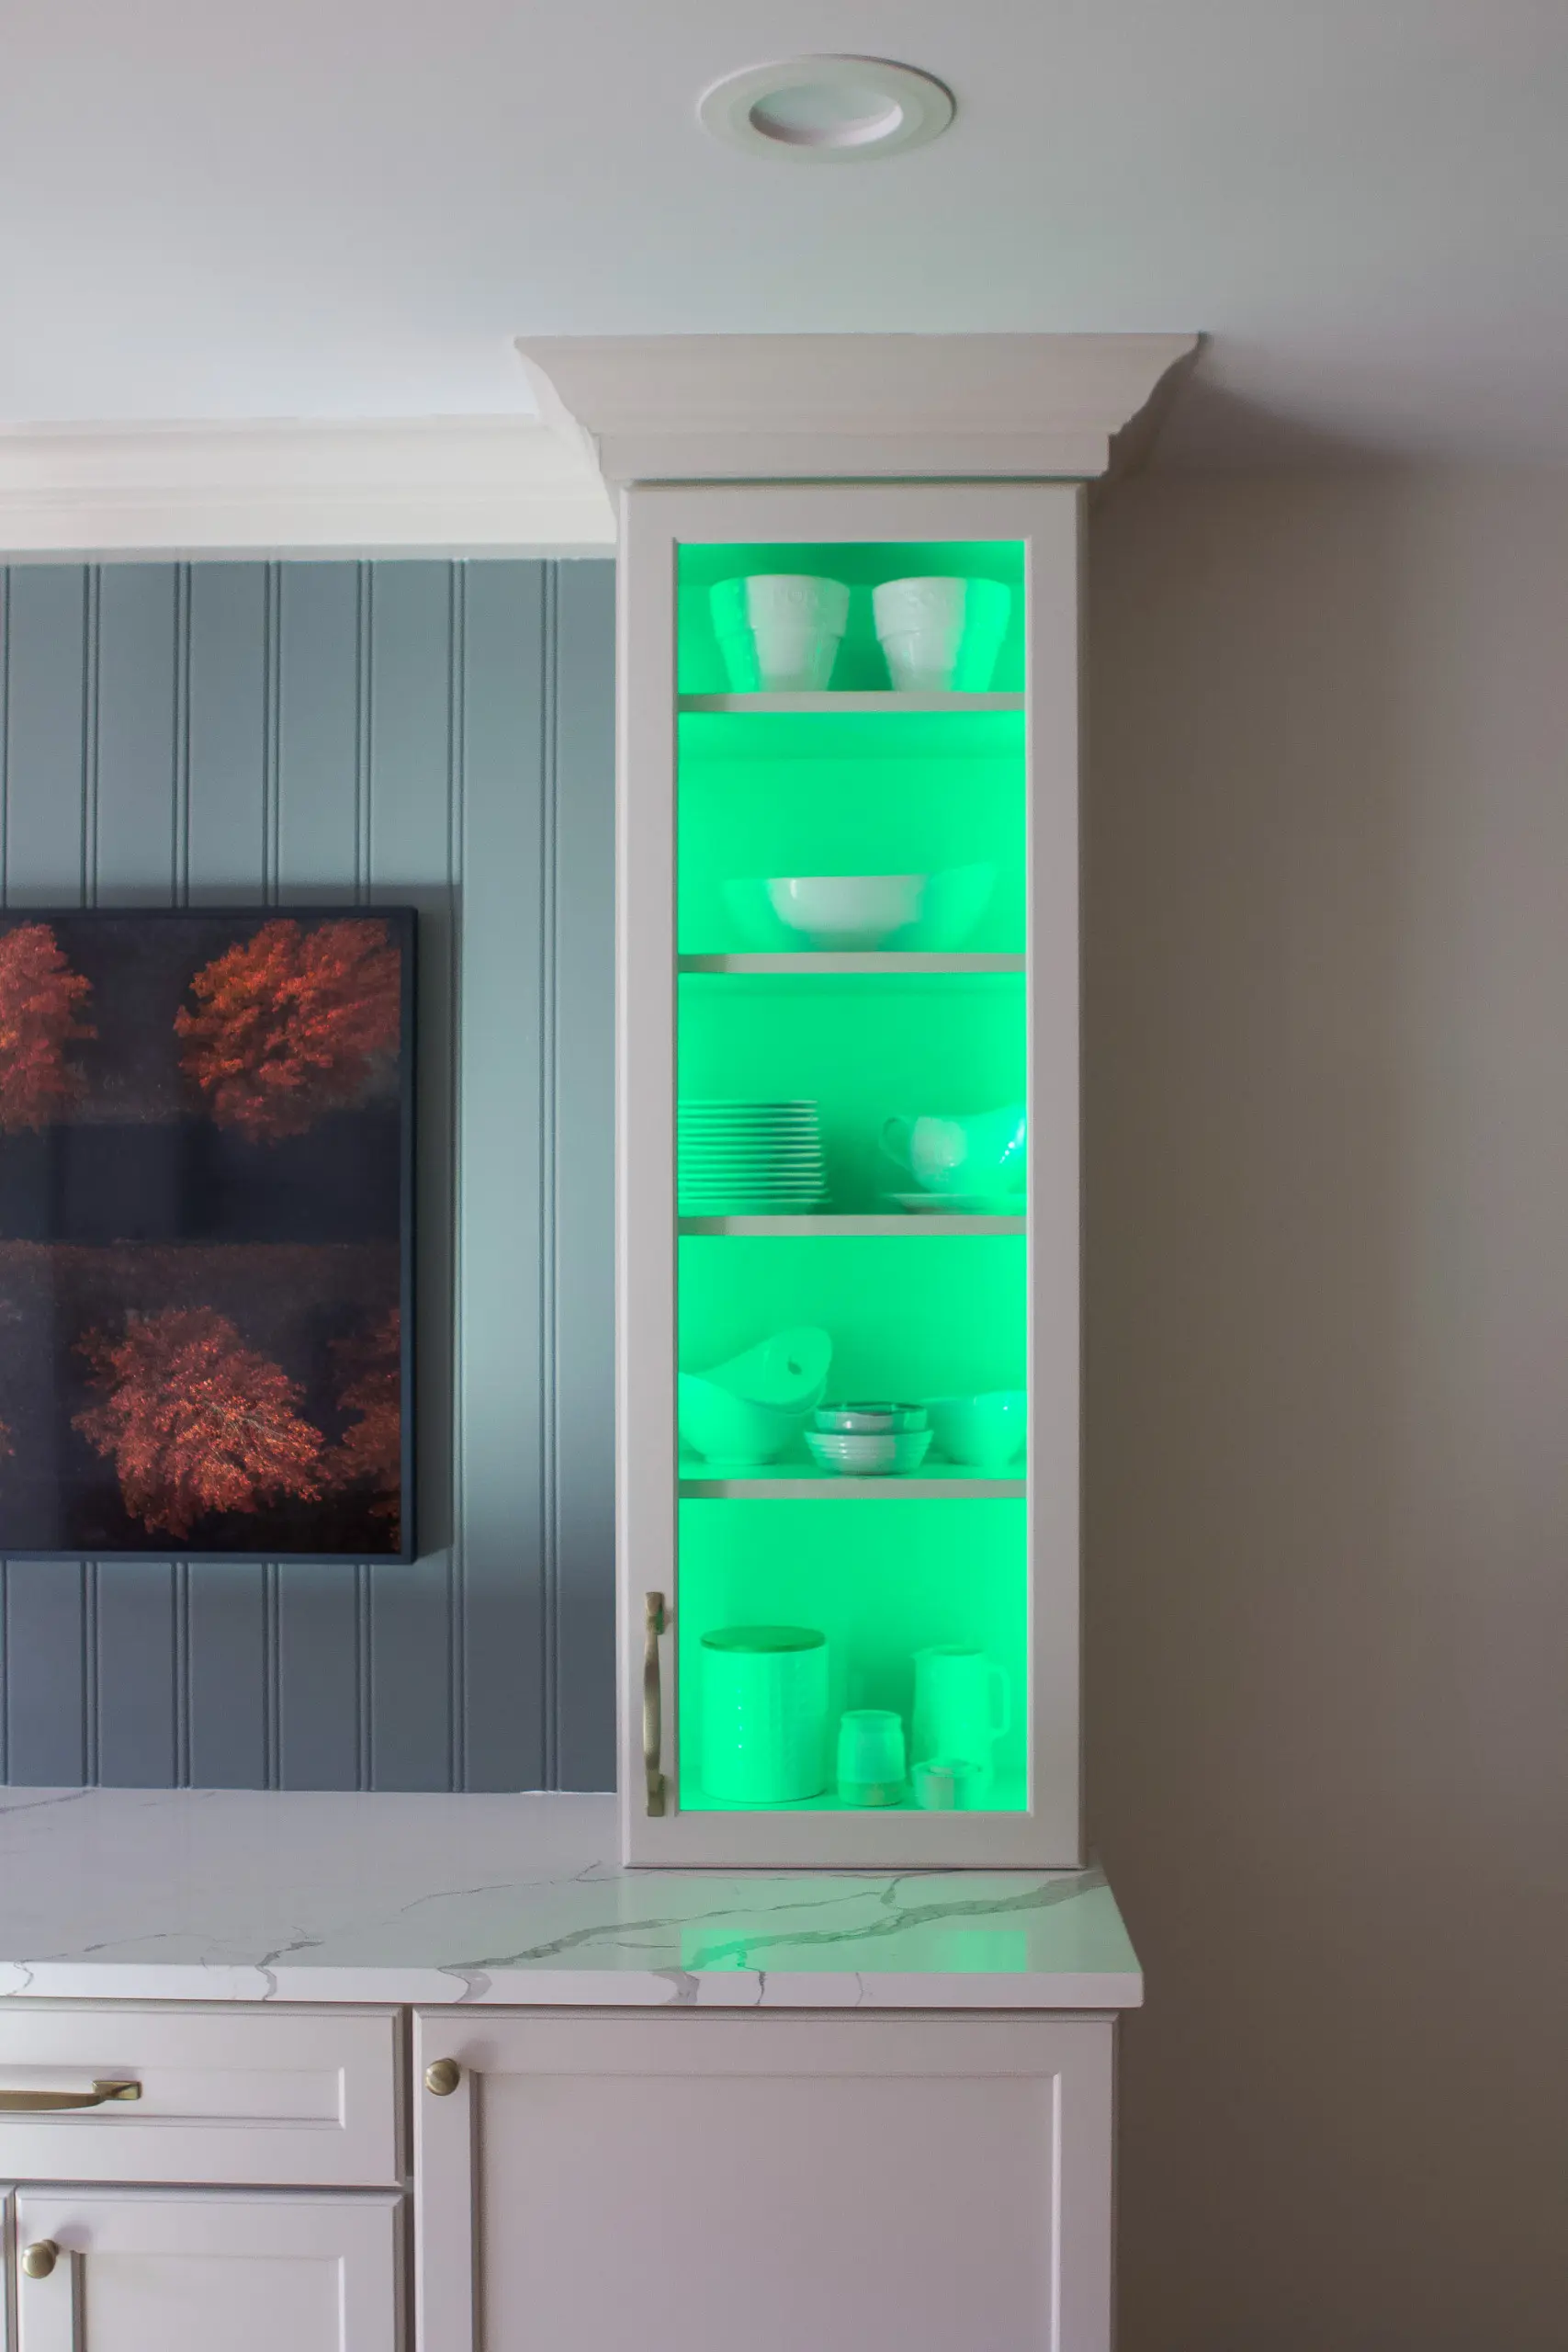
Don’t be afraid to have some fun with your lighting too! We added tape light to the inside of our glass cabinets and we can control the color and brightness with a remote control. These accent lights are great for parties! You can read more about all of the lights we have in our kitchen over in this blog post.
Light Bulbs Matter More Than You Think
You can have the perfect fixtures and layout, but if the bulbs are wrong, the lighting will still feel off. Light bulbs play a huge role in how a room looks and feels, especially at night when you’re relying on artificial lighting.
Two things matter most when choosing bulbs: color temperature and brightness.

For most homes, I prefer a warm, soft glow. That’s why I stick with soft white bulbs around 2700K, which create a cozy, inviting feel without looking yellow. Higher color temperatures can feel too blue or harsh in living spaces, even if the fixtures themselves are beautiful.
Brightness matters, too. Instead of using one extremely bright bulb, it’s usually better to layer lighting and use moderate brightness across multiple fixtures. In general, around 800 lumens works well for table lamps and sconces, while overhead fixtures can handle higher output when needed.

Whenever possible, choose LED bulbs. They’re far more energy-efficient than incandescent or fluorescent lighting; they last longer; and they now come in a wide range of tones and styles. The technology has improved so much that you no longer have to sacrifice warmth for efficiency.
If you want a deeper explanation of how color temperature, lumens, and bulb types all work together, I break everything down step by step in this full guide on choosing the right light bulb. It’s a great reference if lighting terms feel confusing or overwhelming.

When we renovated our house, we added recessed lighting to every single room and used these LED cans. They don’t even require light bulbs (so cool!) and you can change the color temperature directly on the back of them! I have them all set to “soft white” which emits a warm light. If I wanted one room to be a little cooler, I could easily pop it out and change the switch on the back.
If your lighting feels off, try swapping the bulbs before changing fixtures. It’s often the fastest and least expensive fix.
Don’t Forget Dimmers & Smart Technology
Dimmers are one of the simplest upgrades you can make, and they have an outsized impact on how a room feels. Being able to adjust lighting levels based on the time of day, activity, or mood makes your lighting feel intentional instead of one-note.

Anytime you can, put overhead lights on a dimmer. It allows you to soften the light in the evening, reduce glare, and make a space feel more comfortable without changing fixtures. You can even put lamps on dimmers, which gives you more flexibility throughout the day.
Swapping a standard switch for a dimmer switch is also a very doable DIY project. If you’re comfortable with basic electrical work, this is one upgrade that’s well worth the effort. Here’s my video tutorial that walks you through the process.
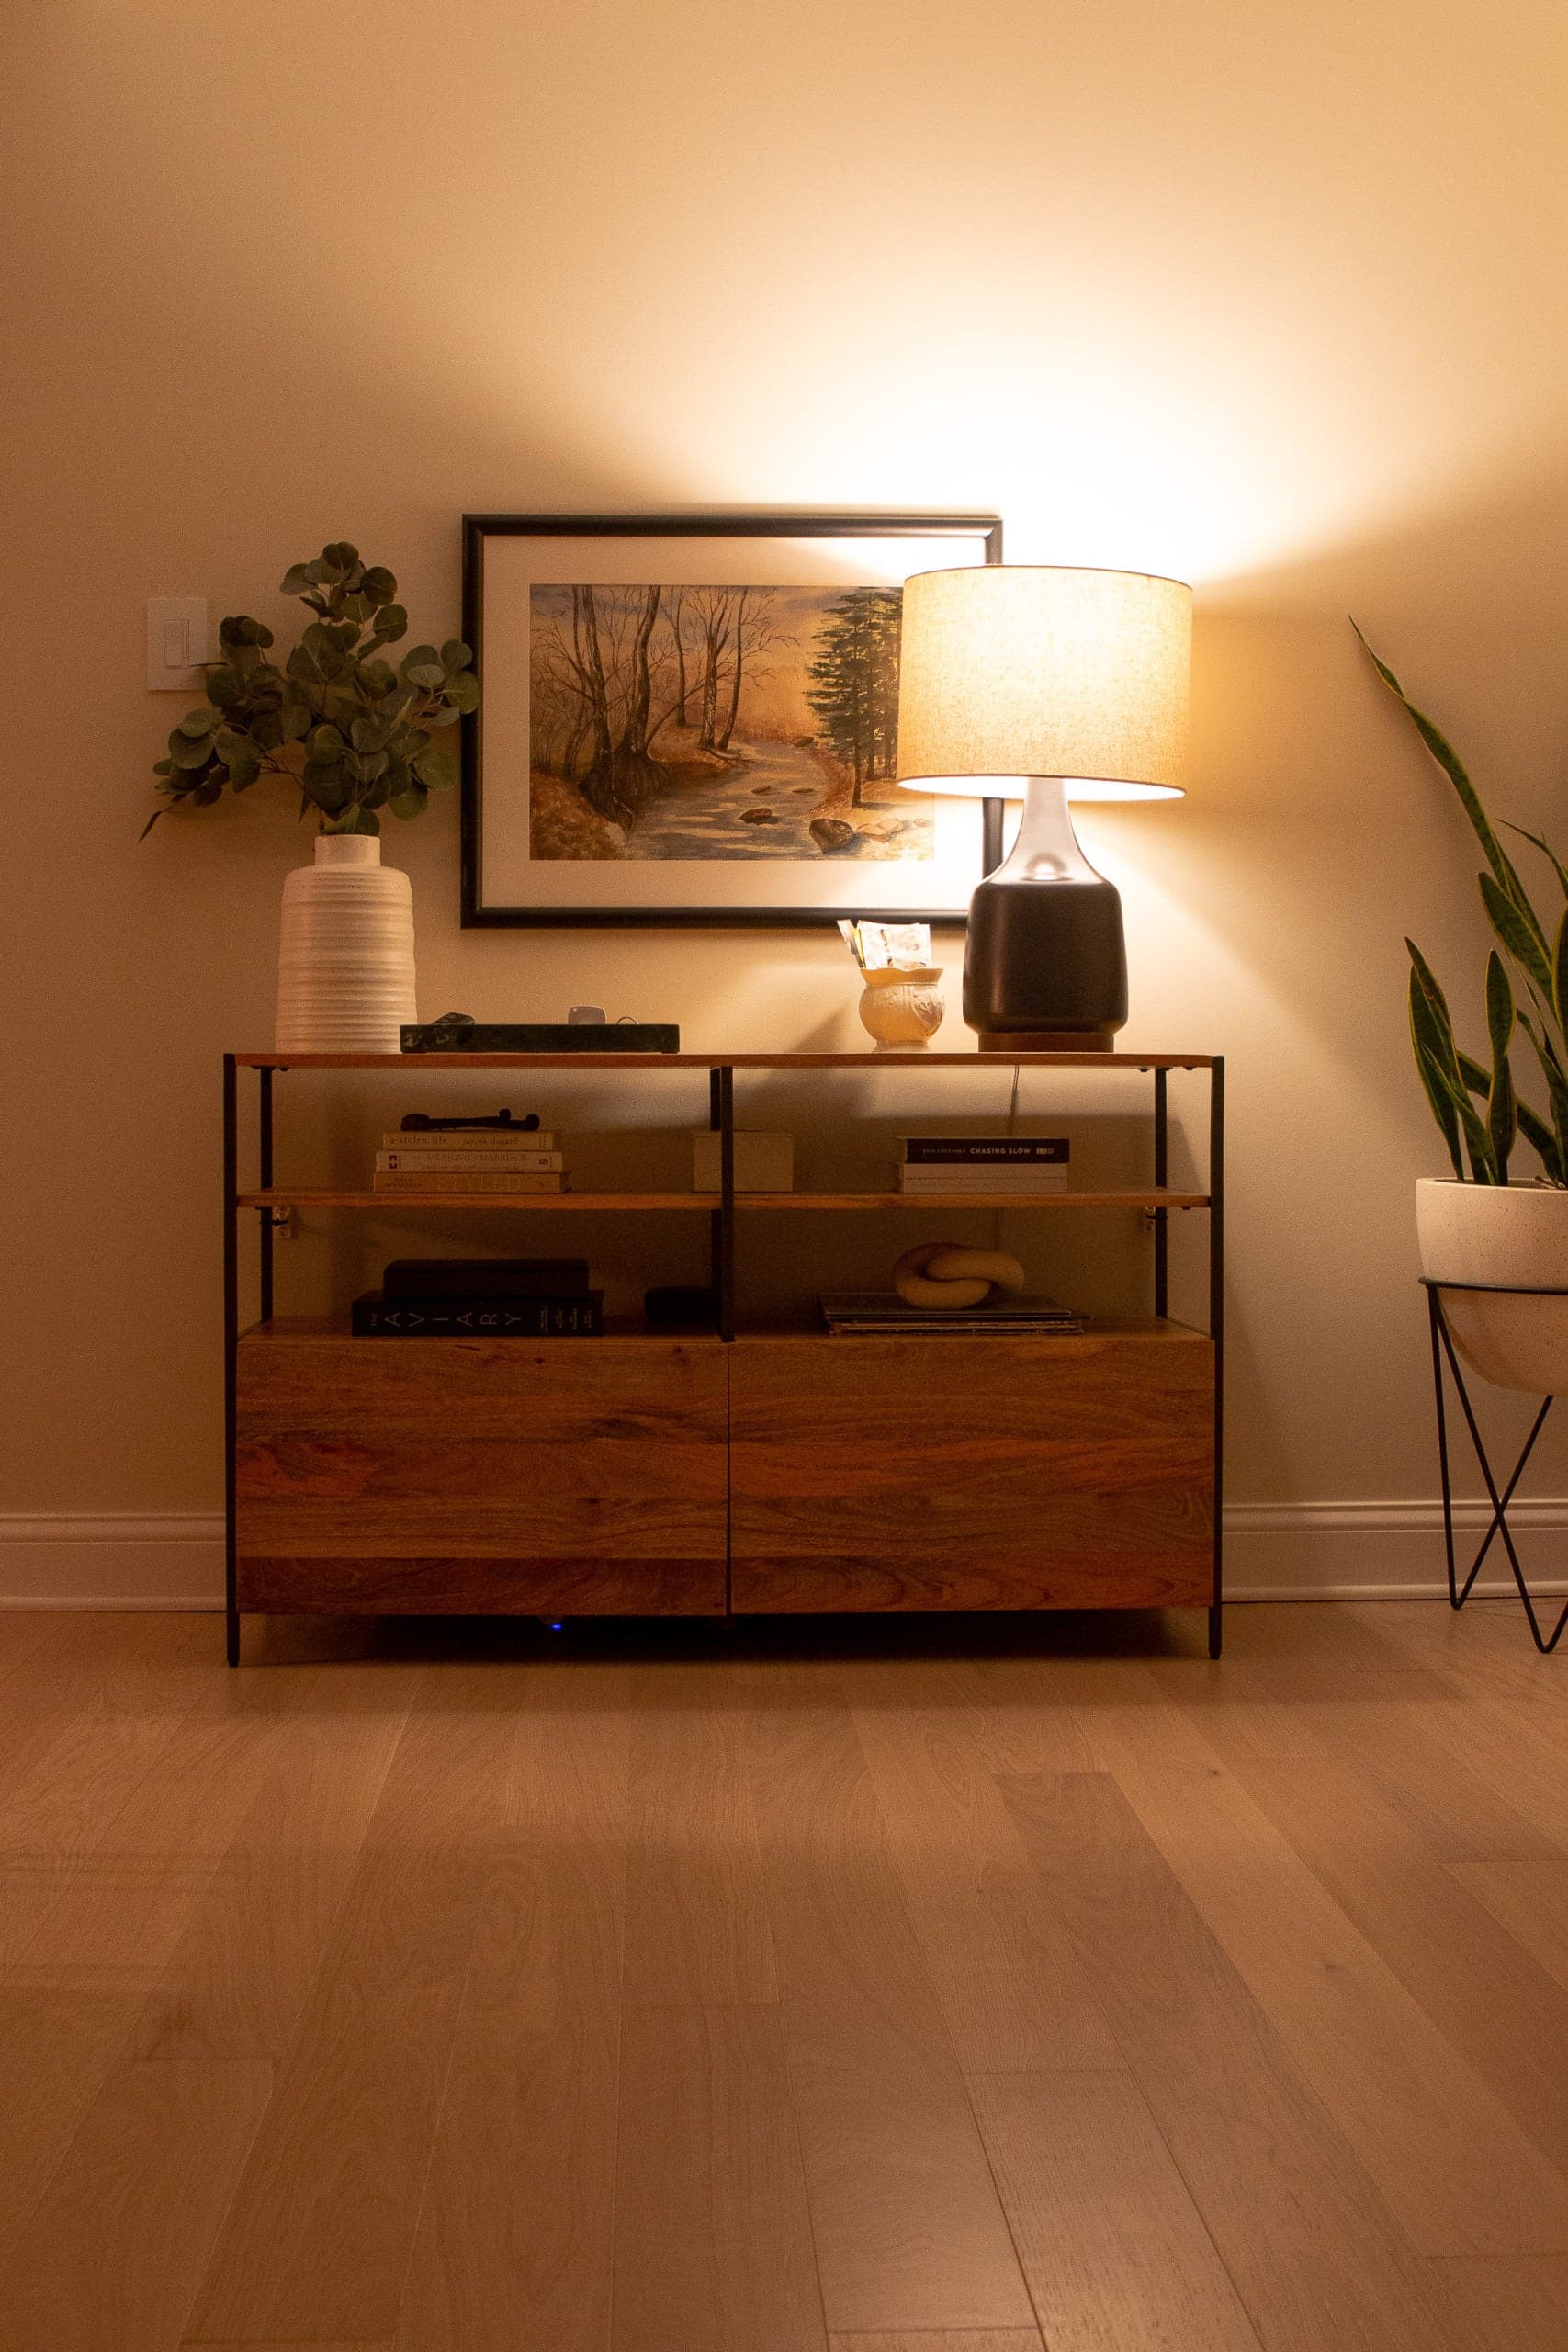
Smart lighting takes this a step further. Using smart plugs allows you to control lamps and lights with a schedule, your phone, or voice commands. In our home, we rely on lamps far more than overhead lighting in the evening, and having them turn on automatically makes the whole house feel warm and welcoming without any extra effort.
You don’t need a fully automated lighting system for this to be useful. Even a few smart plugs in key rooms can make a big difference in how your home feels at night.
Outdoor Lighting Matters Too!
The same lighting rules apply outside your home. Just like indoor spaces, outdoor areas feel better when lighting is layered, intentional, and not overly harsh.

We like to think of our backyard as an outdoor room and an extension of our home. Lighting makes the space feel special at night. From string lights, to candles, to lanterns, and even tiki torches, these all work together to make it feel magical.
Exterior lighting also serves a practical purpose. Wall-mounted lights near doors, steps, and walkways improve visibility and safety, while softer accent lighting helps define the space and makes it feel more welcoming.
You can see exactly how we layered lighting in our own outdoor space in this full backyard lighting walkthrough.
Final Thoughts on Lighting Your Home

Learning how to light a room properly was one of those small changes that made a surprisingly big difference in our home. Once I stopped relying only on overhead lights and started layering lighting intentionally, every space felt more comfortable, more inviting, and more lived in.
If your home has ever felt flat, harsh, or not quite right, lighting is often the missing piece. Start small, experiment with layering, and pay attention to how the space feels at different times of day. A few thoughtful changes can make your home feel warmer, calmer, and more “you.”
Casey

Black Sconces (Main Bathroom) // Ceiling Fan (Main Bedroom) // Globe Pendant (Kitchen) // Simple Gold Chandelier (Office) // Sleek Sconce (Main Bedroom) // Ceramic Lamp (Ellis’ Room) // Candle Warming Lamp (Office) // White Geometric Lamp (Rory’s Room) // Four Lamp Chandelier (Dining Room) // Rattan Lamp (Ellis’ Room) // Pink Lamp (Rory’s Room) // Capiz Chandelier (Stairway) // Three Lamp Sconce (Kids’ Bathroom) // Picture Frame Light (Mudroom)


