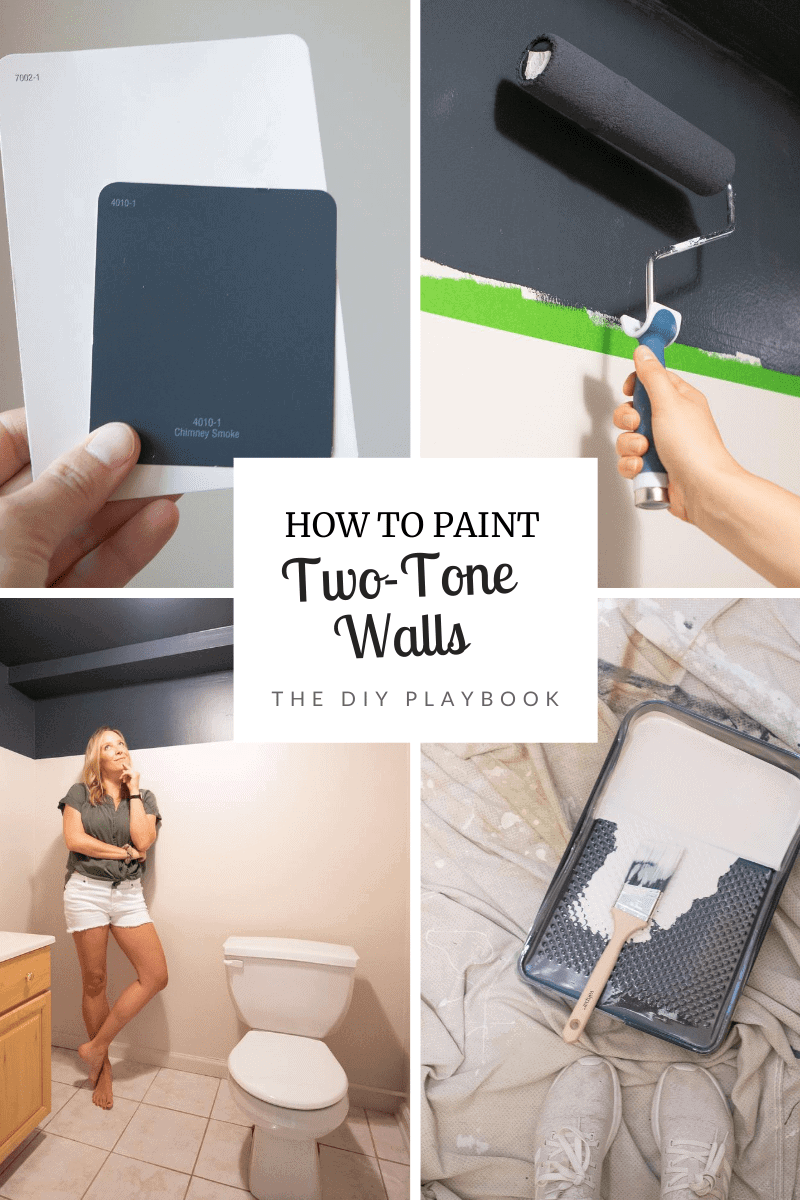
How to Paint Two-Tone Walls
Disclaimer: This post is sponsored by Valspar.
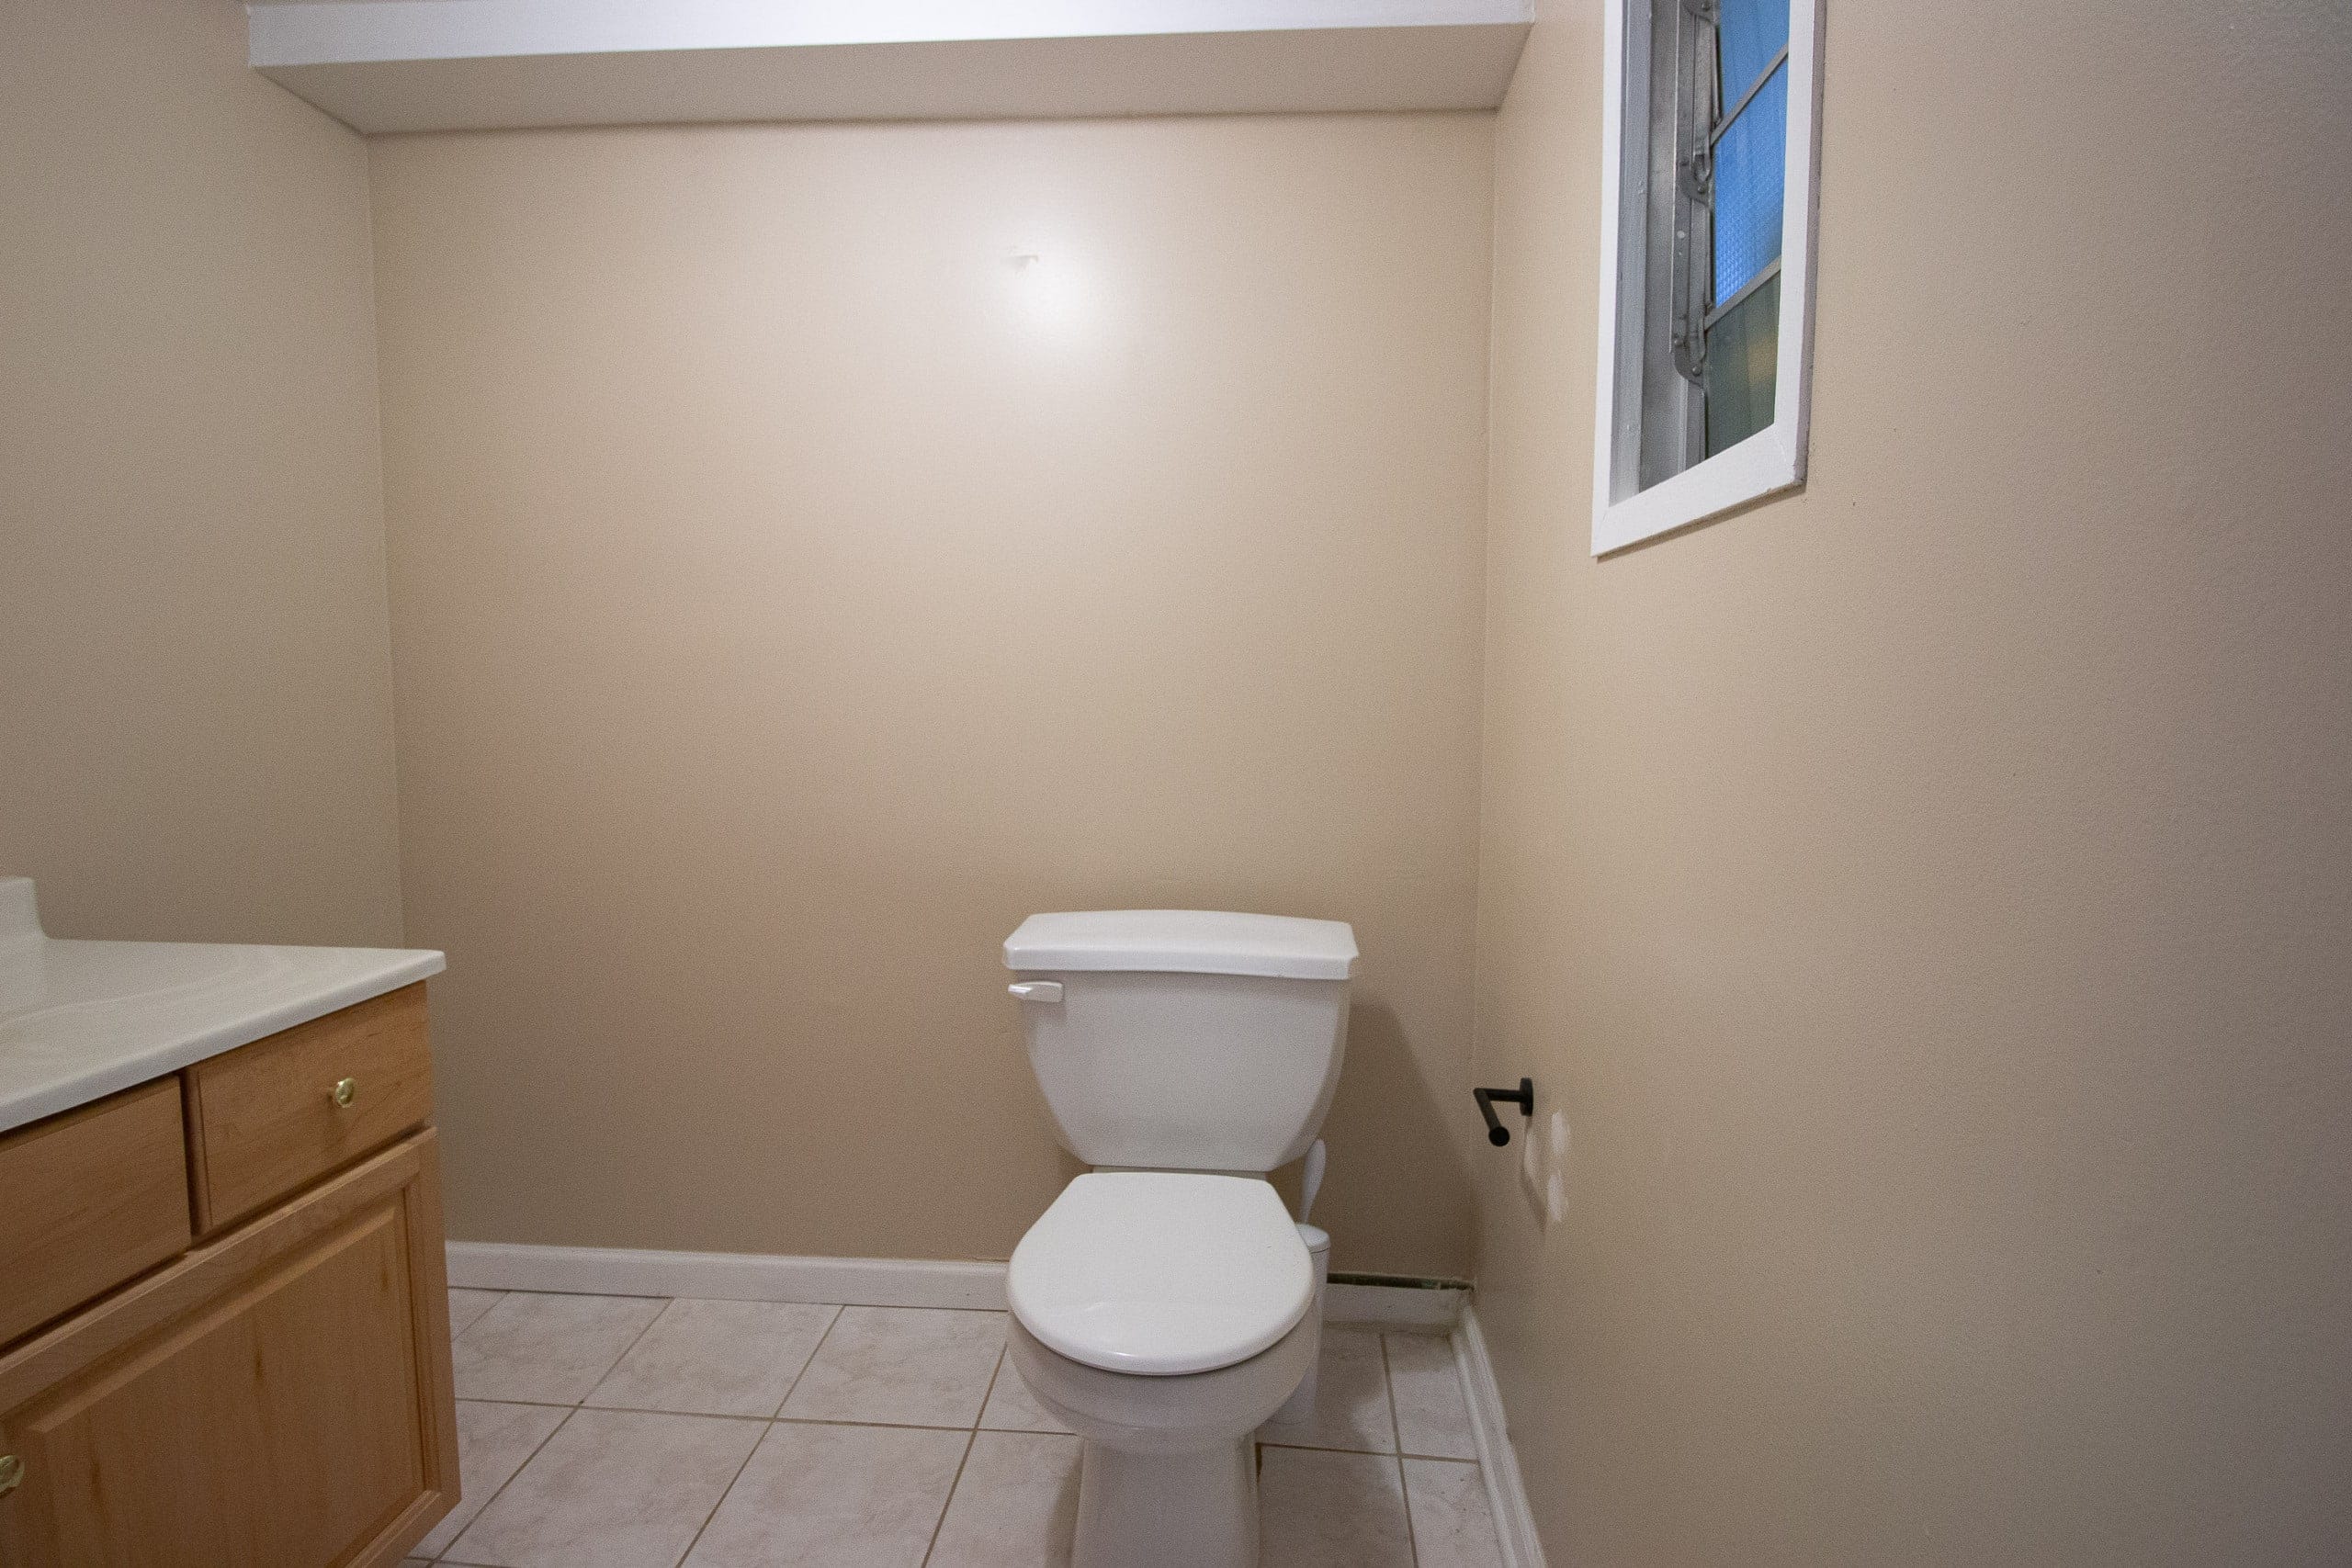
As I shared last week, I’m giving our basement bathroom a little love with a budget refresh. Now that Finn is working from the basement, it just makes sense to spruce up this space and give it some TLC. When it comes to budget projects that make a big impact, nothing beats the power of paint. A new coat of paint on the walls can instantly bring life into a space and it truly is a do-it-yourself project that ANYONE can tackle in a day! And this space definitely needs some life…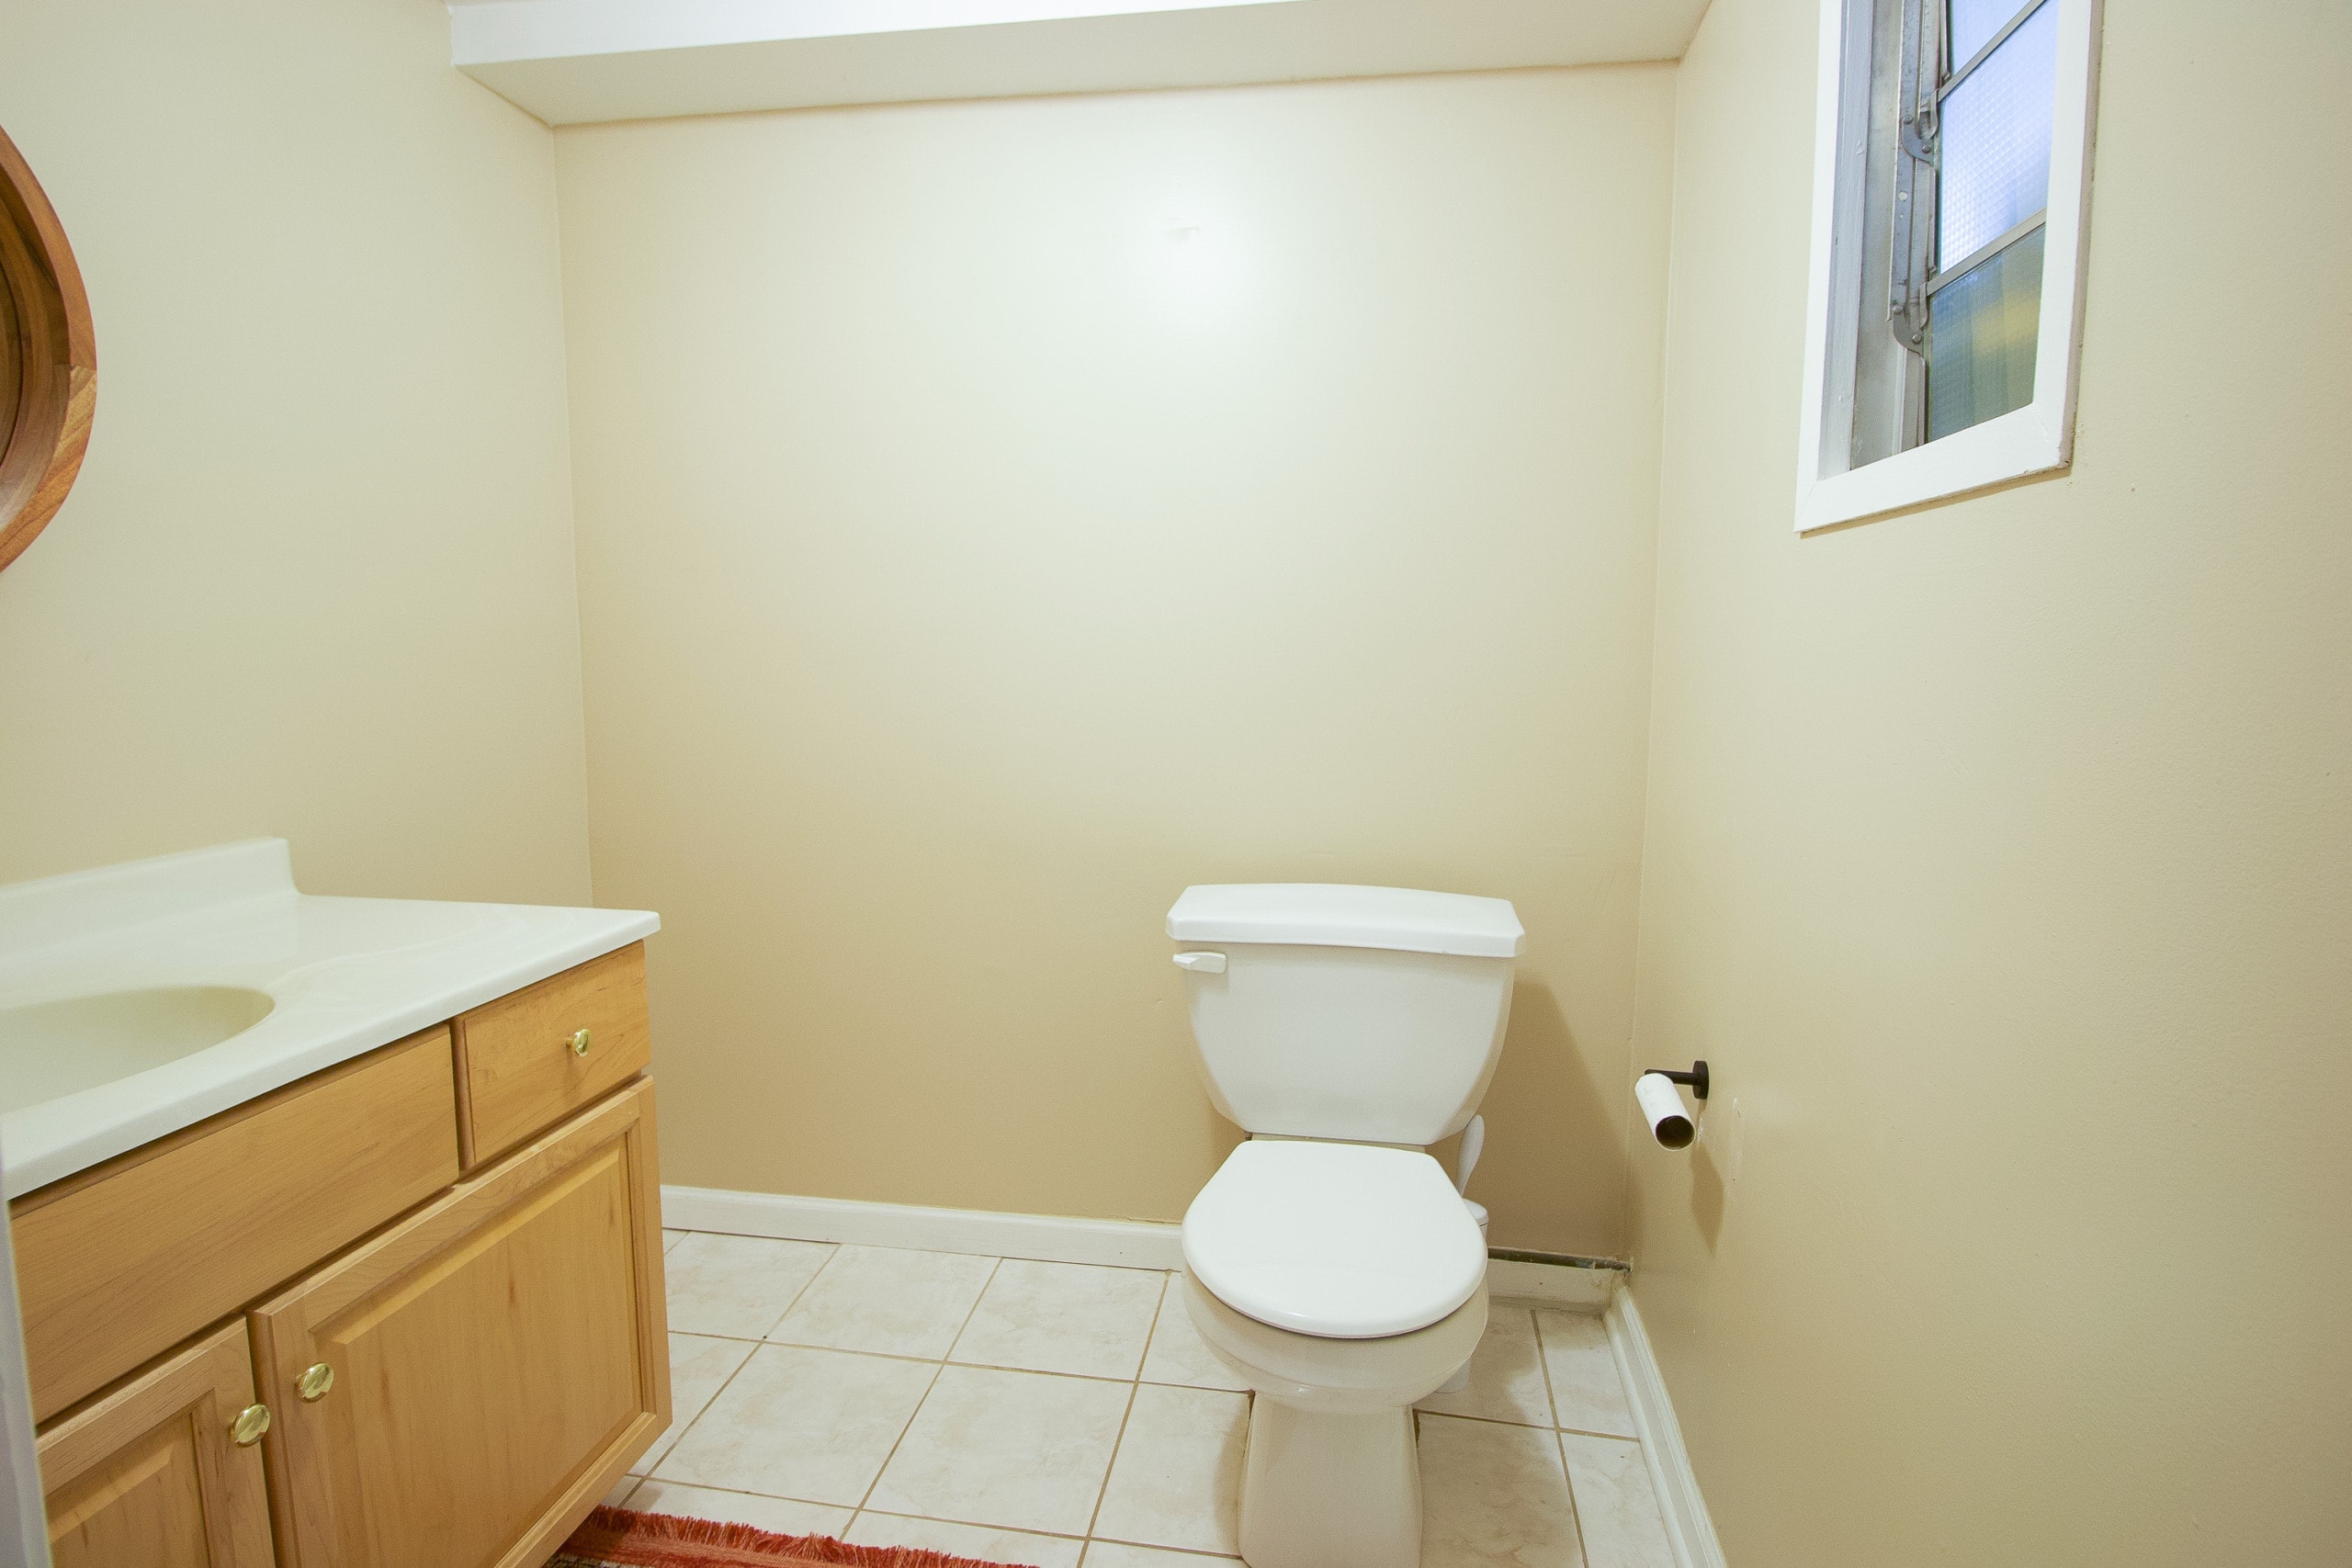
I’ve done a lot of painting and wanted to challenge myself to do something a little different in this teeny tiny room. After browsing inspiration, I decided to paint two-tone walls in here. Essentially, that means that the bottom will be painted one color and the top (and ceiling, in this case) will be painted another color. Therefore, you need a suuuuuper straight and clean line separating the two colors. That was the part I was the most nervous about, but I was also kinda excited about the challenge.
Choosing Paint Colors
The paint colors in our home are all warm-toned and I always think it’s nice to make sure you keep everything looking cohesive with similar tones (or else you may have a rainbow house before you know it!). It’s also always a good idea to repeat colors in different rooms to keep that cohesive feeling throughout your home.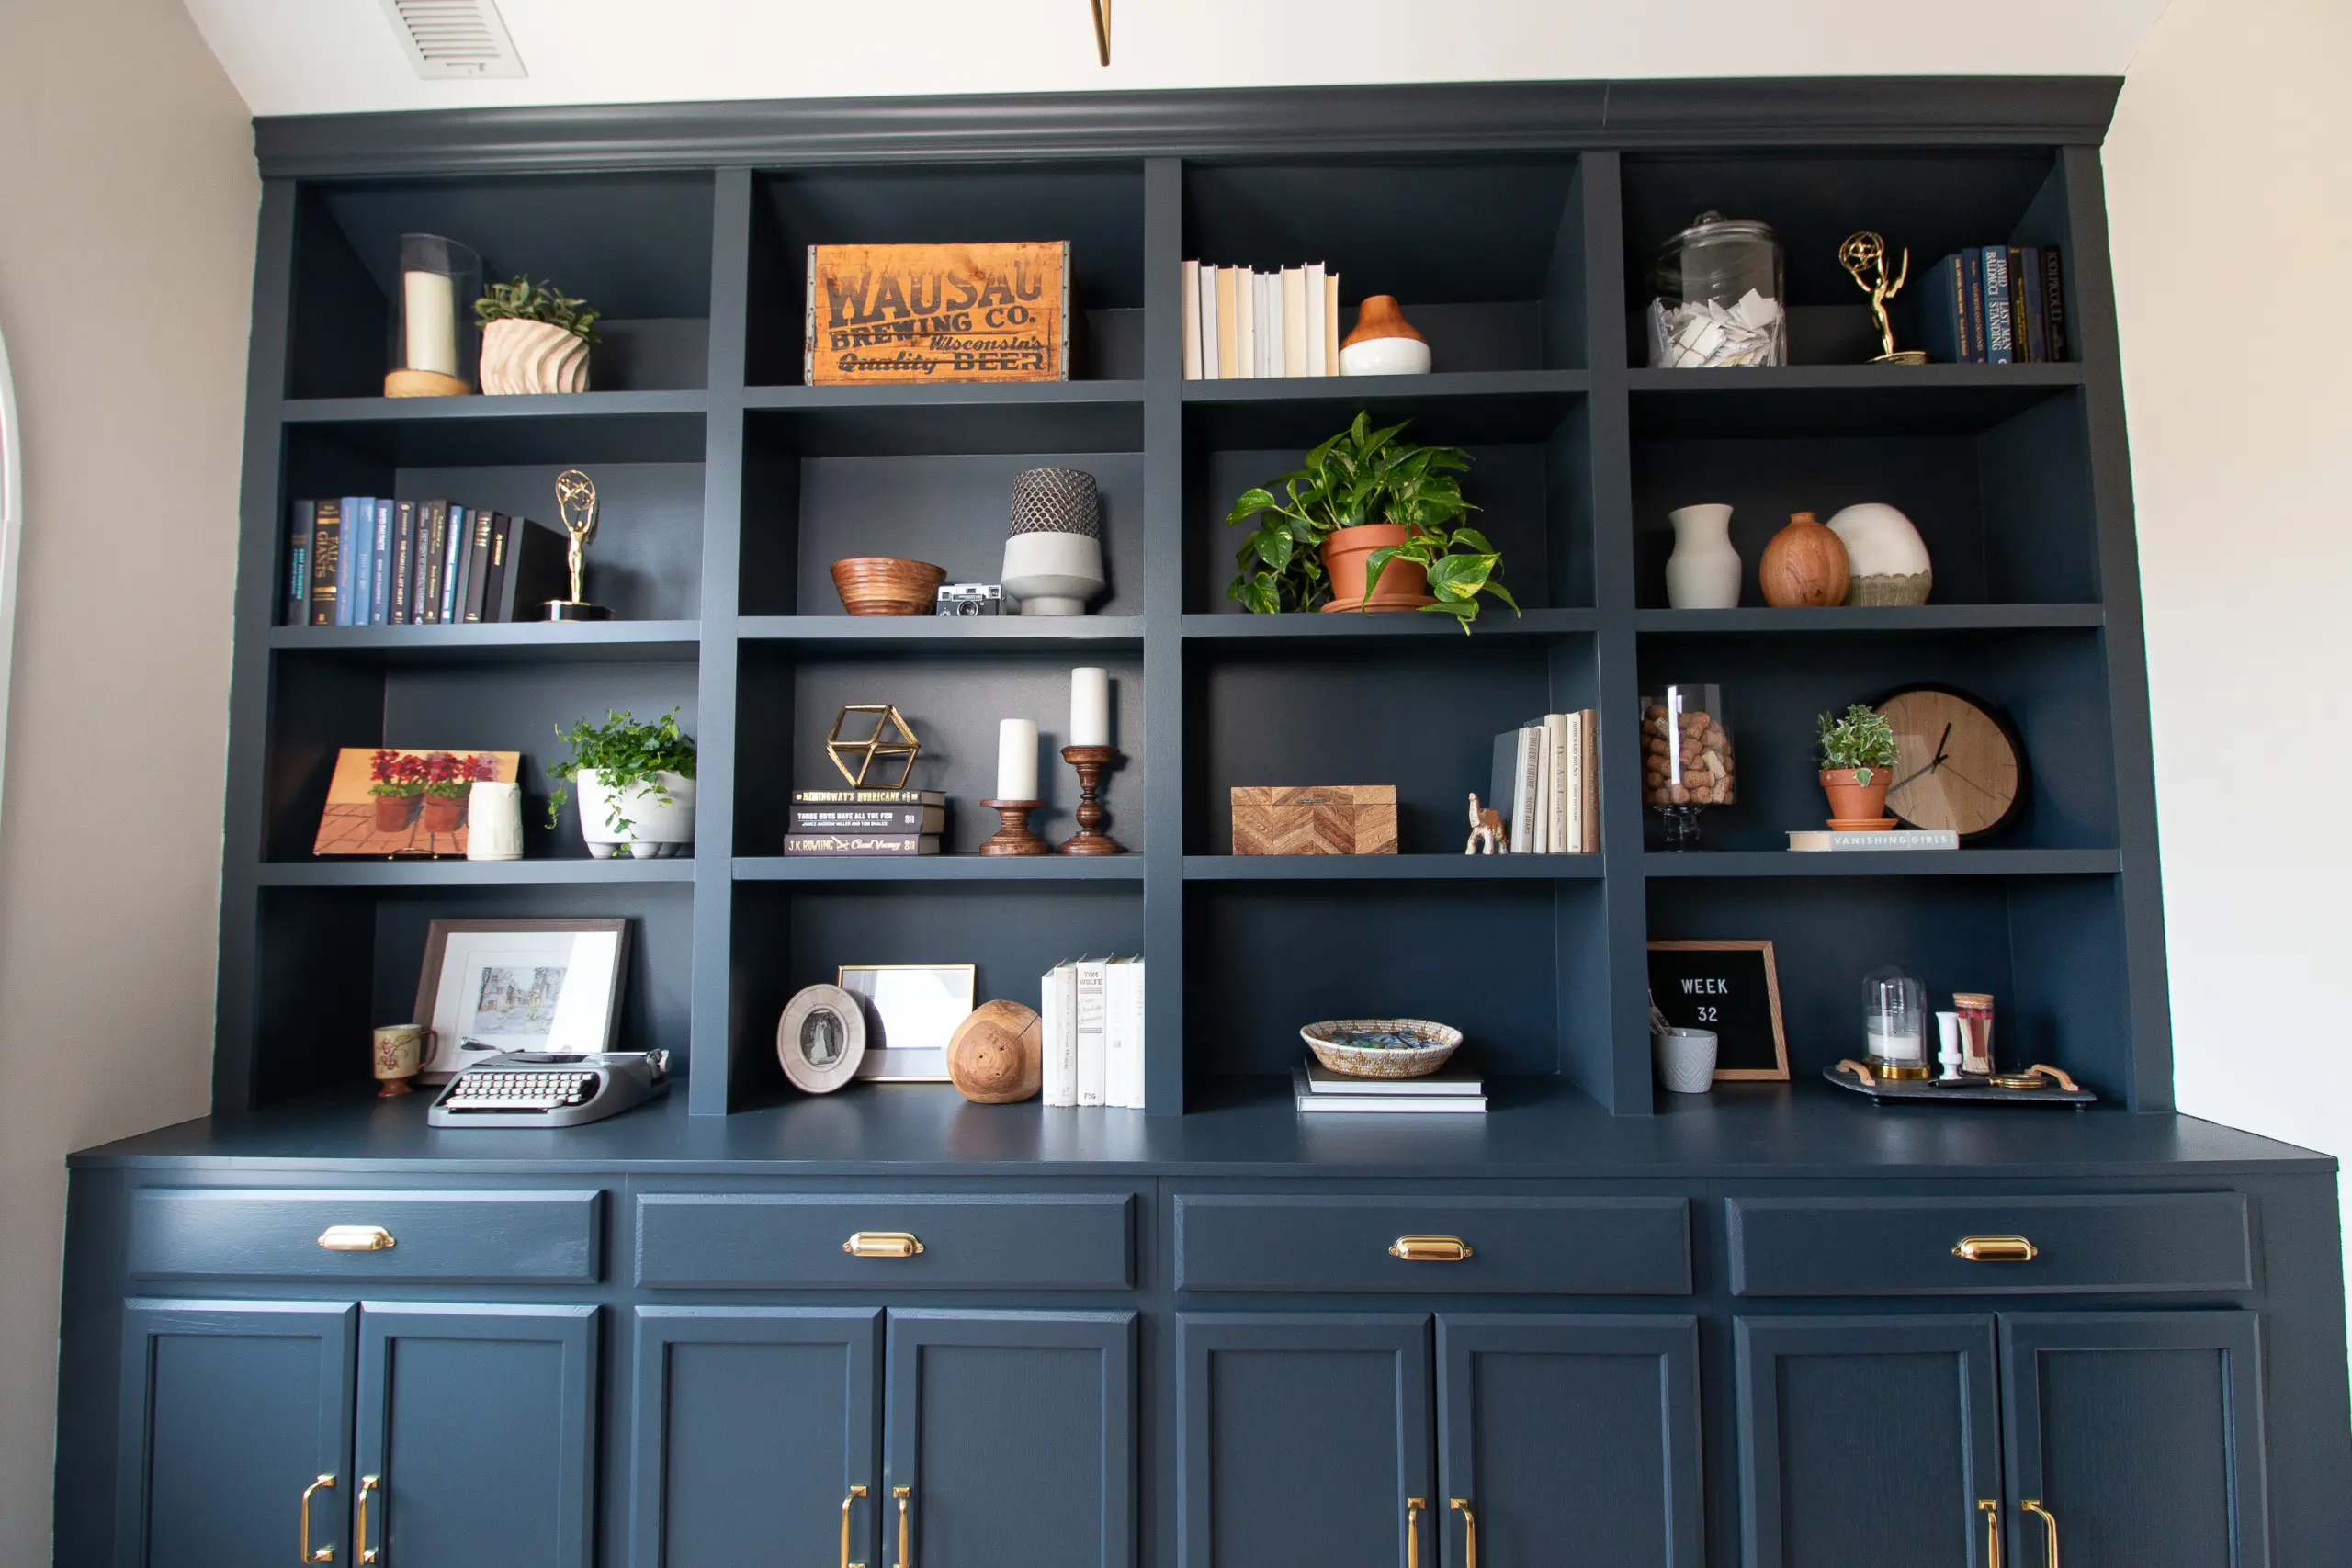
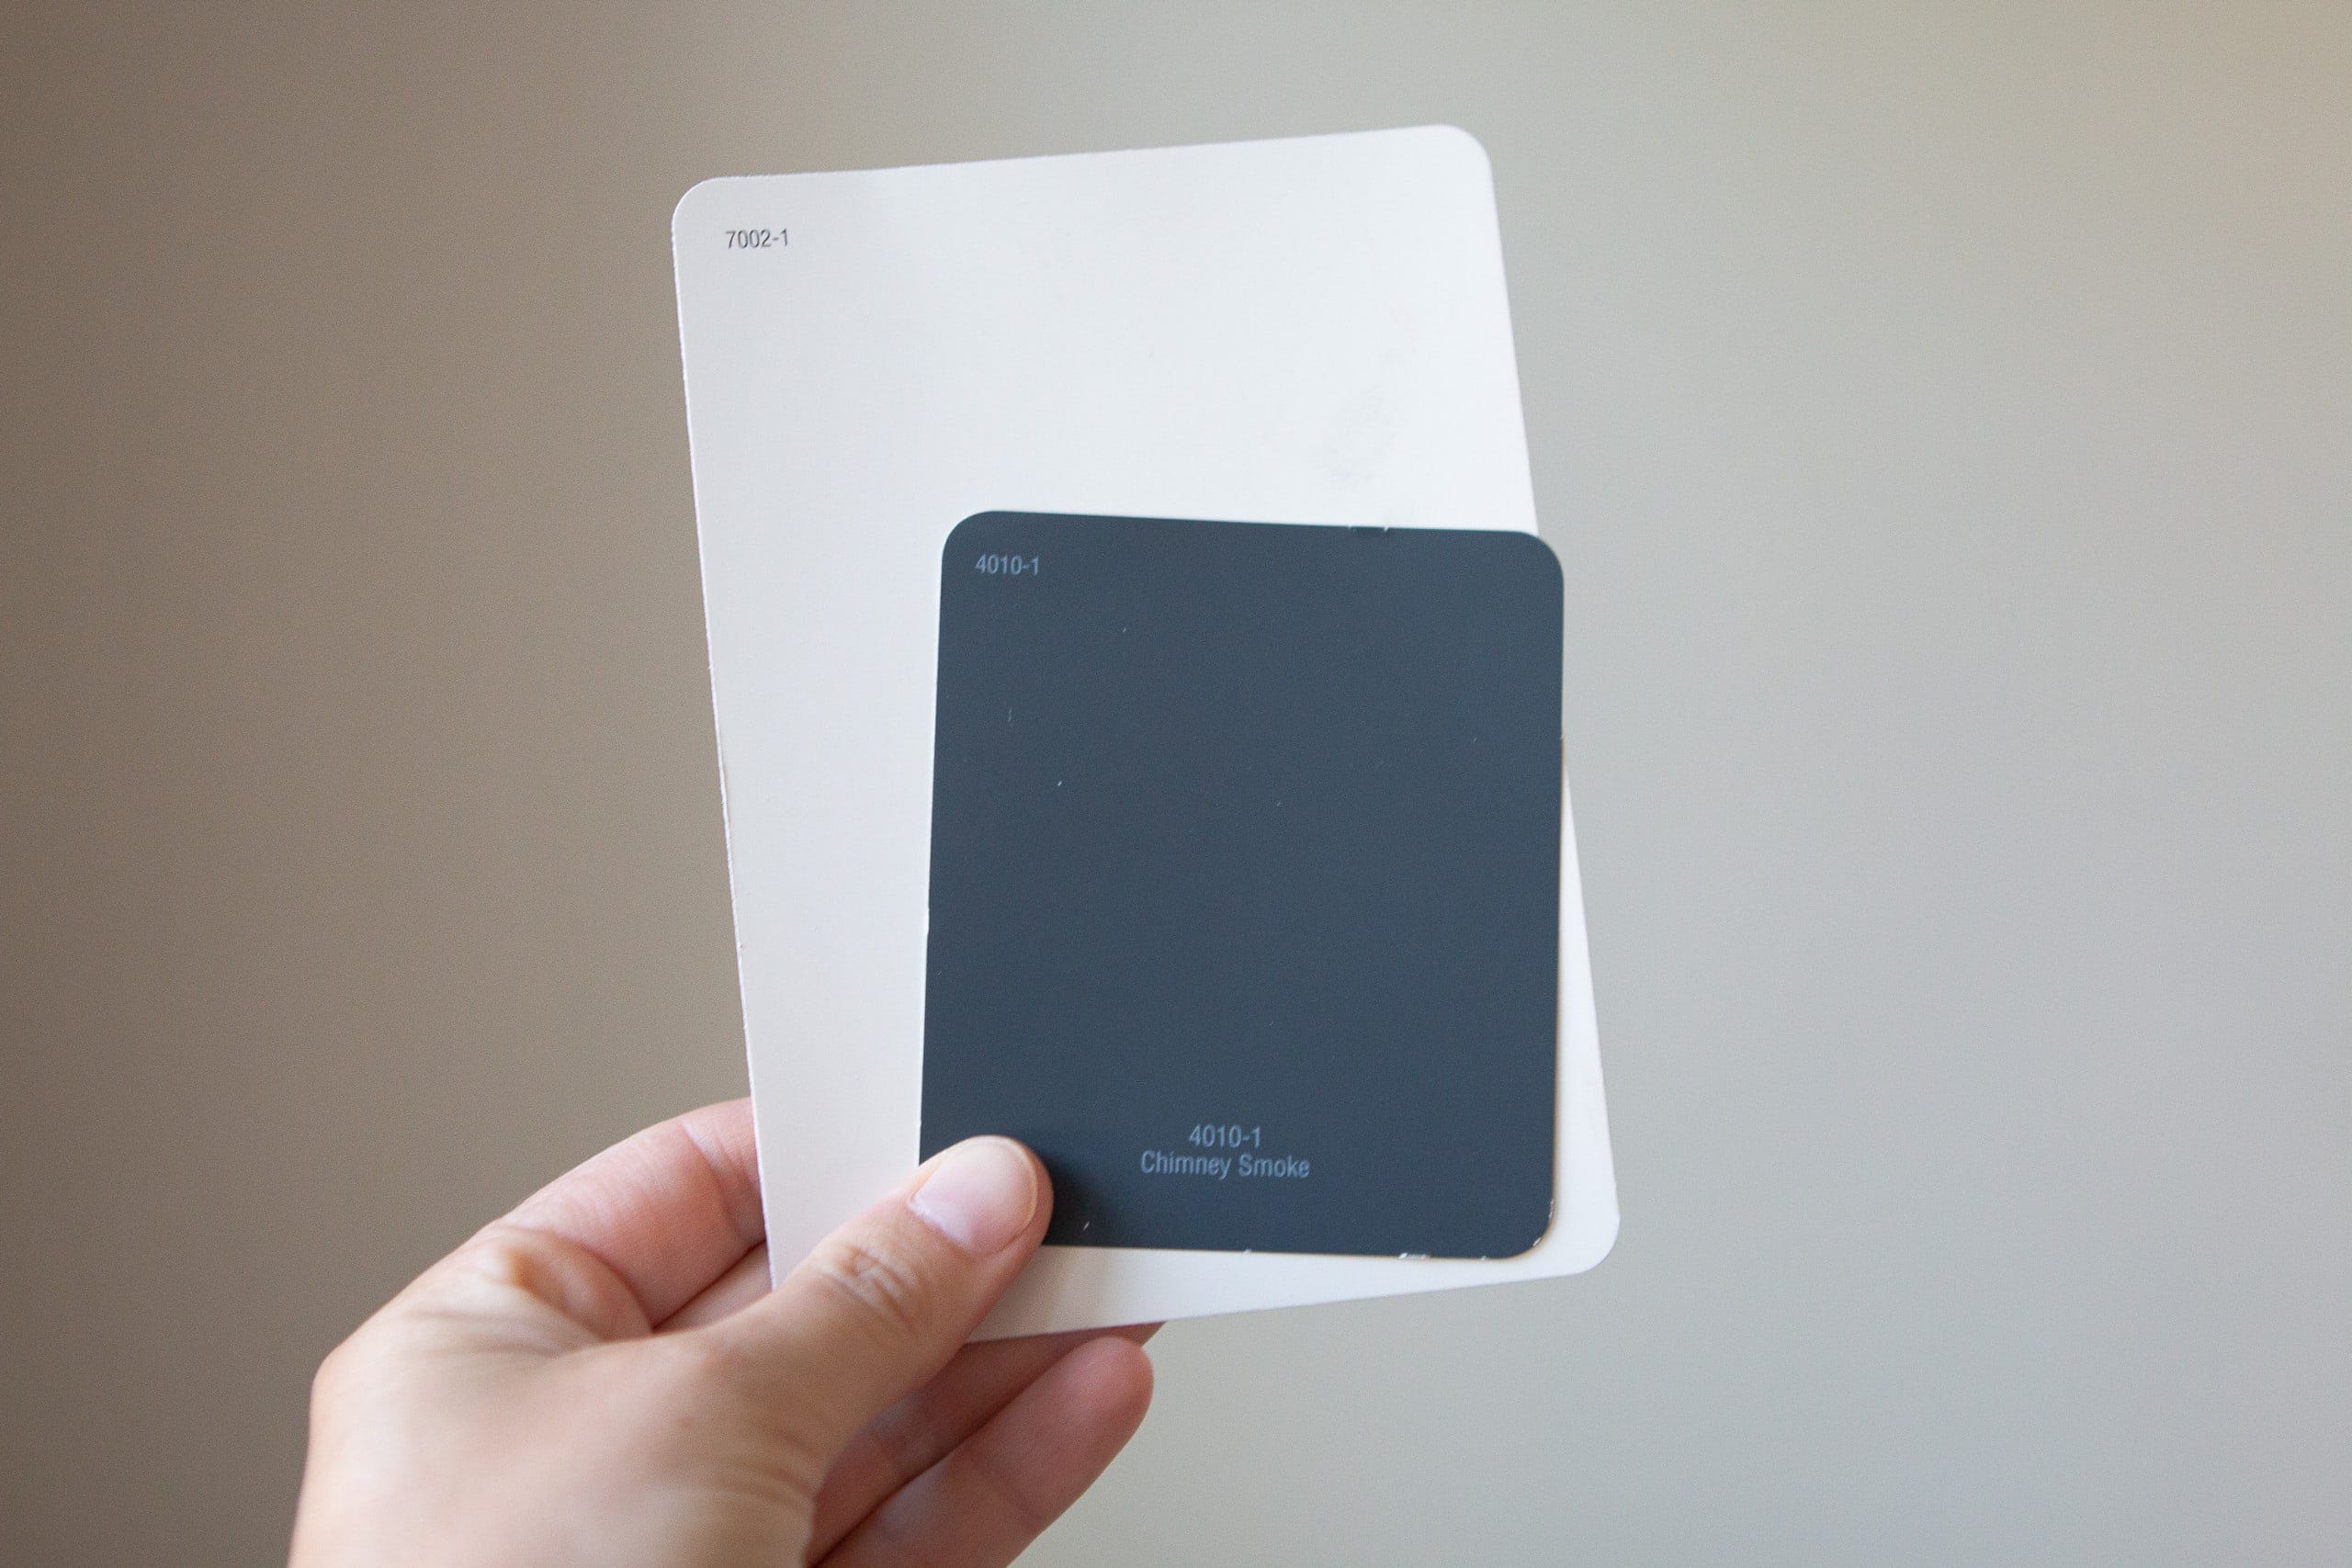
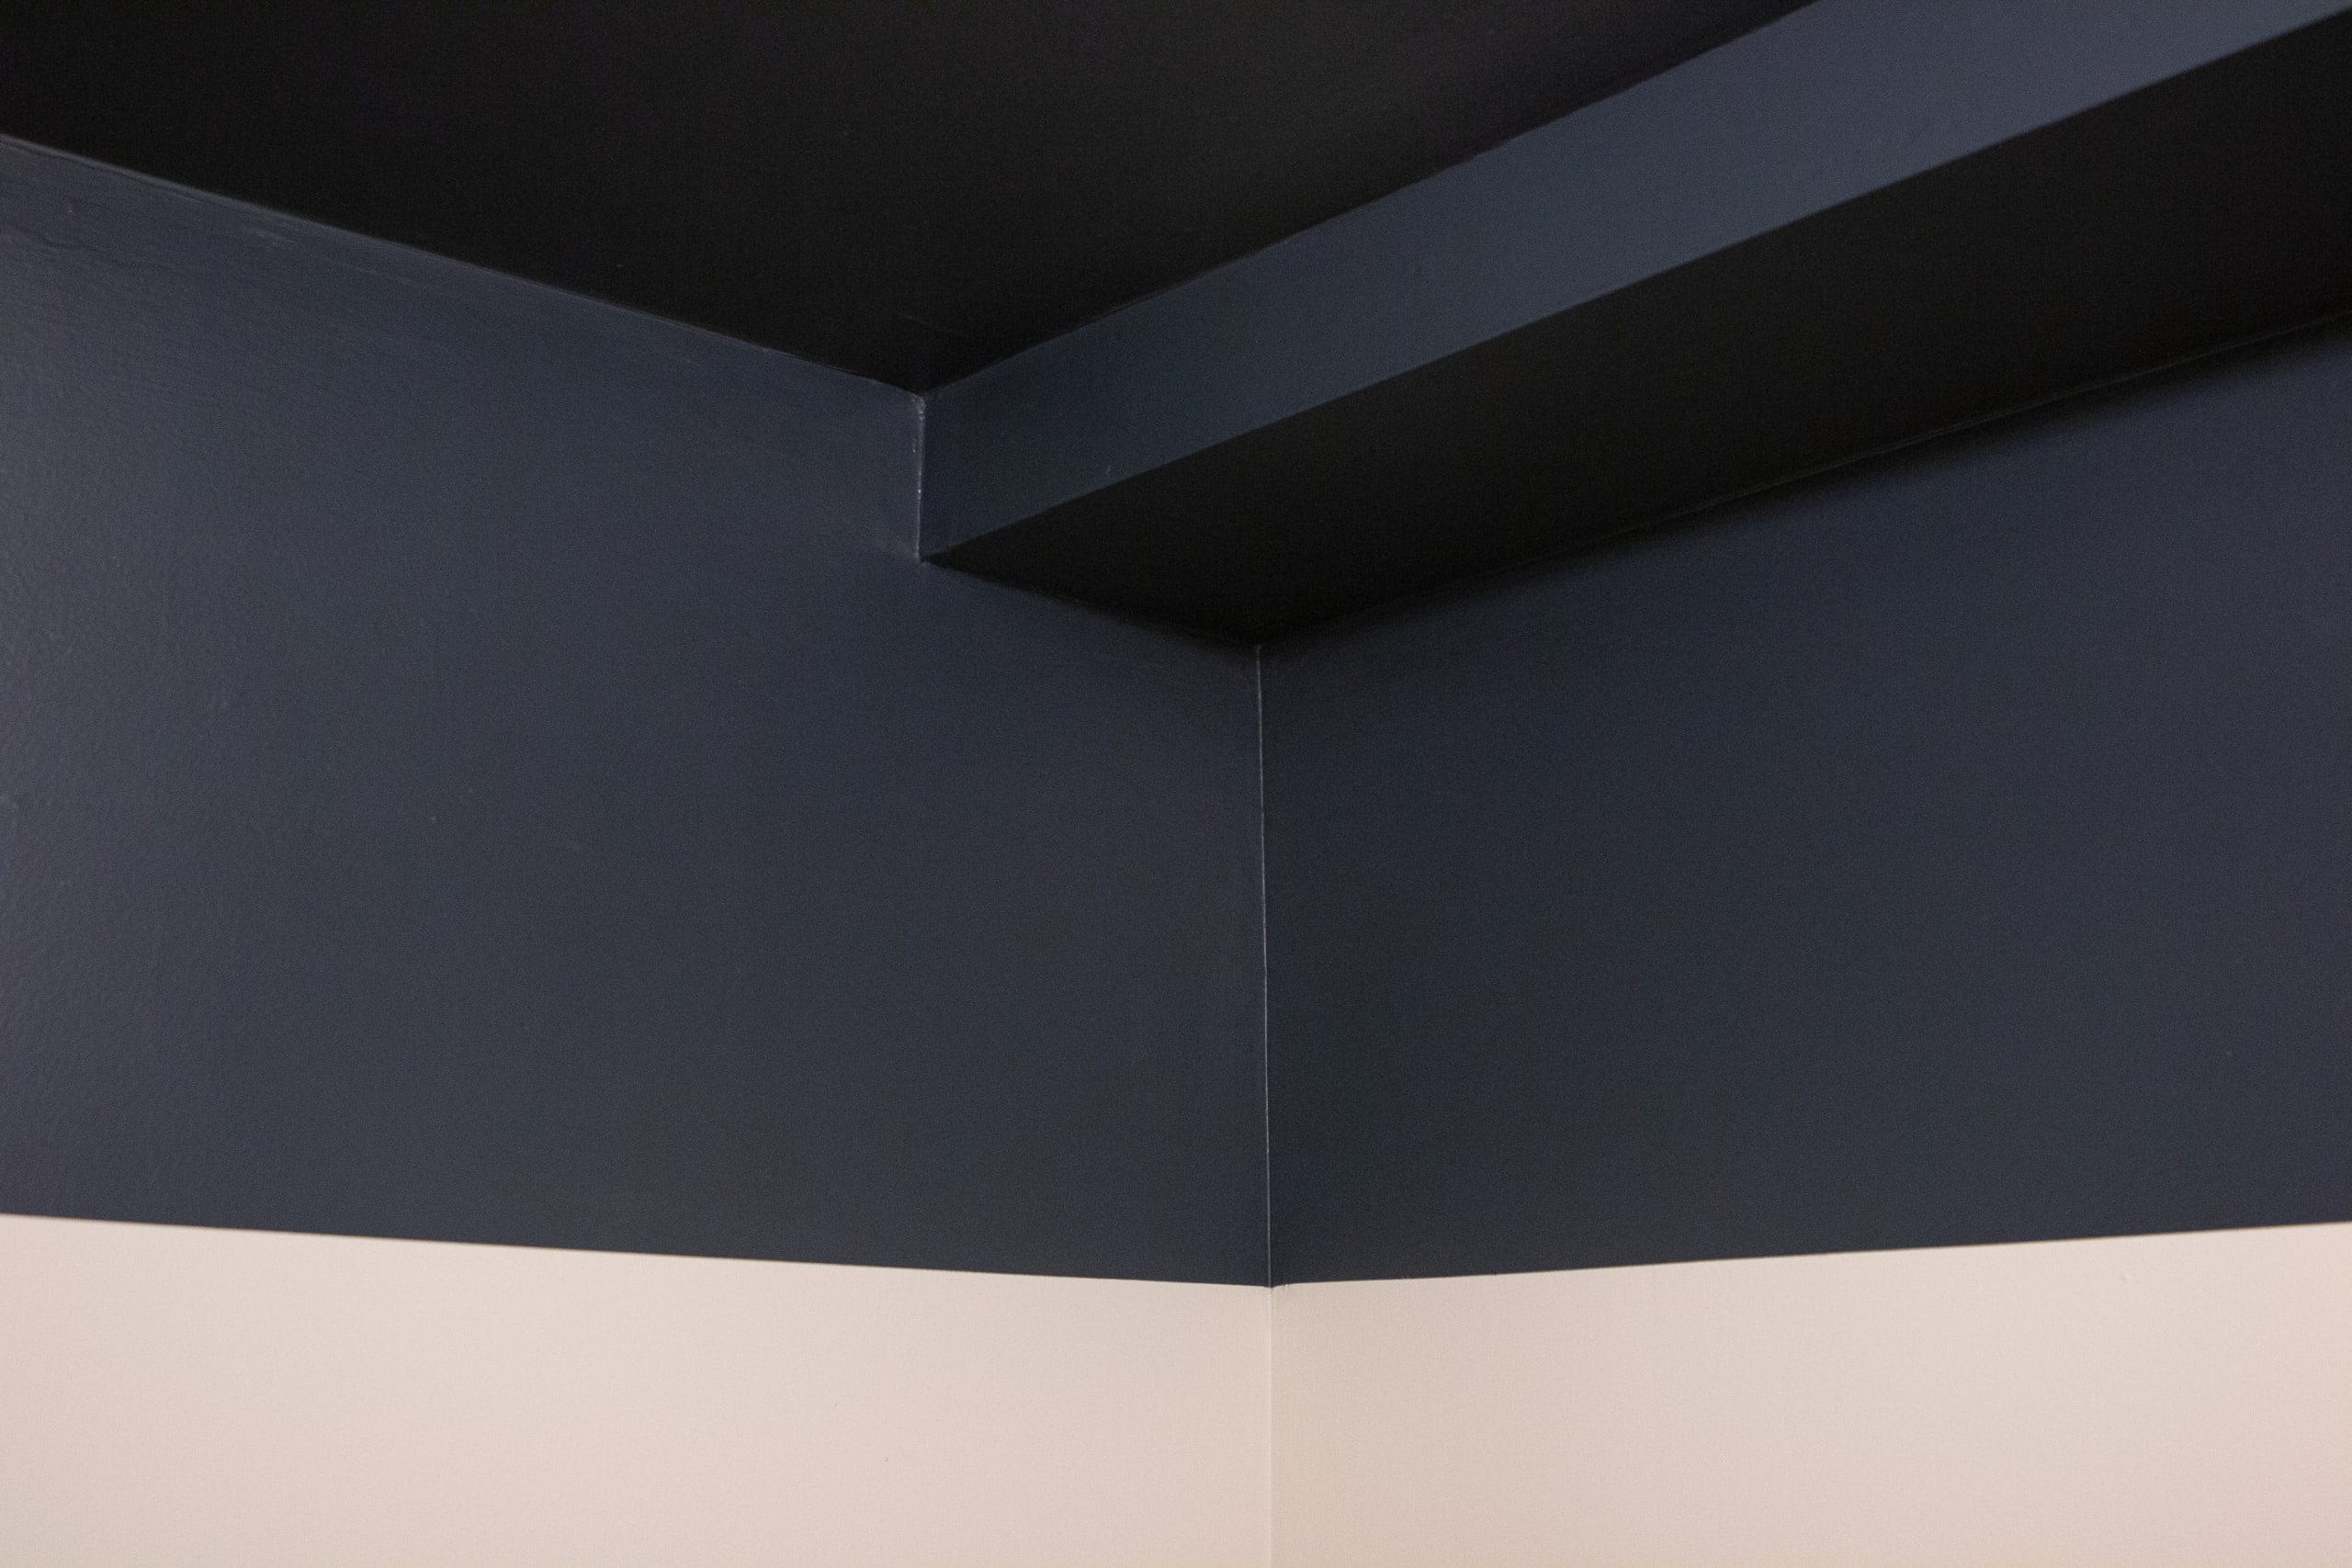
We painted our DIY built-ins the color “Chimney Smoke” by Valspar and it might just be my favorite color ever. It’s a gorgeous deep navy, but it doesn’t read too cool. I’ve wanted to use this color elsewhere in the house and figured it would be a great choice for one of the paint colors on my two-tone walls.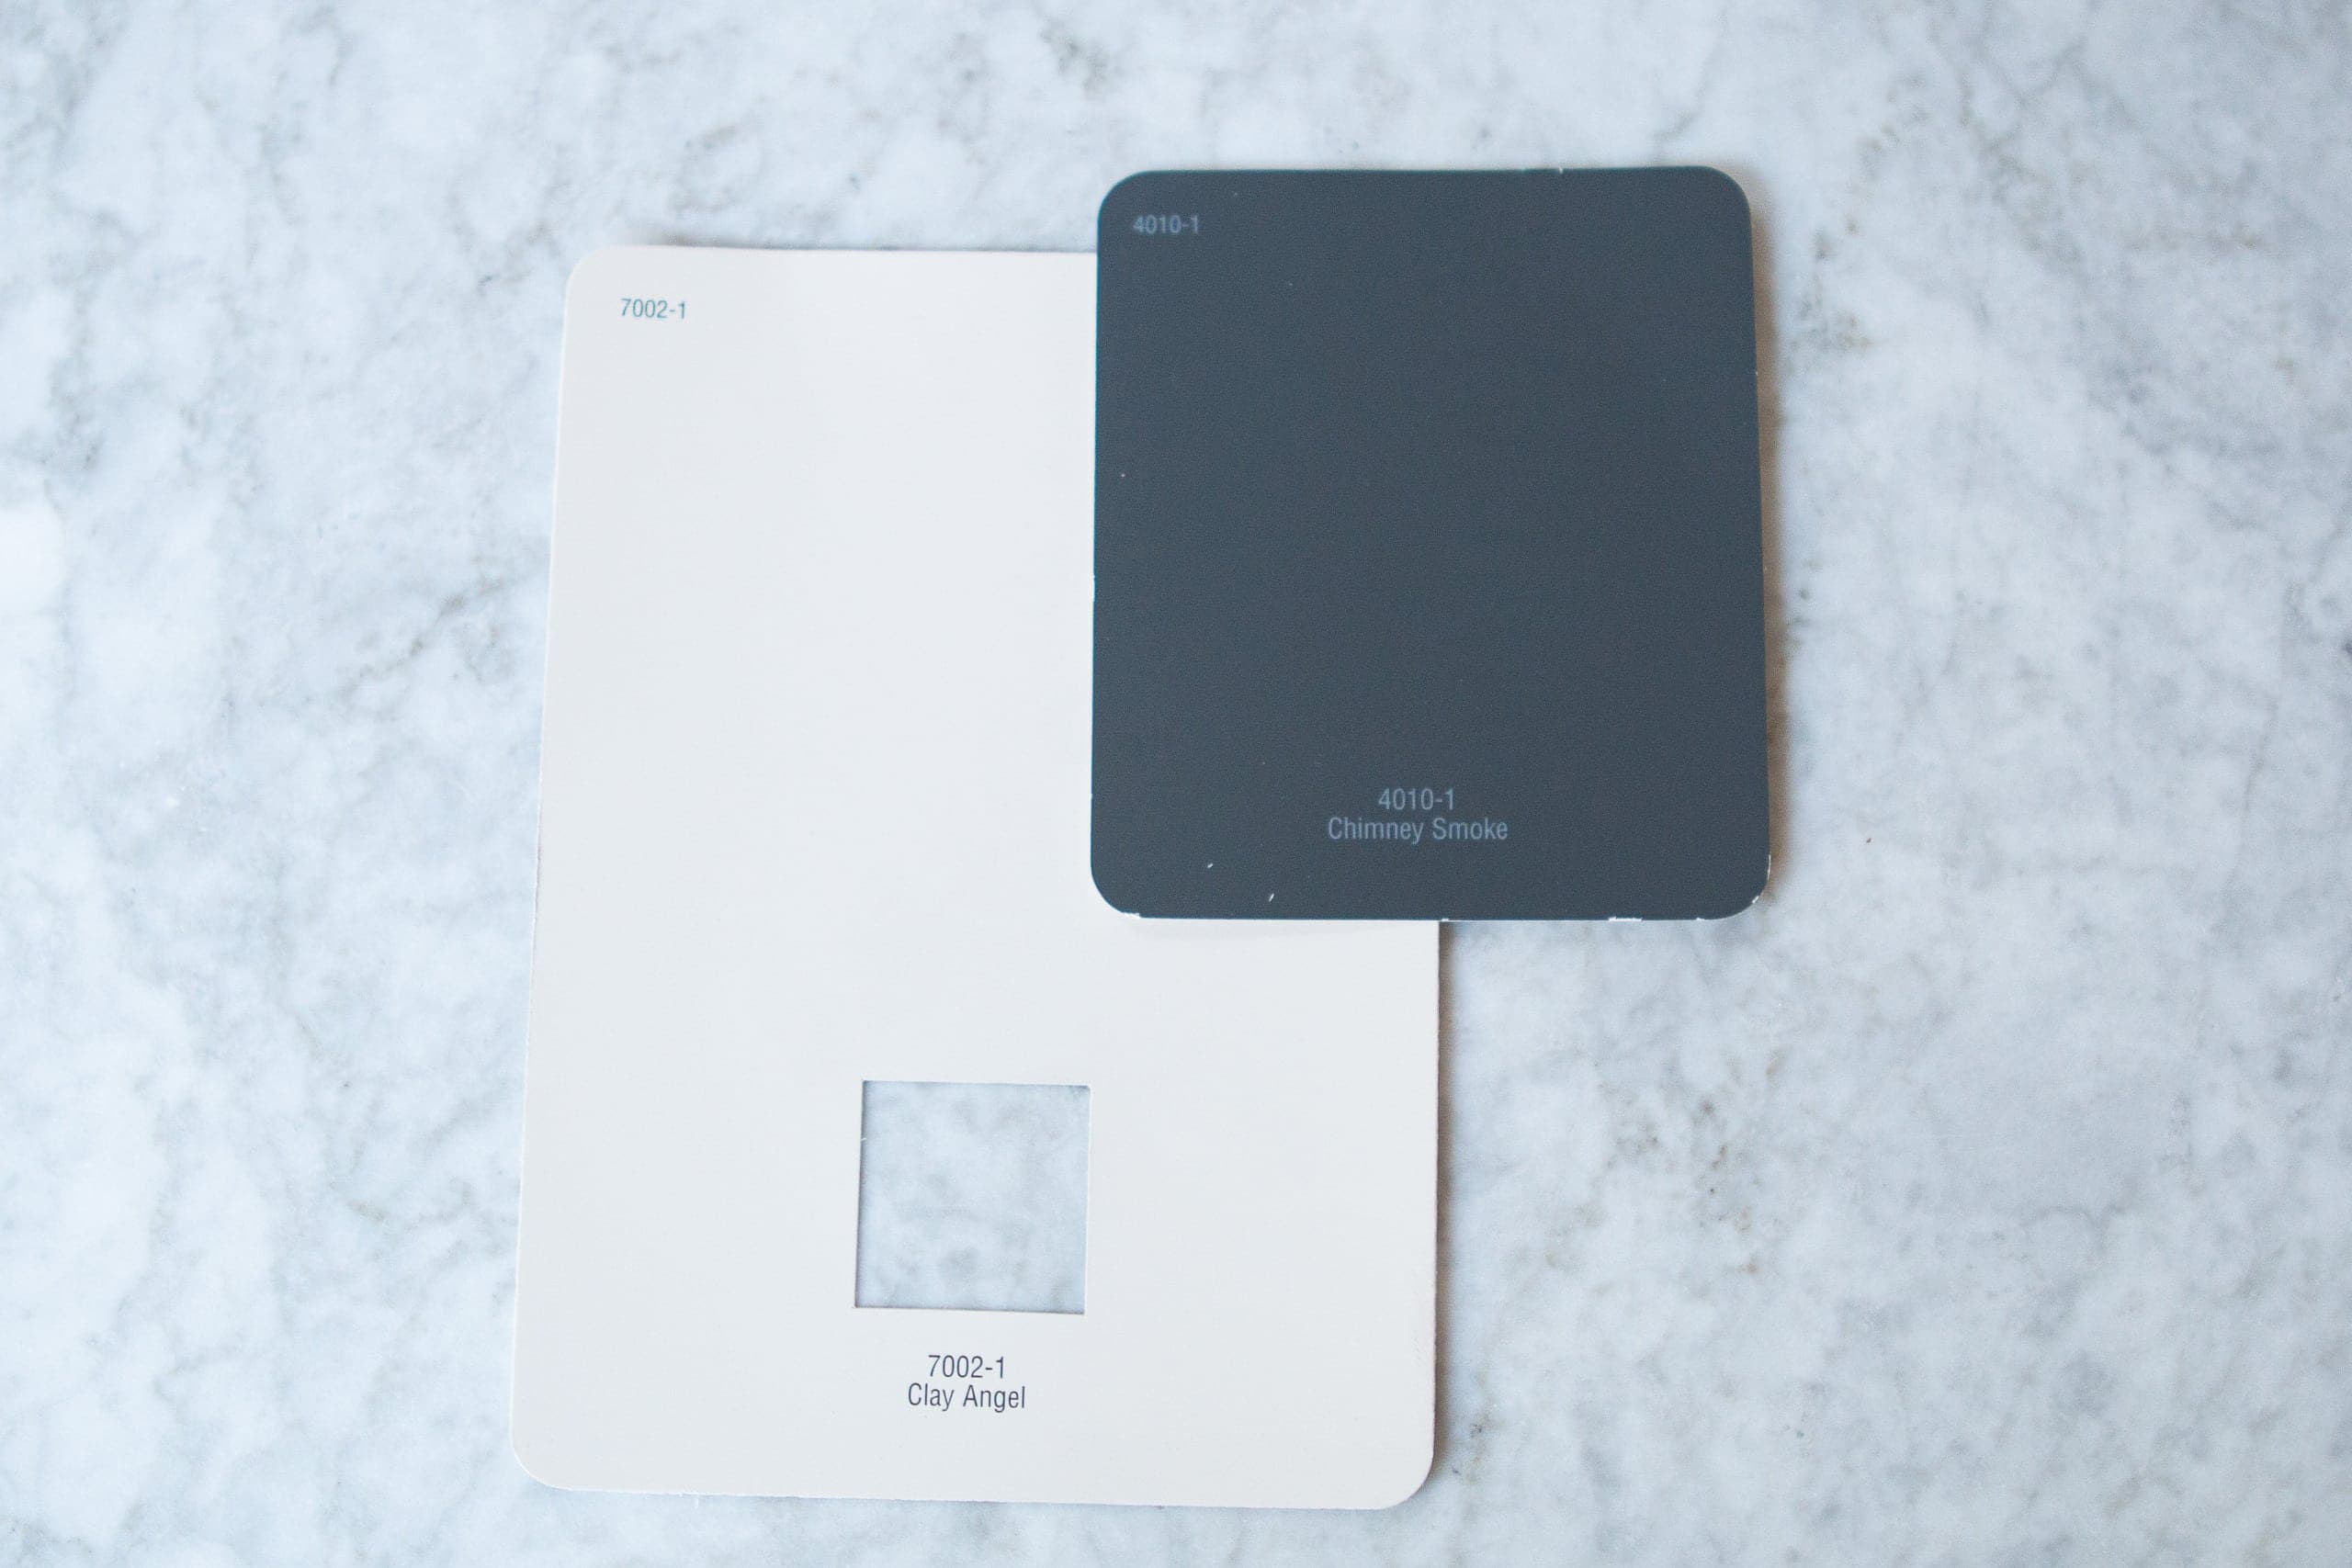
As for the bottom color, I decided on the taupey color “Clay Angel” by Valspar. In all honesty, I went to Lowe’s and fell in love with the paint swatch and decided to go for it. This is sooooo unlike me, as I’m usually one for painting a bunch of samples before deciding on the winning color (here are my tips on how to choose the perfect paint color). But something about this swatch just felt right and I loved the way it coordinated with the “Chimney Smoke.” And guess what? My gut feeling was correct because this color is perfection in every way!
Painting Supplies
- Rags
- Painter’s Tape
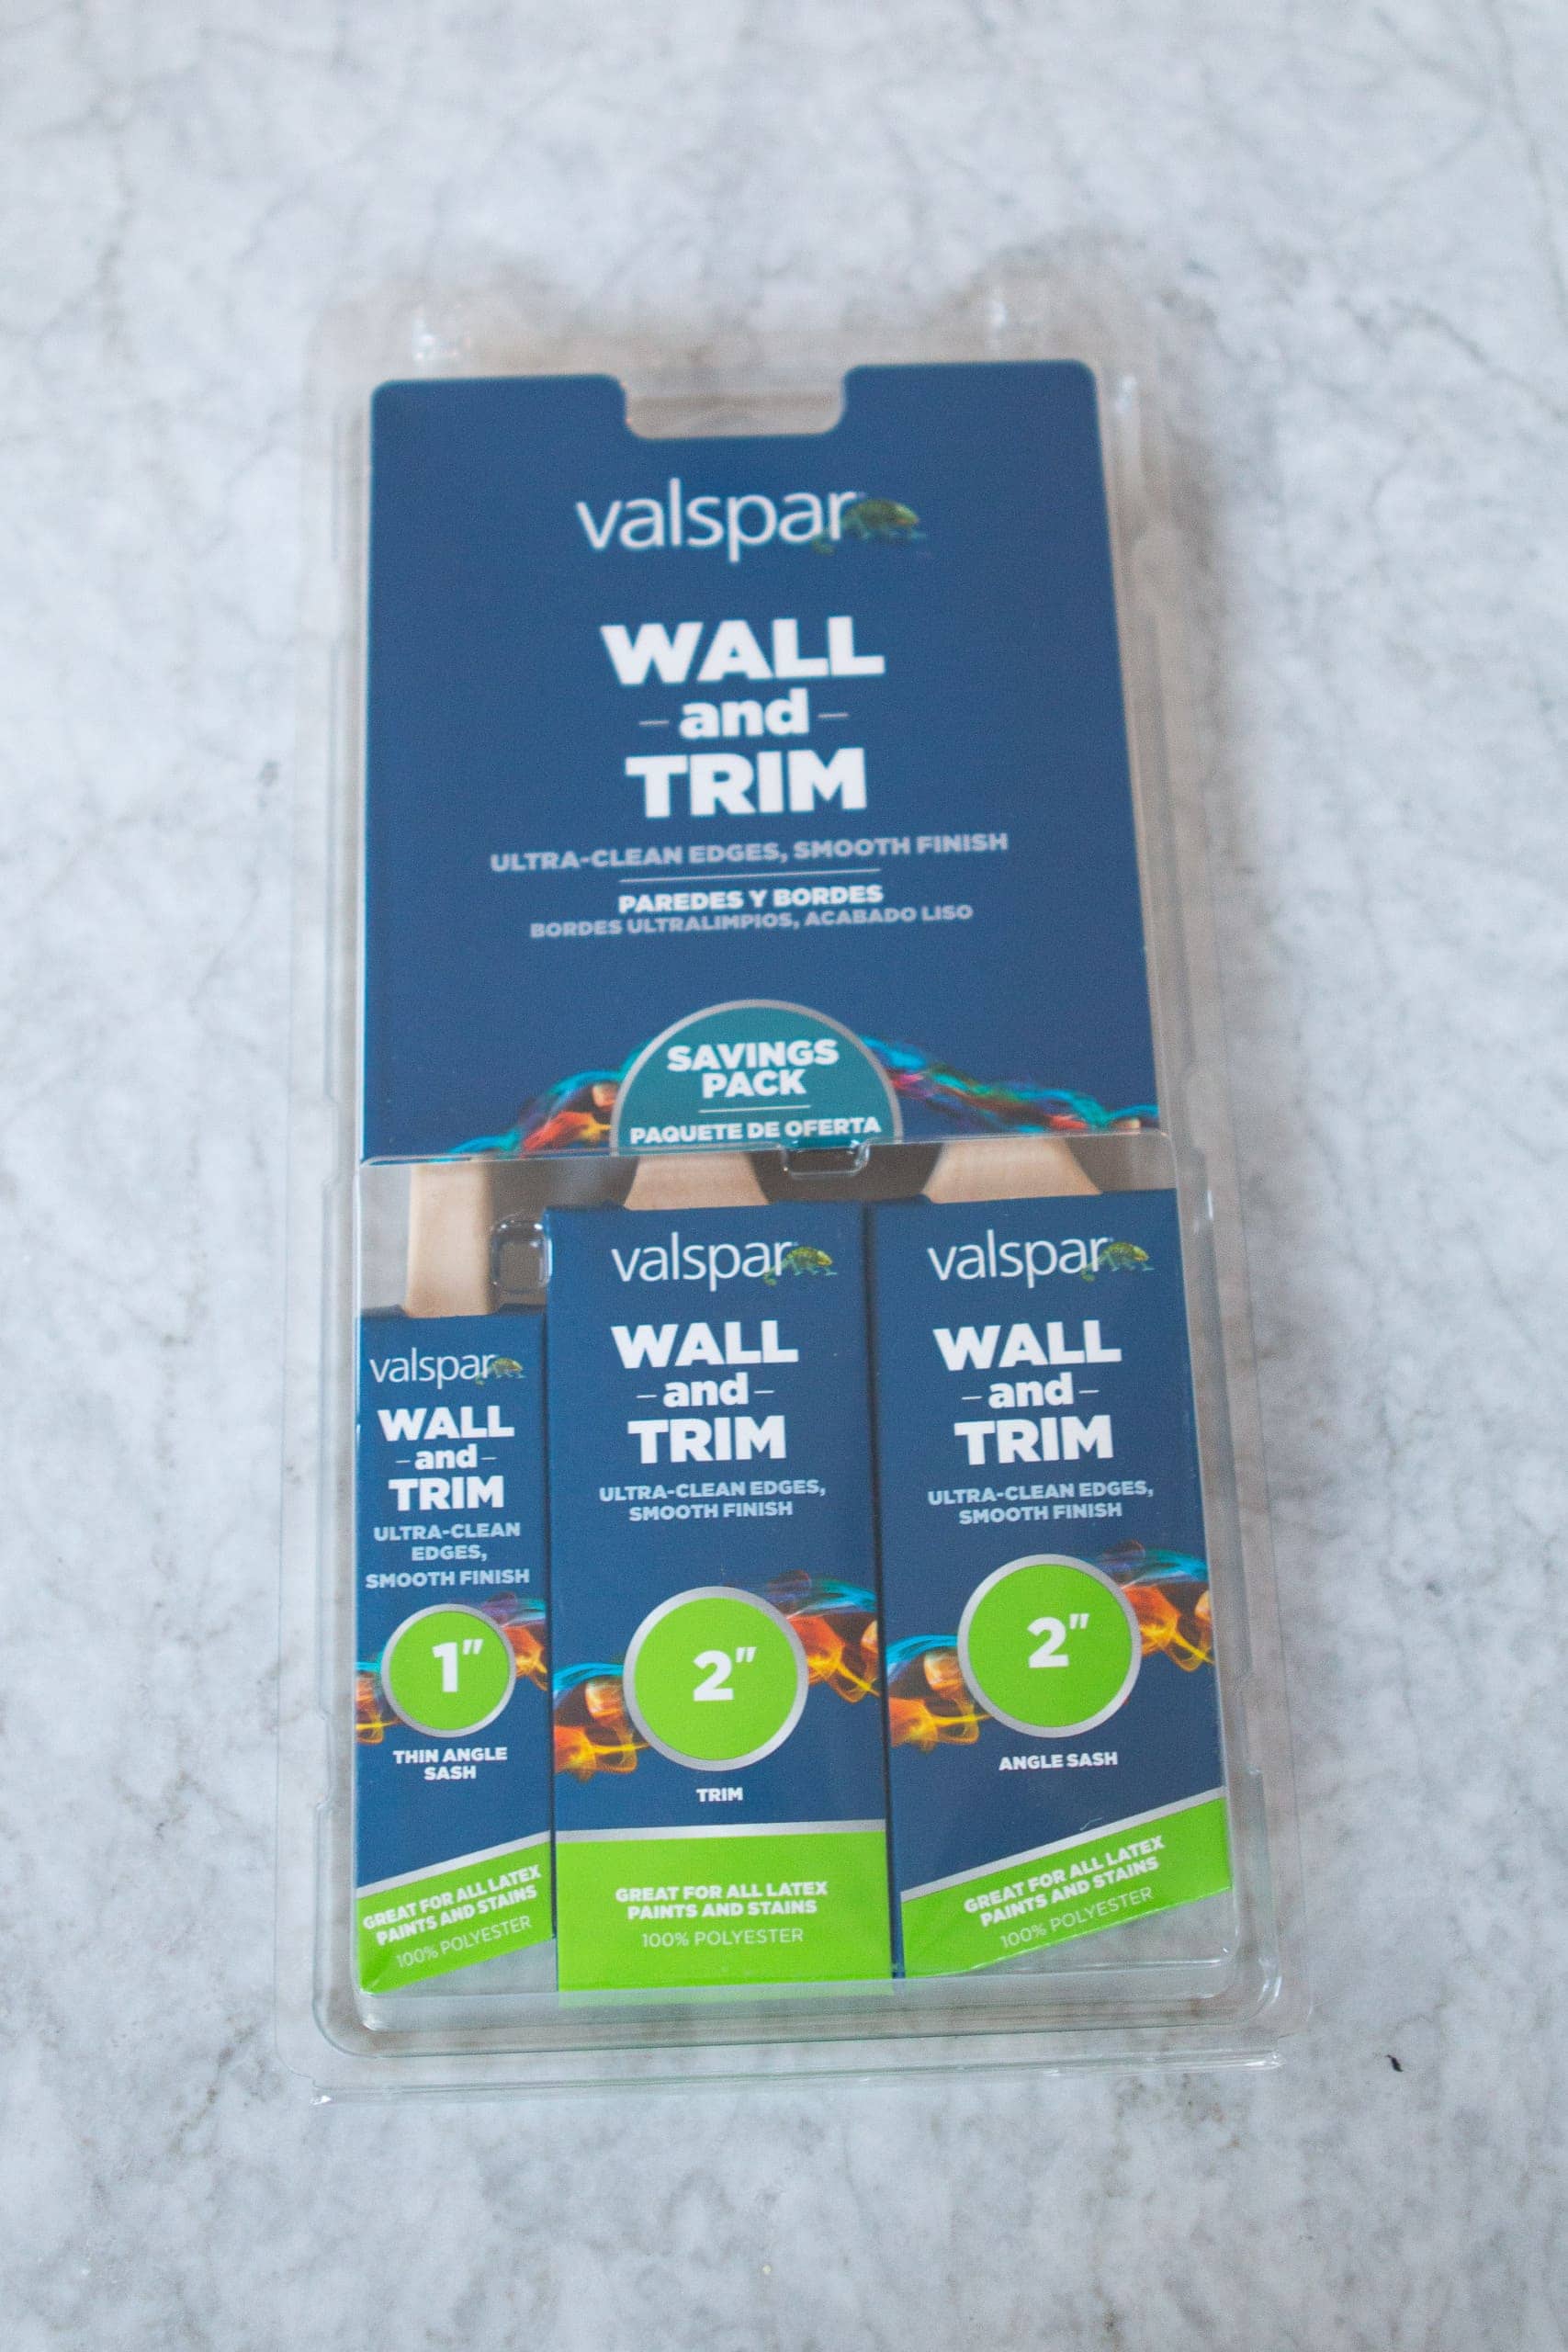
- Valspar Signature Interior Paint & Primer (Colors: “Clay Angel” & “Chimney Smoke” in an eggshell sheen)
- Paint Brushes
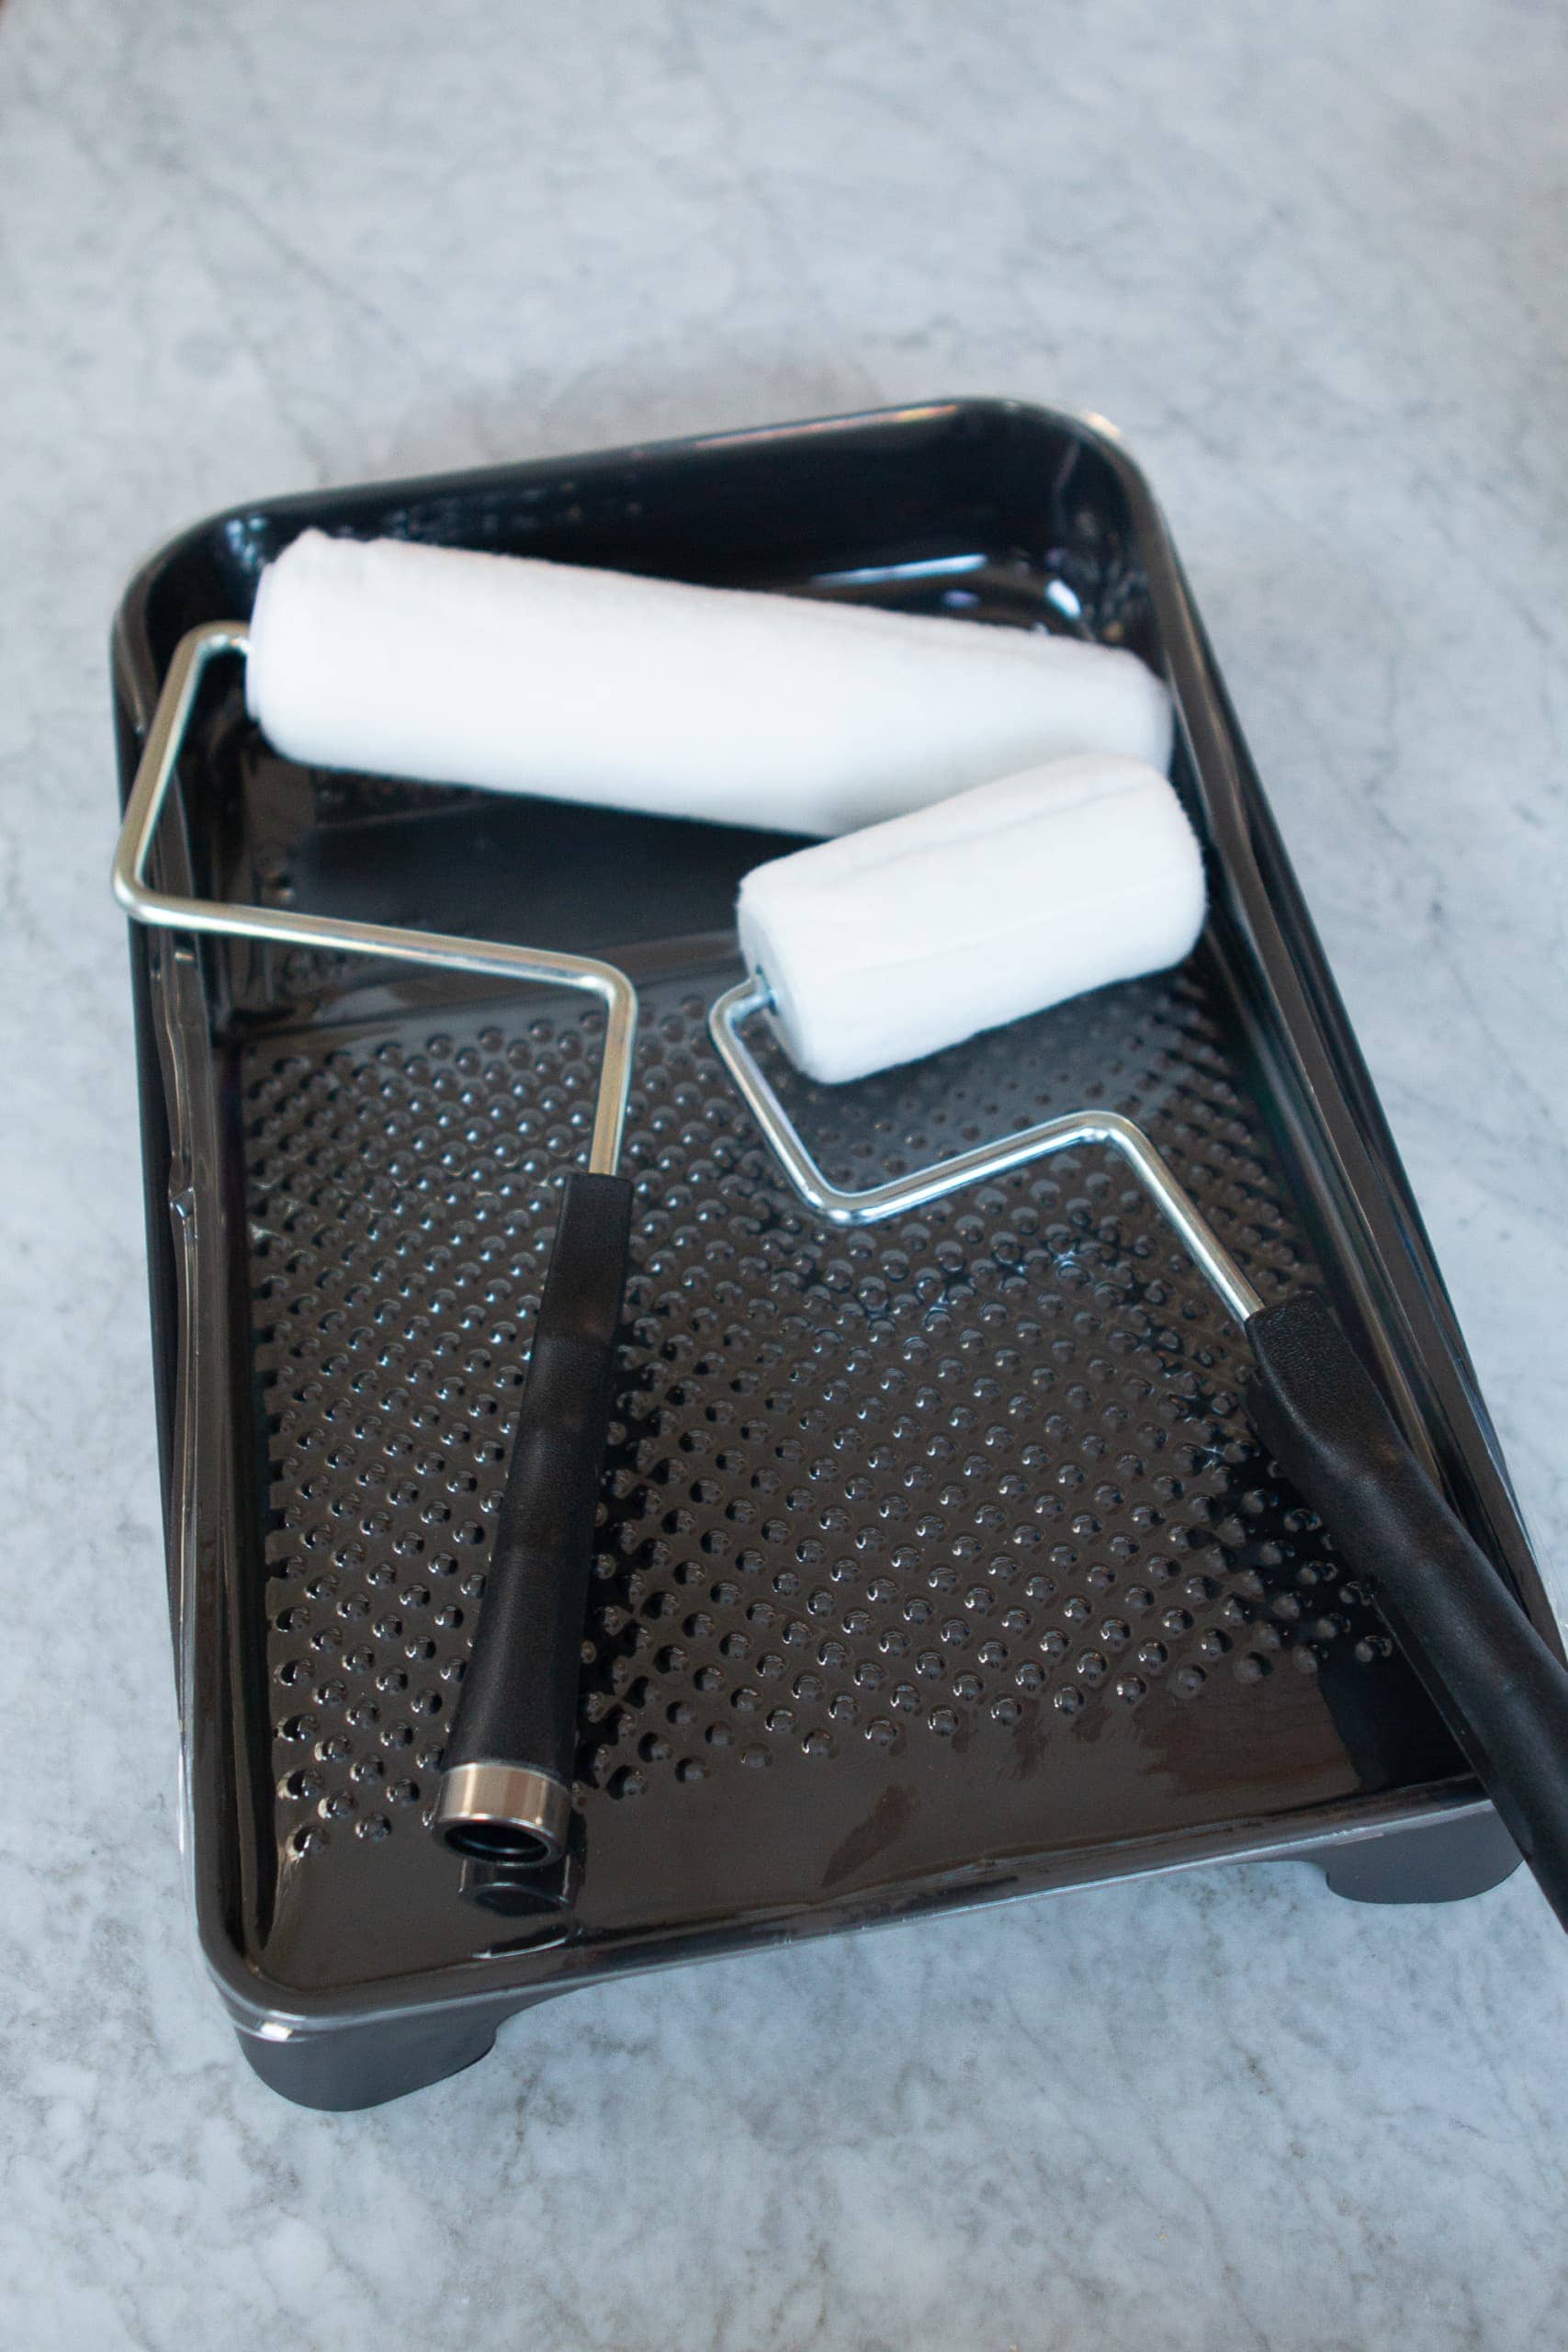
- Paint Rollers
- Paint Tray
- Drop Cloths
- Tape Measure & Pencil
- Level
- Small Artist Brush
- Lightweight Spackle, Spackle Knife, & Sanding Sponge (if filling nail holes)
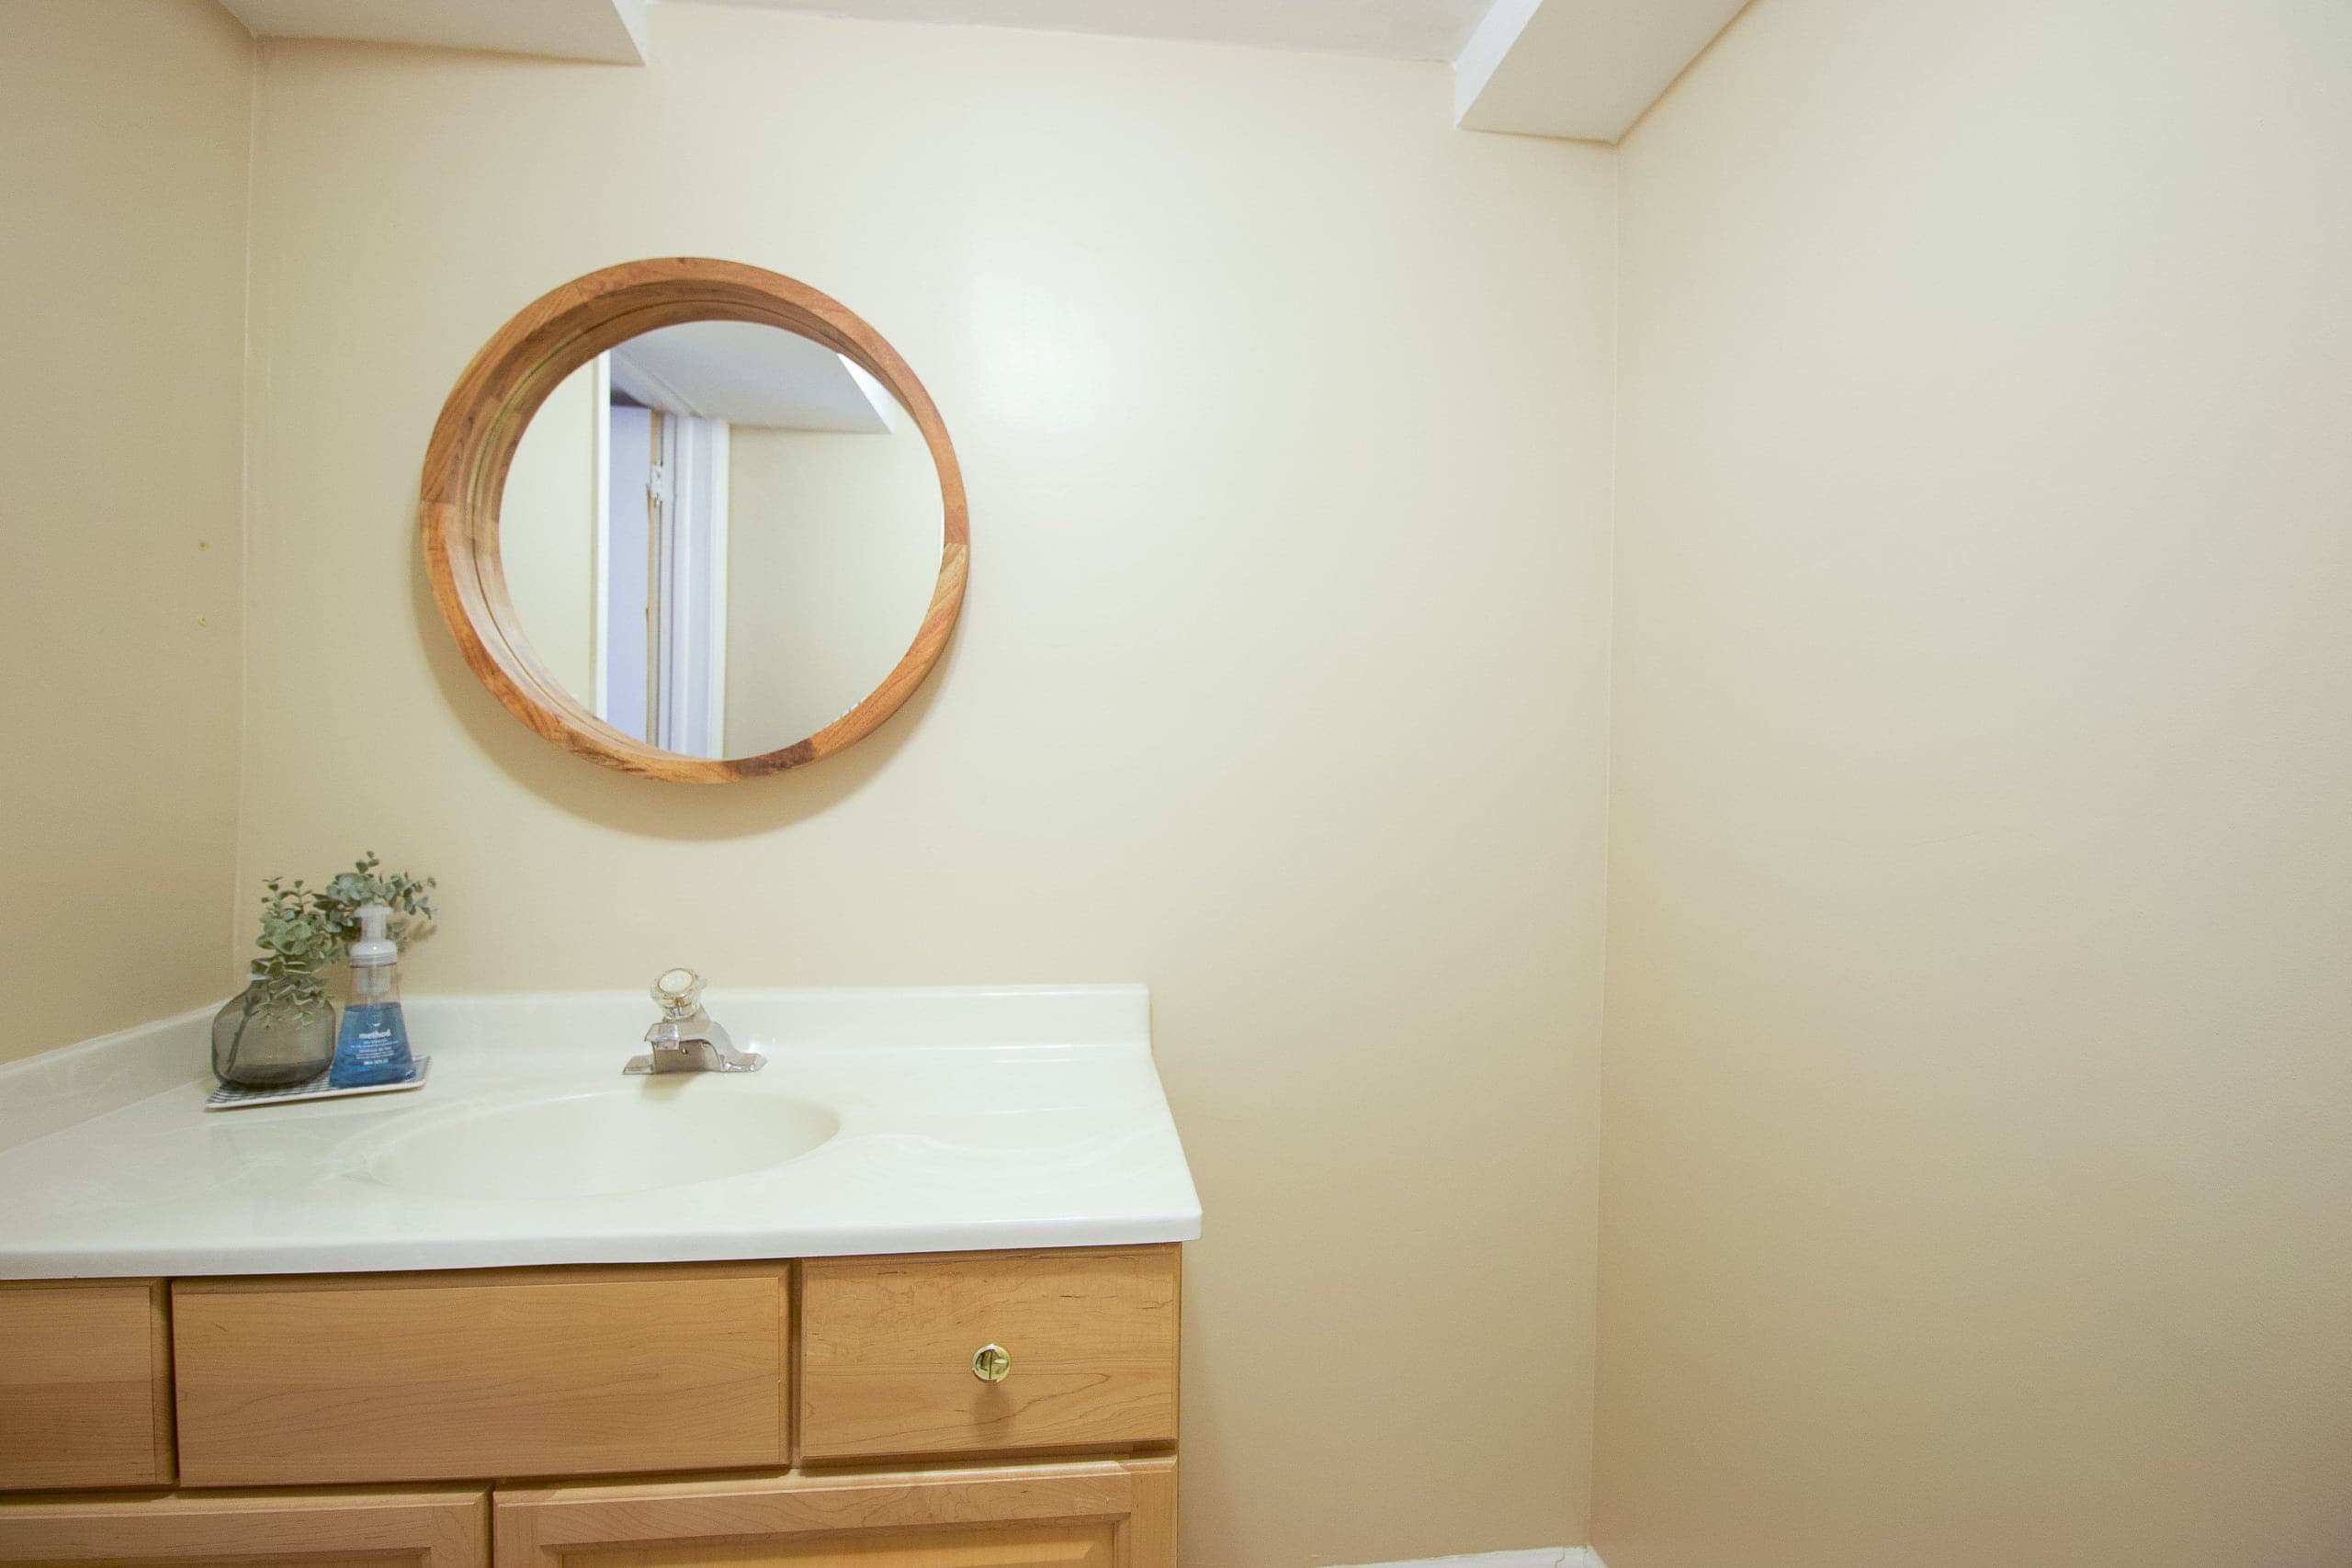
I headed to my local Lowe’s to pick up my supplies. They mixed up my two gallons of paint quickly and I was in and out in no time at all. I decided to go with an eggshell sheen for this space. If there was a shower in here, I probably would go with a satin finish, because that is better for moisture-filled rooms, but since this is just a half bath, eggshell works!
Tips to Paint Two-Tone Walls
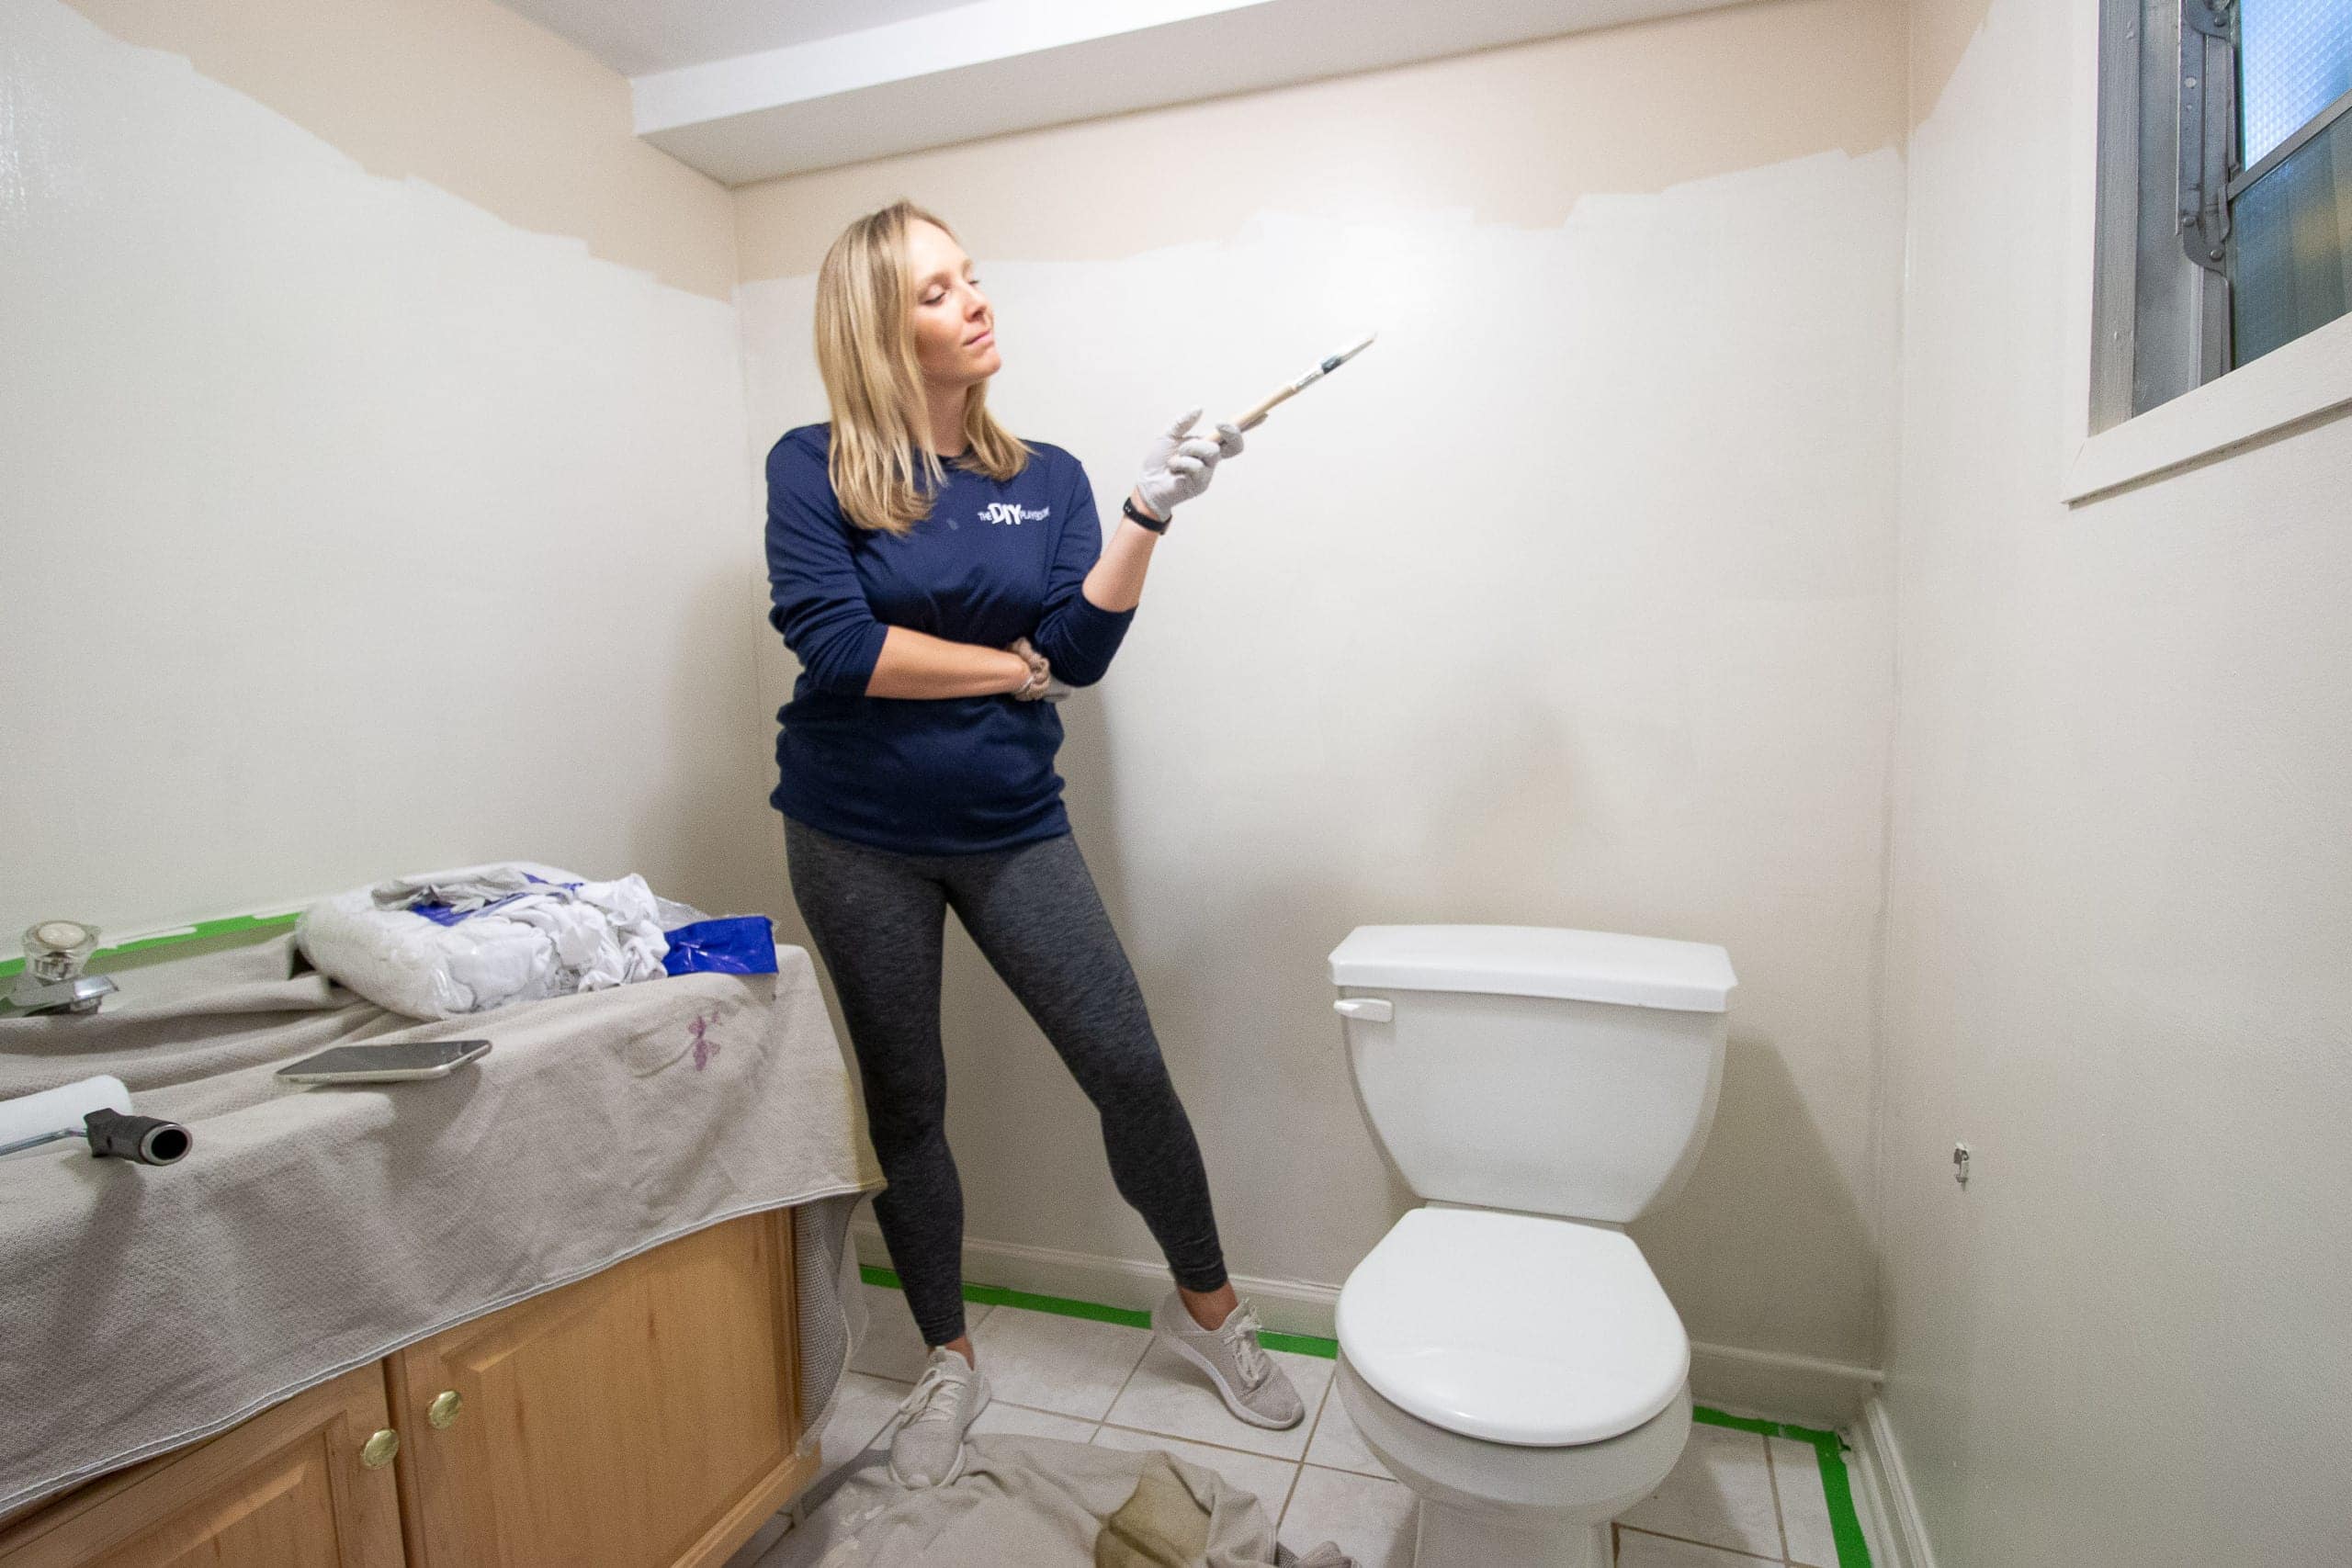
This was my first time trying out this painting technique and I’m happy to say it was incredibly easy! It’s just like painting any wall, except you have to create a super level and straight line to separate your two colors. Let’s dive into my tips to get the perfect finish.
Prep Your Walls
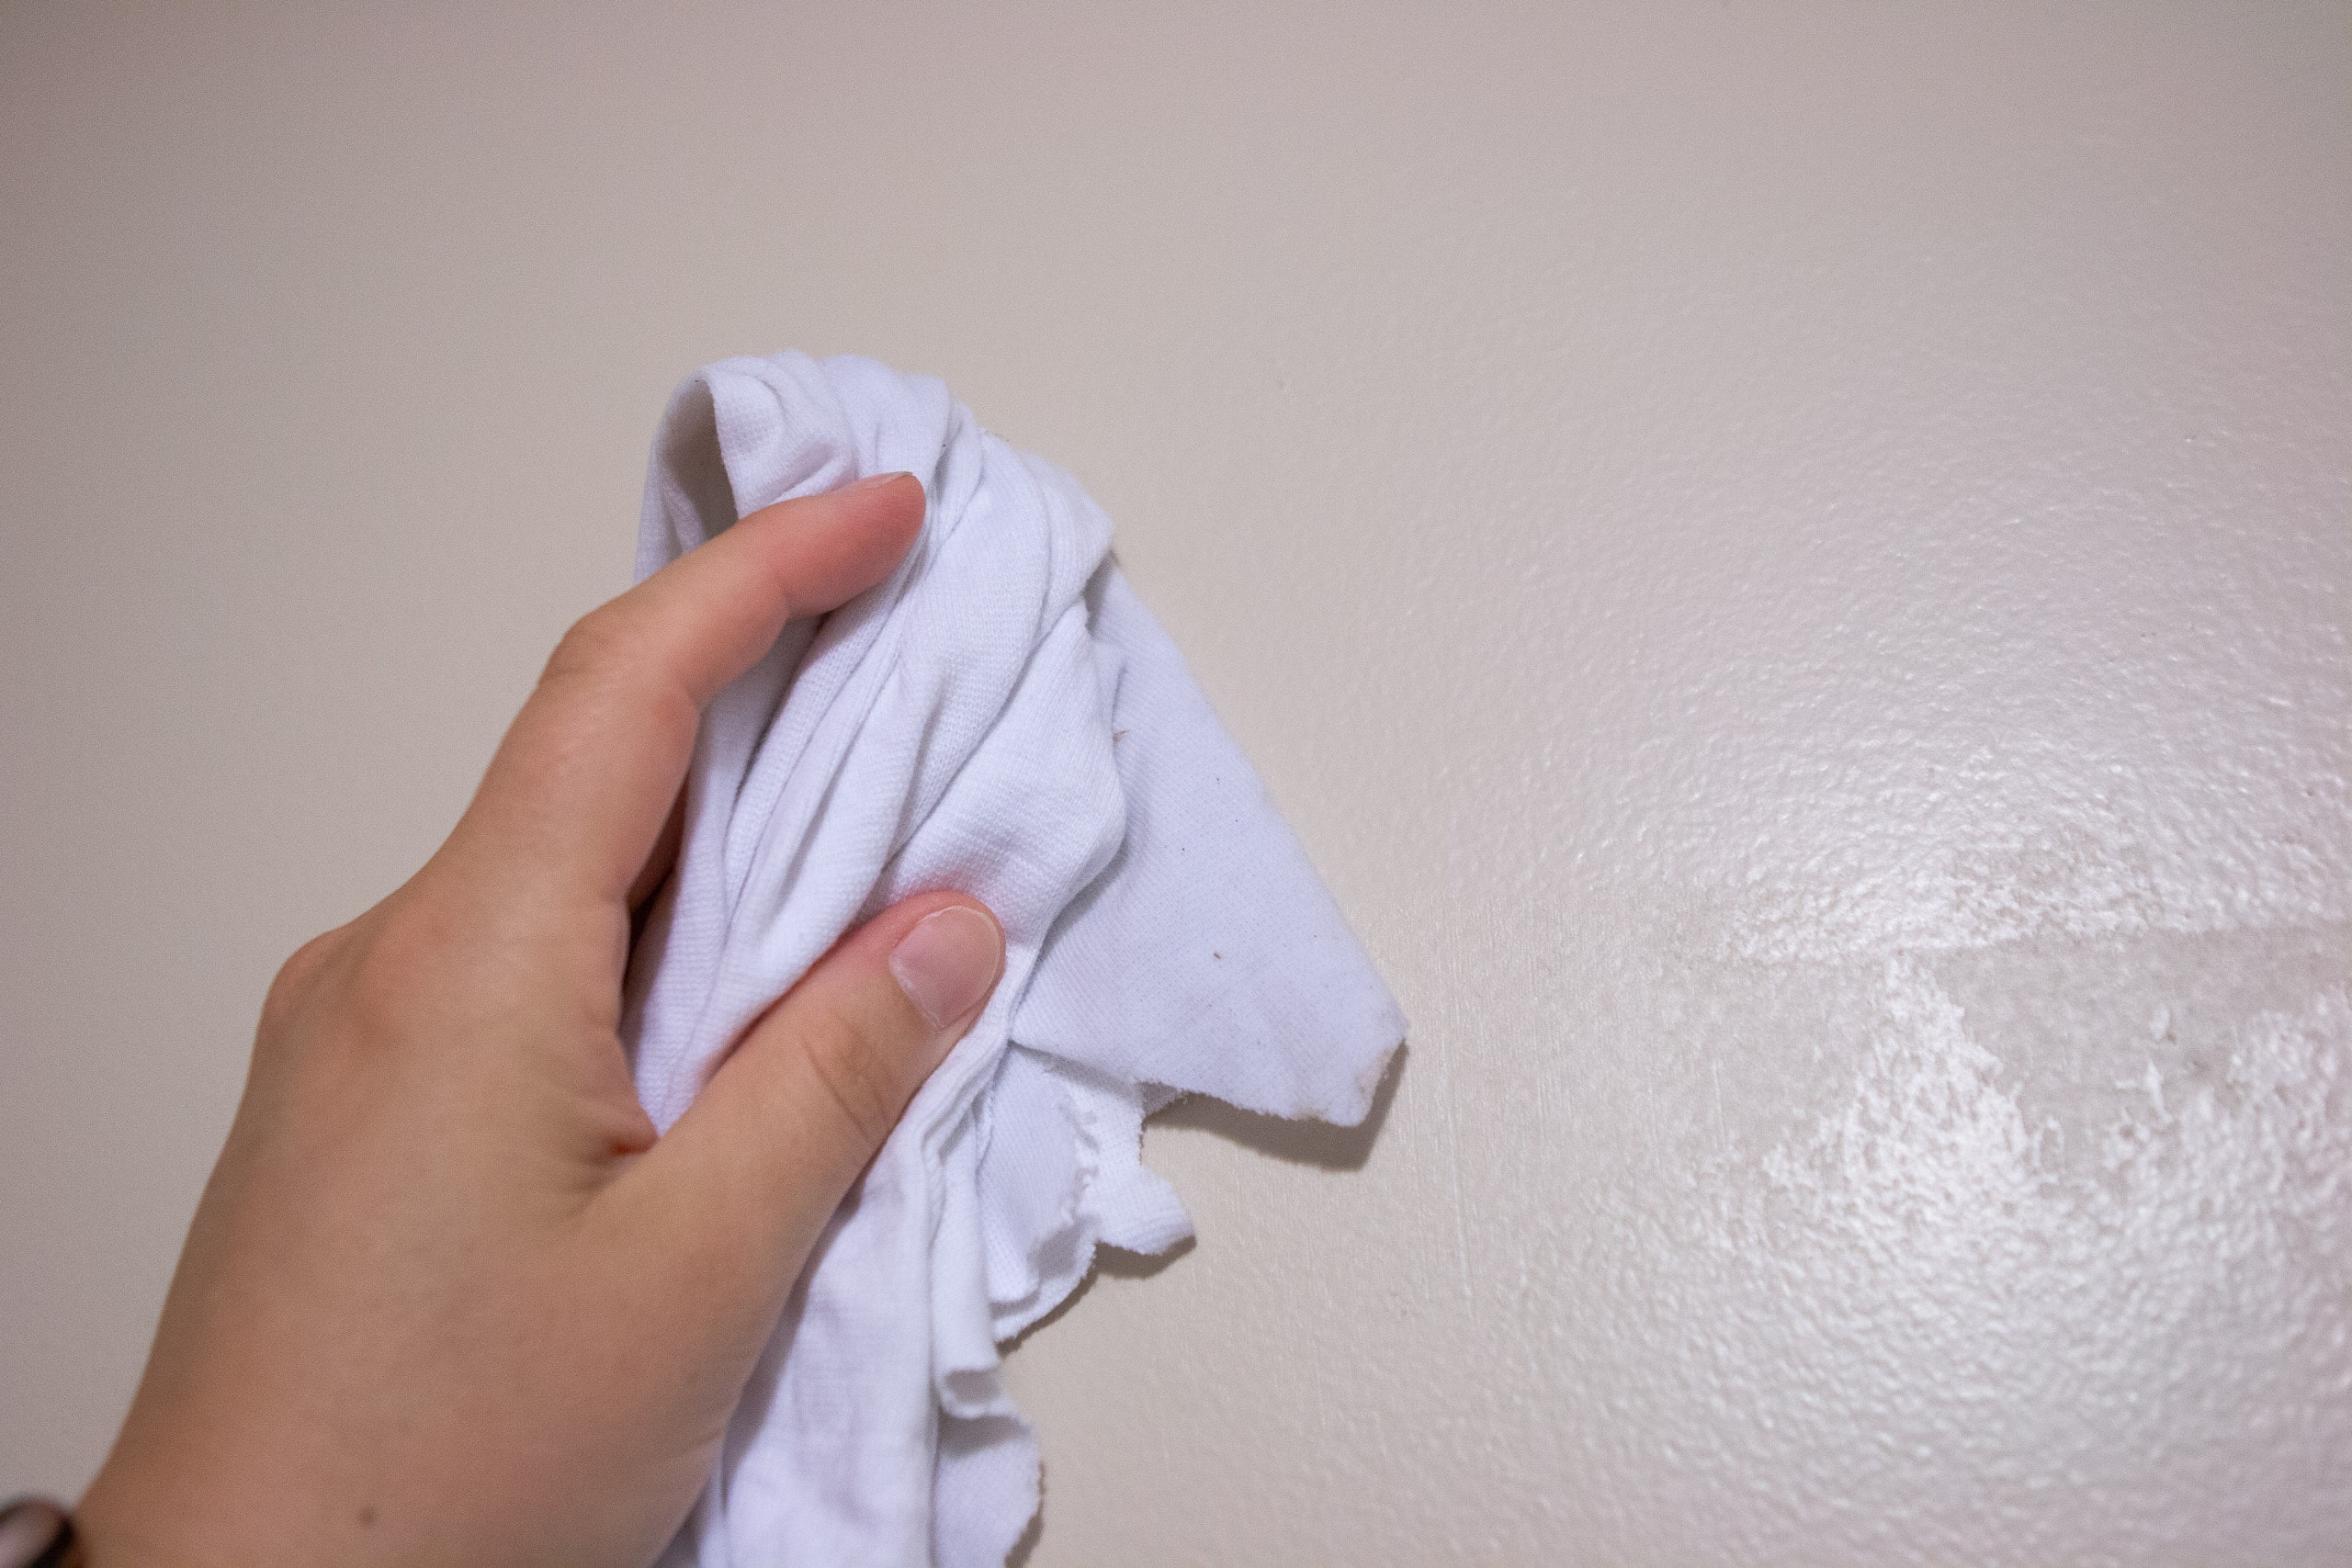
Prepping is so important for any painting project. The night before I started this project, I filled holes with lightweight spackle so it would dry overnight. I then used a sanding sponge over those spots to get everything smooth and ready for paint. Because this is our basement, I’ll admit this room isn’t the cleanest in the house! Eek. I went over the walls and baseboards with a rag to get rid of any dust on the walls.
And even though I’ll eventually work on the floors in this room, I used painter’s tape to tape off the floors. I decided to paint the baseboards the same color as the wall for a nice, clean look down there. I also set up drop cloths to keep the floor paint-free.
Paint the Bottom Portion

I wanted to start with the lighter color first because I didn’t want to have to cover the taupe color with the dark blue. So, that meant I was starting from the bottom and ending at the top of the wall and ceiling. However, if I was painting a darker color on the bottom I would have started at the top, with the lighter color.
 When I paint a room, I like to first cut in the paint with a brush along the edges and in the corners, before I start on the walls.
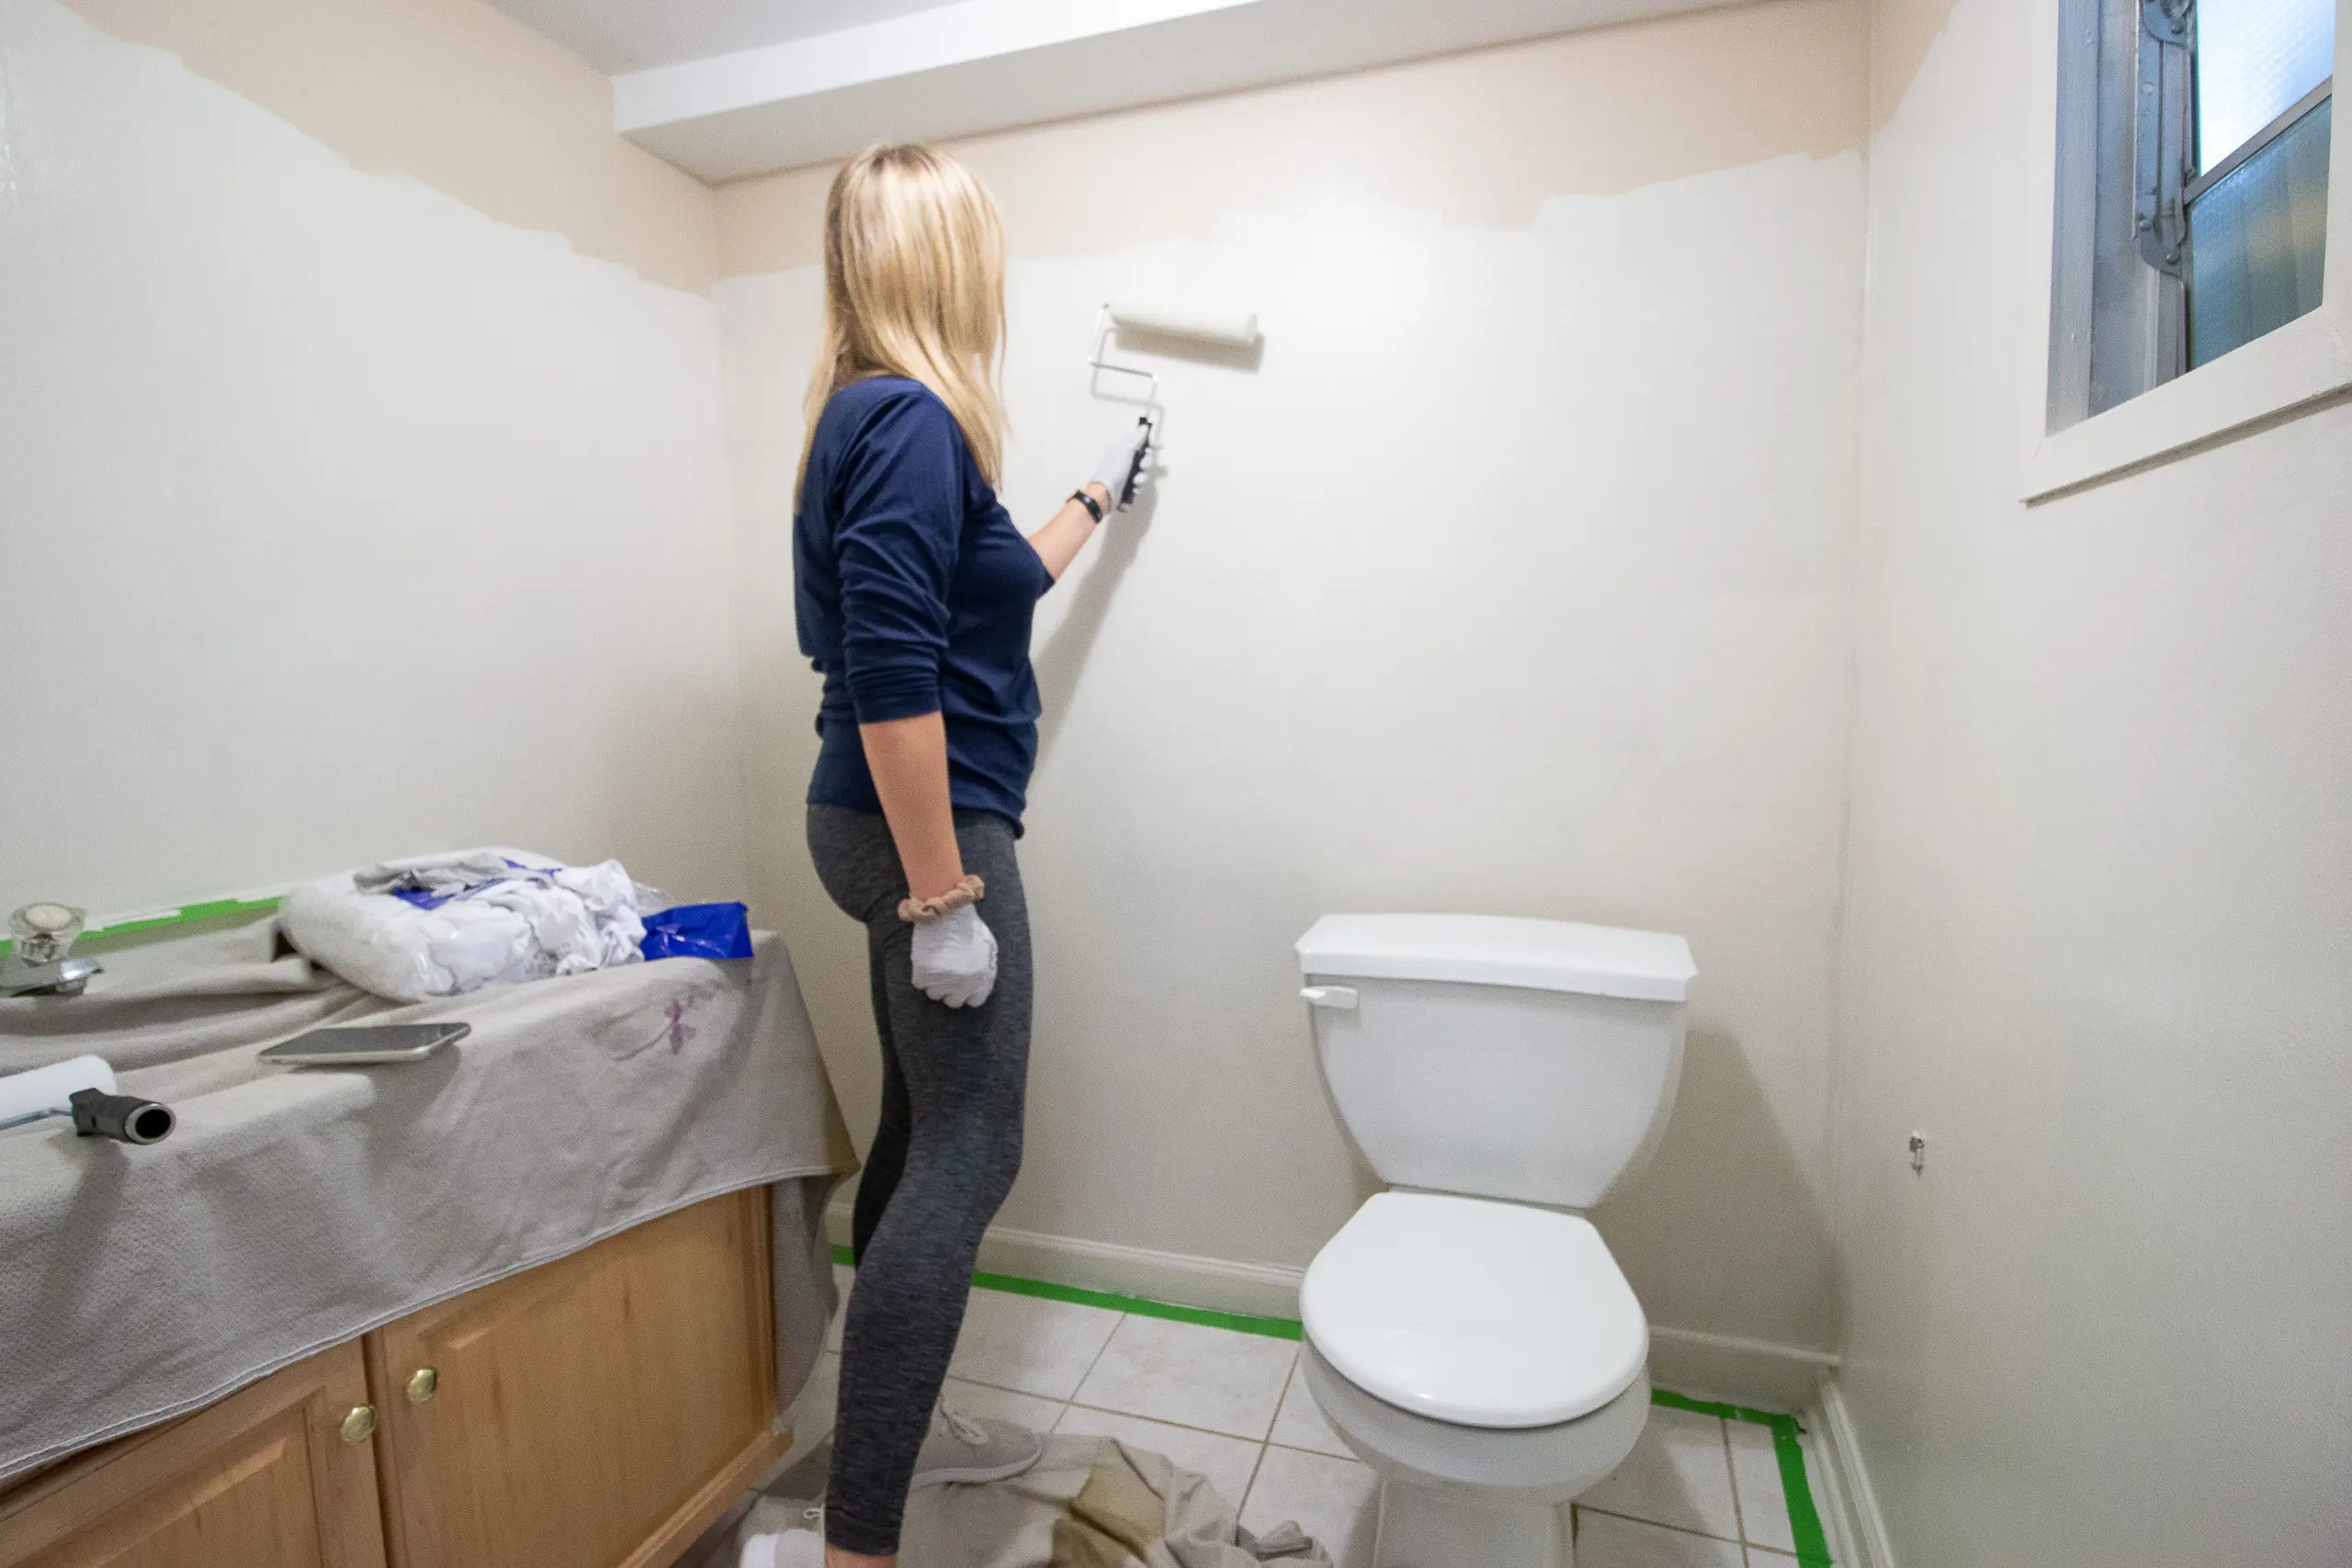 Then, I follow up with a paint roller to get the main areas of the wall. I painted about 3/4 of the way up the wall, making sure I was painting higher than the area where I wanted to start the blue color.
 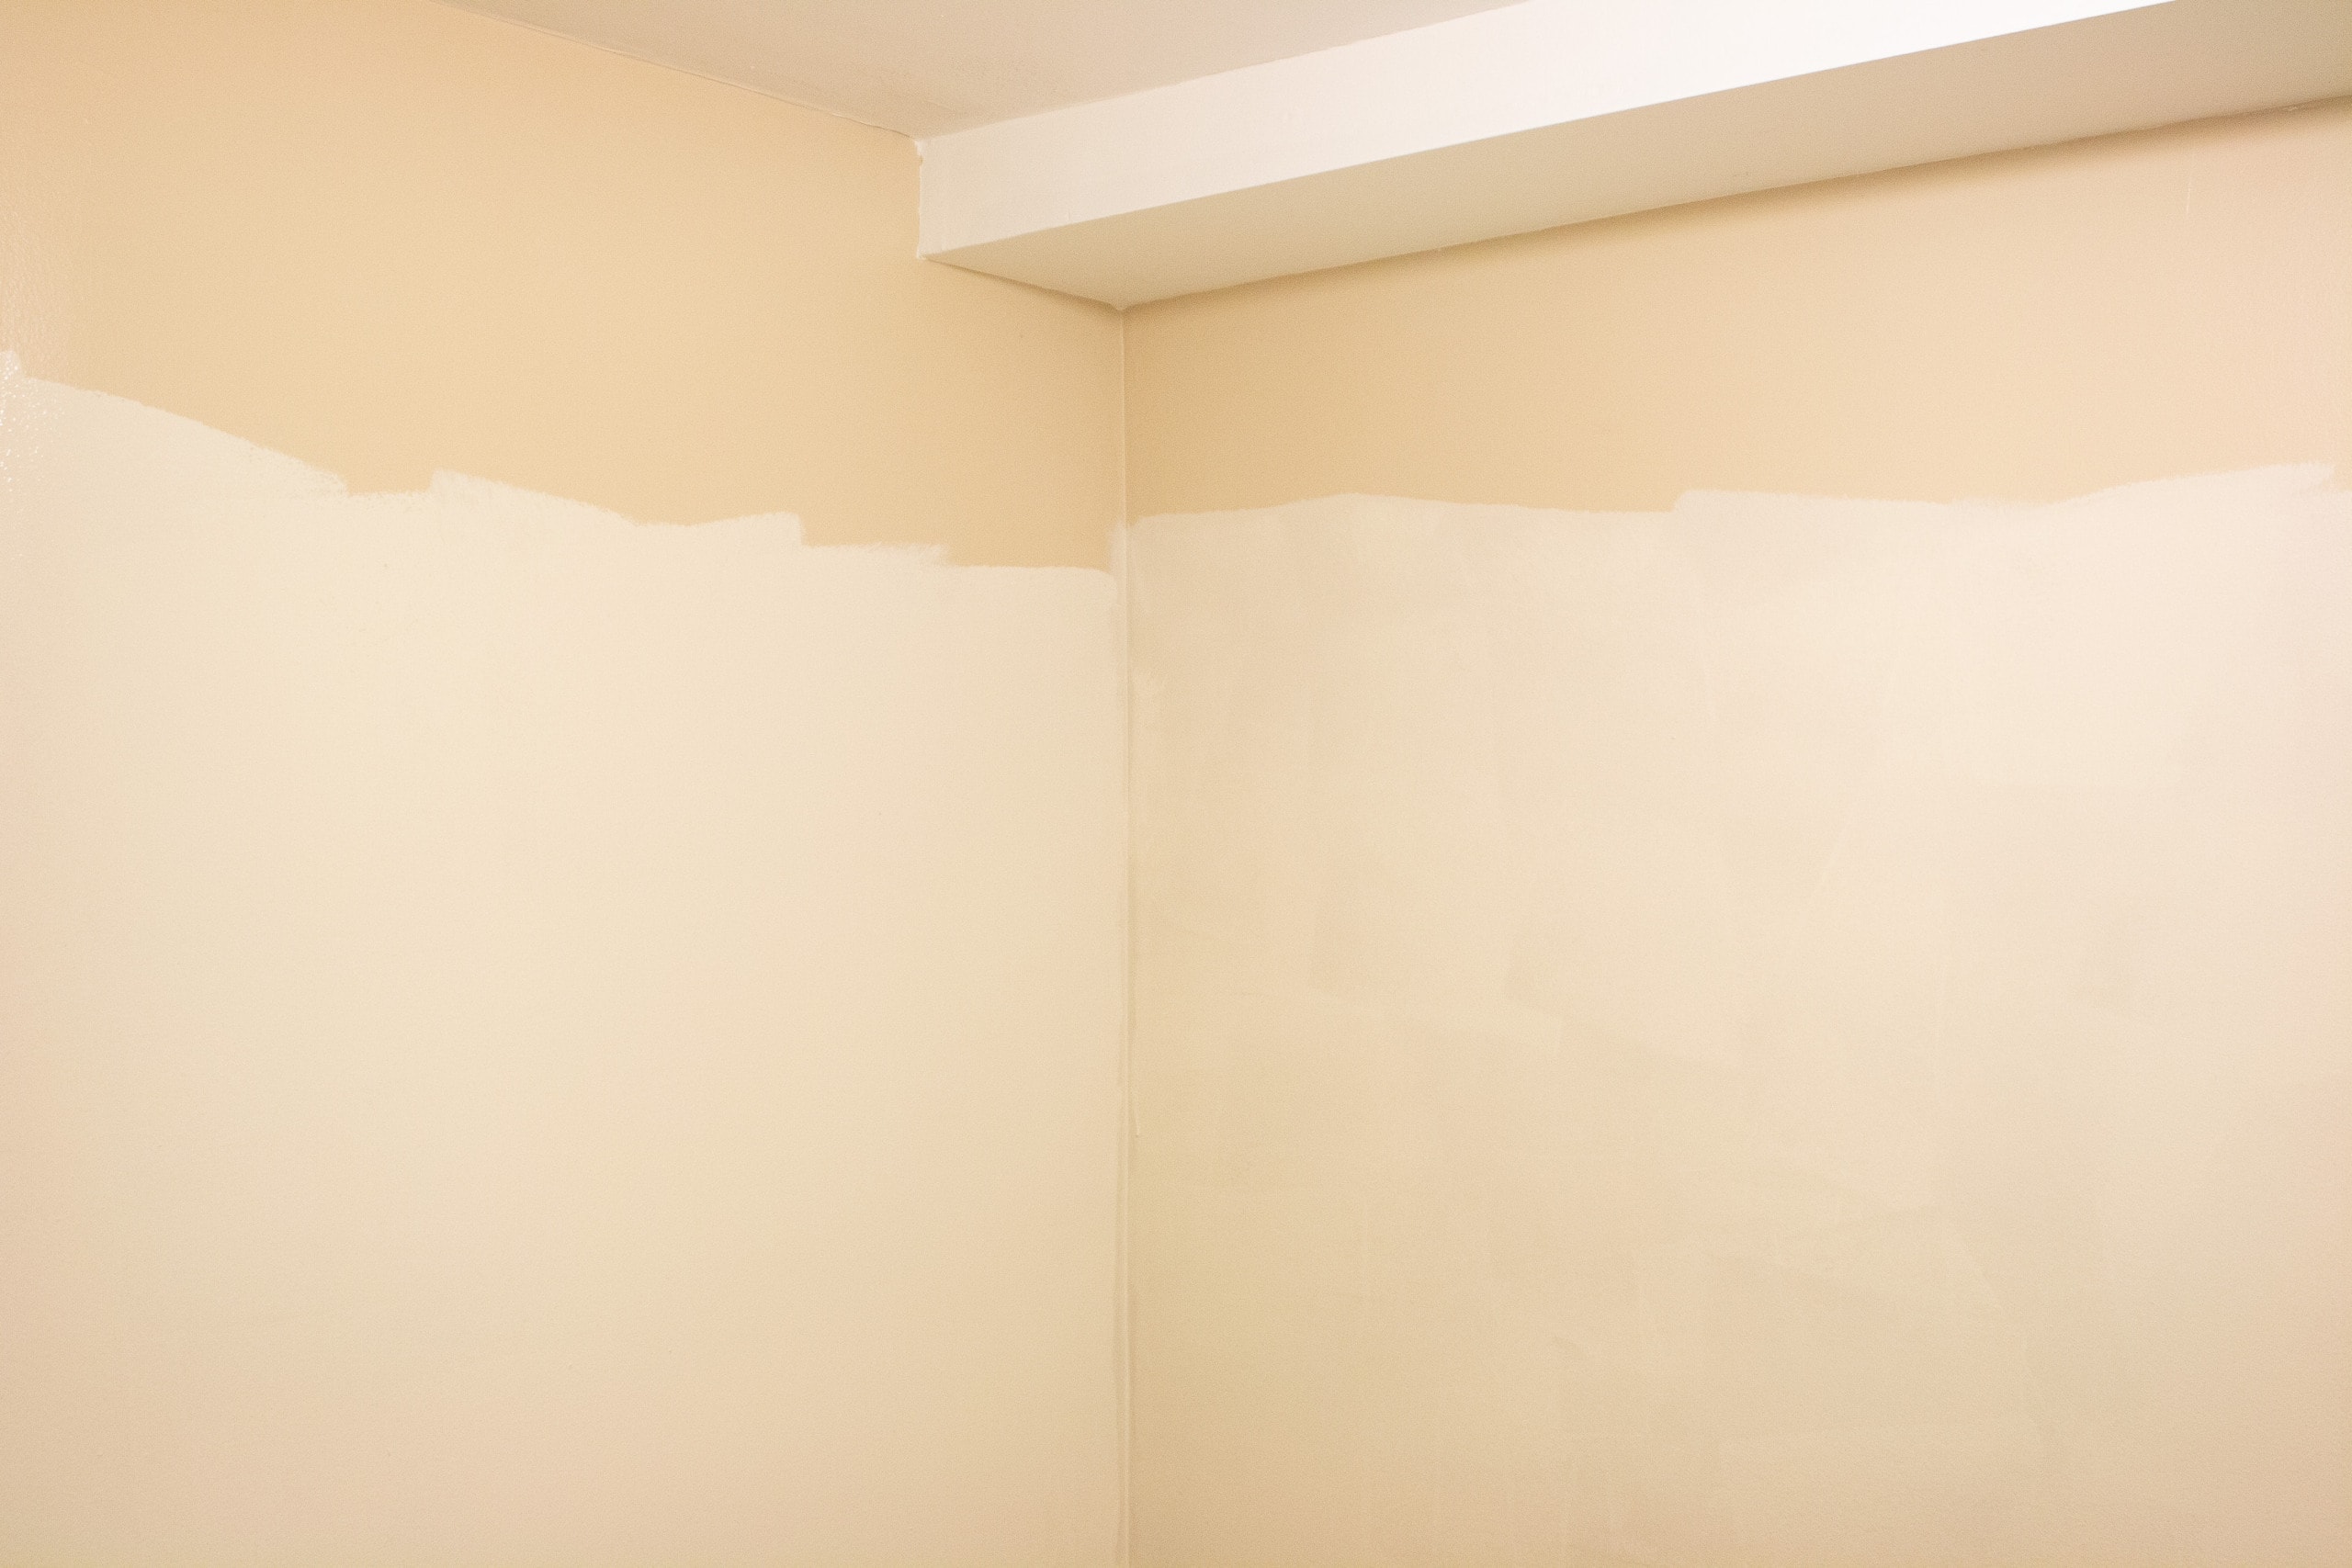 You don’t need this line to be straight at all. (That comes later!) Instead, just make sure you get even coverage and go past the point where you want to start your second color. Do this all the way around the room.
 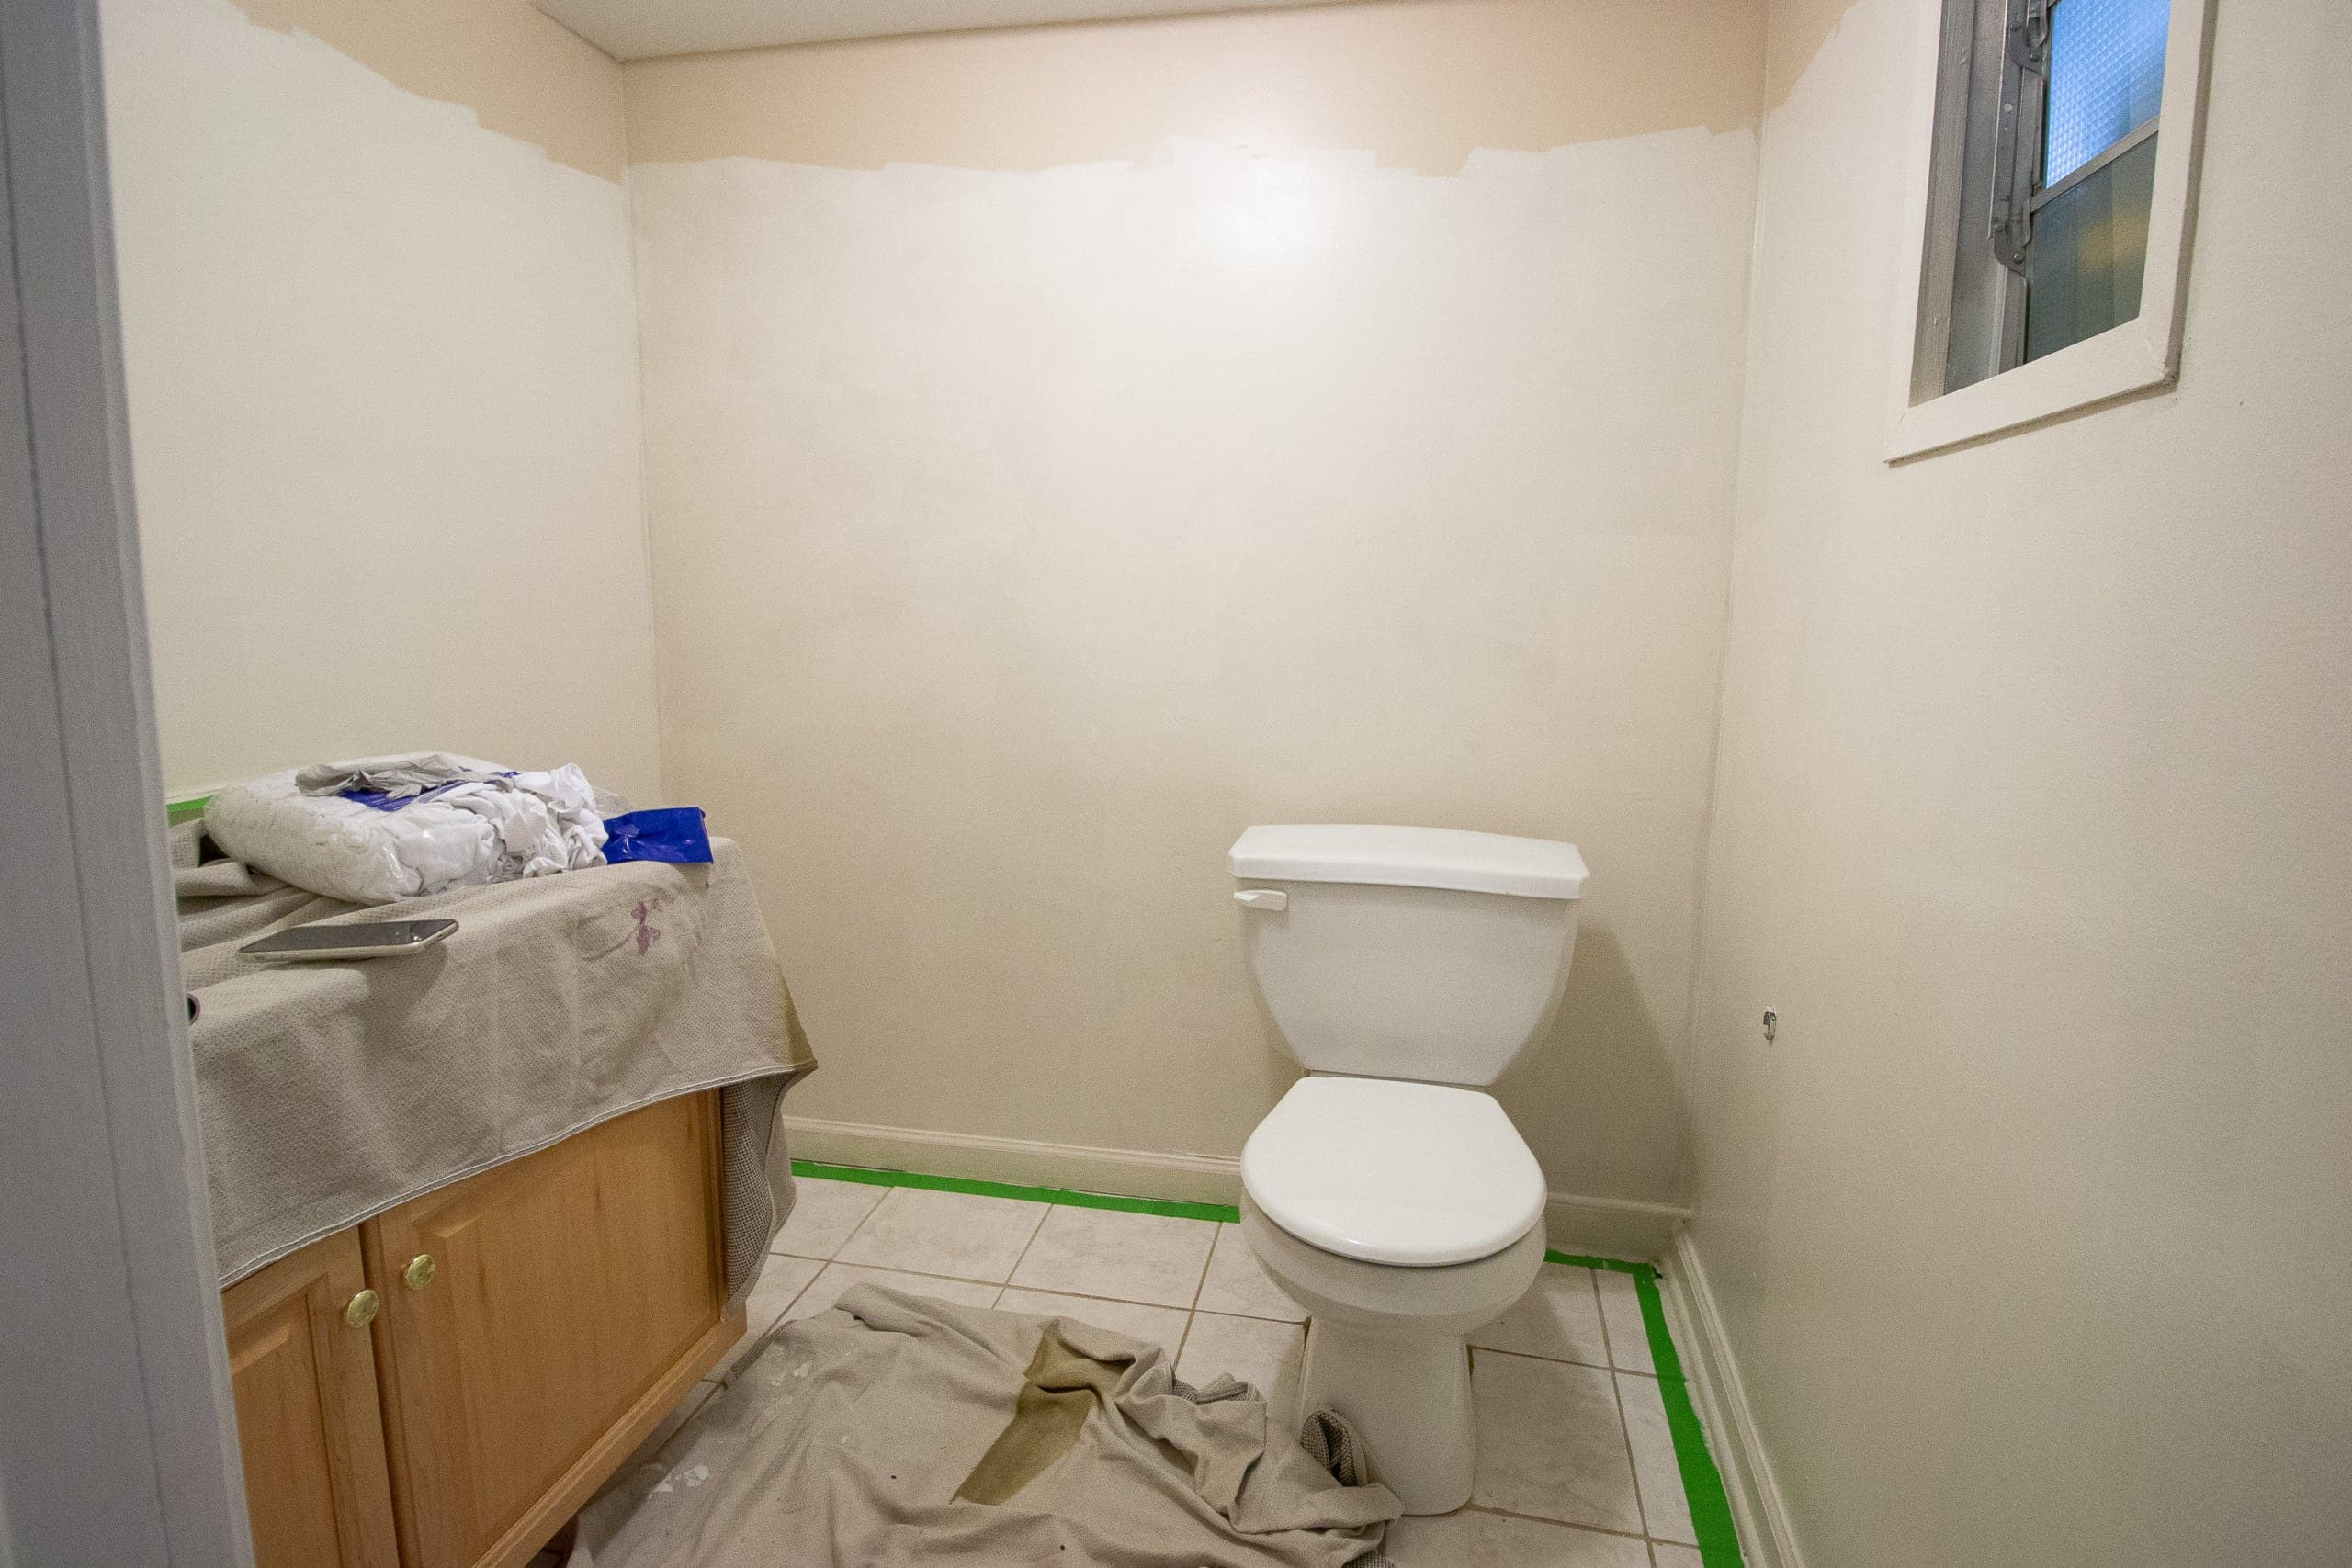 Since the new color, “Clay Angel”, is a bit lighter than the original paint, I ended up painting two light coats in here.
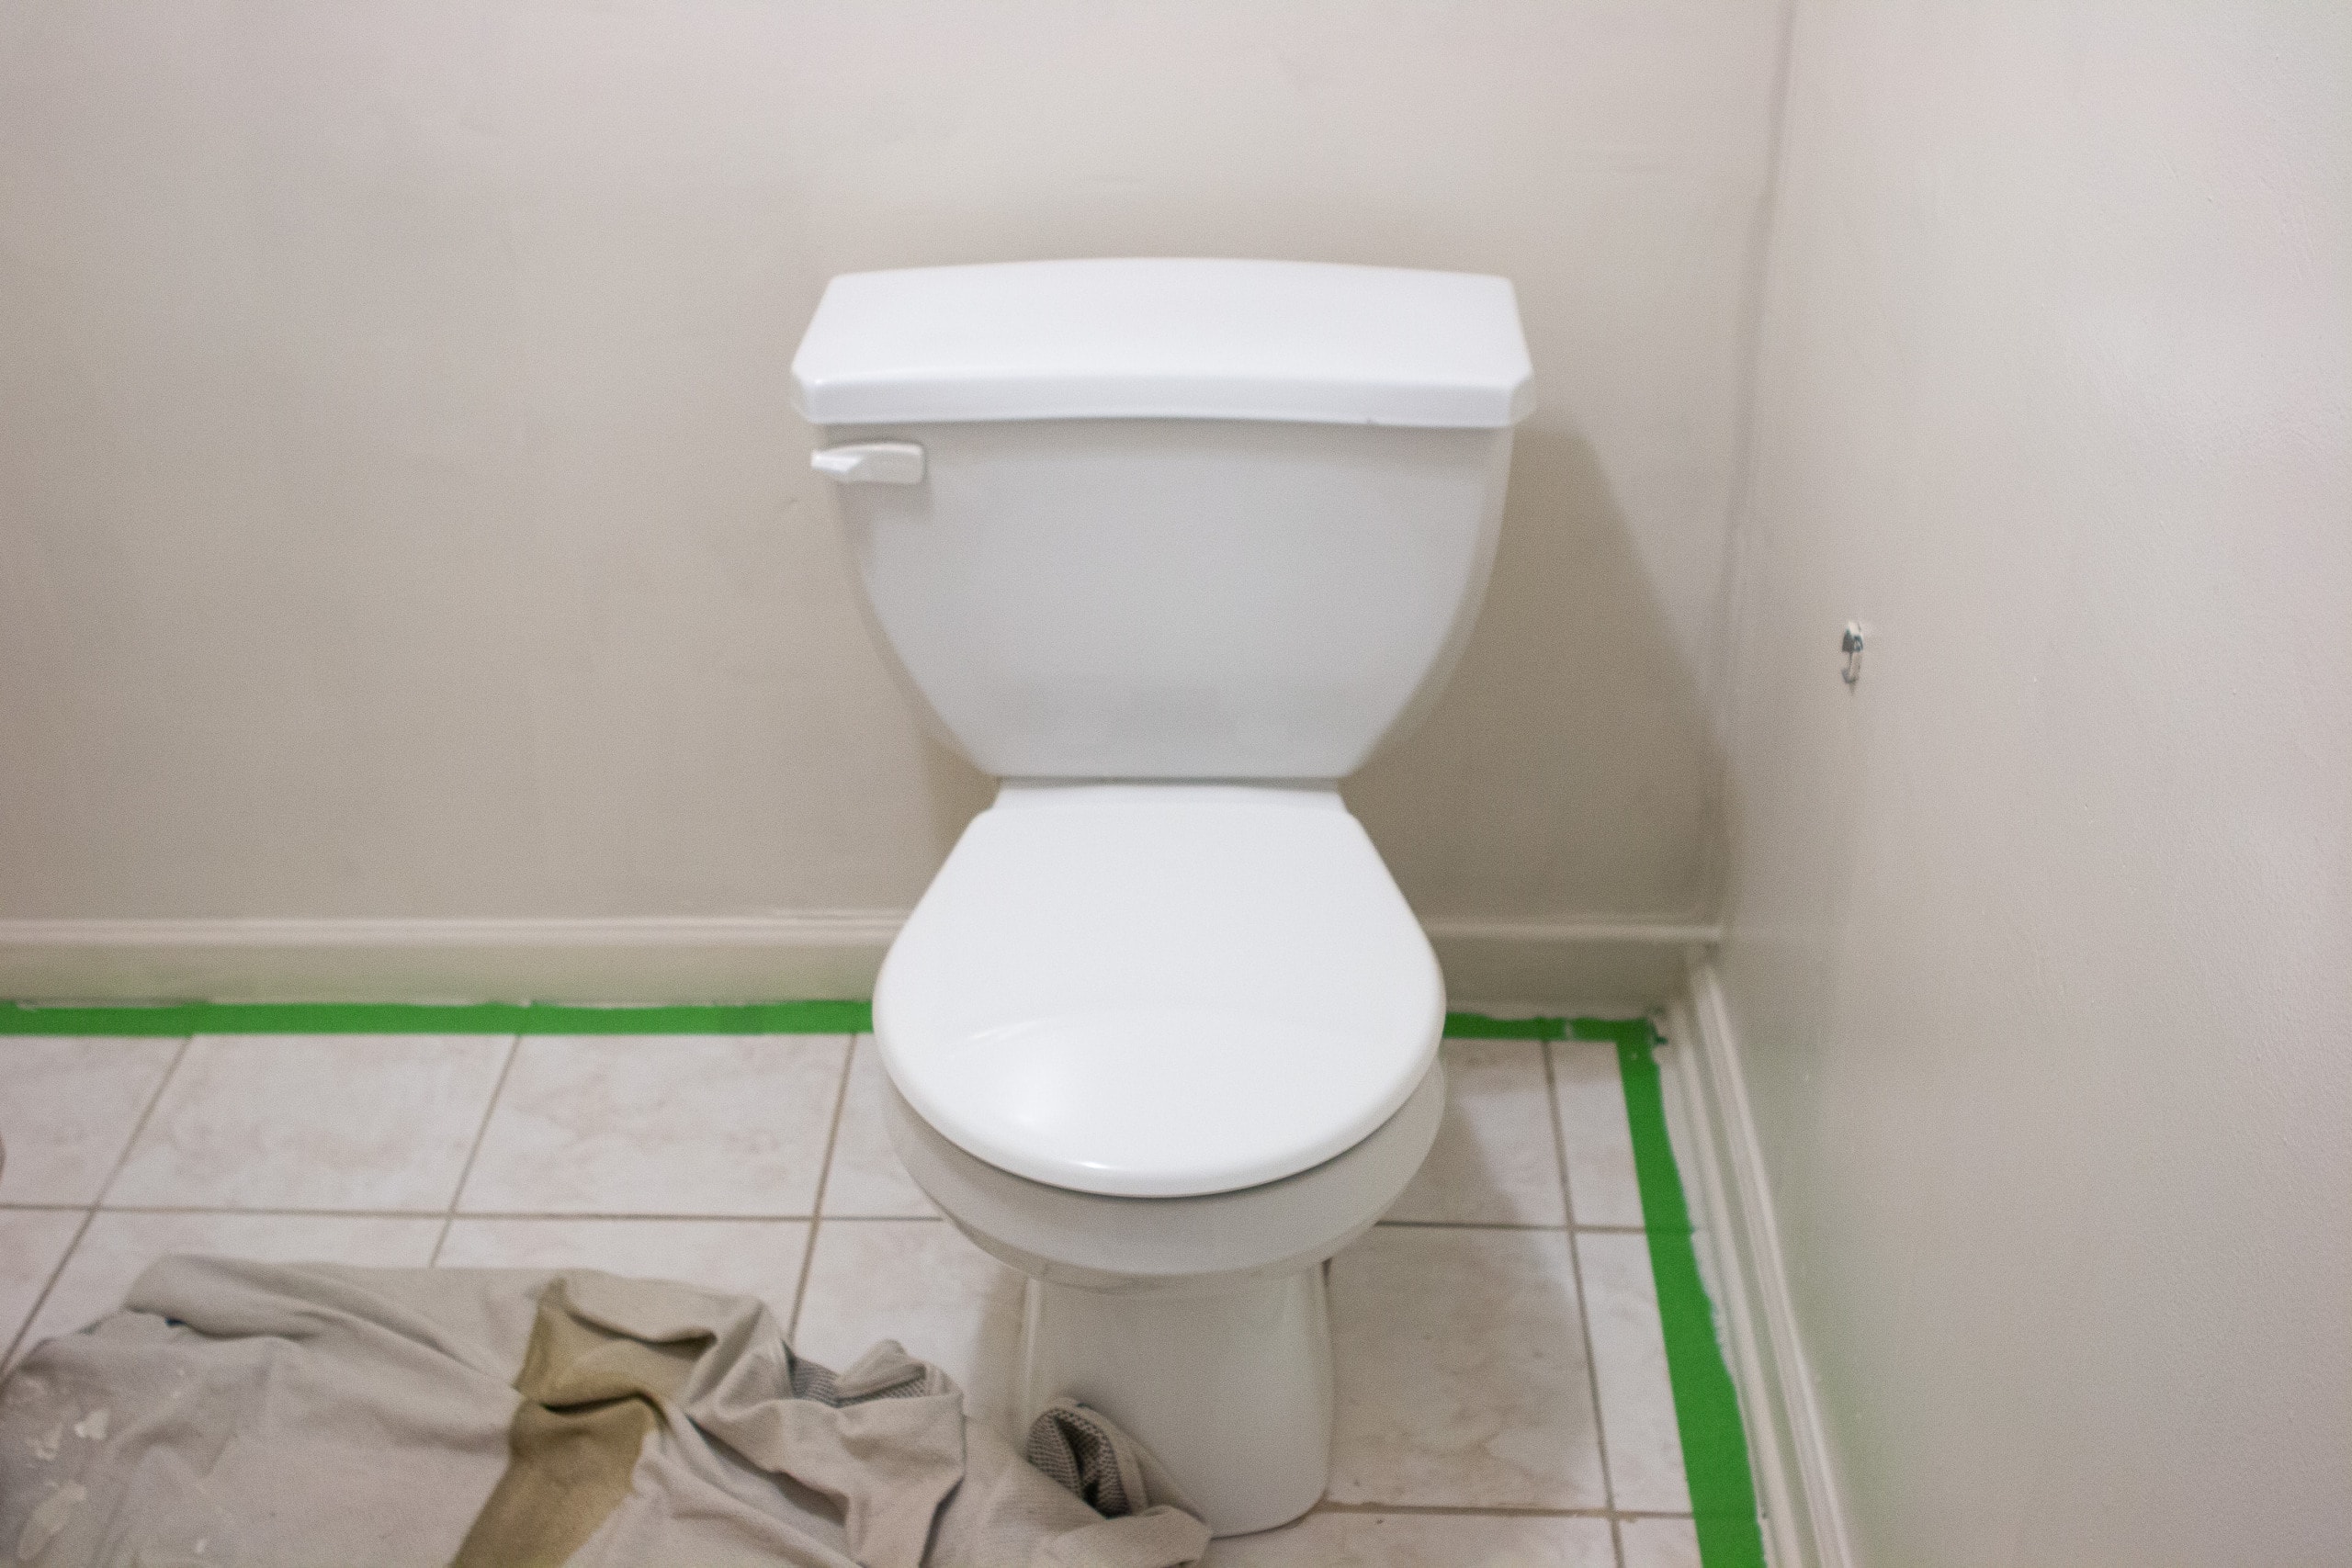
I’m so happy I decided to paint the baseboards. It just looks much cleaner. 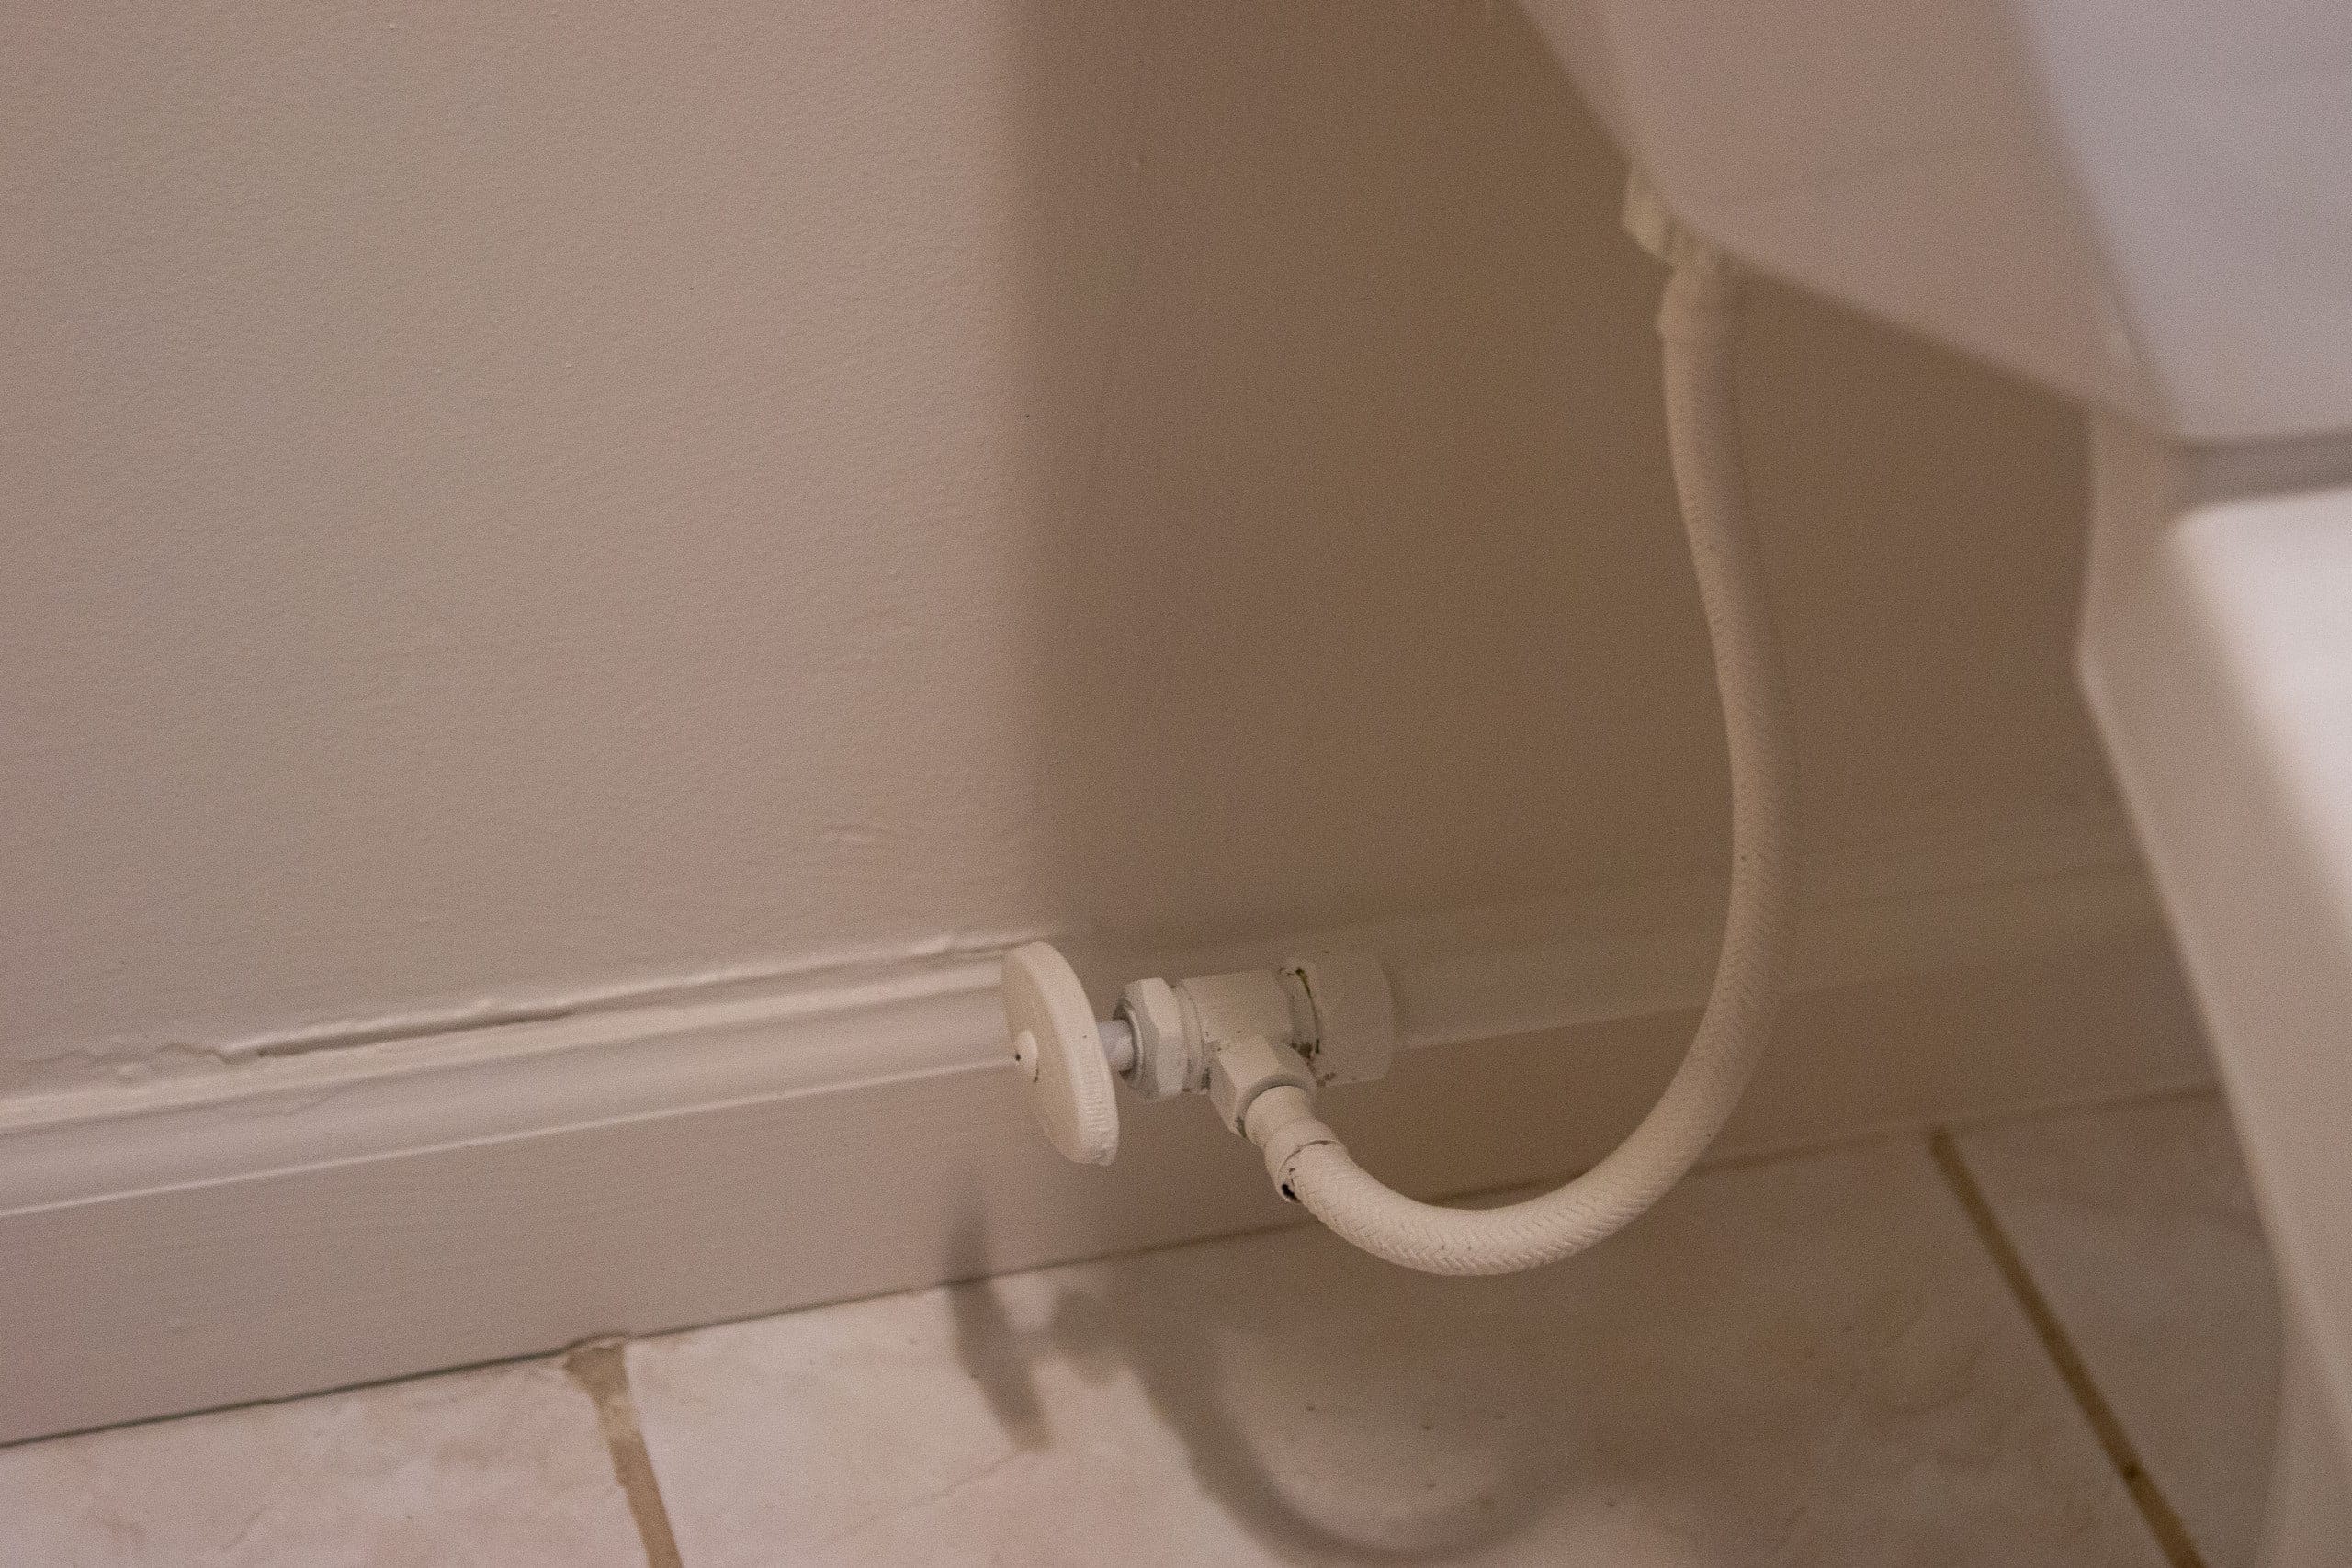 And you’ll notice I even painted the metal pipe for the toilet and the water supply line behind the toilet. Now, it all blends into the wall color instead of standing out!
Draw a Level Line
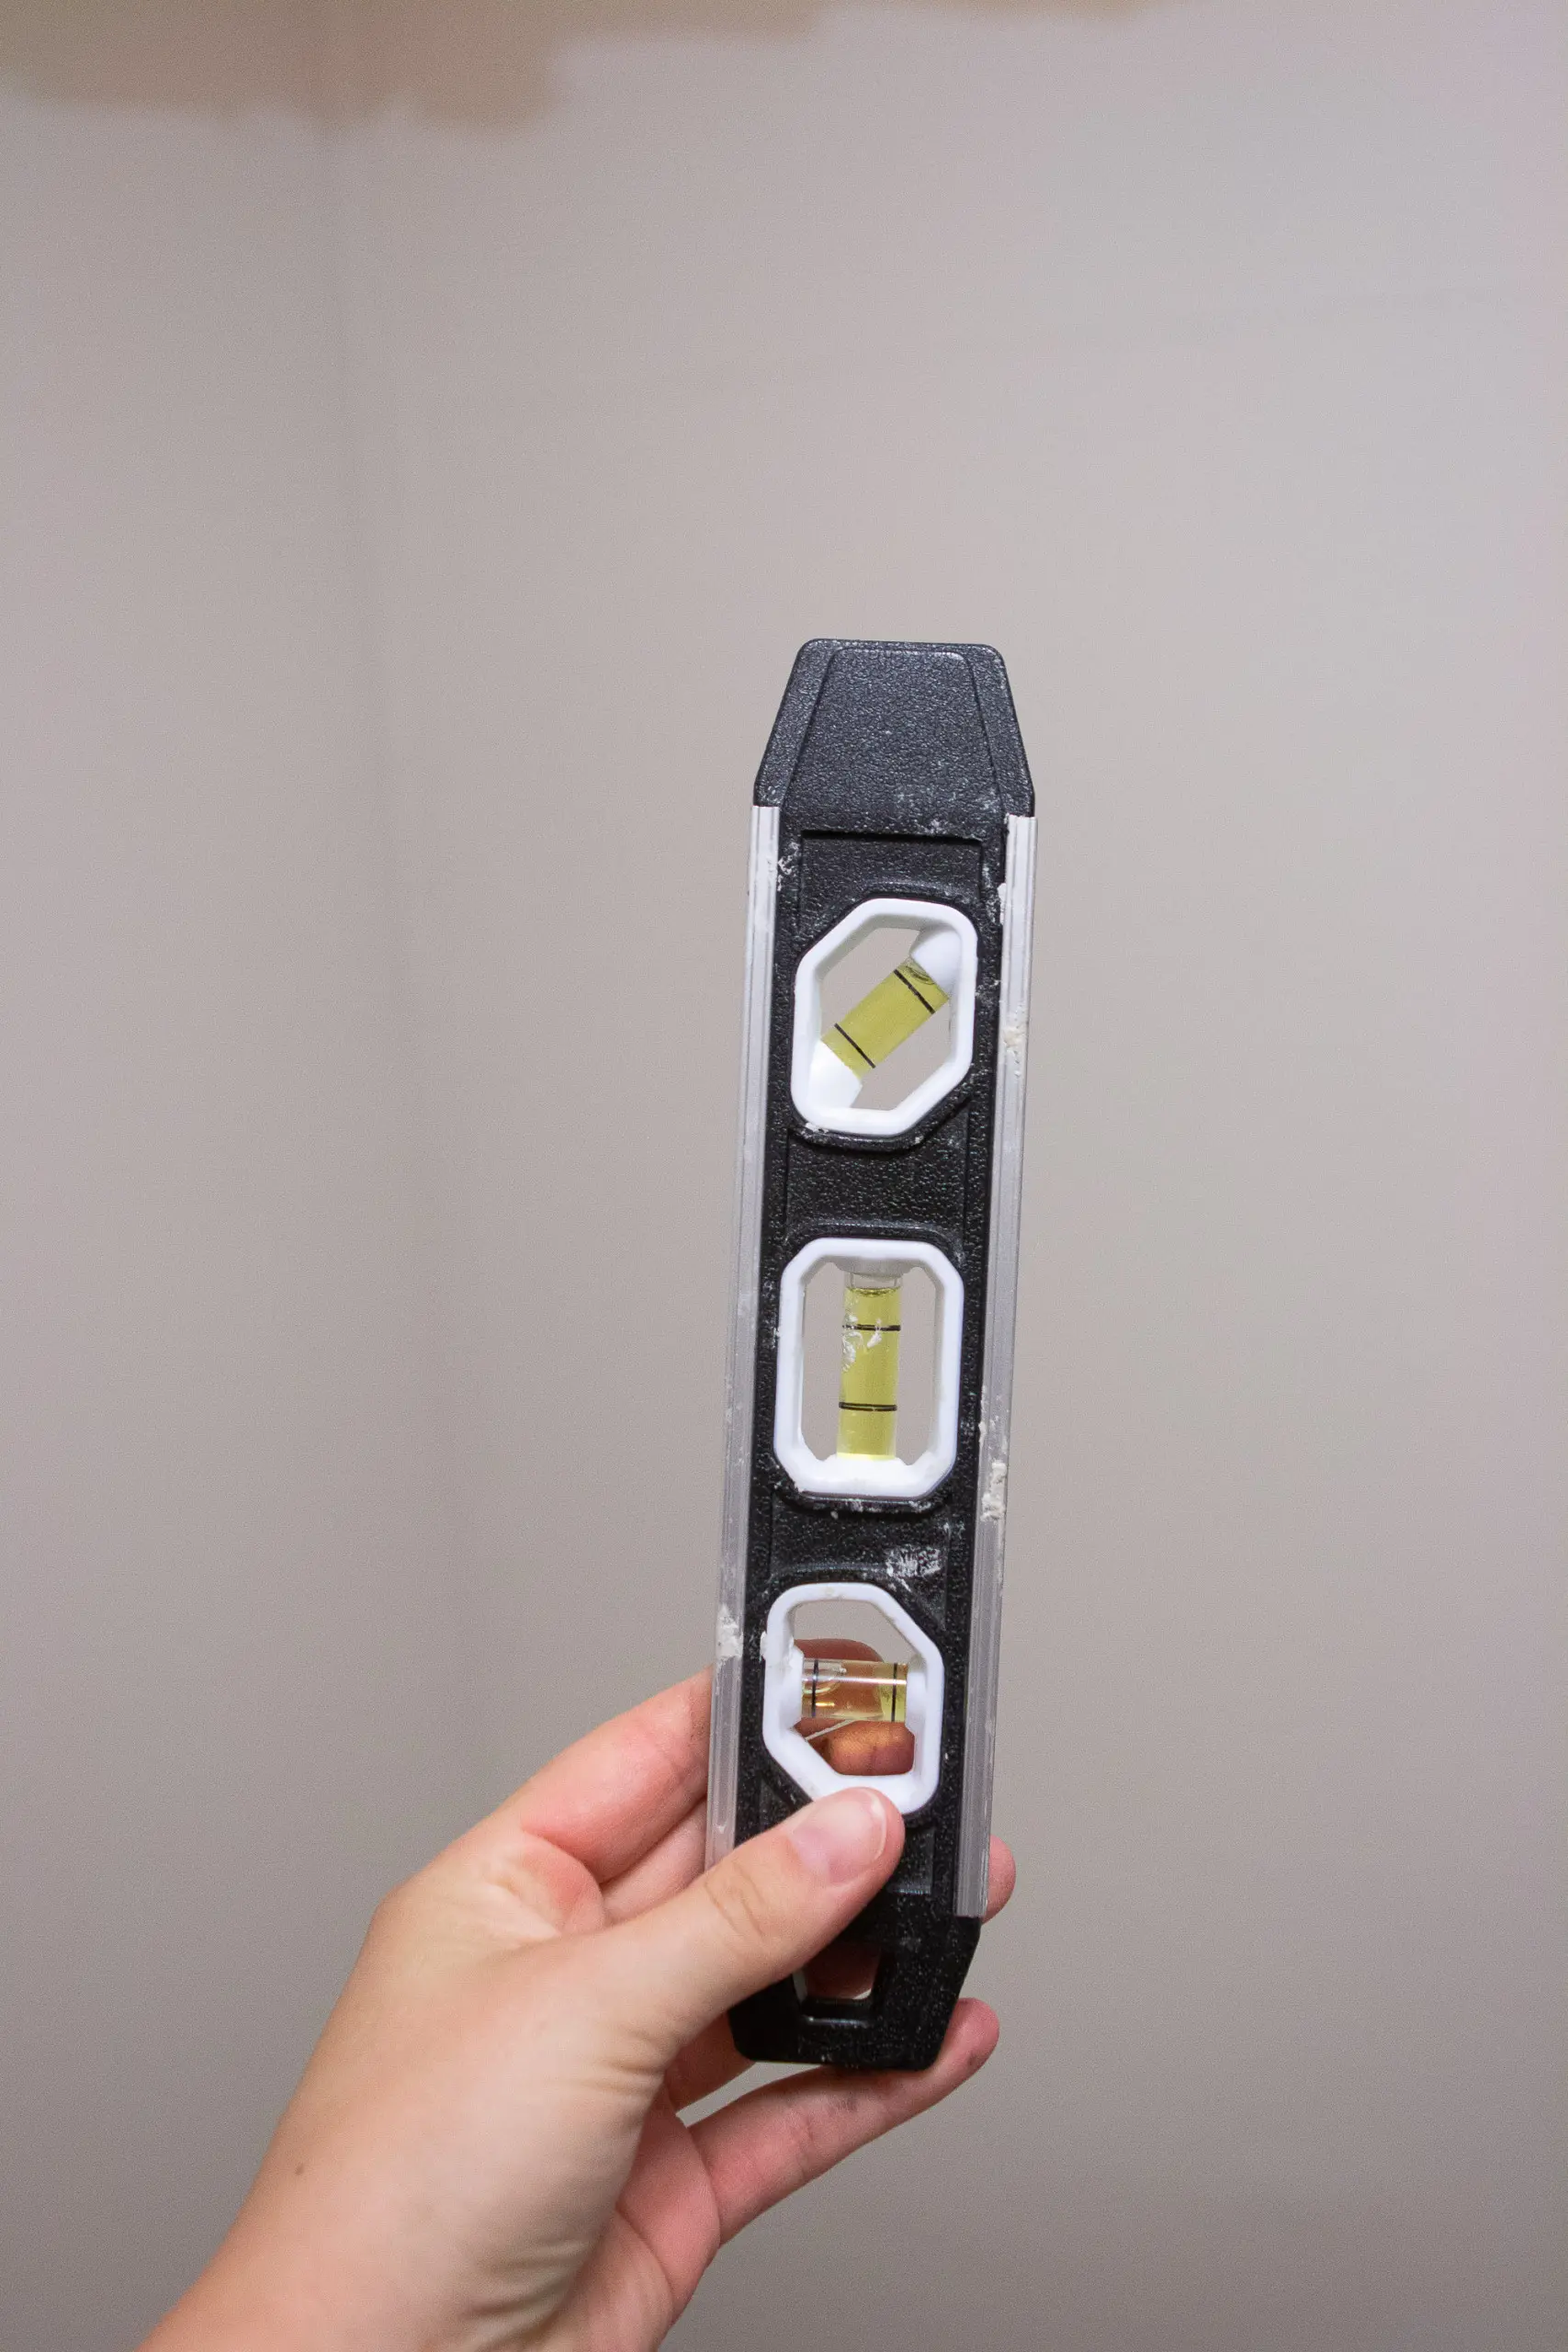

I wanted my line separating the two colors to be about 64 inches off the ground. This was a little higher than eye level for me and it just felt right. (There is no right or wrong answer for where to start your line. Just make sure it’s within your painted area.) I marked 64 inches off the ground on that main wall, behind the toilet.  I then took my four-foot level and drew a level line all the way around the room, following that mark. In some spots, the four-foot level was too long, so I had to use a smaller spirit level. I’d recommend having both on hand, especially if it’s a small space. Instead of marking 64 inches off the ground on all four walls, I only marked it on that first wall and drew my level line from there. Most floors aren’t level, so your line won’t be straight if you measure 64 inches on each separate wall.
Add Your Painter’s Tape
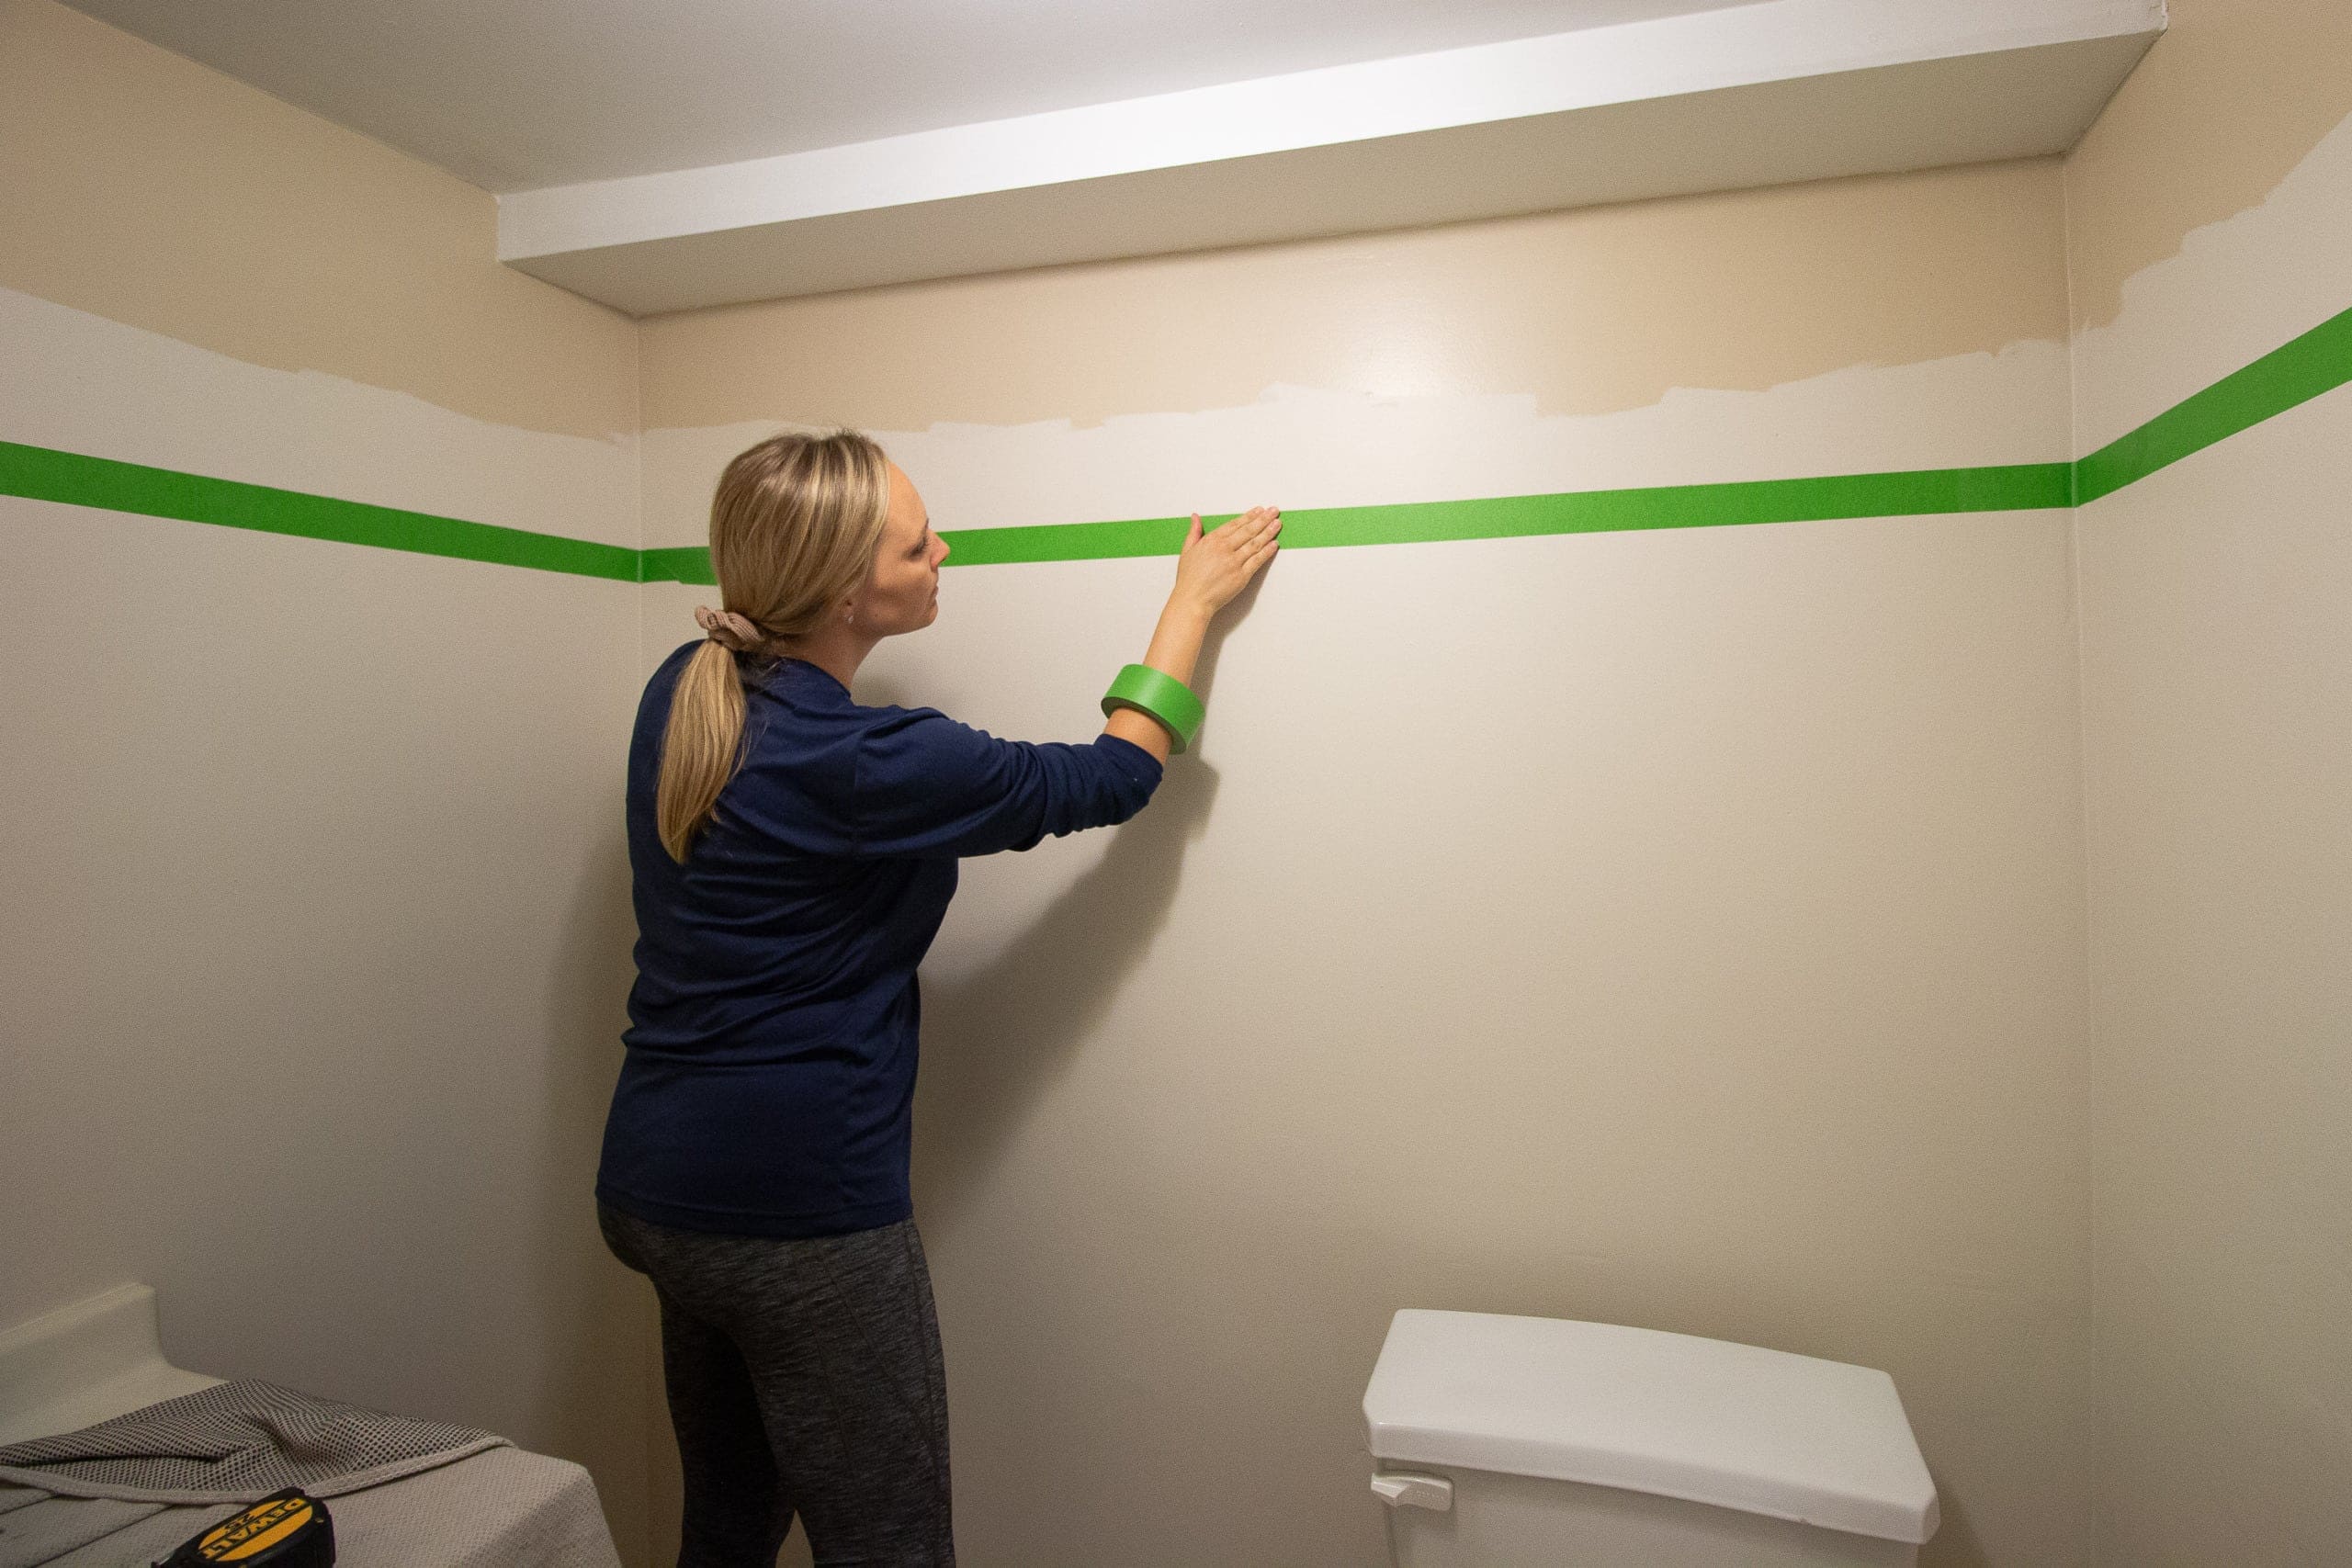
I then took a roll of painter’s tape and put it below that line I drew, making sure to keep it suuuuuper straight as I applied it. 
To make sure the tape was really secured to the wall, and to prevent any paint seepage, I took out an old credit card and ran it across the tape to really adhere it to the wall. 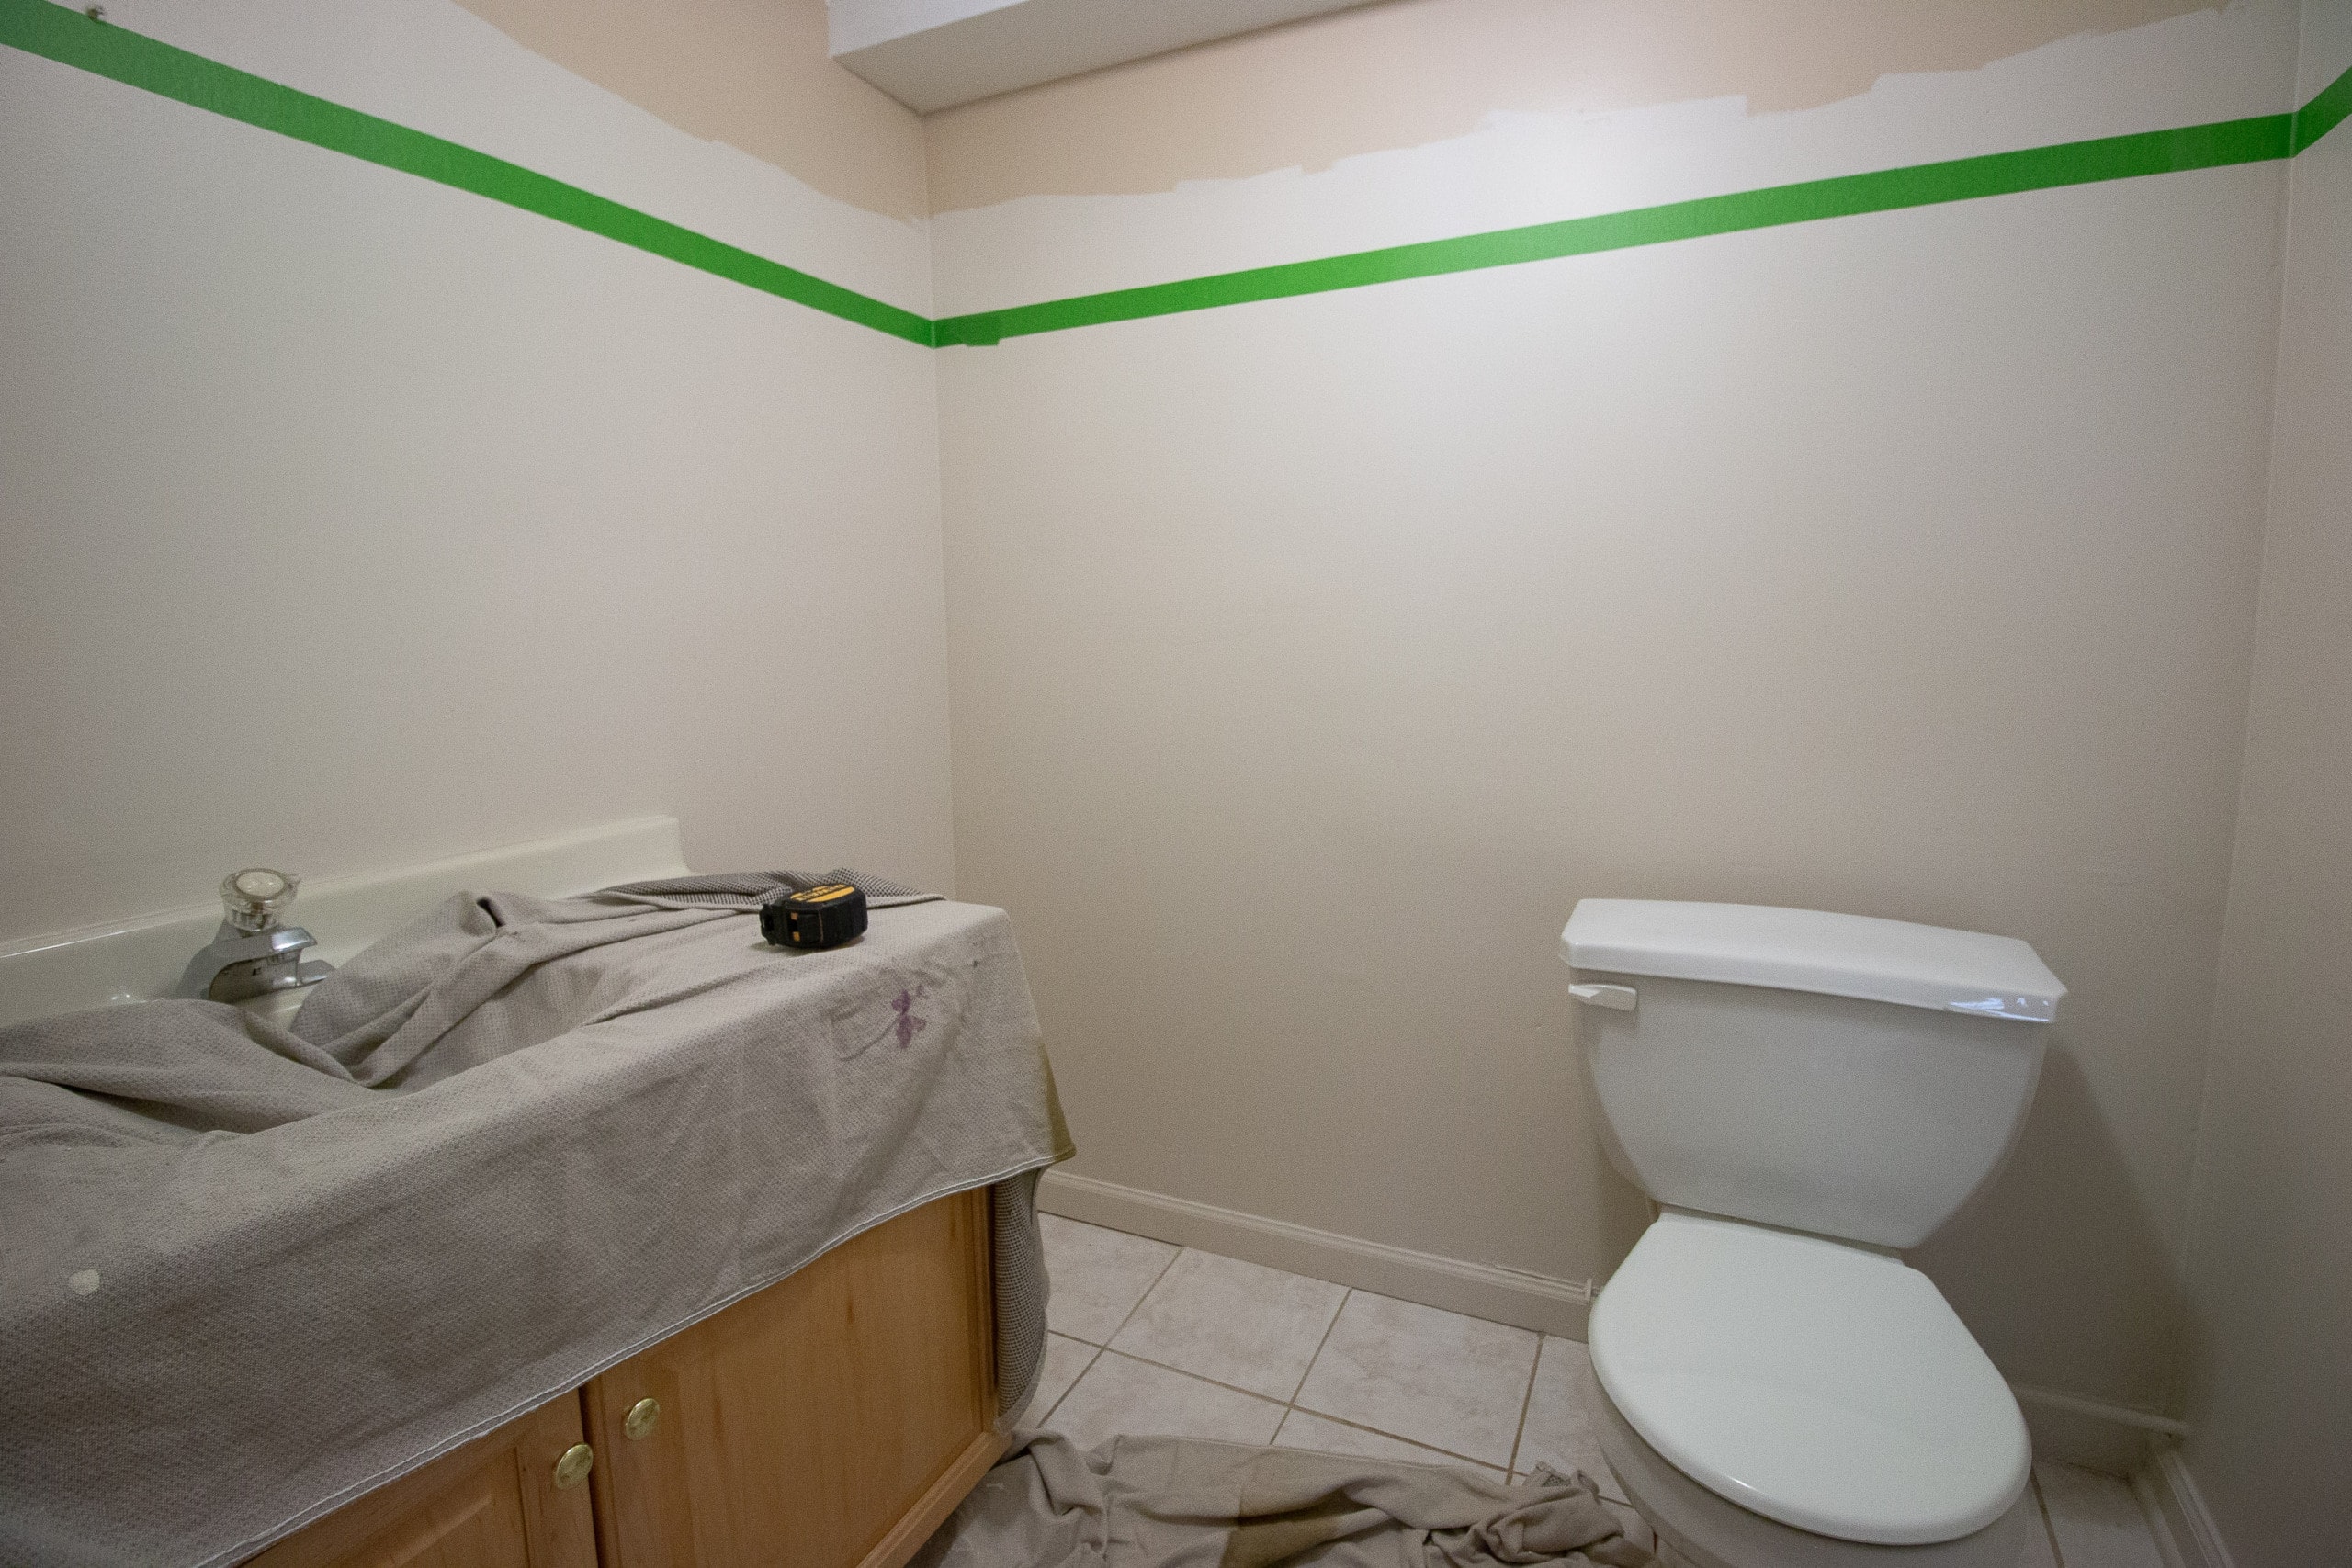


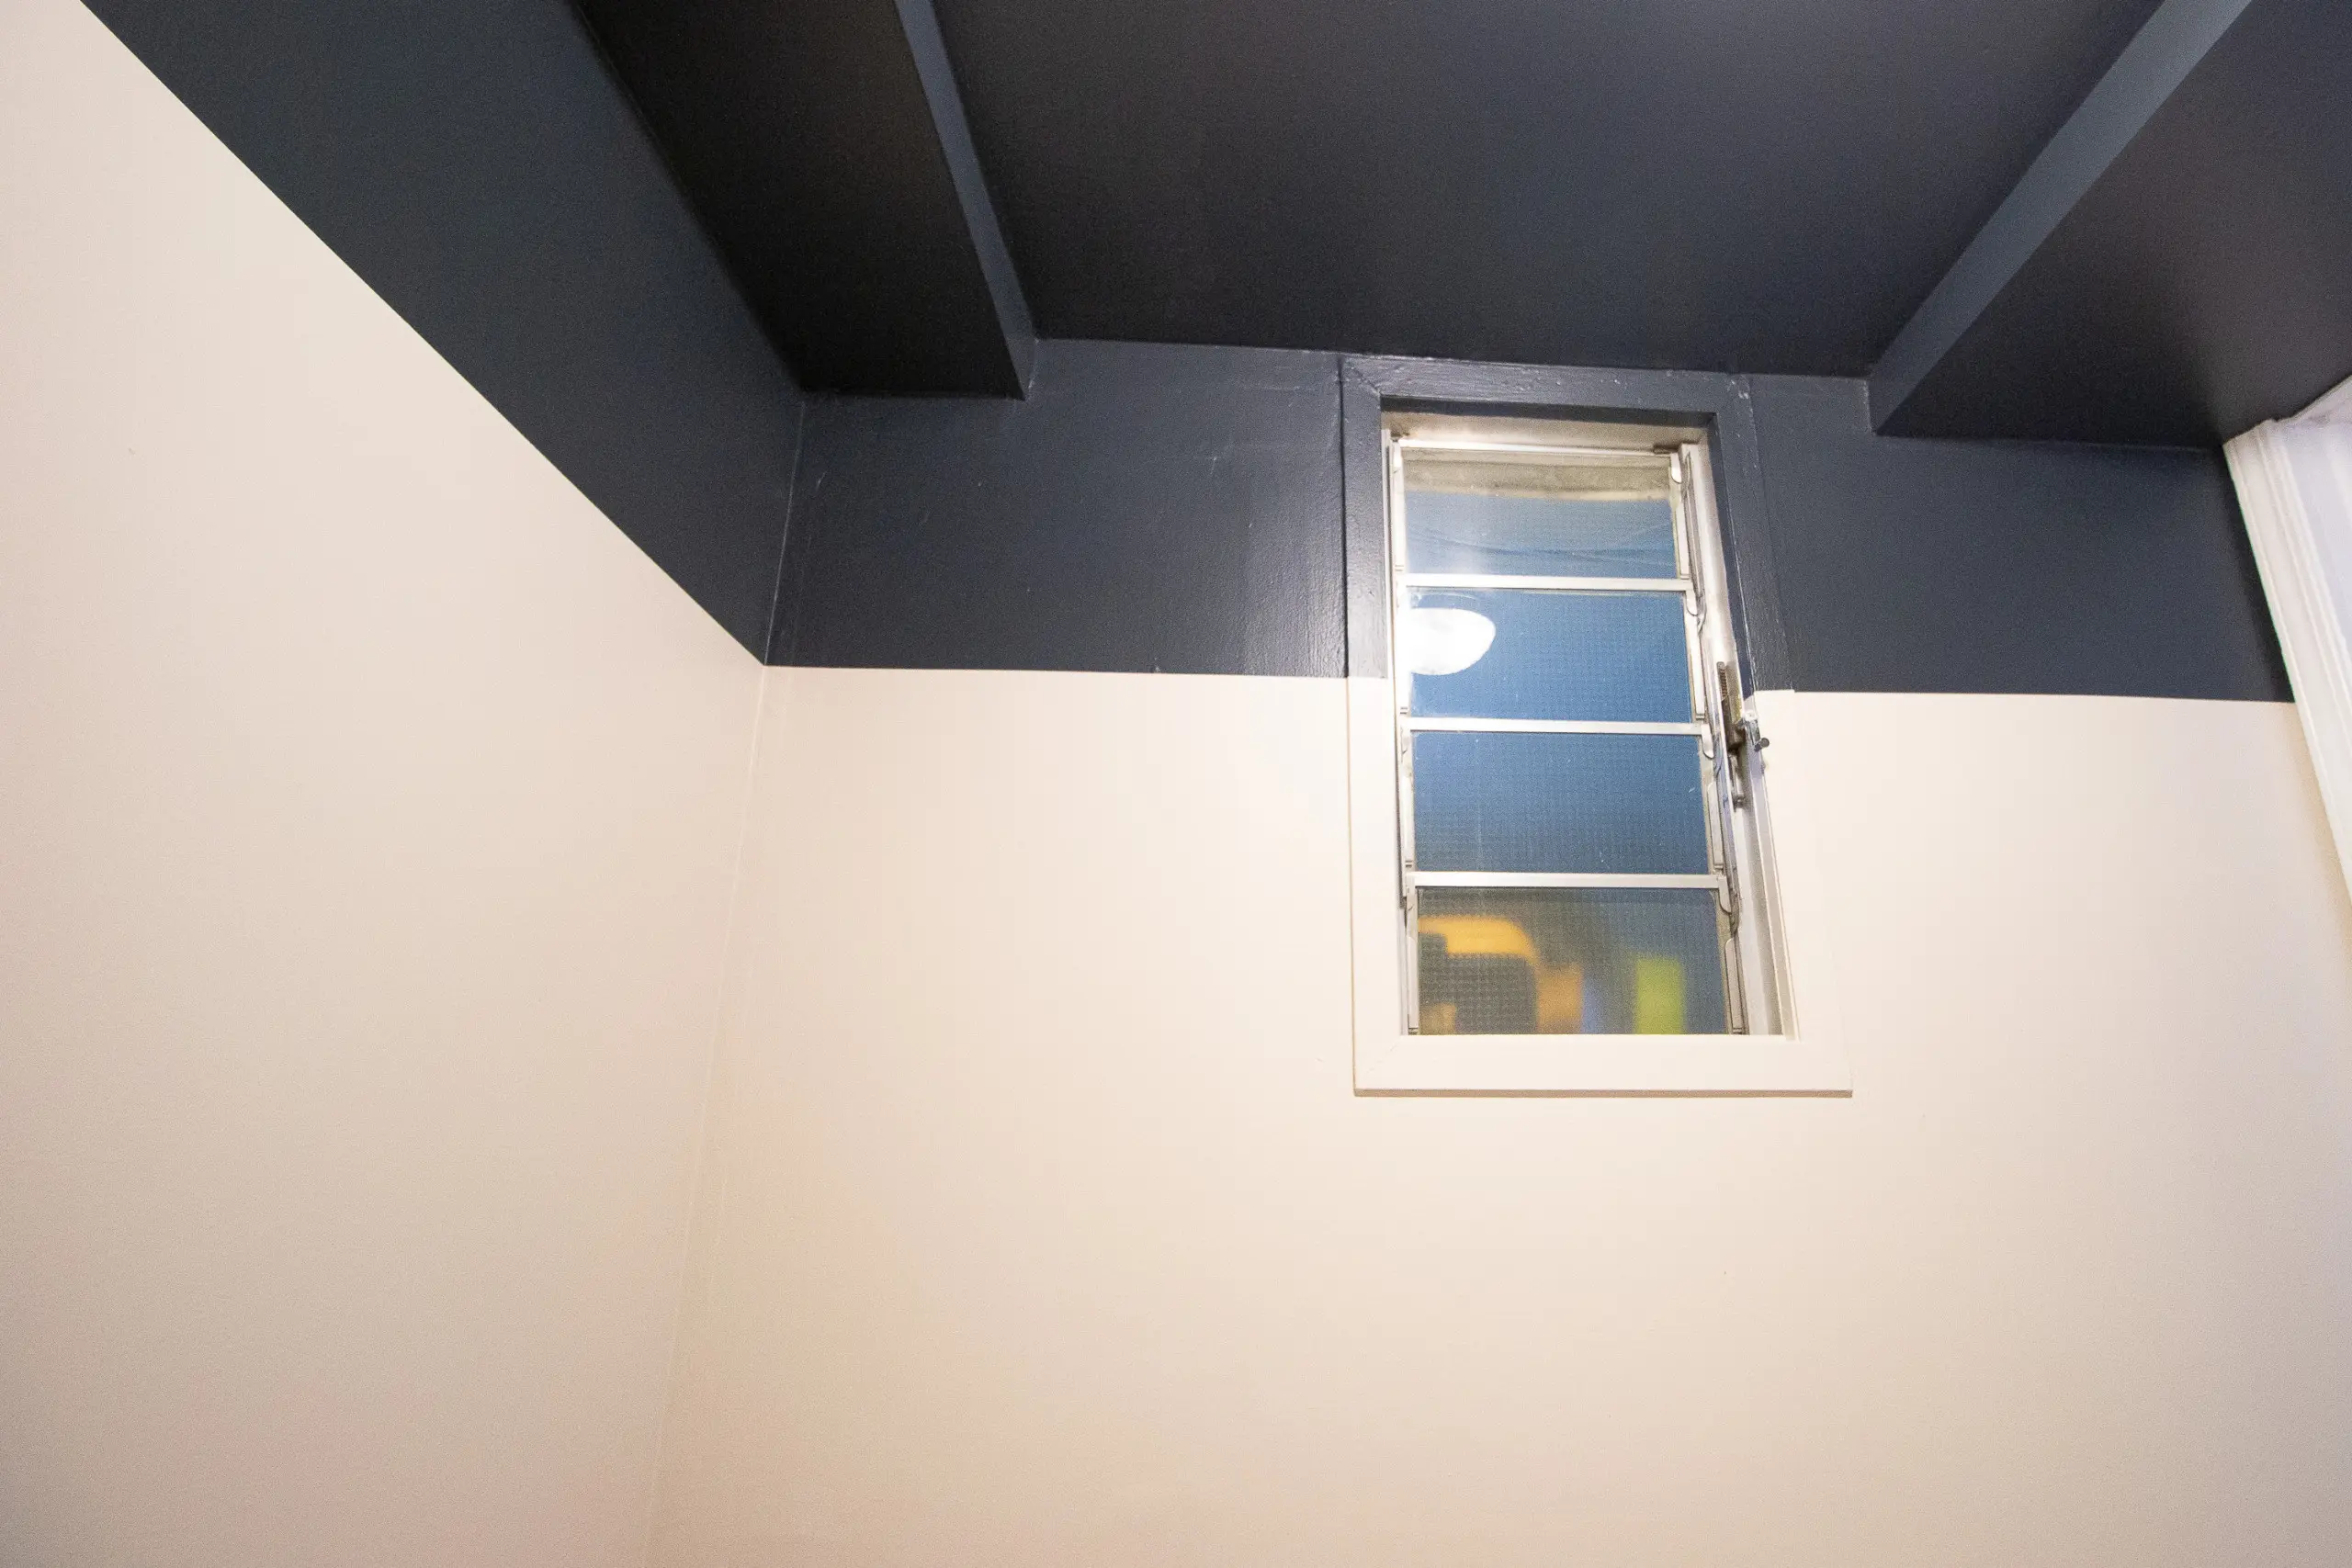
I even decided to paint the trim around the weird window in this space, breaking it up so it would be both colors!
Paint the Top Portion with the First Color
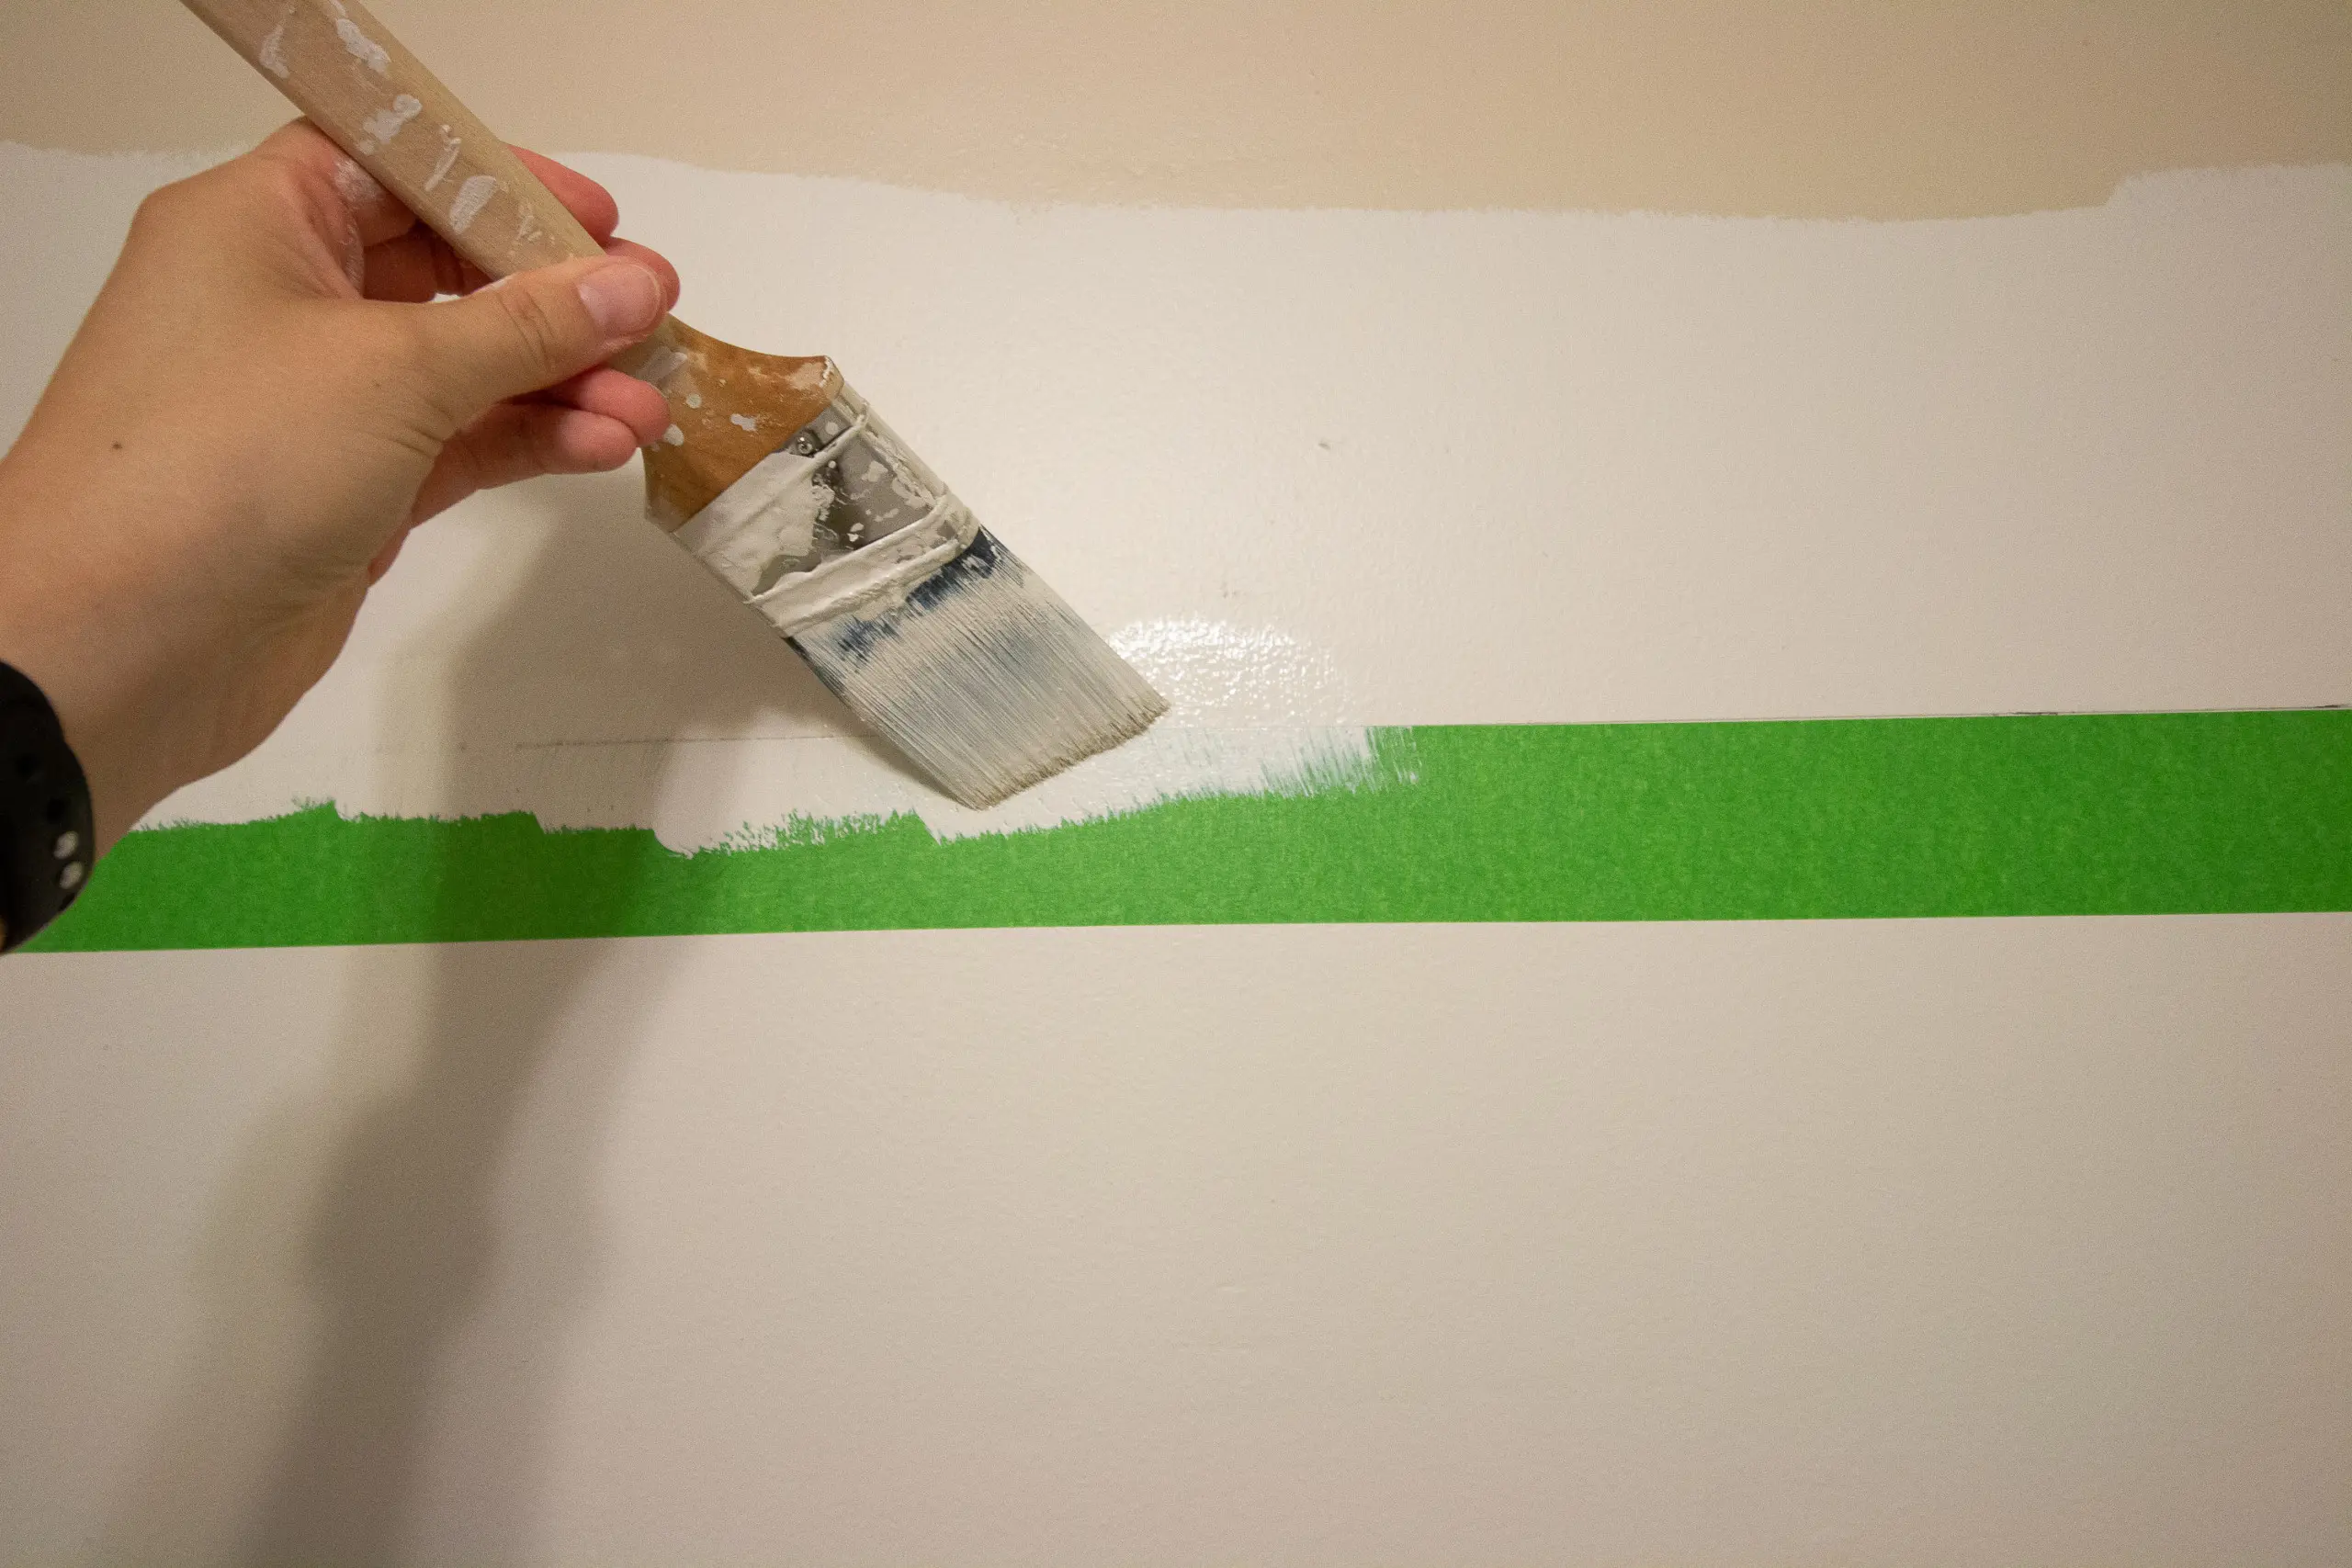
Okay, now read closely, because this is the MOST IMPORTANT step that shouldn’t be skipped! In order to get a crisp line between the two colors, you’ll want to paint the top portion of the tape with the first paint color. I went around the room with a brush and lightly painted “Clay Angel” on the top of the painter’s tape. 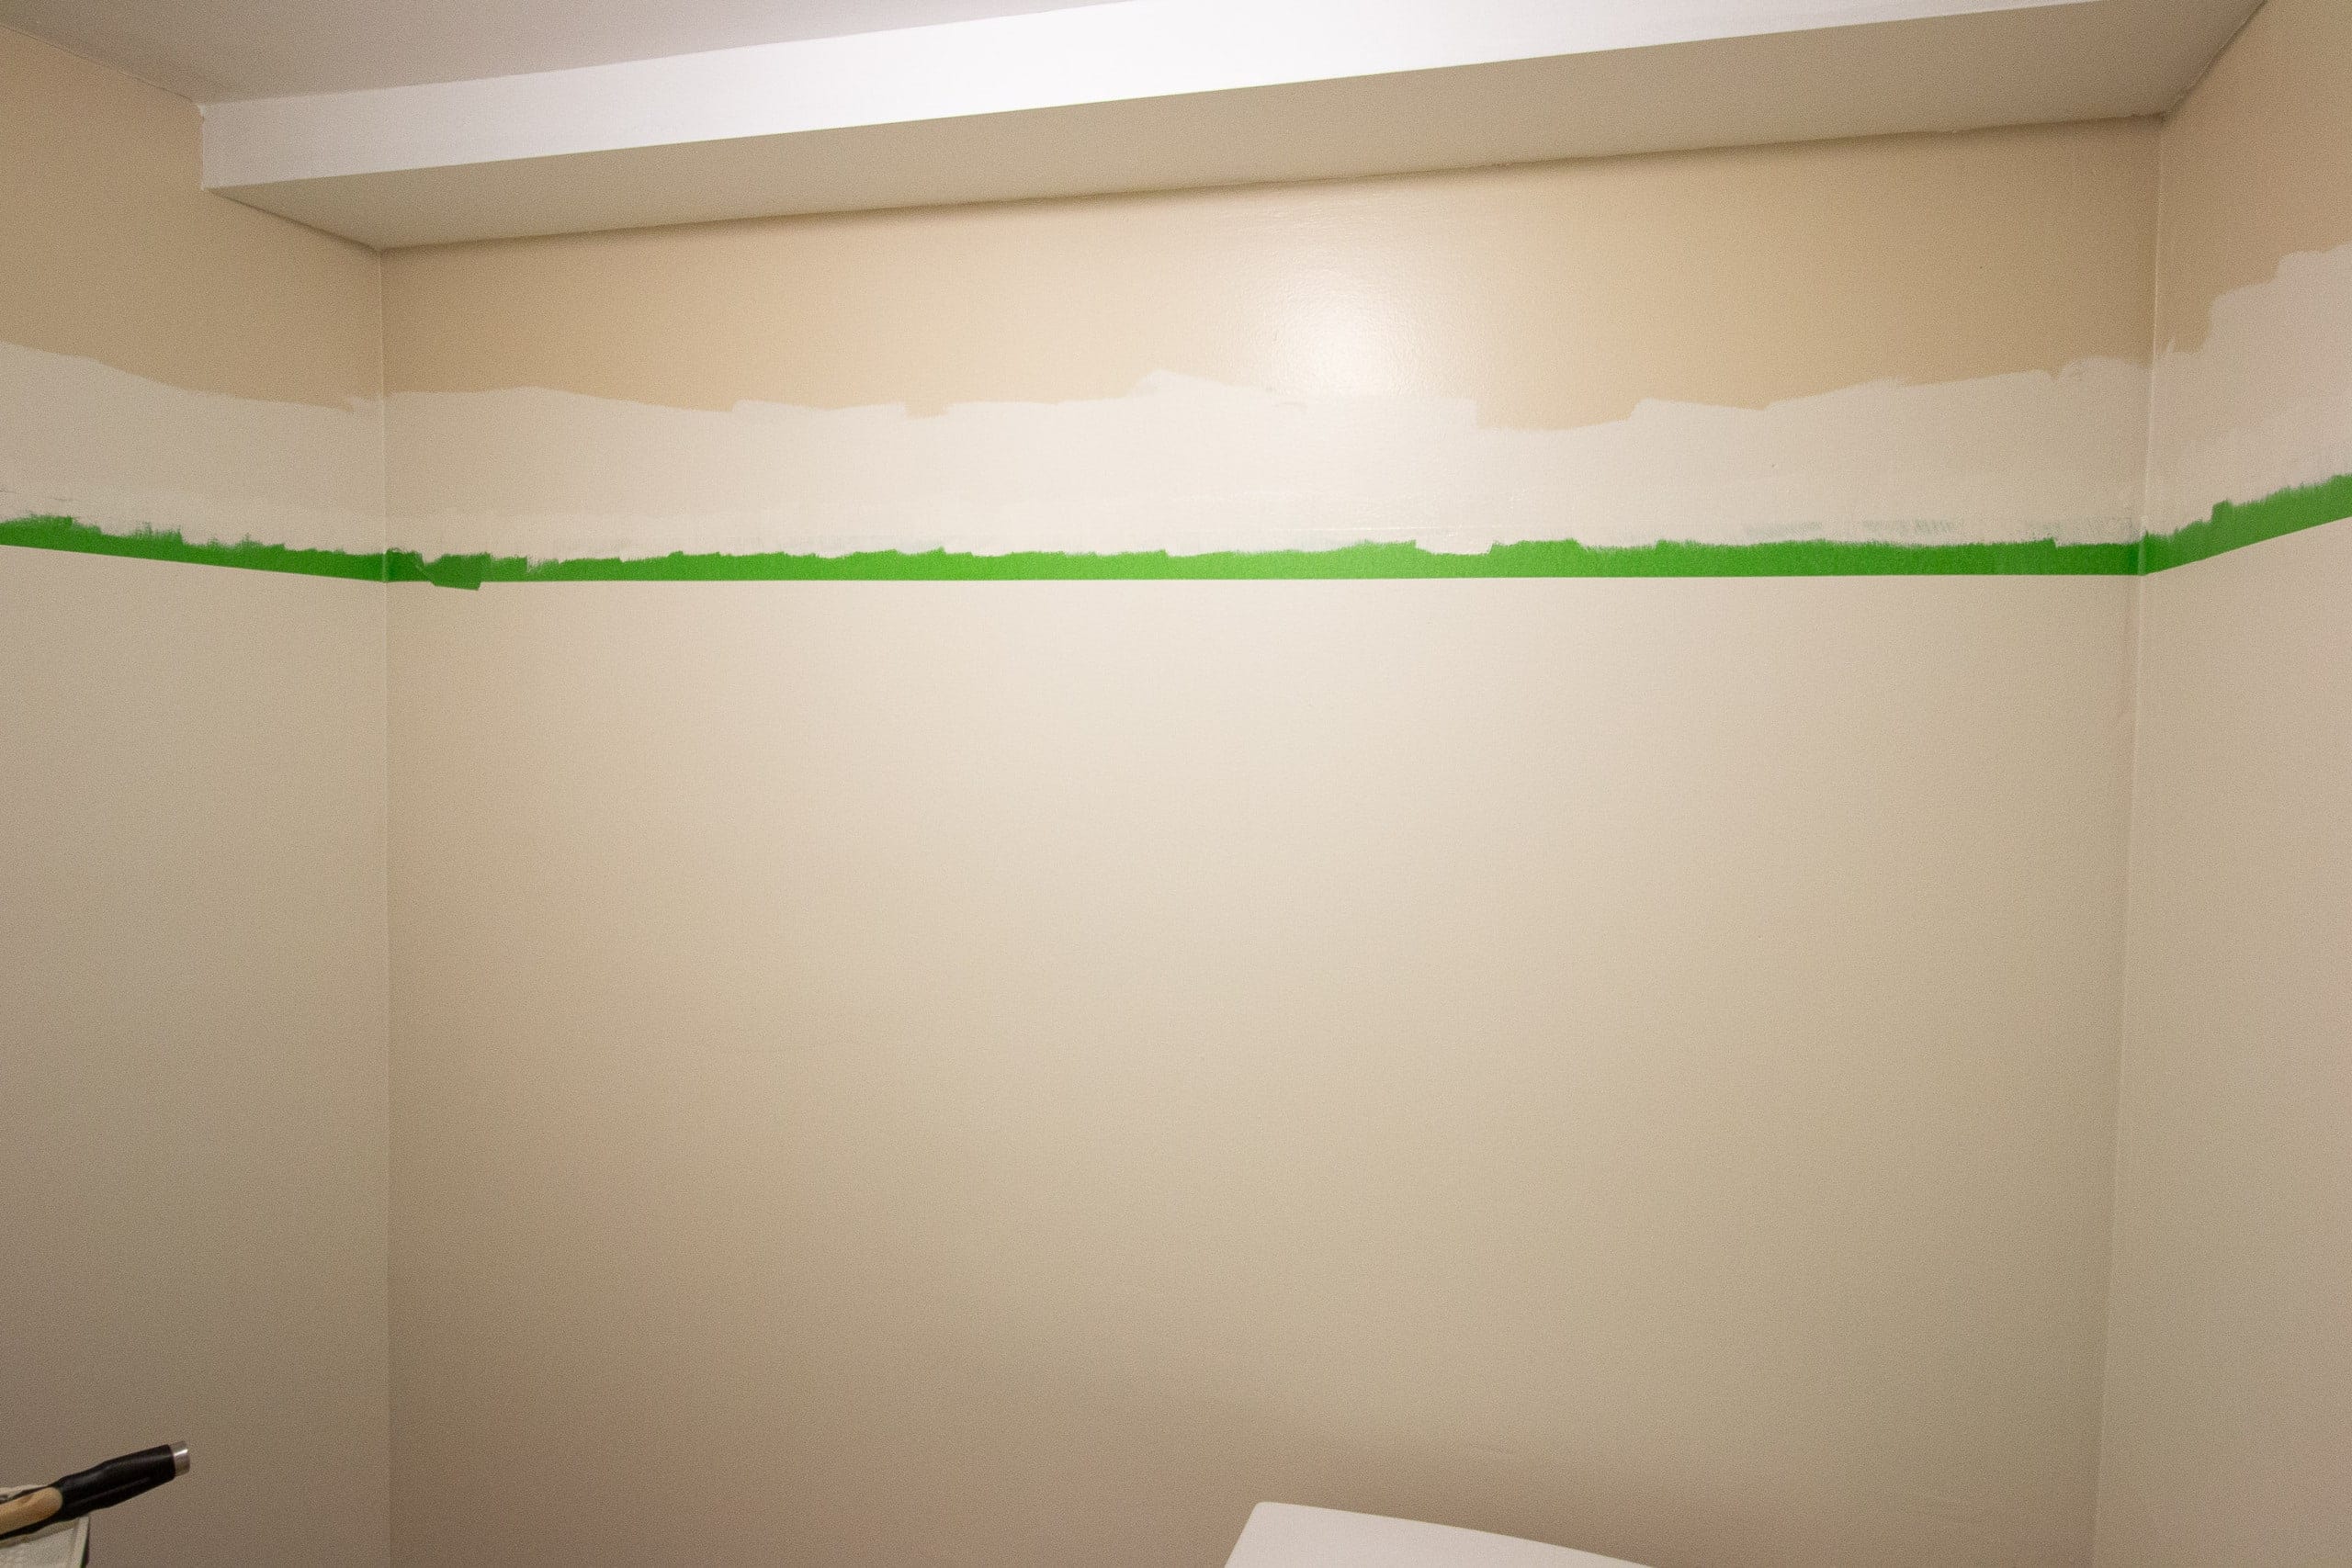
This is a must because it’s putting that first color over the tape and getting in any grooves where the tape might not be 100% secure. This will prevent the second color from bleeding through. Trust me on this! Because I painted pretty lightly with my brush strokes over the tape, this was dry in about thirty minutes and I was ready for my second color.
Paint the Top Portion with the Second Color
 Okay, it was finally time for that gorgeous “Chimney Smoke” color! Just as I did with the bottom, I cut into the corners with the navy color, first using a paint brush.
 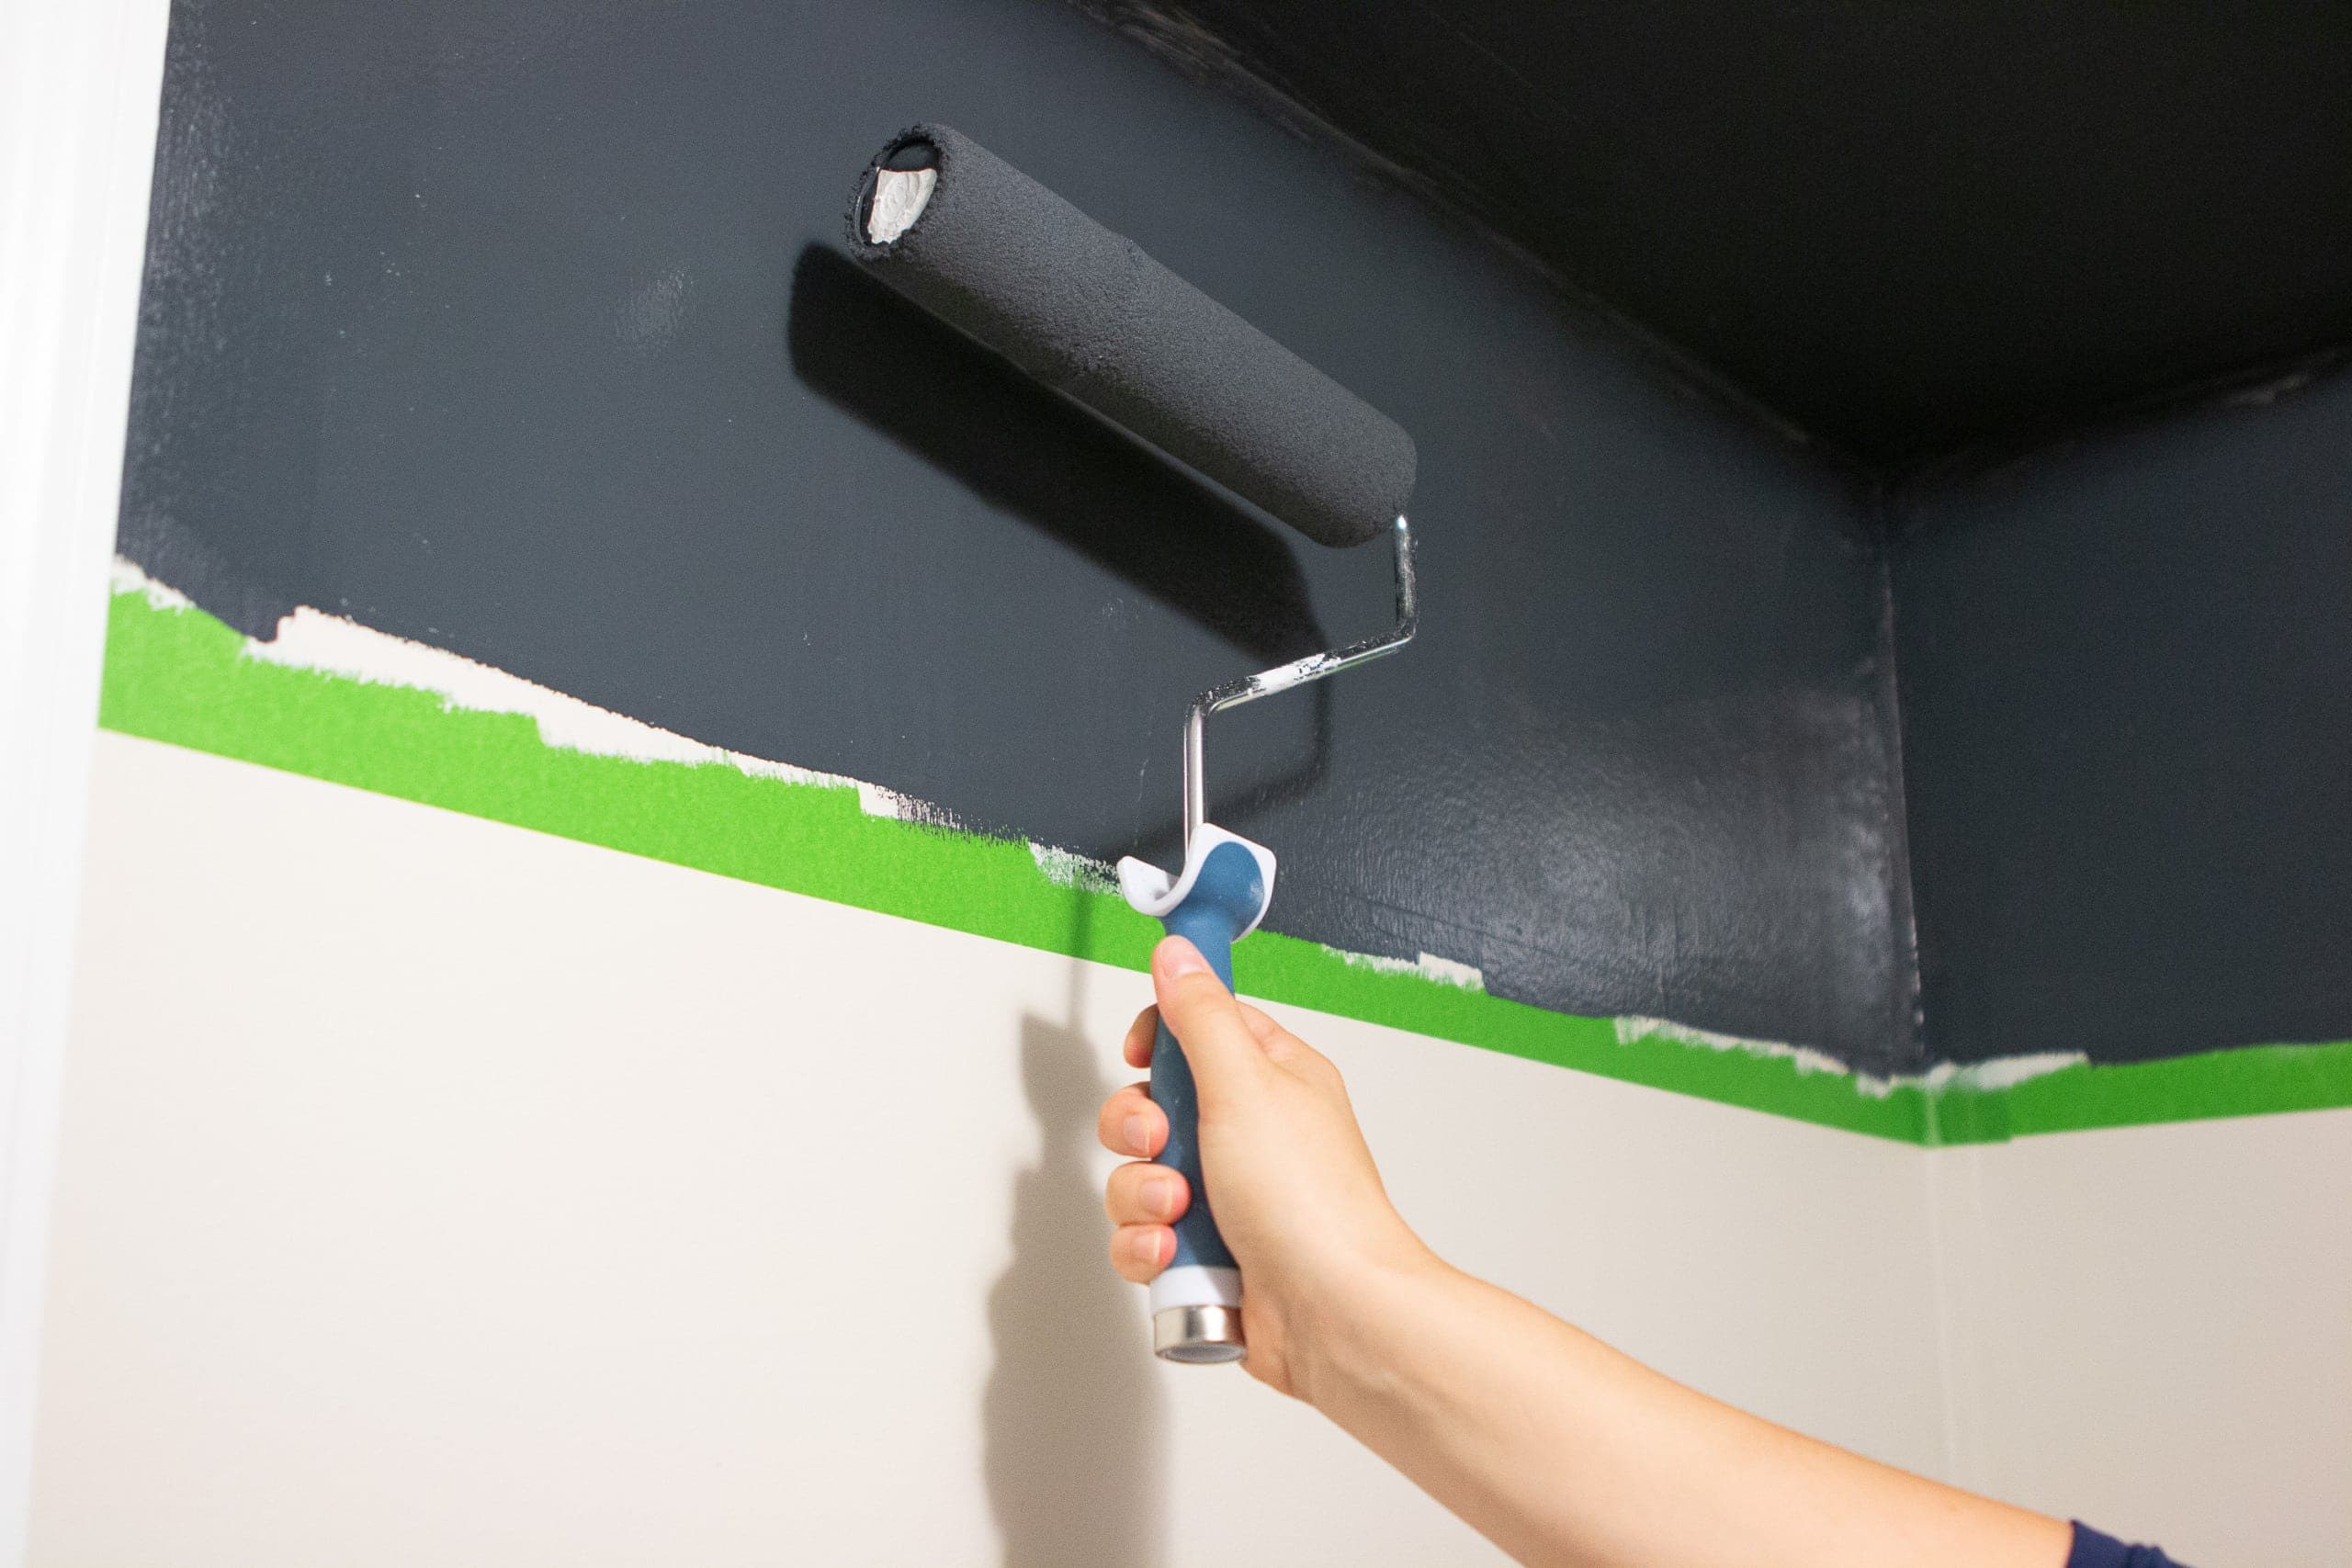 I then took my roller and rolled the top portion and ceiling. Because this color is so dark, I did my best to go slowly to prevent any splatters or drips on my newly painted bottom portion.
It’s important to make sure you really go over the taped line. You don’t want to miss any spots, but be careful not to go past the bottom of the tape line into the bottom color. I painted two coats of the navy on the walls and the ceiling.
Remove Painter’s Tape & Touch-Up
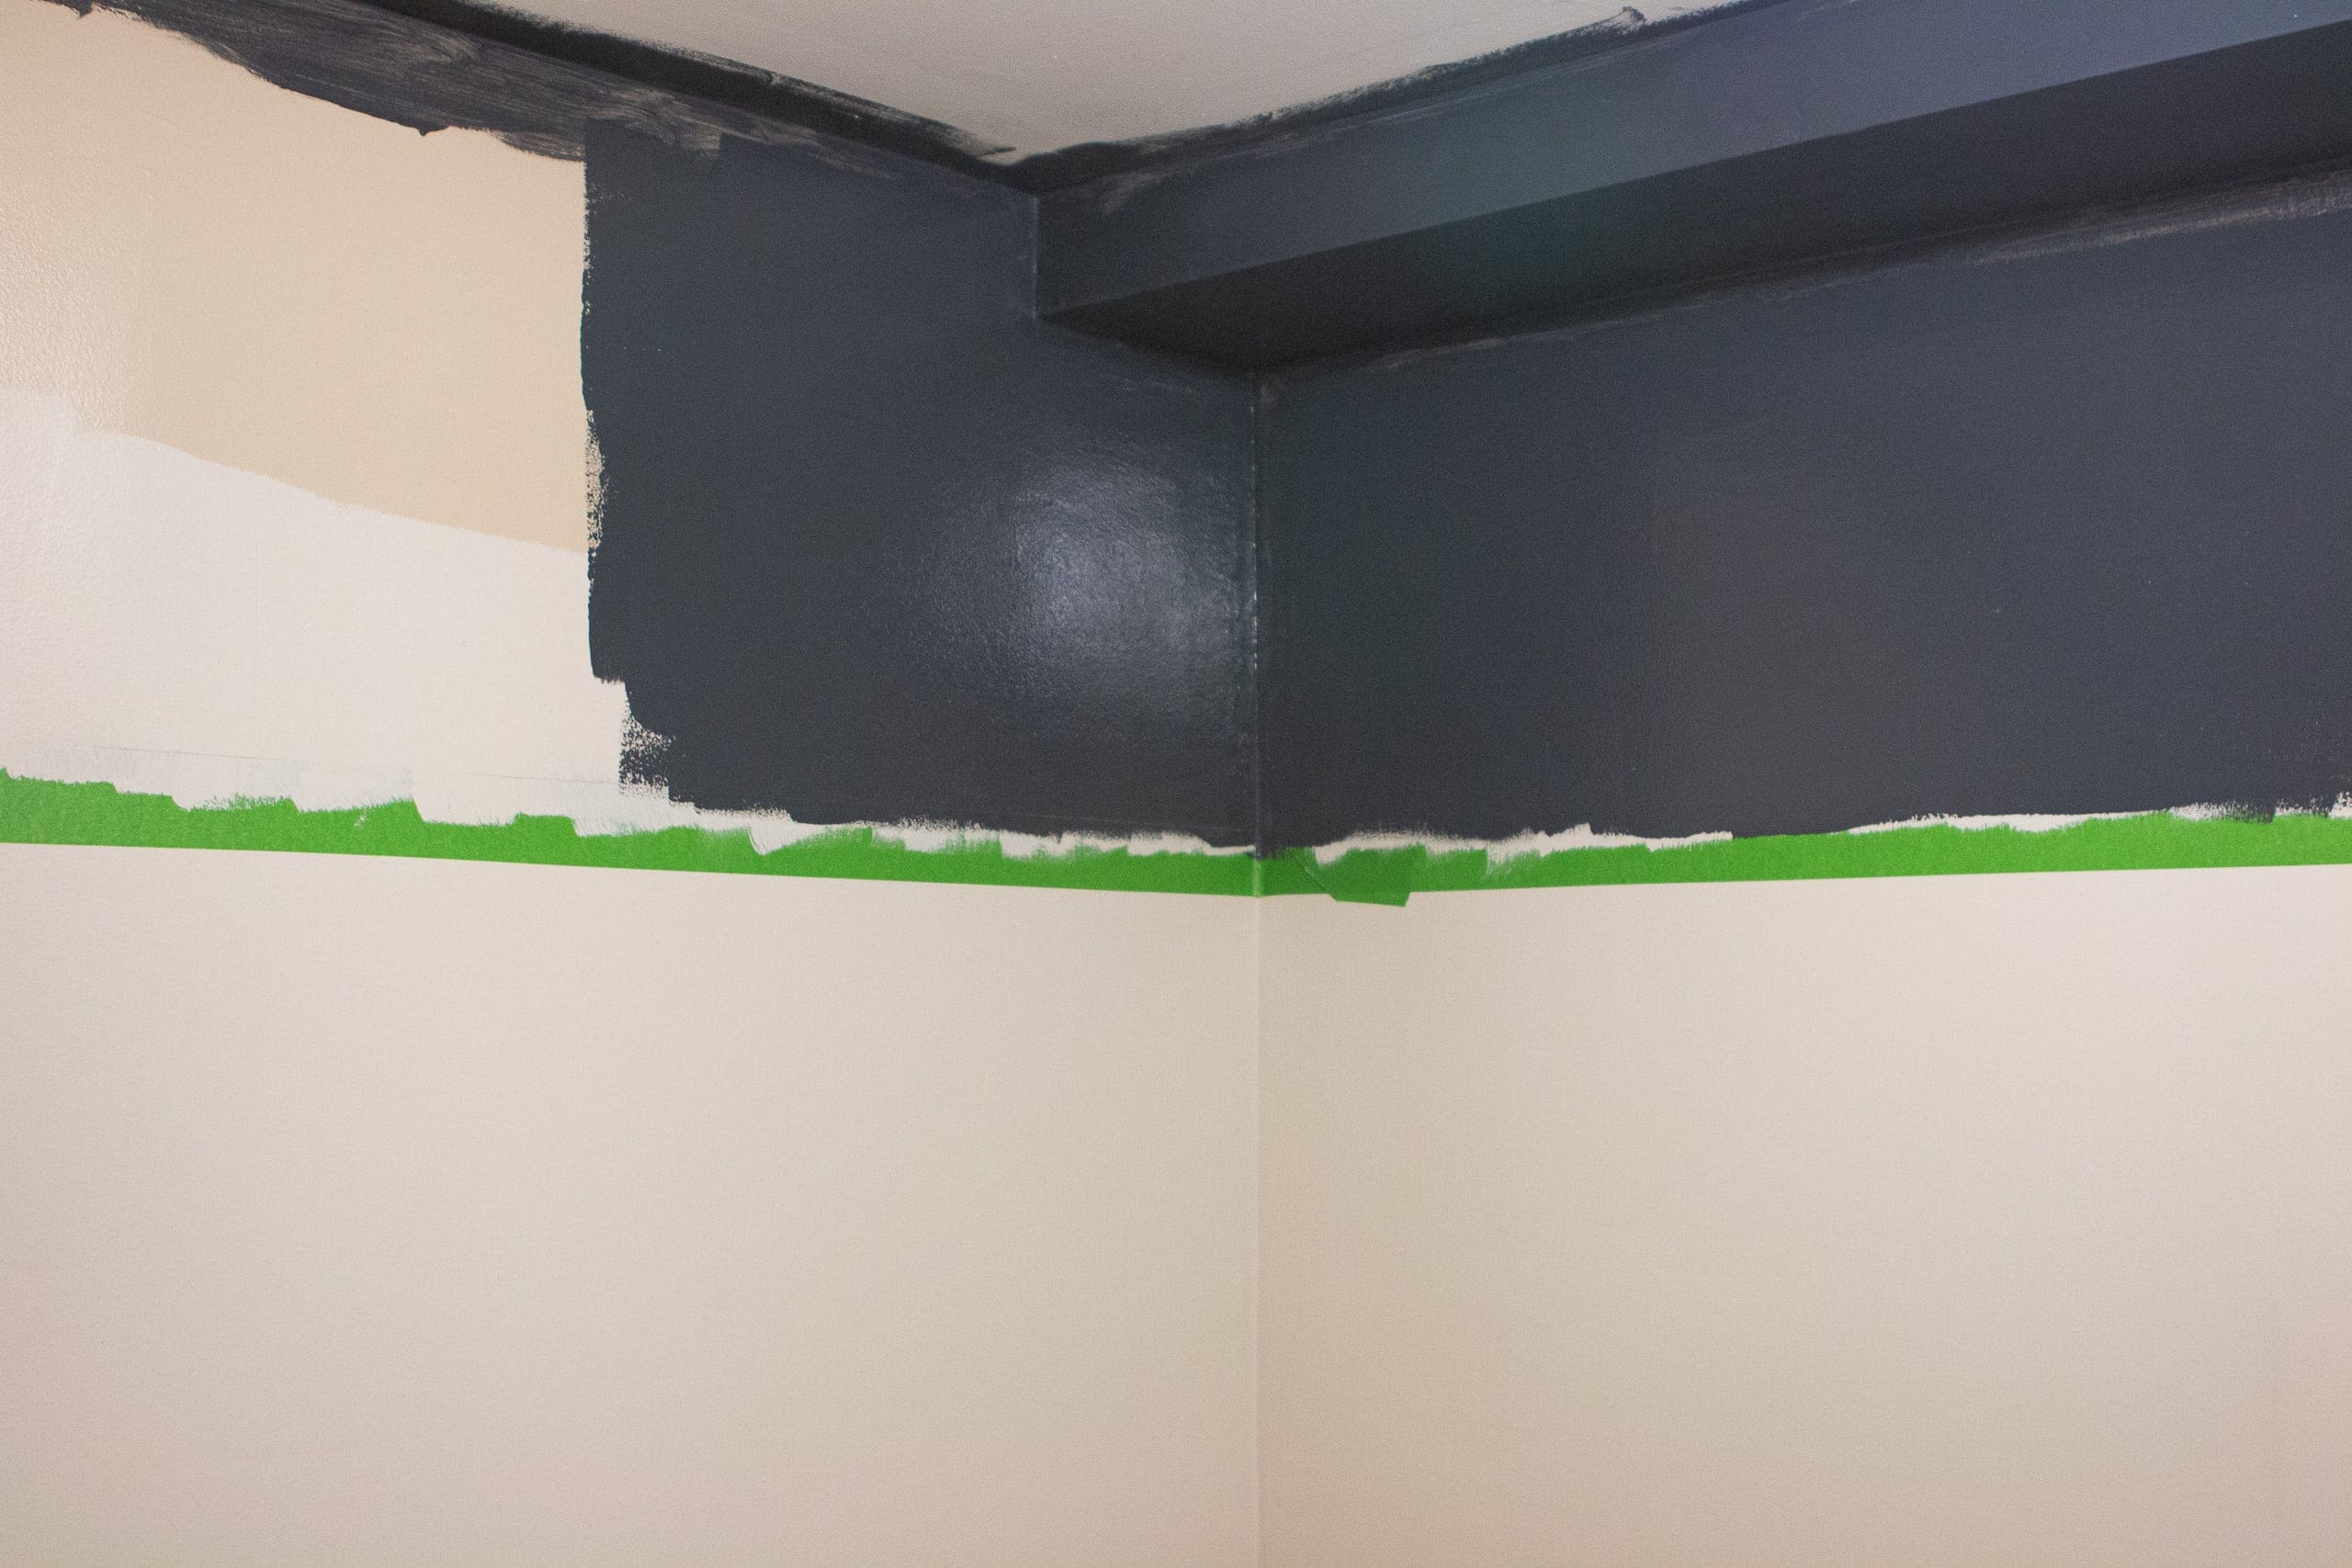
I always think it’s a good idea to remove the painter’s tape when the paint is still a bit wet to prevent any peeling paint. So, once my second coat was on the walls, I waited about ten minutes and then peeled off that tape. I was blown away by how straight my lines were. Like seriously…blown away!! I did have a tiny bit of paint seepage in the corners of the room where I didn’t press the tape down well enough. For these spots, I took a small artist brush and touched them up with the taupe color.
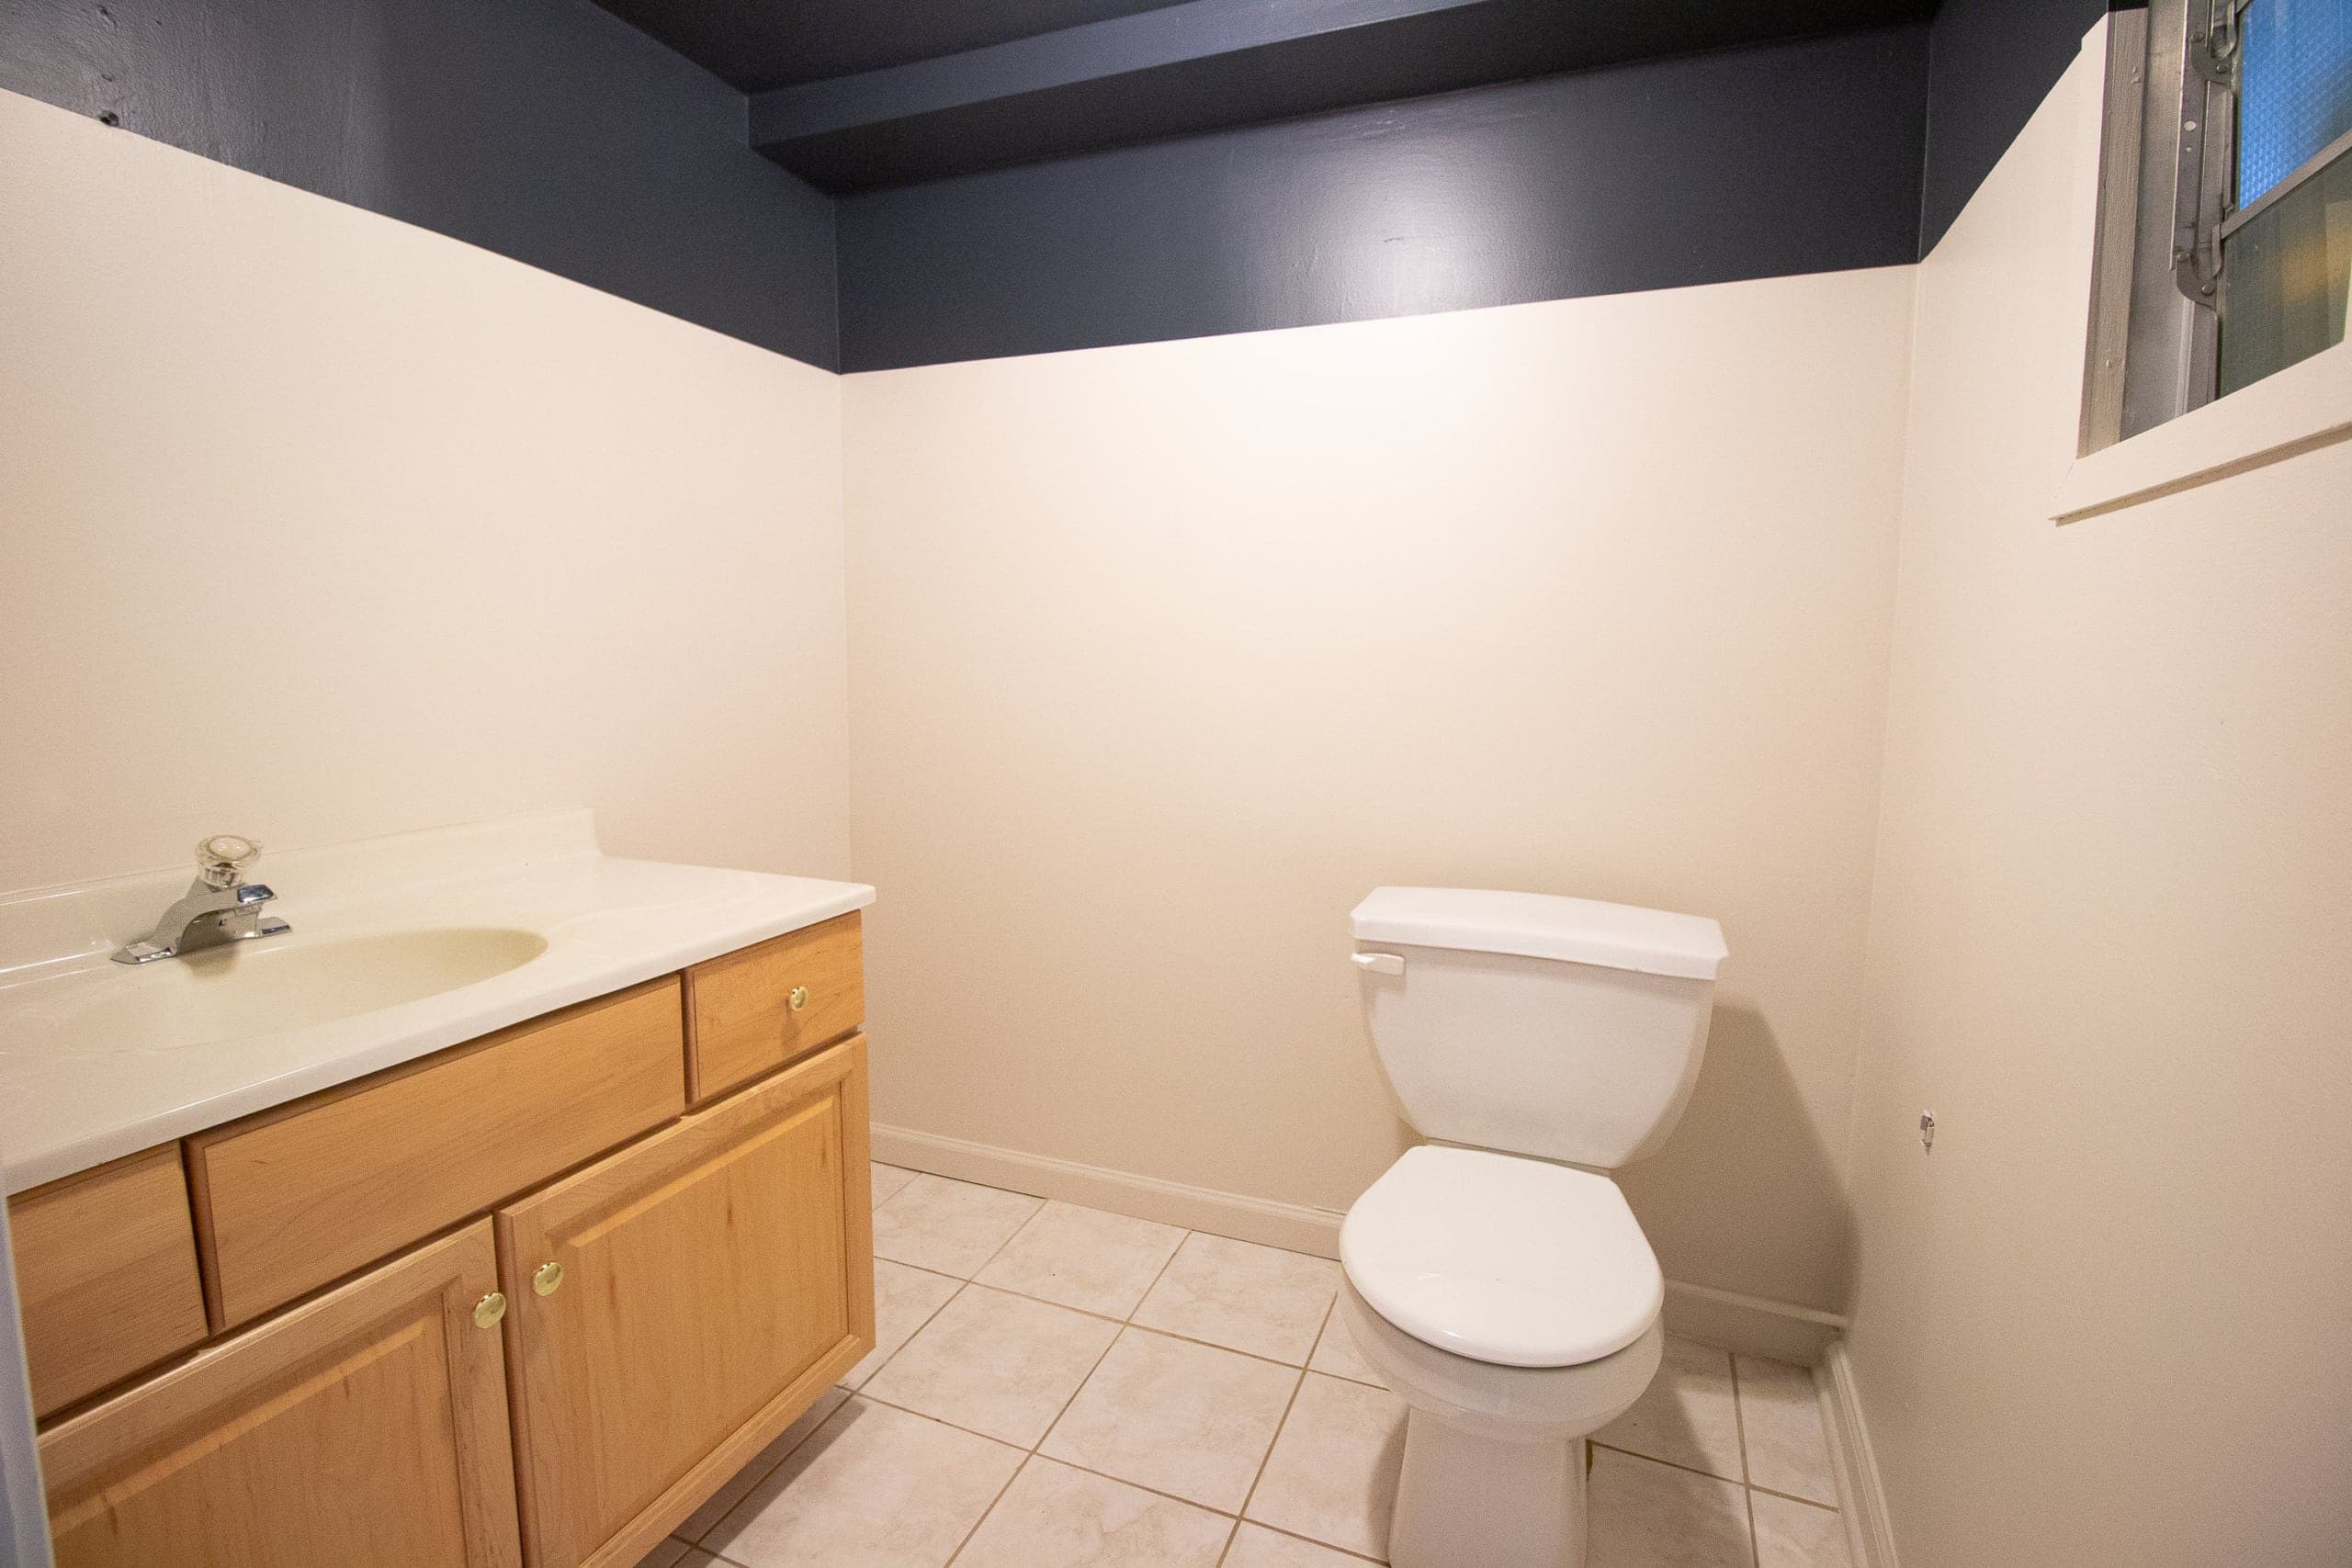
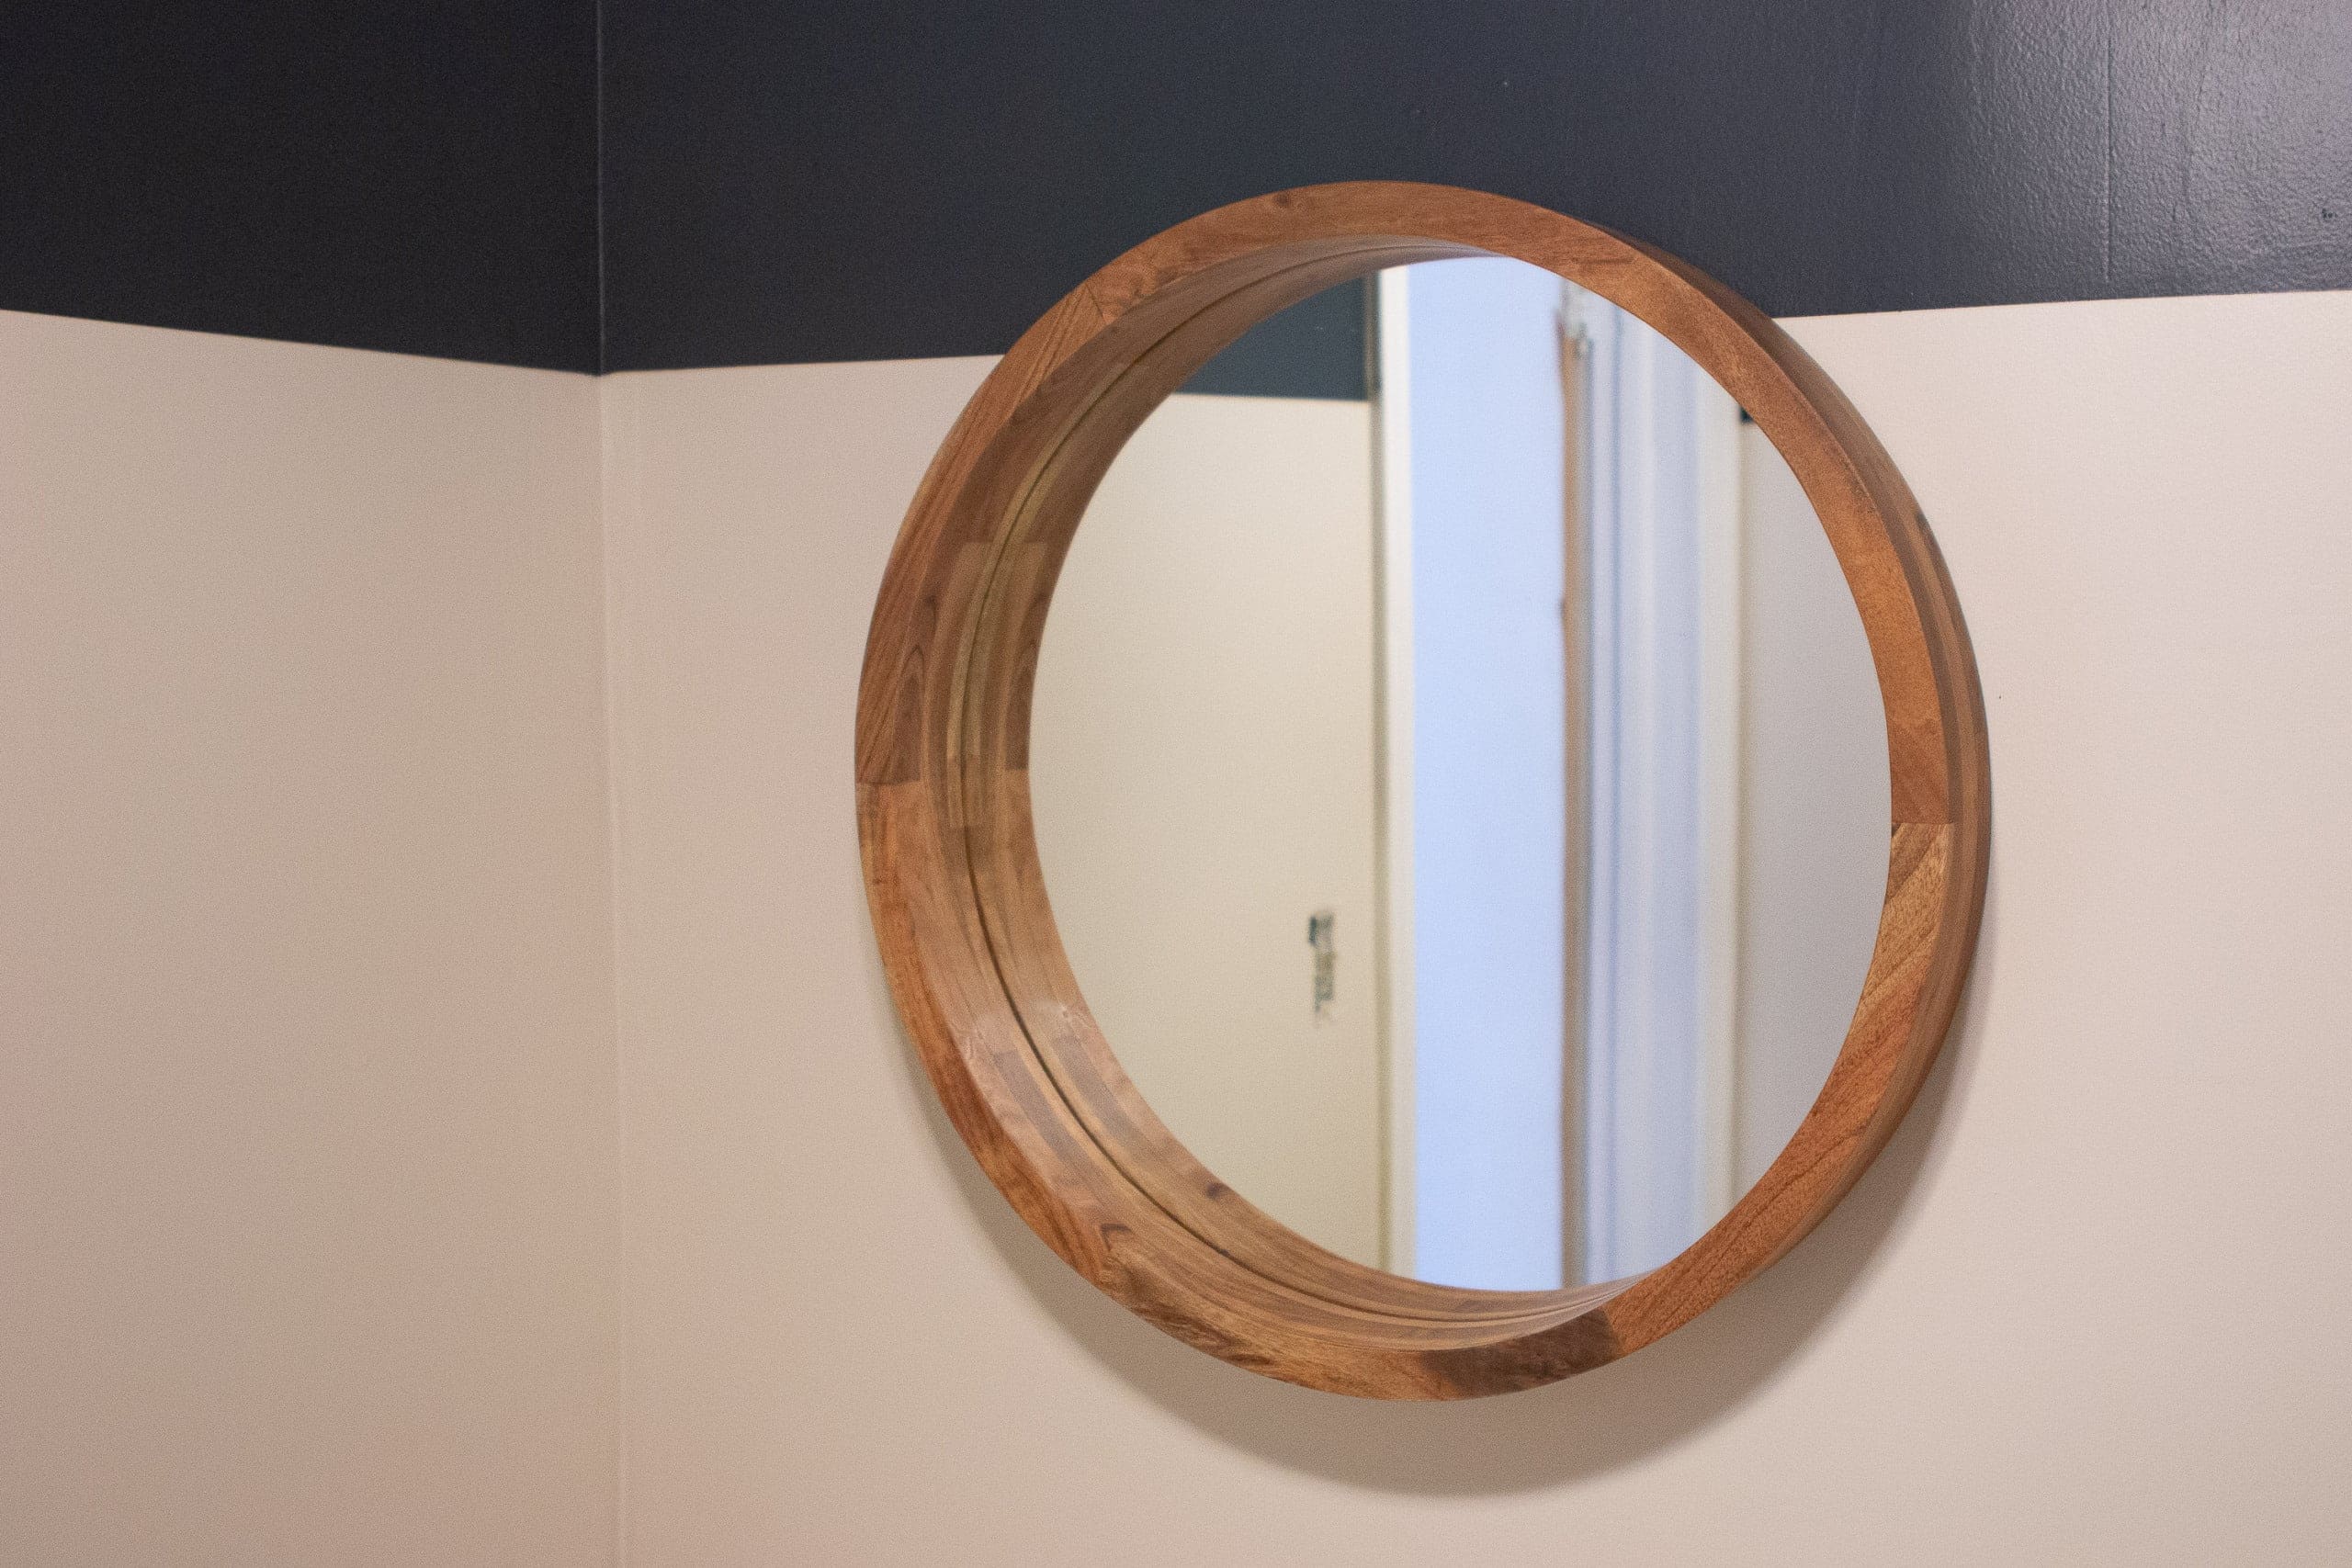
My New Two-Tone Walls
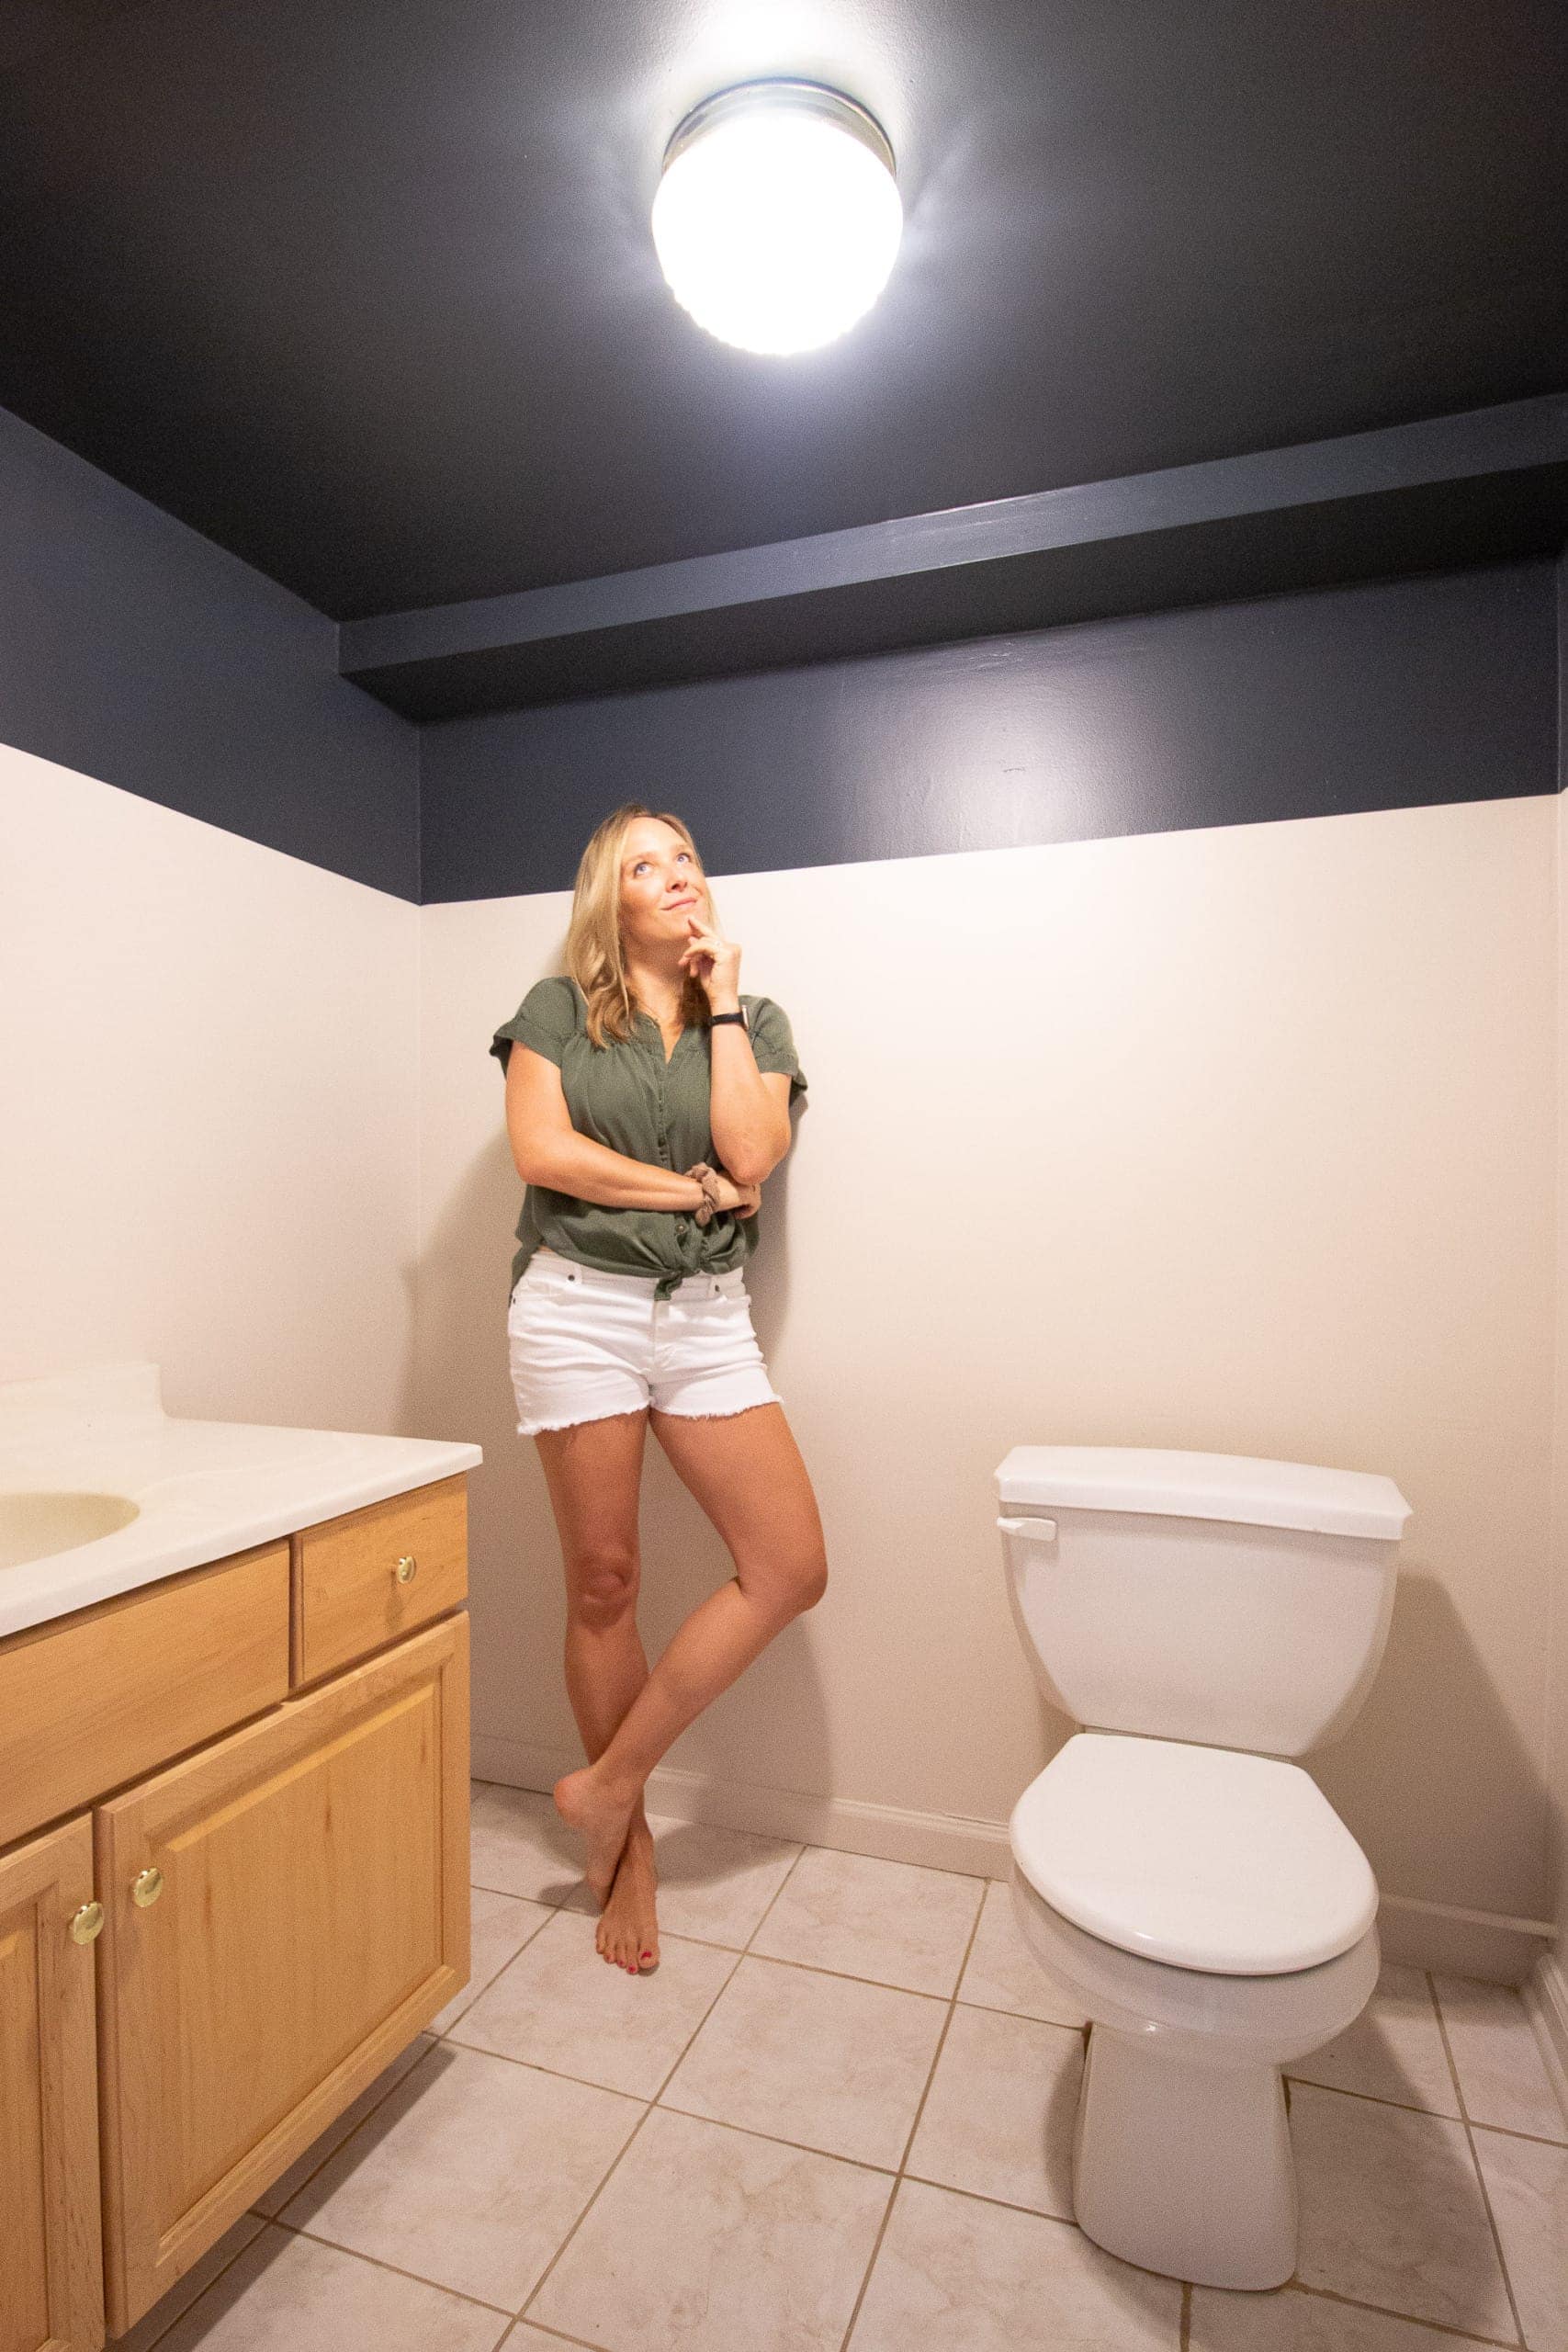
Can you tell I’m thrilled with my new two-tone walls? The colors are gorgeous, the line is crisp, and the entire bathroom feels fresh and new!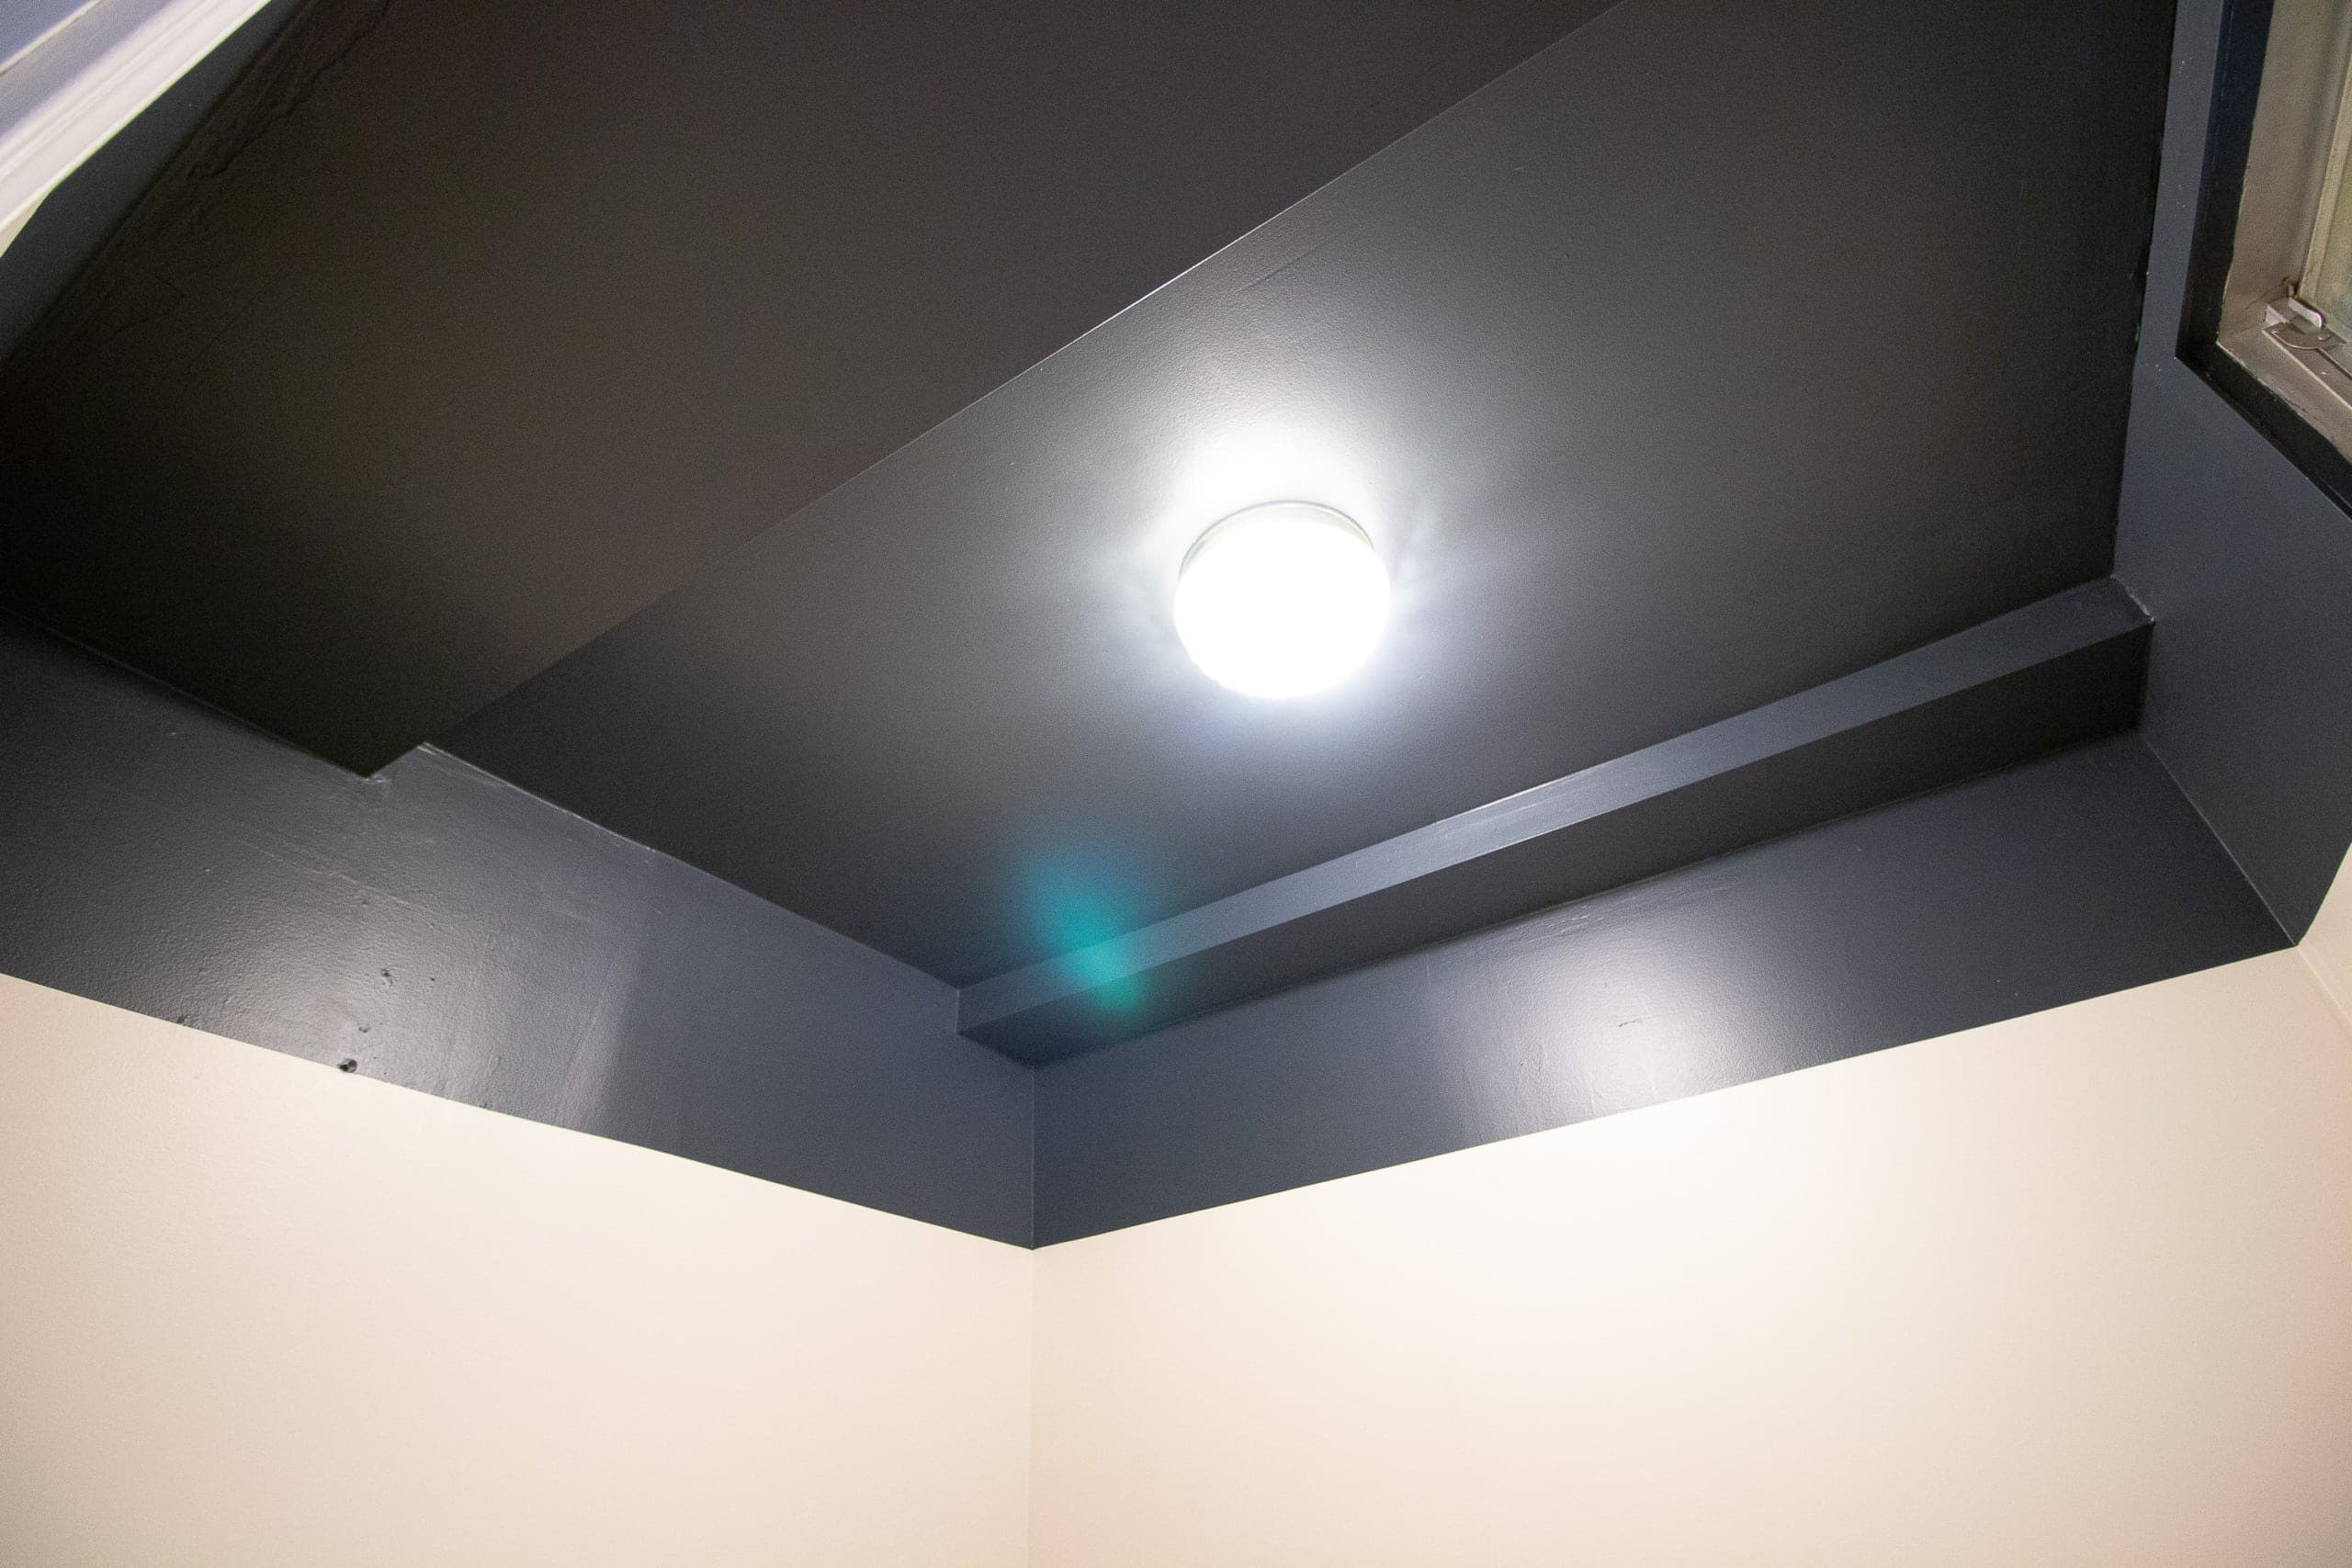
My favorite part is probably the ceiling. I’ve always wanted to paint a dark ceiling and now I’ve got one!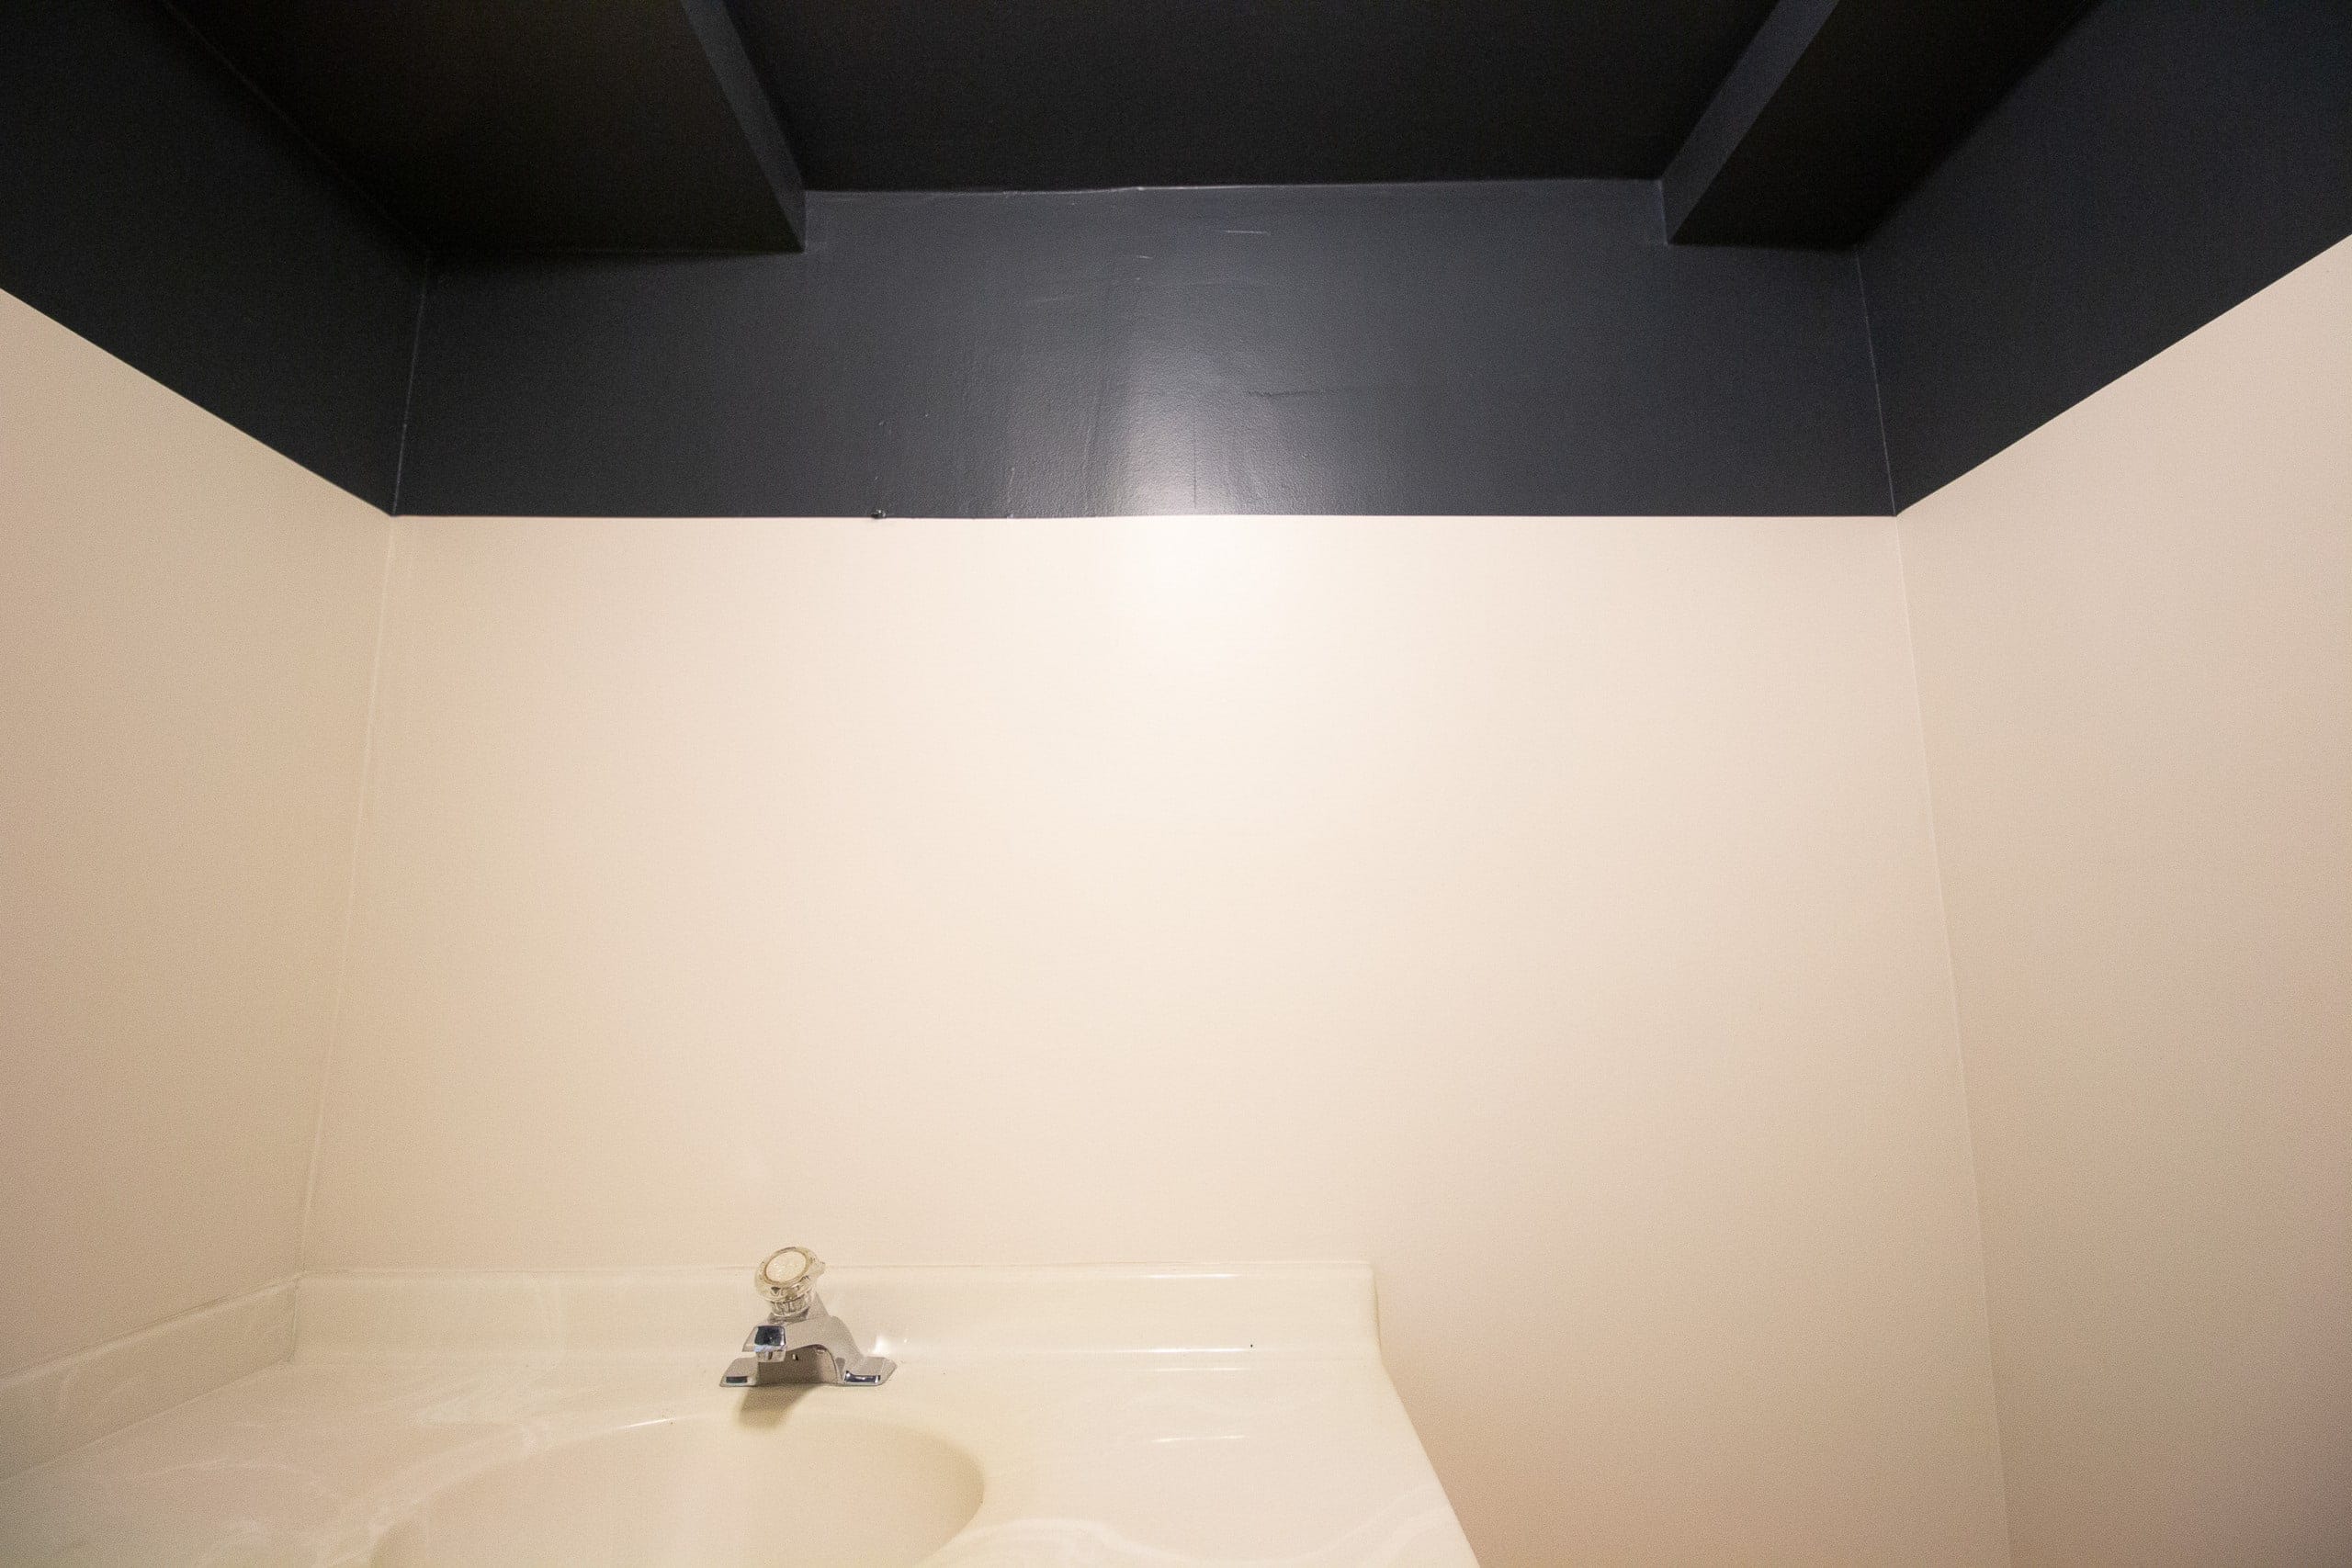
Bathroom Paint – Before & After
What’s Next?

As you can see, I’m eyeing that outdated light fixture in here! I’ll be replacing it with this new one and then I think it will be time to tackle the vanity and floors. Slowly, this room is getting better and better. But I’ve gotta say, these fresh walls gave me a surge of motivation and energy to really make the rest of this space special…
Casey


