How to Use a Brad Nailer: A Beginner’s DIY Guide
A brad nailer might look a little intimidating, but I promise it’s easier to use than you think! Let’s walk through how to use one so you can tackle your next DIY project with confidence.
When we lived in our old condo, I was just starting to get into woodworking projects. I remember feeling so empowered every time I built something myself. I was learning how to use power tools, adding trim to our walls, and slowly realizing, Wait…I can actually do this stuff.

But there was one part I absolutely hated: the giant air compressor I used with my nail gun. Every time I wanted to attach a piece of wood to the wall, I had to haul this huge thing out, hook everything up, wait for it to fill with air, and then listen to it make the LOUDEST noise. Not ideal when you’re living in a small condo with neighbors above and below you.
It worked, but it made every little project feel like such an ordeal.
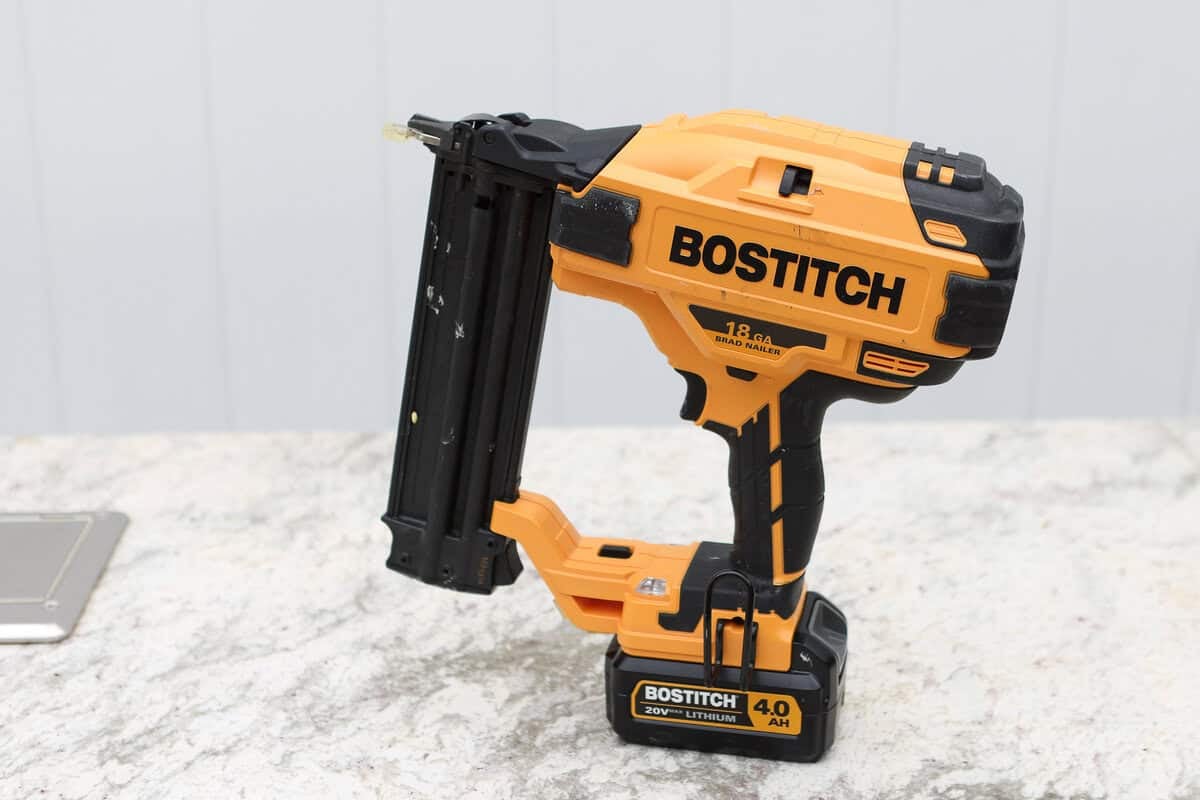
Then, I discovered a cordless brad nailer. Cue the angels singing!
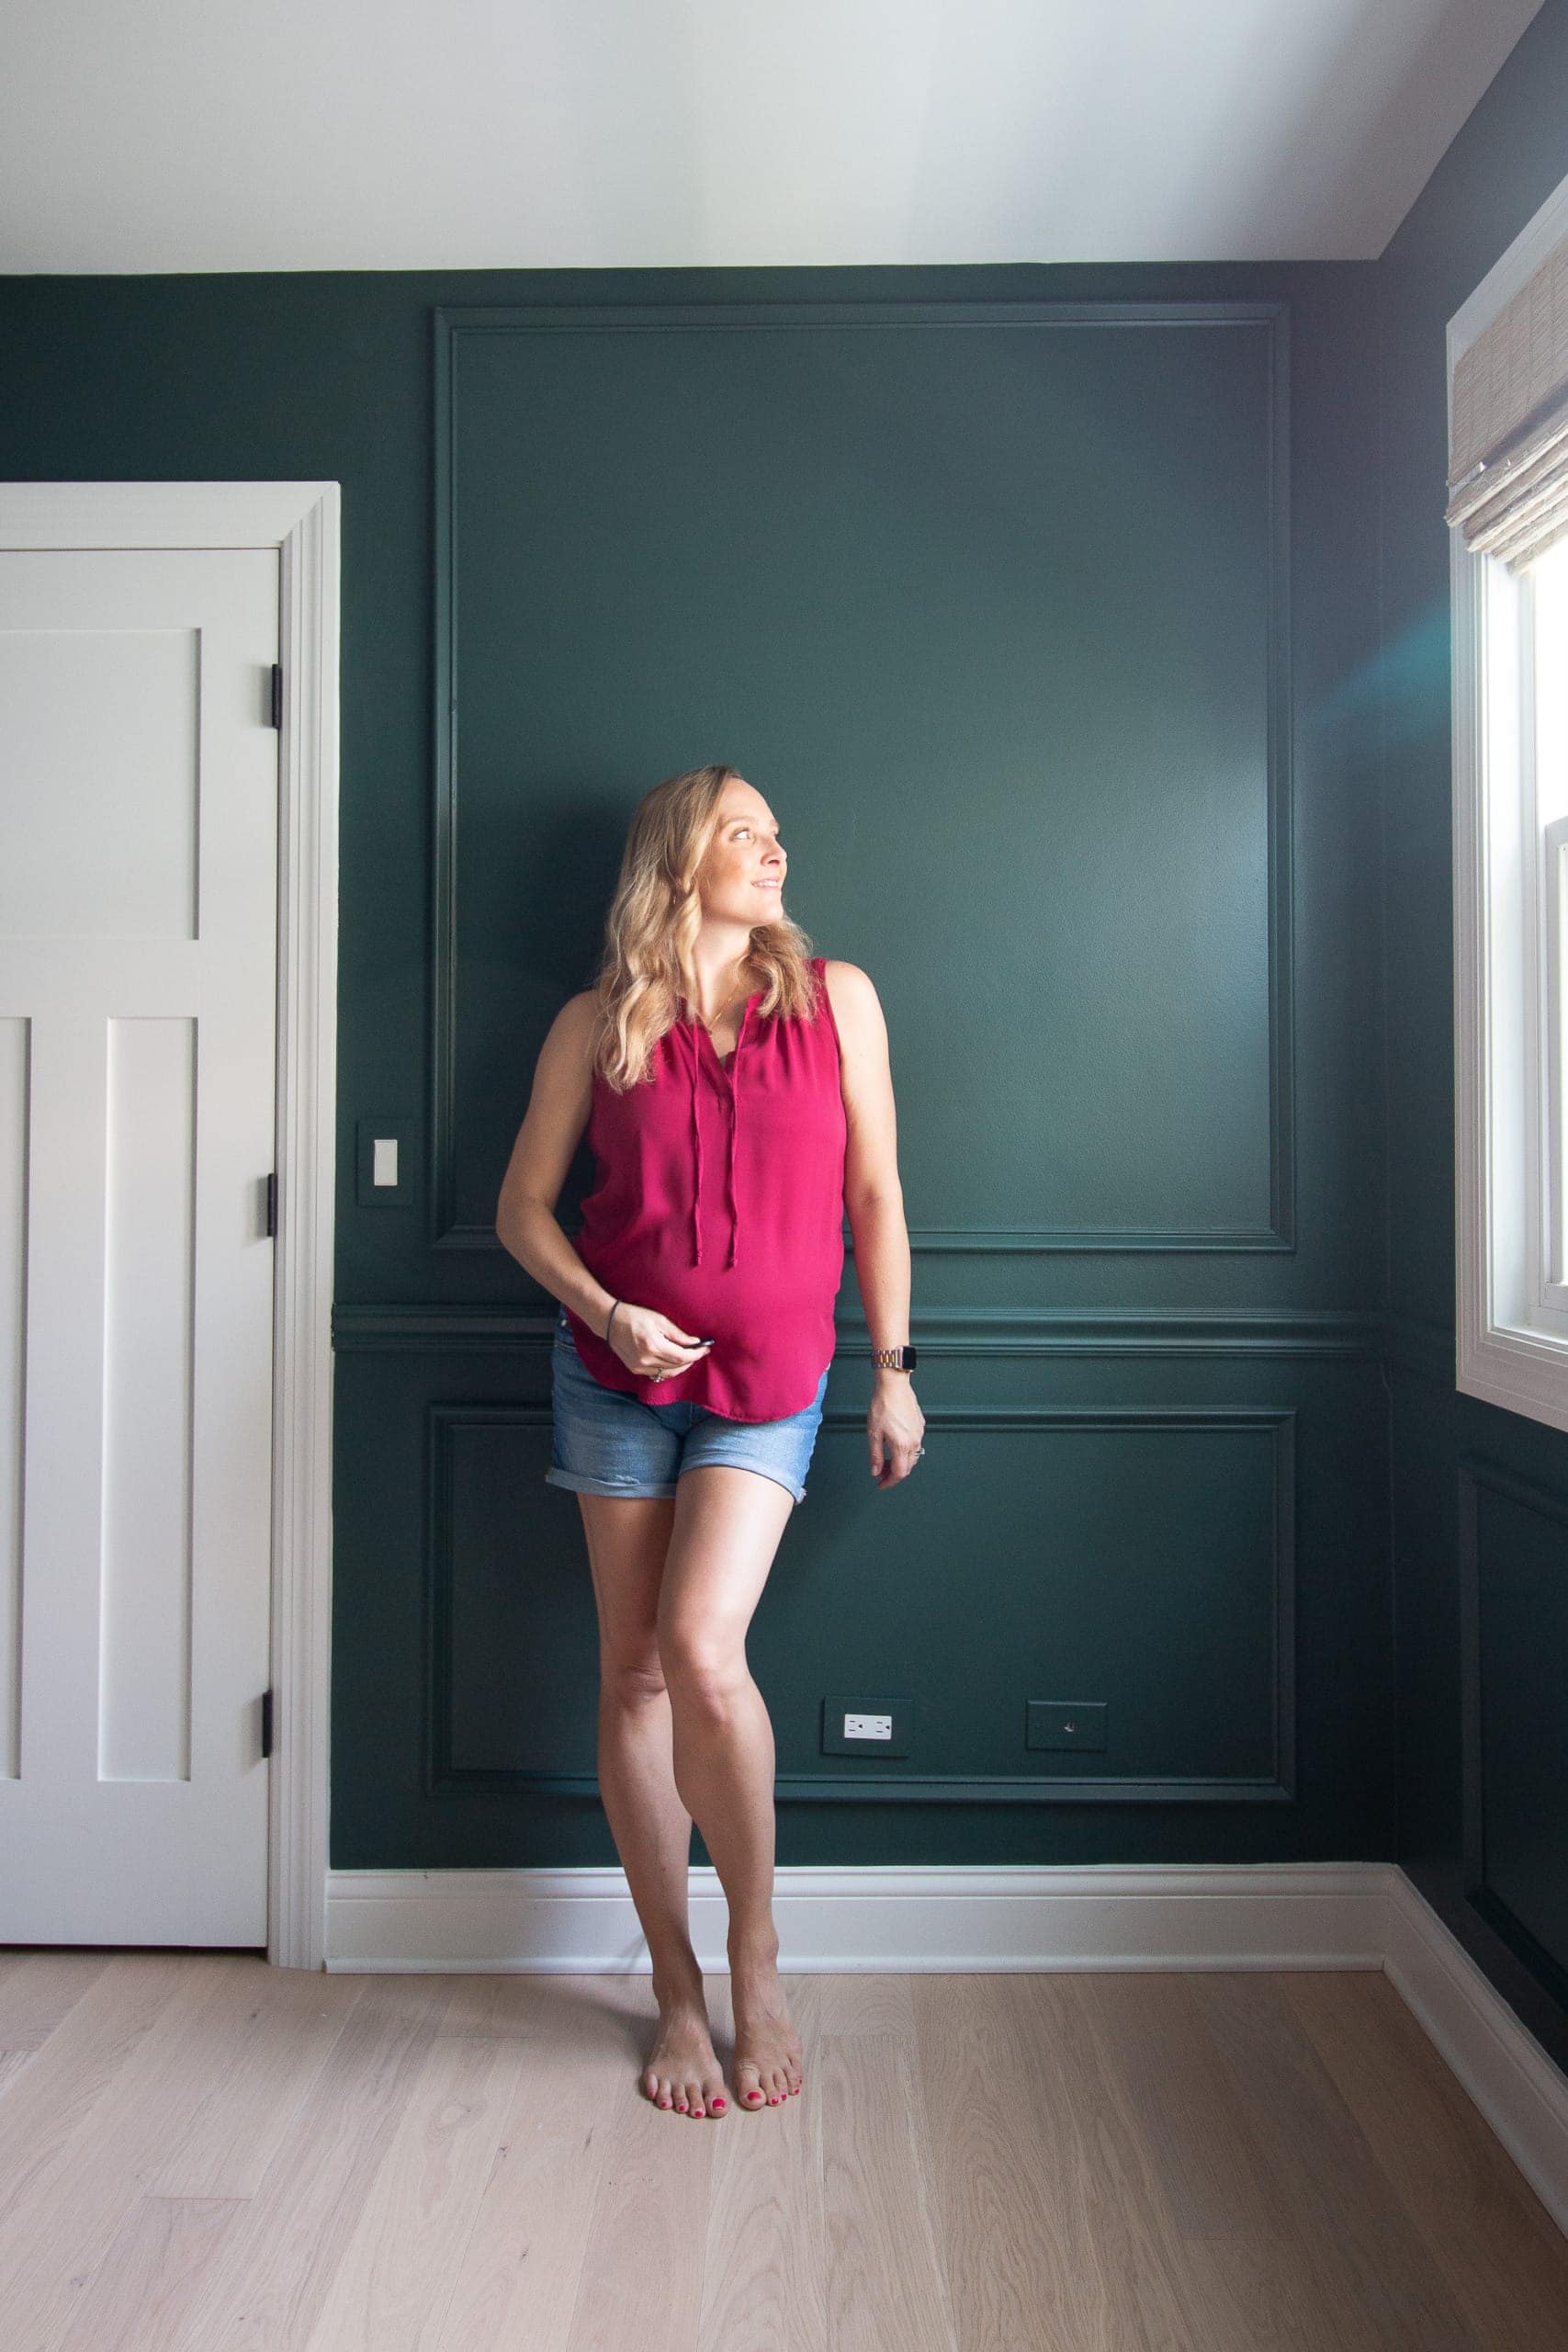
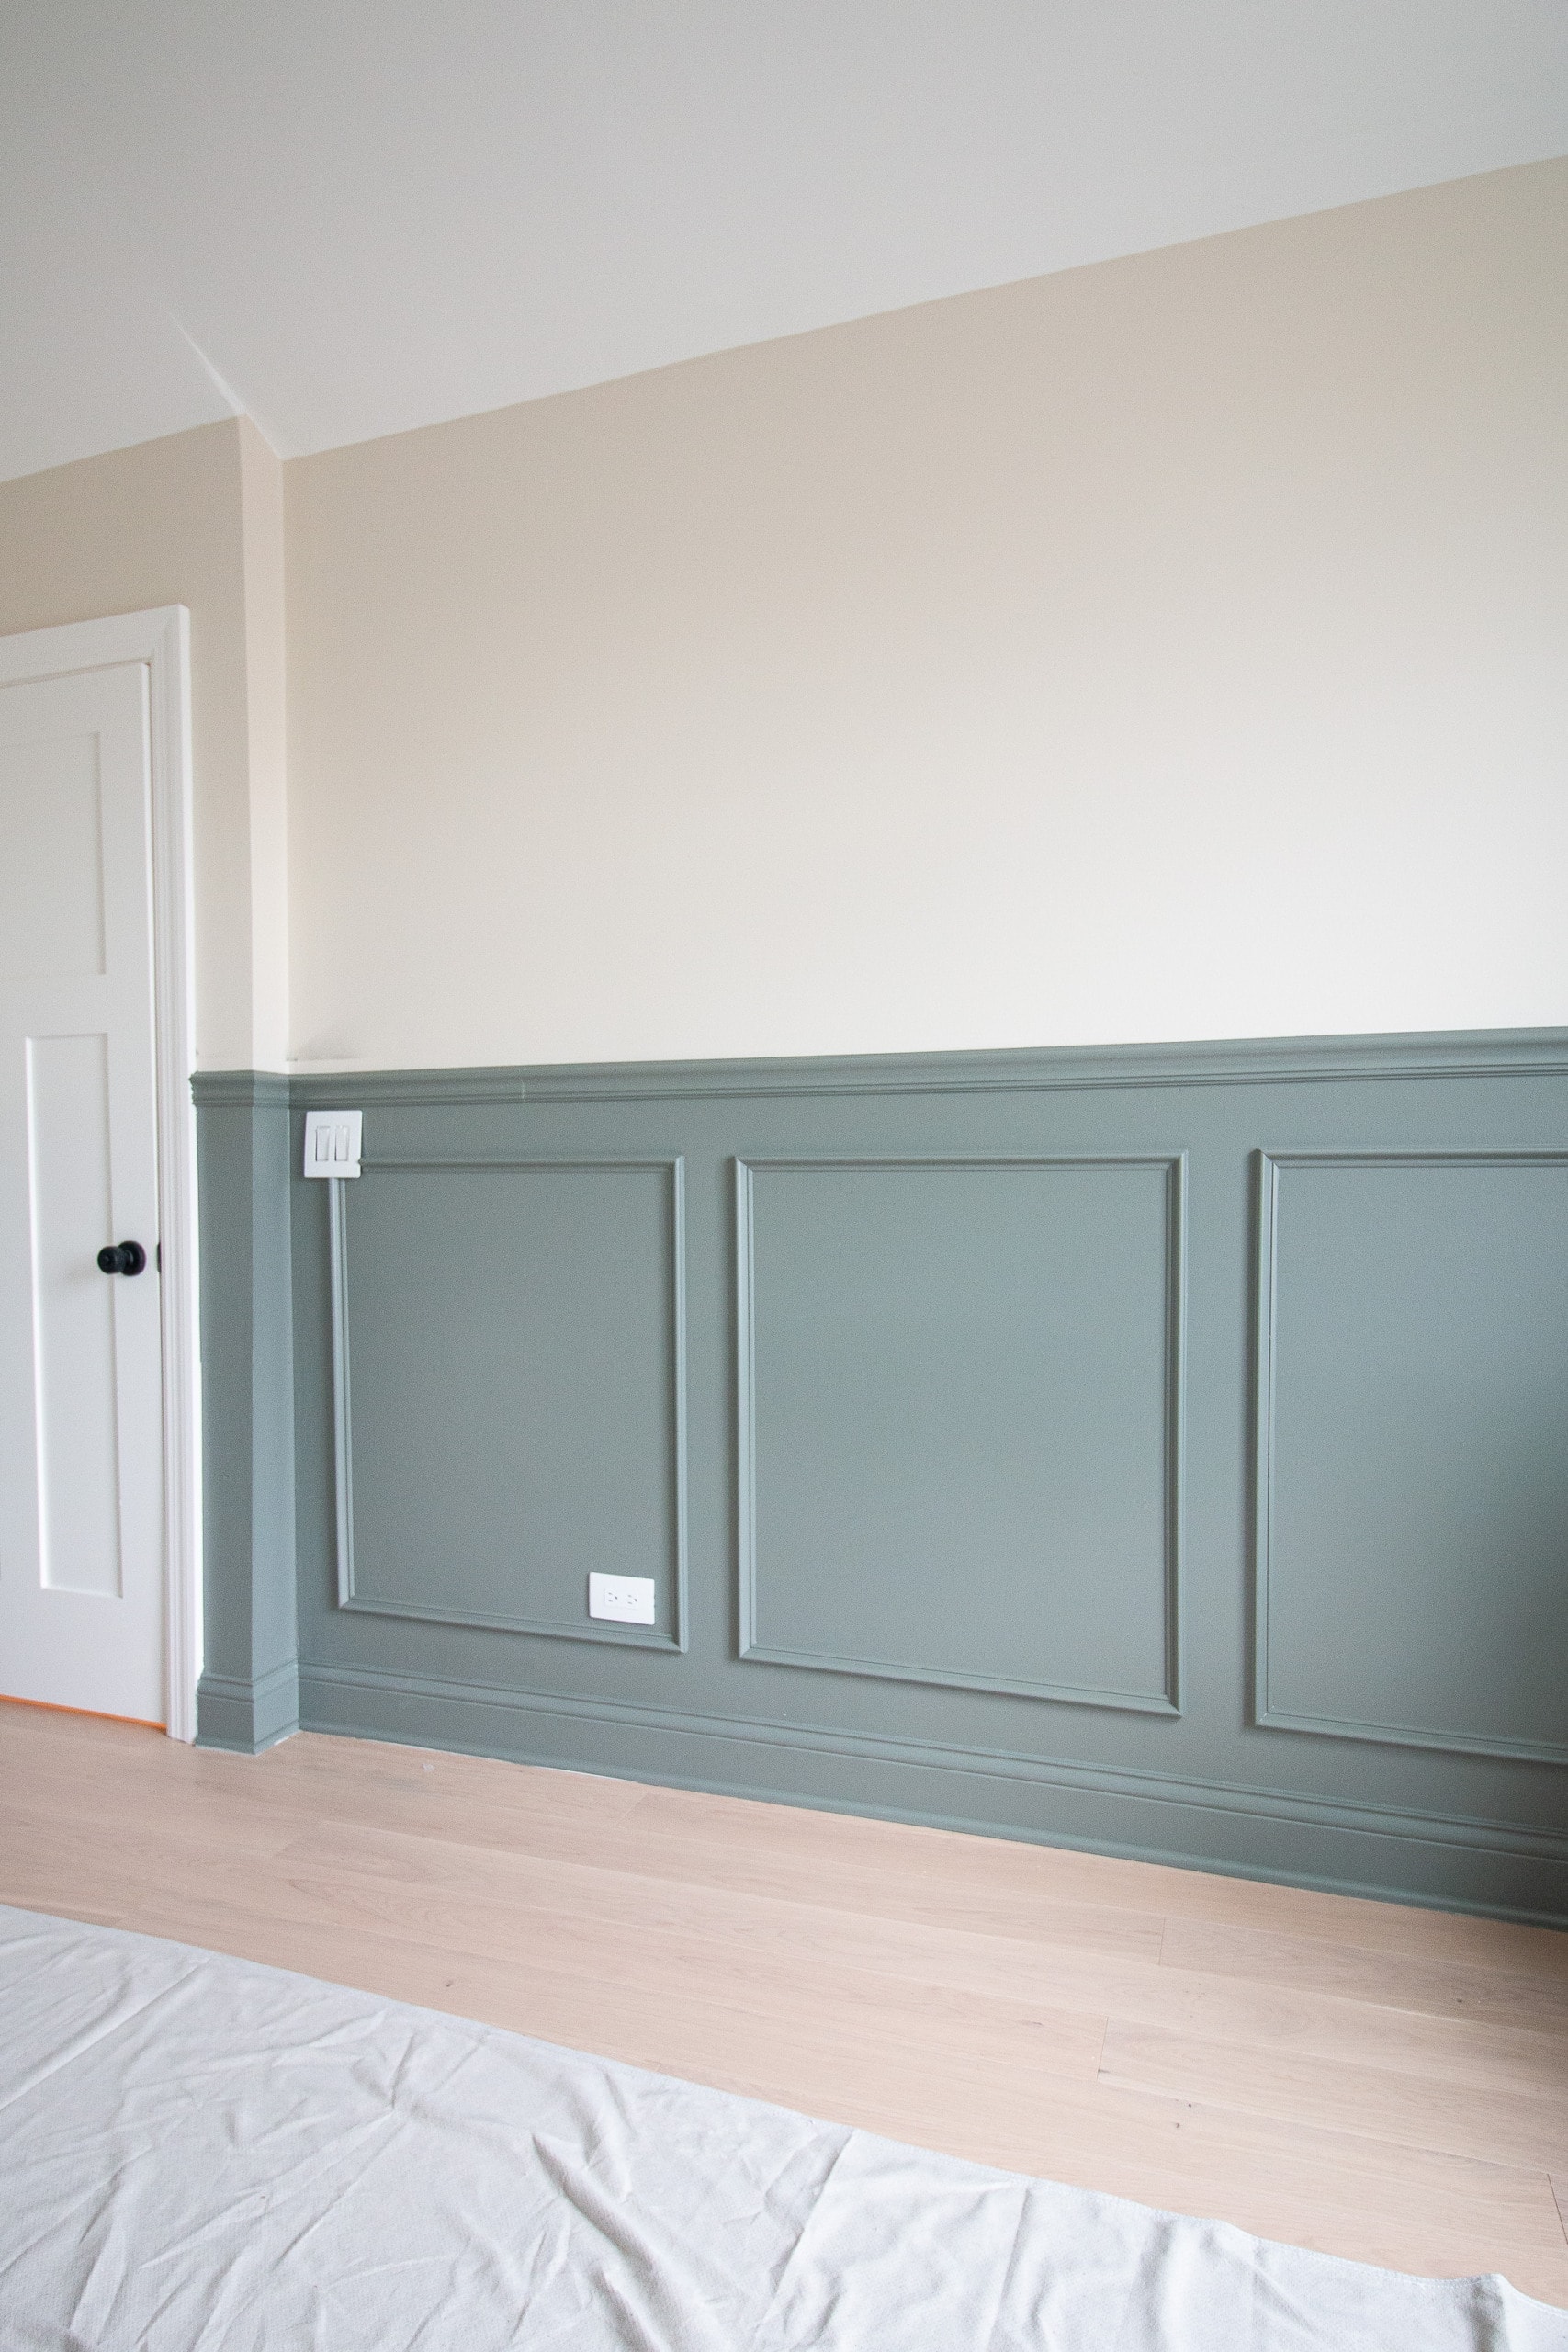
Now, I use mine on pretty much every woodworking project I tackle, like picture frame molding, chair rail, built-ins, you name it.
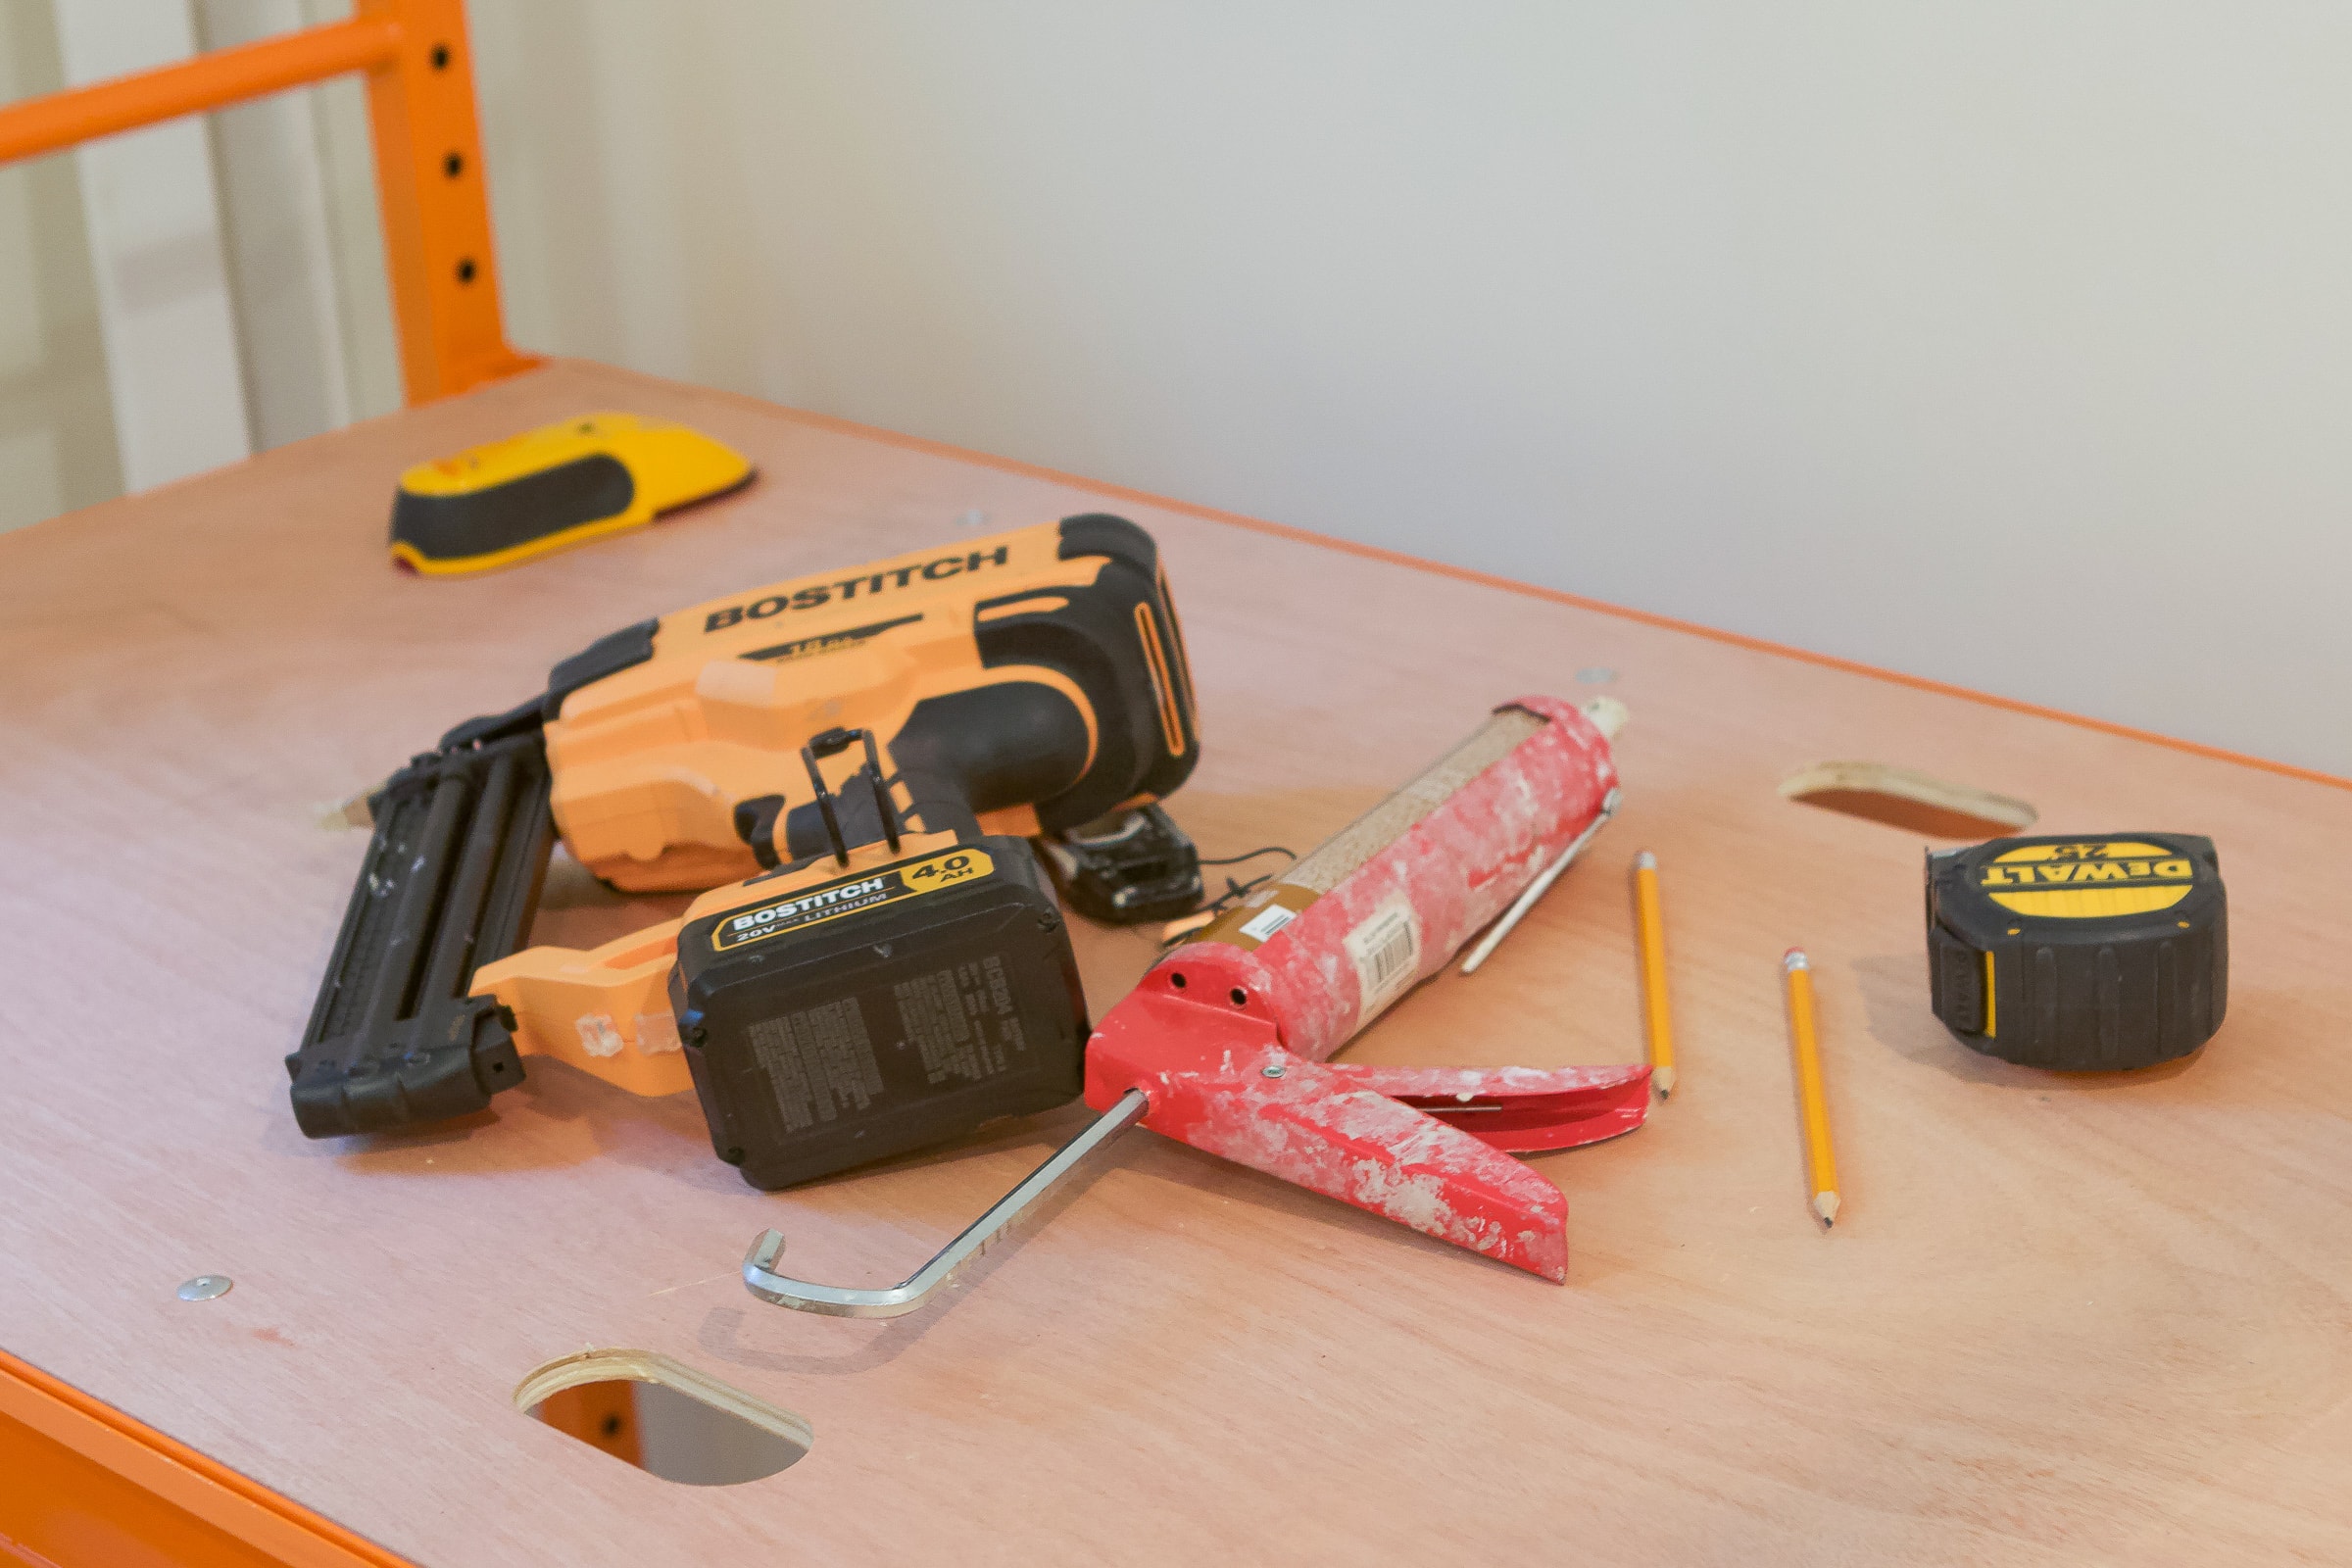
And while it can feel a little intimidating at first (I used to pretty much look away every time I pulled the trigger!), it’s surprisingly easy to use once you understand how it works.
I’ve already given you the basics on a power drill and a miter saw. A brad nailer is third on my “must-have power tools” list, so let’s get to it!
What Is a Brad Nailer?
A brad nailer is a type of nail gun that shoots small, thin nails called brad nails. Instead of hammering each nail in by hand, you simply press the nailer against the wood and pull the trigger. So much faster!
Brad nailers use 18-gauge nails, which are thinner than the nails you’d use with a finish nailer. Here’s the slightly confusing part: when it comes to nail gauge, the higher the number, the thinner the nail. So an 18-gauge brad nail is actually thinner than a 16-gauge finish nail.
Because these small nails have small heads, they leave behind a teeny hole that’s easy to cover with painter’s putty before painting. They’re perfect for trim work and other projects where you want a nice, clean finish.
A finish nailer uses thicker 15- or 16-gauge finish nails, so it has more holding power and is better suited for heavier-duty trim work. I don’t even own one…my brad nailer works just fine for my projects!
What Do You Use a Brad Nailer For?
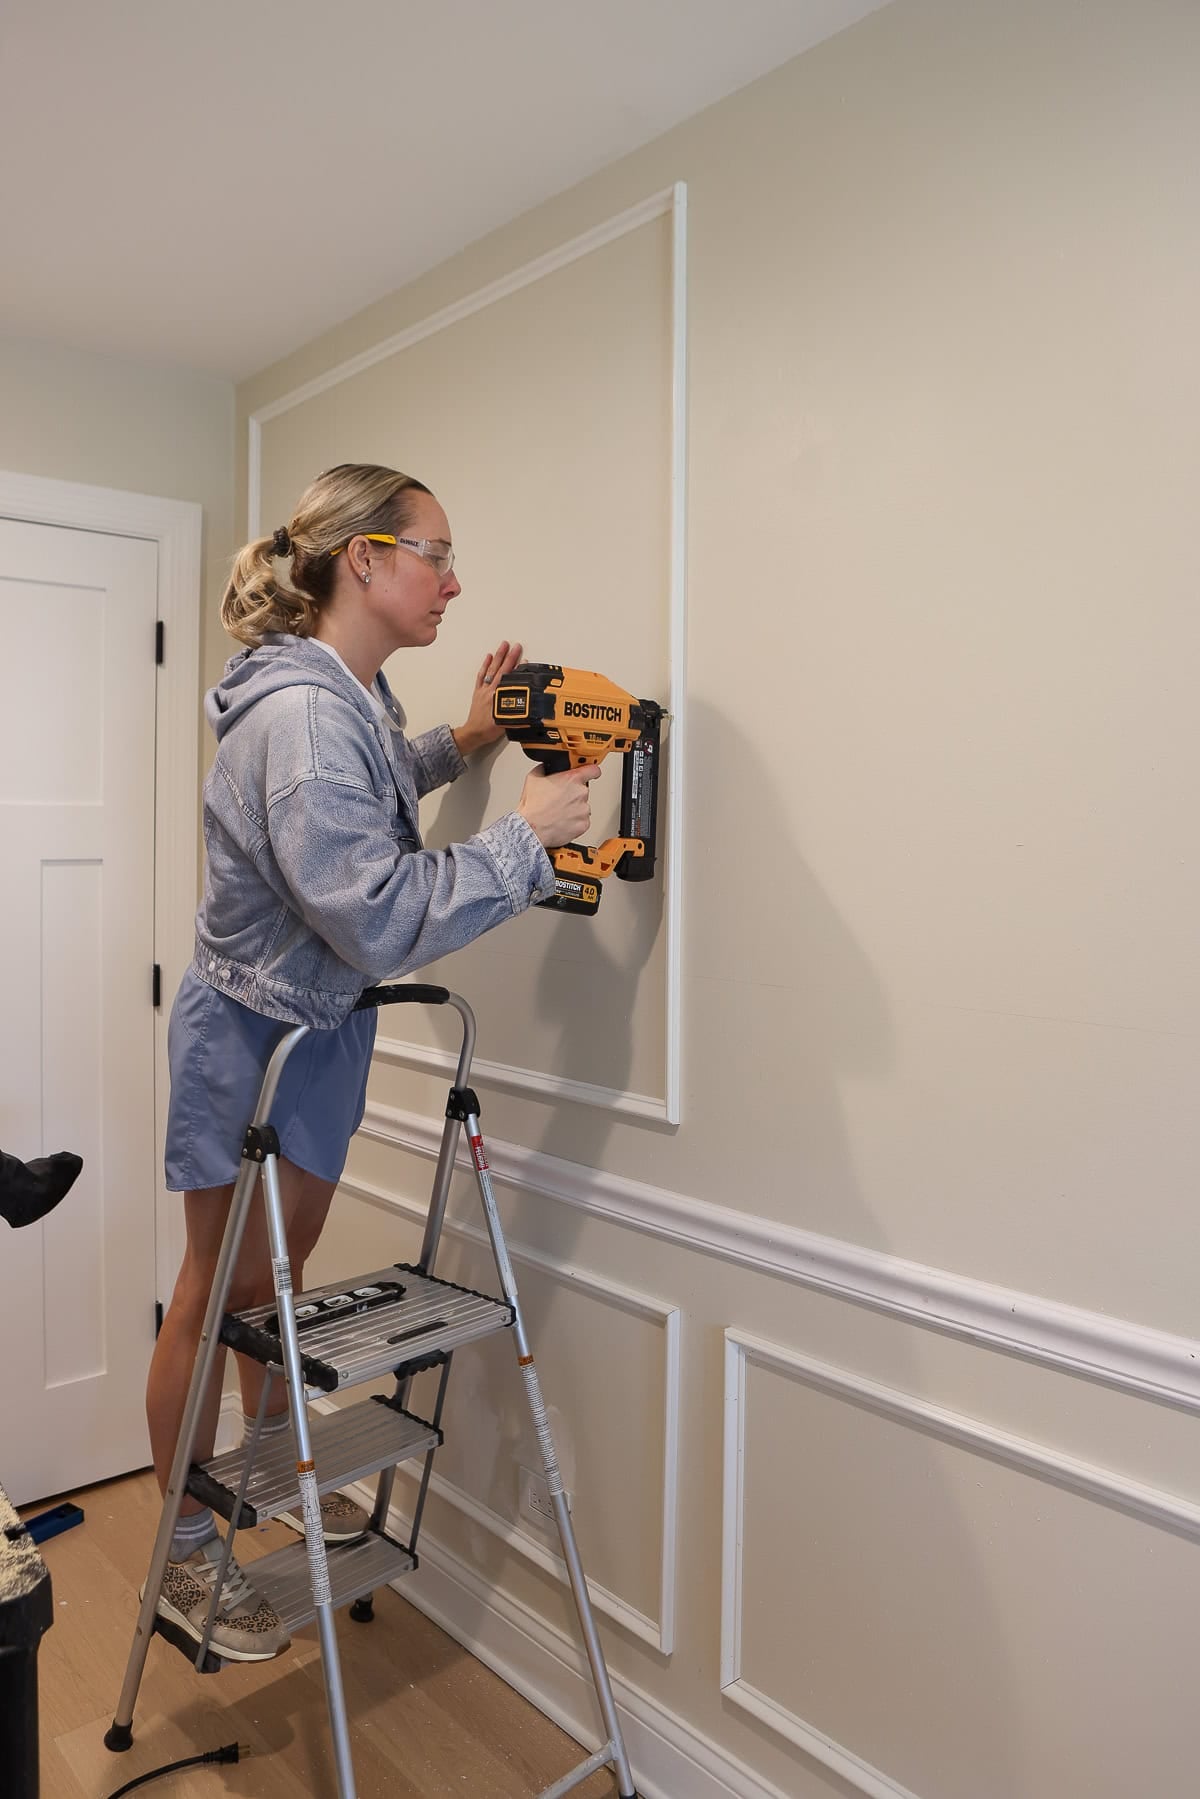
A brad nailer is my go-to for most trim work, finish carpentry projects, and woodworking projects around the house. Because the nails are so thin, it’s also a great tool for more delicate projects where a larger nail could split the wood.
A few projects where a brad nailer comes in handy:
- Picture frame molding
- Chair rail
- Board and batten
- Decorative and lightweight molding
- Window and door trim
- Built-ins and furniture projects
- Small woodworking projects
Could you technically tackle some of these projects with a hammer and nails? Sure. But after installing an entire room of molding with a brad nailer, I promise you won’t want to!
Cordless vs. Pneumatic Brad Nailers

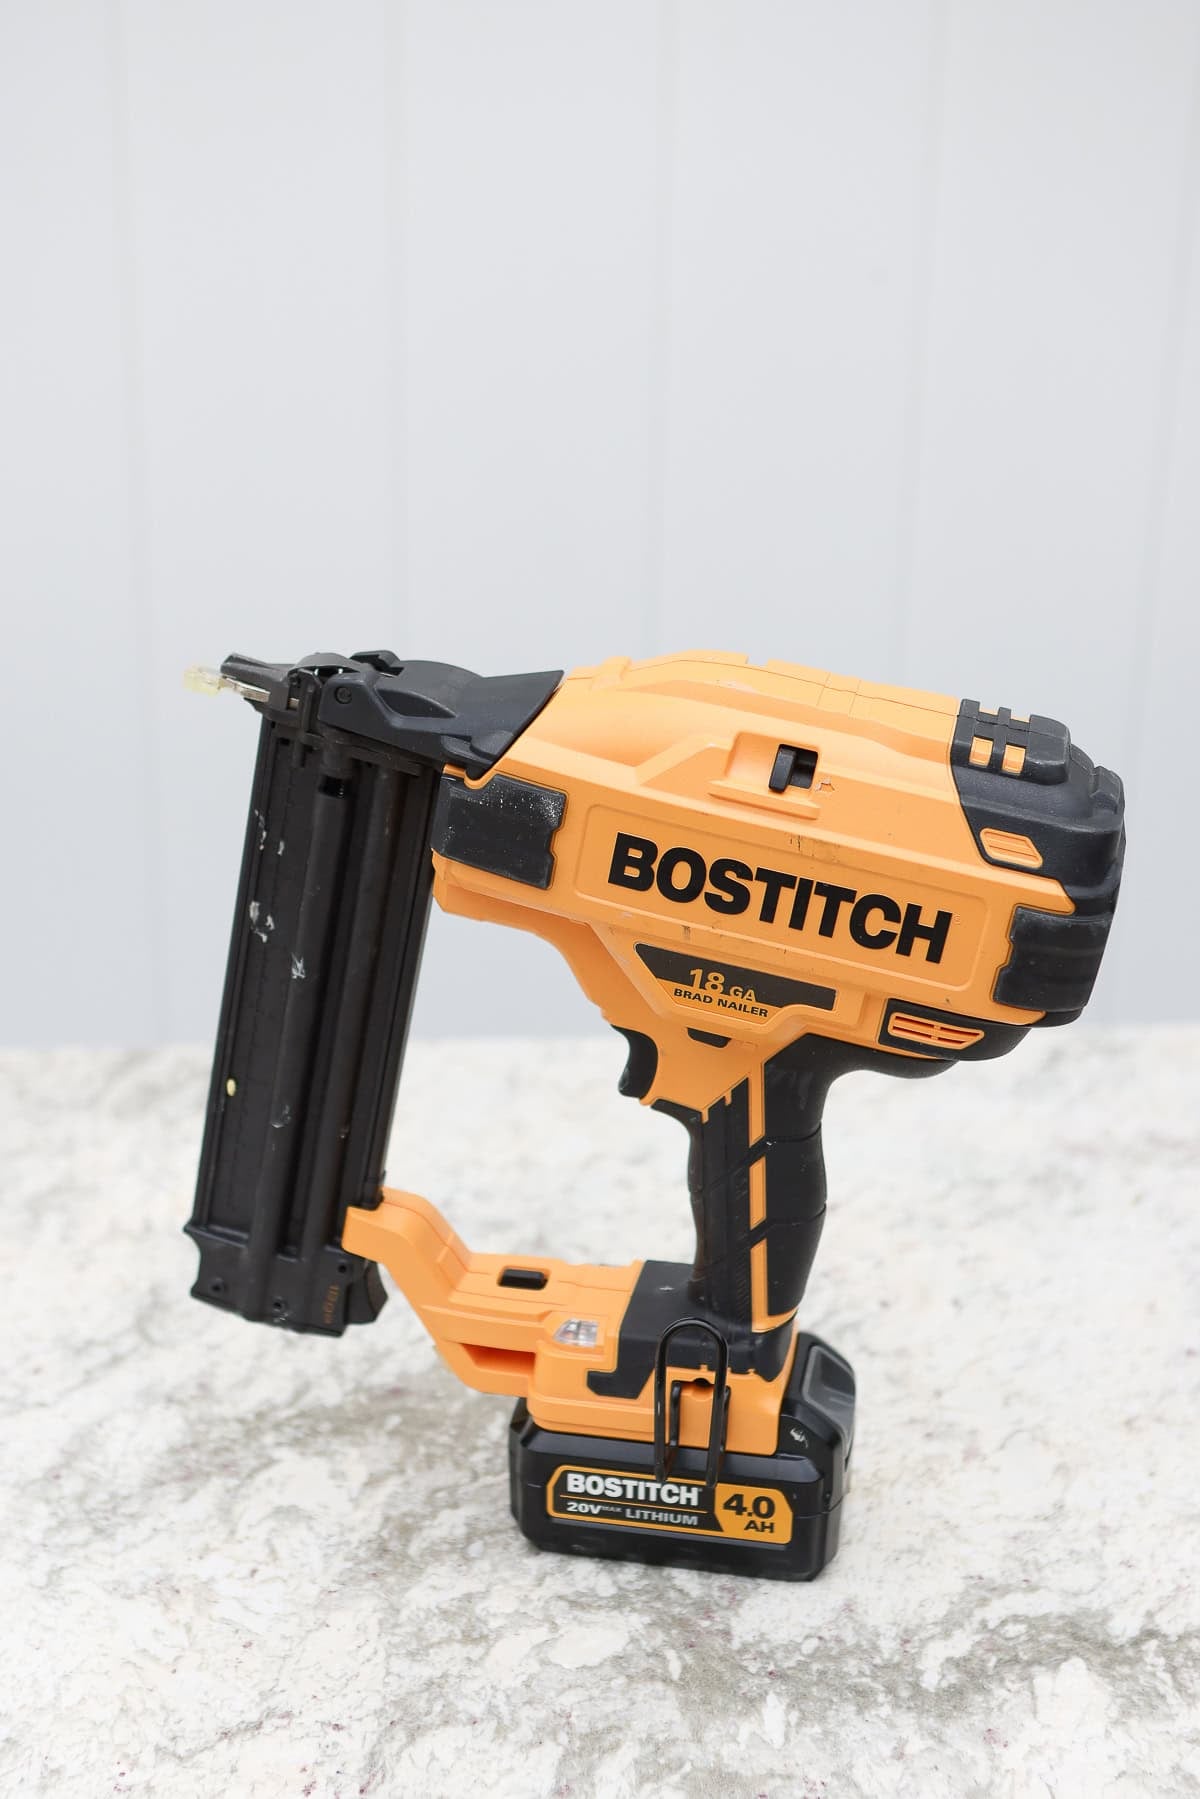
There are a few different types of brad nailers, but the two you’ll see most often are pneumatic nailers and cordless nailers. Pneumatic models connect to an air compressor with an air hose, while cordless models run on a battery.
After years of lugging around that giant air compressor, I am firmly Team Cordless! Mine is a Bostitch brad nailer, and I love that I can just grab it, pop in a battery, and get right to work. No compressor, no air hose, and way less stuff to haul out and put away. They don’t sell mine anymore, but this DeWalt kit has everything you need.
If you already own an air compressor, a pneumatic model can certainly get the job done. But for the average DIYer, I personally love the convenience (and easy storage!) of a cordless brad nailer.
Get to Know Your Brad Nailer
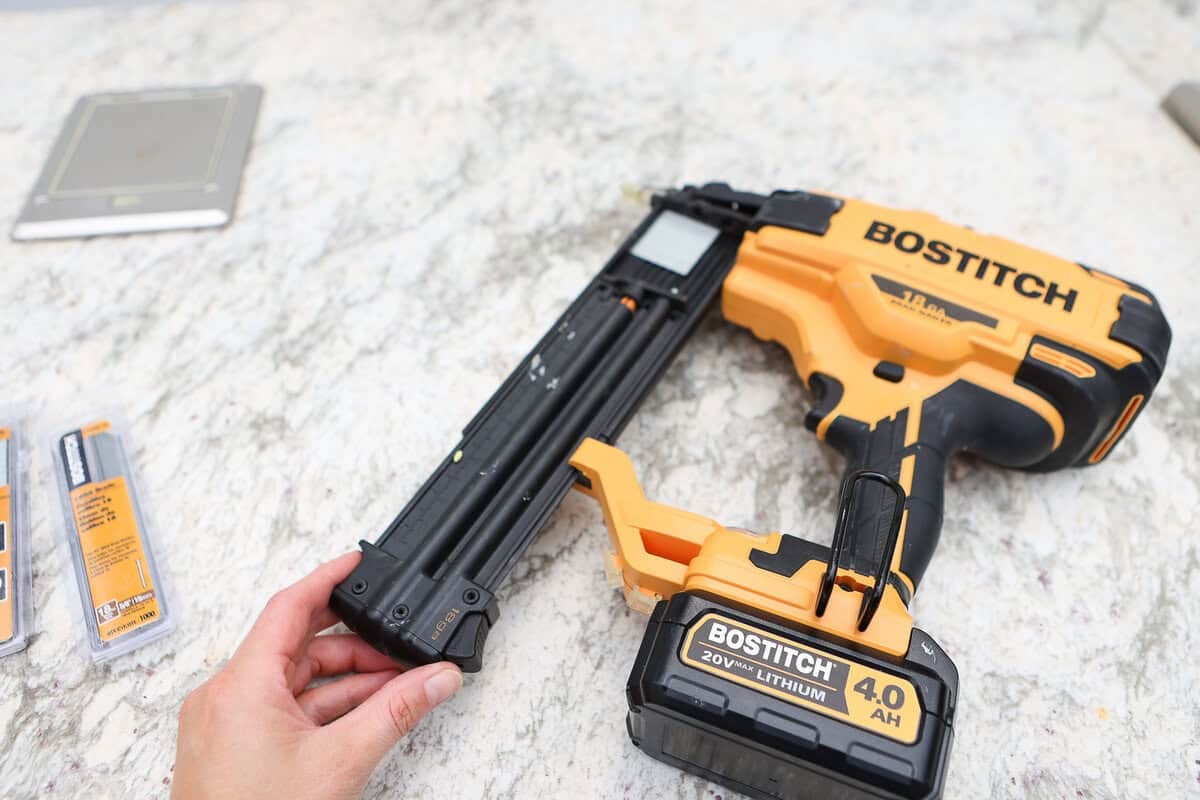
Before you start firing nails, it helps to know a few basic parts of your brad nailer. Your model may look a little different than mine, but most have the same basic features:
- Magazine: This is where you load the strip of brad nails.
- Trigger: What you’ll pull to fire the nail.
- Safety tip: The nose of the nailer that needs to be pressed against the wood before the tool will fire.
- Depth adjustment: Controls how deep the nail goes into the wood.
- Battery: Powers a cordless brad nailer.
You really don’t need to understand every button and setting before you start. These are the main ones I actually pay attention to when I’m using mine.
How to Load a Brad Nailer
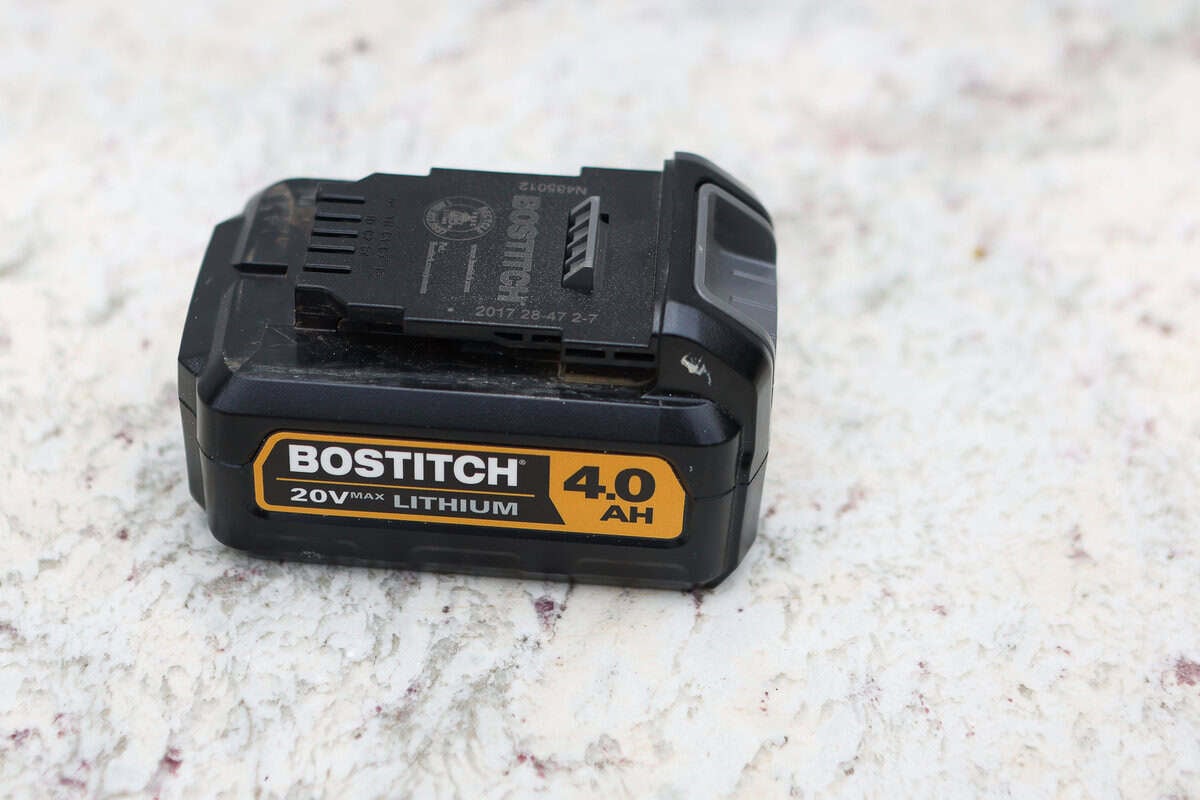
First things first: remove the battery before loading your brad nailer. You don’t want the tool powered while you’re handling the nails or magazine.
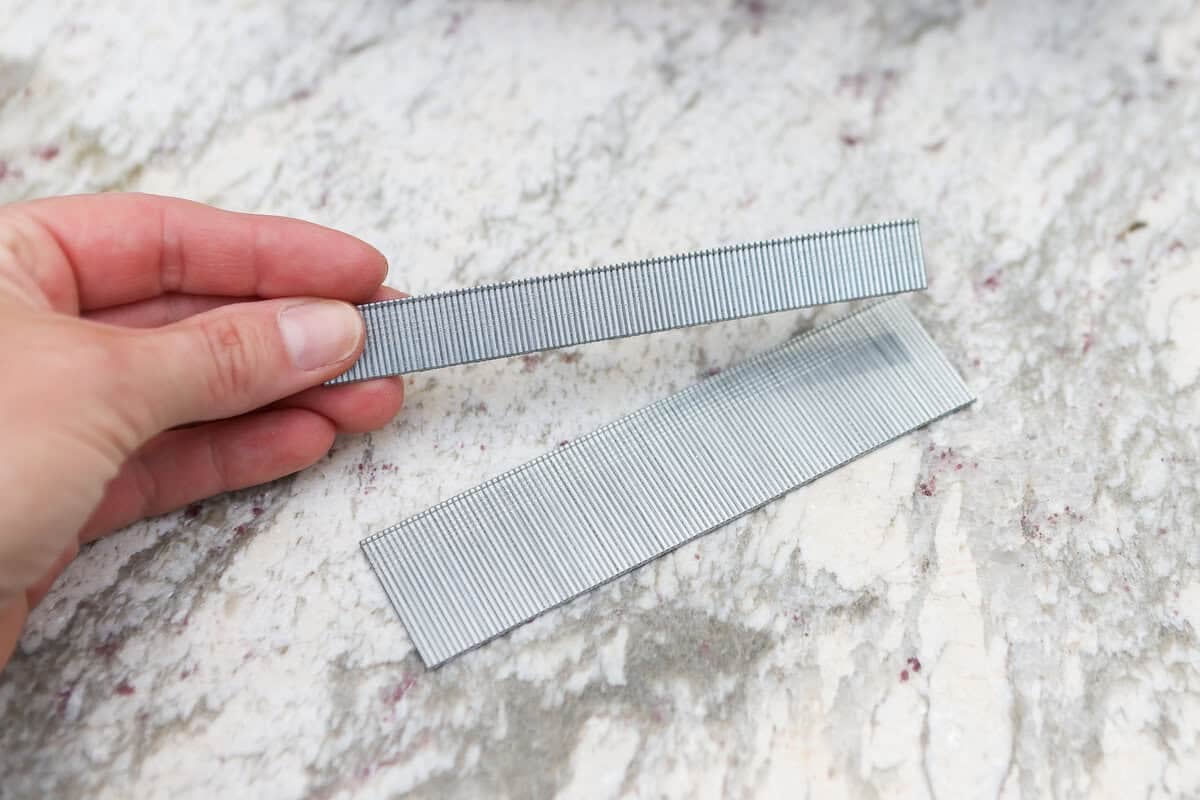
Open the magazine and slide in a strip of 18-gauge brad nails. Brad nails come in different lengths depending on your project, but the gauge will always stay the same. Slide the magazine closed until it clicks, pop the battery back in, and you’re ready to go!
Brad nails come in different lengths, so check your nailer to see what range it accepts and choose the right length for your project.
How to Use a Brad Nailer

Once your nails are loaded, using a brad nailer is surprisingly simple. I always recommend practicing on a piece of scrap wood first so you can get comfortable with the tool and make sure your settings are right.
- Put on safety glasses. Any time you’re working with a power tool, protect those eyes!
- Insert the battery. Once your brad nails are loaded, pop your battery into place.
- Position the nailer. Hold it firmly and place the safety tip flat against the surface of the wood where you want your nail.
- Press down and pull the trigger. The safety tip needs to be pressed against the wood before the nailer will fire. This was the part that made me feel SO much better when I first started using one!
- Check your nail. Ideally, the head should sit just below the surface of the wood. If it’s sticking out or sinking too far in, you’ll want to adjust the depth.
Once you get the hang of it, it really is that easy. Press, pull the trigger, move to your next spot, and repeat!
How to Adjust the Nail Depth
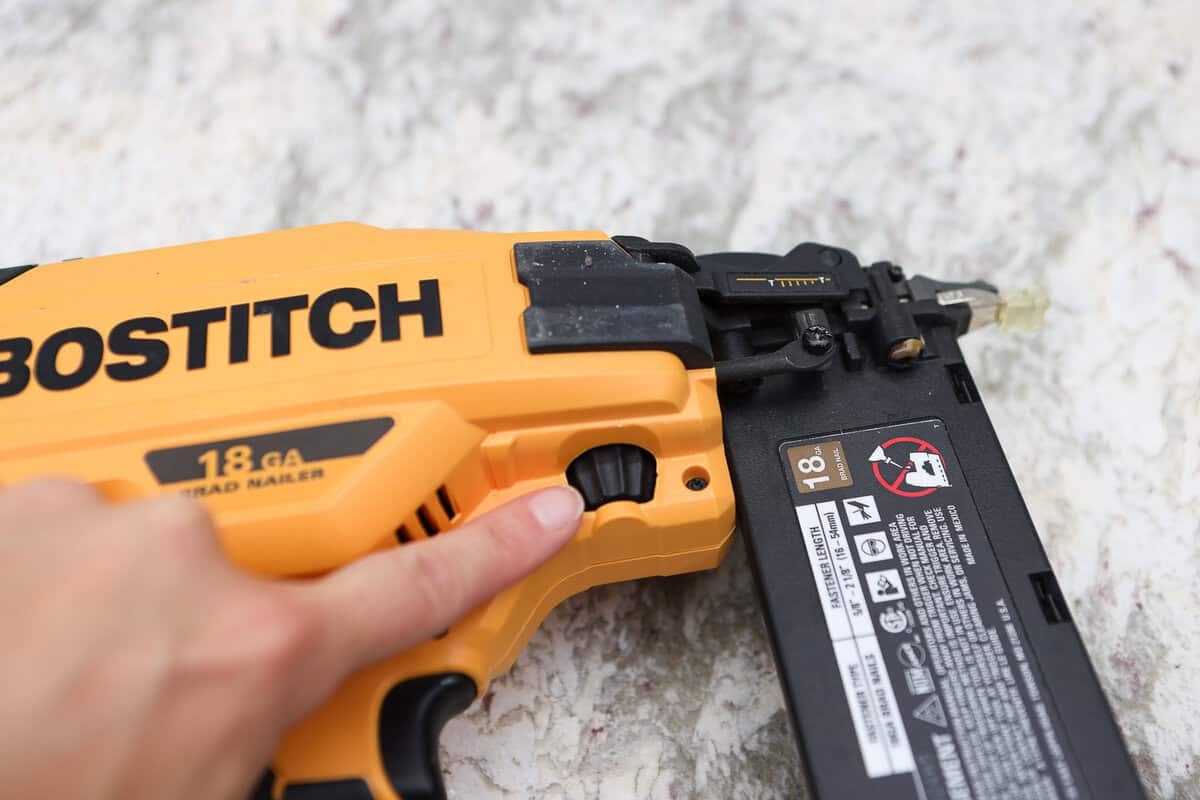
You want your brad nail to sit just below the surface of the wood. That way, you can easily cover the tiny hole with wood putty before painting.
Most brad nailers have a depth adjustment dial that controls how far the nail sinks into the wood. If your nail is sticking out, adjust the depth so it goes farther in. If it’s sinking too deep, dial it back.
This is another reason I always recommend doing a few test shots on scrap wood first. Make your adjustments there, and once the nail is sitting just below the surface, you’re ready to move on to your actual project.
Brad Nailer Safety Tips
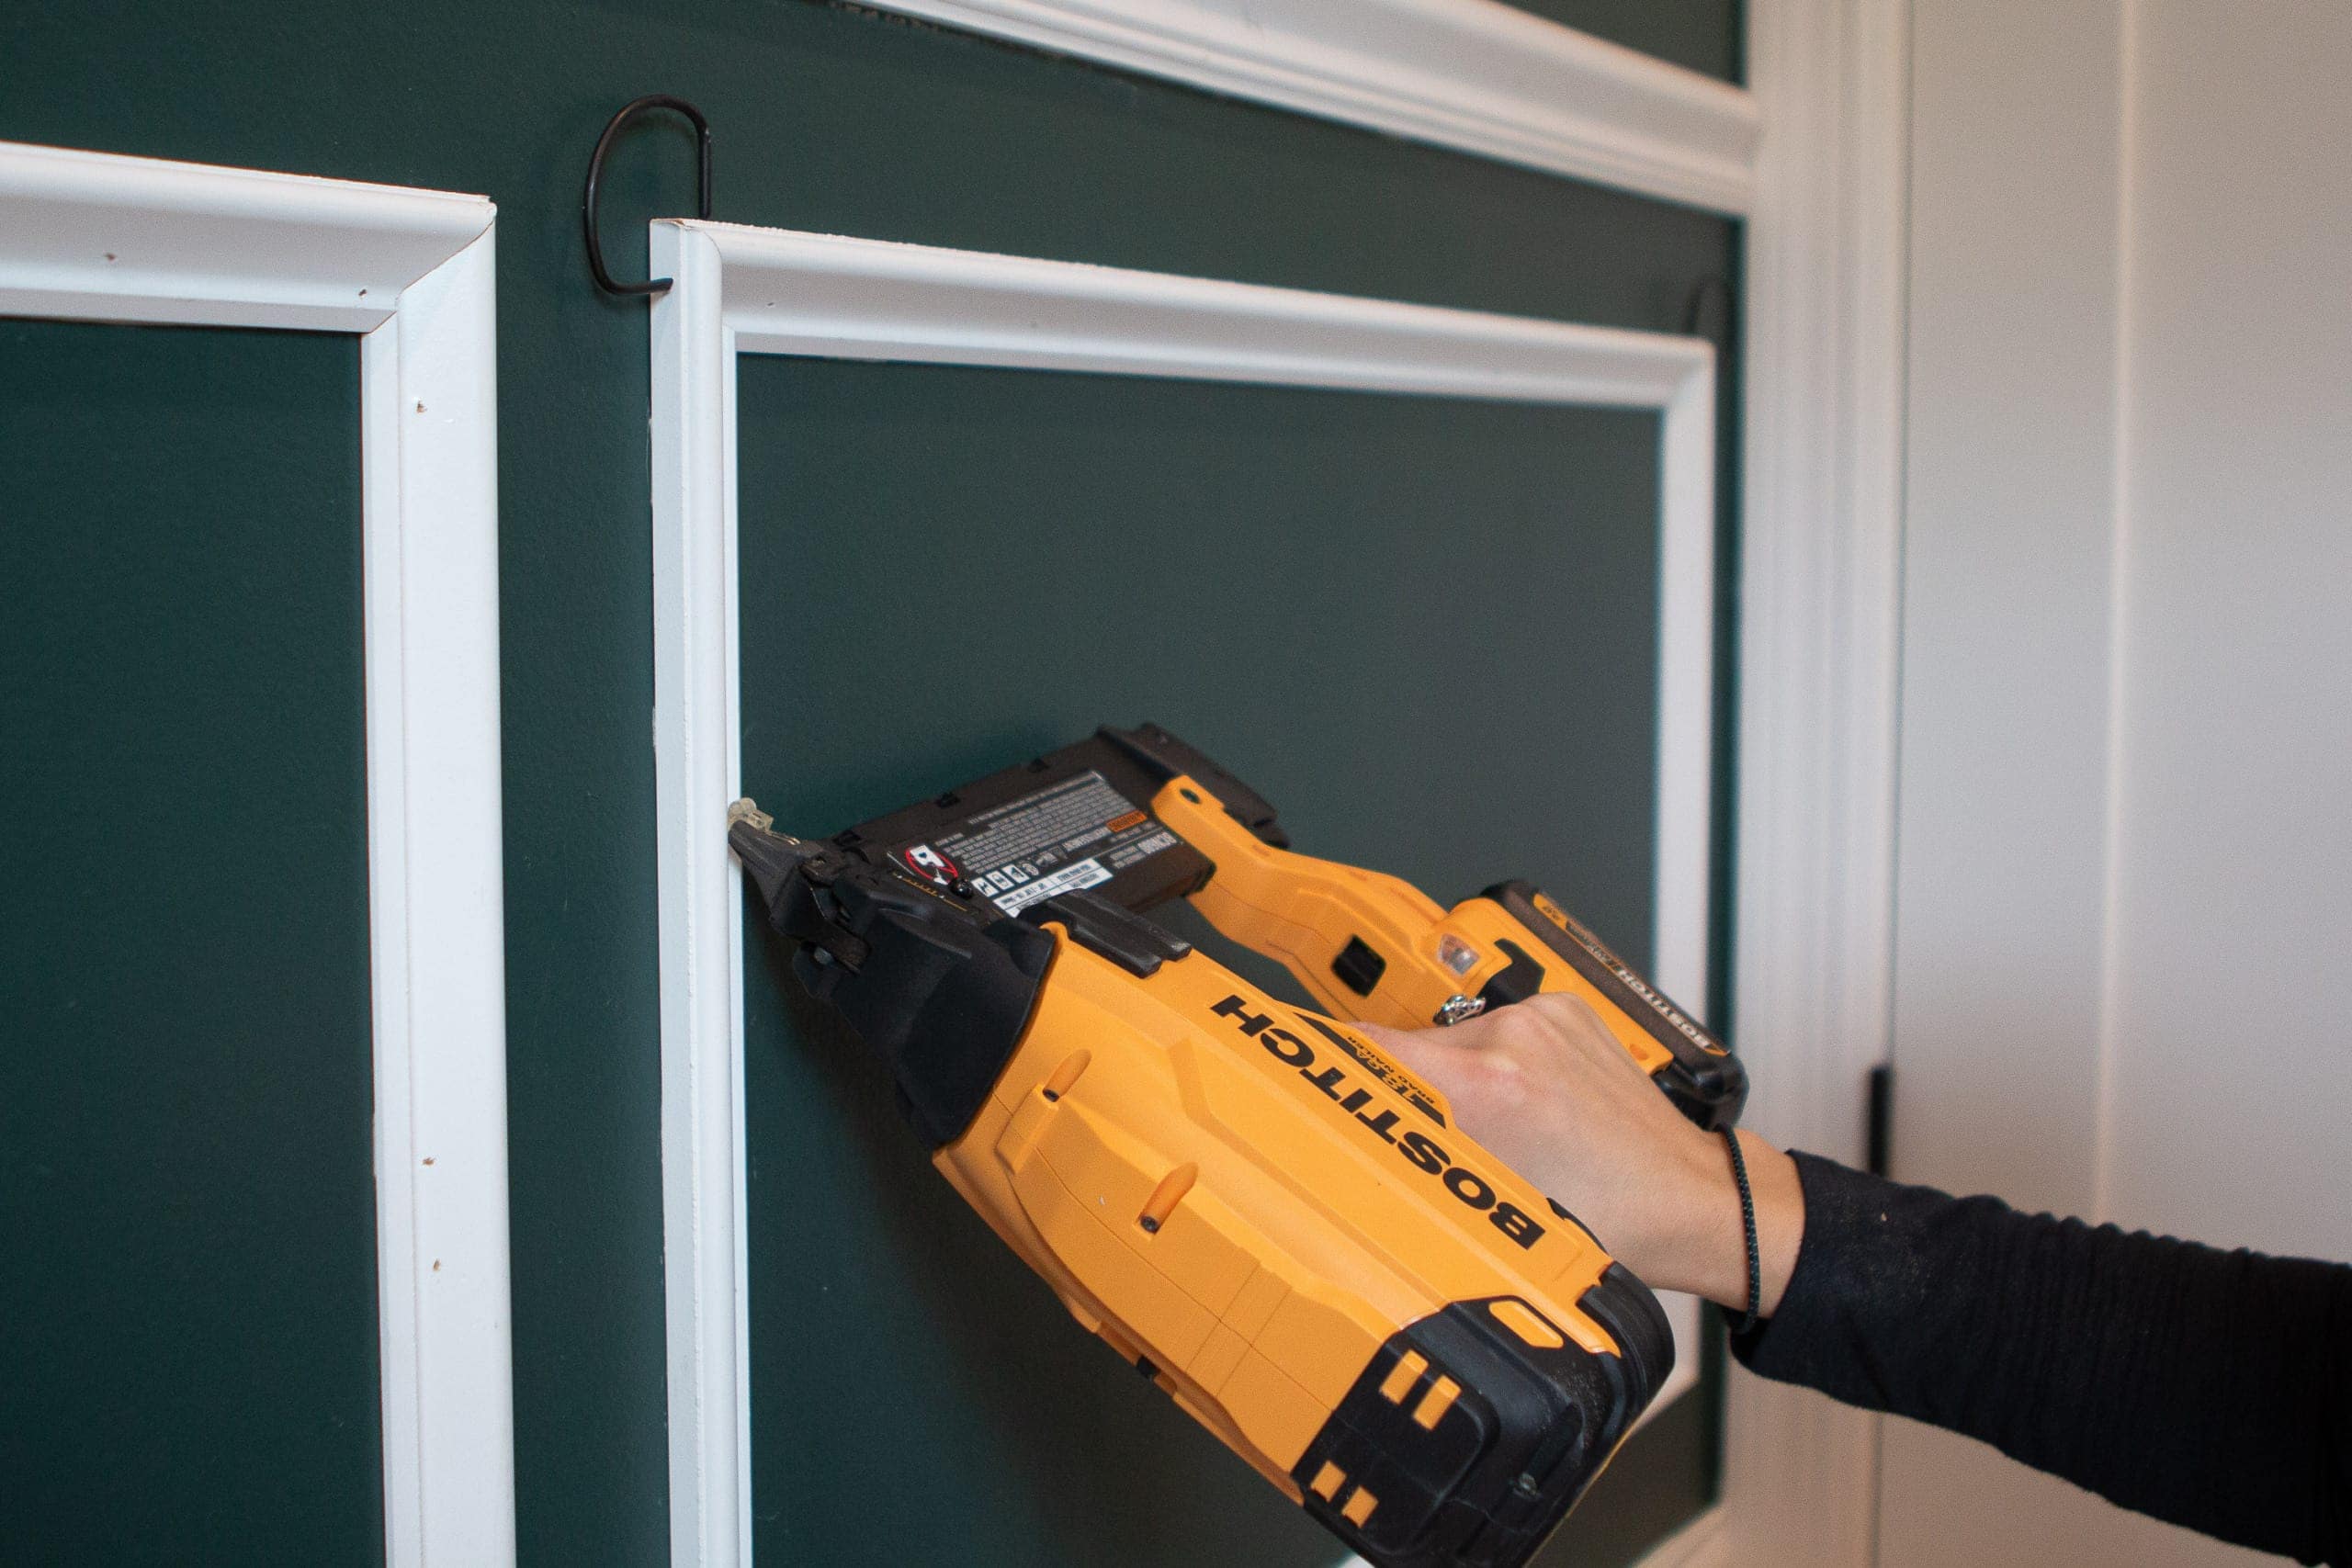
Brad nailers are easy to use, but they’re still powerful tools, so there are a few safety rules I always follow.
- Wear safety glasses whenever you’re using your nailer.
- Remove the battery before loading nails, clearing a jam, or making adjustments near the nose of the tool.
- Keep your finger off the trigger until you’re ready to fire.
- Keep your other hand out of the way. Brad nails are thin and can occasionally bend or come out the side of the wood, so don’t hold your hand directly behind or beside where you’re nailing.
And remember that safety tip we talked about earlier? The nailer needs to be pressed against a surface before it can fire. Understanding that feature made me feel a whole lot more comfortable when I was first learning how to use mine!
One of My Favorite Power Tools
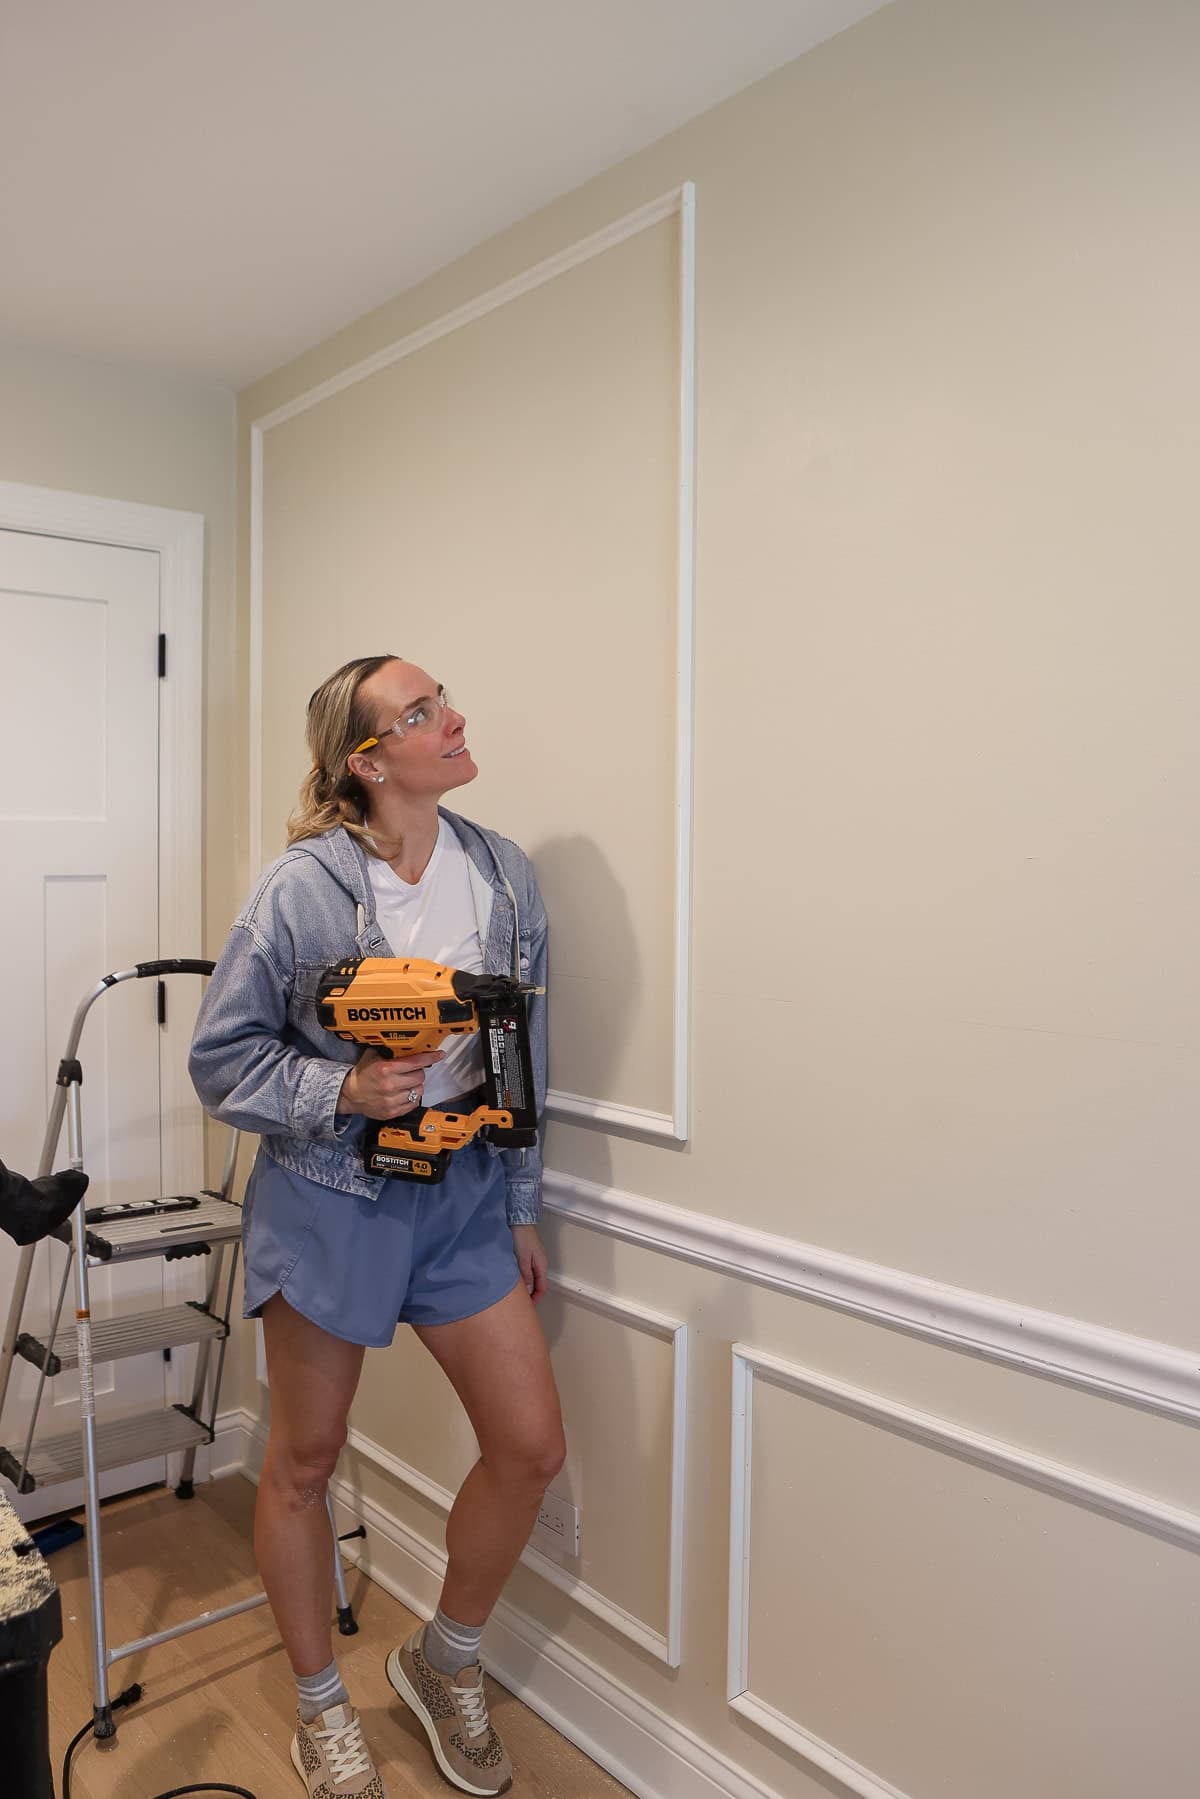
If you’re just getting into DIY, you certainly don’t need to run out and buy every power tool at once. But if you’re ready to tackle projects like picture frame molding, chair rail, or built-ins, a brad nailer is one I think you’ll be very happy to have.
And if this tool has always intimidated you, I hope this gives you the confidence to pick one up and try it. I promise, after a few nails, you’ll wonder why you waited so long!